
If you want a bold indoor plant that looks lush without acting like a full-time job, the rubber plant is one of the best you can grow.
Also known as Ficus elastica or the rubber tree plant, the rubber plant has thick stems, glossy leaves and a strong upright shape that makes a room feel greener fast. It is tougher than many indoor plants, but that does not mean it thrives on neglect. Most ficus rubber plant care problems in Aussie homes come down to a few common issues: too much water, heavy potting mix, poor light, cold drafts, or inconsistent feeding.
The good news? Once you get those basics right, rubber plants are absolute legends indoors.
This guide covers exactly how to care for a rubber plant in Australia, including the best light, how often to water, when to repot, what to do about yellow leaves, and how to keep growth strong and foliage glossy.
Table of Contents
- Rubber Plant Care at a Glance
- Why Rubber Plants Struggle Indoors
- The Best Light for a Rubber Plant
- How Often to Water a Rubber Plant
- The Best Soil for Rubber Plants
- Do Rubber Plants Like Humidity?
- The Best Fertiliser for Rubber Plants
- When to Repot a Rubber Plant
- How to Repot a Rubber Plant
- How to Prune a Rubber Plant
- Can you Propagate a Rubber Plant?
- Common Rubber Plant Problems and How to Fix Them
- Rubber Plant Pests: What to Watch For
- Is the Rubber Plant Safe for Pets?
- Rubber Plant Care in Australia: Seasonal Tips
- FAQs about Rubber Plant Care
- Final Word: What a Healthy Rubber Plant Actually Needs
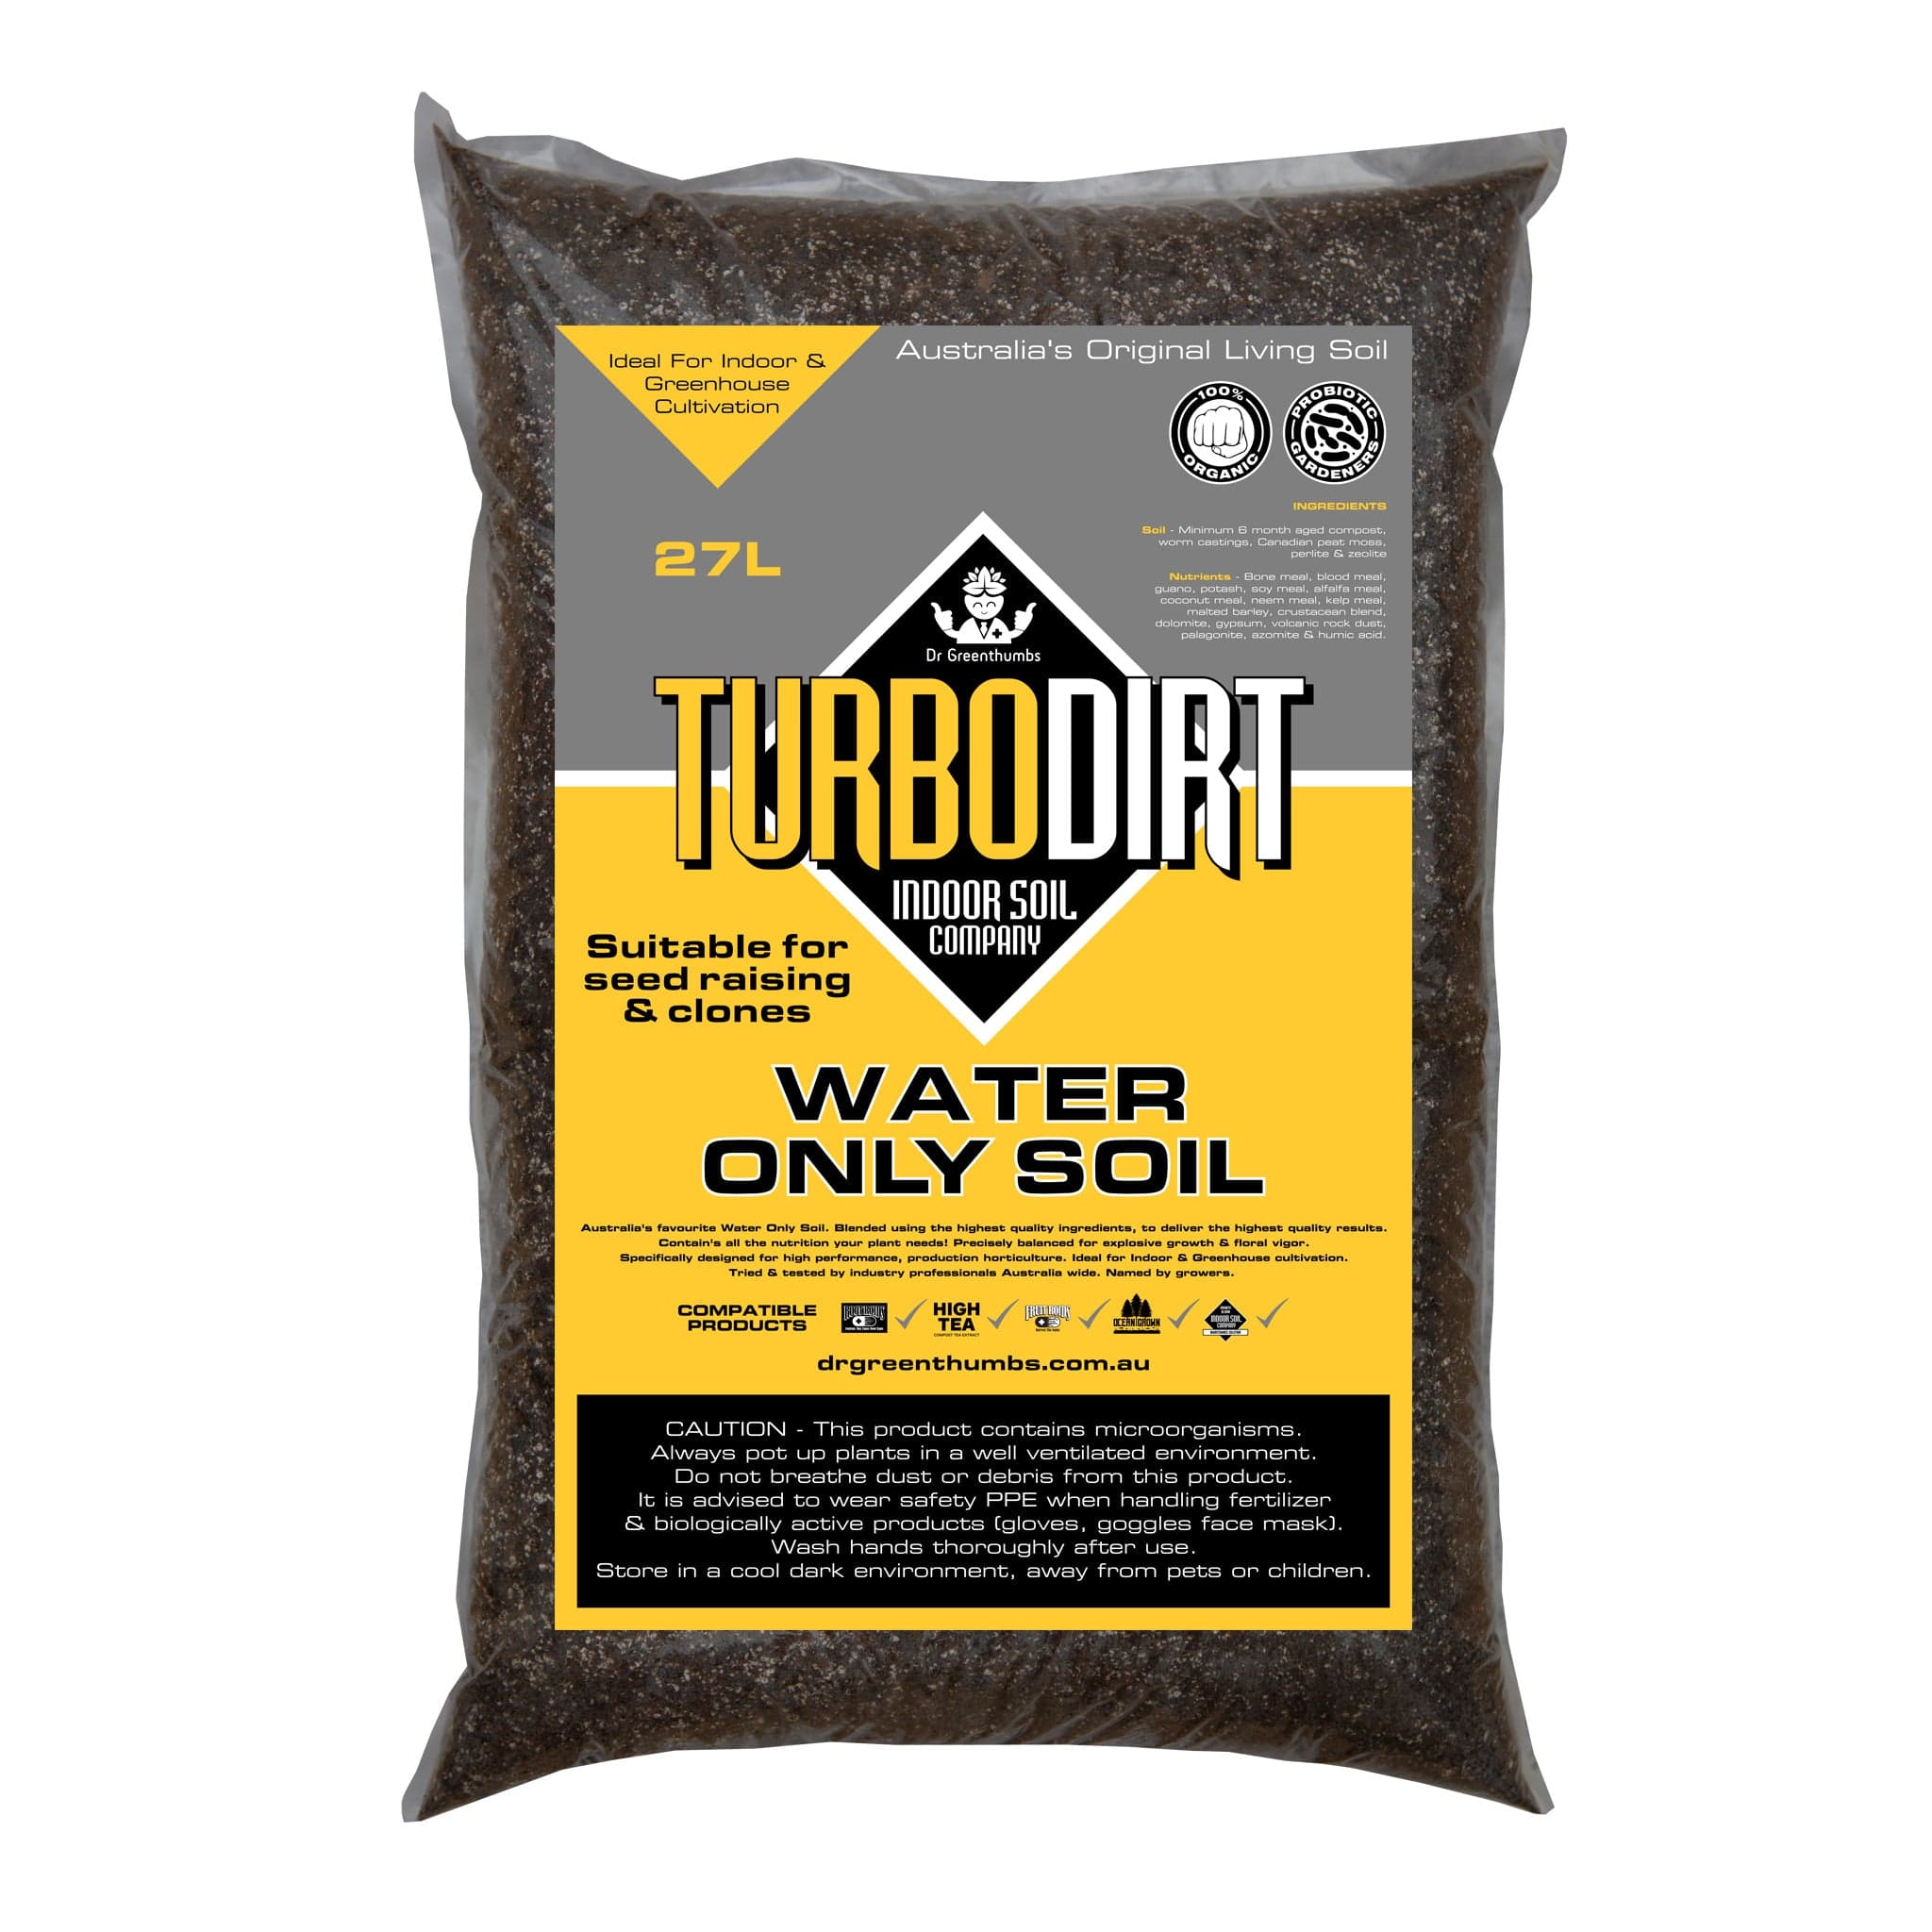
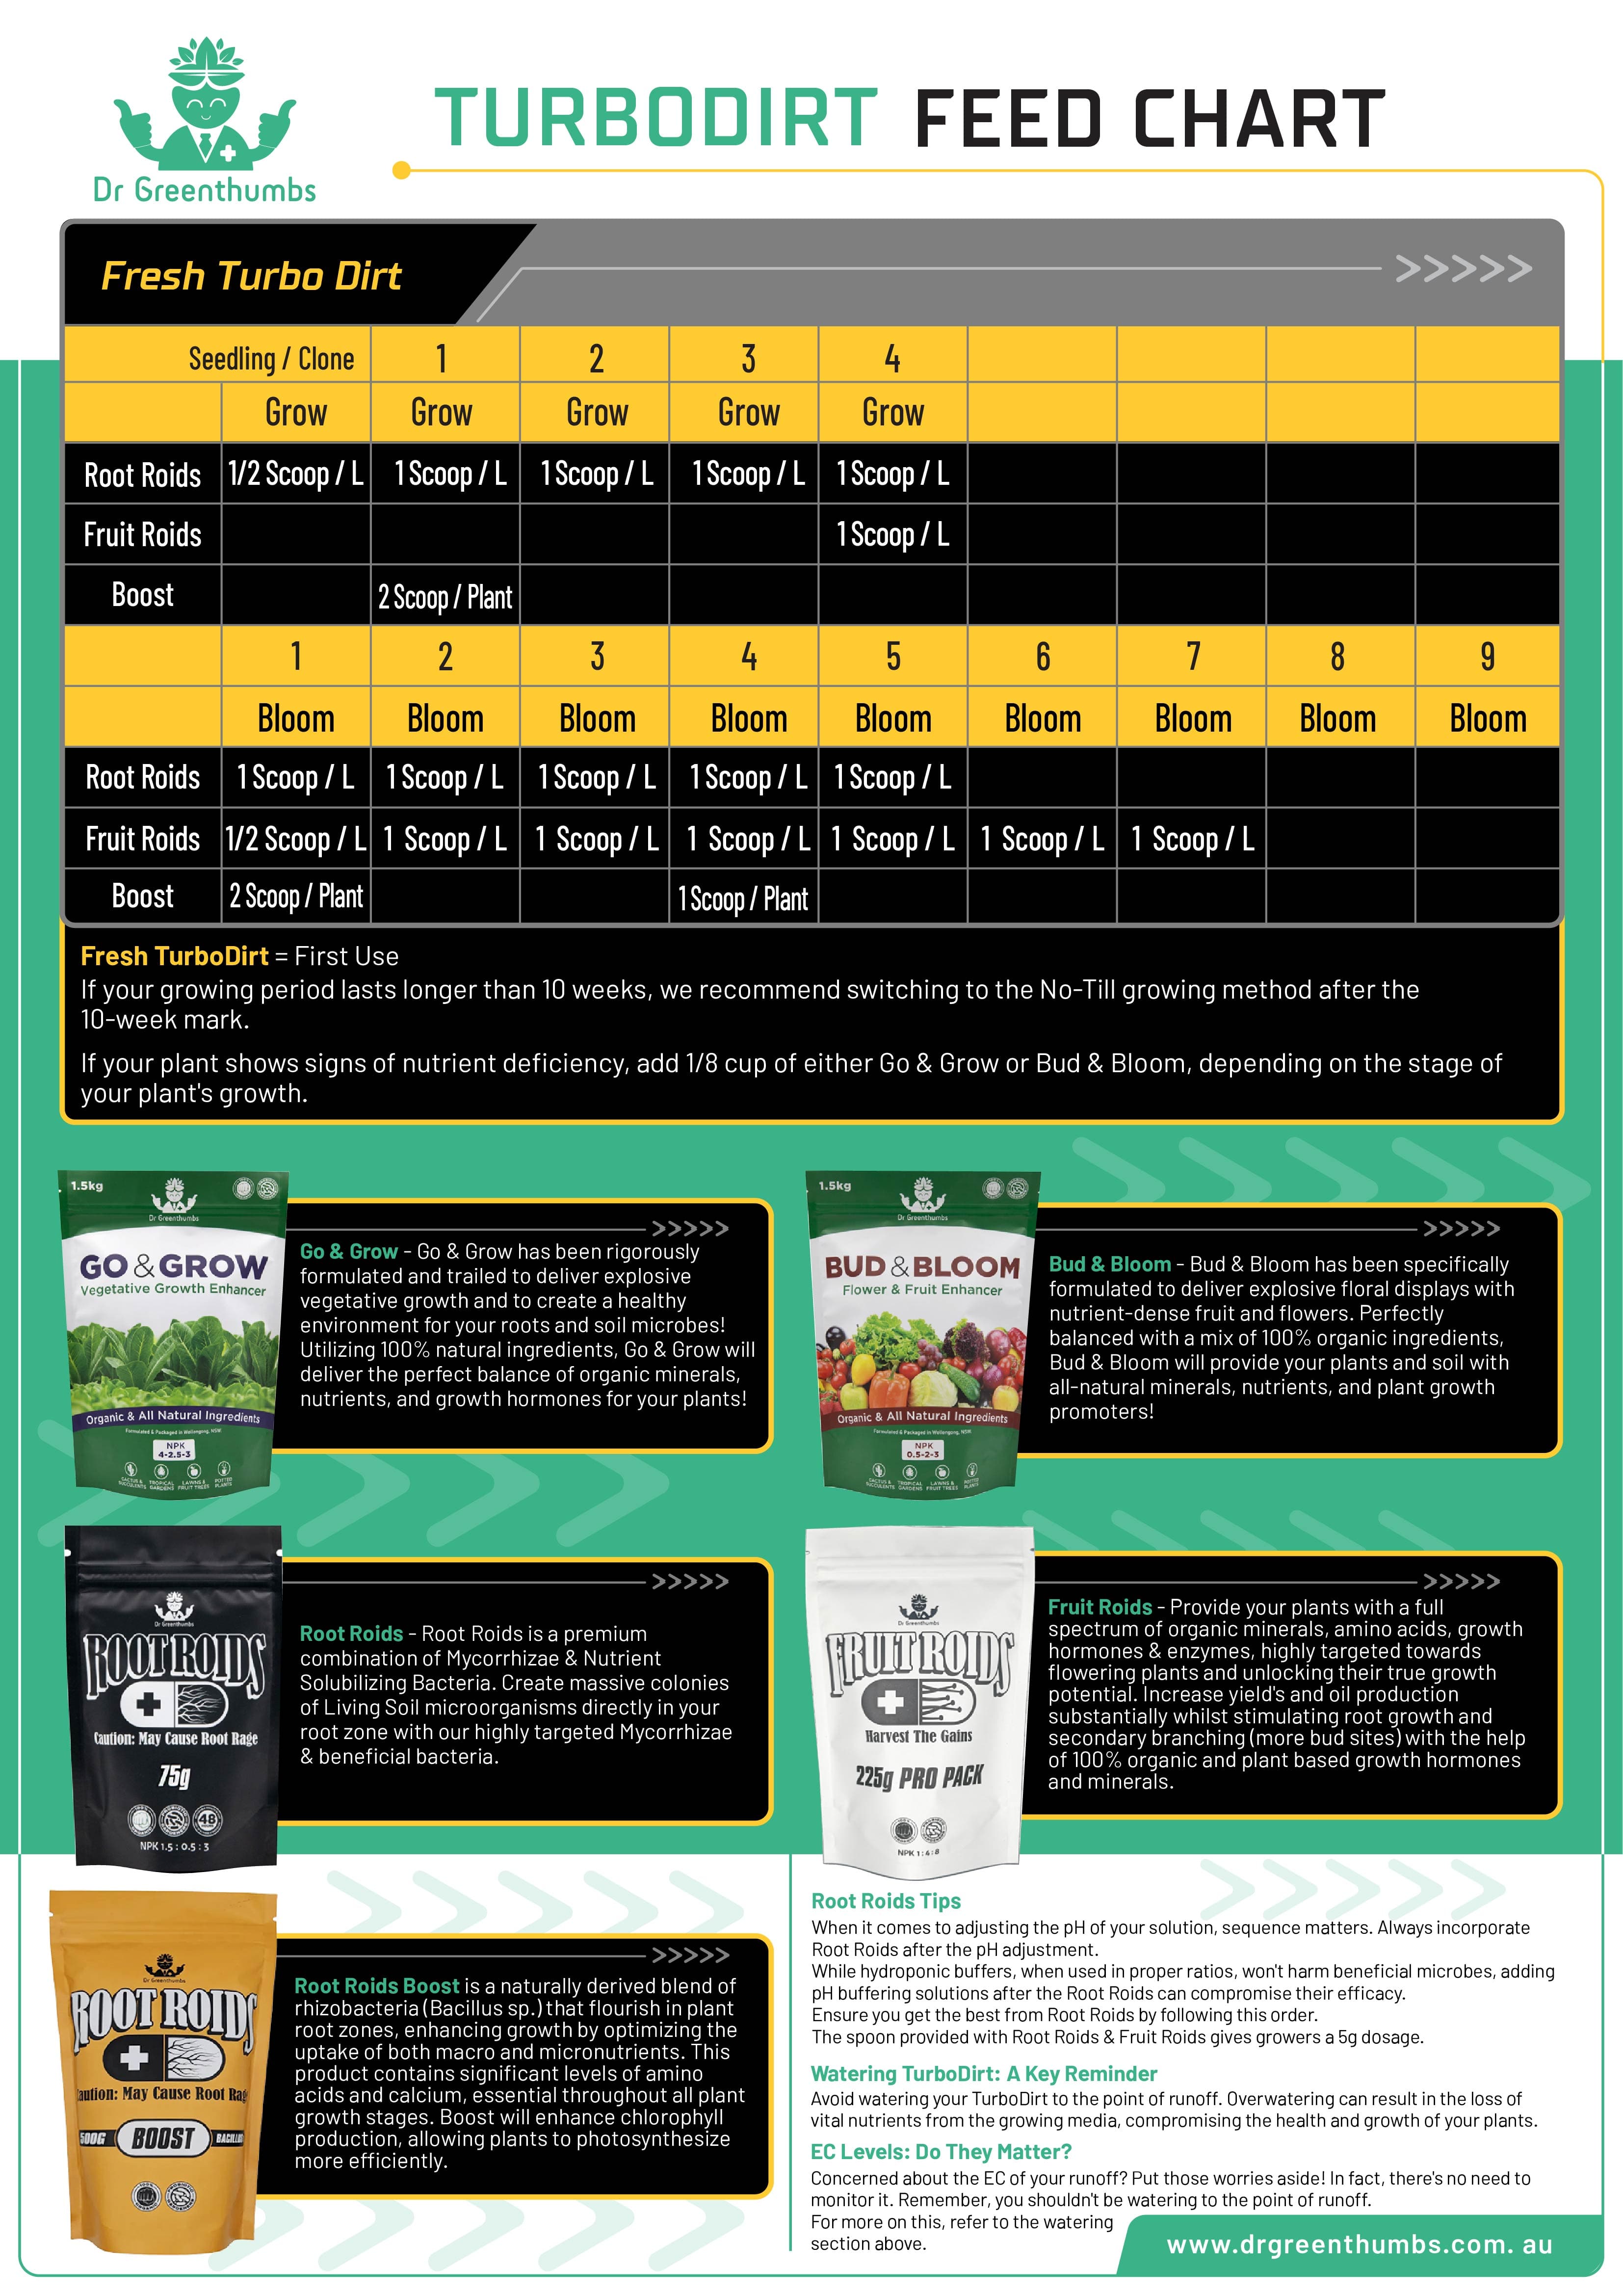
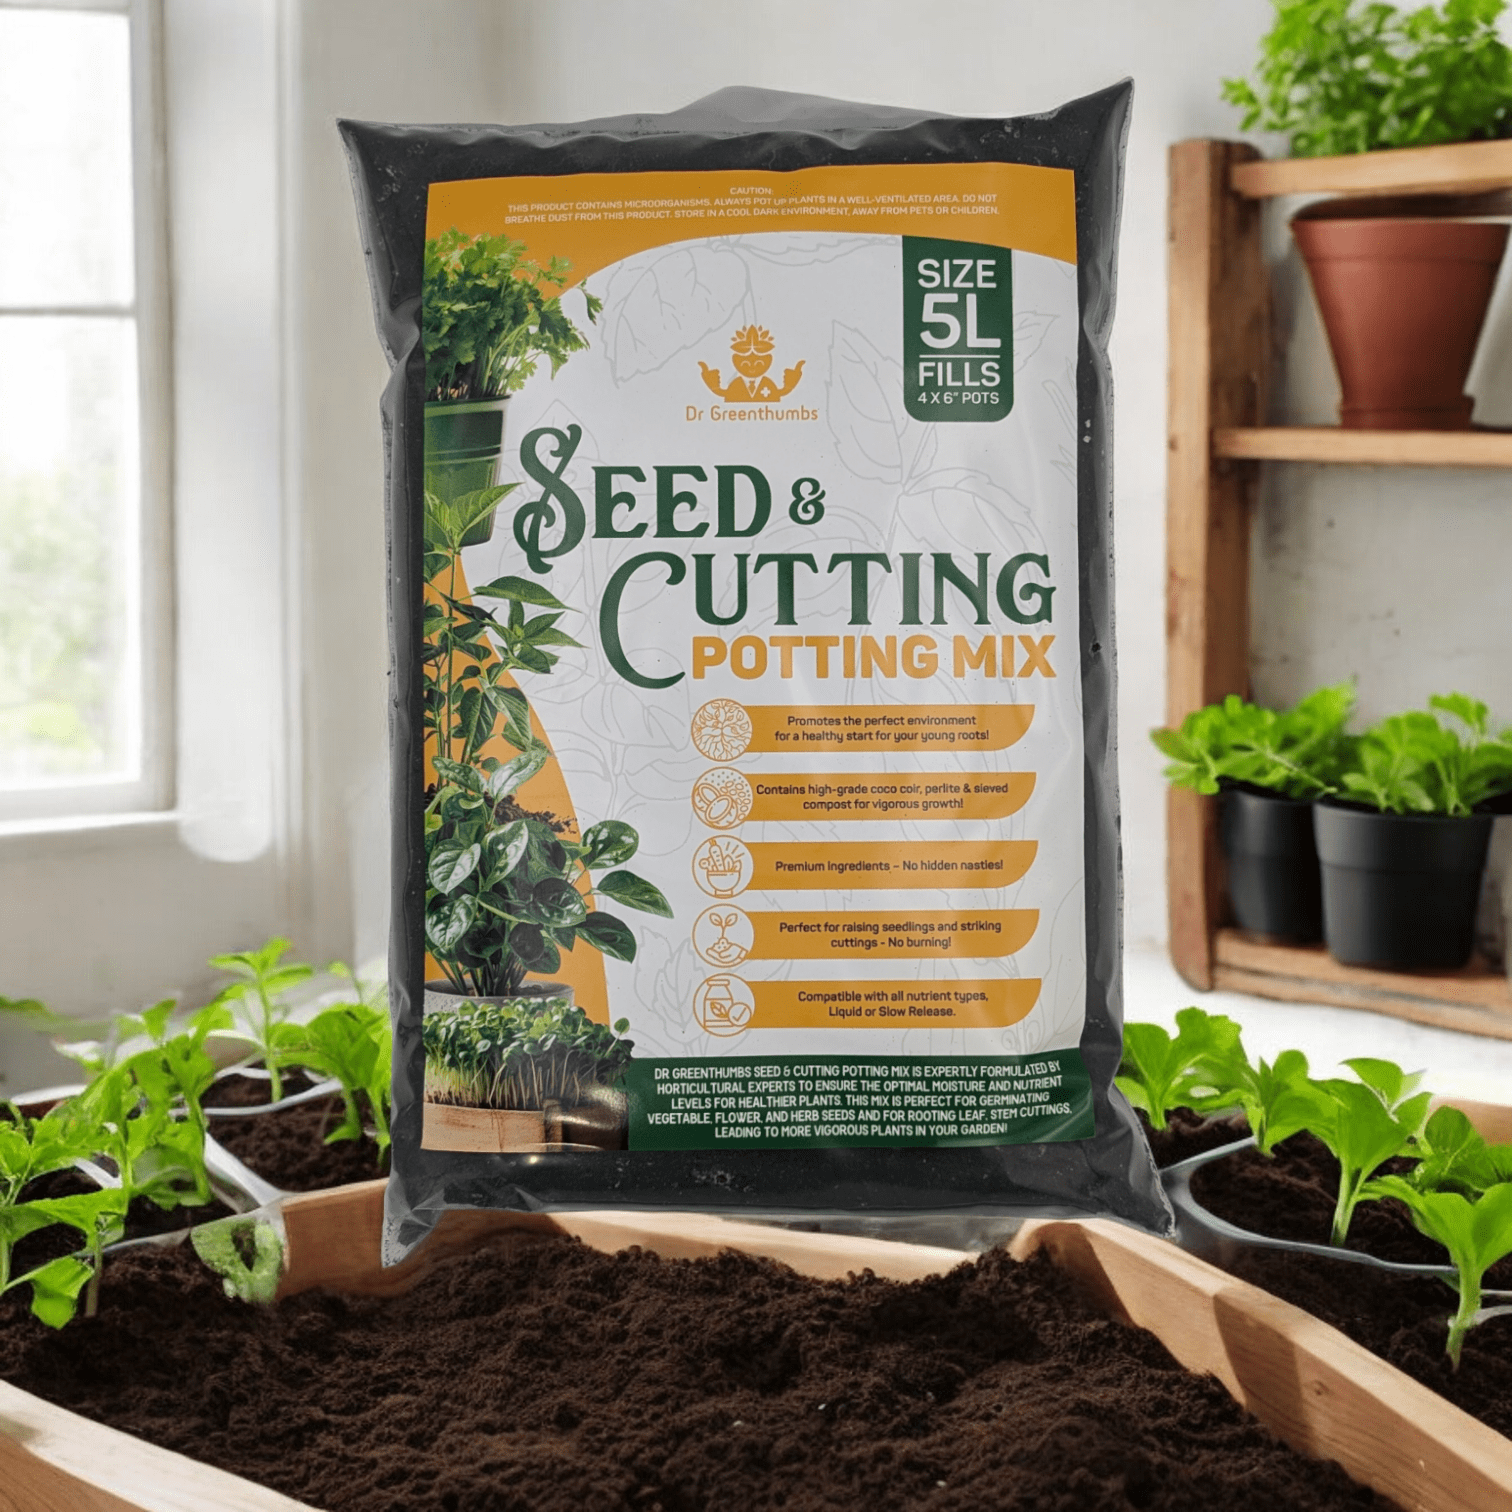
For the simplest setup, these cover the potting mix, feeding and pest-control jobs most rubber plant owners encounter:


Rubber Plant Care at a Glance
If you only remember a few things, make it these:
- Light: Bright, indirect light is ideal. A little gentle morning sun is fine, but harsh afternoon sun can scorch leaves.
- Water: Water thoroughly, then let the top few centimetres of potting mix dry before watering again.
- Soil: Use a free-draining indoor mix that holds moisture without staying soggy.
- Temperature: Best in normal indoor temperatures, away from cold drafts and blasting heaters.
- Humidity: Average indoor humidity is usually fine, but very dry rooms can cause leaf edge issues.
- Feeding: Feed regularly during active growth to keep foliage thick, green and vigorous.
- Pests: Watch for scale, spider mites and general leaf grime that blocks photosynthesis.
If your mix stays dense, muddy or wet for too long, the soil section below explains when to repot into a better-draining indoor blend. Feeding is covered in the fertiliser section.
Why Rubber Plants Struggle Indoors
Rubber plants are often called “easy”, but that can be misleading.
They are easy once the environment suits them.
Inside Australian homes, the usual troublemakers are:
- intense sun blasting through windows in summer
- dim corners that never get enough light
- potting mix that stays wet for too long
- decorative pots with poor drainage
- air con, heaters, and sudden temperature swings
- watering on a schedule instead of watering based on dryness
That is why one person says their rubber plant thrives on weekly watering, while another says the same routine caused yellow leaves and root rot. The plant is not being dramatic. The conditions are different.
The Best Light for a Rubber Plant
Rubber plants do best in bright, indirect light.
Think of a spot near a bright window where the plant gets plenty of natural light but is protected from the harshest direct afternoon sun. Bright filtered light helps rubber plants hold their shape, push out larger leaves and keep variegated forms looking crisp.
Good light looks like this:
- near an east-facing window
- close to a bright north-facing window with filtered light
- a little back from a hot west-facing window
- a bright room where you could comfortably read without turning a light on during the day
Signs your rubber plant needs more light
- long gaps between leaves
- leaning hard toward the window
- slower growth in spring and summer
- lower leaves dropping faster than normal
- variegated leaves looking dull or less defined
Signs it is getting too much harsh sun
- bleached patches
- crispy brown scorch marks
- leaf edges looking burned
If your room is a bit gloomy, move the plant closer to the light source before you change anything else. Low light often gets blamed on watering when the real issue is that the plant cannot use water properly because it is not getting enough energy.
How Often to Water a Rubber Plant
This is where most people come unstuck.
Do not water your rubber plant just because it has been a week.
Instead, check the potting mix first.
Water when the top few centimetres are dry, then water thoroughly until excess runs out of the drainage holes. Empty the saucer or cache pot afterwards so the roots are not sitting in water.
In general:
- Spring and summer: more frequent watering as growth picks up
- Autumn and winter: less often, especially in cooler rooms or lower light
Rubber plants can handle being a little dry far better than being constantly soggy.
Signs you are overwatering
- yellow leaves
- leaf drop
- soft stems near the base
- potting mix staying wet for days and days
- a sour or swampy smell from the pot
Signs you are underwatering
- drooping leaves
- very dry, shrinking potting mix
- crispy edges
- slower growth
- leaves feeling limp rather than firm
If your mix stays wet for days, the issue may be the potting mix rather than the watering routine. The soil section below explains what a better-draining rubber plant mix should do.
The Best Soil for Rubber Plants
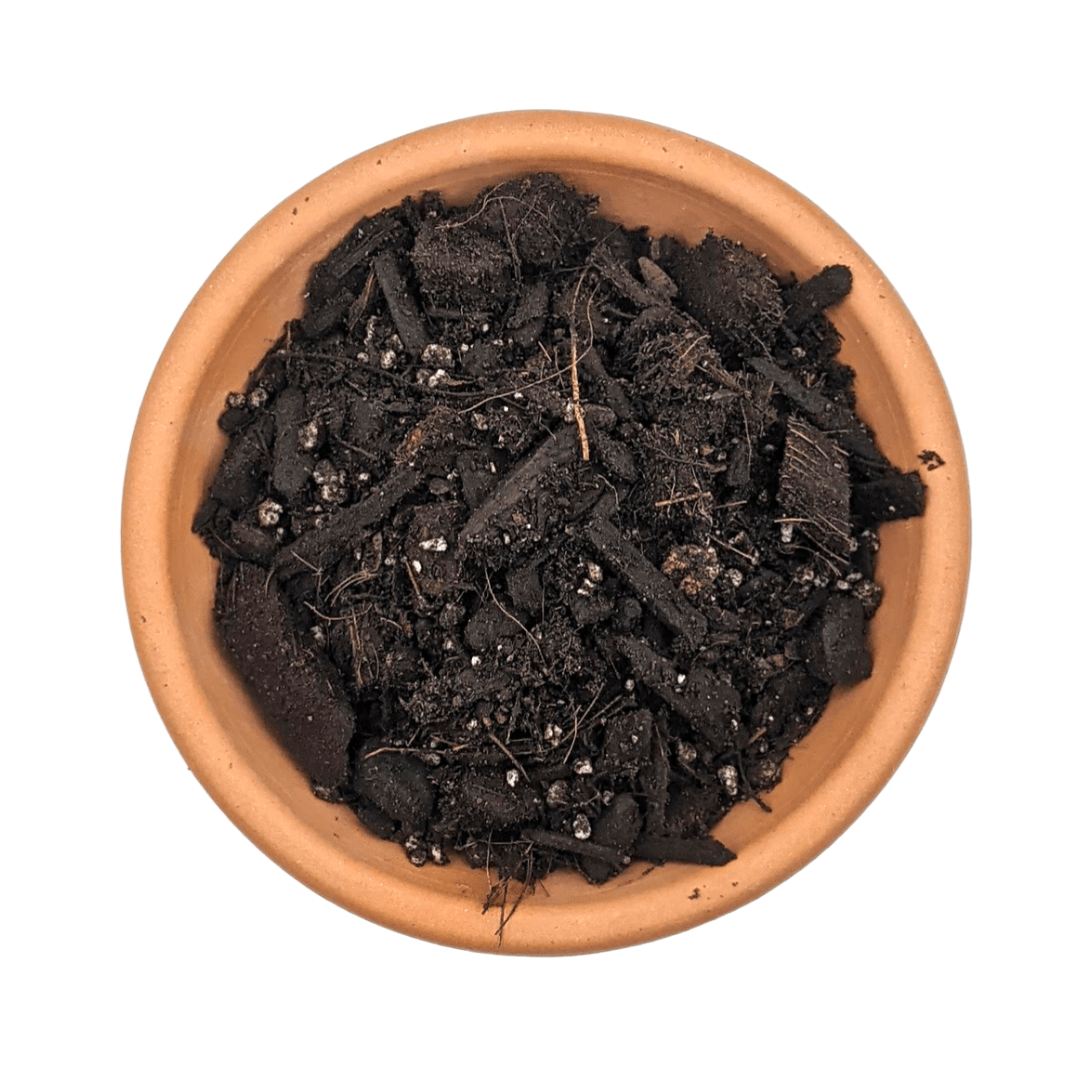
A rubber plant wants potting mix that does three things well:
- holds enough moisture to stay evenly hydrated
- drains cleanly so roots are not sitting in muck
- leaves enough air around the roots for healthy growth
That sweet spot is why free-draining indoor mix matters so much.
A heavy bagged mix that turns to sludge in a decorative pot is asking for trouble. On the other hand, a mix that is too coarse and dries out in a flash can make watering inconsistent.
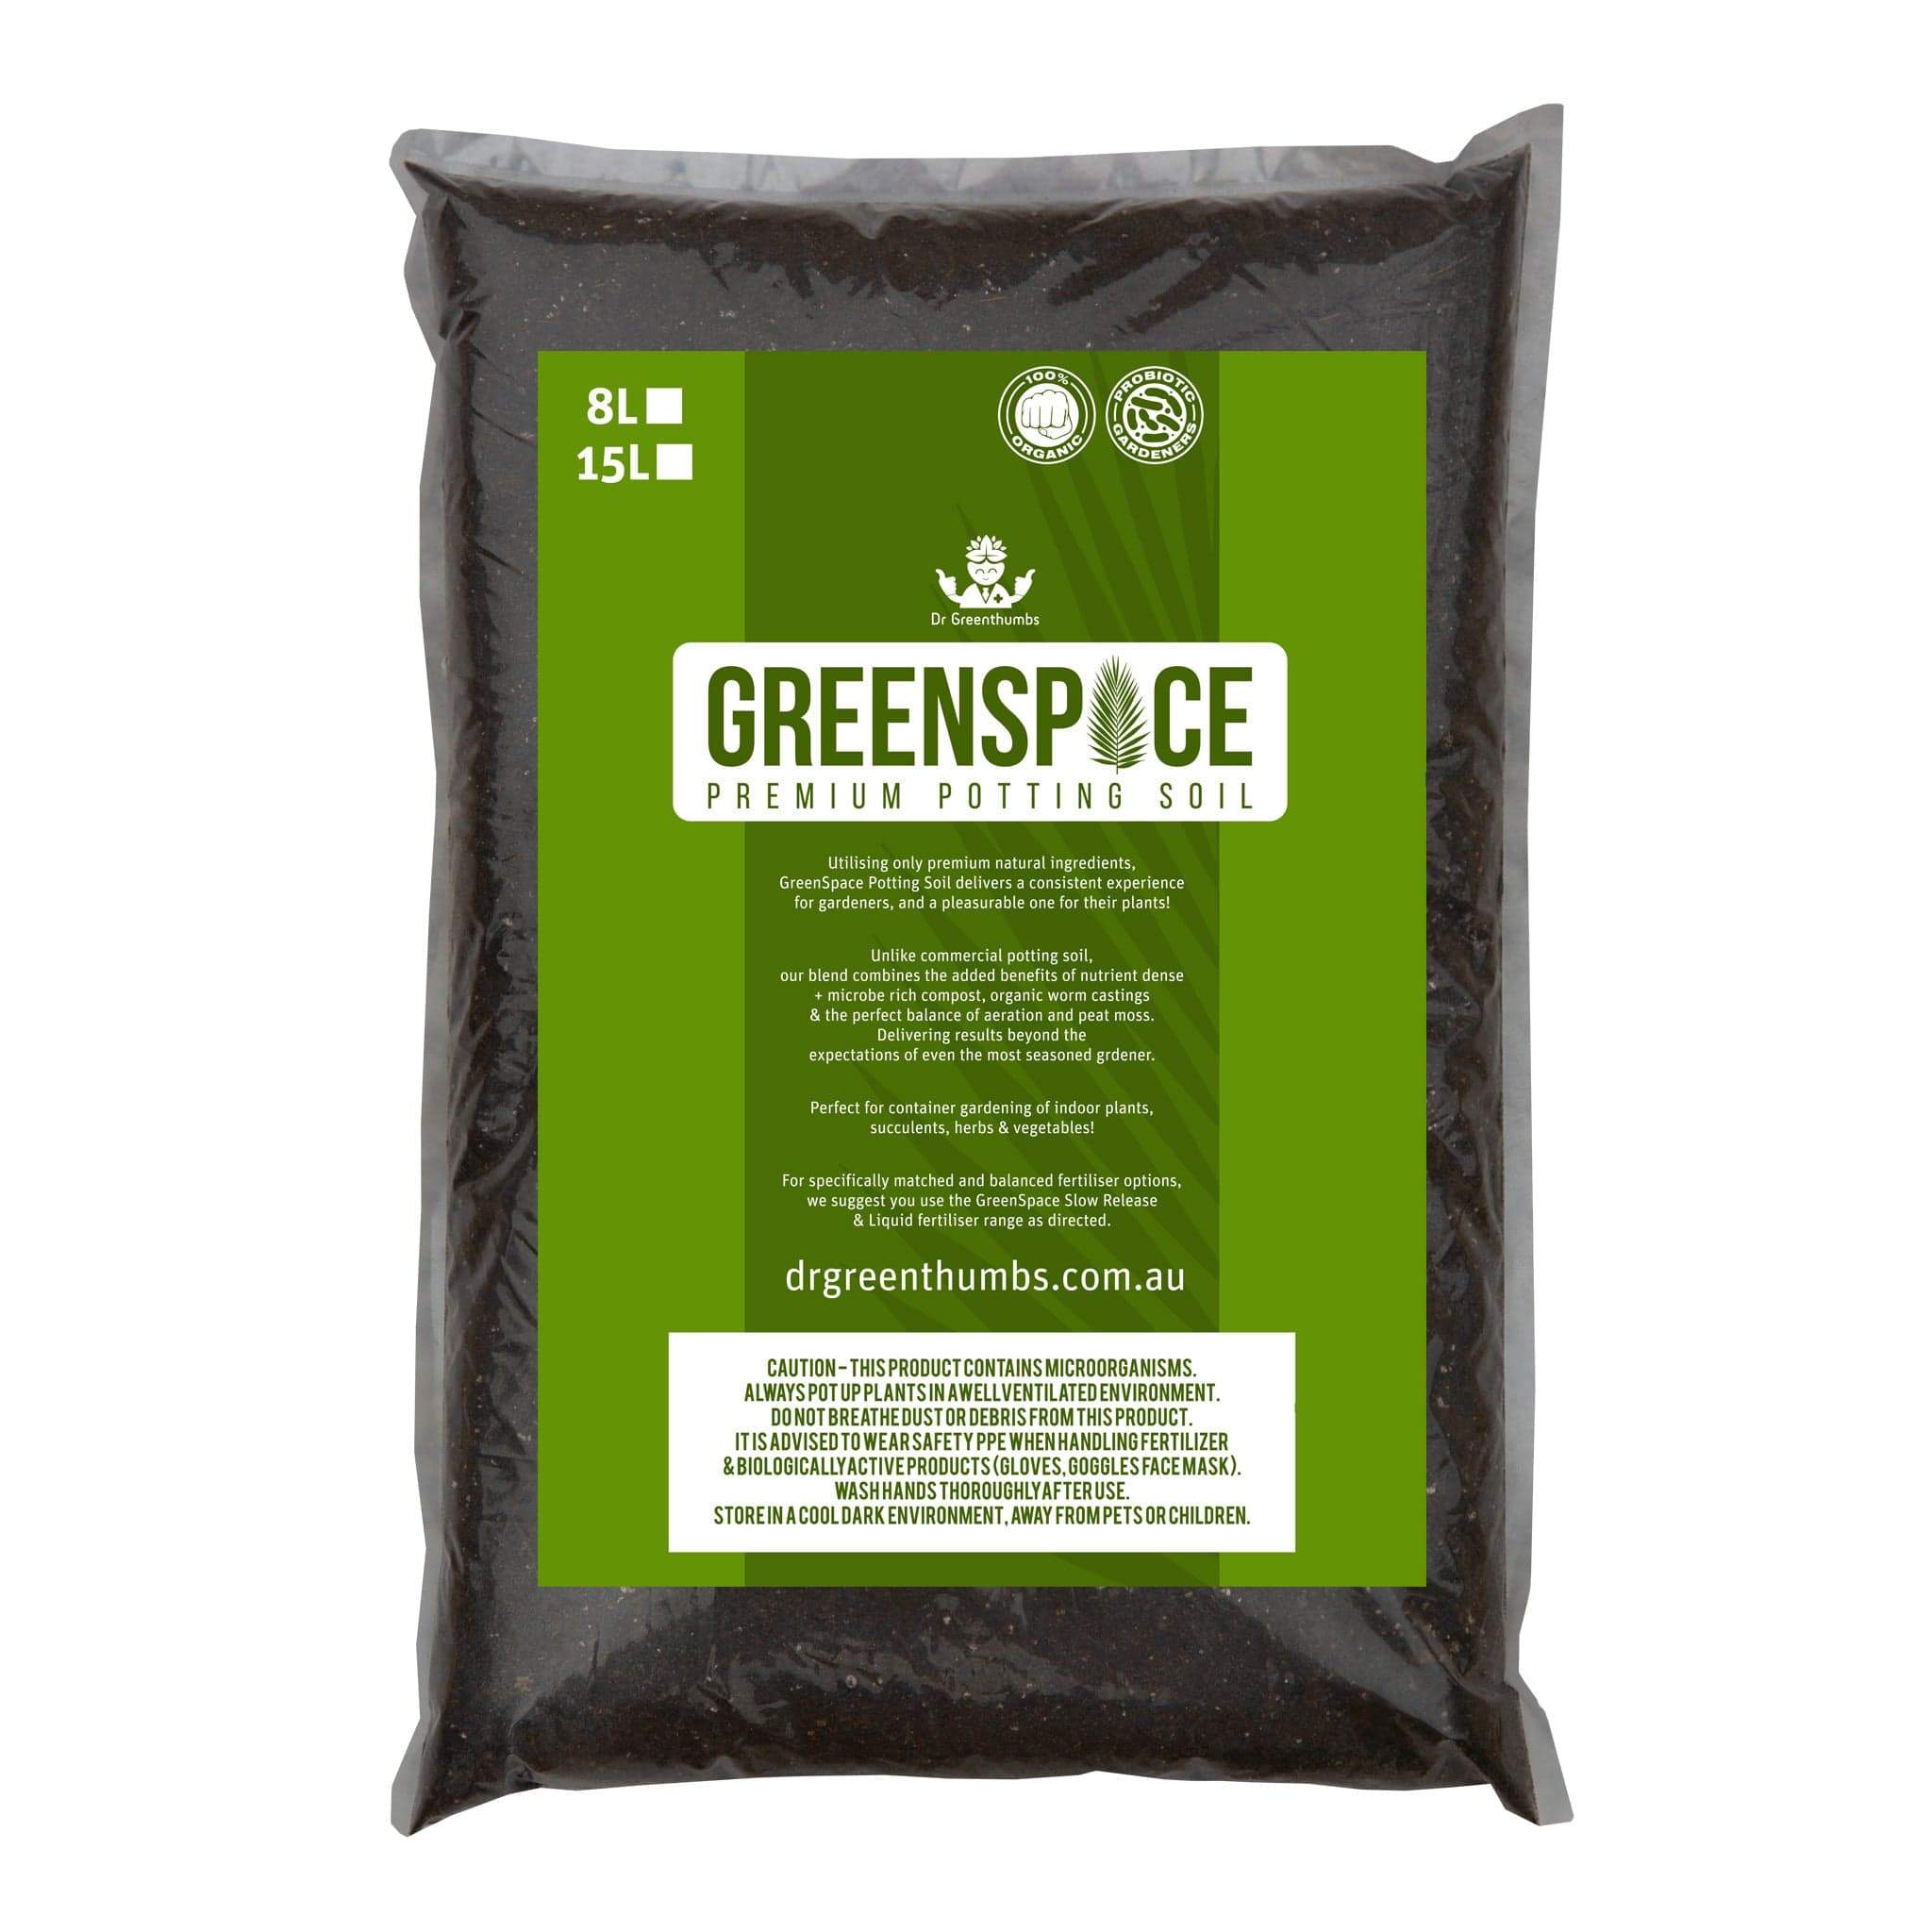
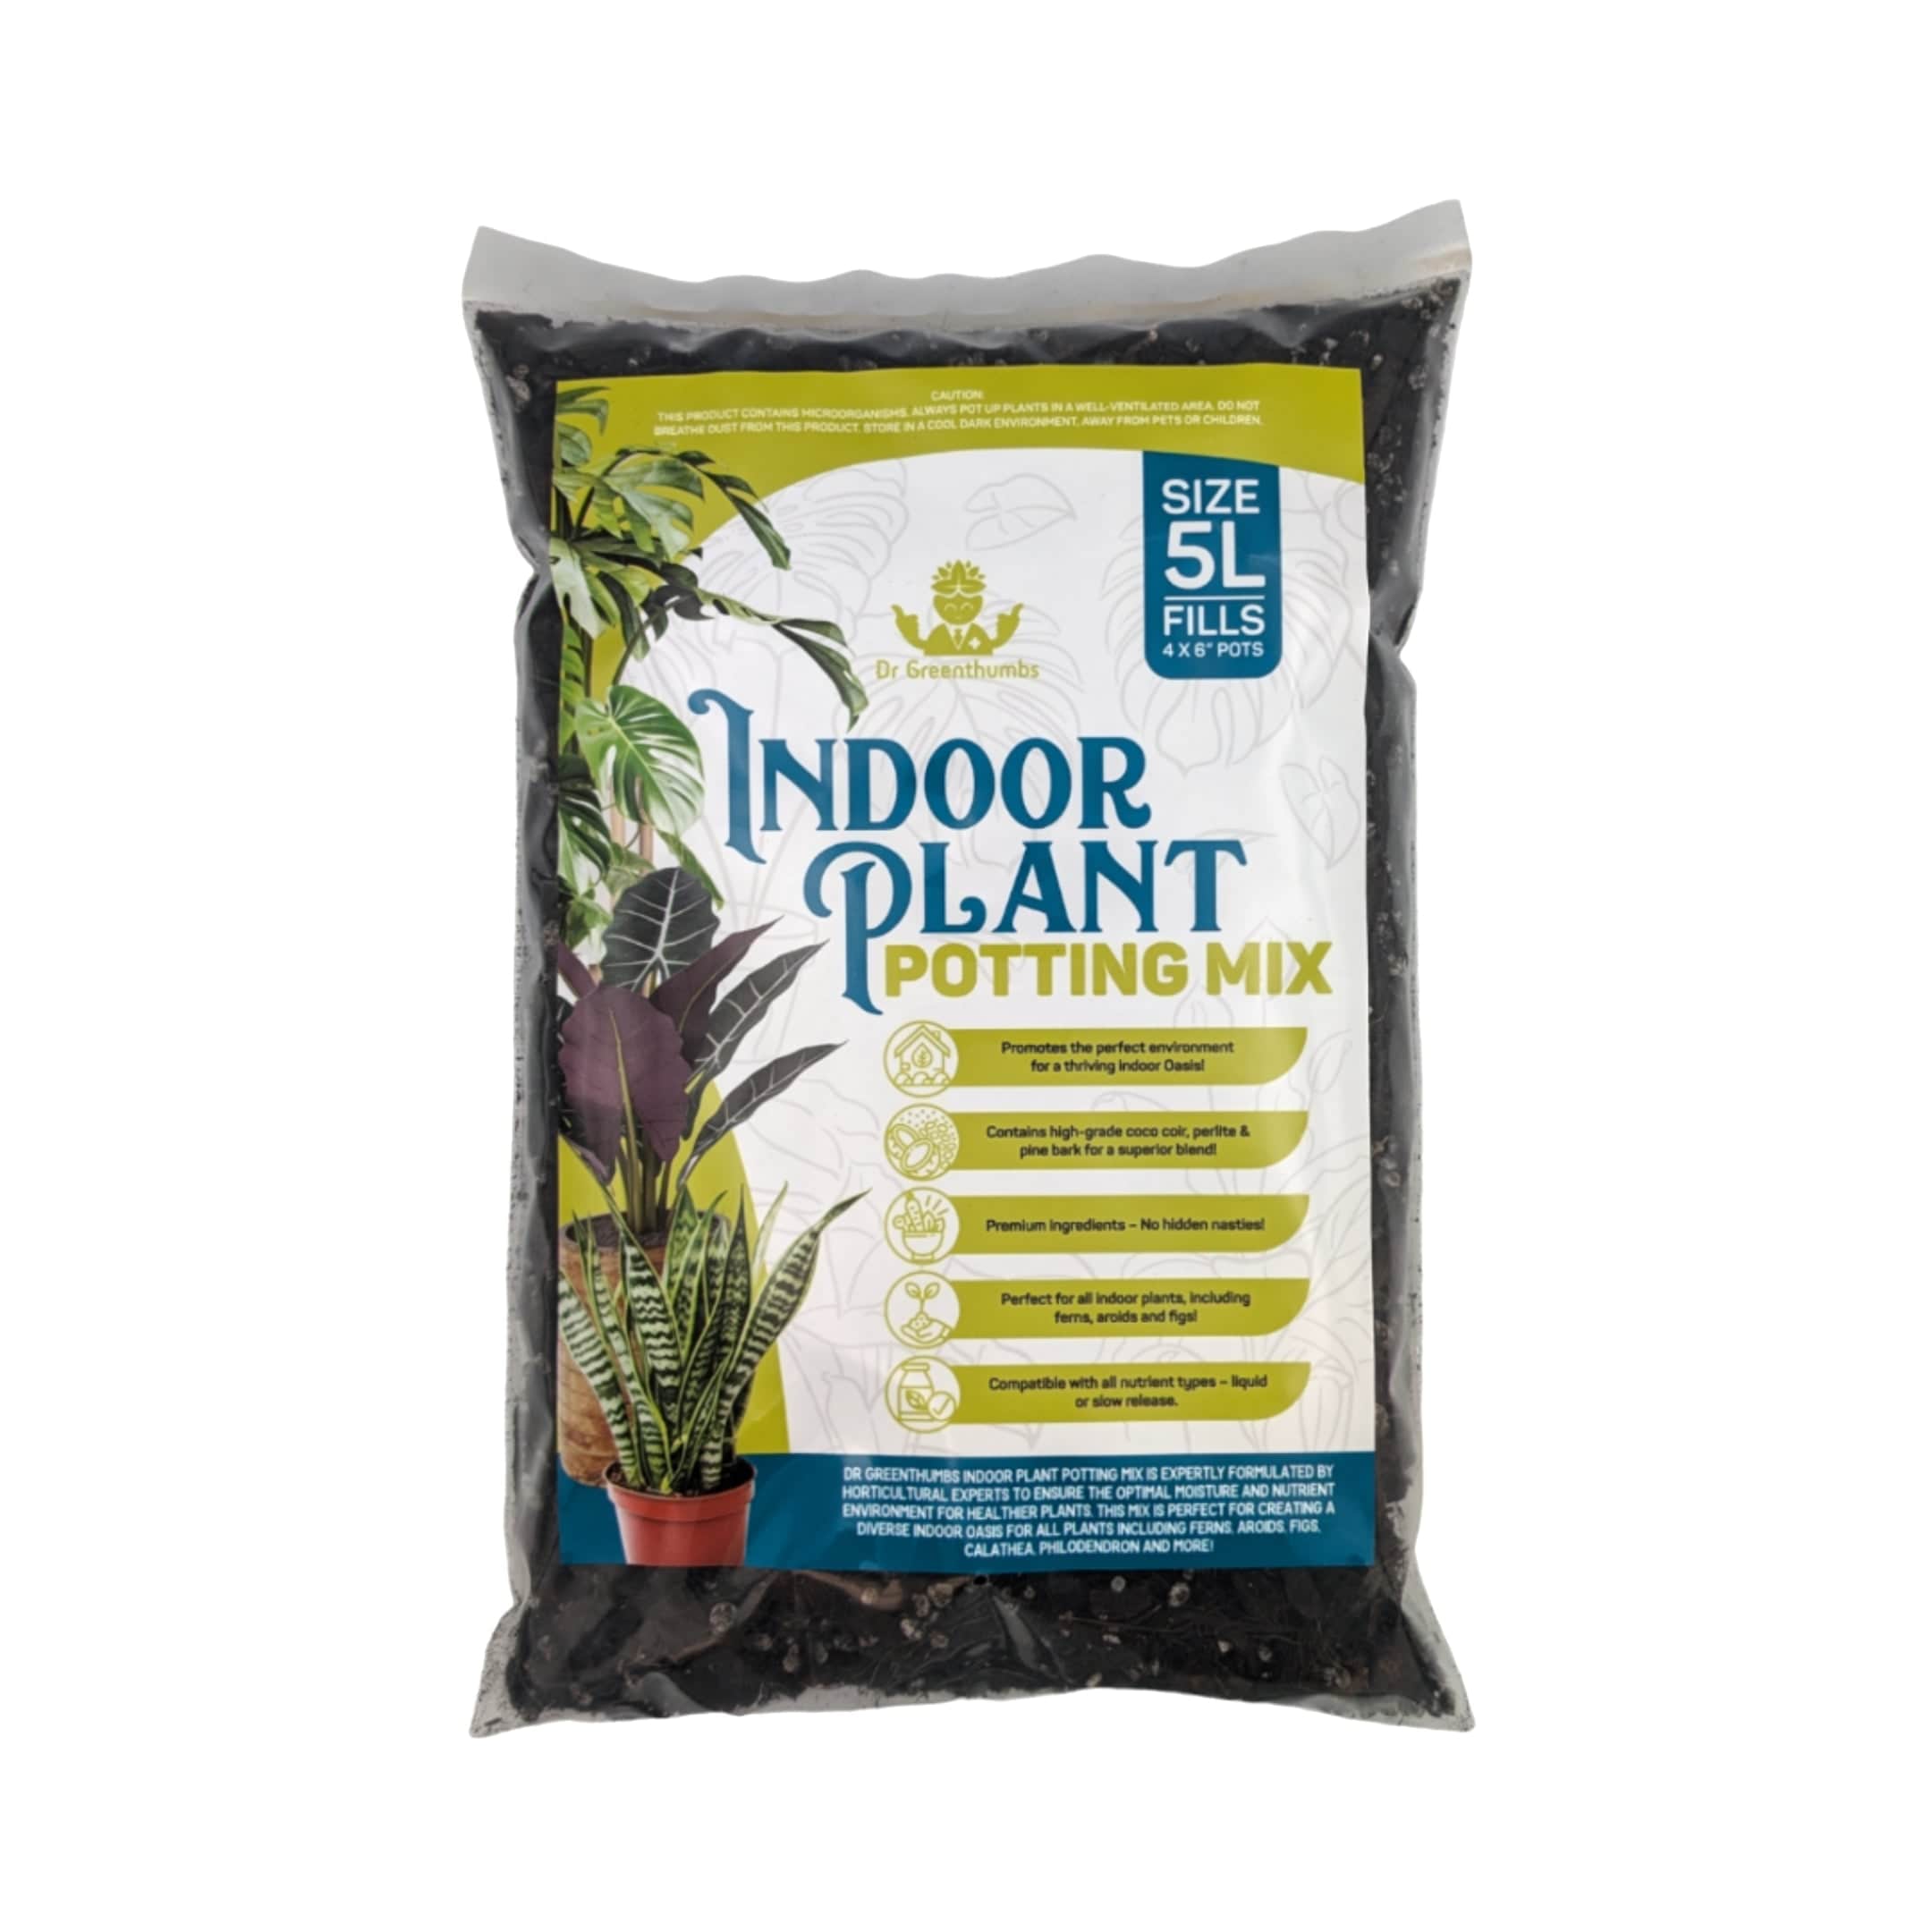
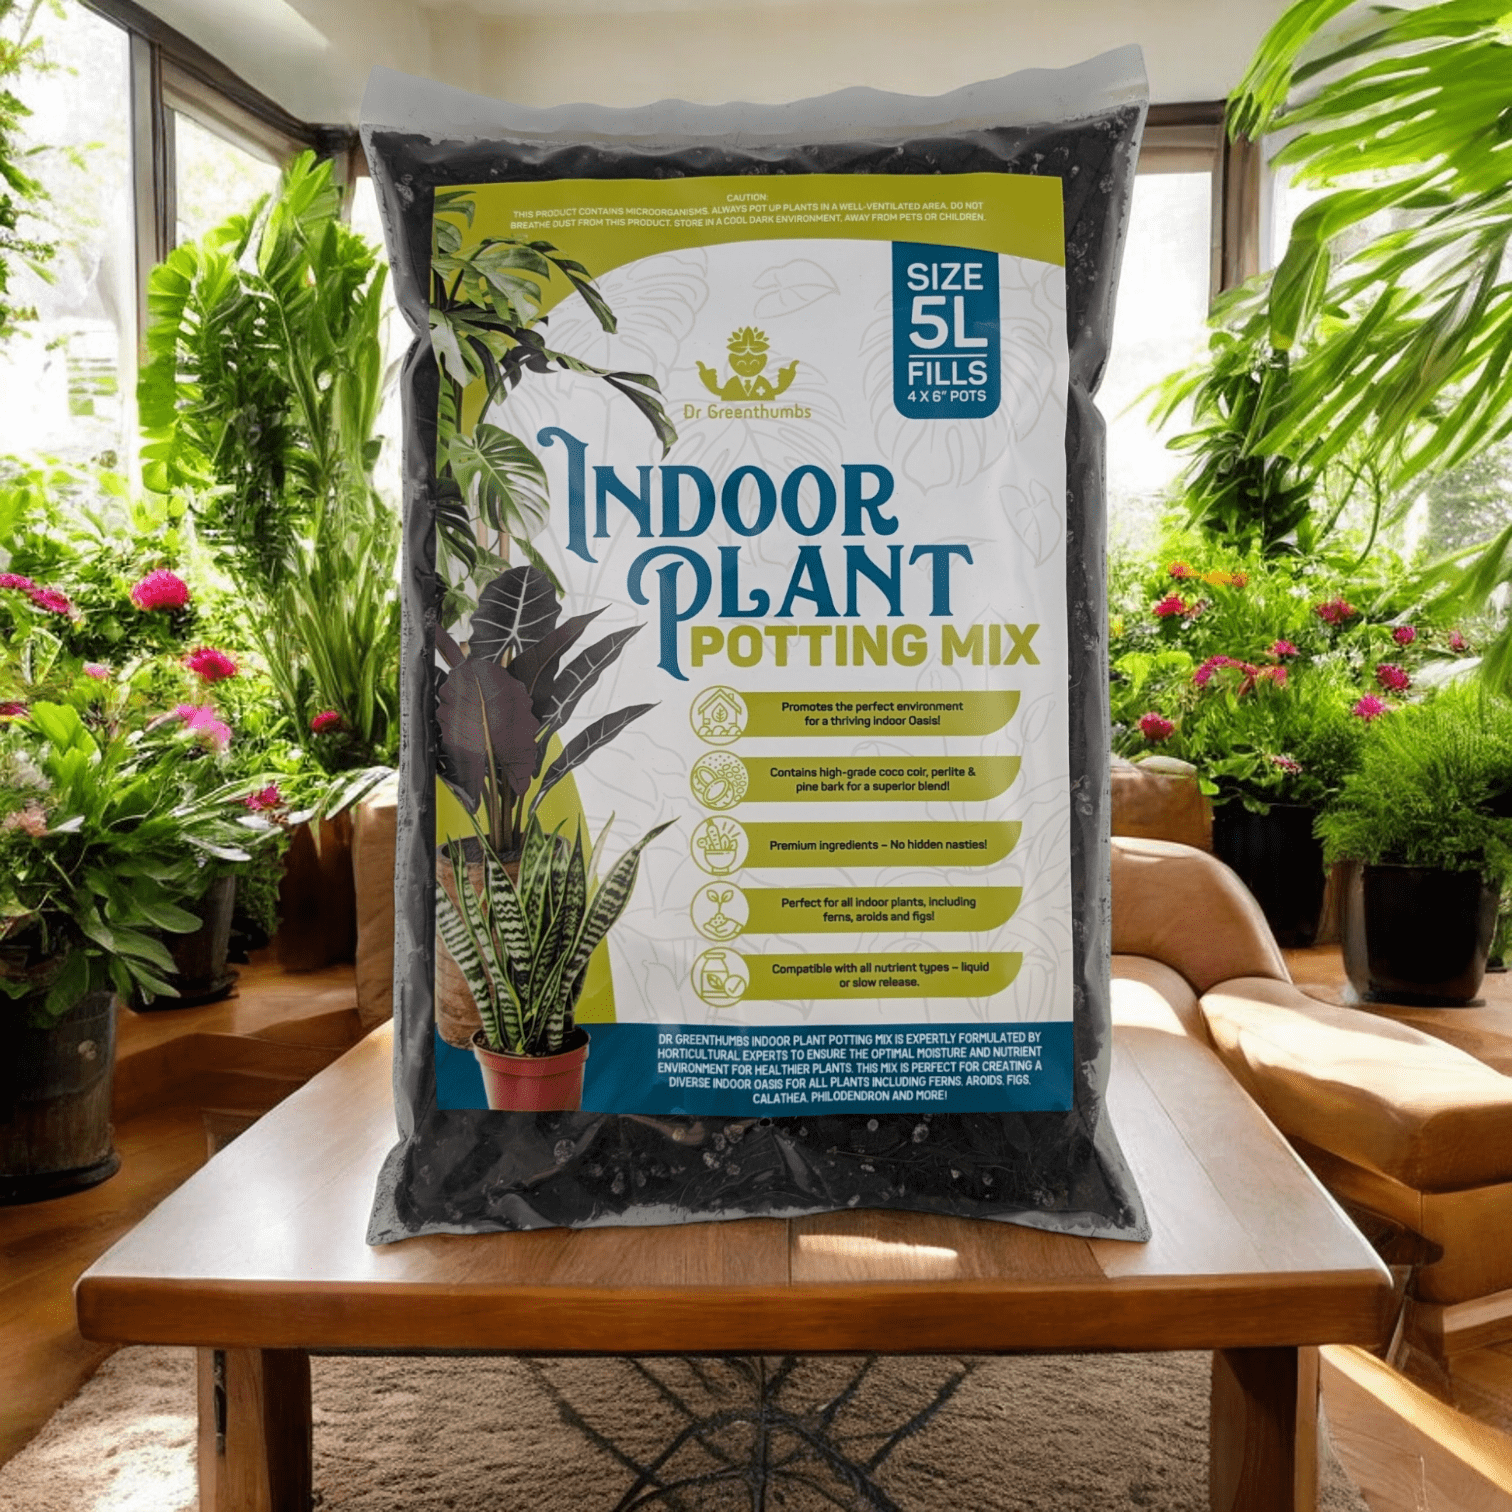
For most Aussie homes, a balanced indoor mix works beautifully. If you want a ready-made option, Dr Greenthumbs Indoor Plant Potting Mix is suitable for ficus and other common houseplants.
If you want to go deeper on how indoor mix works in Australian conditions, read our guide on Indoor Potting Mix in Australia.
Do Rubber Plants Like Humidity?
Rubber plants are fairly forgiving compared with fussier tropicals, but they still prefer stable indoor conditions over bone-dry air and sudden blasts from heating or cooling.
They usually cope well with average household humidity. Problems show up when the room is extremely dry, the plant sits right near an air conditioner, or airflow is poor and dust builds up on leaves.
To help your plant along:
- keep it away from strong heater and air-con vents
- wipe dust from the leaves regularly
- avoid stuffing it into a dark, stale corner
- use a thermometer/hygrometer if your room swings wildly
Clean leaves matter more than many people realise. A dusty rubber plant is not just ugly; it also struggles to photosynthesise properly.
The Best Fertiliser for Rubber Plants
Rubber plants are foliage plants. If you want lush, deep green leaves and steady growth through the warmer months, regular feeding helps a lot.
Feed during active growth in spring and summer, then ease off in the cooler months when the plant slows down.
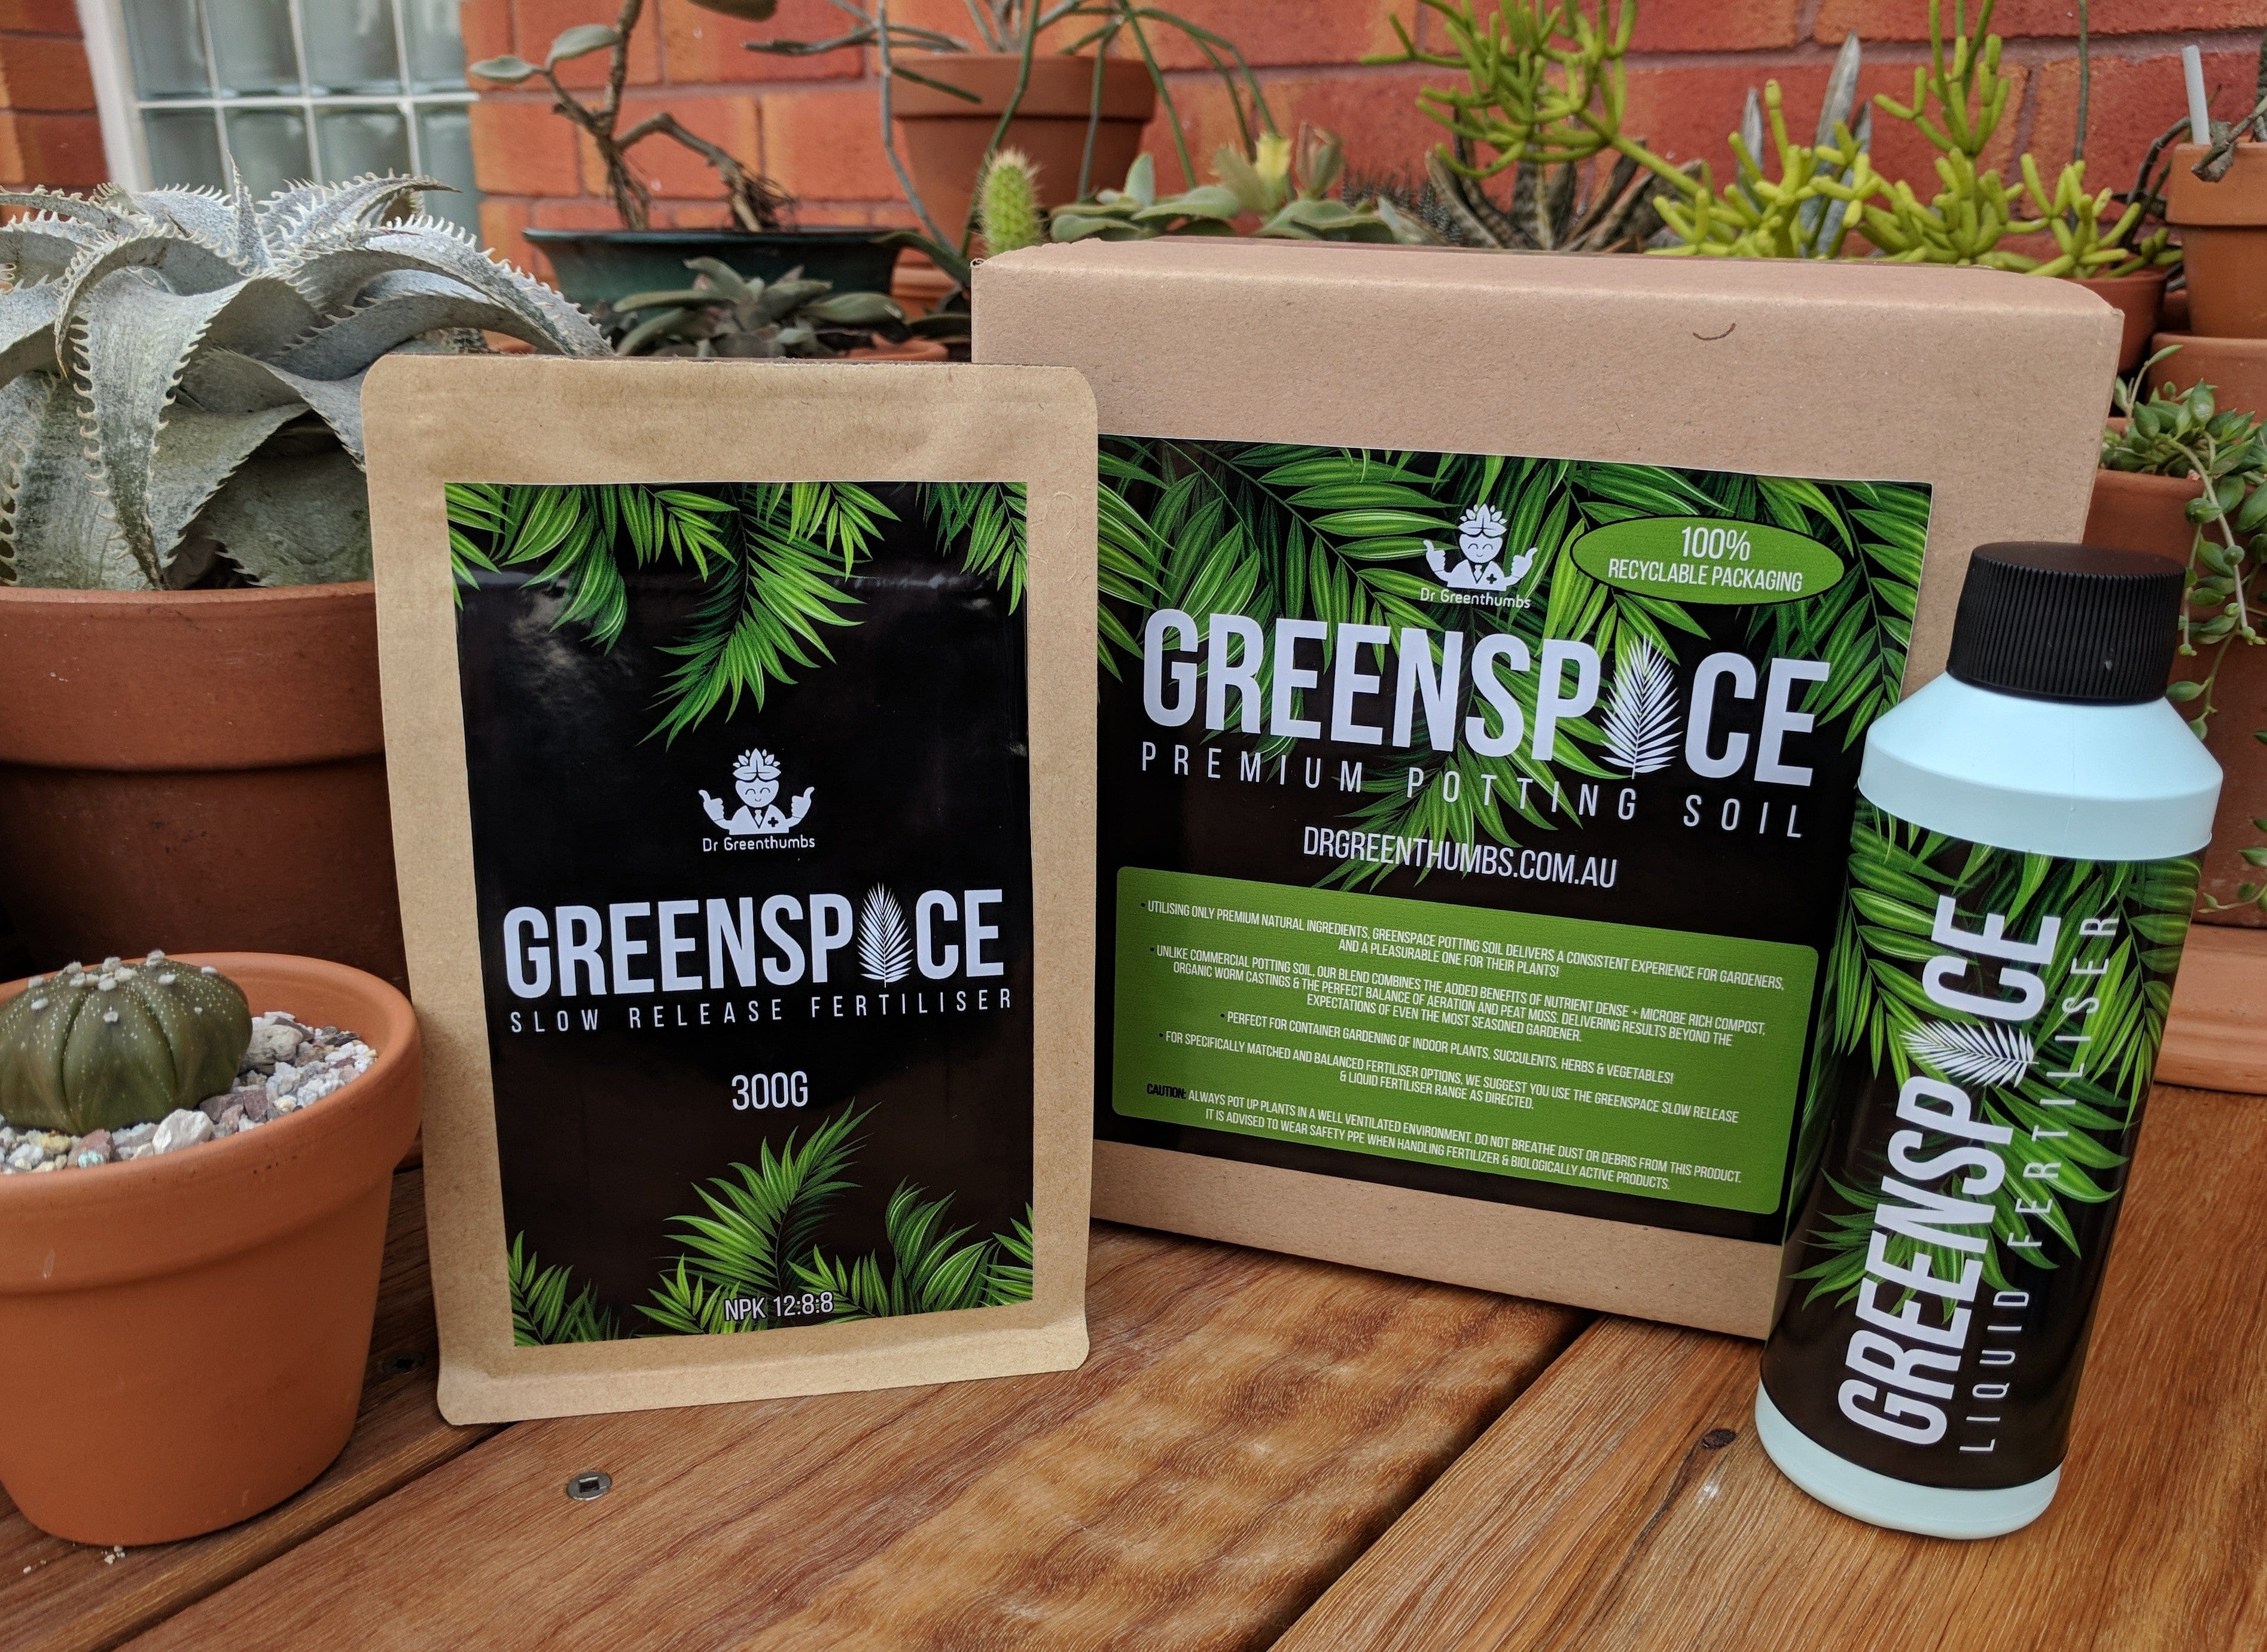
A foliage-focused liquid feed is usually the easiest option because you can apply it consistently and adjust as the seasons change. GreenSpace Liquid Fertilizer is formulated for foliage-rich plants and contains seaweed, worm castings, compost-derived inputs and beneficial bacteria to support strong leafy growth.
If your plant has been in the same pot for a long time, poor growth is often not just about needing fertiliser. It may also need:
- fresher potting mix
- more light
- better drainage
- a slightly larger pot
- stronger root activity
At repotting time, a root-focused input such as Root Roids can be used as an optional support to help the plant settle into fresh mix.
When to Repot a Rubber Plant
Rubber plants do not need constant repotting, but they do appreciate fresh mix and a little more room once the root system fills the pot.
Signs it is time to repot
- roots circling heavily inside the pot
- roots poking from drainage holes
- water running straight through too quickly
- mix breaking down and compacting
- growth slowing even in good light
- the plant drying out far too fast in warm weather
The best time to repot is usually spring into early summer, when the plant is ready to grow into the new space.
How to Repot a Rubber Plant
- Choose a pot only one size up from the current one.
- Use a free-draining indoor mix.
- Gently loosen the root ball if it is tightly bound.
- Trim off any obviously dead, mushy or rotten roots.
- Repot at the same depth as before.
- Water in well and let excess drain away.
- Keep the plant in bright, indirect light while it settles in.
Avoid jumping into a pot that is much too large. More potting mix means more water held around roots, which can backfire fast indoors.
How to Prune a Rubber Plant
Pruning helps in three main ways:
- controls height
- encourages branching
- removes damaged or awkward growth
If your rubber plant is getting tall and sparse, pruning the top can encourage a bushier shape. Use clean snips and cut just above a node.
The best time to do heavier pruning is during active growth. If you only need to remove the odd damaged leaf or messy stem, you can do that any time.
A quick heads-up: rubber plants release a milky sap when cut, so wear gloves if you are sensitive and keep pets and kids away while pruning.
Can you Propagate a Rubber Plant?
Yes. Rubber plants can be propagated from stem cuttings, though they are not the fastest plant to strike compared with some others.
For best results:
- take a healthy cutting with at least one node
- use clean tools
- let the cutting callus briefly if needed
- root in water or a light propagation mix
- keep it warm, bright and out of harsh direct sun
If you are propagating into mix, some growers prefer a lighter blend with extra aeration. Once the cutting is ready to pot up, Root Roids can be used as optional root support.
Common Rubber Plant Problems and How to Fix Them
Rubber plant leaves turning yellow
Usually this points to overwatering, poor drainage, old compacted mix, or low light.
What to do:
- check how wet the mix stays between waterings
- move the plant into brighter light
- make sure the pot has drainage
- repot if the mix is dense or sour-smelling
Rubber plant dropping leaves
A few older lower leaves dropping over time is normal. Sudden or heavy leaf drop is not.
Common causes:
- sudden cold or draft
- overwatering
- severe dryness
- major changes in light
- shock after moving house or repotting
What to do:
- stabilise the environment
- avoid overcorrecting with extra watering
- keep conditions bright and consistent
Brown leaf edges
This can come from dry air, underwatering, salt build-up, or inconsistent moisture.
What to do:
- water more evenly
- flush the pot occasionally
- keep the plant away from hot dry airflow
- clean up your feeding routine if it has been random
Leggy growth
That usually means the plant wants more light.
What to do:
- move it closer to a bright window
- rotate the pot every week or two
- prune to encourage branching if needed
Leaves look dull and dusty
This is common in indoor spaces and can make the plant look tired even when it is otherwise healthy.
What to do:
- wipe leaves gently with a damp cloth
- inspect for pests while you clean
- keep up regular leaf maintenance
If grime keeps coming back, review airflow, pest pressure and your regular leaf-cleaning routine.
Rubber Plant Pests: What to Watch For
The usual suspects are:
- spider mites
- scale
- mealybugs
Catch them early and life is much easier.
Check under leaves, along stems and where leaves meet branches. Sticky residue, webbing, tiny dots, or stubborn bumps can all signal a problem.
For a plant-oil option, Neem + Karanj Oil is available through Dr Greenthumbs. Always follow the label, dilute correctly where required, test a small area first, and avoid spraying in heat or direct sun.
Is the Rubber Plant Safe for Pets?
Rubber plants are not considered pet-safe. The sap can irritate pets and people, so keep the plant out of reach of curious cats, dogs and little hands.
If that is a concern in your home, place it somewhere inaccessible or choose a safer plant instead.
Rubber Plant Care in Australia: Seasonal Tips
Australian homes throw up a few quirks that many generic guides gloss over.
Summer
- Bright rooms can become brutally hot near glass.
- Check moisture more often, but do not let that turn into daily overwatering.
- Move the plant a little back from harsh afternoon sun if leaves start scorching.
Autumn
- Growth begins to slow.
- Ease off heavy feeding.
- Let the mix dry a touch more between waterings.
Winter
- Rubber plants often use much less water.
- Cold drafts from doors and windows can trigger leaf drop.
- Heaters can dry the room out and stress foliage.
- Keep light levels up wherever possible.
Spring
- Best time for repotting, pruning and restarting a more regular feeding program.
- A great moment to refresh tired plants with fresh mix, stronger light and better root support.
If you want a broader read on keeping indoor plants happy in local conditions, our Aussie Indoor Plant Care Guide is a good next stop.
FAQs about Rubber Plant Care
How often should I water a rubber plant indoors?
Water when the top few centimetres of mix are dry. In warmer, brighter conditions that may be more frequent. In winter or lower light, it will usually be less often.
Does a rubber plant need direct sunlight?
Not much. Bright, indirect light is best. A little gentle morning sun is fine, but strong afternoon sun can burn the leaves.
What is the best potting mix for a rubber plant?
A free-draining indoor mix with structure and airflow is ideal. Avoid dense mixes that stay wet for days.
Why is my rubber plant dropping leaves?
The usual causes are sudden temperature changes, poor light, overwatering, underwatering, or general shock after being moved.
How do I make my rubber plant bushier?
Give it better light and prune above a node during the growing season. That helps encourage branching rather than one long bare stem.
What fertiliser is best for a rubber plant?
A foliage-focused fertiliser works well during active growth. Ease off feeding when growth slows in cooler months.
Can I use neem oil on a rubber plant?
Yes, with care. Test a small section first, follow the label, and avoid spraying in heat or direct sun.
Final Word: What a Healthy Rubber Plant Actually Needs
Rubber plants are not hard to grow, but they do not forgive soggy roots, poor light or stop-start care for long.
If yours is struggling, check the basics in this order: light, watering, drainage, potting mix and season. Fix the real bottleneck before adding more water or fertiliser.
For the core setup, start with a structured indoor potting mix, a steady foliage fertiliser during active growth, root support when repotting, and careful pest control if scale, mites or mealybugs appear.
With the right setup, a rubber plant rewards you with big glossy leaves, stronger upright growth and a proper indoor jungle feel.
Next Reads for Keeping Your Rubber Plant Healthy and Thriving Indoors
Want stronger growth and glossier leaves? These guides will help you fine-tune watering, feeding, light and everyday indoor care so your rubber plant stays in top shape.
- Mastering Watering: Moisture Meter Hack
- Indoor Plant Fertiliser Guide Australia
- Grow Lights Positioning Guide
- Indoor Plant Care Aussie Guide
About the Author