
If you’ve ever felt like your plants need a quick boost—but your dry amendments take too long to kick in—you’re not alone.
Here’s the truth most gardeners eventually discover:
👉 The healthiest gardens use both dry amendments AND liquid fertilisers.
Dry amendments build long-term soil health.
Liquid fertilisers deliver nutrients fast, right when plants need them most.
In this guide, you’ll learn exactly how to turn organic dry amendments into powerful DIY liquid fertilisers using three proven methods:
- 🌿 The Steeping Method (fast & beginner-friendly)
- 🧪 The Fermentation Method (KNF-style, microbe-rich)
- ⚠️ The Anaerobic Method (JADAM-style, advanced & potent)
By the end, you’ll be able to confidently make your own liquid feeds at home—using the same principles trusted by serious organic growers.
Table of Contents
- Why Make Your Own Liquid Fertiliser?
- Choosing the Right Dry Amendments
- Method 1: The Steeping Method (Quick & Beginner-Friendly)
- Method 2: Fermentation Method (KNF-Style)
- What is KNF (Simple Explanation)
- Two Ways to Ferment Your Amendments
- What’s Happening?
- Method 3: Anaerobic Method (JADAM-Style)
- Important Warning
- How It Works
- Step-by-Step
- What You’ll Notice
- Which Method Should You Use?
- Pro Tips for Better Results
- Why This Works (And Why It’s Growing Fast)
-
Next reads for building a smarter DIY fertiliser routine
If you want the quickest, no-guesswork pick, check this out:

Why Make Your Own Liquid Fertiliser?
Most gardeners already understand the benefits of organic growing—but fewer realise how much performance they’re leaving on the table.
Liquid fertilisers work because:
- Nutrients are immediately available to plants
- Microbial activity is boosted
- Deficiencies can be corrected quickly
- Growth can be accelerated during key stages
👉 If you’re new to dry amendments, start here:
Beginner’s Guide to Using Organic Dry Amendments in Gardening for Healthier Plants
Choosing the Right Dry Amendments
The quality of your liquid fertiliser starts with your inputs.
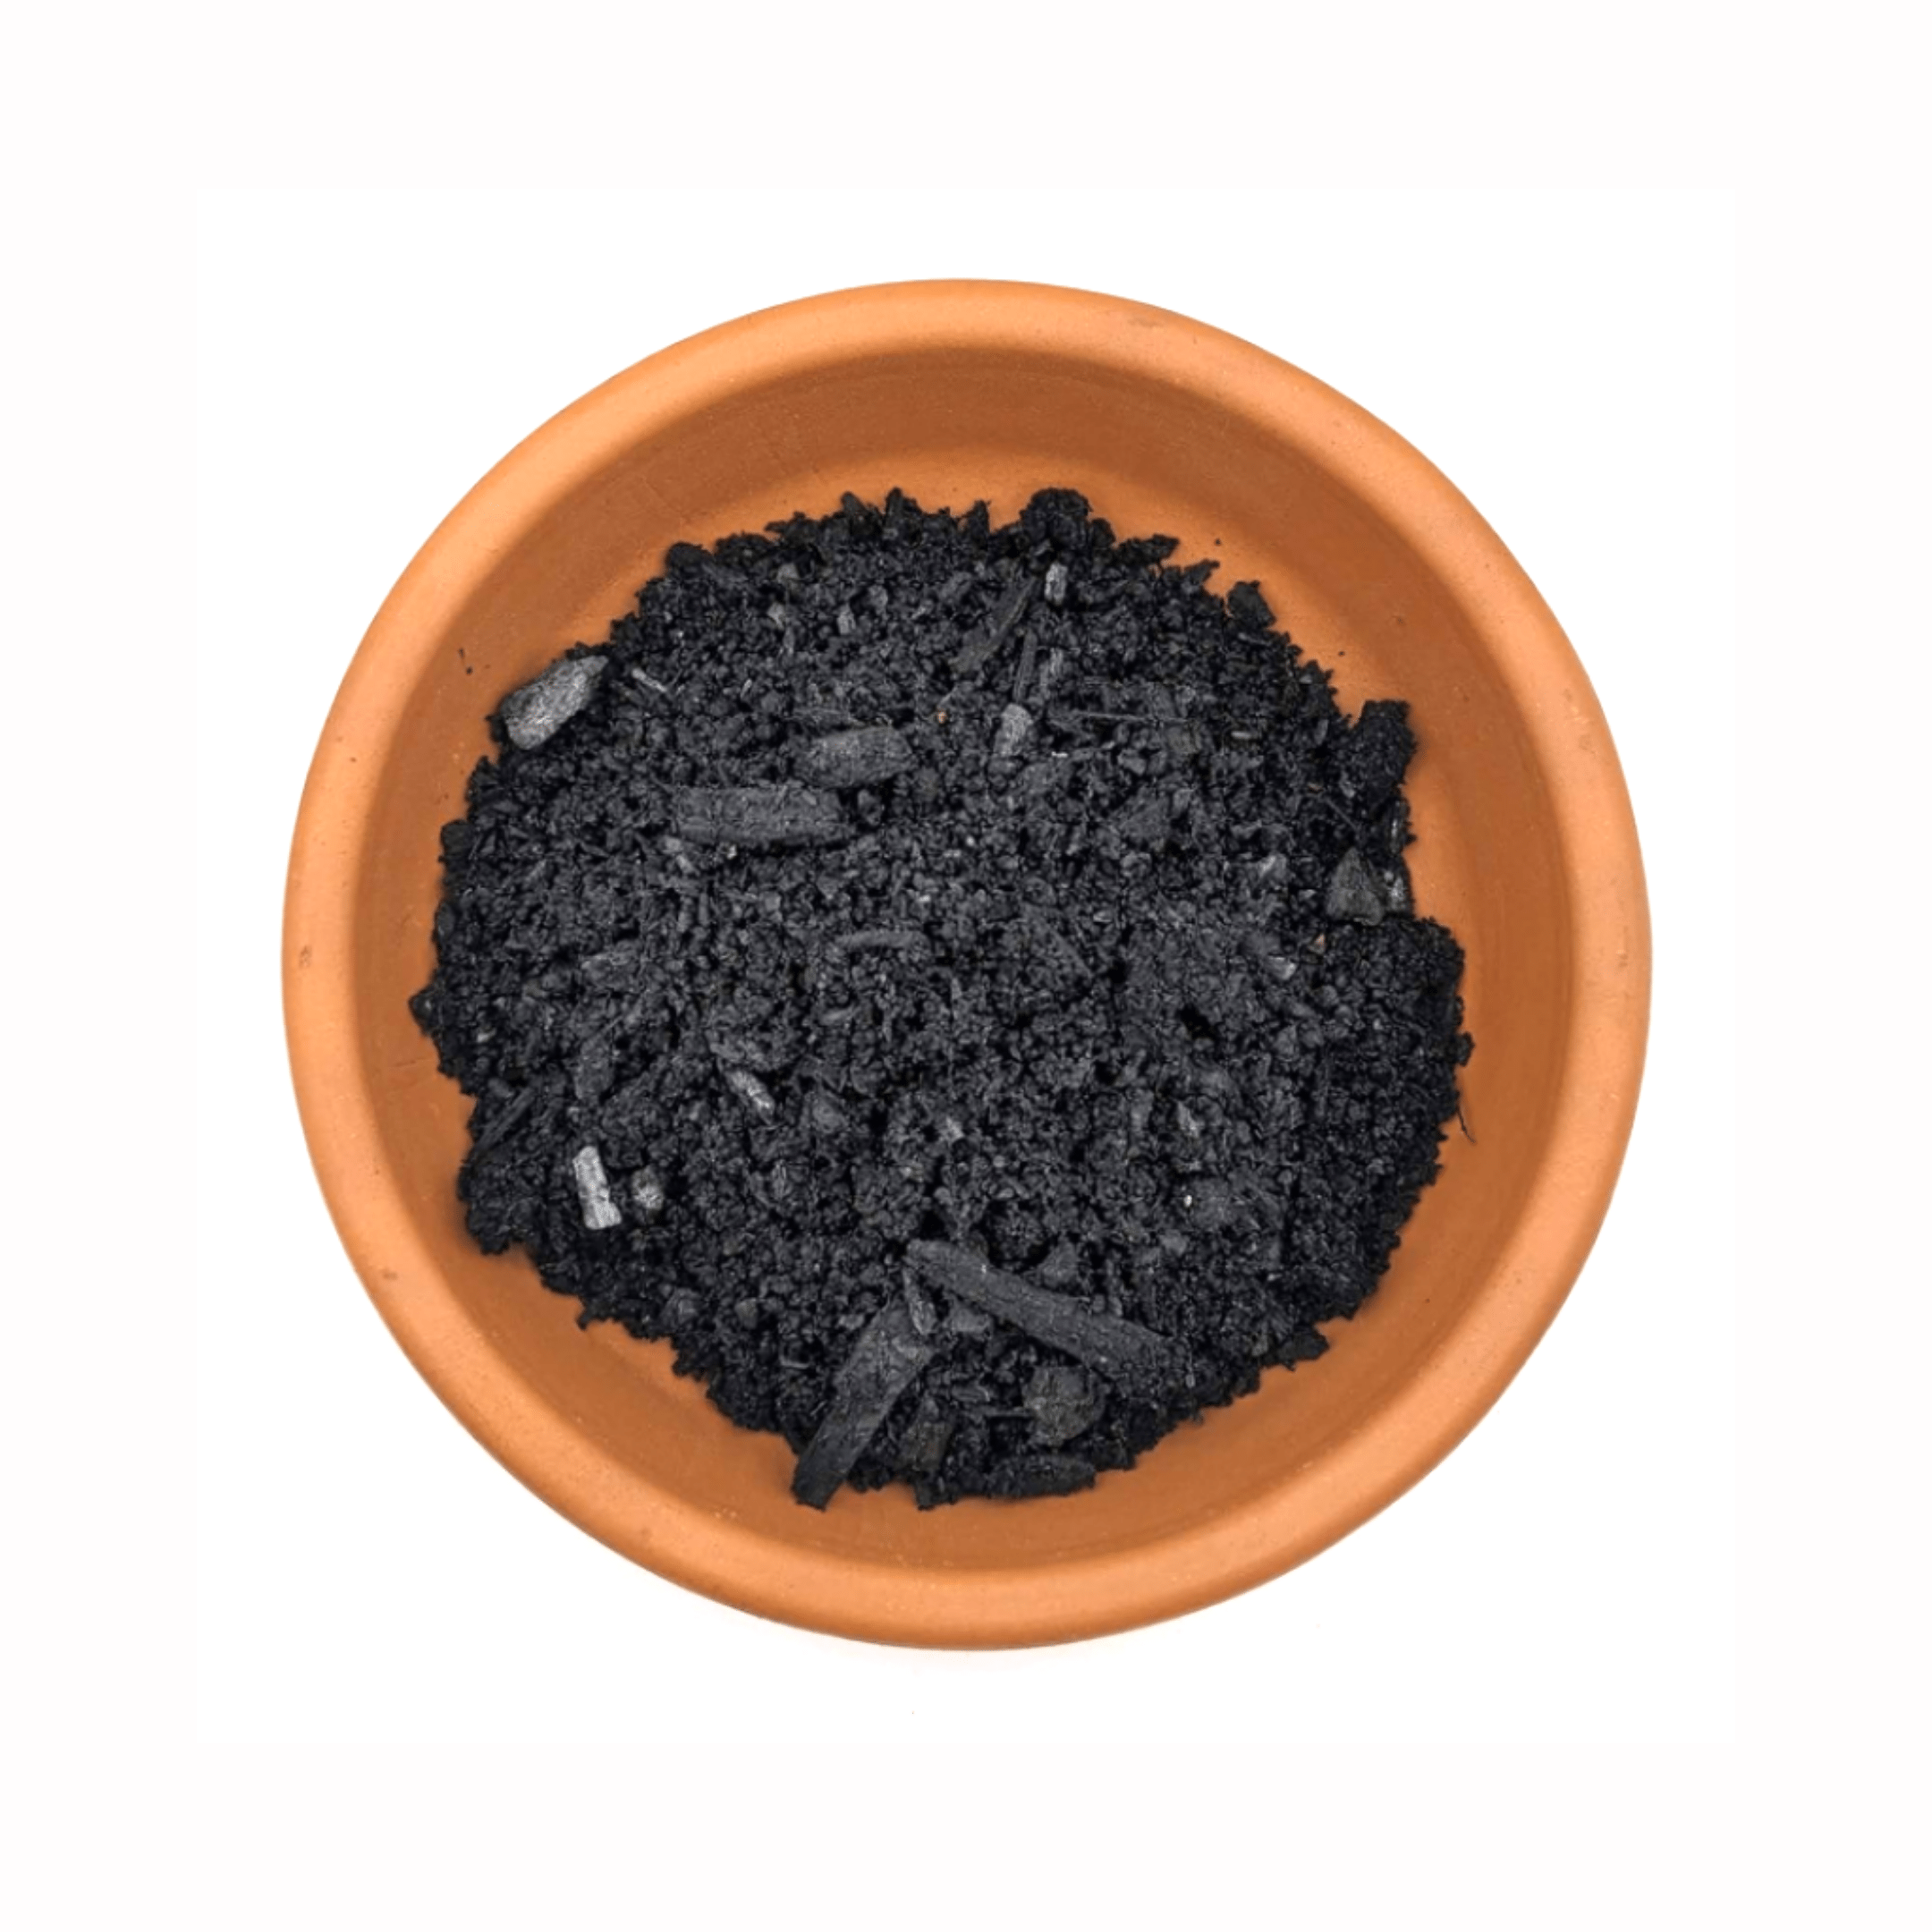
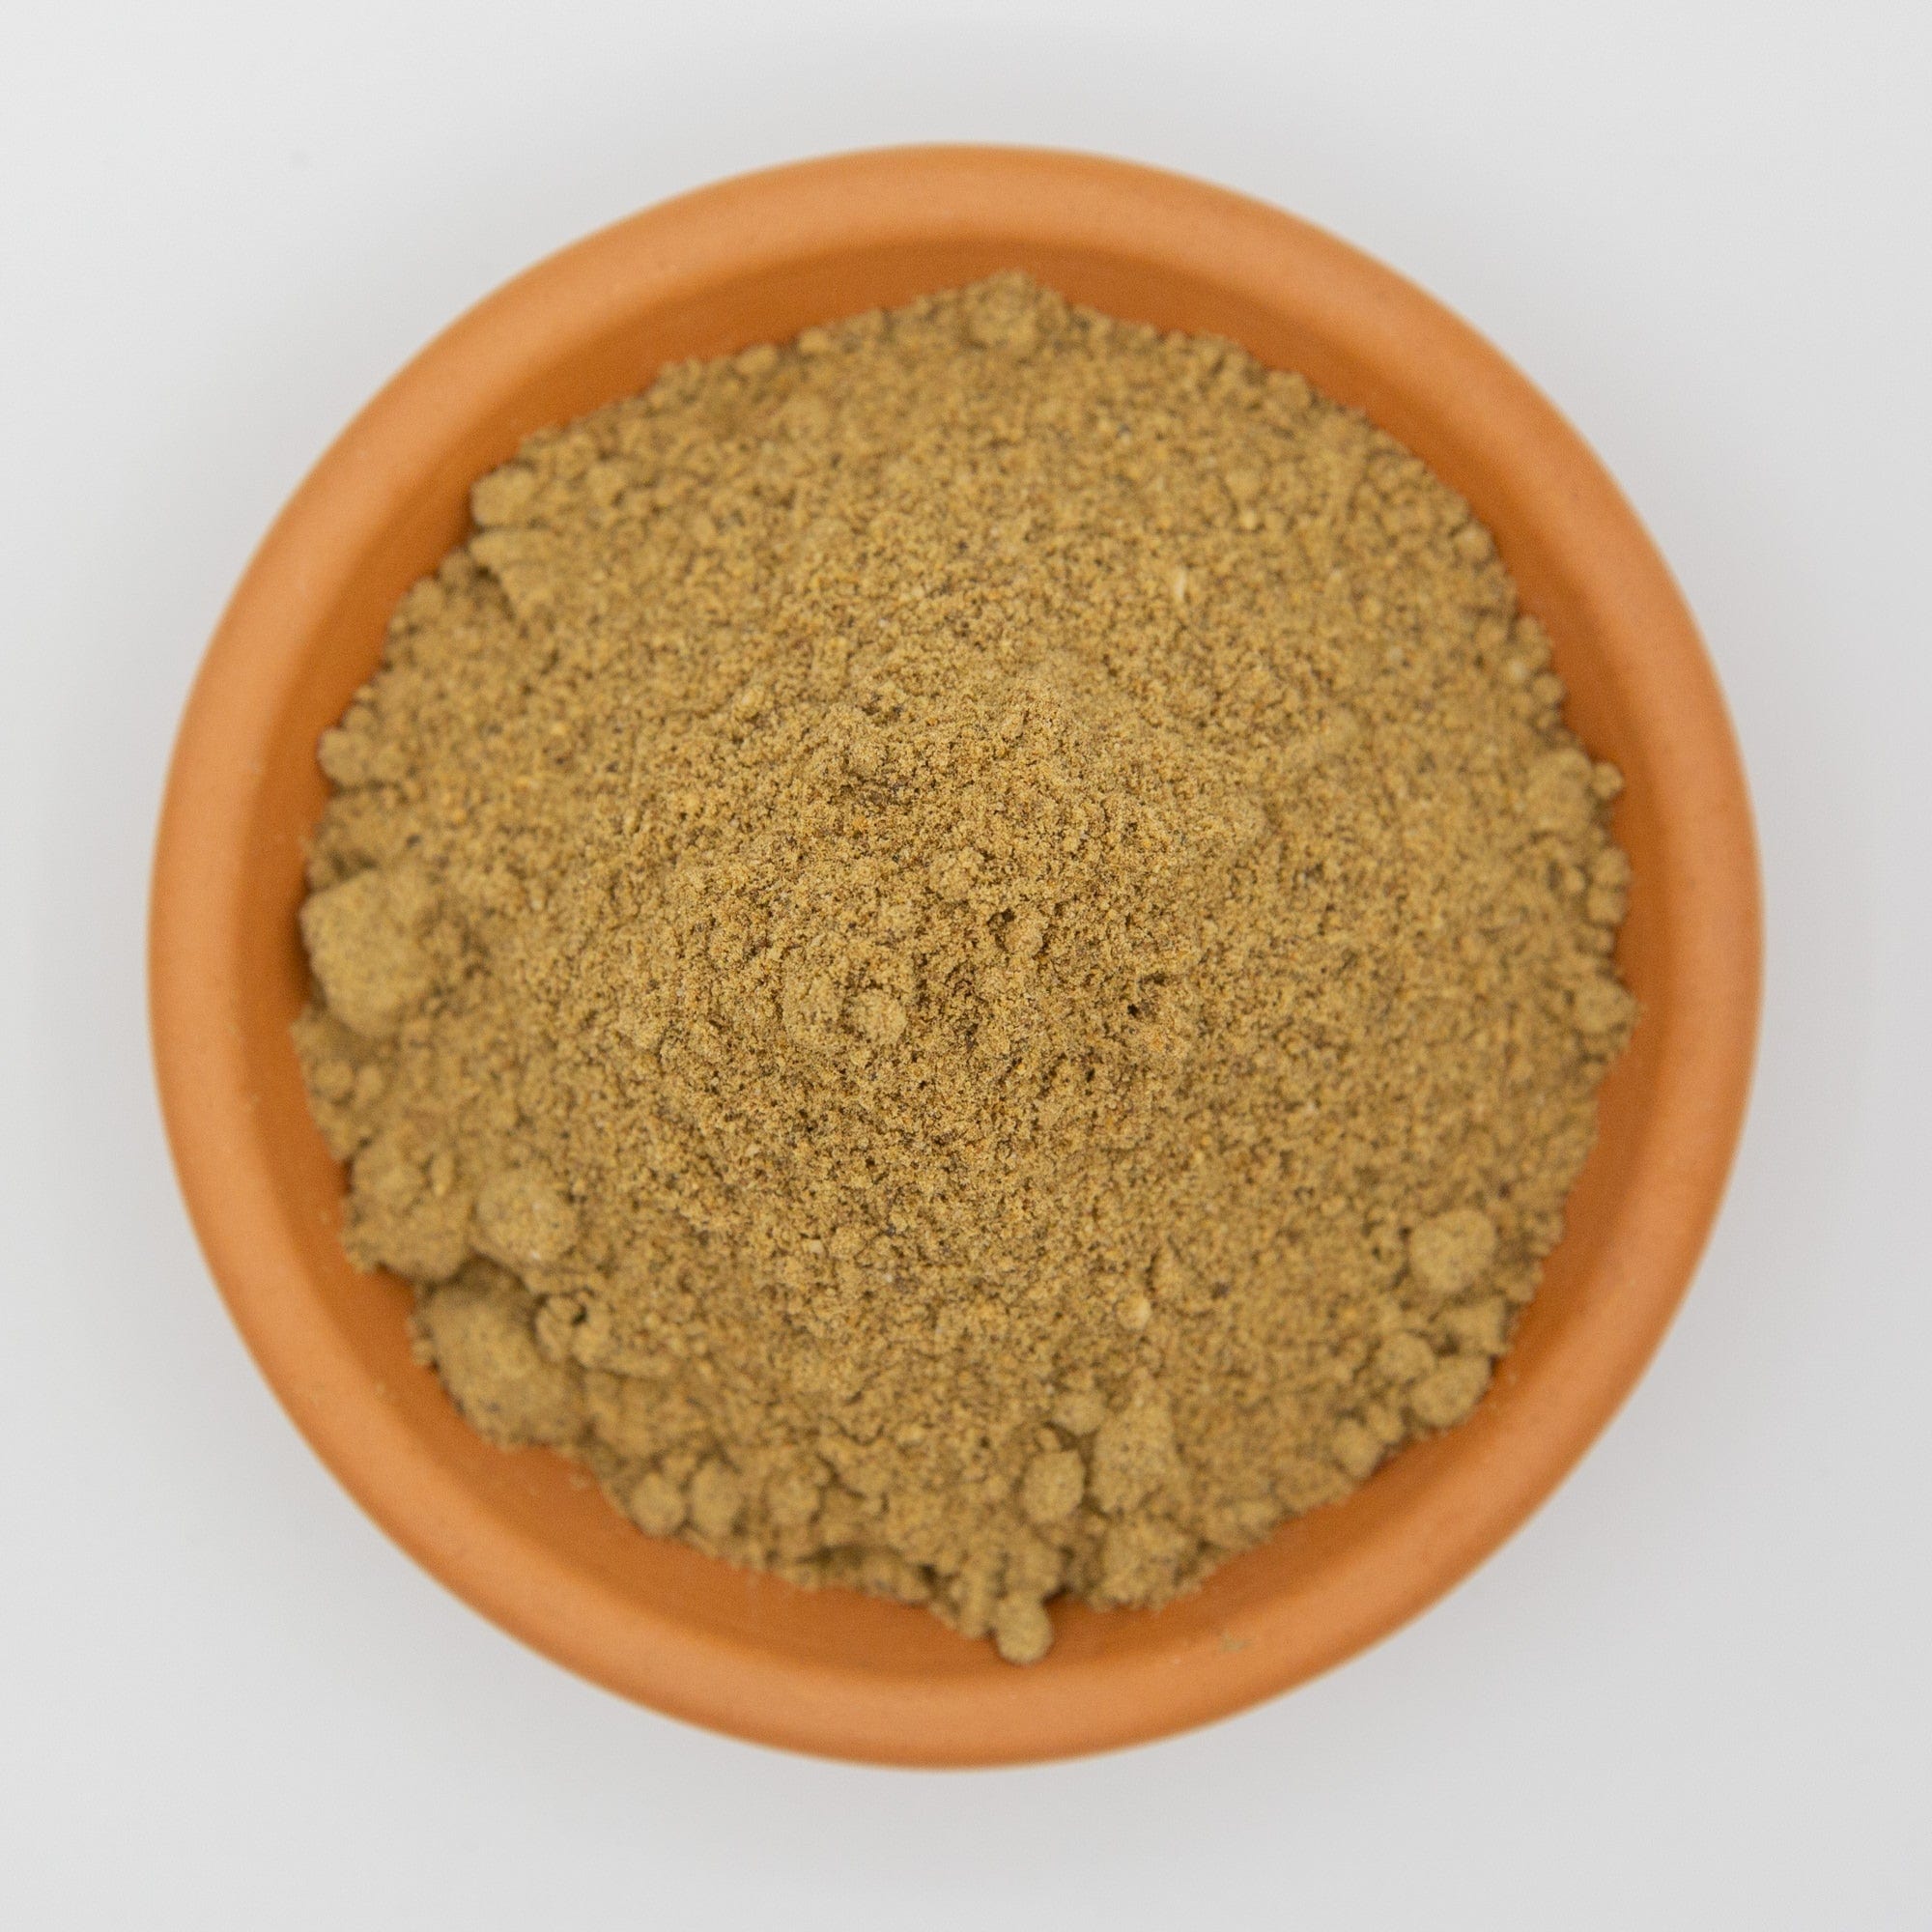
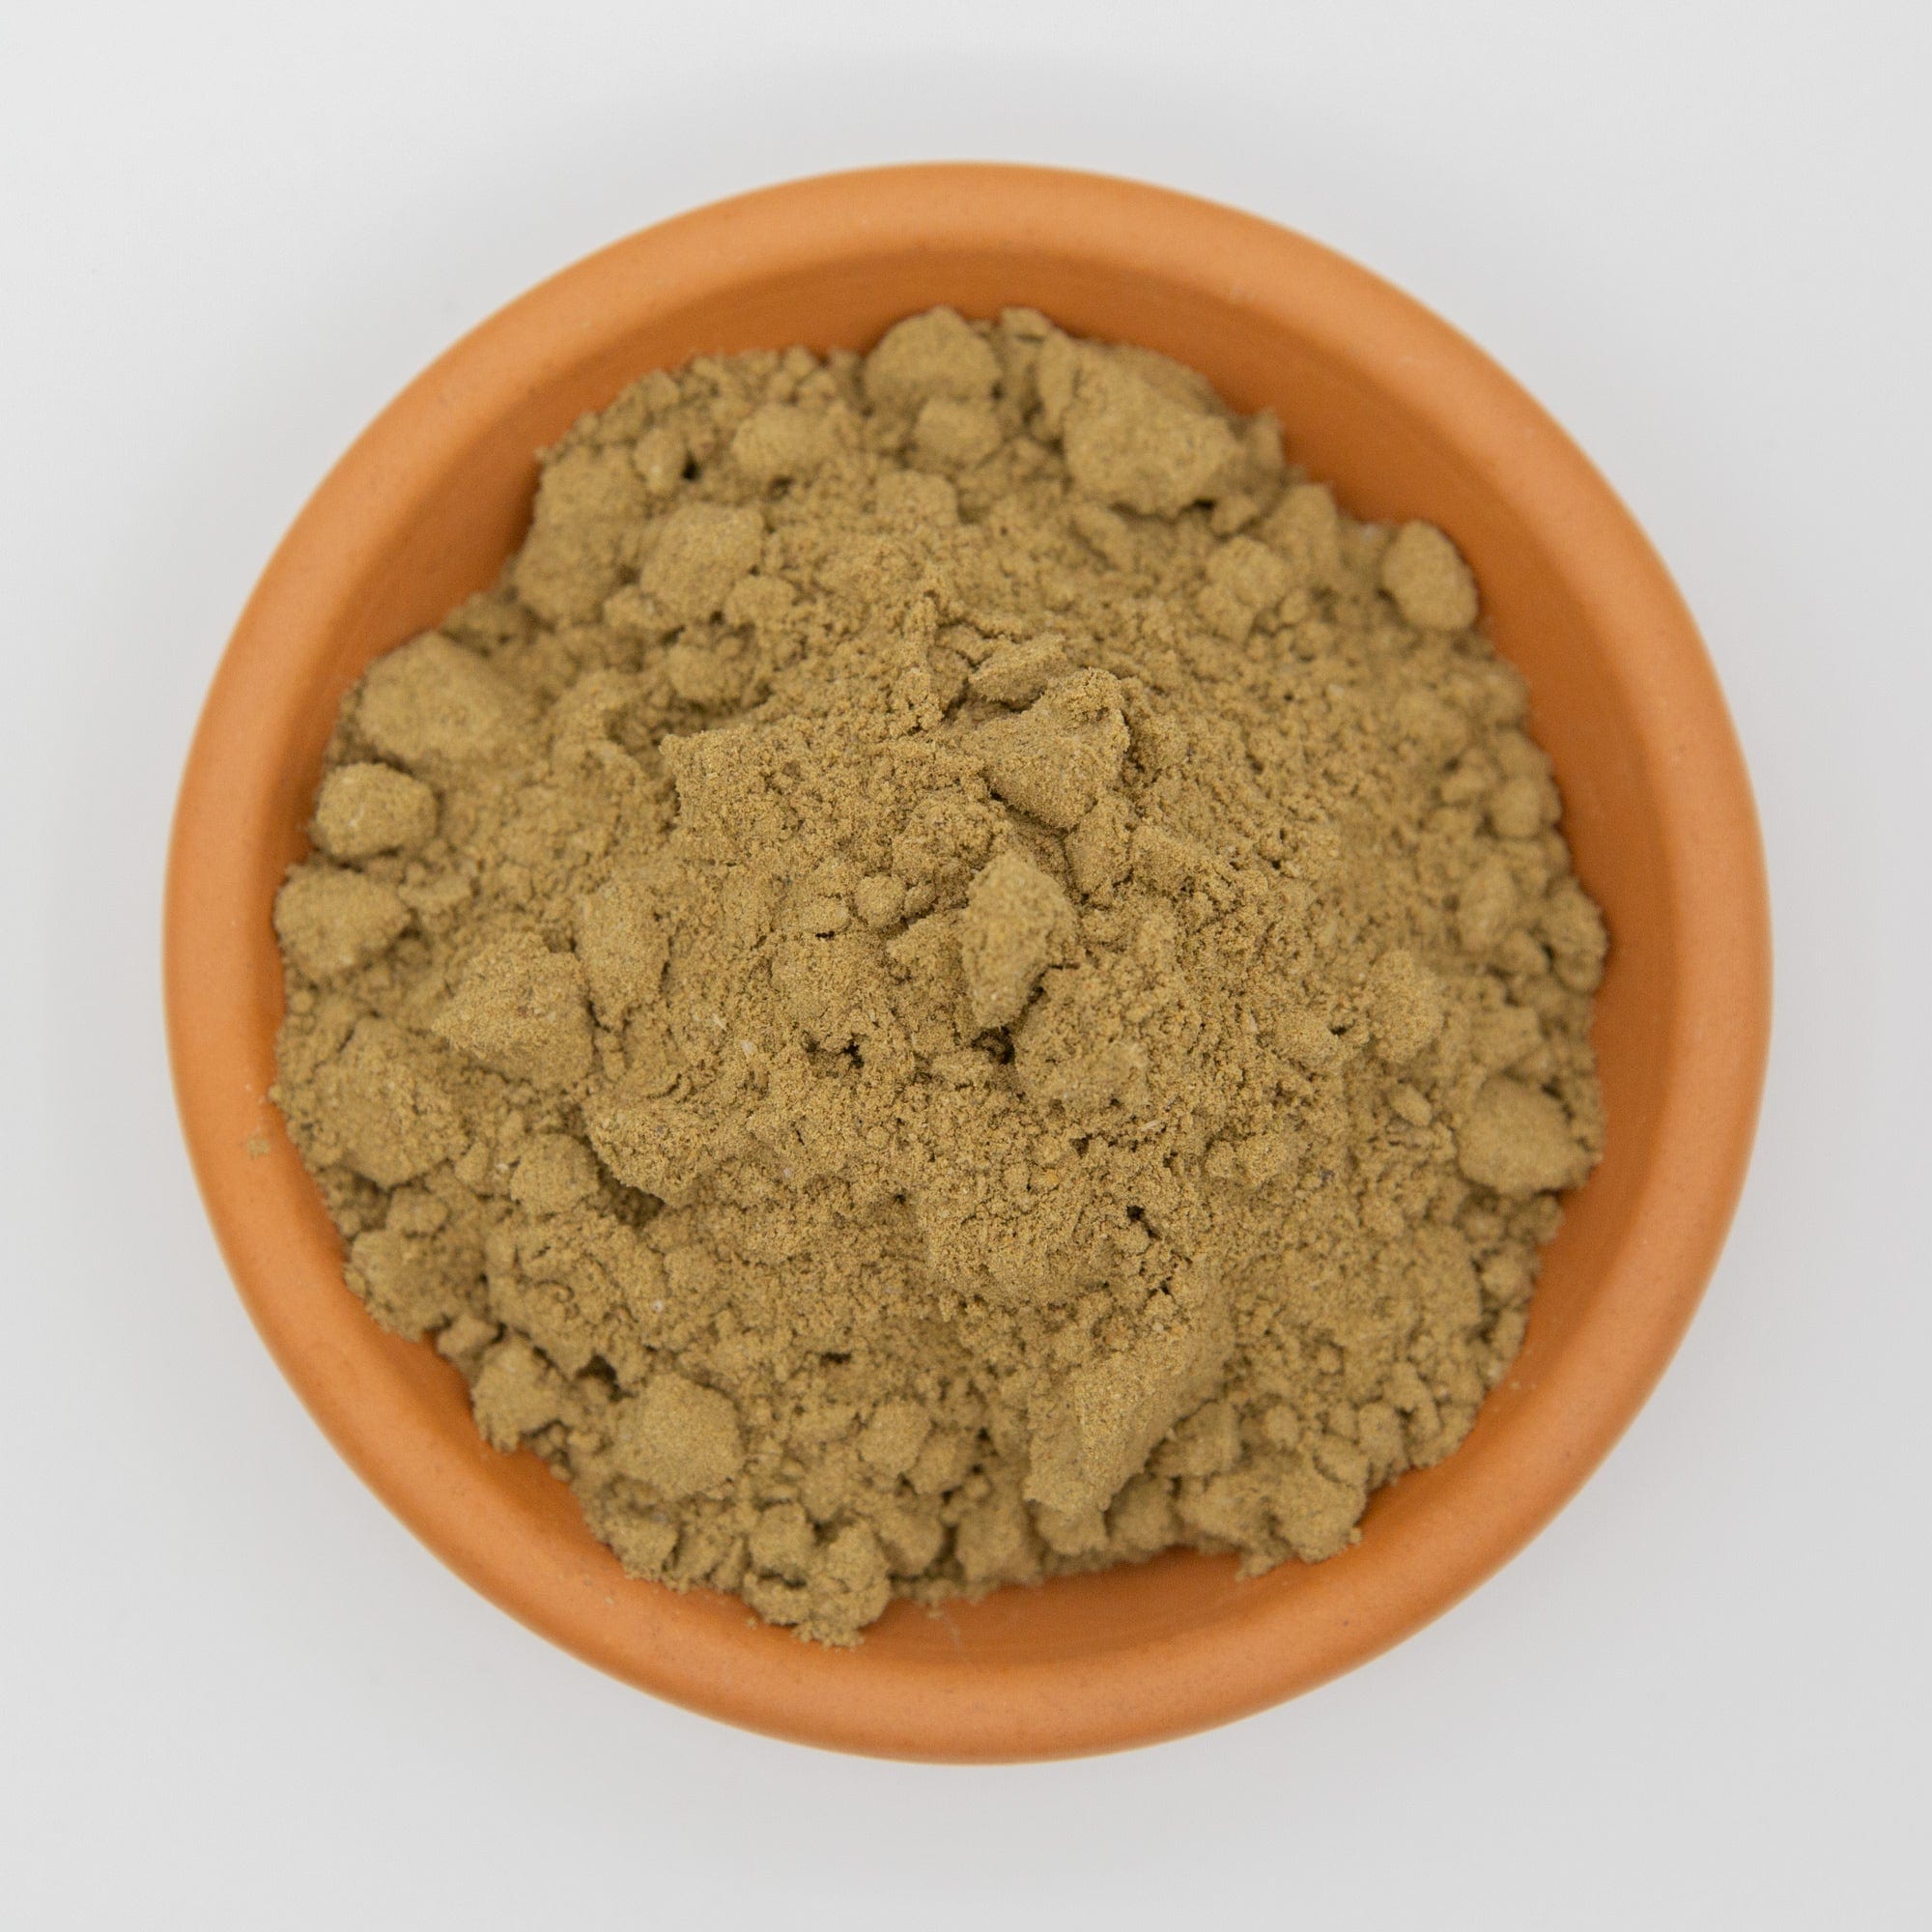
Some of the most effective amendments for liquid feeds include:
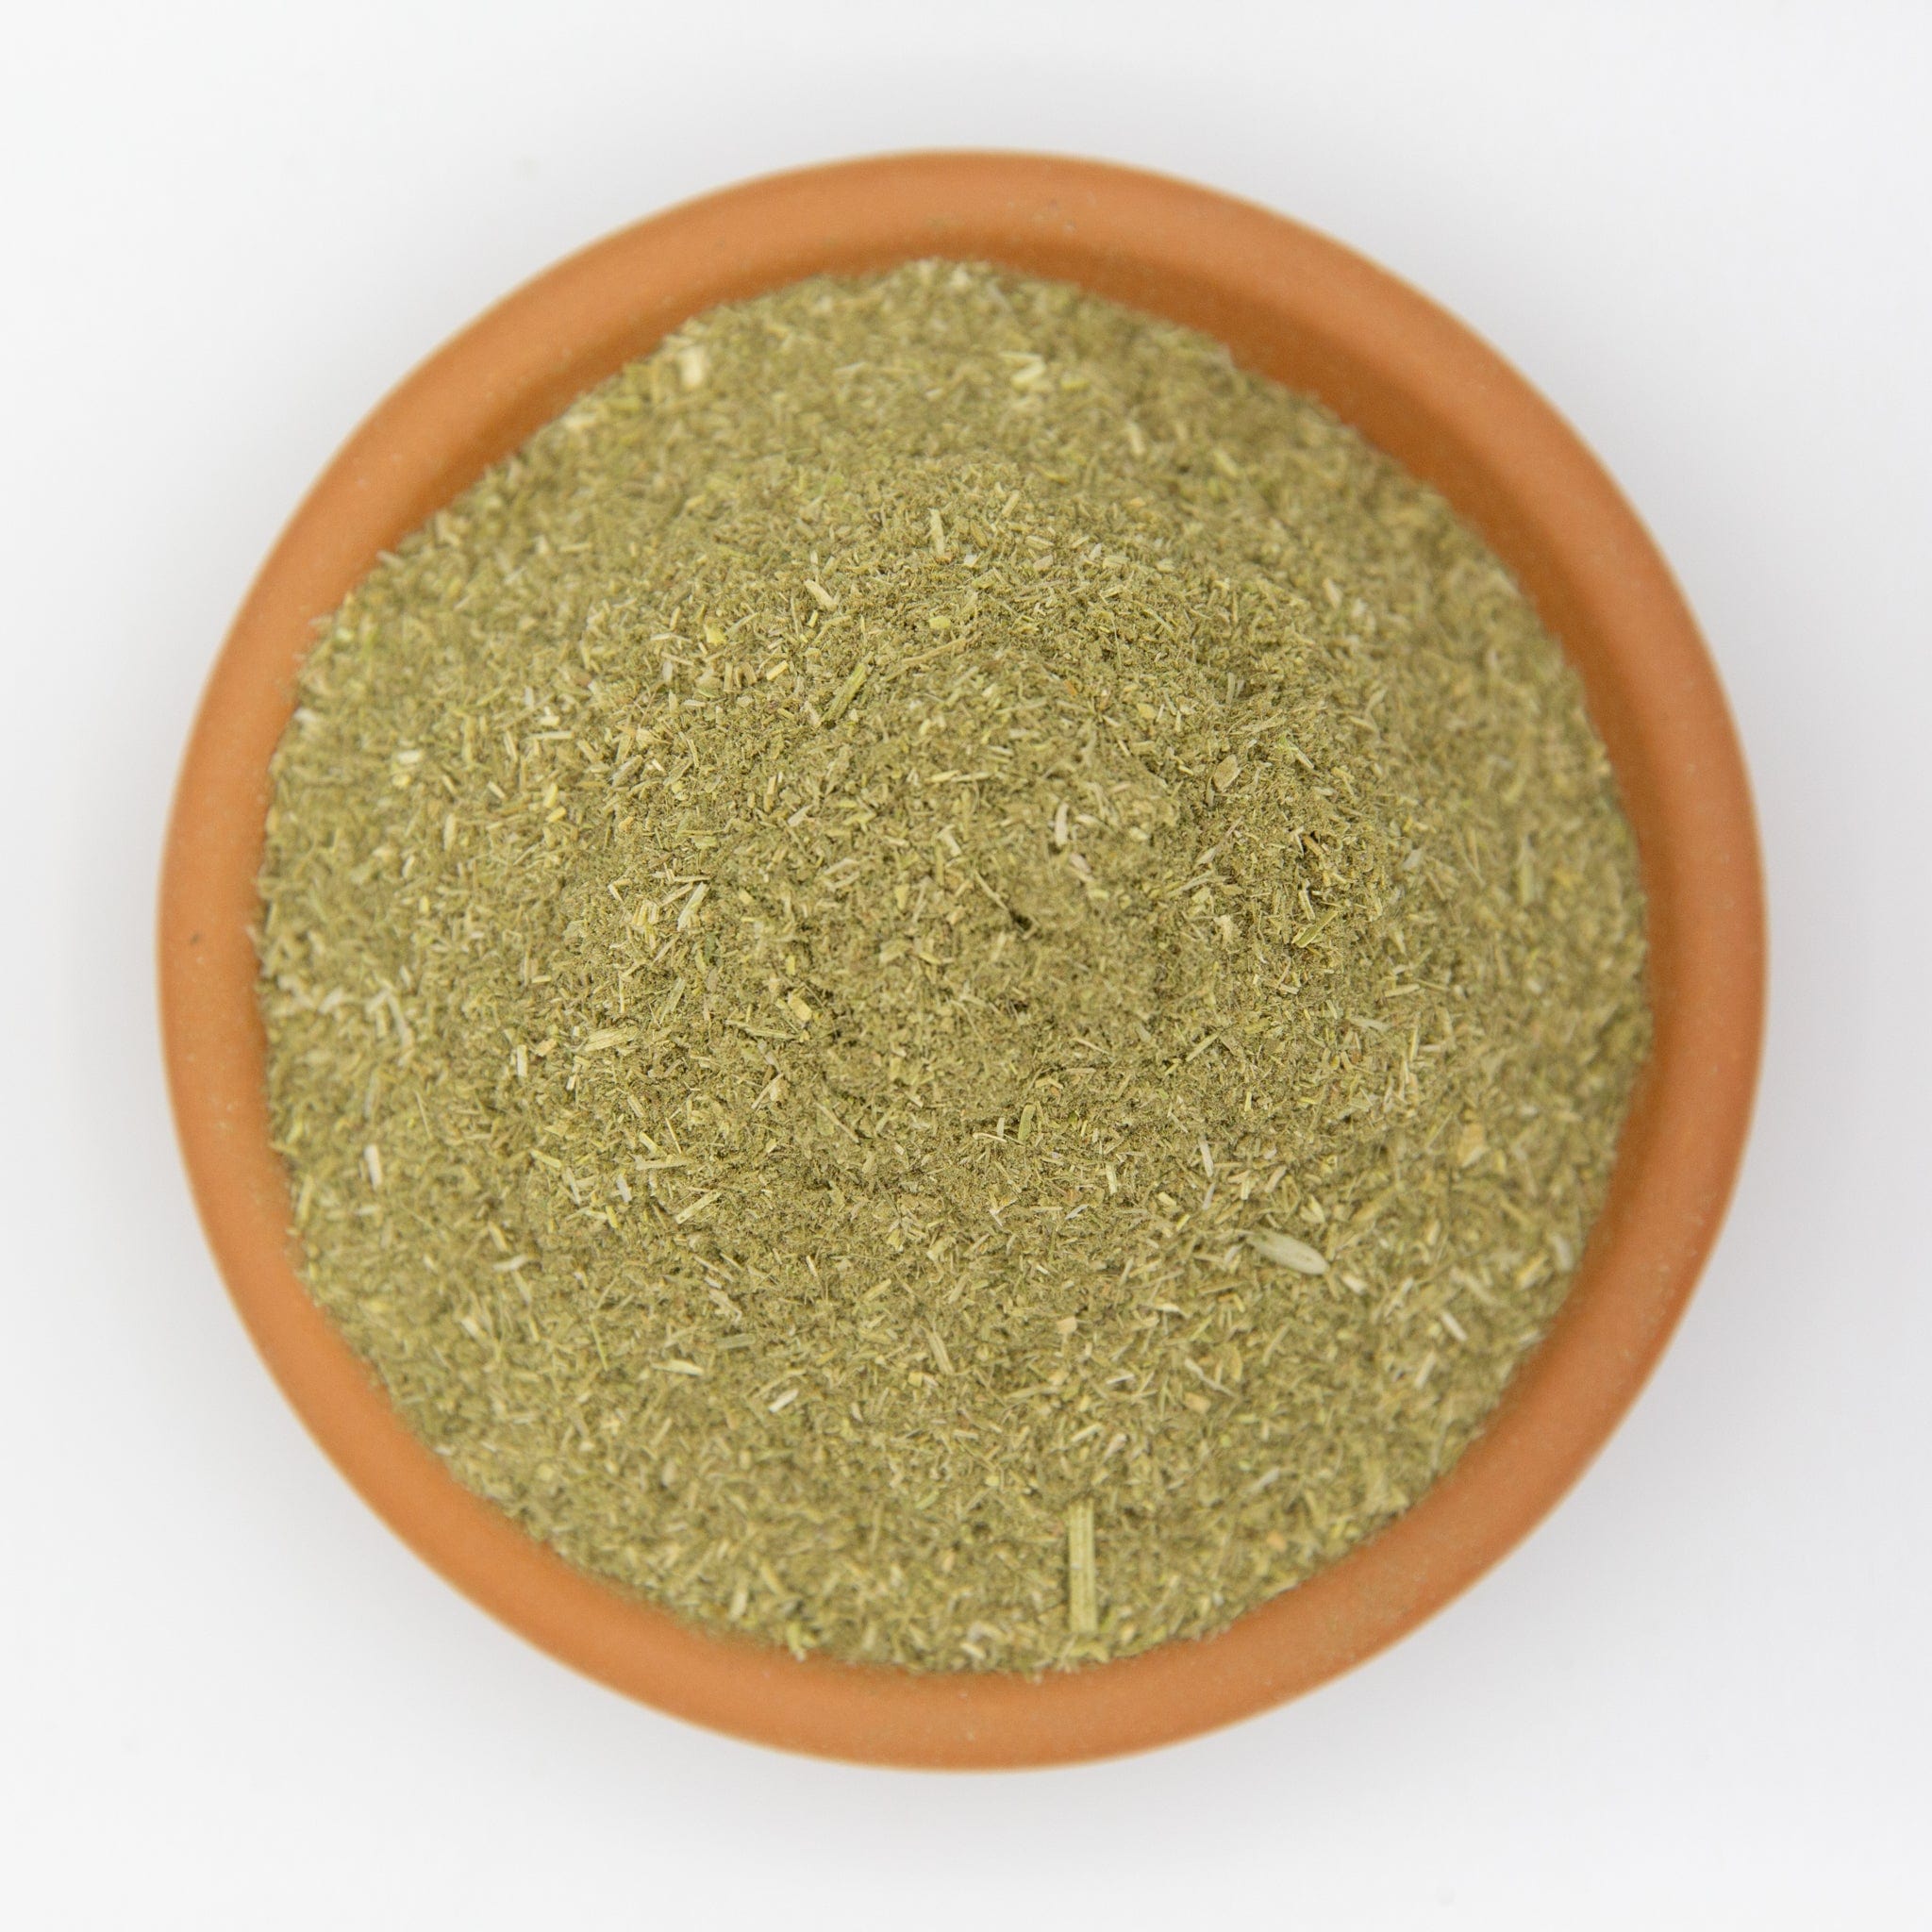
- Kelp meal → growth hormones + trace minerals
- Fish-based inputs → nitrogen + microbial activity
- Neem meal → pest resistance + nutrition
- Alfalfa meal → natural growth stimulants
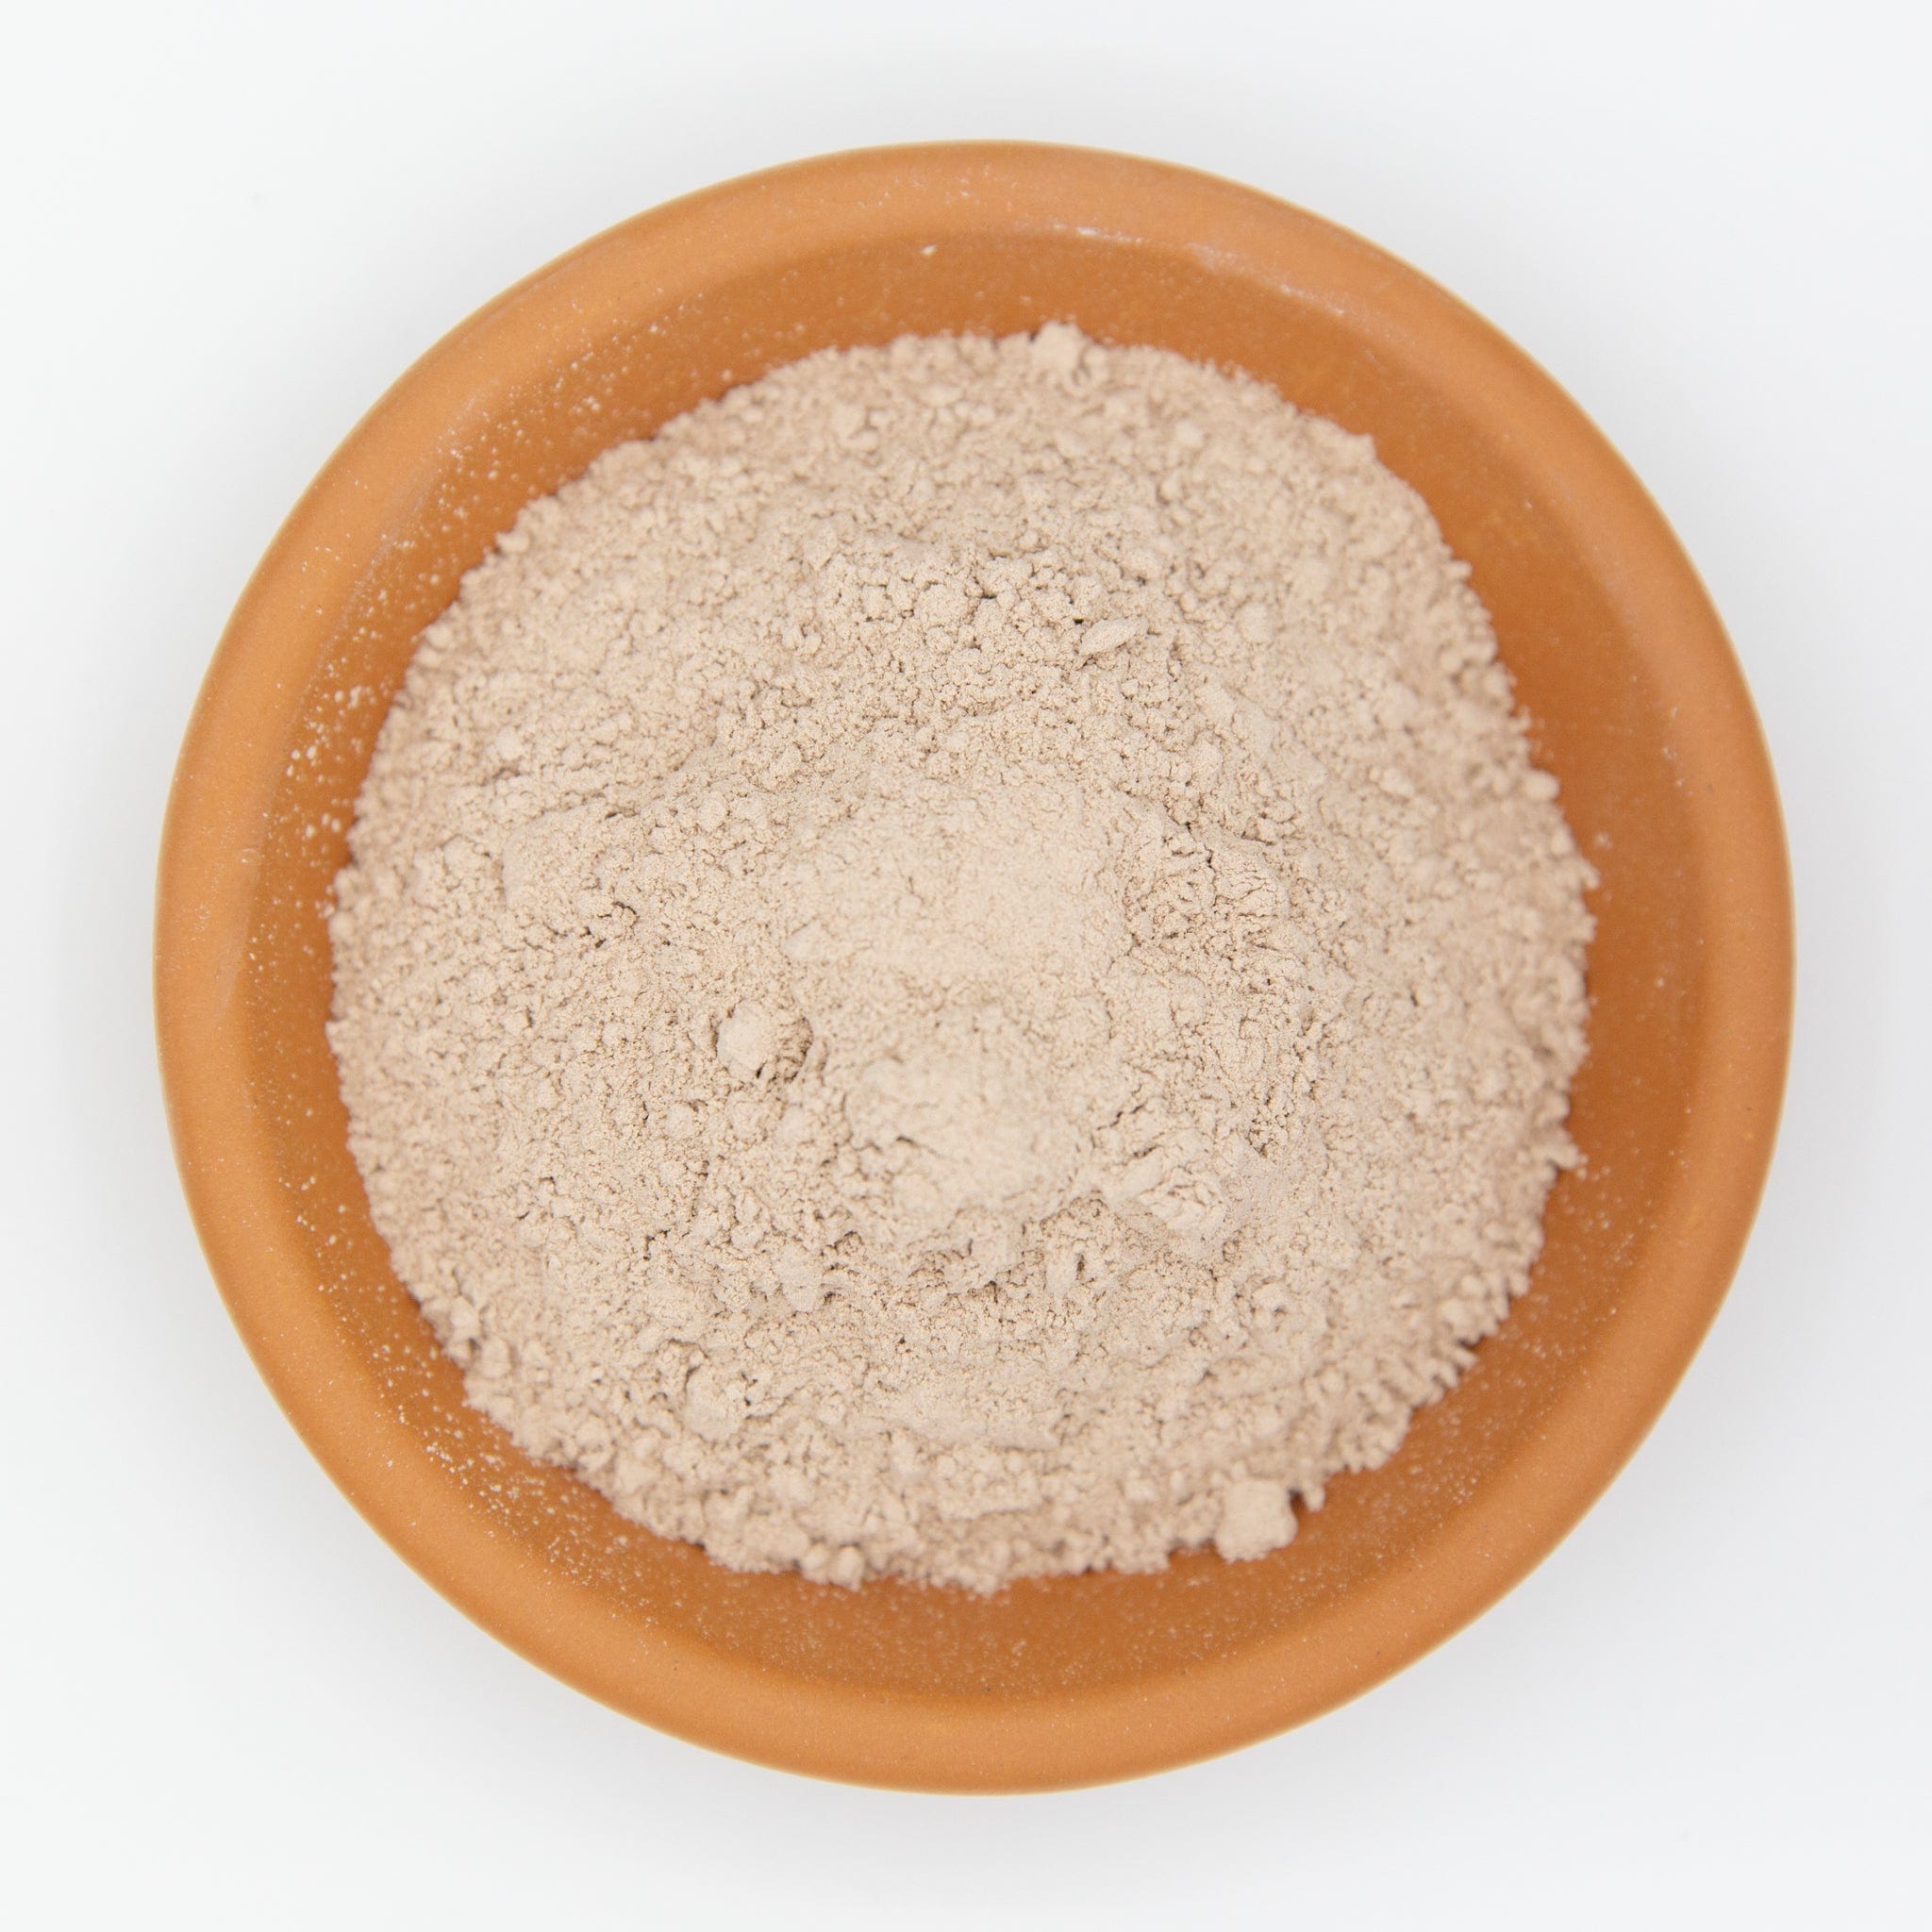
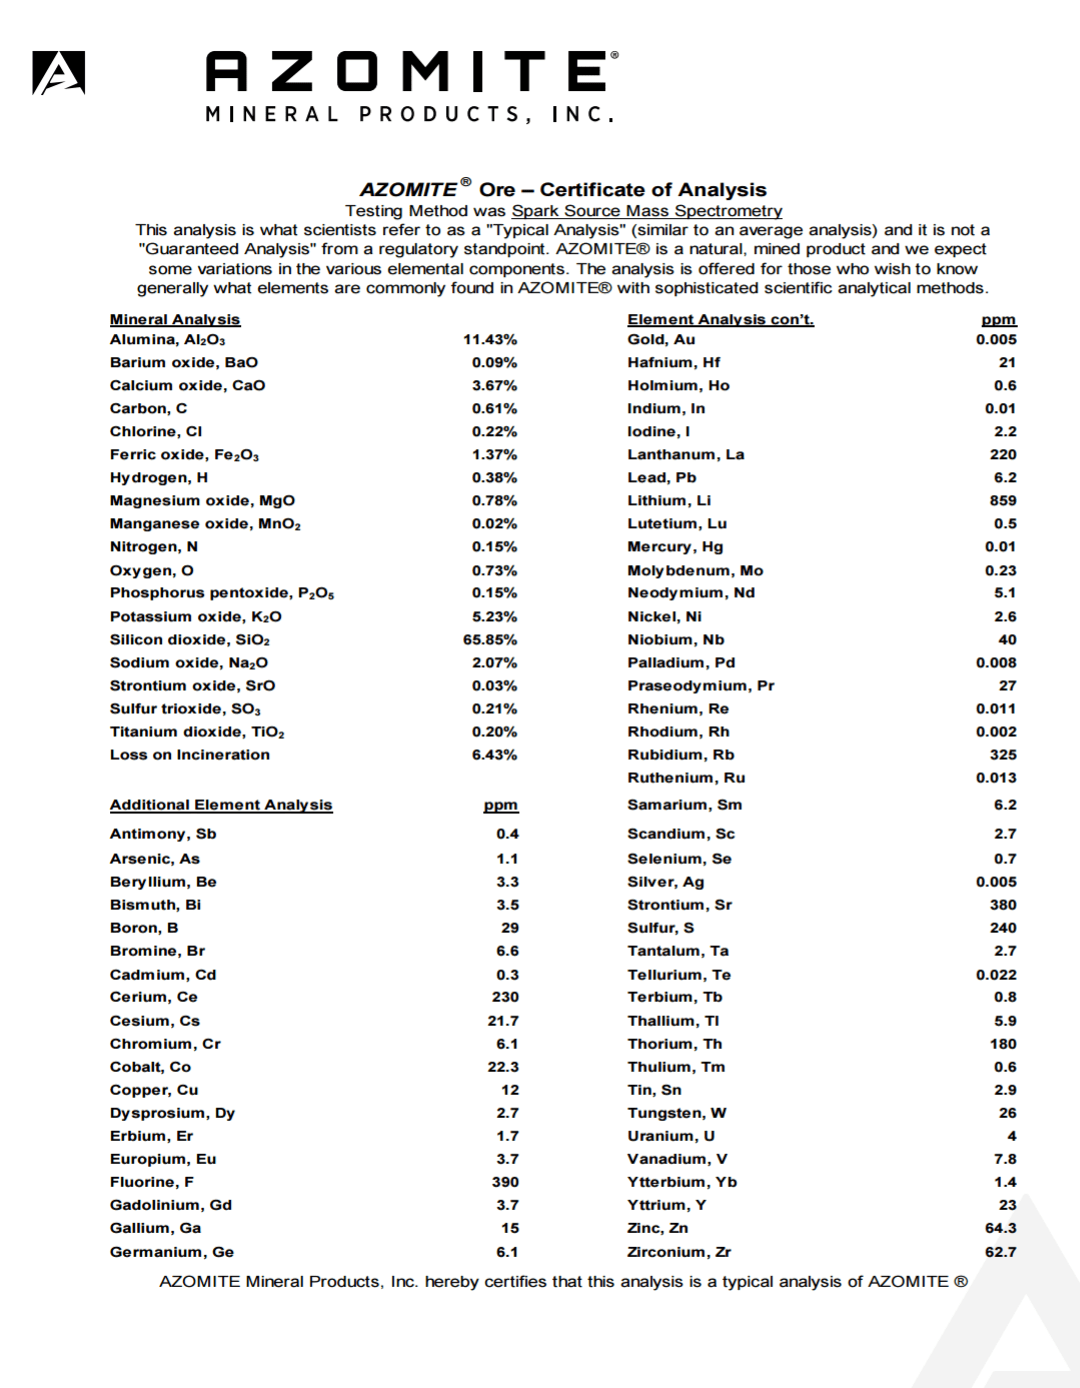
- Rock minerals → long-term micronutrients
👉 Explore Australia’s largest range here:
Dry Amendments Collection
Method 1: The Steeping Method (Quick & Beginner-Friendly)
Best for:
- New growers
- Fast nutrient boosts
- Low smell / low effort
How It Works
This method is essentially making a nutrient tea.
You soak dry amendments in water and allow nutrients to leach out.
What You Need
- Bucket or container
- Water (ideally dechlorinated)
- Dry amendments
- Optional: cloth bag
Step-by-Step
- Add 1–2 cups of dry amendments per 10L of water
- Stir thoroughly
- Let sit for 24–48 hours
- Stir occasionally
- Strain if needed
- Dilute before use (1:1 to 1:5)
How to Use
- Soil drench around roots
- Light foliar spray (well strained)
Pros
✔ Simple and fast
✔ Minimal smell
✔ Low risk
Cons
✖ Less nutrient extraction
✖ Short shelf life (use within 48 hours)
Method 2: Fermentation Method (KNF-Style)
Best for:
- Stronger nutrient availability
- Boosting soil biology
- More advanced growers
What is KNF (Simple Explanation)
Korean Natural Farming (KNF) focuses on using beneficial microbes to break down nutrients.
👉 Instead of waiting weeks, microbes convert amendments into plant-ready nutrition.
Two Ways to Ferment Your Amendments
Option A: Natural Fermentation
- Mix amendments with water
- Cover loosely
- Stir daily
- Ferment for 7-21 days
Microbes from the air do the work.
Option B: Accelerated Fermentation (EM-Based)
- Add amendments to water
- Add microbial inoculant (like EM-style inputs)
- Optional: add molasses
- Ferment for 7-21 days
What’s Happening?
- Microbes break down organic material
- Nutrients become bioavailable
- Beneficial biology multiplies
👉 You’re creating a living fertiliser, not just a nutrient solution.
How to Use
- Dilute 1:10 or more
- Apply as soil drench
Pros
✔ Higher nutrient availability
✔ Improves soil life
✔ More effective than steeping
Cons
✖ Slight smell
✖ Requires monitoring
Method 3: Anaerobic Method (JADAM-Style)
⚠️ Best for advanced growers
This method produces extremely potent fertiliser—but must be used correctly.
Important Warning
- Strong smell is normal
- Avoid animal inputs unless experienced
- Always dilute heavily
How It Works
Unlike fermentation, this method uses anaerobic microbes (no oxygen).
These microbes break down materials aggressively, extracting maximum nutrients.
Step-by-Step
- Fill container with water
- Add dry amendments
- Weigh materials down
- Cover loosely
- Let sit for 1–3 weeks
What You’ll Notice
- Dark liquid forming
- Strong smell
- Complete breakdown of inputs
How to Use
- Dilute heavily (1:20 or more)
- Apply to soil only
Pros
✔ Extremely potent
✔ Very cost-effective
✔ Maximum nutrient extraction
Cons
✖ Strong smell
✖ Not beginner-friendly
Which Method Should You Use?
|
Goal |
Best Method |
|---|---|
|
Quick & simple |
Steeping |
|
Balanced performance |
Fermentation |
|
Maximum strength |
Anaerobic |
👉 Most gardeners should start with:
Steeping → then move to fermentation
Pro Tips for Better Results
Use dechlorinated water
Let water sit 24 hours before use
Start light
Always dilute—overfeeding is common
Match plant stage
- Vegetative → nitrogen-rich inputs
- Flowering → phosphorus & potassium
Use fresh batches
Especially for steeped fertilisers
Why This Works (And Why It’s Growing Fast)
You’re not just feeding plants—you’re tapping into something bigger:
👉 The desire to grow healthier plants, naturally, without chemicals
That’s why more Australian gardeners are switching to DIY organic systems.
Instead of relying on bottled inputs, you:
- Control what goes into your garden
- Build healthier soil over time
- Get better results naturally
Final Thoughts
Making your own liquid fertiliser is one of the easiest ways to level up your garden.
Start simple:
- Steep your amendments
- Experiment with fermentation
- Move to advanced methods when ready
And most importantly—use quality inputs.
👉 Explore premium organic dry amendments here.
Next reads for building a smarter DIY fertiliser routine
Want to get more from homemade feeds? These guides will help you choose better organic inputs, build stronger blends and use liquid fertilisers more strategically.
- Create Your Own Organic Fertilizer Blends
- Natural Garden Fertilisers Australia Guide
- 24 Hour Compost Tea Guide
- Beginner’s Guide to Using Organic Dry Amendments in Gardening for Healthier Plants
About the Author