
Peace lilies love that glossy, jungle vibe—but give them heavy, soggy soil and they’ll sulk faster than a kid in the shade house. Below you’ll find exact ratios for a chunky DIY mix, a step-by-step repotting guide, and the ready-made bag that nails the recipe out of the box. Copy the method, or grab the shortcut—either way, your Spath will thank you.
Table of Contents
- Why “Normal” Potting Mix Fails
- The Perfect Peace Lily Soil — Key Ingredients
- Best Soil for Peace Lily When Your Home Runs Hot or Dry
- Peace Lily Soil: How to Tell If the Mix Is Too Dense
- Potting Mix for Peace Lily: Bagged Mix vs DIY
- Peace Lily Soil Mix for Overwaterers
- Soil for Peace Lily After Root Rot
- Best Potting Mix for Peace Lily in Low-Light Rooms
- Best Potting Mix for Peace Lily Australia: Adjust for Your Climate
- Peace Lily Potting Mix for Cover Pots and Decorative Planters
- DIY “Chunky Aroid” Mix — 5-Minute Recipe
- Step-by-Step Peace Lily Repot
- The One-Bag Shortcut: Dr Greenthumbs Chunky Potting Soil
- Peace Lily Care Tweaks in Chunky Mix
- Troubleshooting Quick-Fire
- Ready to Level-Up Your Lilies?
- Next Reads for Building a Better Peace Lily Mix and Healthier Roots
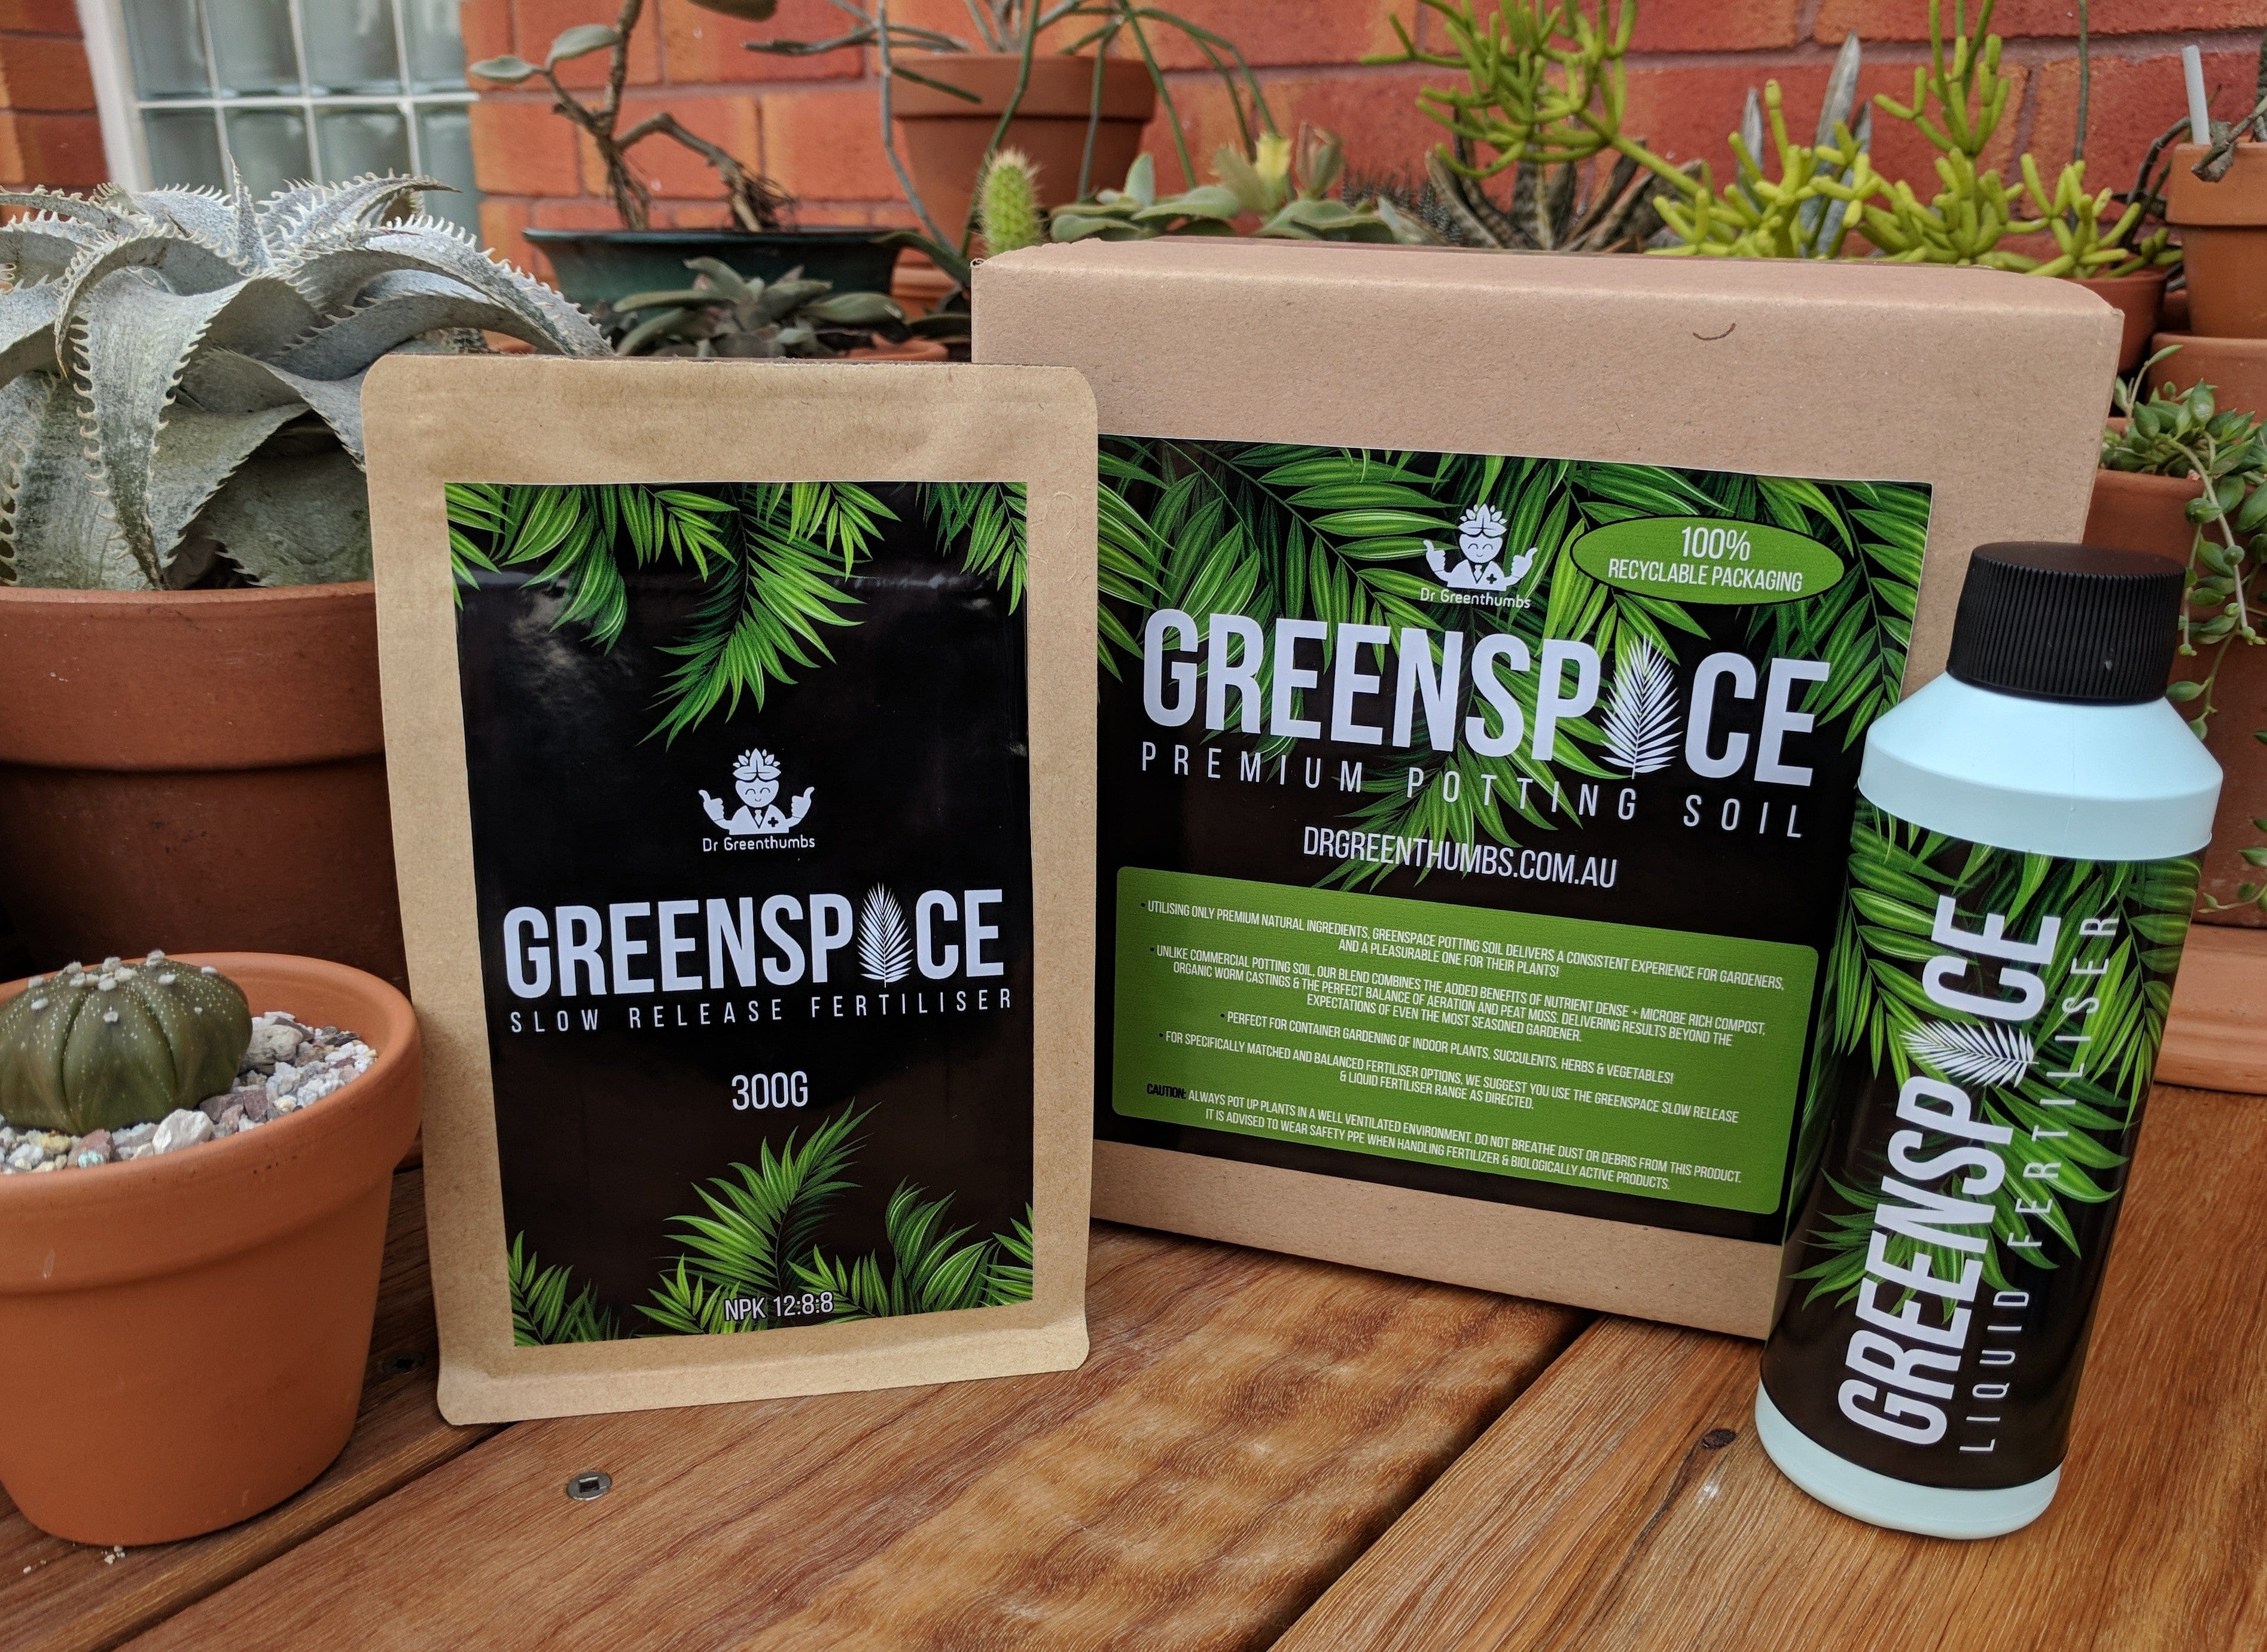
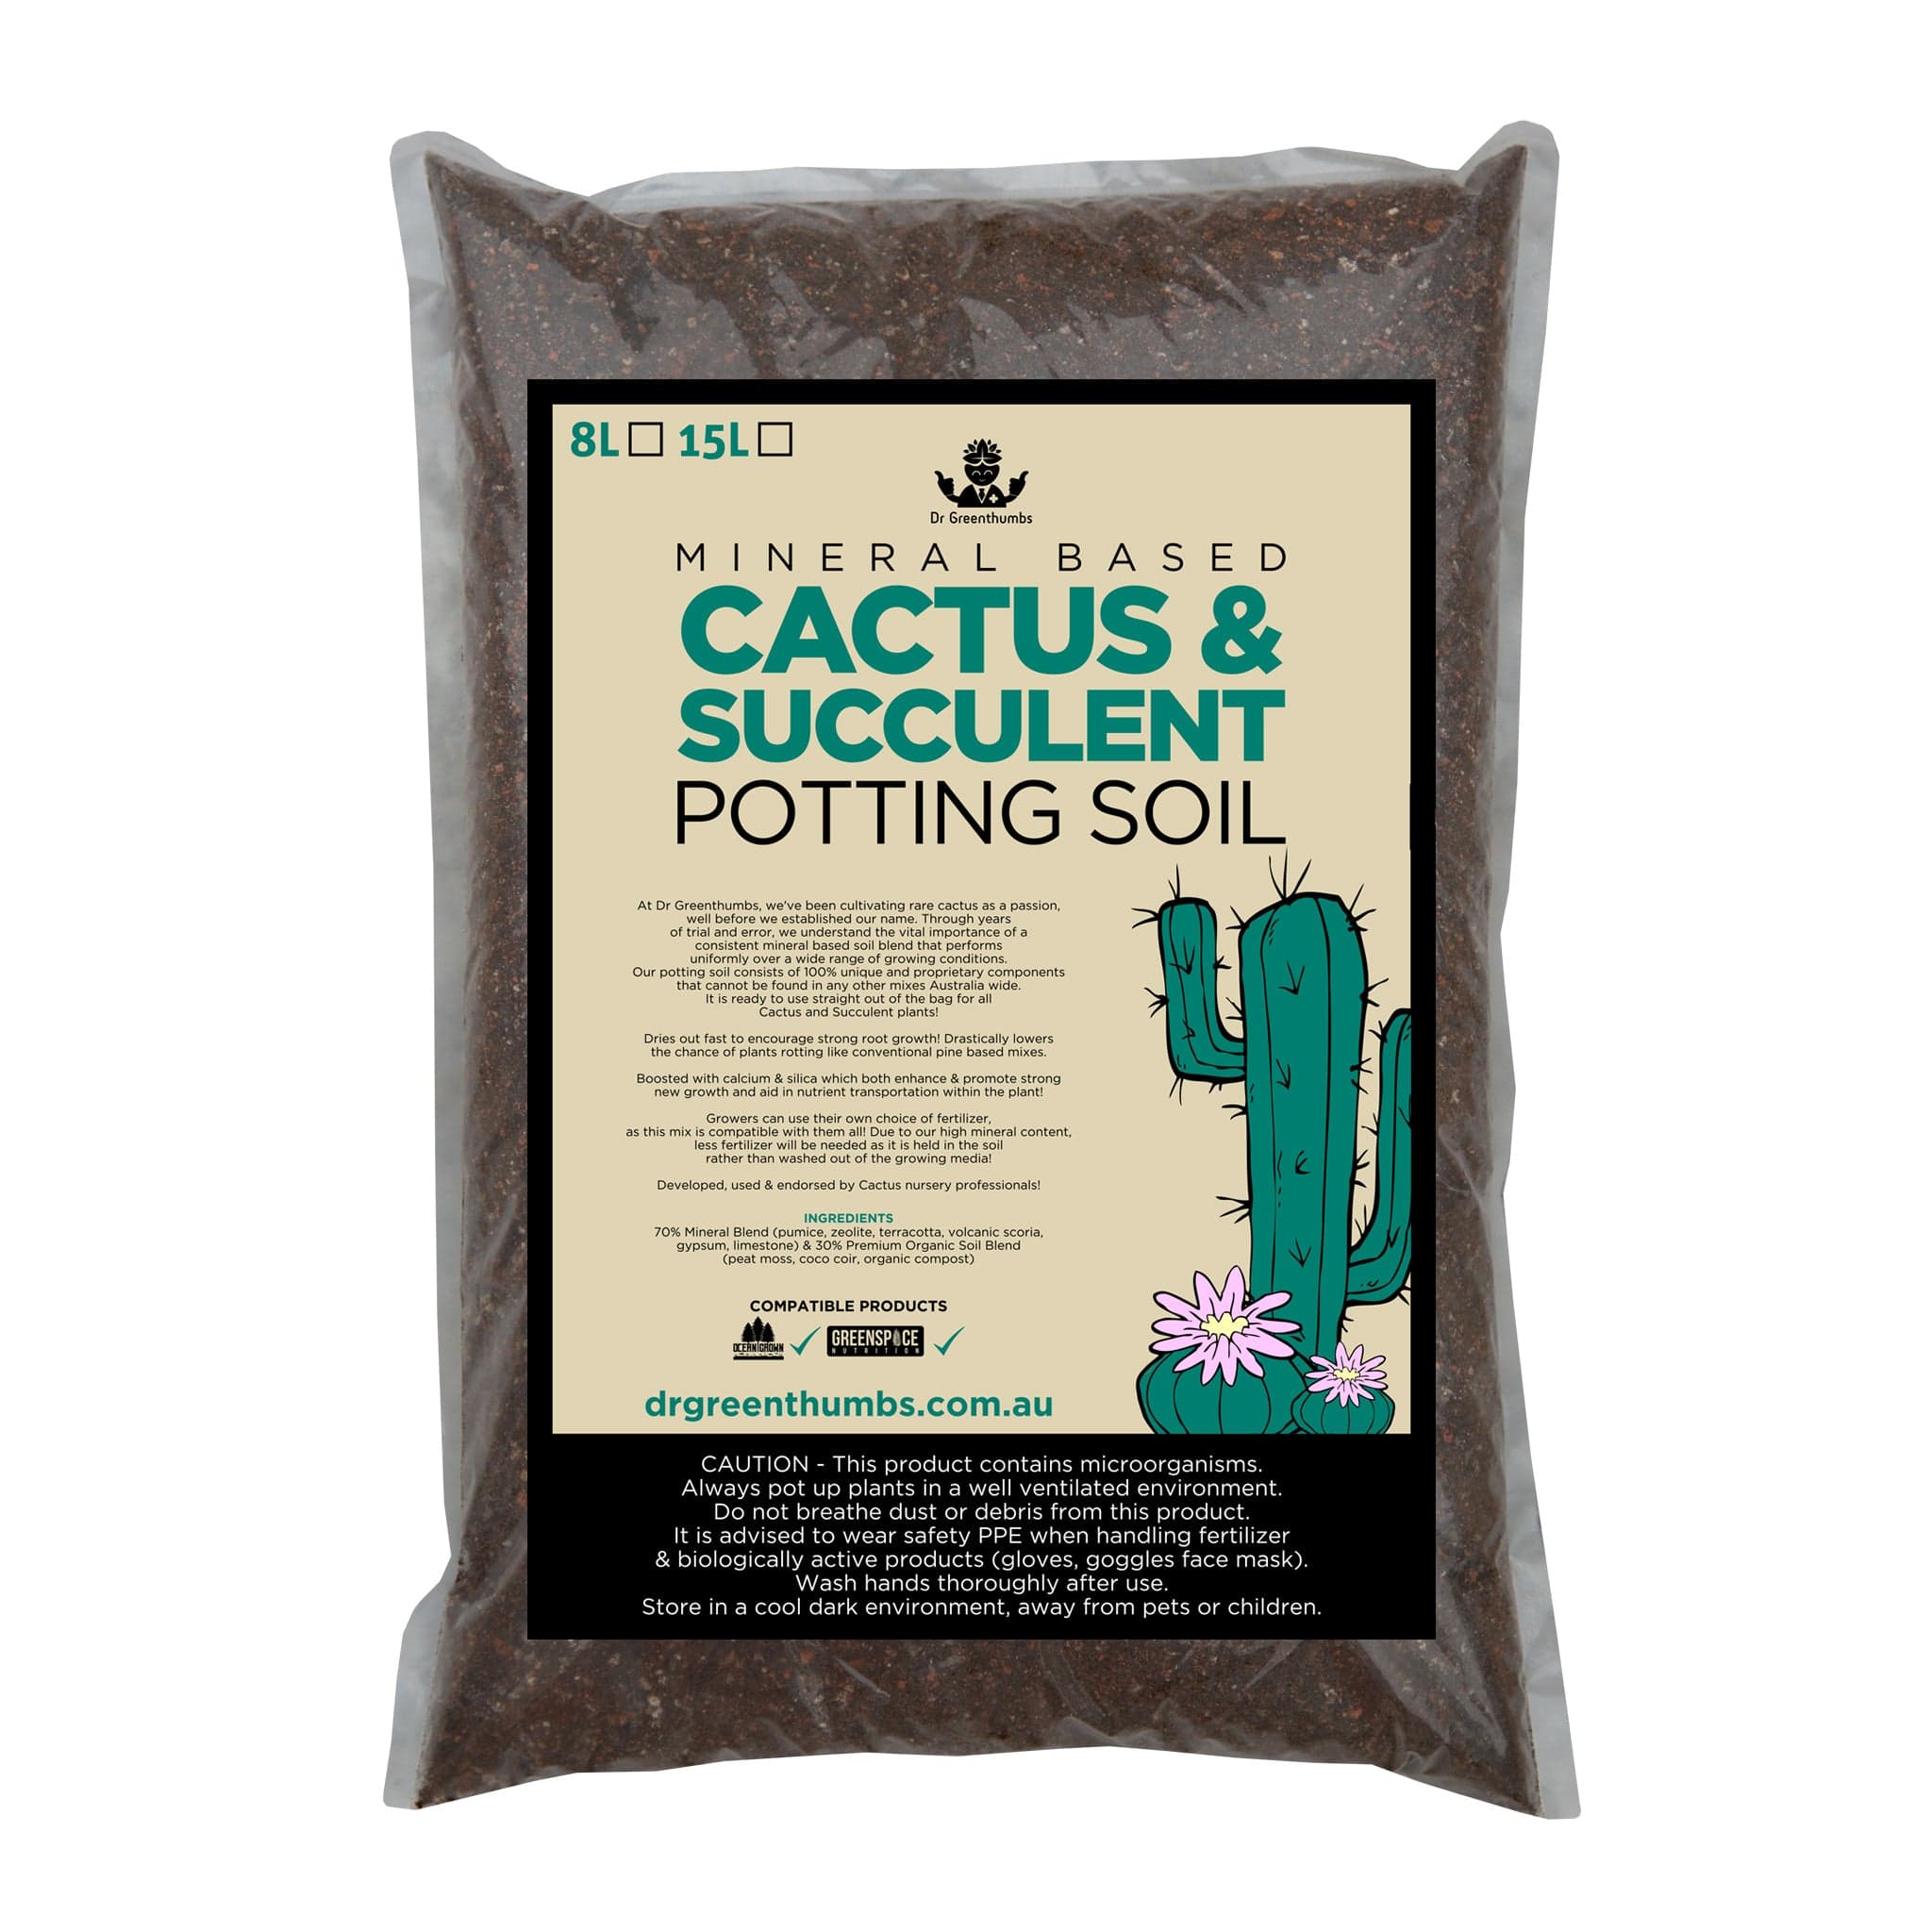
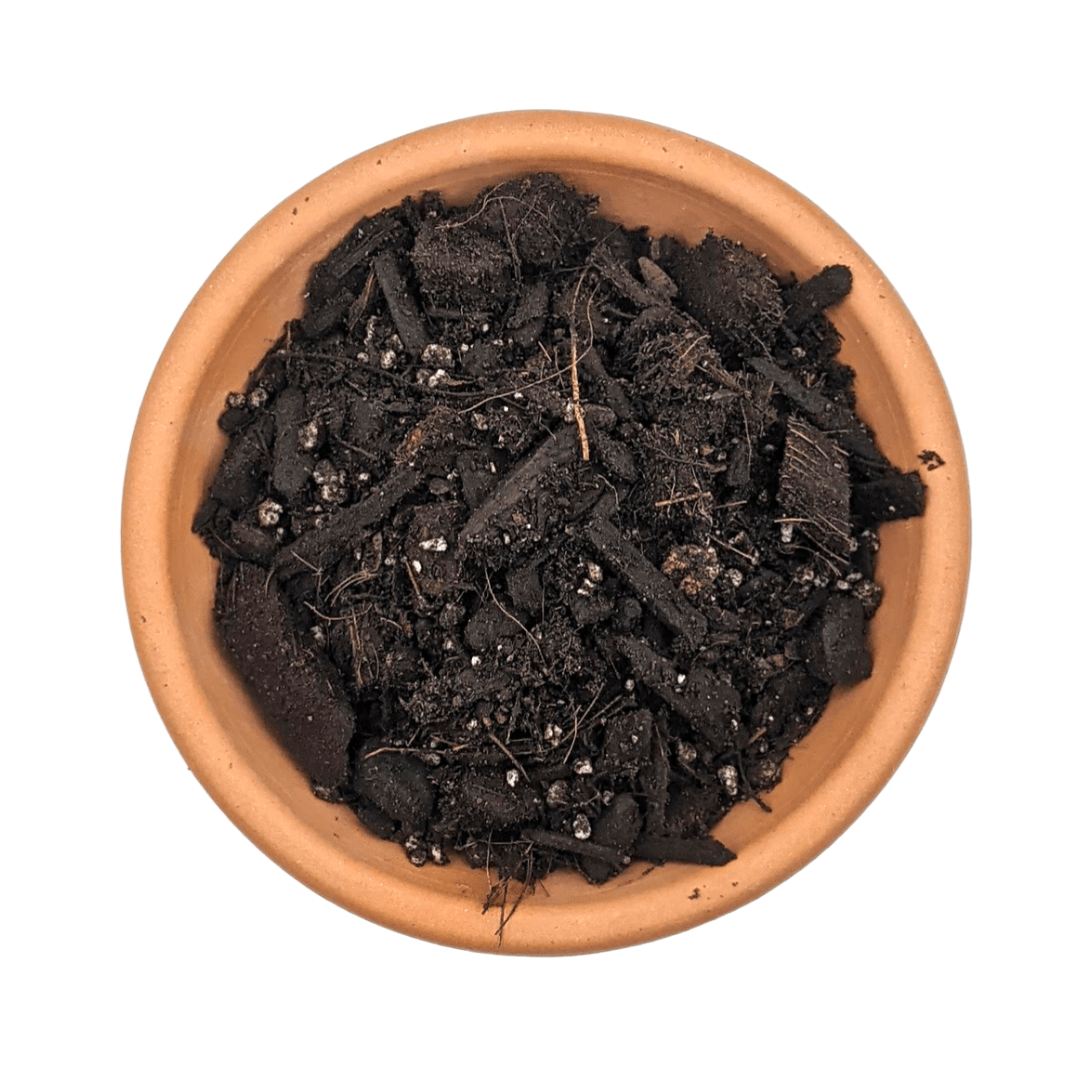
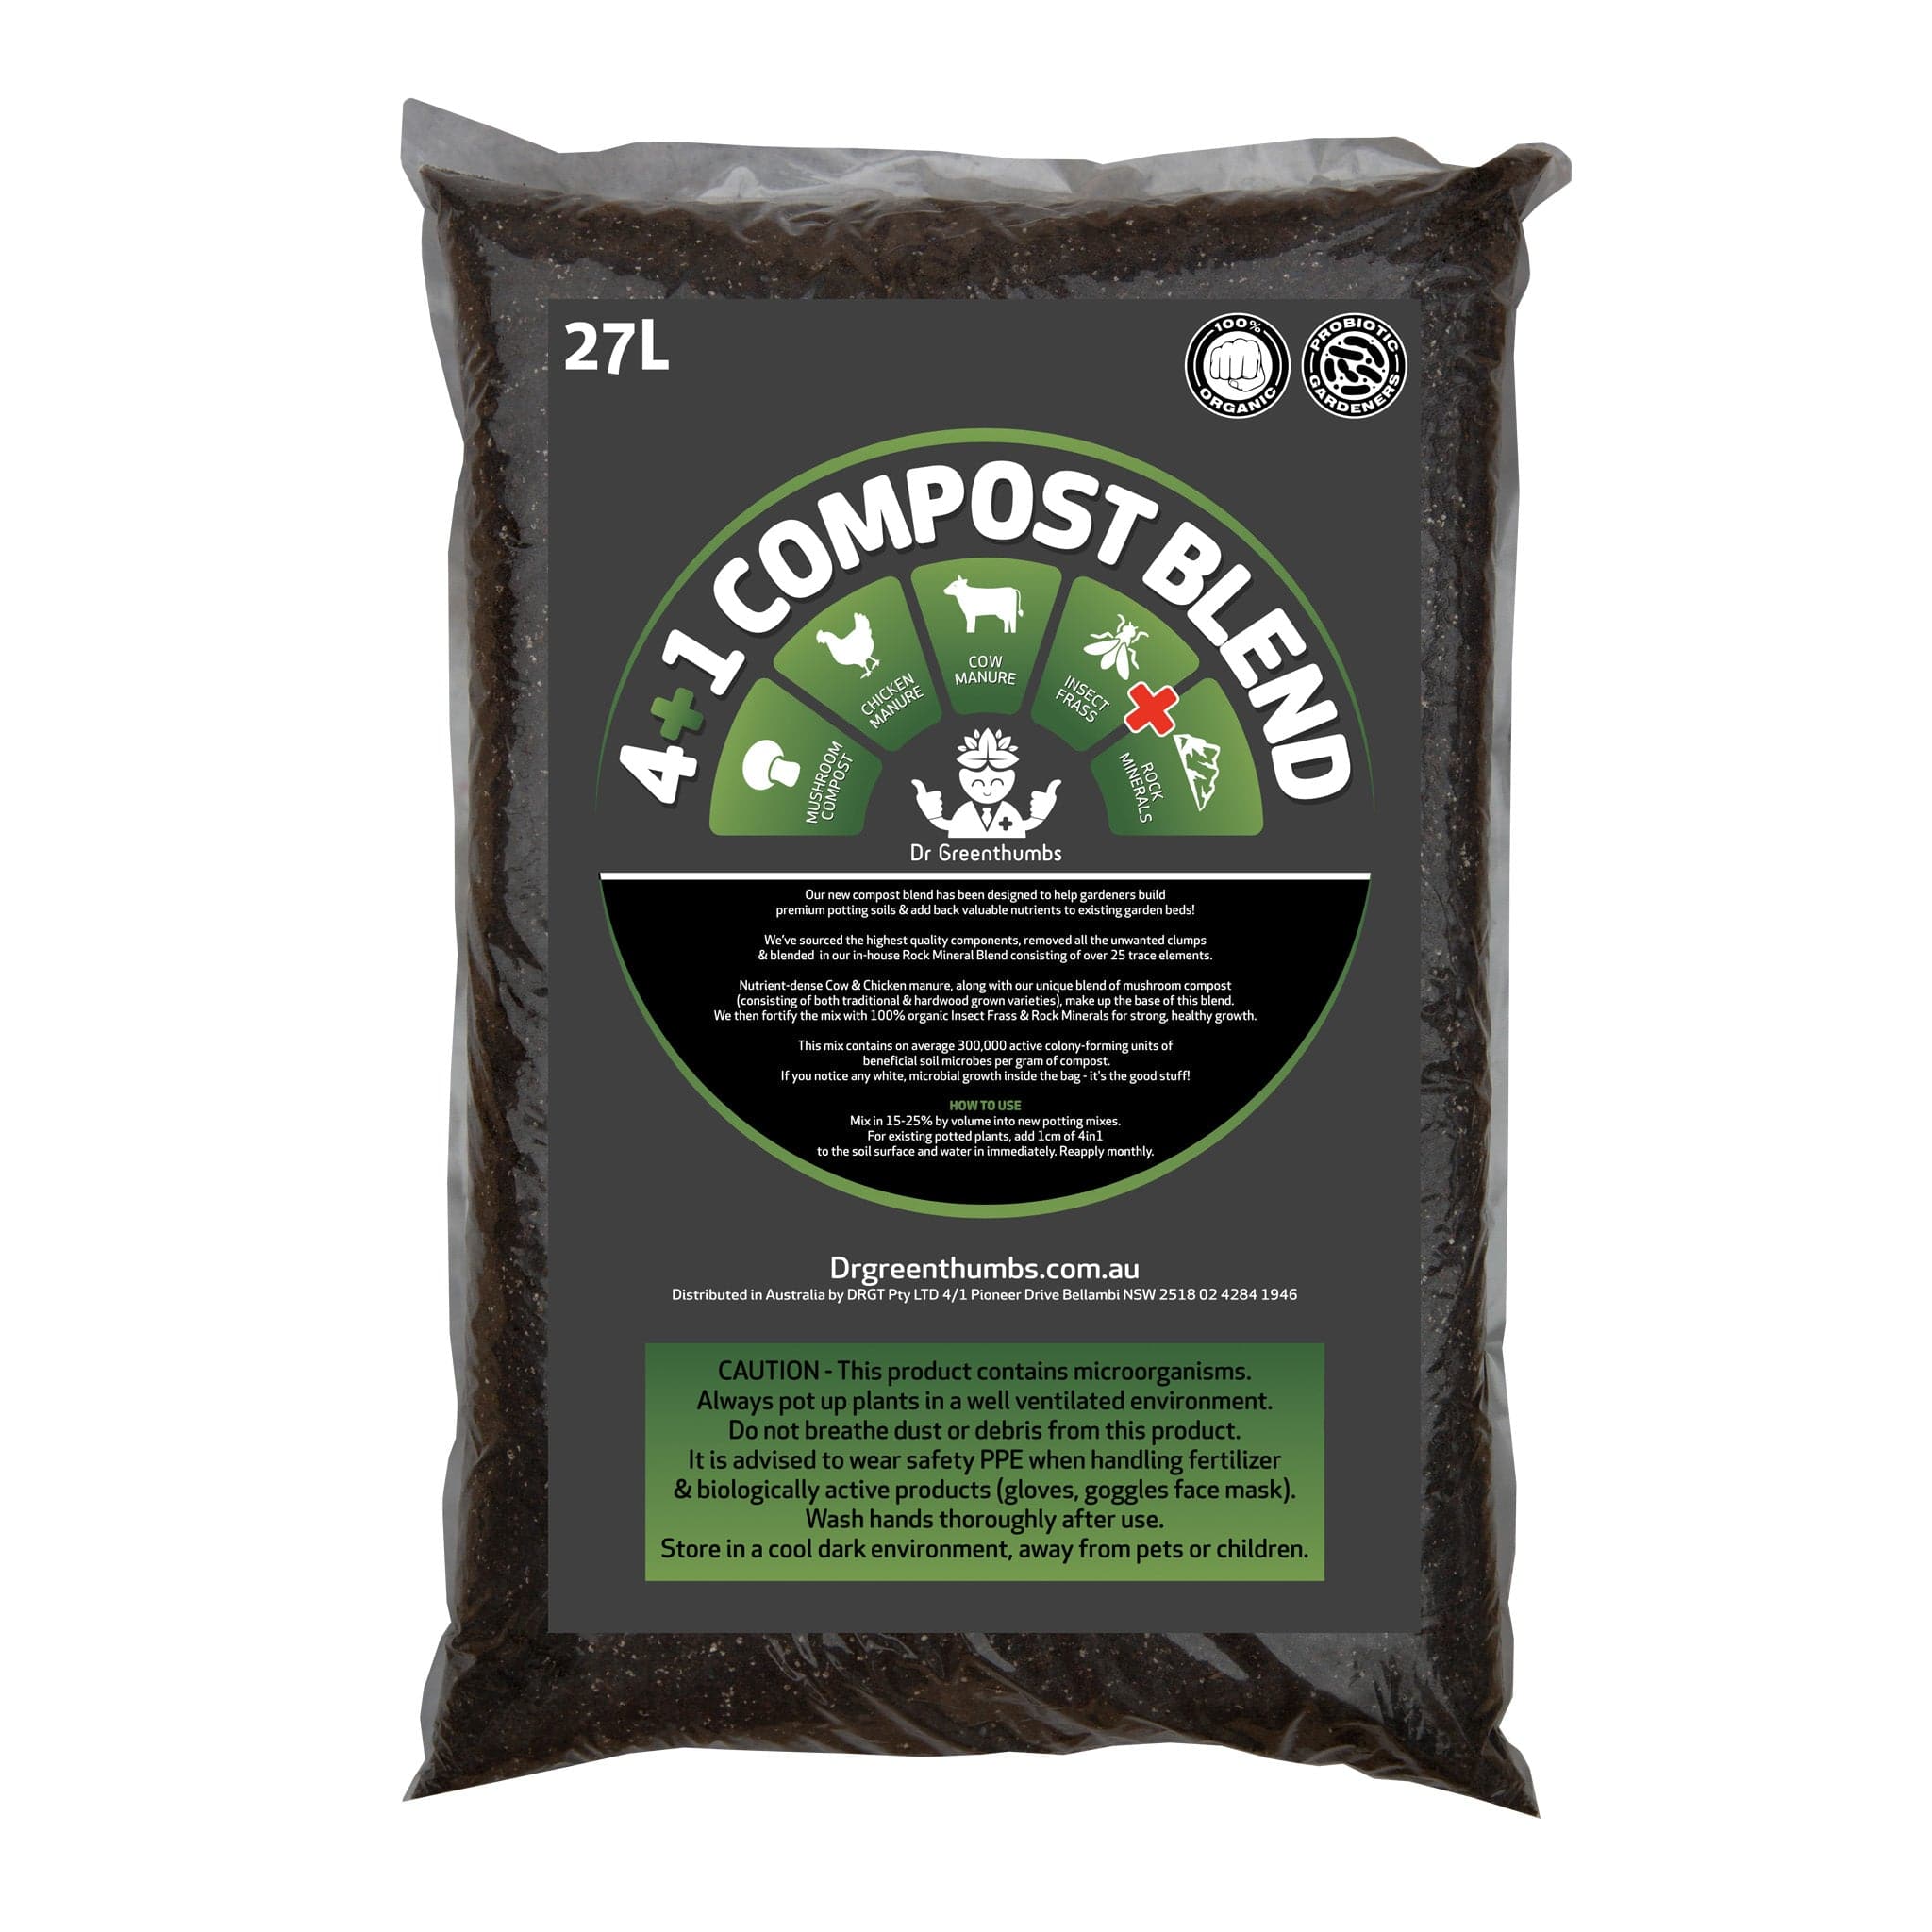
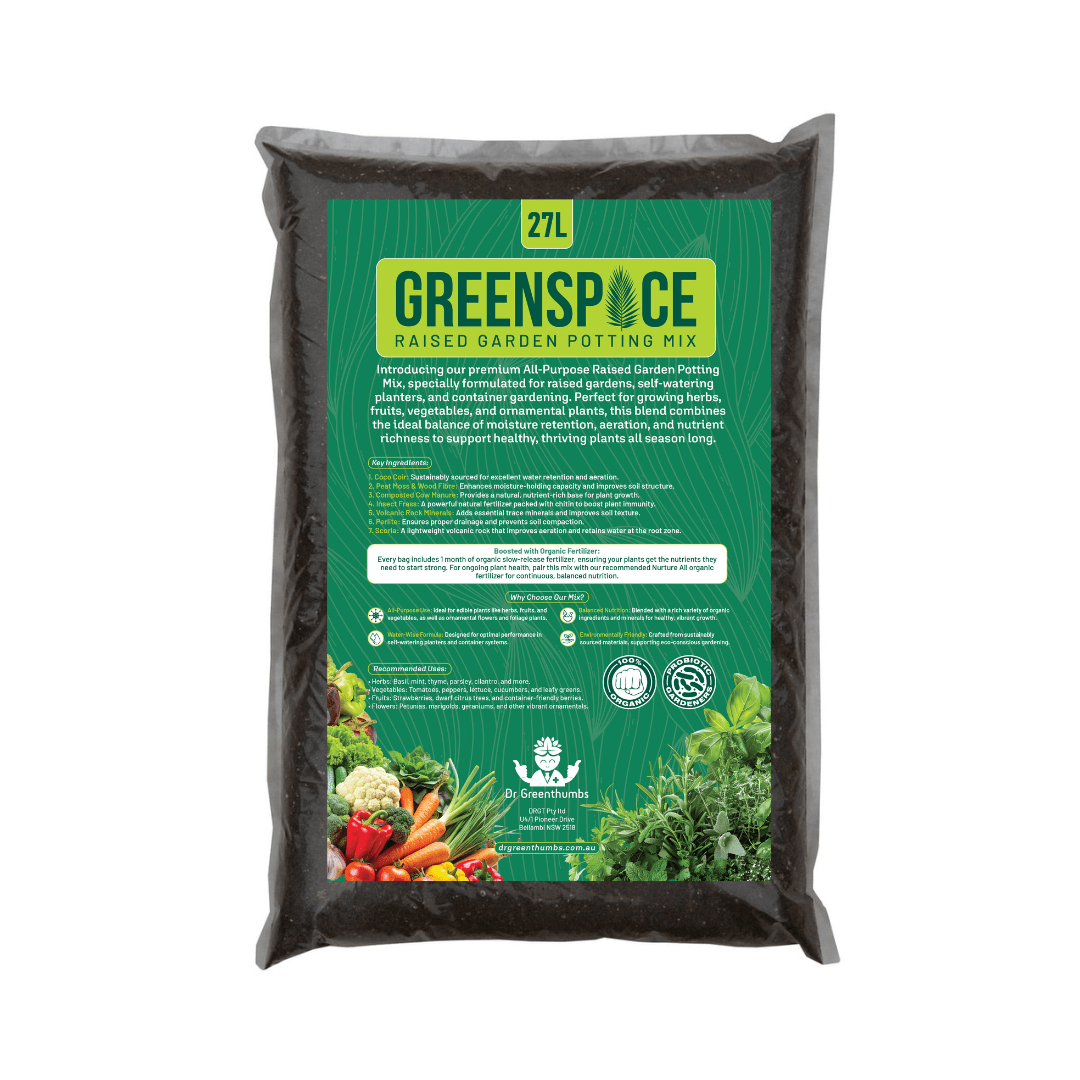
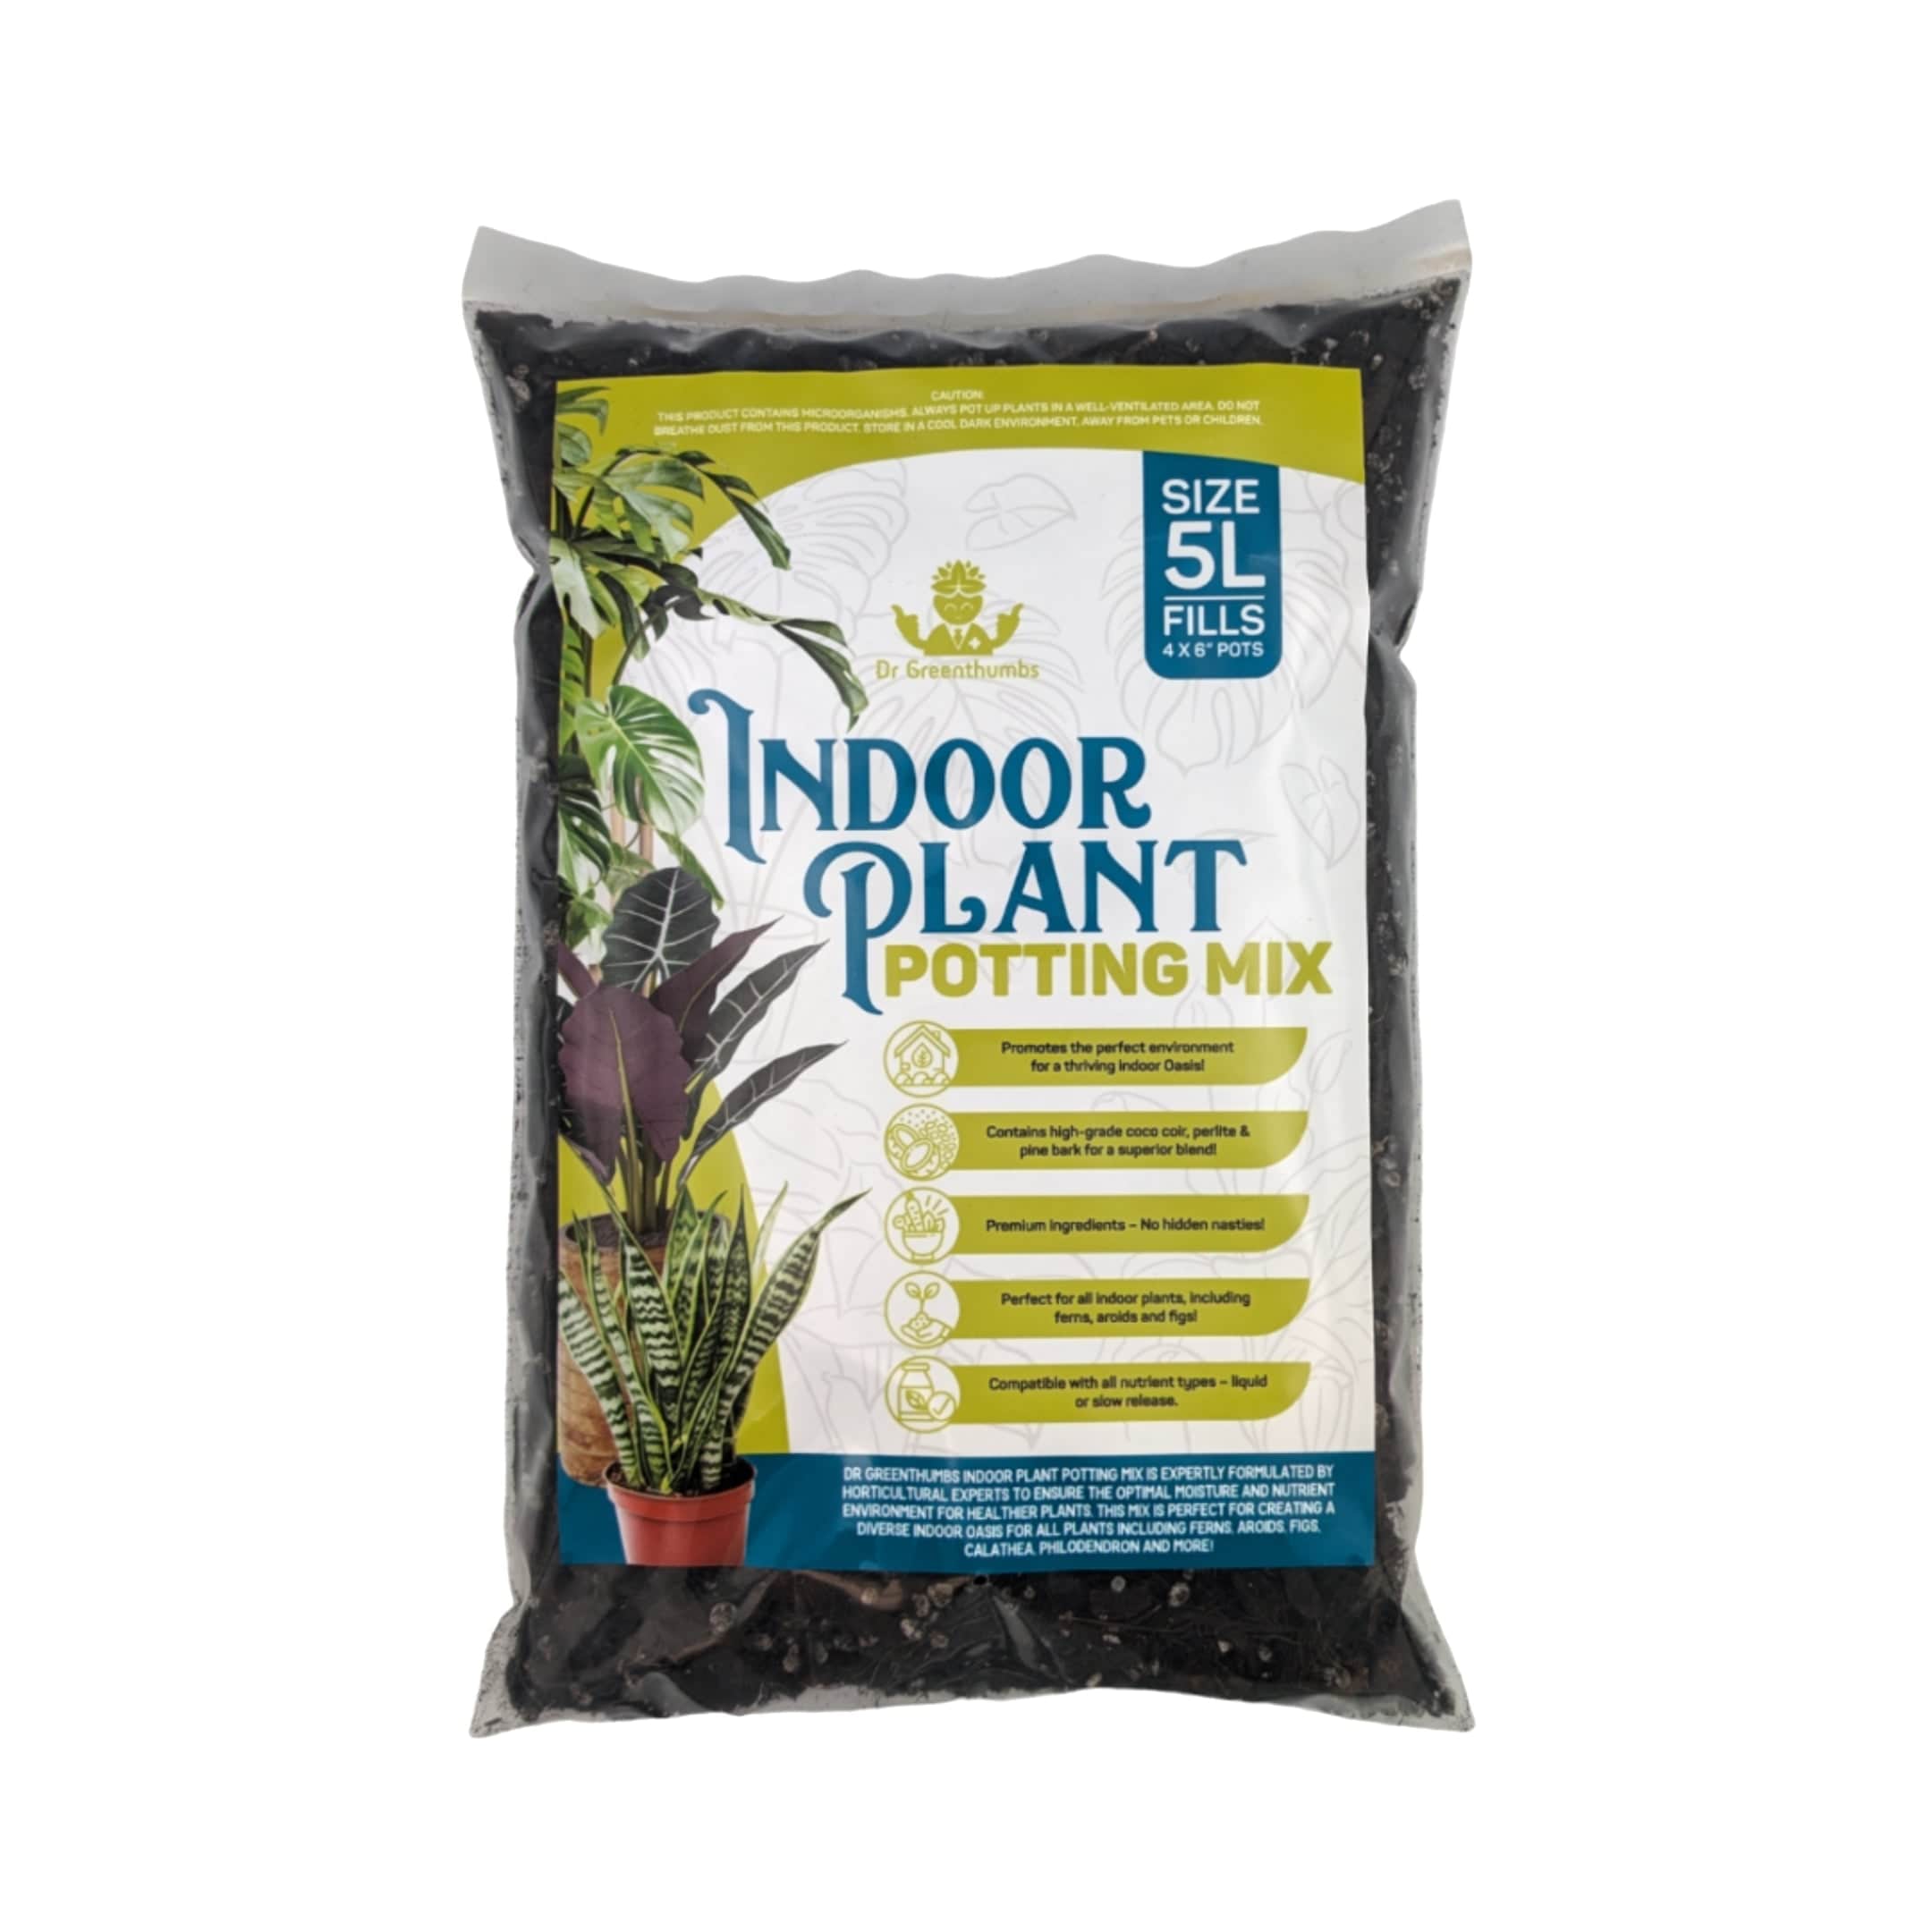
If you want the easiest way to grow a vibrant Peace Lily, these products do the heavy lifting:


Why “Normal” Potting Mix Fails
- Poor aeration: Standard mixes pack down, pushing out oxygen and inviting root rot.
- Waterlogging: Fines and peat hold too much moisture for aroid roots.
- Compaction over time: Fine particles break down, turning the root zone into sludge.
Peace lilies hail from rainforest floors where fallen leaves, bark and chunky debris keep the soil loose, airy and quick-draining. Mimic that and you’re golden.
The same chunky structure also suits many other aroids, because it keeps the root zone airy instead of compacted.
The Perfect Peace Lily Soil — Key Ingredients
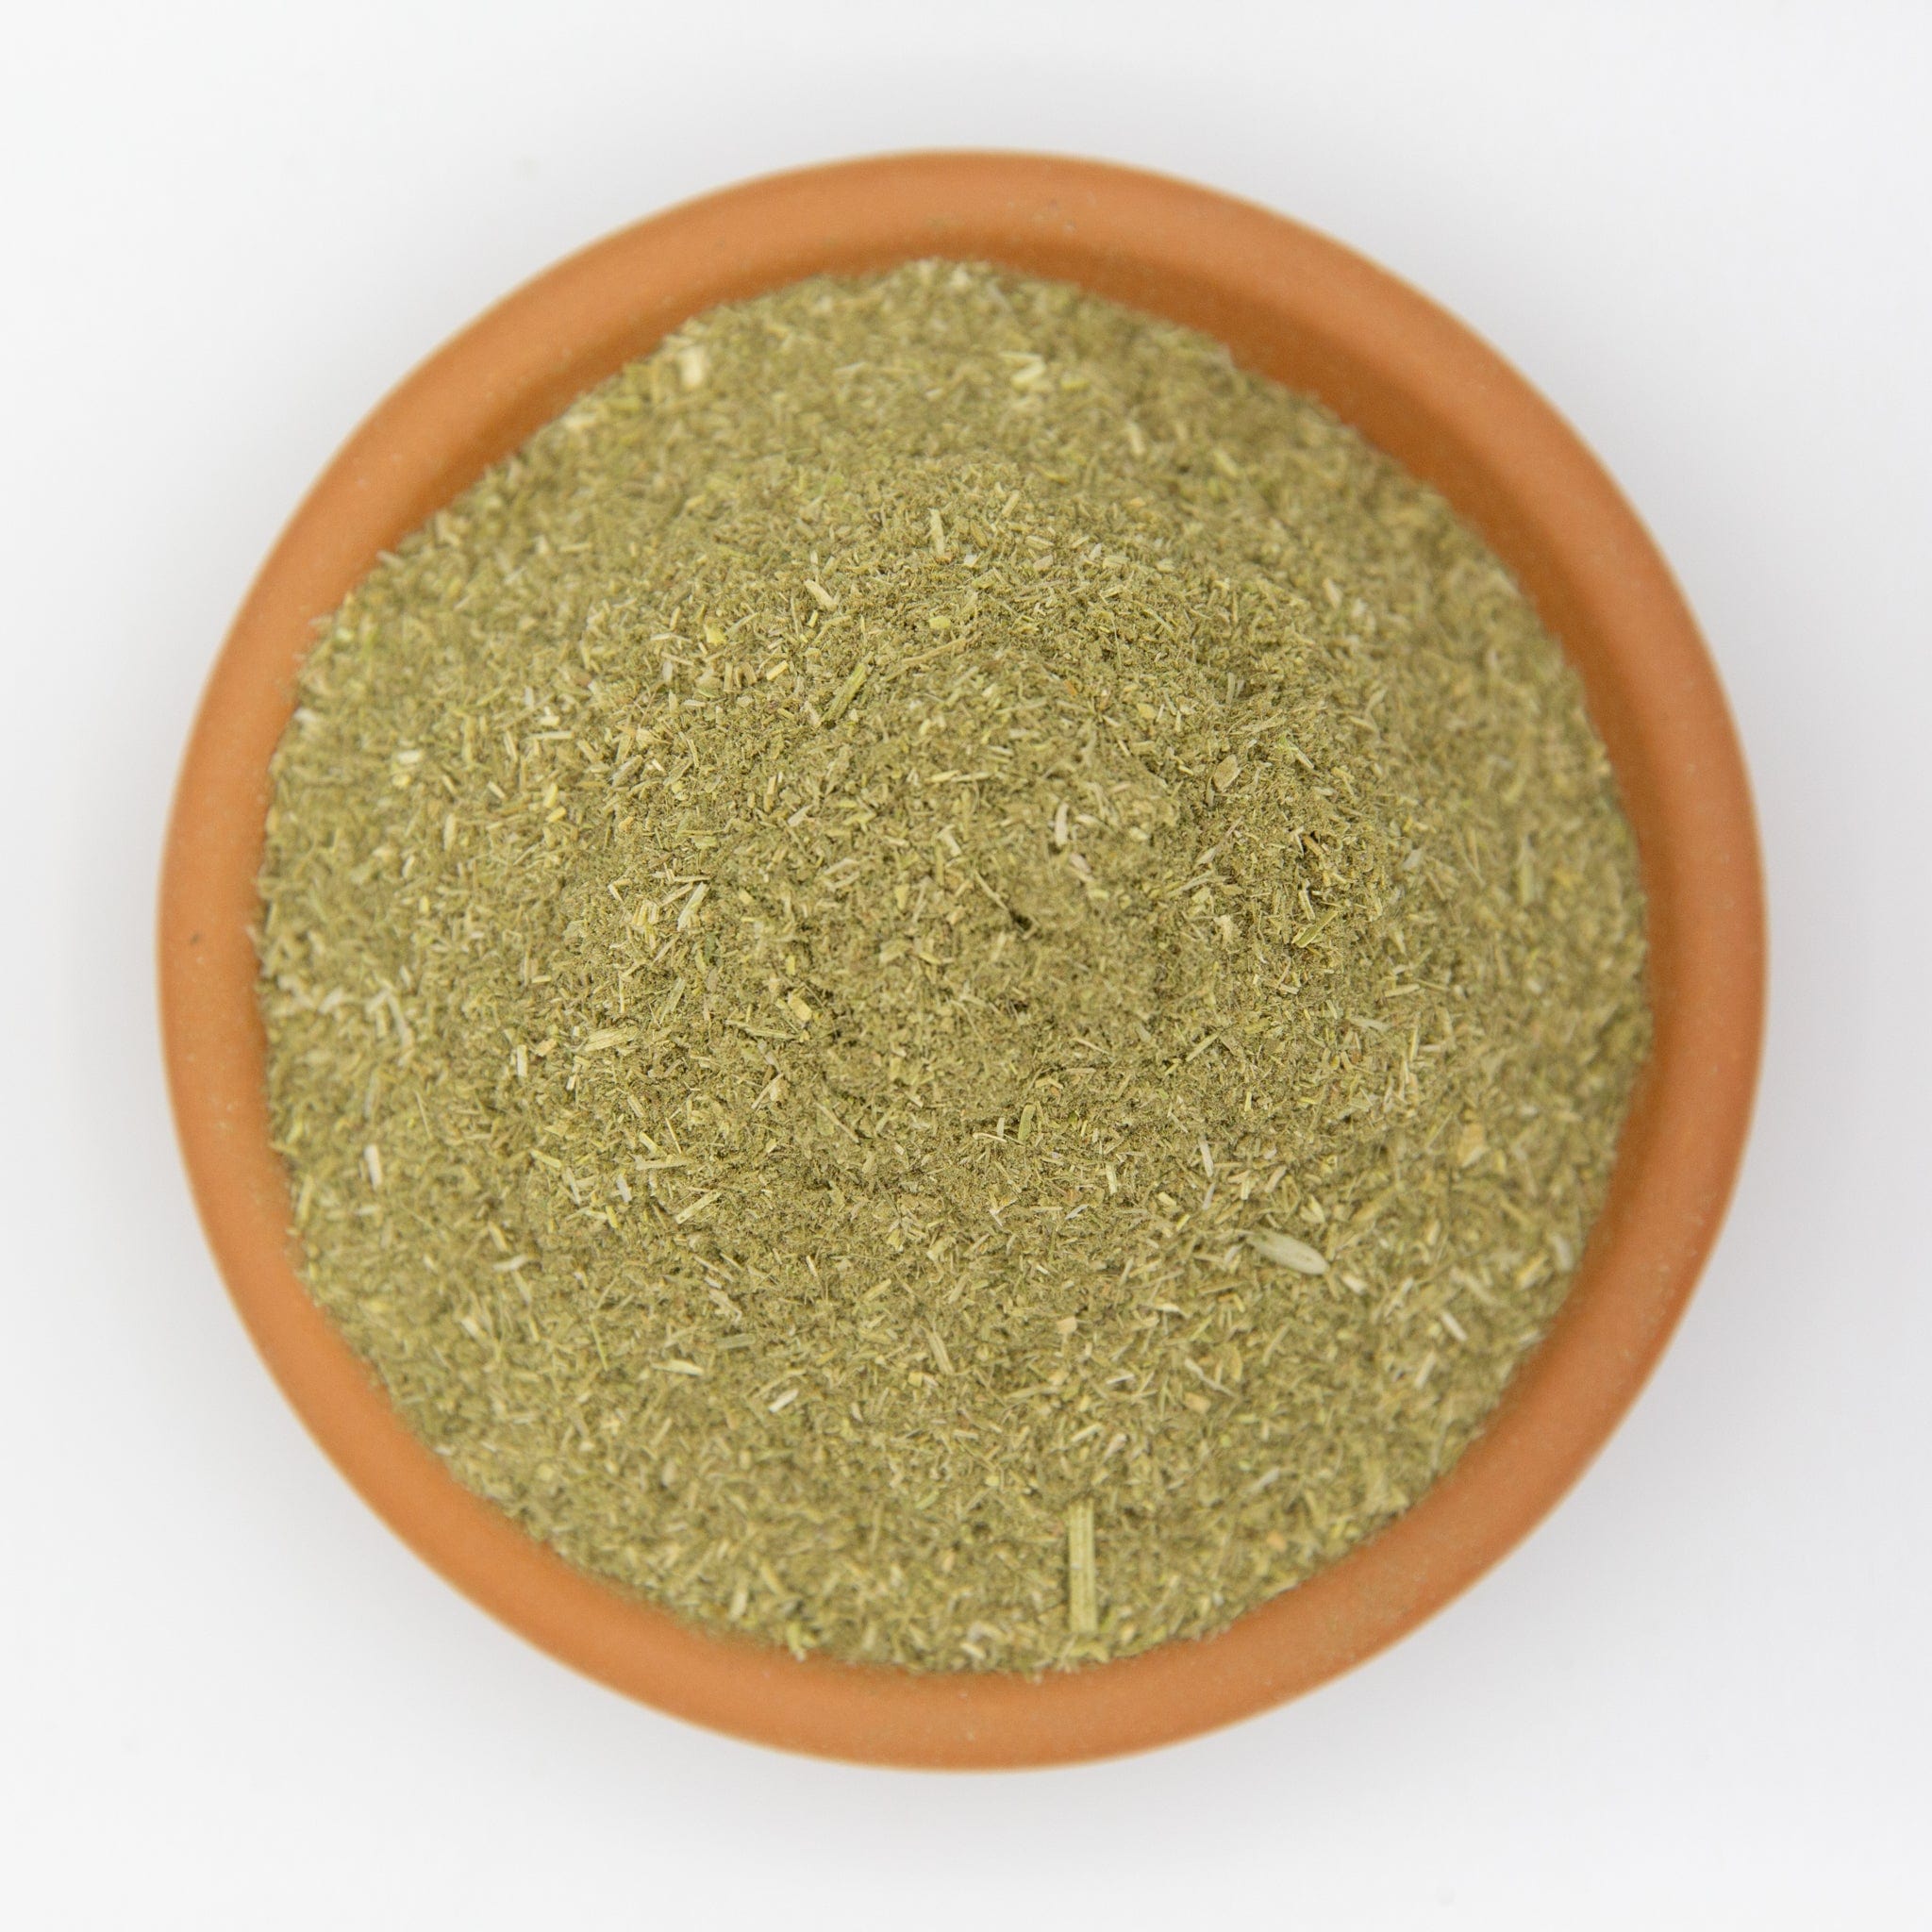
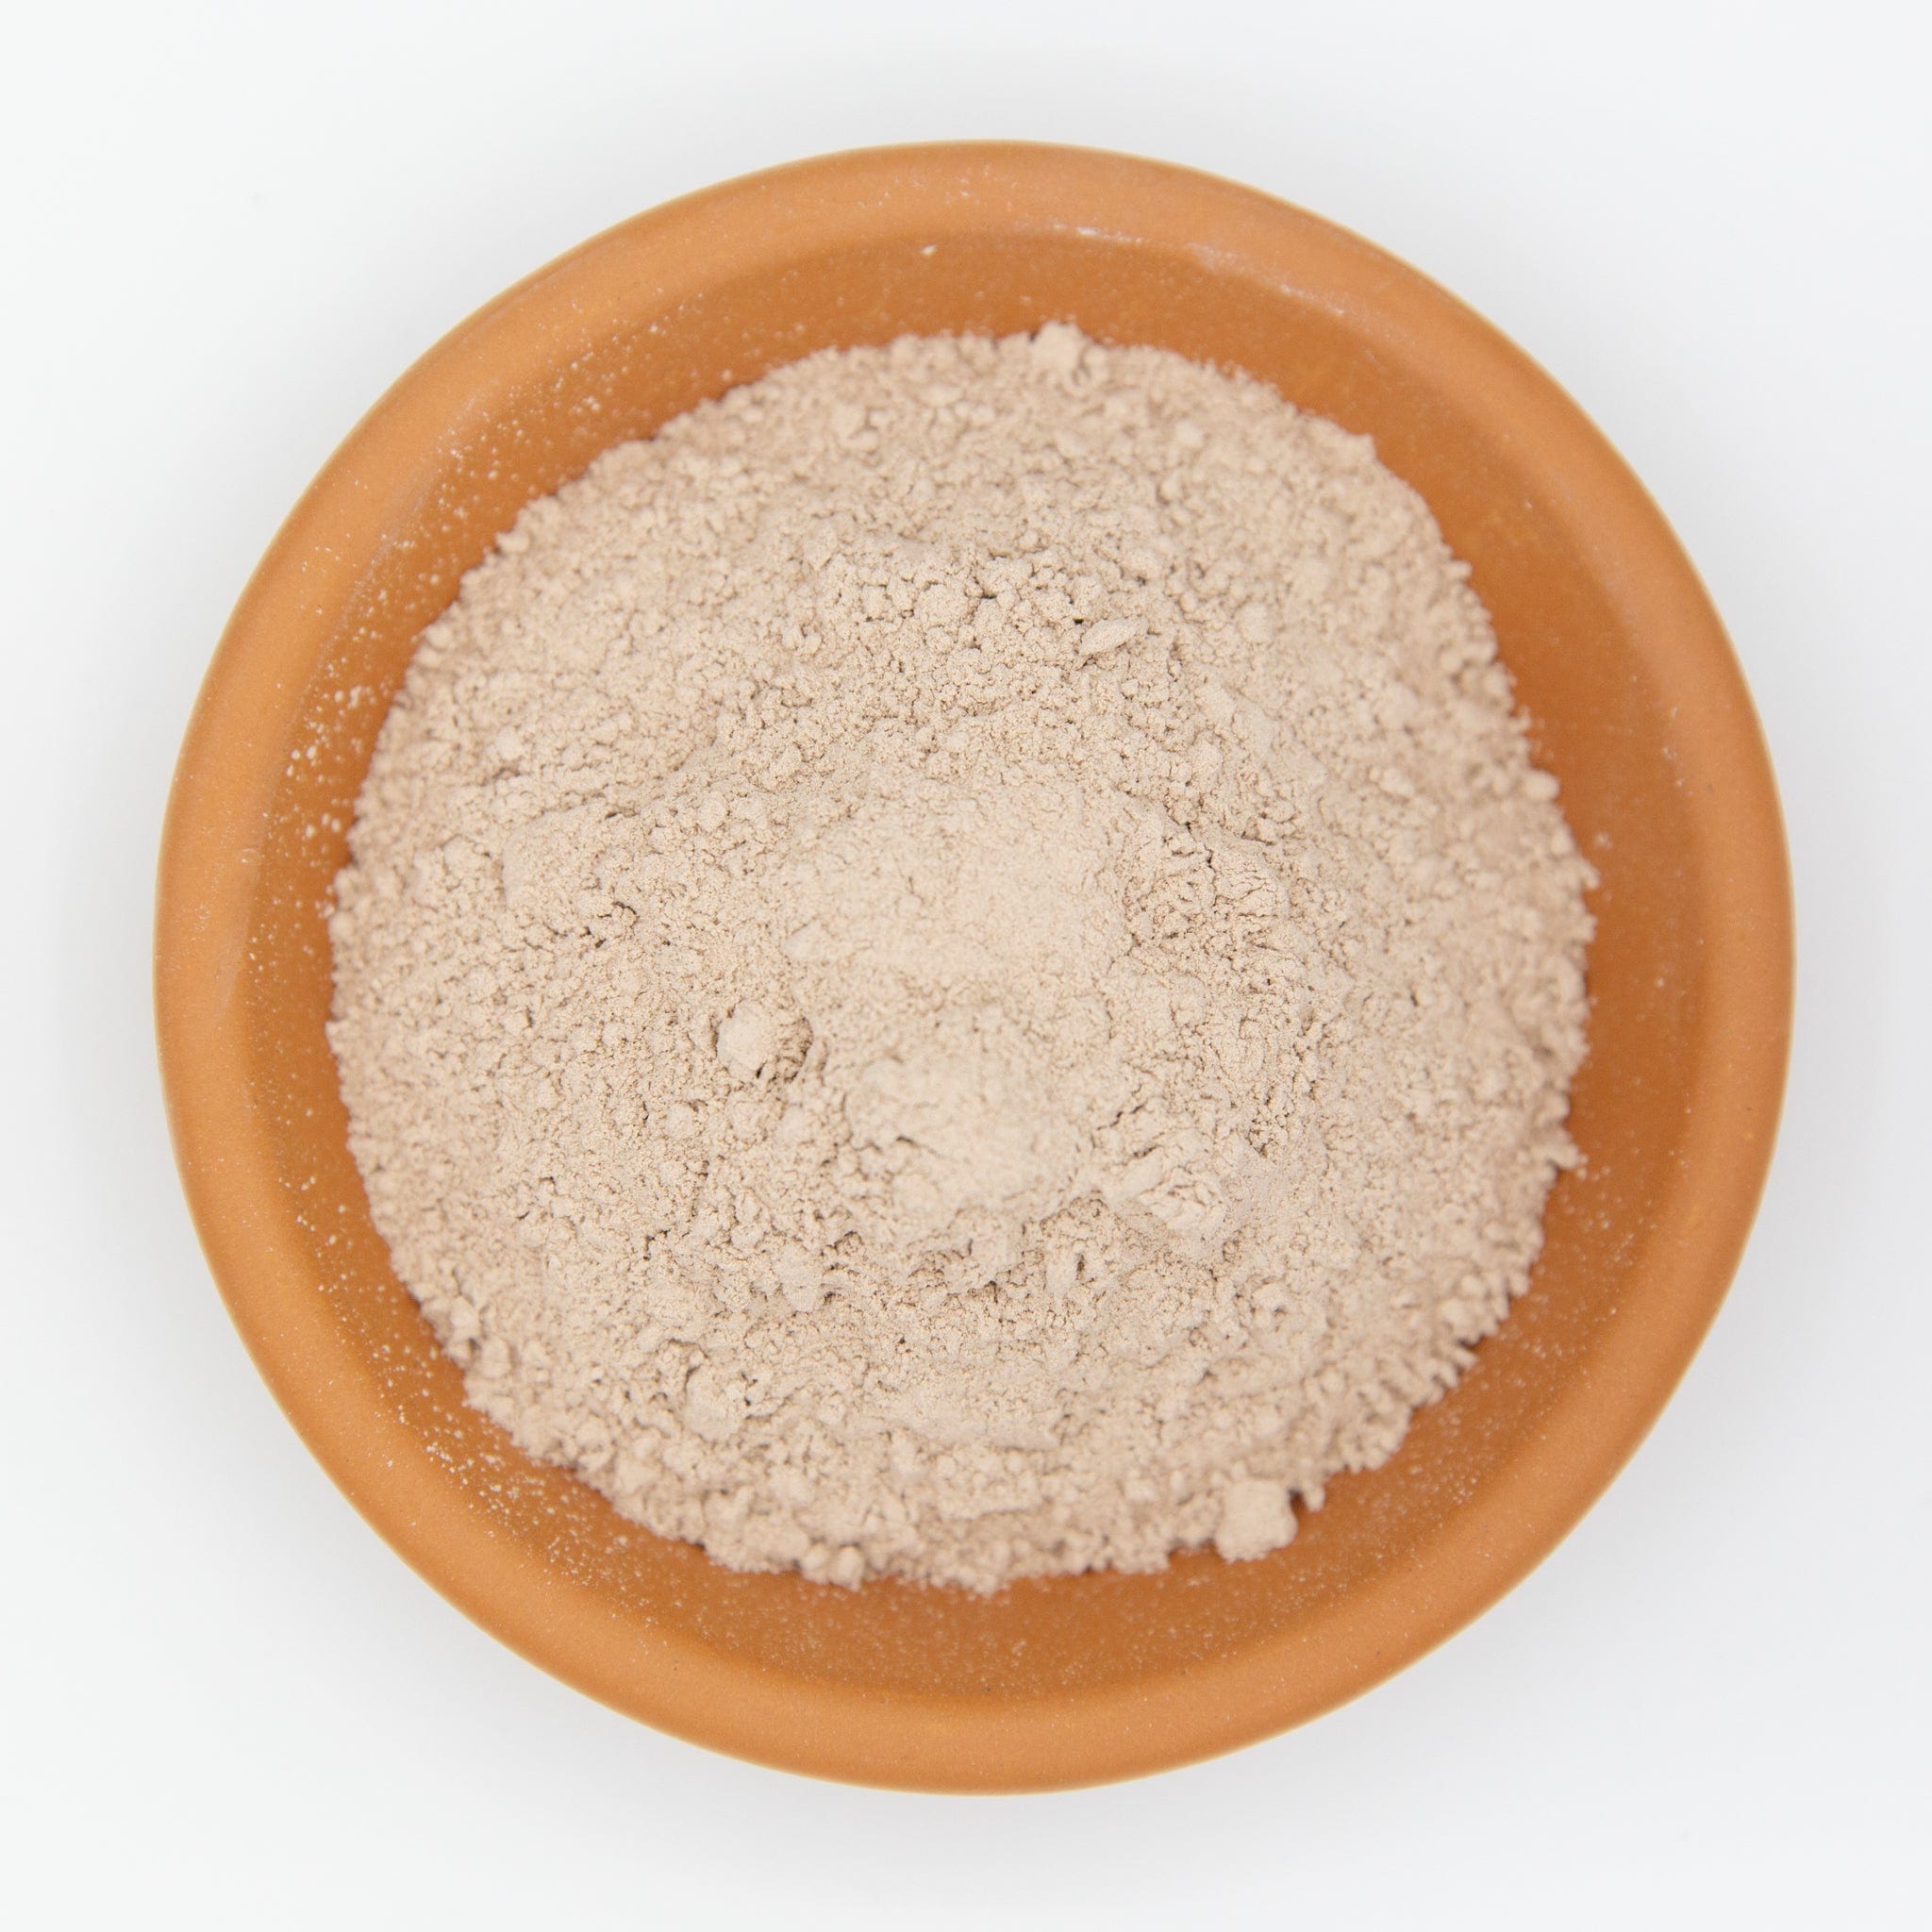
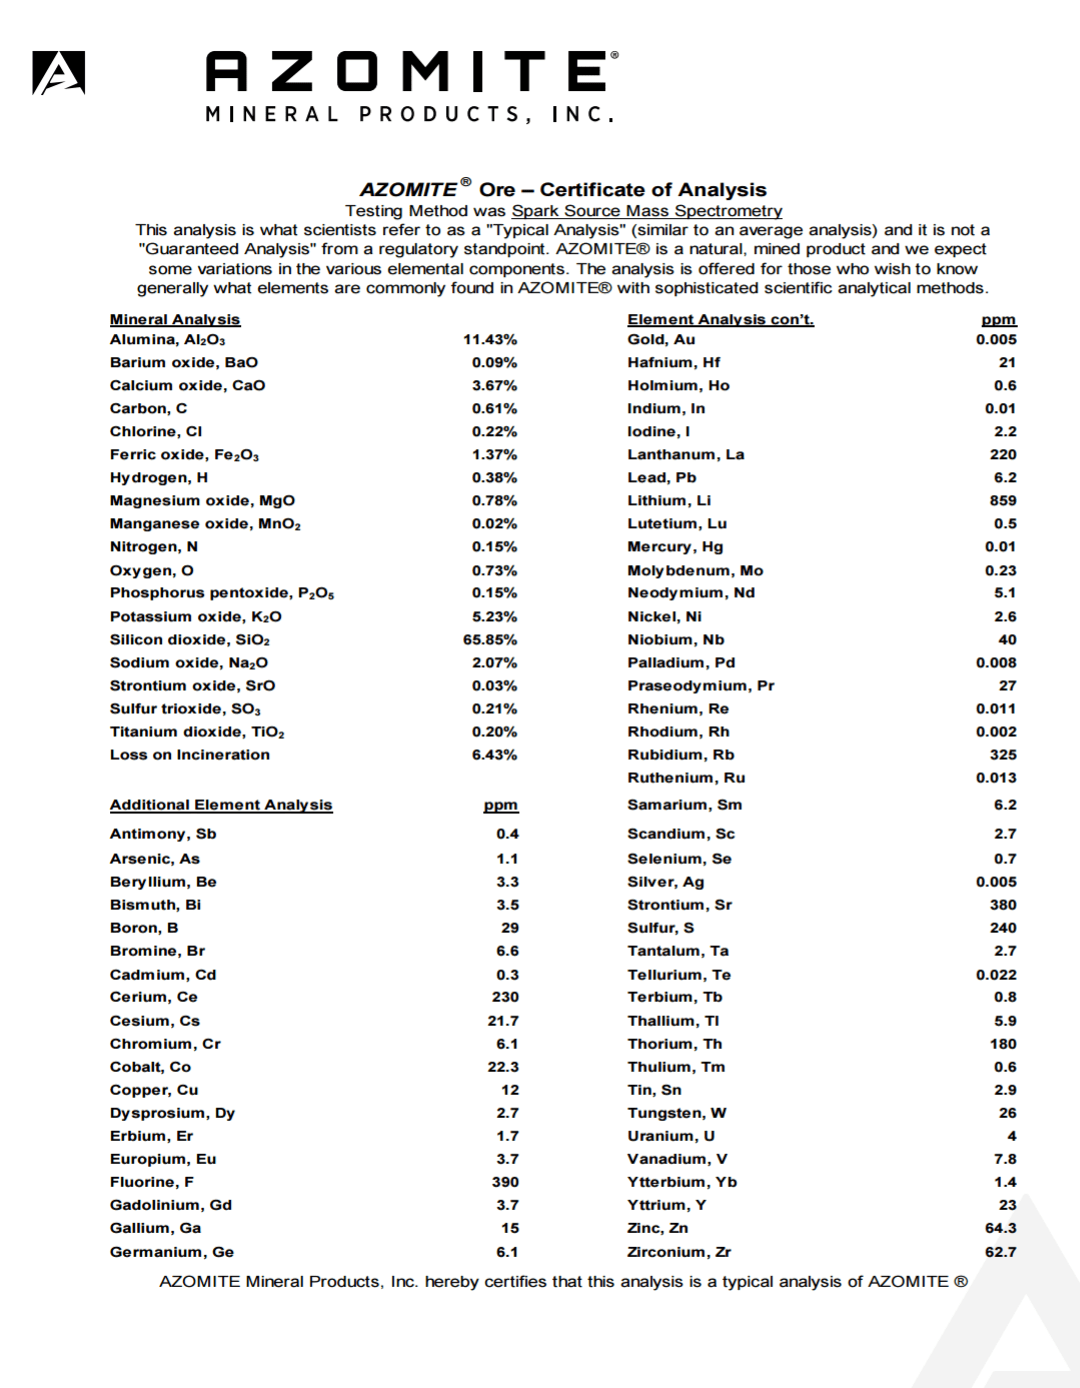
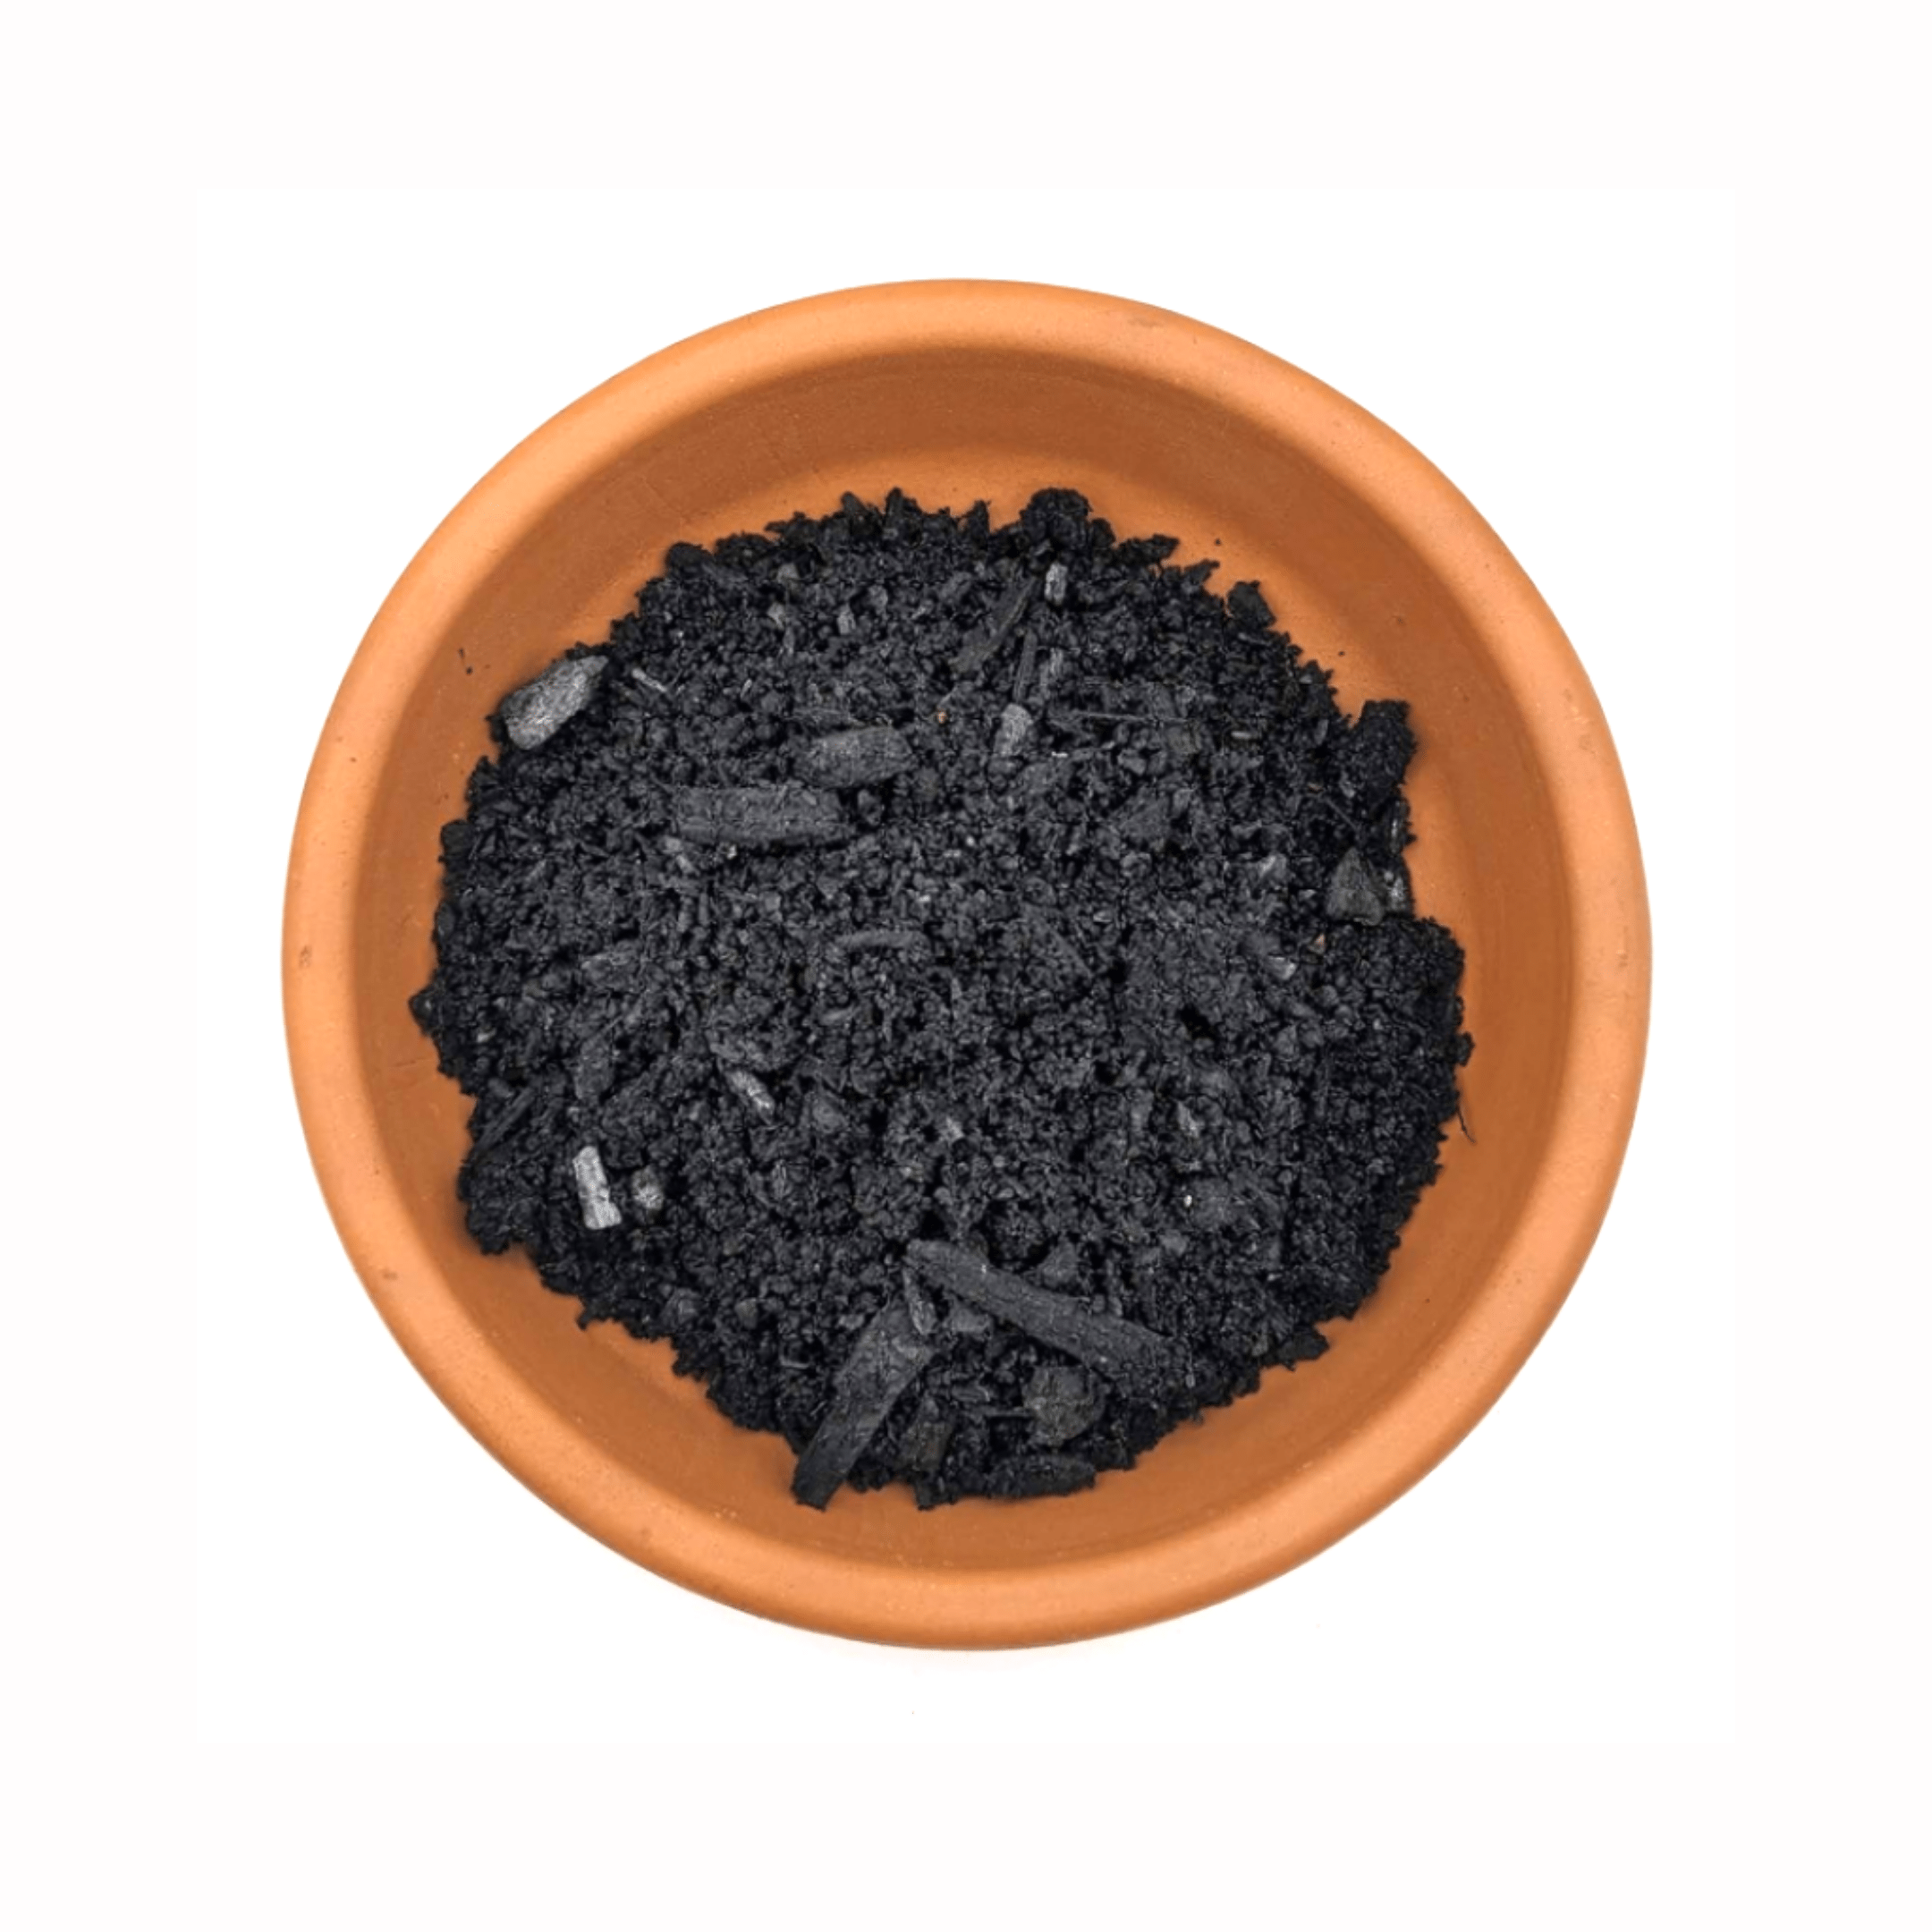
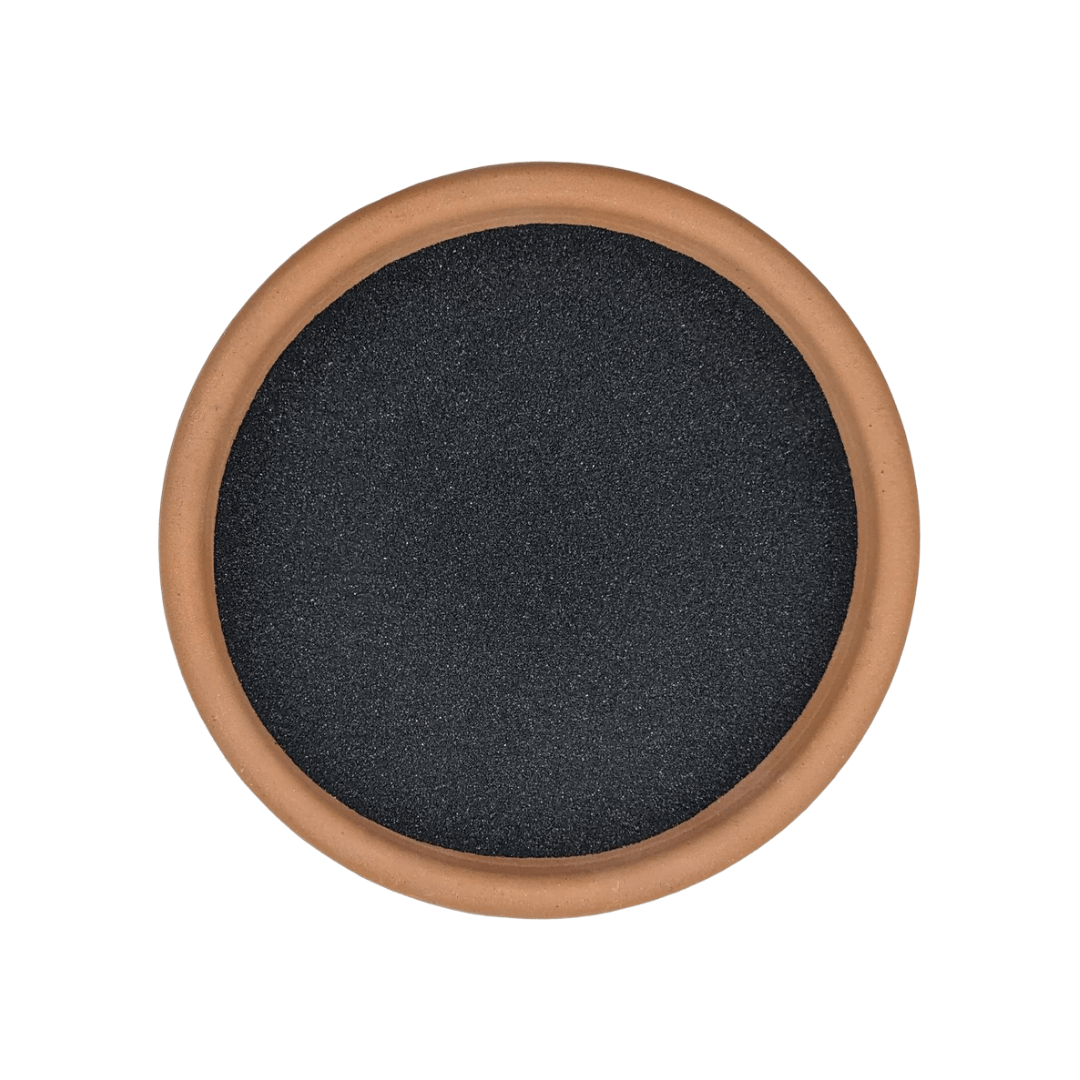
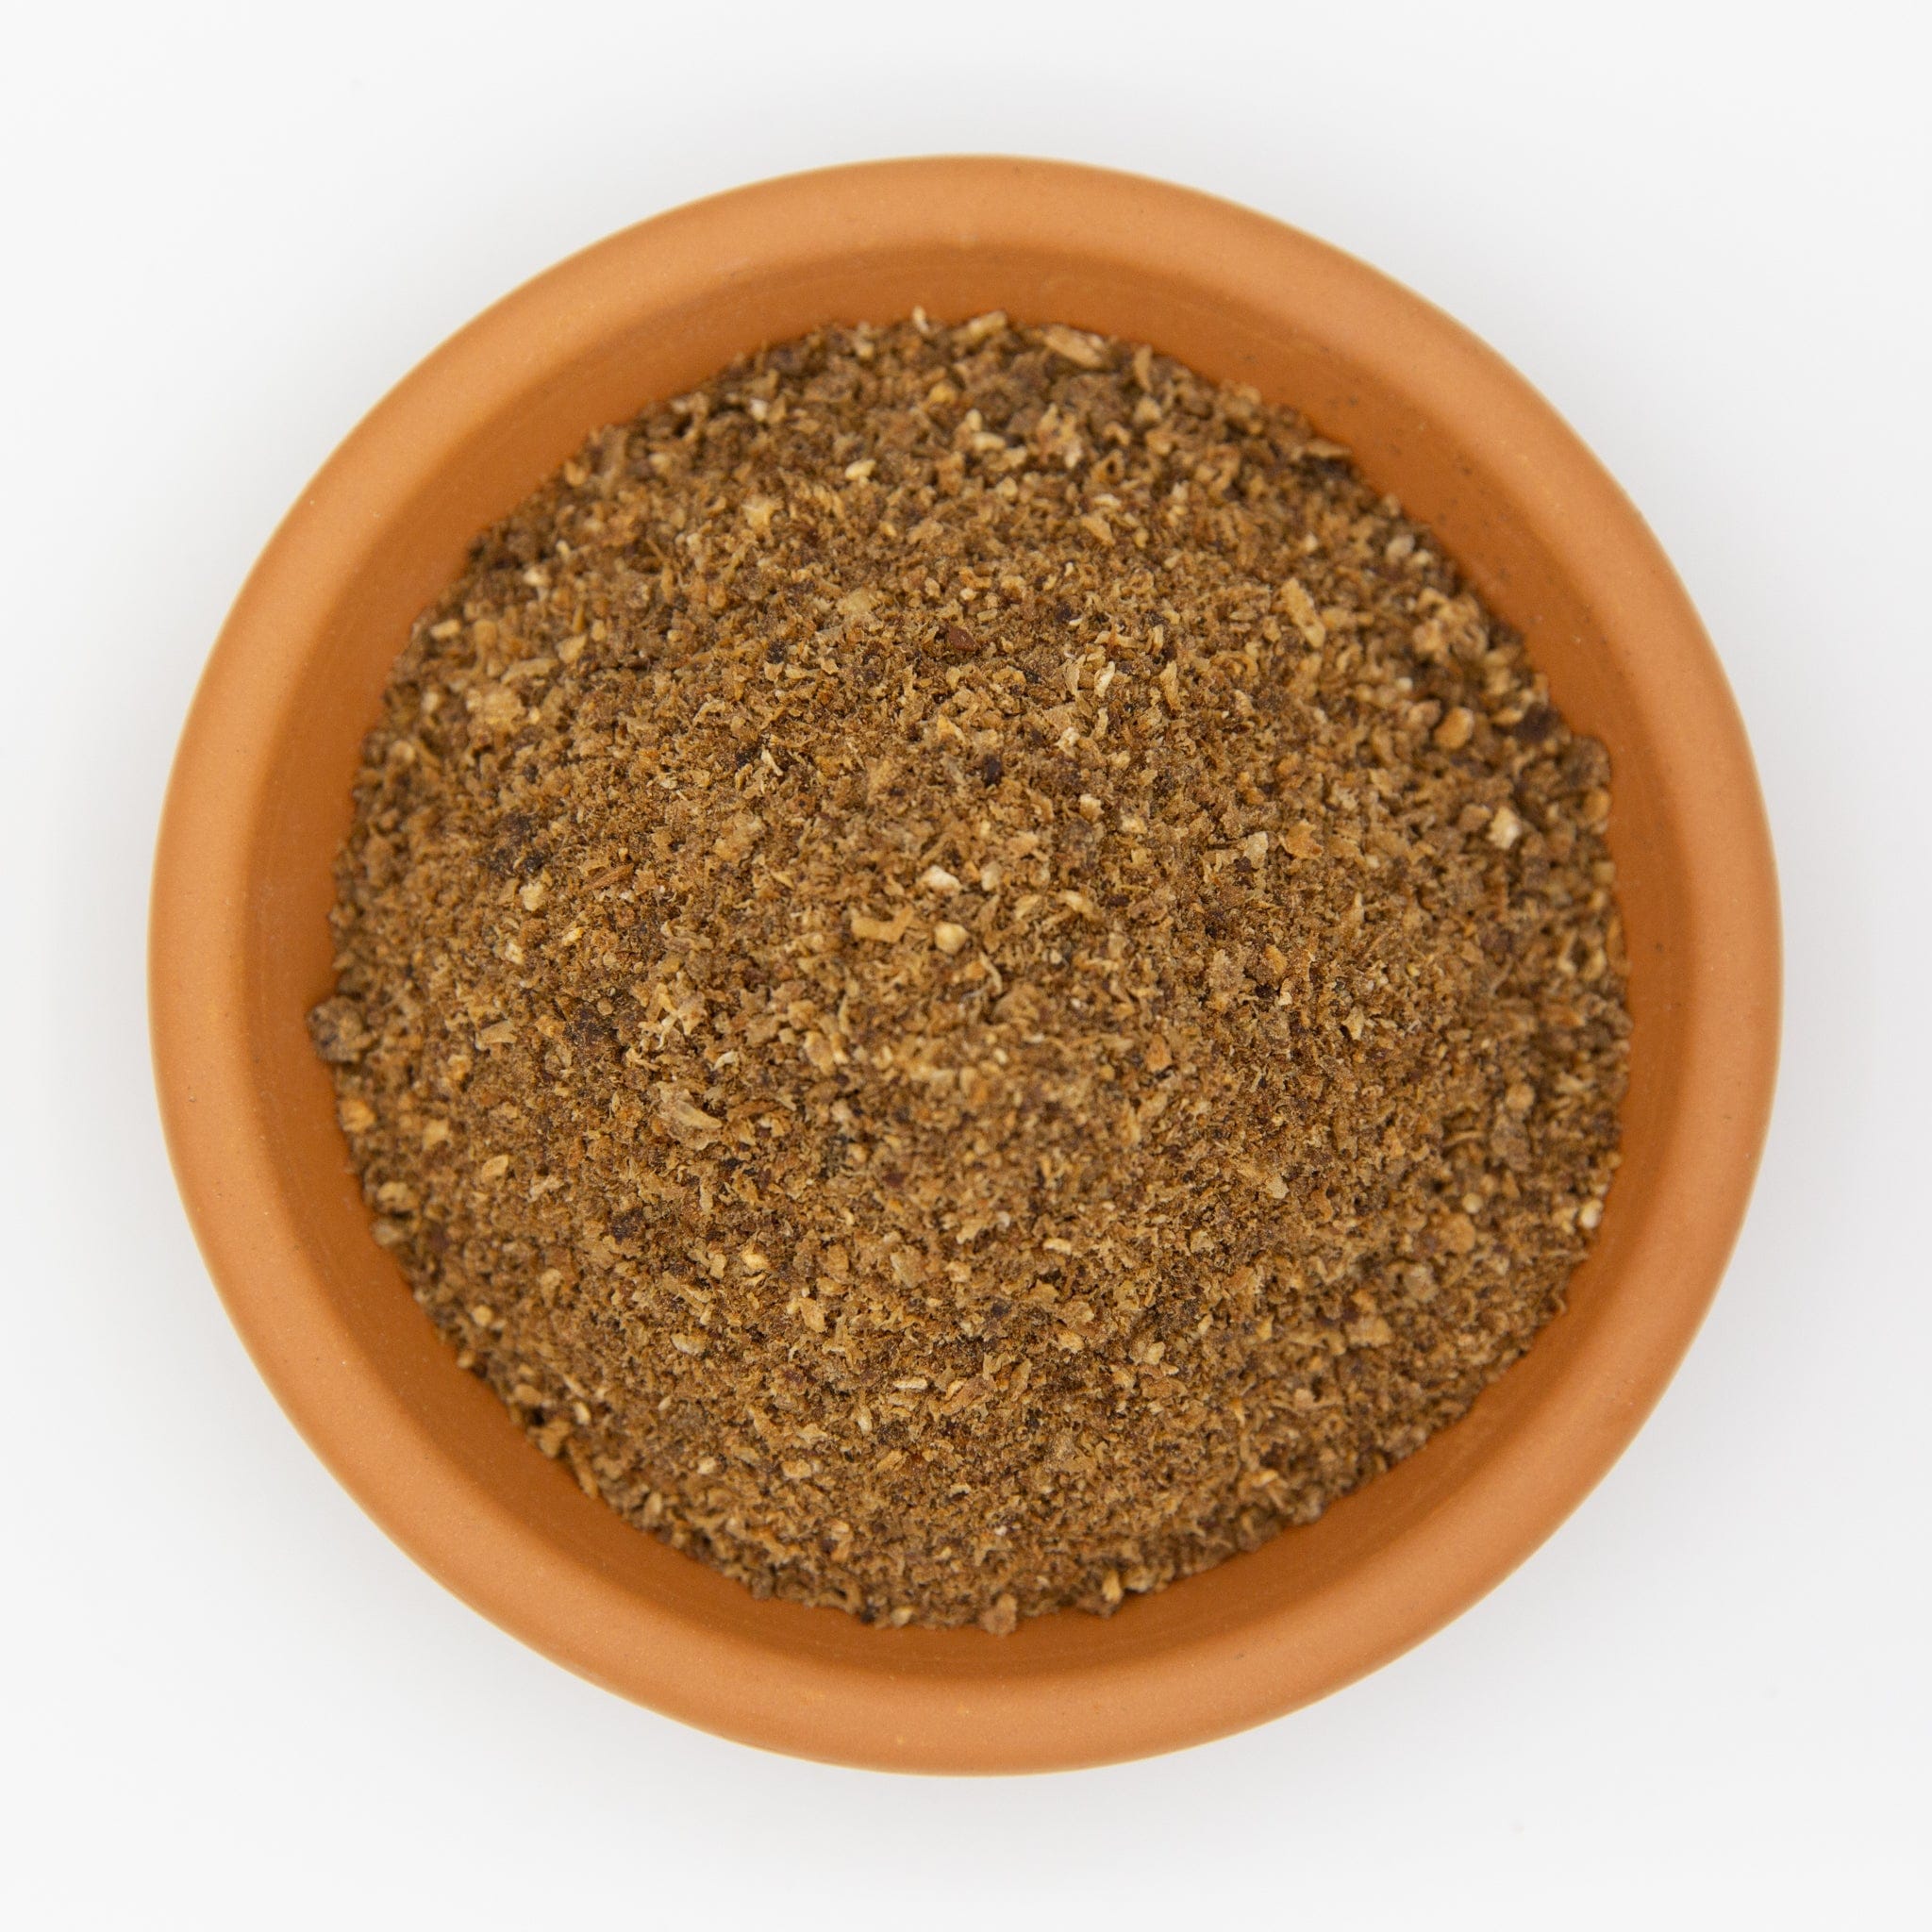
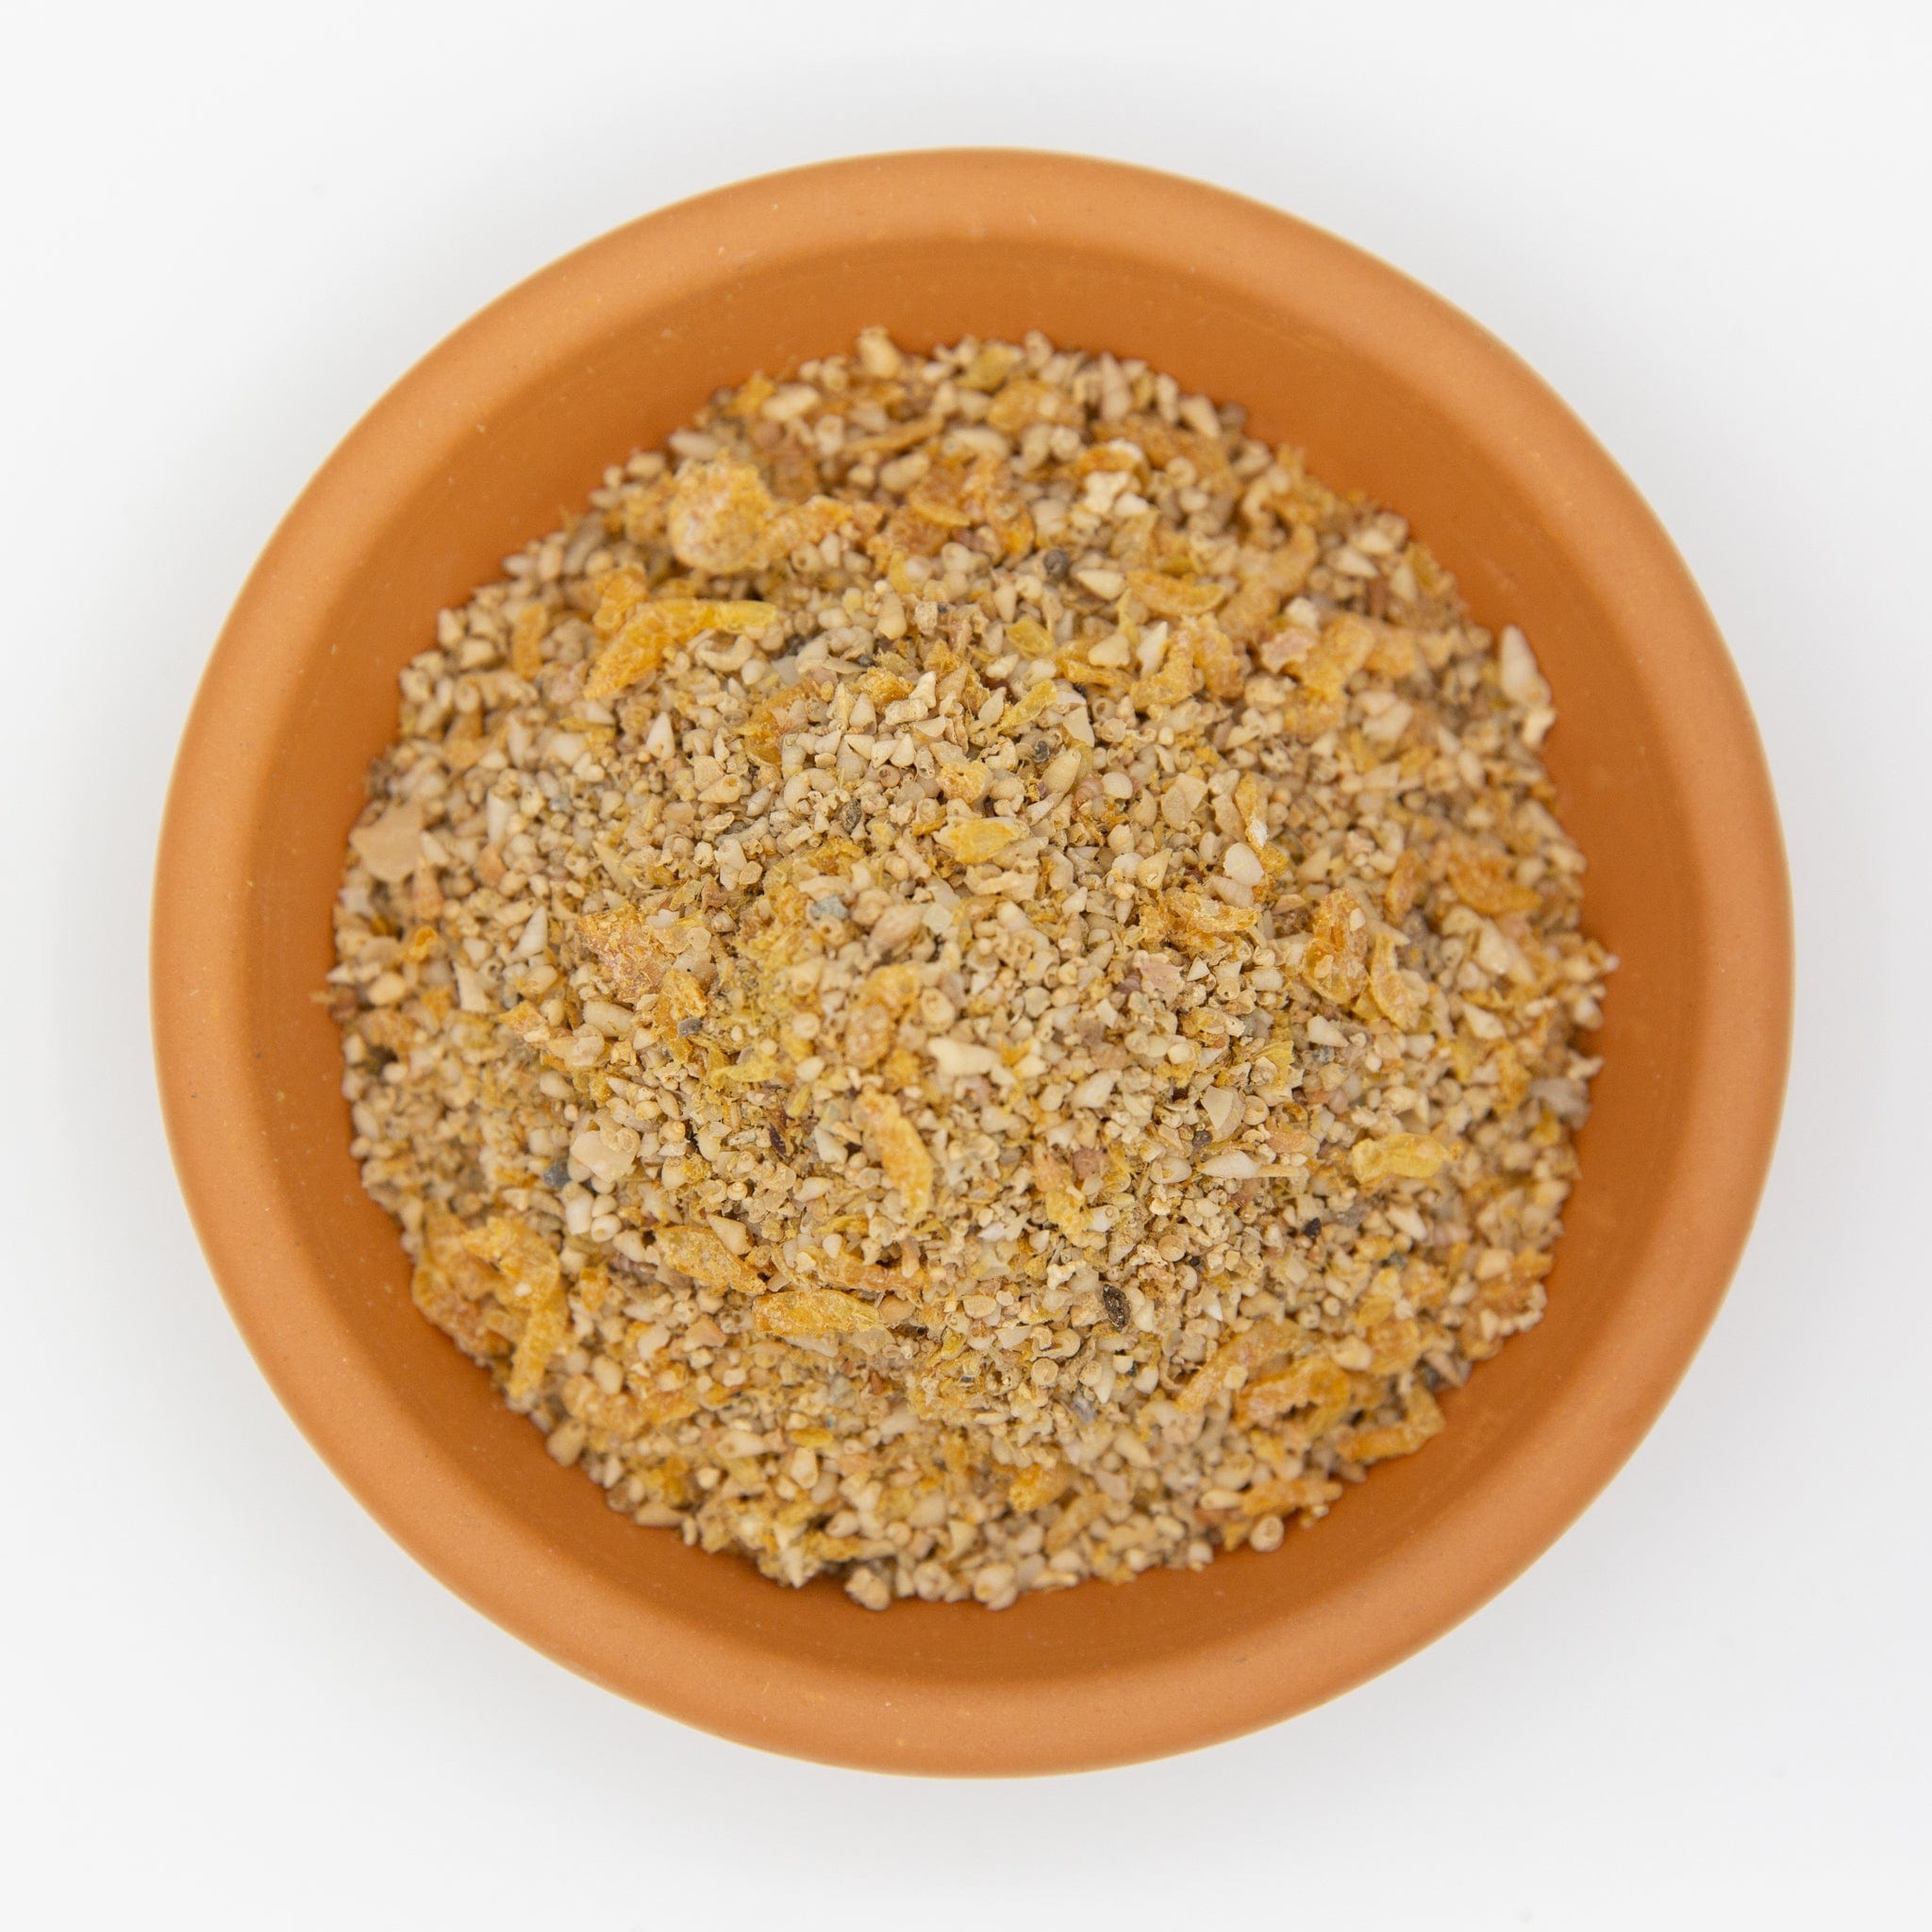
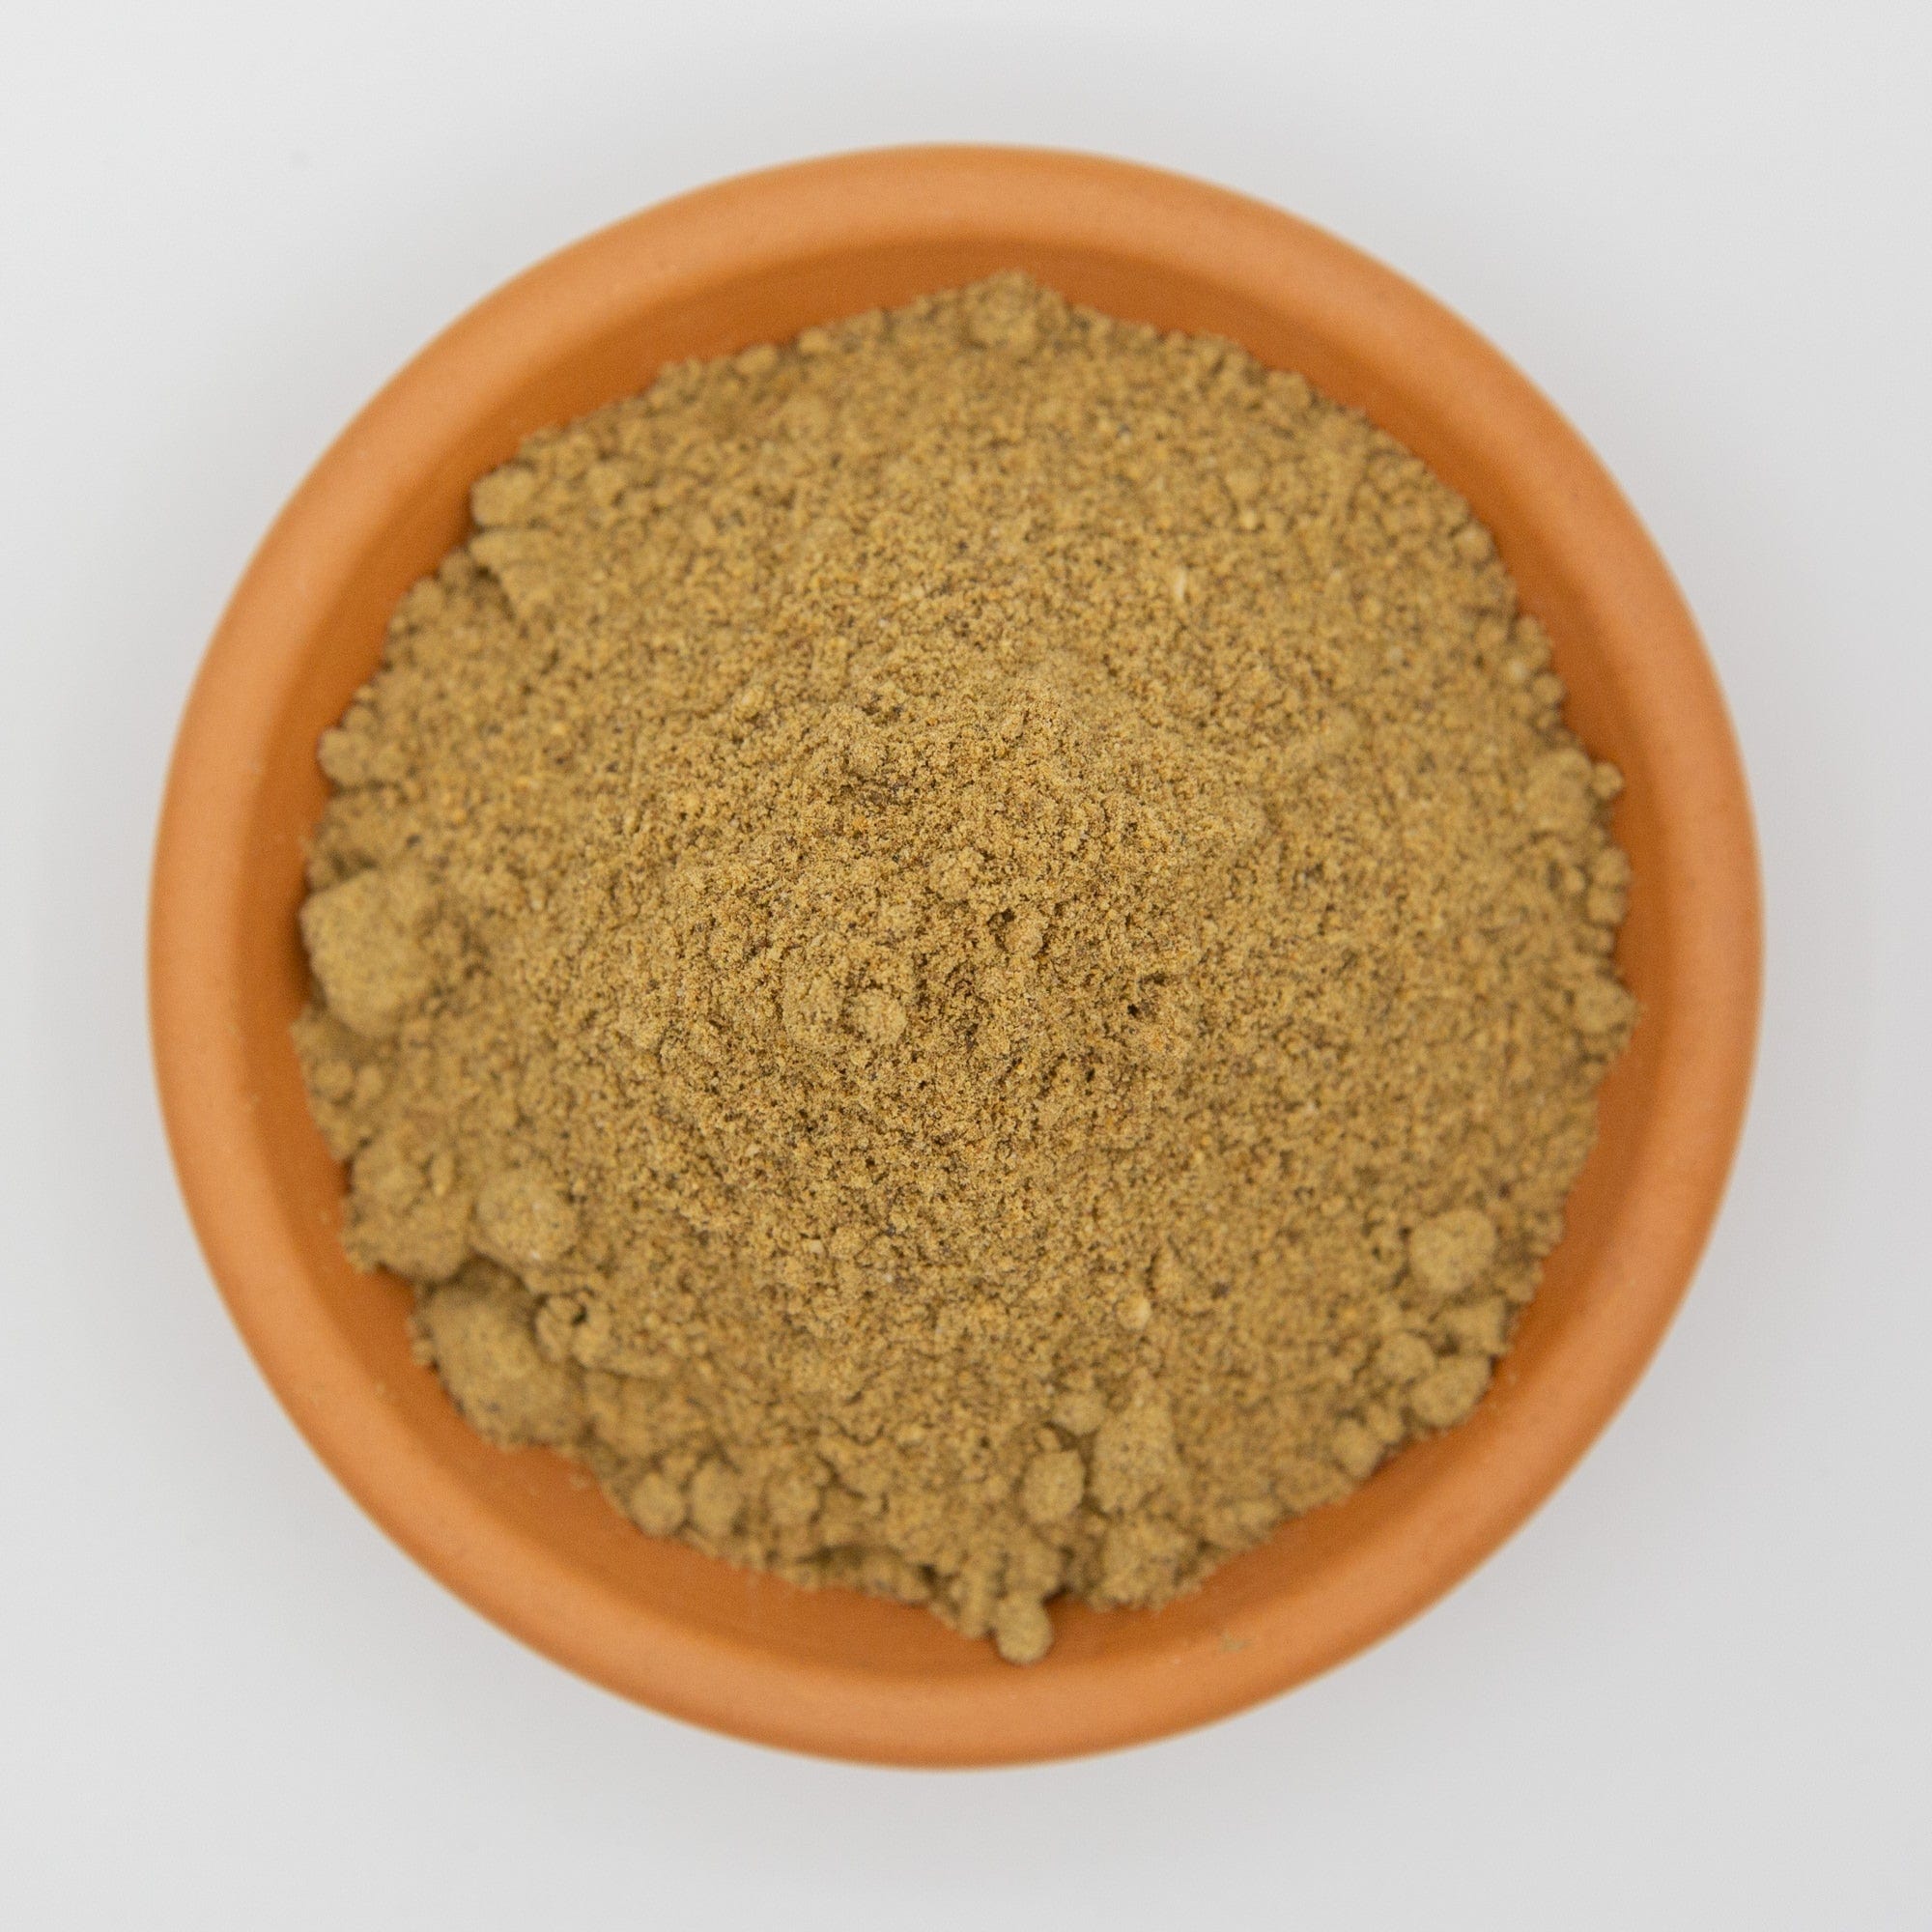
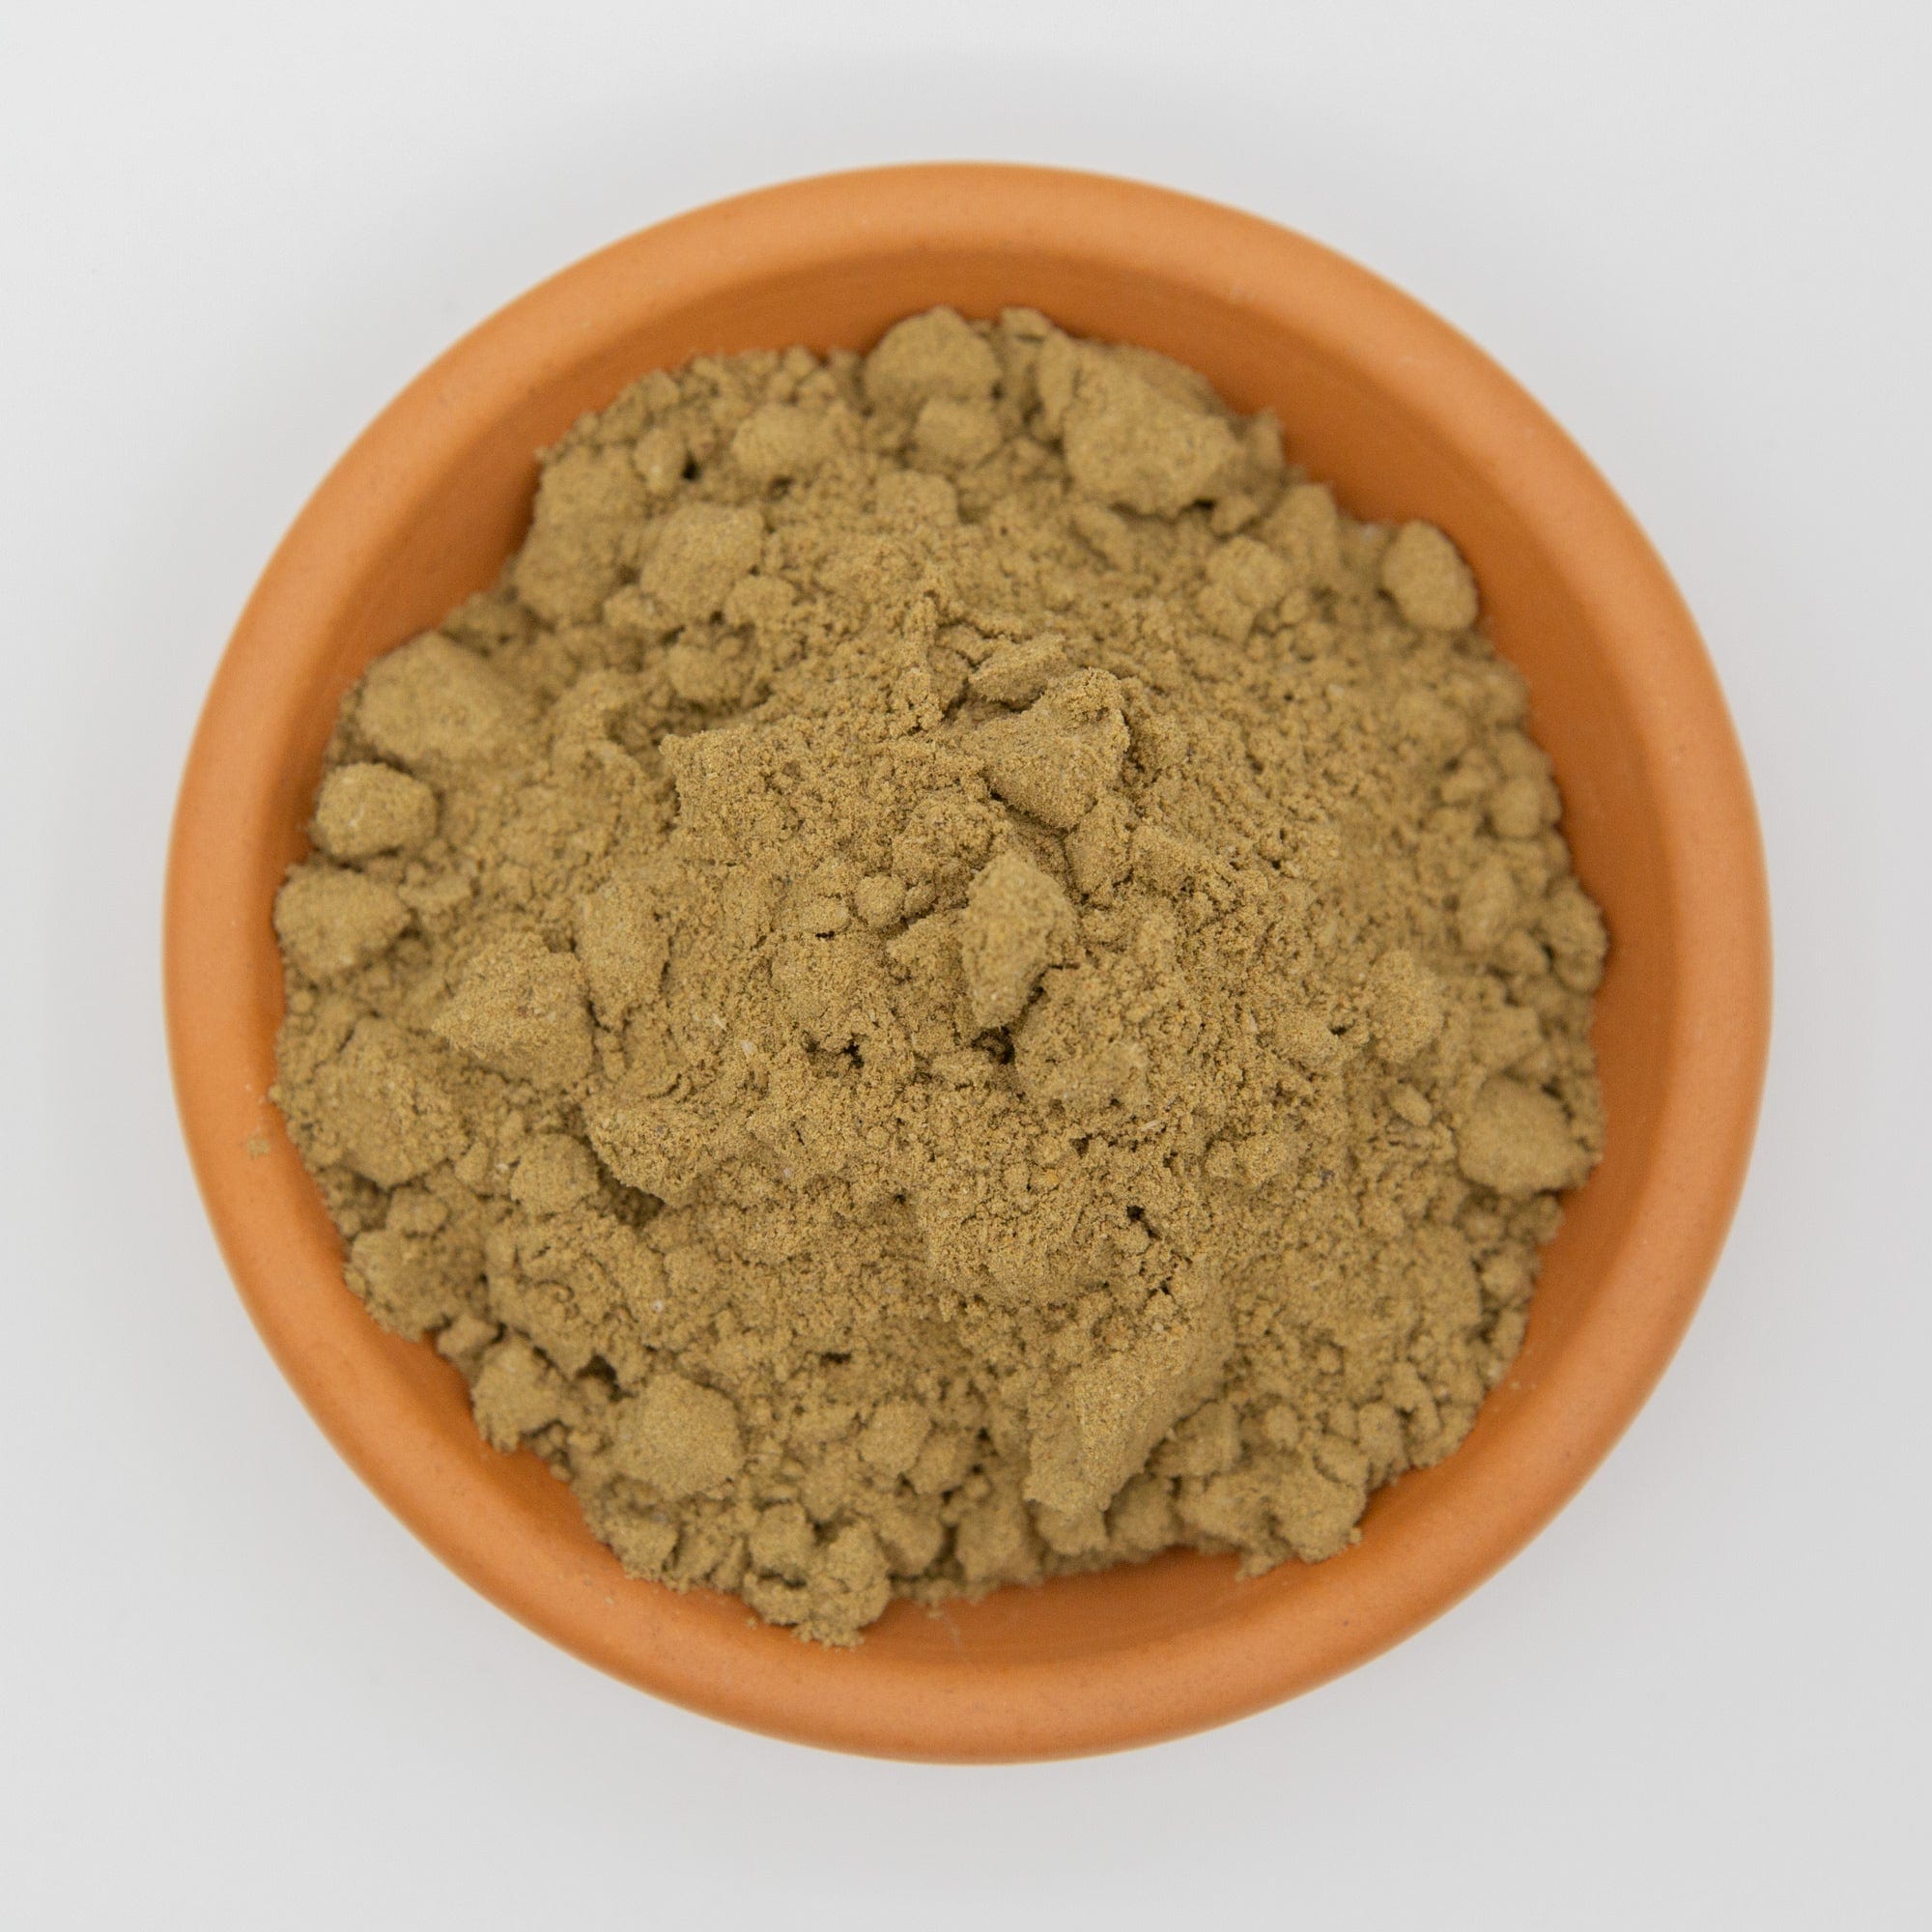
The best soil for Peace Lily plants is chunky, airy and moisture-retentive without staying soggy. The goal is to keep oxygen around the roots while holding enough moisture that the plant does not wilt every day.
|
Function |
Ingredient |
Ratio |
|---|---|---|
|
Structure & airflow |
40 % |
|
|
Moisture buffering |
25 % |
|
|
Instant drainage |
20 % |
|
|
Nutrient buffer |
5 % |
|
|
Gentle nutrition |
10 % |
Best Soil for Peace Lily When Your Home Runs Hot or Dry
This section is about the room your Peace Lily lives in, not the broader Australian climate outside.
The best soil for peace lily plants changes a bit depending on your house. A peace lily in a humid bathroom does not need the same mix as one sitting near a hot western window, heater or air-con vent.
If your home runs hot and dry, don’t go too extreme with the chunky mix. You still want airflow, but you also need enough moisture buffer so the plant doesn’t flop every second day. Peace lilies like oxygen around the roots, but they’re still thirsty tropical plants. A mix that drains like cactus soil will make them sulk.
For hotter rooms, lean into:
- coco chips for moisture hold
- a small amount of worm castings for gentle buffering
- bark for structure
- perlite for drainage
- zeolite to help hold nutrients and water evenly
If the plant is drying too fast, don’t fix it by drowning it more often. Adjust the mix or pot size. A slightly larger nursery pot, a touch more coco chip, or a less exposed spot can make the watering rhythm much easier.
The goal is simple: moist, airy and stable. Not soggy. Not bone dry by lunchtime. Somewhere in that boring middle is where peace lilies actually behave.
Peace Lily Soil: How to Tell If the Mix Is Too Dense
Peace lily soil that looks fine on day one can turn nasty after a few months. The usual problem is compaction. The mix starts loose, then fines wash down, bark breaks down, roots fill the gaps, and suddenly the pot holds water like a sponge.
Watch for these signs:
- the pot stays heavy for ages after watering
- the surface dries but the root ball is still wet
- leaves droop even though the mix is damp
- new growth comes through smaller than usual
- the plant smells sour near the base
- fungus gnats keep showing up
- roots look brown, soft or slimy when checked
That last one is the big red flag. Healthy roots should look firm, not mushy. If the mix is staying wet long enough to rot roots, watering less may help short term, but the real fix is usually a better draining mix and a pot with proper drainage.
Don’t just poke extra perlite into the top and call it done. If the centre of the root ball is compacted, the whole plant needs a reset.
Potting Mix for Peace Lily: Bagged Mix vs DIY
Potting mix for peace lily plants comes down to convenience versus control.
A bagged indoor plant mix is easy. Open it, pot the plant, water it in. That’s fine if the mix is genuinely free-draining and doesn’t collapse into sludge after a few months. The problem is that many supermarket-style indoor mixes are built to stay moist on the shelf and look good in the bag, not necessarily to keep a peace lily’s roots breathing long term.
DIY gives you more control. You can adjust bark, coco chips, perlite, zeolite and worm castings depending on your room, pot size and watering habits. The downside is that you need the ingredients, the space and the patience to mix it properly.
Use bagged mix if:
- you want a fast repot
- you only have one or two plants
- you don’t want leftover ingredients sitting around
- the mix is already chunky and well-aerated
Use DIY if:
- you have several indoor plants
- your peace lily keeps getting root issues
- your home is very dry or very humid
- you want to tune the mix instead of guessing
If you want the shortcut, use a ready-made chunky indoor mix that already has the structure, drainage and moisture balance Peace Lilies need.
Peace Lily Soil Mix for Overwaterers
A peace lily soil mix for overwaterers needs more structure and less mush. If you’re the type who keeps giving “just a little drink” every time you walk past, a heavy mix will punish you fast.
Overwaterers should prioritise:
- bark for long-term air pockets
- perlite for quick drainage
- a pot with real drainage holes
- no dense garden soil
- no thick decorative stones trapping wet mix underneath
- no oversized pot full of unused wet media
The pot matters as much as the mix. A peace lily in a huge decorative pot can sit wet for far too long because the roots can’t drink from all that extra media. Go up one sensible pot size, not three.
If you overwater, avoid self-watering pots unless you really understand the reservoir. They can work, but they can also keep the lower root zone too wet if the mix is already moisture-heavy.
Your job is not to stop watering forever. It’s to build a mix that forgives you a bit when you’re heavy-handed.
Soil for Peace Lily After Root Rot
Soil for peace lily plants recovering from root rot needs to be cleaner, chunkier and less forgiving of bad habits. Once roots have gone mushy, the plant cannot handle sitting in another wet, dense mix.
Do the reset properly:
- Remove the plant from the pot.
- Shake or rinse away the old sour mix.
- Trim black, mushy or hollow roots with clean scissors.
- Keep only firm roots.
- Repot into a fresh chunky mix.
- Use a pot only slightly bigger than the remaining root system.
- Water in once, then let the top few centimetres dry before watering again.
Don’t fertilise hard straight after root rot. The plant has fewer working roots and does not need a big feed. It needs oxygen, stability and time.
Also don’t reuse the old mix. If it smells bad or stayed wet long enough to rot roots, it has already failed the job. Put the plant back into the same muck and you’re just asking for round two.
Best Potting Mix for Peace Lily in Low-Light Rooms
The best potting mix for peace lily plants in low-light rooms needs to dry evenly without staying wet for a week.
Peace lilies tolerate lower light better than many indoor plants, but lower light means slower drinking. The plant photosynthesises less, grows slower and uses water more slowly. That means a mix that works beautifully near a bright window can stay too damp in a darker hallway or office.
In low light, keep the mix airy and avoid oversized pots. The more unused media sitting around the root ball, the longer it stays wet. That’s when you get fungus gnats, sour smell and root decline.
For low-light peace lilies:
- use a chunky indoor mix
- keep the pot size modest
- water by pot weight and finger test, not a fixed schedule
- avoid thick decorative top layers that slow drying
- skip heavy feeding in winter
- move the plant closer to bright indirect light if it keeps sulking
If the plant is not flowering, don’t blame the soil first. Low light is usually the bigger issue. Soil keeps the roots alive. Light gives the plant enough energy to bloom.
Best Potting Mix for Peace Lily Australia: Adjust for Your Climate
Best potting mix for peace lily Australia is not one-size-fits-all. A peace lily in humid Brisbane will behave differently to one in dry inland NSW, a cold Melbourne rental or an air-conditioned office in Perth.
Use this section for broad climate and regional adjustments; use the hot/dry room section above for specific indoor microclimate issues.
In humid coastal areas, you can usually run a chunkier, faster-draining mix because the plant won’t dry as brutally. Airflow matters more because still, humid rooms can keep the pot wet for too long.
In dry or hot regions, you still need drainage, but the mix may need a bit more moisture buffer. Coco chips and worm castings help smooth out the dry-back so the plant doesn’t faint every afternoon.
In cooler southern homes, be careful with winter watering. The same potting mix that dries nicely in summer can sit cold and wet in July. That’s when “moist but airy” turns into “wet and miserable” if you keep watering on autopilot.
Australia-wide, the rule is:
- hot and dry: keep moisture buffer, but don’t remove airflow
- humid and warm: prioritise airflow and drainage
- cool and low-light: use smaller pots and water less often
- air-conditioned rooms: watch for fast leaf-edge drying
The right mix is the one that matches the room, not just the plant label.
Peace Lily Potting Mix for Cover Pots and Decorative Planters
Peace lily potting mix can be perfect and still fail inside the wrong decorative pot.
Cover pots are handy because they look good indoors, but they’re also one of the easiest ways to rot a peace lily. Water drains from the nursery pot, collects in the bottom of the cover pot, and the roots end up sitting above a hidden swamp.
If you use a cover pot:
- keep the peace lily in a plastic nursery pot with drainage holes
- remove it to water if needed
- let it drain properly before placing it back
- check the bottom of the cover pot for leftover water
- avoid tight-fitting covers with no airflow around the nursery pot
- don’t use pebbles as an excuse to leave water sitting there
A chunky mix helps, but it cannot save a plant from sitting in stagnant runoff. If the plant keeps drooping, yellowing or getting brown tips, pull the nursery pot out and check what’s happening underneath.
Half the time the “soil problem” is actually a hidden-water problem.
DIY “Chunky Aroid” Mix — 5-Minute Recipe
- Measure by volume, not weight—use a litre jug or builder’s bucket.
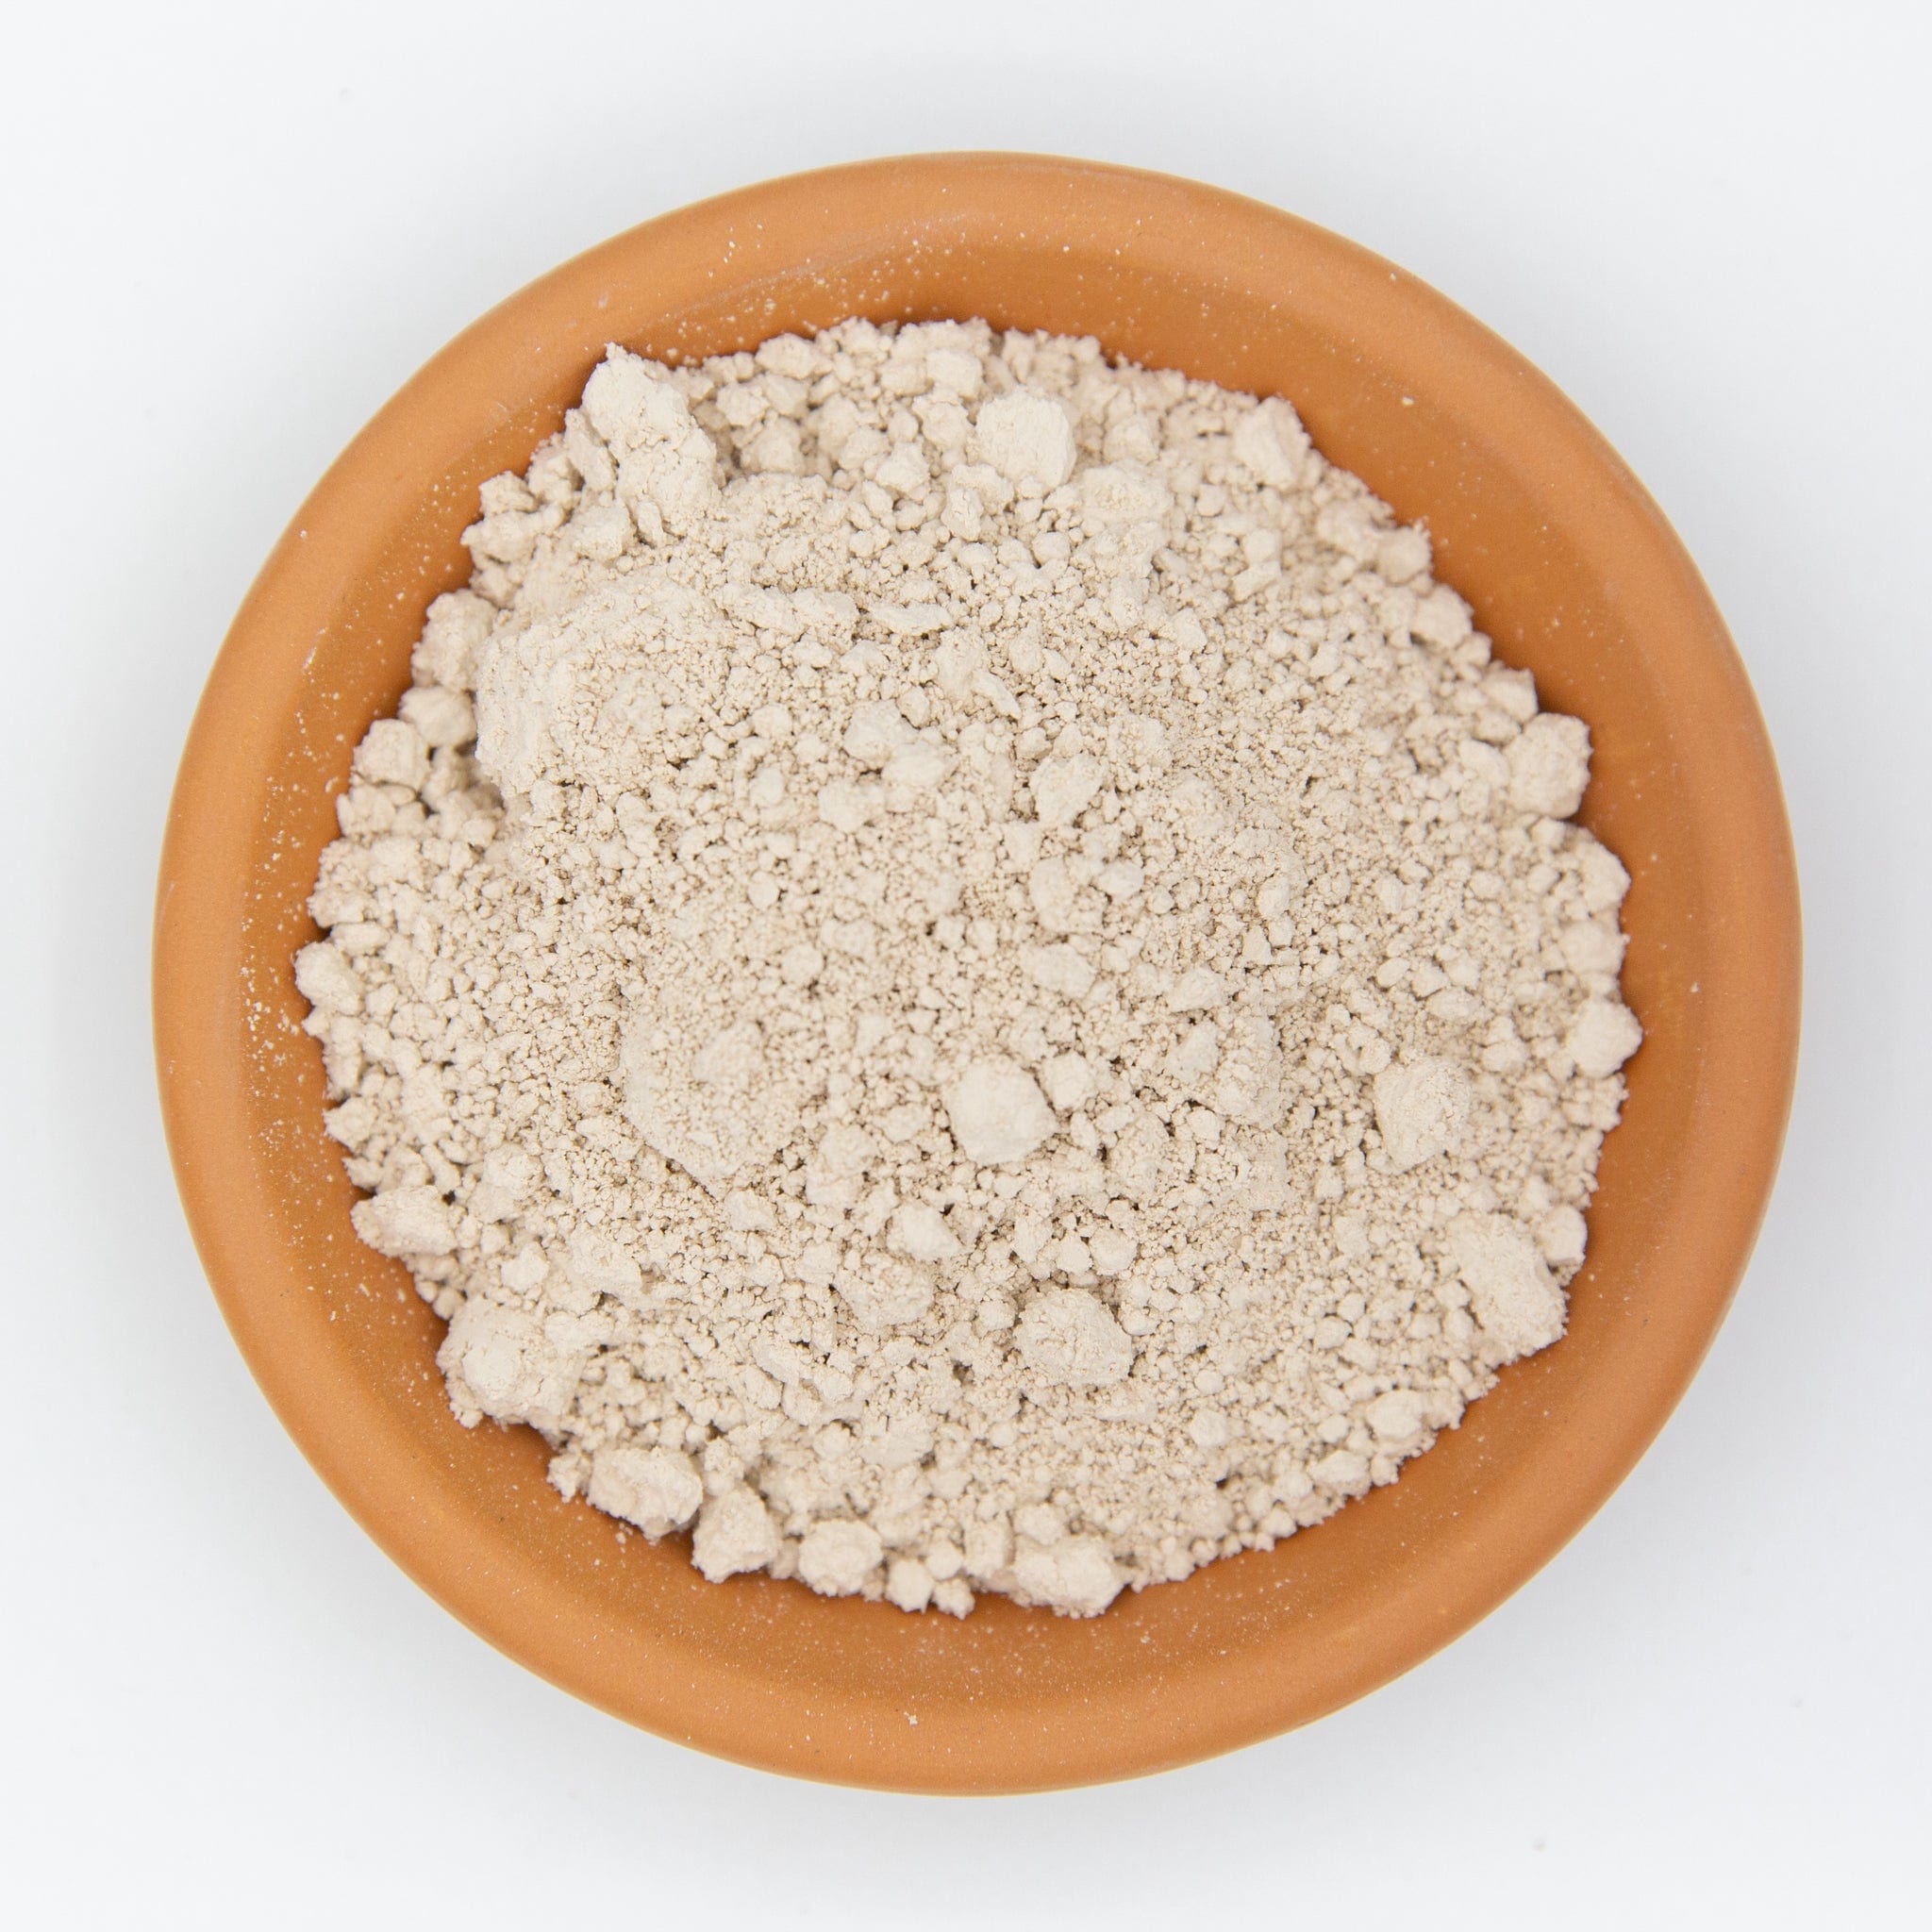
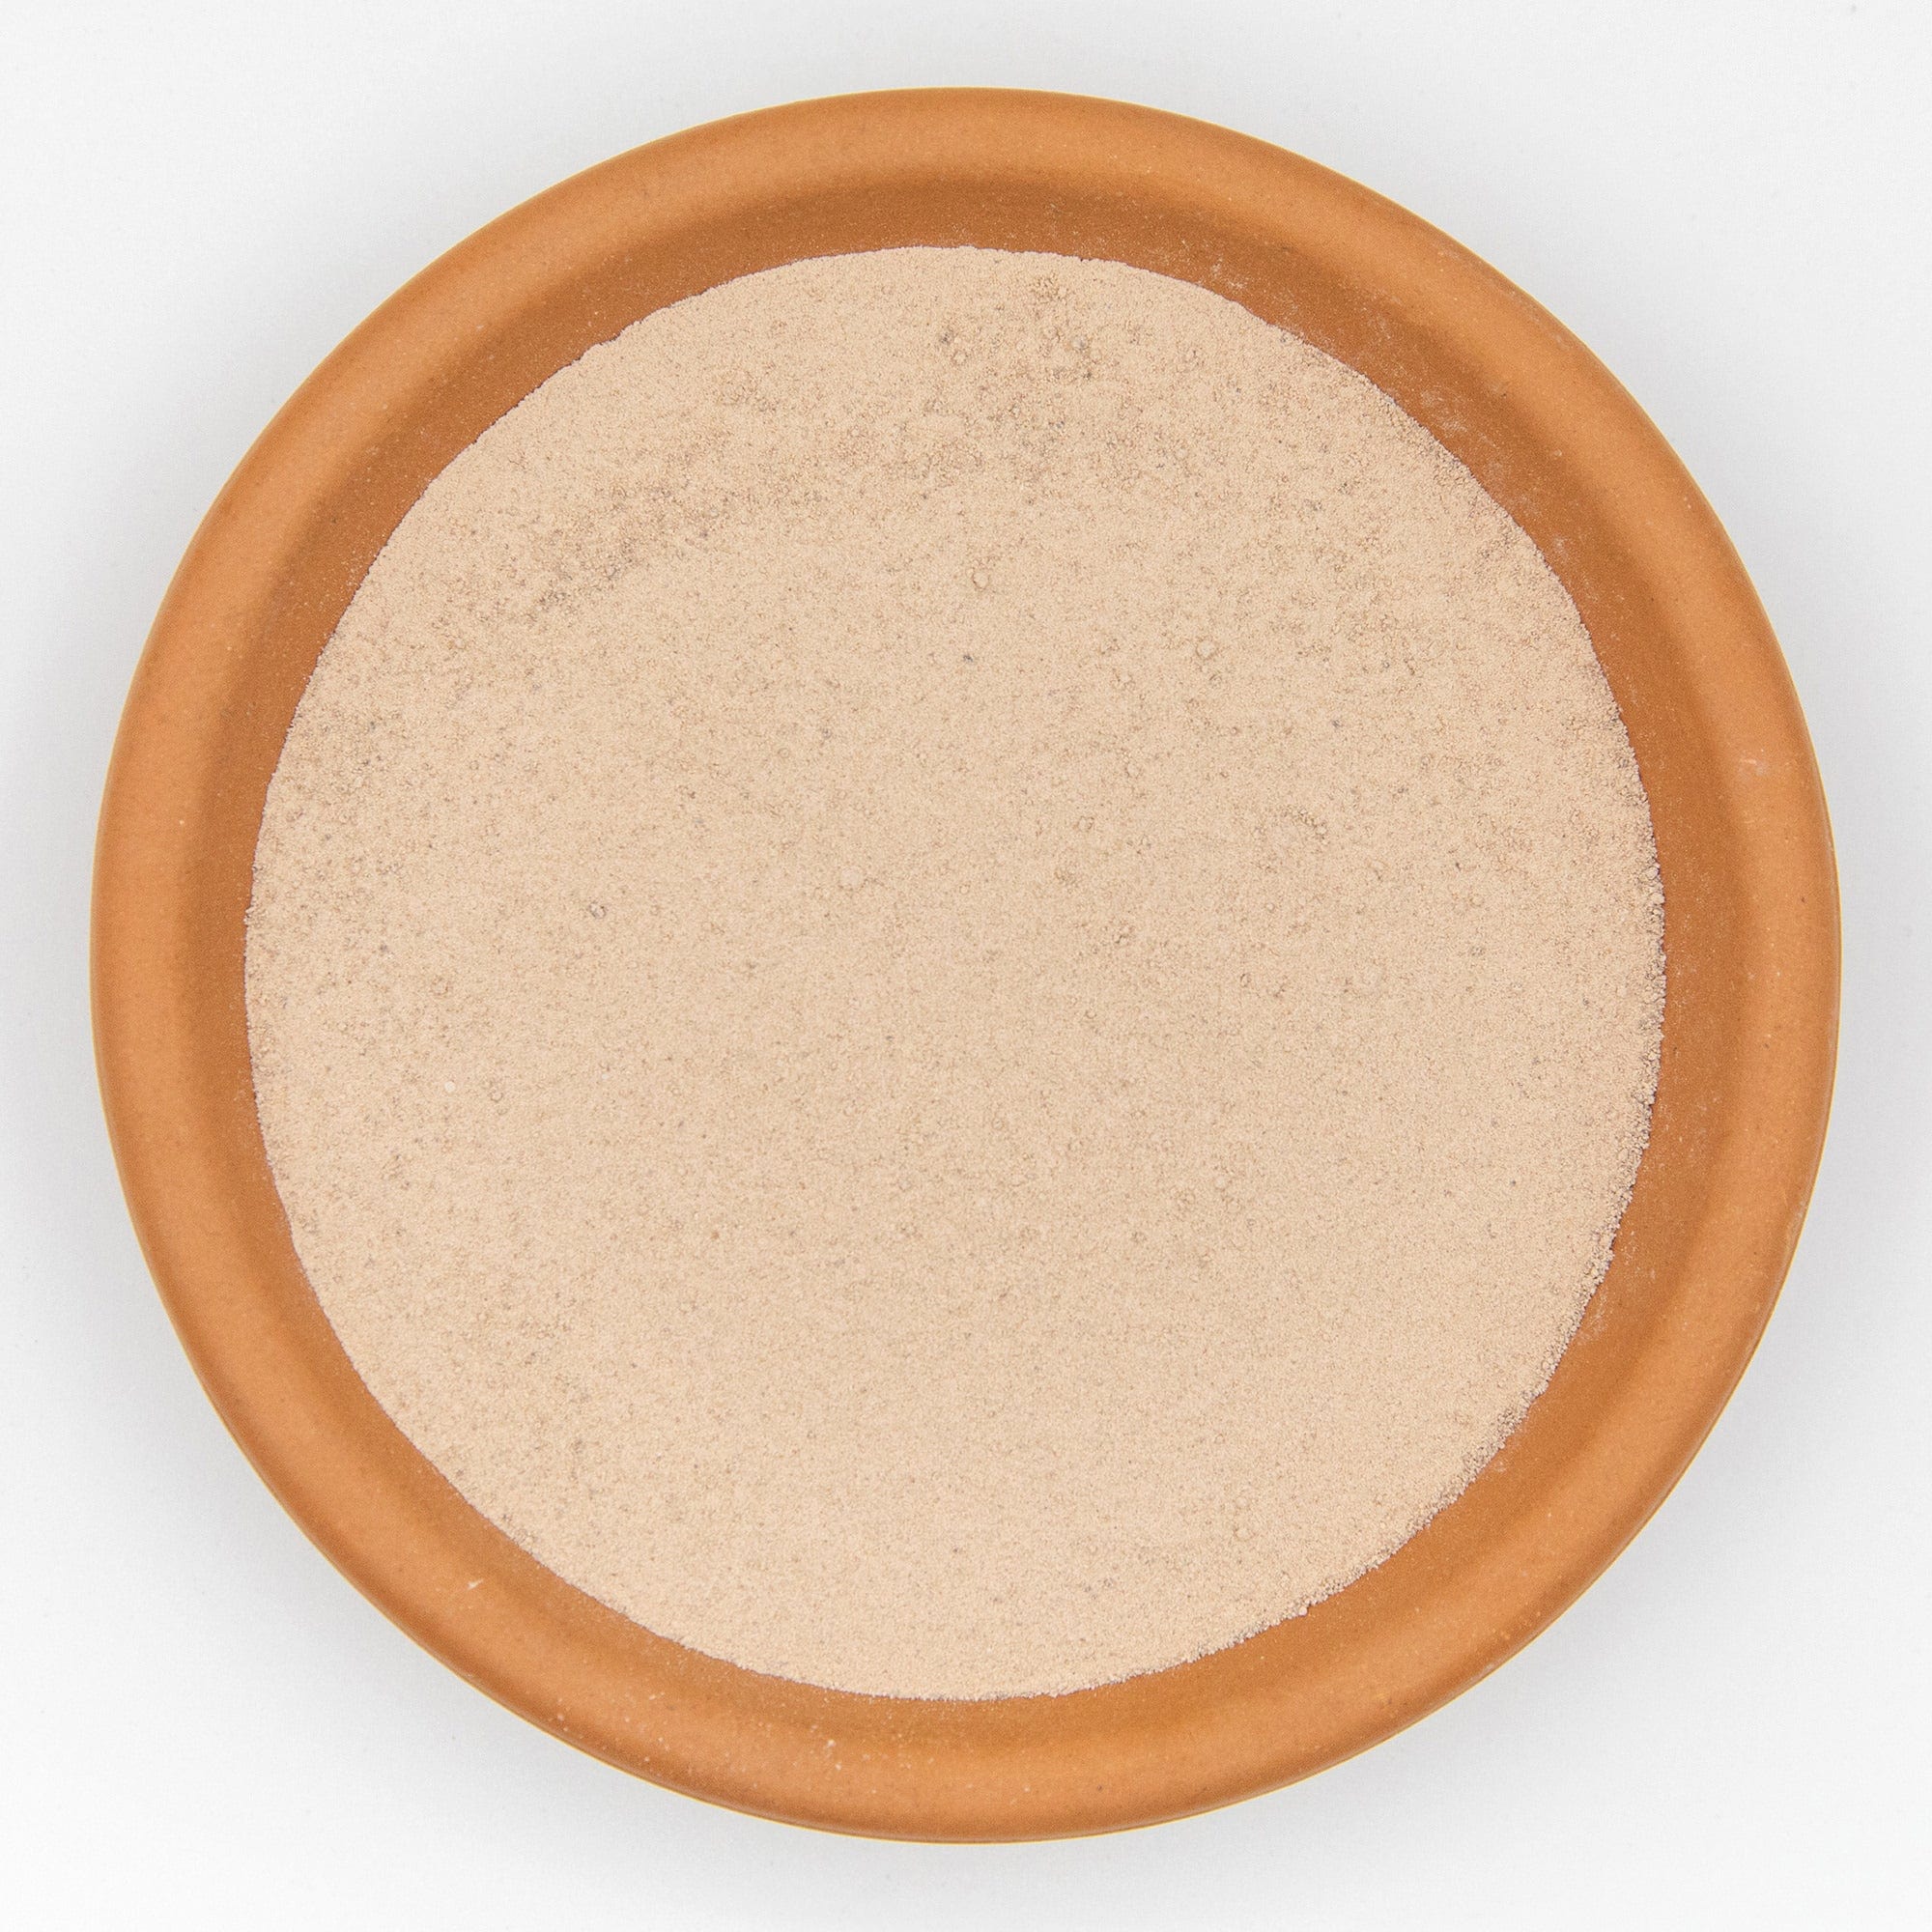
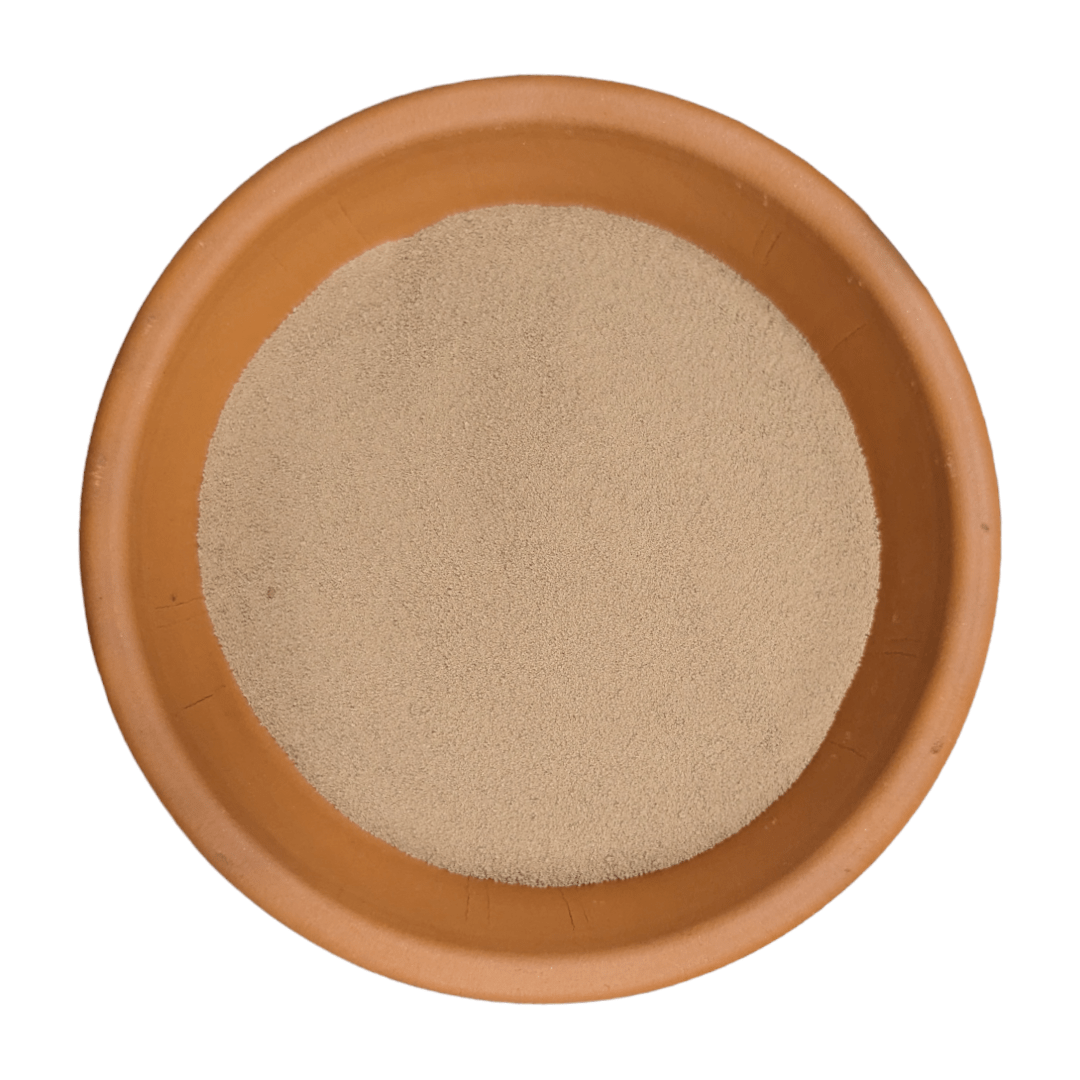
- Combine 4 parts bark, 2.5 parts coco chips, 2 parts perlite, 0.5 part zeolite and 1 part worm castings.
- Toss until every ingredient is evenly spread—no white perlite clumps.
- Pre-moisten with a light mist so fines don’t float when you water.
- Store the spare mix in a lidded tub out of direct sun.
For broader indoor plant collections, use our Indoor Potting Mix in Australia guide to adjust ratios for plants with different moisture needs.
Step-by-Step Peace Lily Repot
- Hydrate the plant the night before—damp roots are less fragile.
- Loosen old soil; trim dead, mushy roots.
- Pick a pot 2 cm wider than the current one; terracotta if you’re heavy-handed with the hose, plastic if you forget to water.
- Layer 2 cm of mix on the bottom, set the root-ball dead-centre.
- Backfill with your chunky mix, tapping the pot to settle—don’t ram it tight.
- Water through until it drains clear; dump any saucer run-off.
- Park the plant in bright, indirect light; re-water only when the top 3–5 cm are dry.
The One-Bag Shortcut: Dr Greenthumbs Chunky Potting Soil
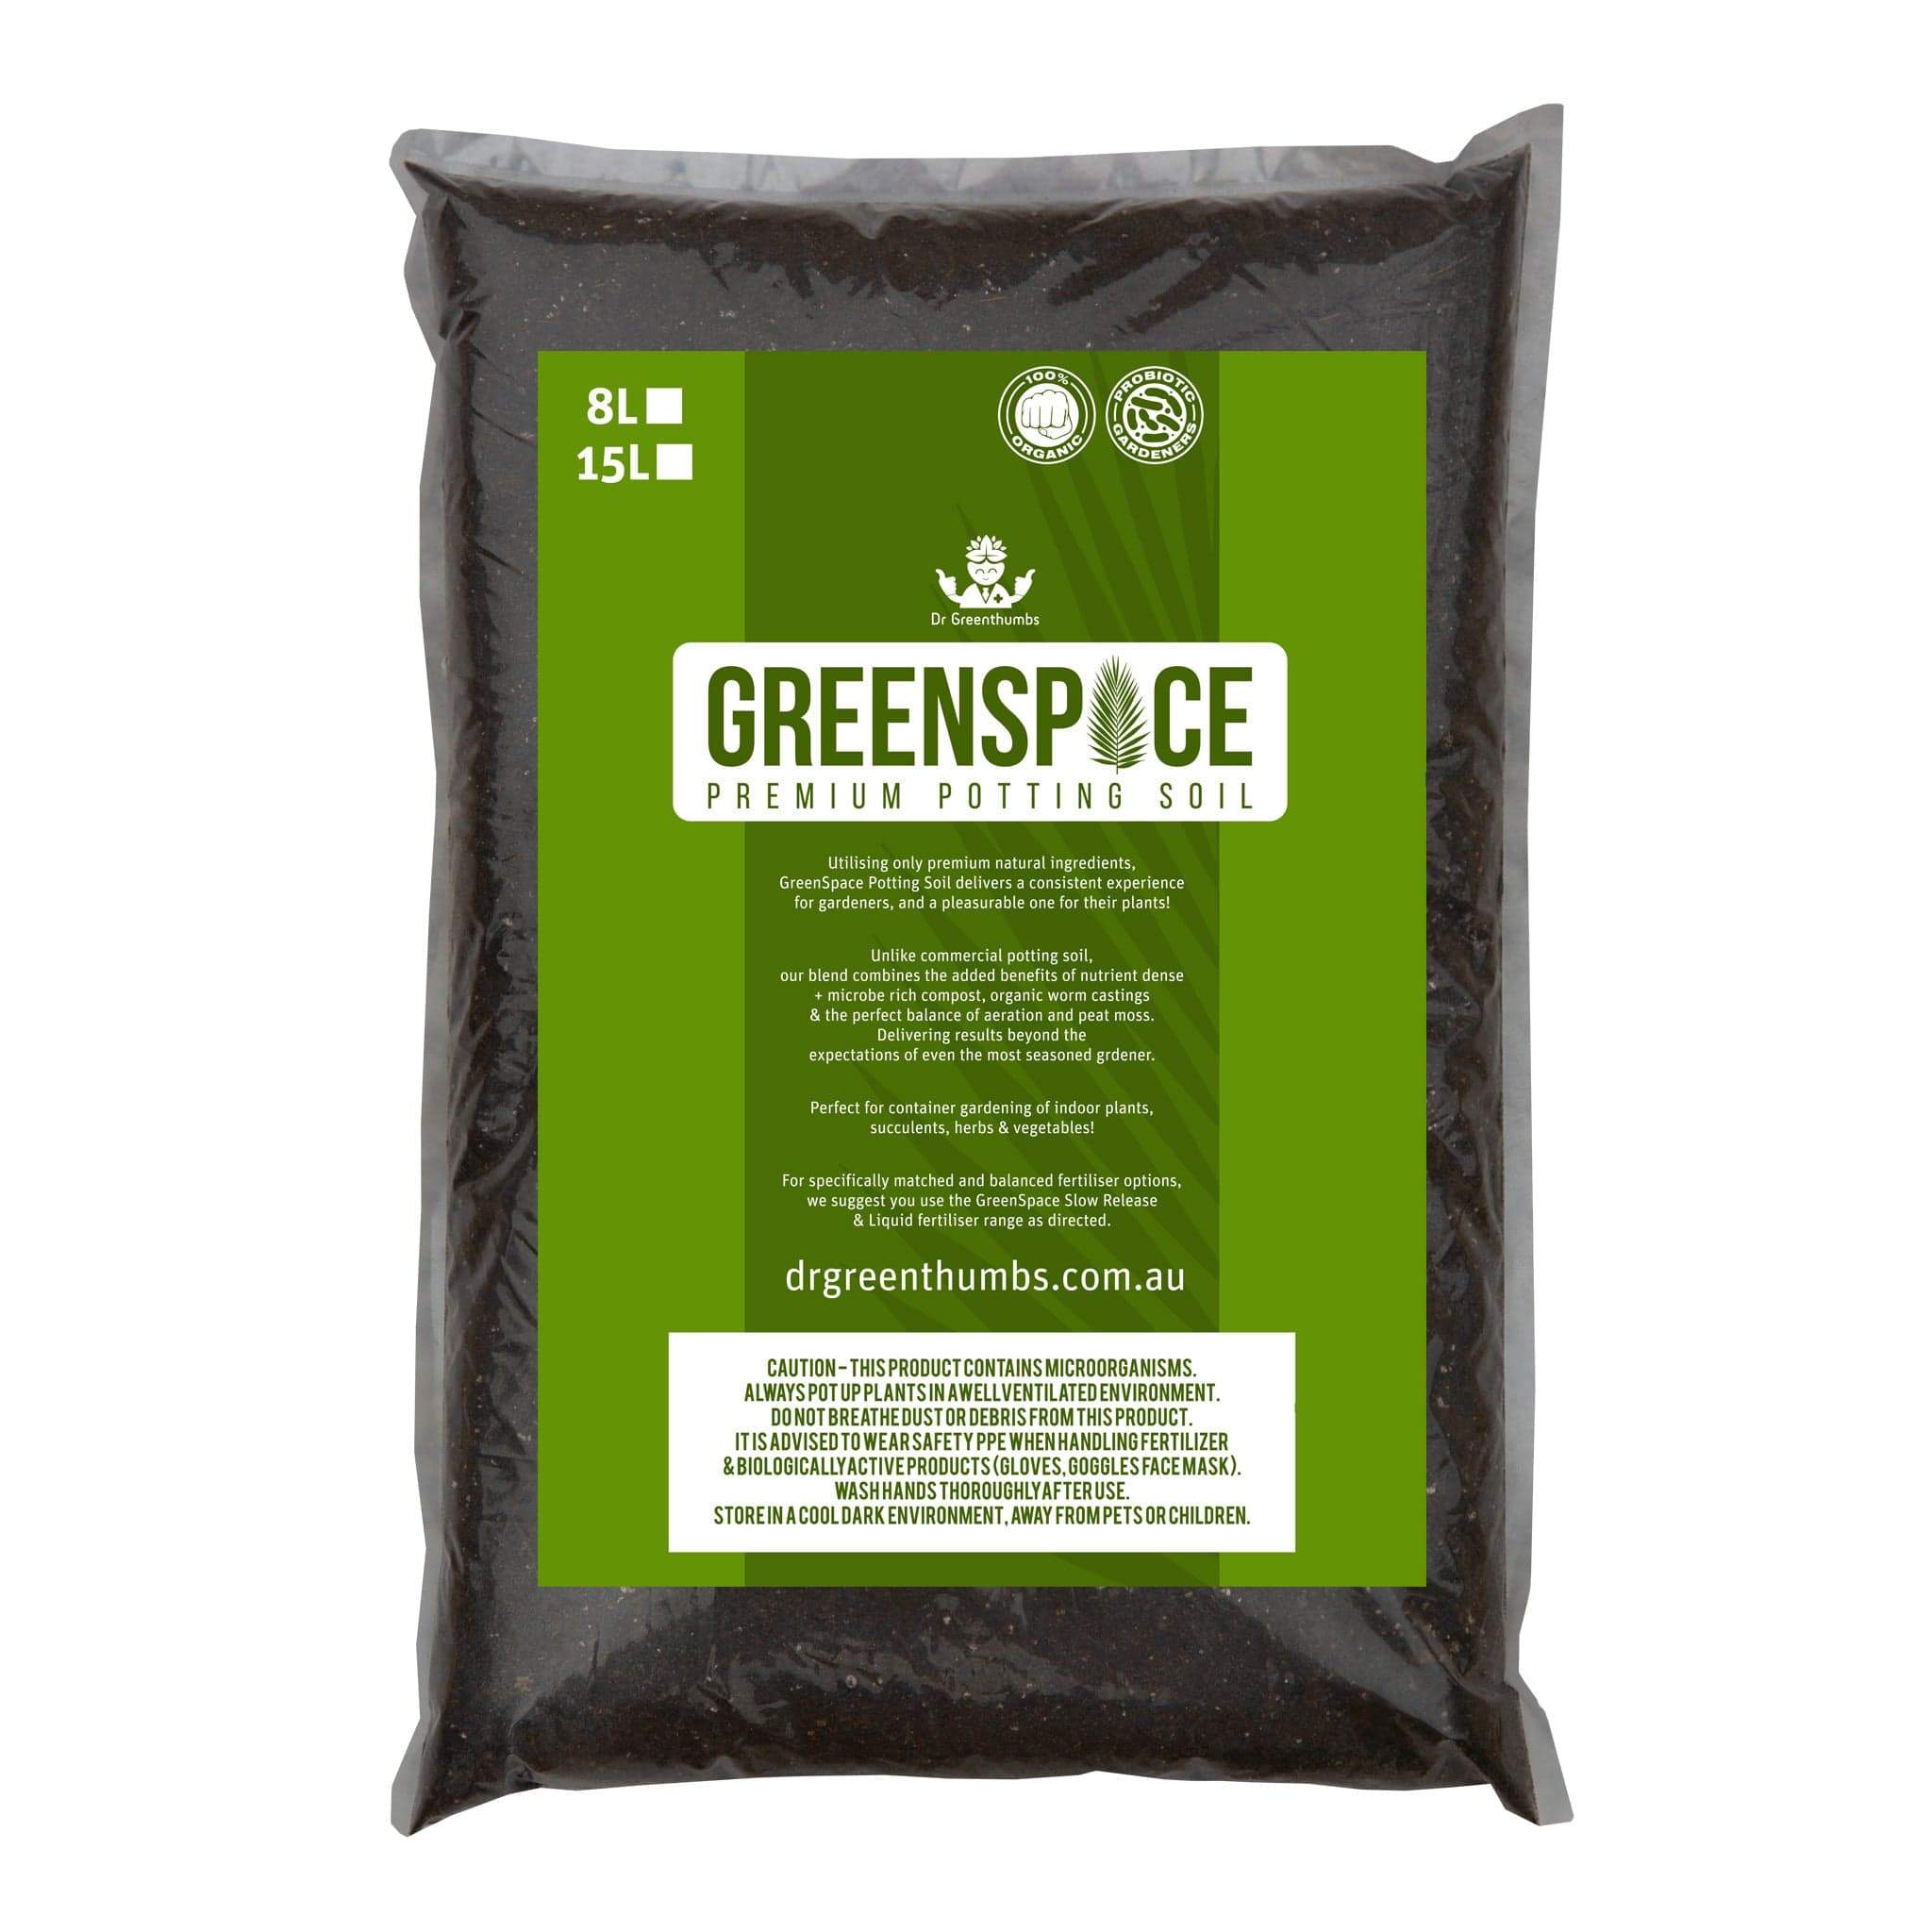
Pressed for time or missing ingredients? Chunky Potting Soil gives you the same chunky structure without buying and measuring every ingredient separately.
Why it beats supermarket soil
- 100 % peat-free & pet-safe—good for the planet and the pooch.
- Premium ingredients: pine bark chips, coco chips, perlite, zeolite and worm castings for slow, gentle nutrition.
- Won’t compact—stays loose so roots keep breathing.
- Bag sizes for every grower: 8 L for a quick repot or 27 L for the whole jungle.
Tip: One 8 L bag fills roughly a single 20 cm pot. Use the volume calculator on the product page if you hate maths.
Peace Lily Care Tweaks in Chunky Mix
|
Season |
Watering Rhythm |
Fertiliser Cue |
|---|---|---|
|
Hot Aussie summer |
Check every 3 days |
Liquid feed fortnightly |
|
Mild spring/autumn |
Check weekly |
Slow-release top-dress |
|
Cool winter |
Check every 10+ days |
Skip feed—plant is dozing |
Chunky mixes dry faster on top—poke your finger in, don’t trust the surface colour.
For more detailed feeding timing, use the The Ultimate Aussie Guide to Indoor-Plant Fertiliser (2025).
Troubleshooting Quick-Fire
Leaves droop but the soil is wet? Check for dense mix, poor drainage, oversized pots or water sitting in the cover pot before watering again.
Pot stays heavy for days? The mix may be too compact or the plant may be in too large a pot.
Sour smell near the base? Check the roots and consider a full soil reset.
Fungus gnats keep appearing? The mix may be staying wet too long.
Yellow tips? Often tap-water salts or excess fertiliser. Flush the pot monthly or switch to rainwater or filtered water.
Brown leaf edges? Often low humidity, dry indoor air or fertiliser burn. Check watering rhythm before increasing feed.
Ready to Level-Up Your Lilies?
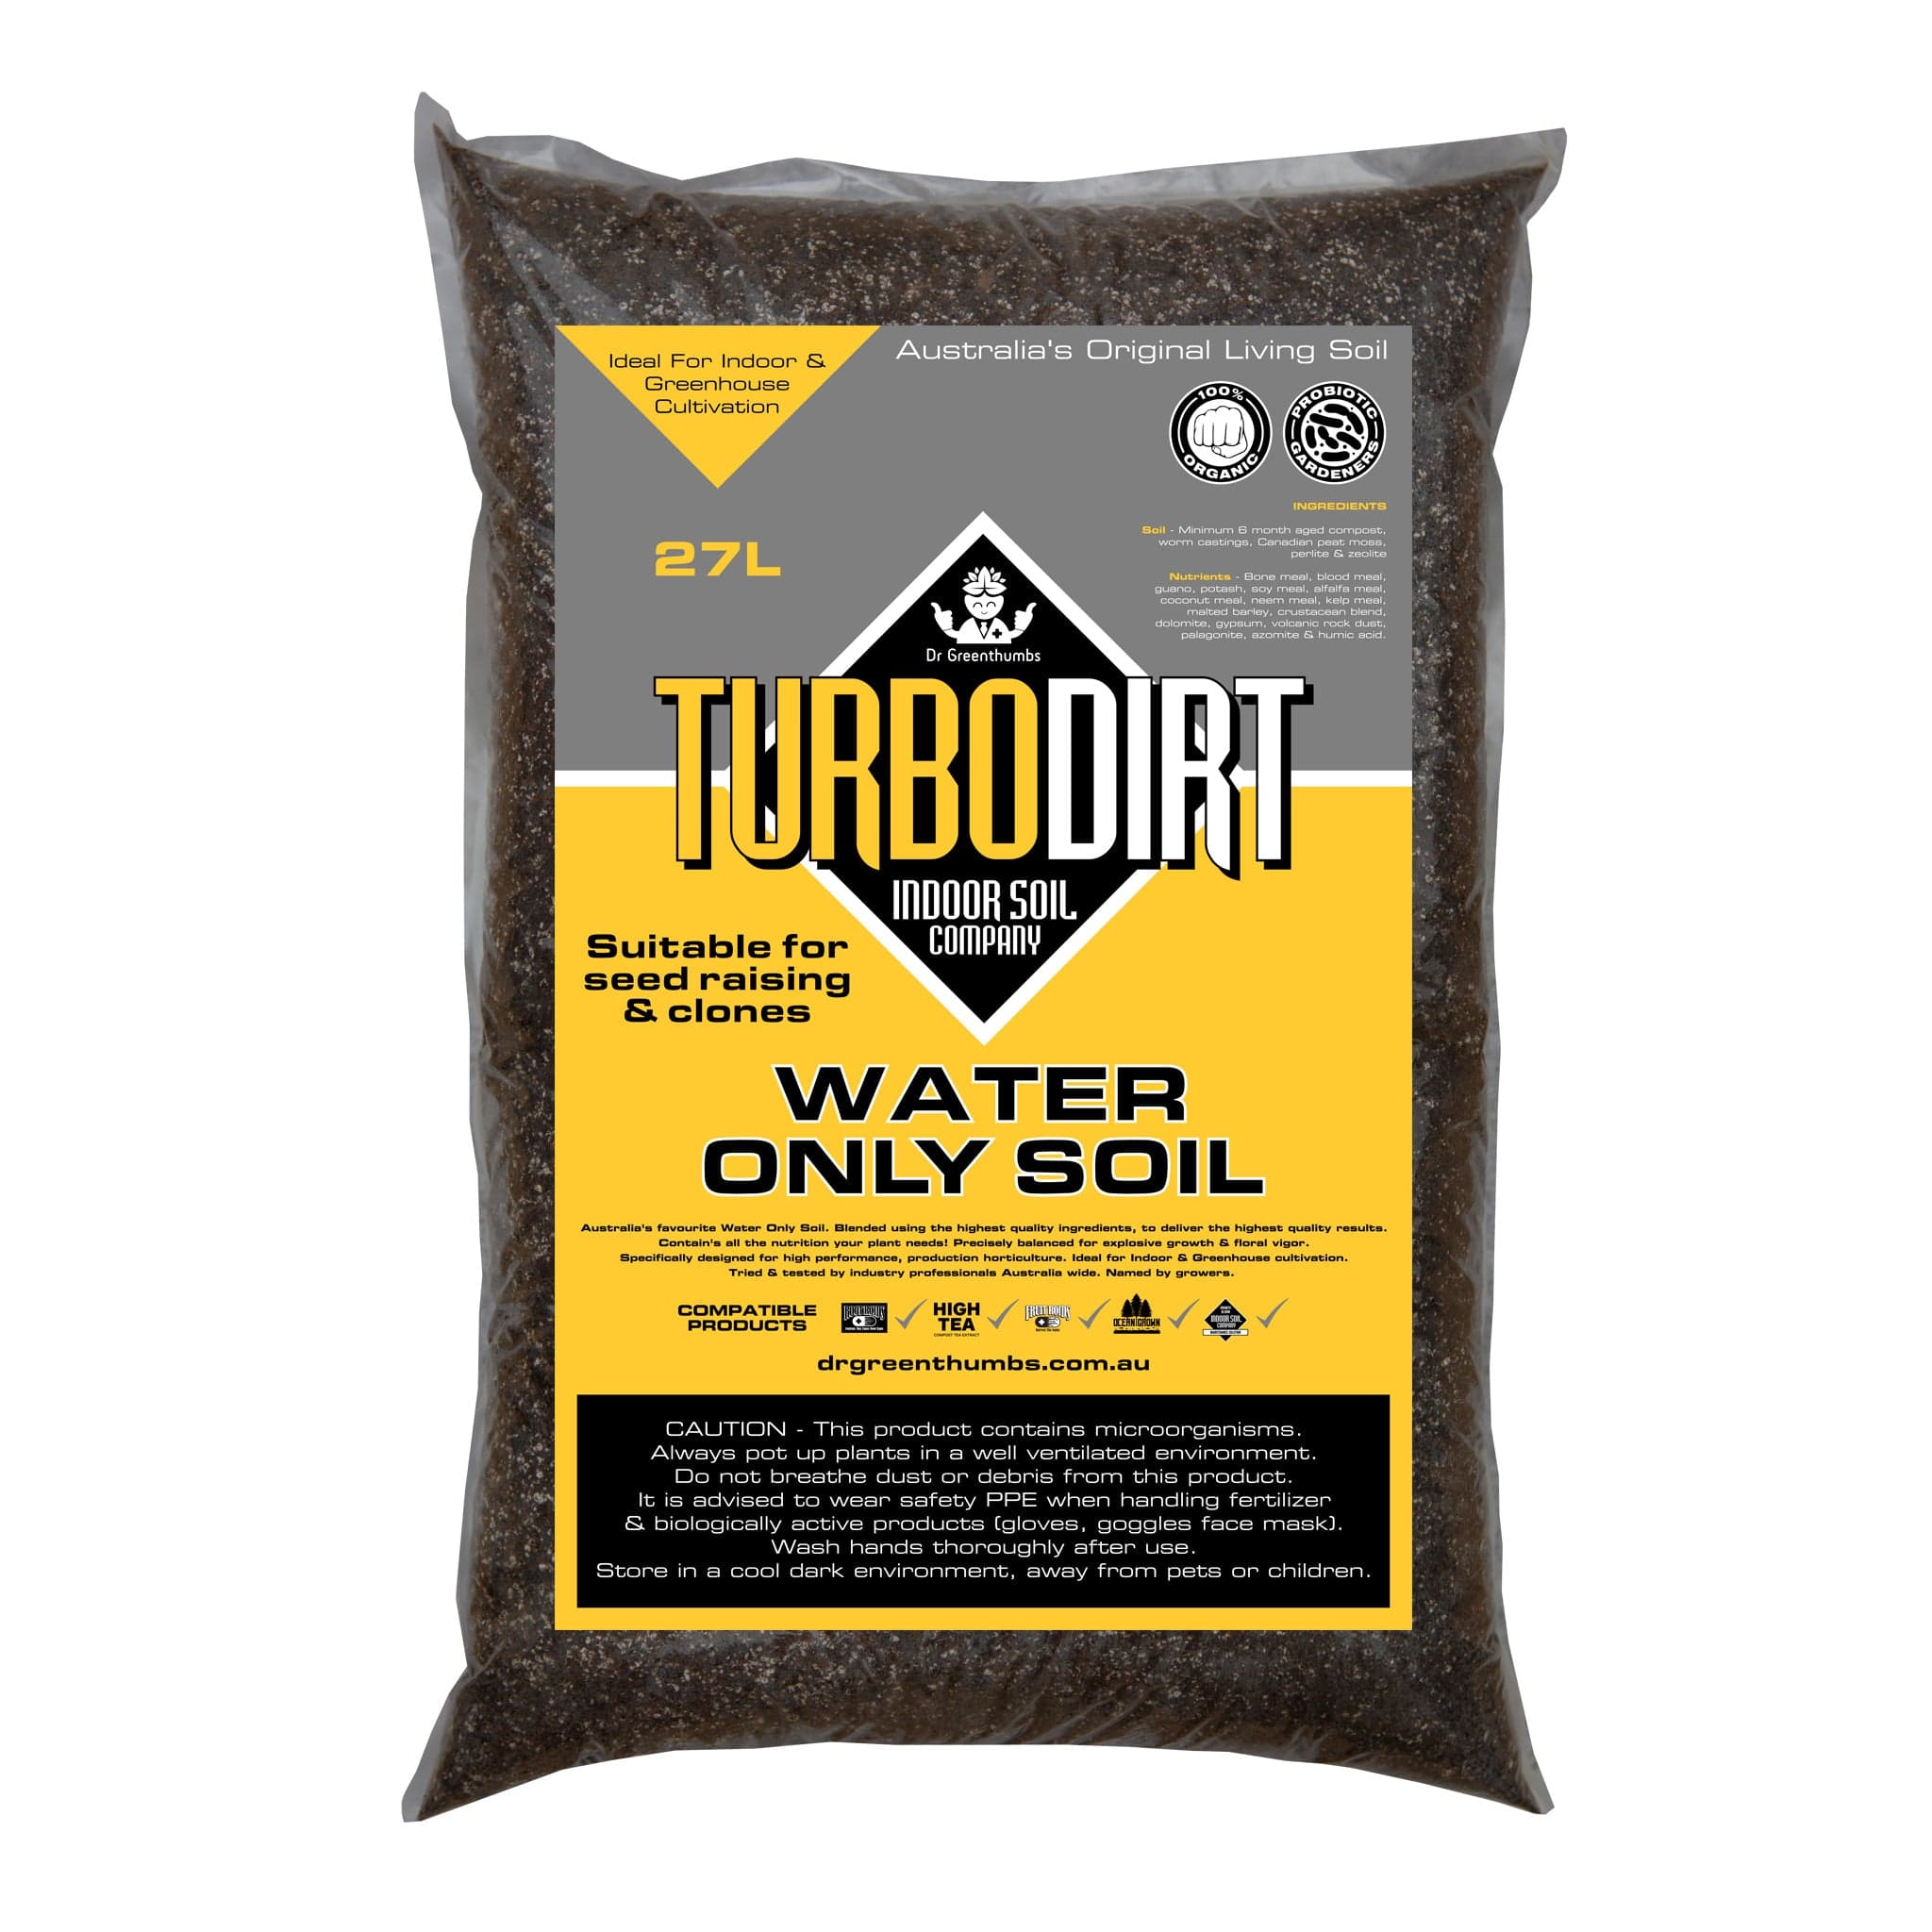
If you want the shortcut, use Dr Greenthumbs Chunky Potting Soil for a ready-made mix with the airflow, drainage and moisture balance Peace Lilies need.
Next Reads for Building a Better Peace Lily Mix and Healthier Roots
Dialing in your Peace Lily potting mix? These guides will help you improve watering, feeding and root-zone health so your plant stays fuller, greener and easier to manage indoors.
- Indoor Potting Mix Australia
- Mastering Watering: Moisture Meter Hack
- Indoor Plant Fertiliser Guide Australia
- Indoor Plant Care Aussie Guide
About the Author