
Found a black patch spreading across a leaf, stem, root or fruit?
Before you reach for the nearest fungicide, there’s something important to know:
Black rot isn’t one single plant disease.
“Black rot” is a common name gardeners use for several different plant problems. Depending on the plant, the culprit could be a bacterium, fungus, fungus-like organism or even a completely different physiological issue that only looks like rot.
That matters because an orchid with soft black tissue, a cabbage leaf developing black veins and a tomato with a black patch on the bottom of its fruit do not need the same treatment.
So the quickest way to deal with black rot is not to spray first and diagnose later.
It’s to work out:
- What plant is affected?
- Where did the damage start?
- What does the affected tissue look and feel like?
- Is it wet and soft, dry and sunken, or following the leaf veins?
- How quickly is it spreading?
Let’s narrow it down.
Table of Contents
- Black Rot Identification: Start Here
- Black Rot on Orchids
- What to Do If Your Orchid Has Black Rot
- Black Spots on Orchid Leaves: Is It Always Black Rot?
- Black Rot on Cabbage, Broccoli, Cauliflower & Kale
- How Does Brassica Black Rot Spread?
- What to Do About Black Rot on Brassicas
- Black Rot on Grapevines in Australia
- Grape Black Rot vs Black Spot
- Black Core Rot in Mandarins
- Is Black Rot the Same as Blossom-End Rot on Tomatoes?
- Why Does Black Rot Keep Coming Back?
- How to Prevent Black Rot & Other Plant Diseases
- Should You Use Lime Sulphur for Black Rot?
- A Quick Note About Lime Sulphur
- What Should You Do in the First 24 Hours?
- Black Rot FAQs
- The Bottom Line on Black Rot
- Next Reads for Diagnosing Rot and Plant Disease Properly
If you need to remove clearly diseased tissue later, a clean, sharp pruner makes controlled cuts easier — disinfect it between affected plants:

Black Rot Identification: Start Here
|
Plant |
What to look for |
Possible problem |
|---|---|---|
|
Orchids |
Soft, wet-looking brown or black lesions on leaves, roots, rhizomes or pseudobulbs |
Orchid black rot associated with Phytophthora or Pythium |
|
Cabbage, broccoli, cauliflower, kale |
Yellow or brown V-shaped lesions starting from the leaf edge, often followed by dark veins |
Bacterial black rot |
|
Grapevines |
Brown leaf spots, tiny black dots in lesions and berries that shrivel into dark “mummies” |
Suspected grape black rot |
|
Mandarins and citrus |
Internal browning or blackening through the fruit core |
Black core rot |
|
Tomatoes |
Dark, sunken patch at the blossom end of the fruit |
Usually blossom-end rot, not infectious black rot |
If you’re still unsure after this table, don’t worry. The sections below break down each problem in more detail.
Black Rot on Orchids
If you’ve searched for black spots on orchid leaves, orchid leaves turning black or black rot on orchids, this is probably where you need to start.
Orchids can develop fast-moving rots associated with water moulds such as Phytophthora and Pythium.
These problems can move quickly through susceptible tissue, which is why early identification matters.
What Does Black Rot on an Orchid Look Like?
One of the biggest clues is the texture of the damaged area.
Watch for:
- Dark brown or black patches
- Water-soaked or translucent-looking tissue
- Soft or mushy areas
- Yellowing around the edge of a lesion
- Blackened roots or rhizomes
- Dark areas moving through a pseudobulb
- Lesions that appear to expand rapidly
An isolated dry spot on an old orchid leaf does not automatically mean black rot.
But a soft, wet-looking lesion that is clearly expanding deserves attention.
Why Do Orchids Get Black Rot?
Moisture is usually a big part of the story.
Disease becomes easier to establish when vulnerable orchid tissue stays wet for long periods.
Common contributing conditions include:
- Water sitting in crowns or leaf joints
- Constantly wet potting media
- Poor drainage
- Poor airflow
- Crowded plants
- Contaminated pots or tools
- Splash moving contaminated water between plants
- Watering late in the day when foliage stays wet overnight
This doesn't mean watering an orchid automatically causes disease.
It means prolonged moisture plus a susceptible plant plus the presence of a pathogen creates an opportunity for rot to take hold.
That’s why simply spraying a plant without correcting its growing conditions often gives disappointing results.
What to Do If Your Orchid Has Black Rot
If you suspect active rot, act early.
1. Isolate the Orchid
Move the affected plant away from healthy orchids.
You don’t want water splash, tools or handling moving contaminated material around the collection.
2. Check the Whole Plant
Don’t only look at the obvious black leaf.
Inspect:
- Leaf bases
- Crowns
- Pseudobulbs
- Rhizomes
- Roots
- Potting media
What looks like one damaged leaf can sometimes be part of a larger root or rhizome problem.
3. Remove Severely Affected Tissue
Where appropriate, badly rotted tissue may need to be removed using a clean, sharp cutting tool.
Clean and disinfect the tool between cuts and between plants.
Don’t make three cuts through infected tissue and then use the same dirty blade on a healthy orchid.
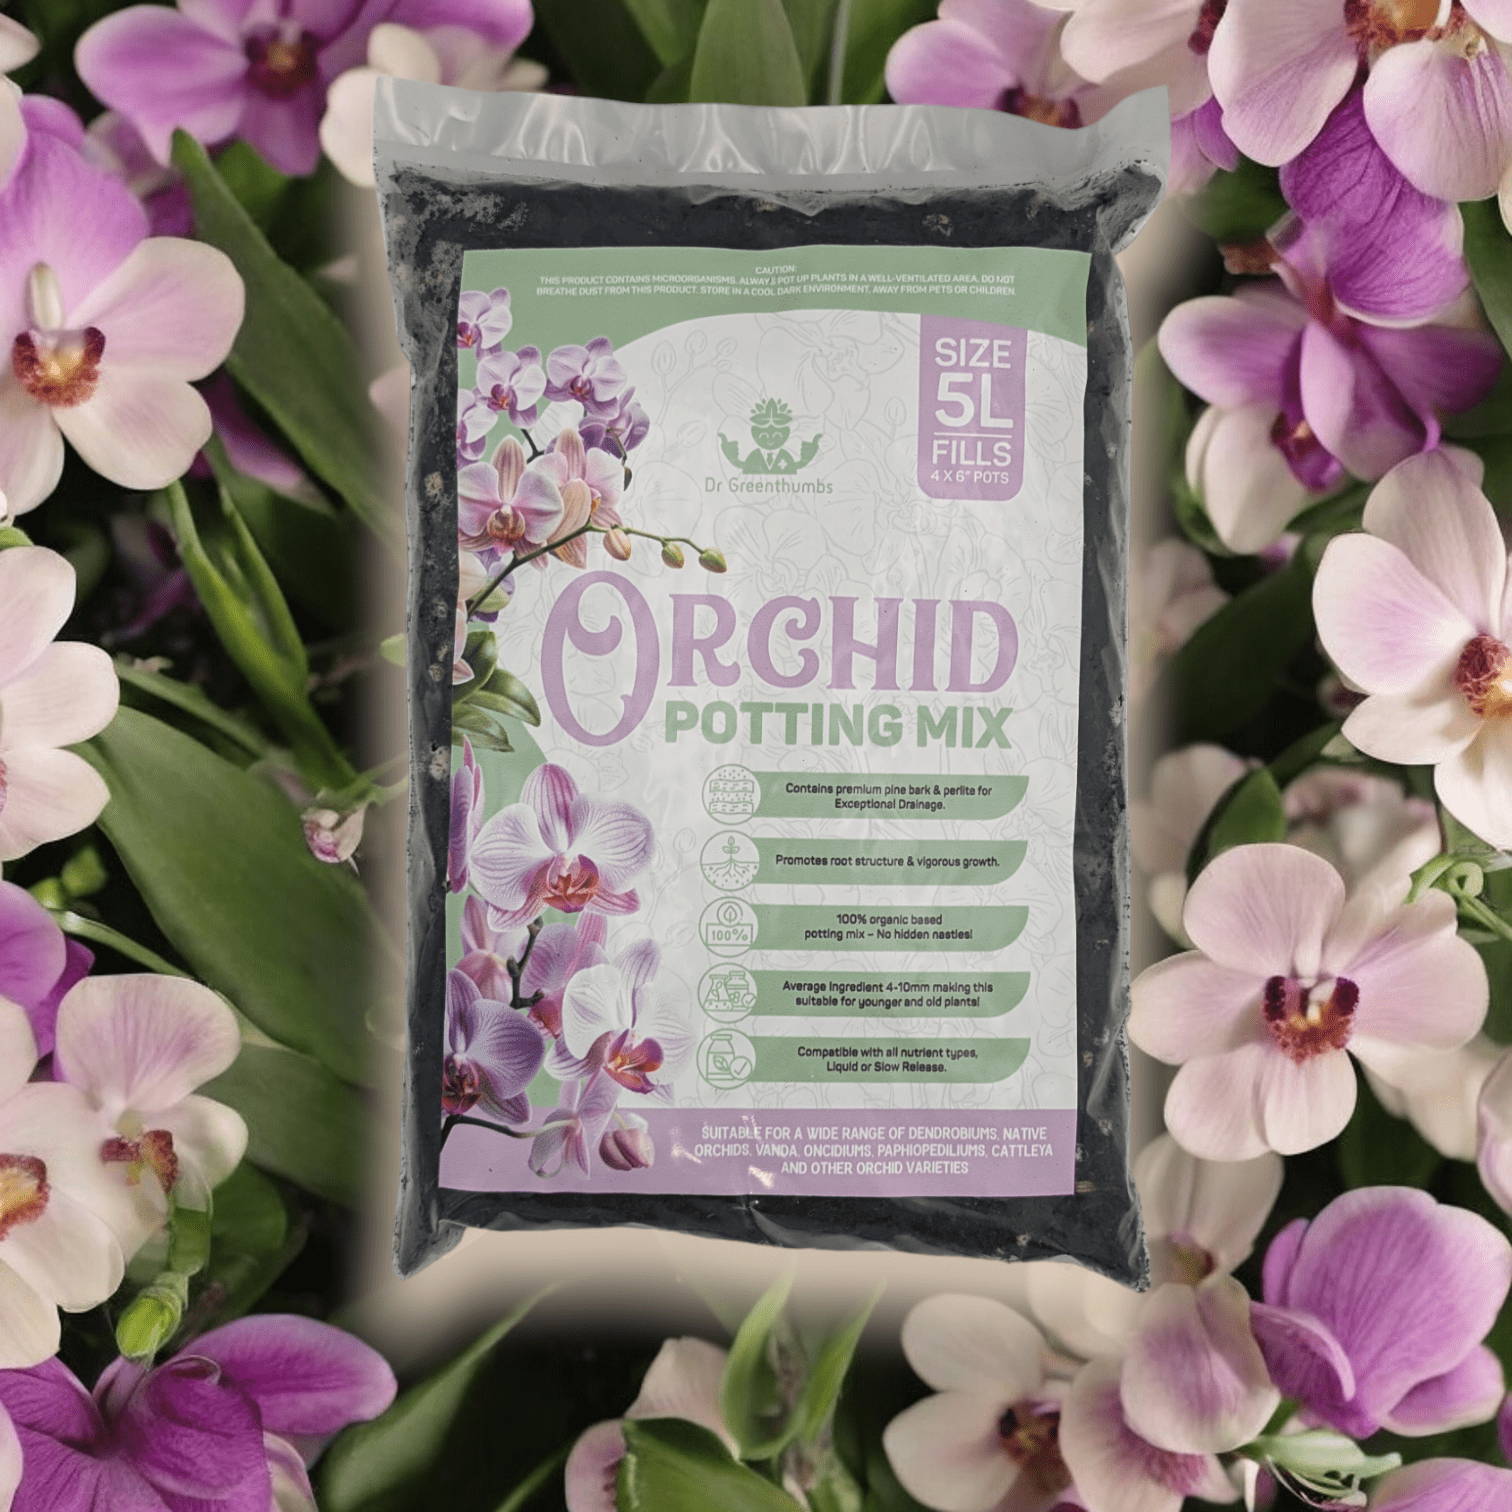
4. Check the Potting Mix
If roots and lower portions of the plant are affected, old waterlogged media can make recovery harder.
Orchid media should provide moisture and air around the root zone.
If the mix has collapsed into a dense, soggy material, repotting into fresh, suitable orchid media may be necessary once damaged roots have been dealt with.
5. Fix the Environment
After the immediate problem is under control:
- Improve airflow
- Avoid leaving foliage wet overnight
- Keep water from sitting in crowns
- Avoid constant saturation
- Keep pots clean
- Space plants so air can move
- Keep suspicious plants separated until you’re confident the problem has stopped
The long-term win is removing the conditions that allowed the rot to get established in the first place.
Black Spots on Orchid Leaves: Is It Always Black Rot?
No.
This is where plenty of orchid owners get caught out.
A black or brown spot can have several causes, including:
- Fungal leaf spotting
- Bacterial problems
- Sun damage
- Physical damage
- Cold injury
- Old tissue dying naturally
- Root stress
- Chemical damage
- Active rot
Instead of diagnosing the problem from colour alone, look at the pattern.
Soft + wet + rapidly expanding?
Active rot moves higher up the suspect list.
Dry + sharply defined?
You may be dealing with older damage, sunburn or another type of leaf lesion.
Multiple small spots rather than one spreading wet lesion?
Investigate leaf-spot diseases and environmental issues before assuming black rot.
Whole plant declining while roots are brown and soft?
Go below the soil line. The real problem may be around the roots rather than the leaf.
Correct identification saves a lot of mucking around.
Black Rot on Cabbage, Broccoli, Cauliflower & Kale
Black rot of brassicas is a different problem altogether.
Plants in the cabbage family can develop bacterial black rot.
Common hosts include:
- Cabbage
- Broccoli
- Cauliflower
- Kale
- Brussels sprouts
- Chinese cabbage
- Other brassicas
What Does Brassica Black Rot Look Like?
One of the most useful symptoms is a V-shaped yellow or brown lesion beginning at the edge of the leaf.
The point of the “V” often progresses inward.
As the problem develops you may notice:
- Yellow leaf margins
- Brown or dead tissue
- Darkened veins
- Blackened vascular tissue
- Wilting
- Leaves dying back
- Reduced plant vigour
The black veins are an especially useful clue.
How Does Brassica Black Rot Spread?
Bacterial disease can move through:
- Infected planting material
- Water splash
- Irrigation
- Contaminated tools
- Diseased crop debris
- Susceptible weeds
- Handling wet plants
Warm, wet conditions can make outbreaks more troublesome.
Once again, prevention and hygiene are doing a lot of the heavy lifting.
What to Do About Black Rot on Brassicas
Start with sanitation rather than randomly spraying.
Remove badly affected plants or leaves
Don’t leave heavily diseased material lying around the veggie patch.
Bag badly affected material and dispose of it appropriately.
Avoid handling wet plants
Working through wet crops can help move contaminated moisture from plant to plant.
Water at soil level where practical
Constant overhead watering wets foliage and increases splash between plants.
Rotate your crops
Don’t repeatedly plant brassicas in the same bed if you’ve had serious disease pressure.
Crop rotation also helps break the cycle of several other cabbage-family pests and diseases.
Start clean
Healthy seedlings, clean tools and sensible garden hygiene are much easier than trying to rescue a badly affected crop later.
Black Rot on Grapevines in Australia
This one is different from the other sections.
Suspected grape black rot should be treated seriously in Australia.
If a grapevine develops symptoms that strongly resemble grape black rot, don't start cutting it apart and carrying infected material around the backyard.
What Does Grape Black Rot Look Like?
Potential symptoms include:
On leaves
- Small reddish-brown spots
- Spots increasing in size
- Dark lesion margins
- Tiny black dots developing in affected tissue
On shoots and stems
- Dark lesions
- Elongated damaged areas
- Sunken tissue
On grapes
Fruit symptoms can be particularly noticeable.
Affected berries may:
- Develop brown areas
- Begin to rot
- Shrivel
- Turn very dark
- Dry into hard, mummified berries
If you genuinely suspect an exotic plant disease on grapevines, avoid moving affected plant material around.
In Australia, suspected exotic plant pests and diseases can be reported via the Exotic Plant Pest Hotline on 1800 084 881.
Grape Black Rot vs Black Spot
These aren't necessarily the same problem.
Grapes can develop several spotting and rotting conditions, which makes photo-only diagnosis risky.
Look at the whole symptom pattern:
- Is damage on the leaves only?
- Are stems affected?
- Are tiny black structures visible within lesions?
- Are berries shrivelling and becoming mummified?
- Is the issue spreading across different parts of the vine?
When symptoms don't fit a familiar garden problem, don't assume.
Particularly with grapevine disease in Australia, accurate diagnosis matters.
Black Core Rot in Mandarins
Ever cut into a mandarin that looked reasonably good from the outside and found the centre brown or black?
You may be dealing with black core rot.
This can be frustrating because the outside of the fruit does not always tell you what’s going on inside.
Possible symptoms include:
- Darkening around the internal core
- Brown or black decay inside the fruit
- Internal rot with limited external symptoms
- Occasionally dark, sunken external lesions
- Fruit drying or mummifying on the tree
Remove affected and mummified fruit rather than leaving them hanging on the tree or sitting underneath it.
Good orchard and garden hygiene helps reduce the amount of diseased material hanging around between seasons.
Is Black Rot the Same as Blossom-End Rot on Tomatoes?
No.
This is one of the most common points of confusion.
A tomato that develops a dark, sunken patch on the bottom of the fruit is usually suffering from blossom-end rot.
Despite the ugly black appearance, blossom-end rot is not the same as an infectious black rot disease.
It is associated with the plant being unable to supply enough calcium to developing fruit tissue, often because water availability to the roots has been inconsistent.
That’s why spraying a fungicide at blossom-end rot doesn't address the underlying problem.
Instead, focus on:
- More consistent soil moisture
- Healthy roots
- Avoiding severe wet-dry cycles
- Appropriate nutrition
- Mulching where suitable
- Avoiding unnecessary root disturbance
Diagnose first. Treat second.
Why Does Black Rot Keep Coming Back?
If disease returns every season, there’s usually an underlying cycle that hasn't been broken.
Think beyond the visible lesion.
Ask:
Is infected plant material being left behind?
Dead leaves, mummified fruit and old crop debris can harbour pests or disease organisms.
Are your tools clean?
A pair of secateurs can move problems surprisingly efficiently.
Does foliage stay wet?
Plants packed tightly together with poor airflow can remain damp for much longer.
Are plants being watered from above every day?
Constant leaf wetness and splash can encourage disease spread.
Are roots staying soggy?
Poor drainage stresses plants and creates favourable conditions for several root and crown problems.
Are new plants being inspected?
One unhealthy addition can introduce a problem into an otherwise clean growing area.
Fixing the environment is often just as important as treating the plant.
How to Prevent Black Rot & Other Plant Diseases
There isn't one magic black-rot prevention spray.
But there are plenty of boring little gardening habits that make outbreaks much less likely.
And boring works.
1. Improve Airflow
Don't squash every plant into the smallest available space.
Prune where appropriate, give plants sensible spacing and make sure air can actually move through the canopy.
2. Water the Roots, Not Everything Else
Where practical, apply irrigation around the root zone rather than soaking foliage every time you water.
Obviously rain is going to get the leaves wet.
The goal isn't keeping your garden permanently dry.
It's avoiding unnecessary prolonged wetness.
3. Water Early
Morning watering gives wet foliage more opportunity to dry during the day.
Watering everything late in the evening and leaving leaves dripping all night can create a much friendlier environment for disease.
4. Keep Tools Clean
Clean pruning tools between affected plants.
If you're cutting through obviously diseased material, clean between cuts as well.
5. Remove Diseased Material
Don't lovingly build a disease hotel under your plants.
Remove badly affected leaves, fallen fruit and infected debris where appropriate.
6. Keep Roots Healthy
Healthy roots help plants handle stress.
Match the potting media to the plant, provide appropriate drainage and avoid constantly drowning the root zone.
7. Inspect Plants Regularly
The best time to deal with a plant disease is before half the plant is collapsing.
Get into the habit of checking:
- Leaf undersides
- New growth
- Stems
- Root zones
- Crowns
- Fruit
- Fallen debris
Five minutes once a week beats discovering an absolute mess a month later.
Should You Use Lime Sulphur for Black Rot?
This is where diagnosis becomes especially important.
Don't assume every black plant lesion calls for the same fungicide.
Kendon Lime Sulphur is a contact fungicide, miticide and insecticide in the Dr Greenthumbs range.
It is used for labelled problems including:
- Powdery mildew
- Rust
- Black spot
- Scale insects
- Spider mites
- Aphids
It can be useful across suitable roses, fruit trees and ornamentals where the product label lists the plant and target problem.
But that does not mean lime sulphur should automatically be sprayed onto every plant showing something gardeners call “black rot”.
Black rot can involve completely different organisms — and some similarly named problems aren't fungal at all.
Before using any spray:
- Identify the plant.
- Identify the likely problem.
- Check whether the product label covers that crop and problem.
- Follow the mixing and application directions exactly.
- Patch-test sensitive plants where appropriate.
- Avoid mixing products unless the labels specifically allow it.
- Observe all safety instructions and withholding periods.
For a deeper look at another common fungal problem where lime sulphur may be relevant, read our guide to getting rid of powdery mildew in Australia.
A Quick Note About Lime Sulphur
Lime sulphur works by contact, not by magically circulating through every part of a plant.
That means coverage matters.
When you're using it for an appropriate labelled pest or disease:
- Follow the label rate exactly
- Apply in suitable weather
- Avoid hot conditions and harsh direct sunlight
- Don't spray if rain will immediately wash it away
- Cover the required plant surfaces properly
- Clean spraying equipment after use
- Don't combine it with oils or other sprays unless compatibility is confirmed on the label
And yes — it smells like rotten eggs.
That's the sulphur.
If you've got fine stippling and webbing rather than spreading black lesions, you may actually be dealing with mites rather than disease. Our Australian spider mite control guide will help you confirm the difference.
What Should You Do in the First 24 Hours?
If you've just discovered suspicious black rot, here's the simple version.
Step 1: Don't panic-spray
Spraying the wrong product can waste time and stress an already struggling plant.
Step 2: Identify the host
Orchid? Brassica? Grapevine? Citrus? Tomato?
That immediately narrows the possibilities.
Step 3: Inspect the damage closely
Look at:
- Colour
- Texture
- Location
- Speed of spread
- Leaf veins
- Root condition
- Fruit symptoms
Take photos so you can compare any changes over the next few days.
Step 4: Isolate where practical
Especially for potted orchids and houseplants.
Step 5: Remove obvious disease sources where appropriate
Clean up fallen infected material and badly affected tissue.
Step 6: Clean your tools
Don't turn one sick plant into five.
Step 7: Correct the environment
Check moisture, drainage, airflow and plant spacing.
Step 8: Only then choose treatment
Use a product only when it is suitable for the plant and correctly identified problem.
That's a much better plan than reaching for whatever bottle happens to be closest to the back door.
Black Rot FAQs
What is black rot?
Black rot is a common name used for several plant diseases rather than one universal disease. Different forms affect orchids, brassicas, grapevines, citrus and other plants.
The host plant and symptom pattern are therefore essential for diagnosis.
Can black rot spread to other plants?
Some black-rot diseases can spread between susceptible plants, but the term covers multiple different pathogens.
An orchid disease doesn't automatically jump to your cabbage patch simply because both are called black rot.
Focus on identifying the specific disease involved.
Should I remove leaves with black rot?
If tissue has been correctly identified as actively diseased, removing badly affected material can sometimes help reduce the source of infection.
Use clean tools and avoid spreading contaminated plant material.
With valuable plants or uncertain symptoms, confirm the diagnosis before heavily pruning.
Why are my orchid leaves turning black?
Black orchid leaves can result from several problems including active rot, leaf spotting, sun damage, physical injury, cold damage and root stress.
Soft, wet-looking black tissue that expands quickly is more concerning for active rot than an old, dry, stable mark.
Can an orchid recover from black rot?
Early infections may be manageable if diseased tissue can be removed and the underlying growing conditions are corrected.
Once severe rot reaches critical growing points or spreads extensively through a plant, recovery becomes much more difficult.
Early action gives you the best chance.
Does overwatering cause black rot?
Overwatering doesn't directly explain every disease called black rot.
However, constantly wet media, prolonged leaf wetness and poor airflow can create favourable conditions for several organisms associated with rot, particularly in orchids.
Can I use fungicide on black rot?
Sometimes — but only after identifying the disease.
Some problems called black rot are bacterial. Some involve water moulds. Other black lesions aren't infectious diseases at all.
A fungicide designed for one disease cannot be assumed to control another.
Always check the product label.
Does lime sulphur treat black rot?
Do not assume that lime sulphur treats every disease described as black rot.
Kendon Lime Sulphur is sold for specific labelled fungal diseases and pests including powdery mildew, rust, black spot, scale, spider mites and aphids.
Use it only where the target plant and problem are covered by the product directions.
What is the difference between black rot and black spot?
They're not interchangeable terms.
Black spot generally describes particular spotting diseases, while black rot is used for several diseases involving different pathogens and host plants.
A black mark on a plant is a symptom — not a diagnosis.
What does black rot look like on cabbage?
Look for yellow or brown V-shaped lesions beginning at the leaf margin, followed in some cases by darkening or blackening of the leaf veins.
That pattern is much more useful diagnostically than simply looking for a black patch.
What does black rot look like on grapes?
Possible symptoms include brown leaf lesions, dark structures within lesions and berries that rot, shrivel and eventually become hard, dark mummies.
Because suspected grape black rot is significant in Australia, unusual grapevine symptoms should be investigated rather than casually treated.
The Bottom Line on Black Rot
When you see part of a plant turning black, the instinct is understandable:
“What do I spray on it?”
But that's actually the second question.
The first is:
“What am I dealing with?”
Black rot can refer to very different problems on different plants.
An orchid with soft black tissue isn't the same problem as a cabbage with V-shaped lesions. A mandarin rotting internally isn't the same as a tomato developing blossom-end rot. And suspicious symptoms on Australian grapevines deserve particular attention.
So remember the order:
Identify → isolate → clean up → correct the conditions → treat appropriately.
Do that and you'll solve a lot more plant problems than you will by blindly cycling through sprays.
And if your diagnosis turns out to be a labelled fungal disease such as powdery mildew, rust or black spot, you can explore Kendon Lime Sulphur for plant disease and pest control here.
Healthy plants start with getting the diagnosis right.
Next Reads for Diagnosing Rot and Plant Disease Properly
Still unsure whether you’re dealing with rot, fungal disease or a lookalike problem? These guides will help you narrow down the cause and choose the right next step.
- How to Get Rid of Powdery Mildew in Australia
- Best Organic Fungicide Australia Guide
- How to Correctly Water Your Garden
- Orchid Bark & Orchiata Australia Guide
About the Author