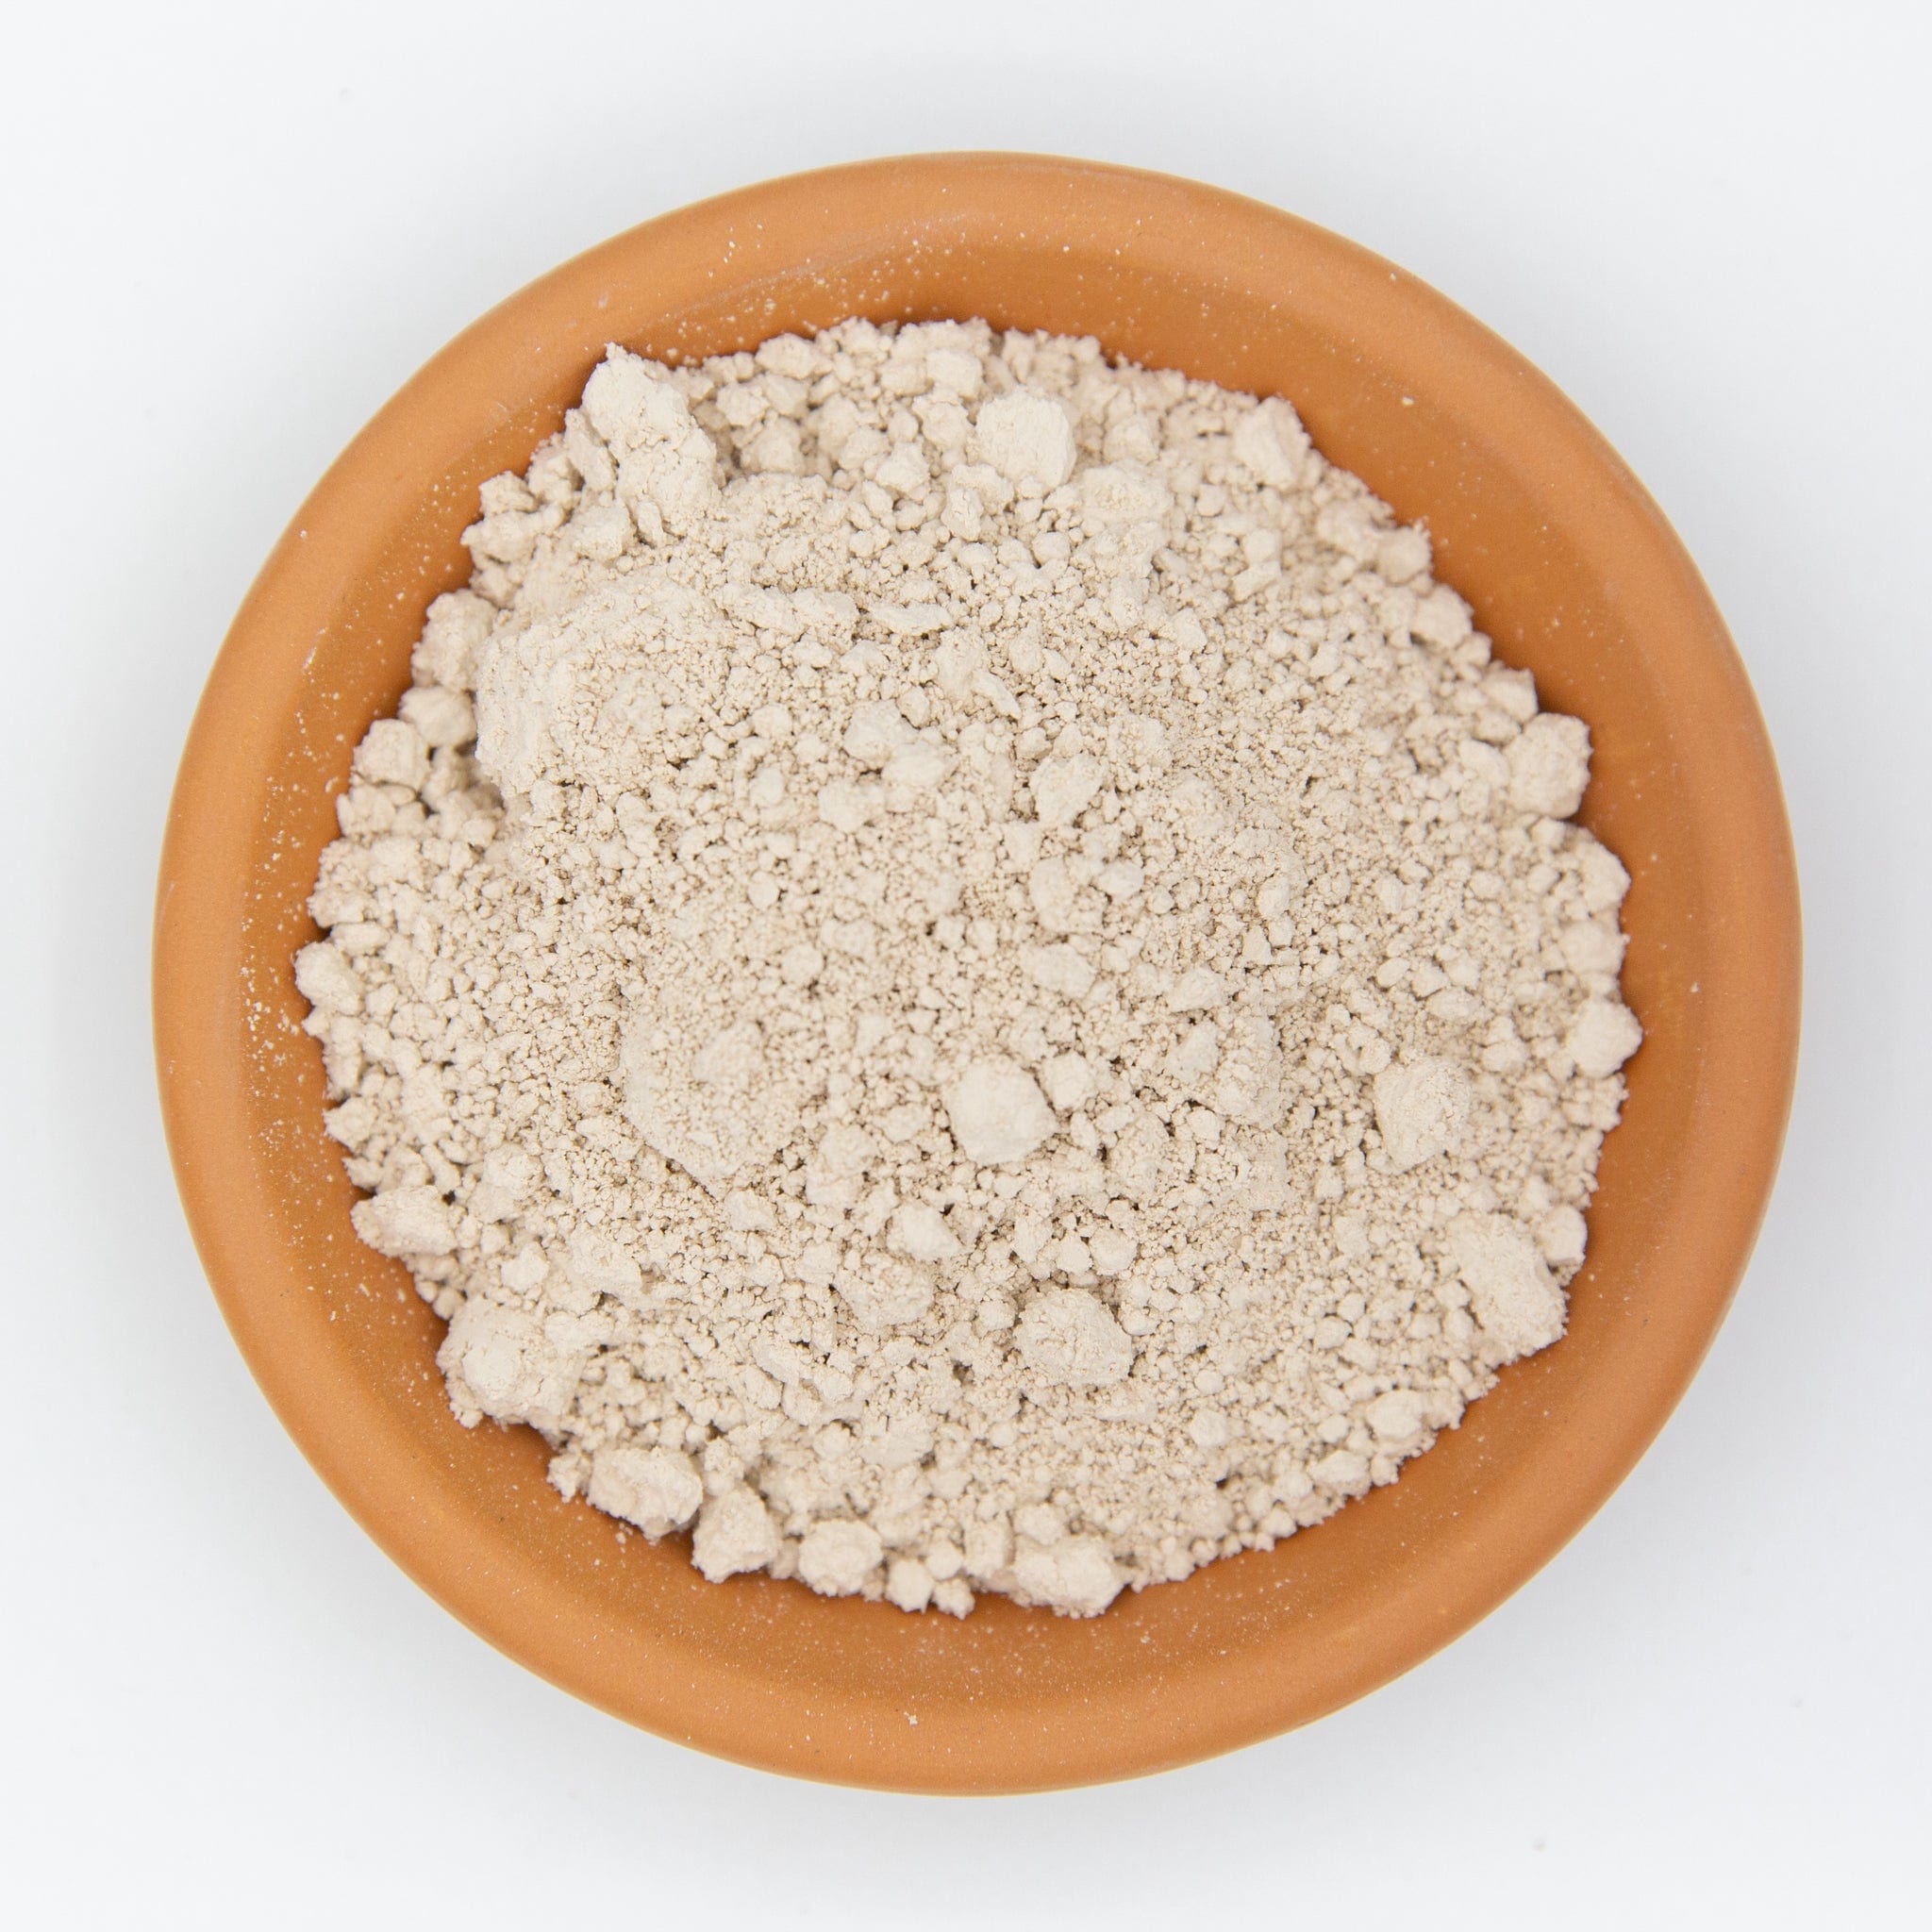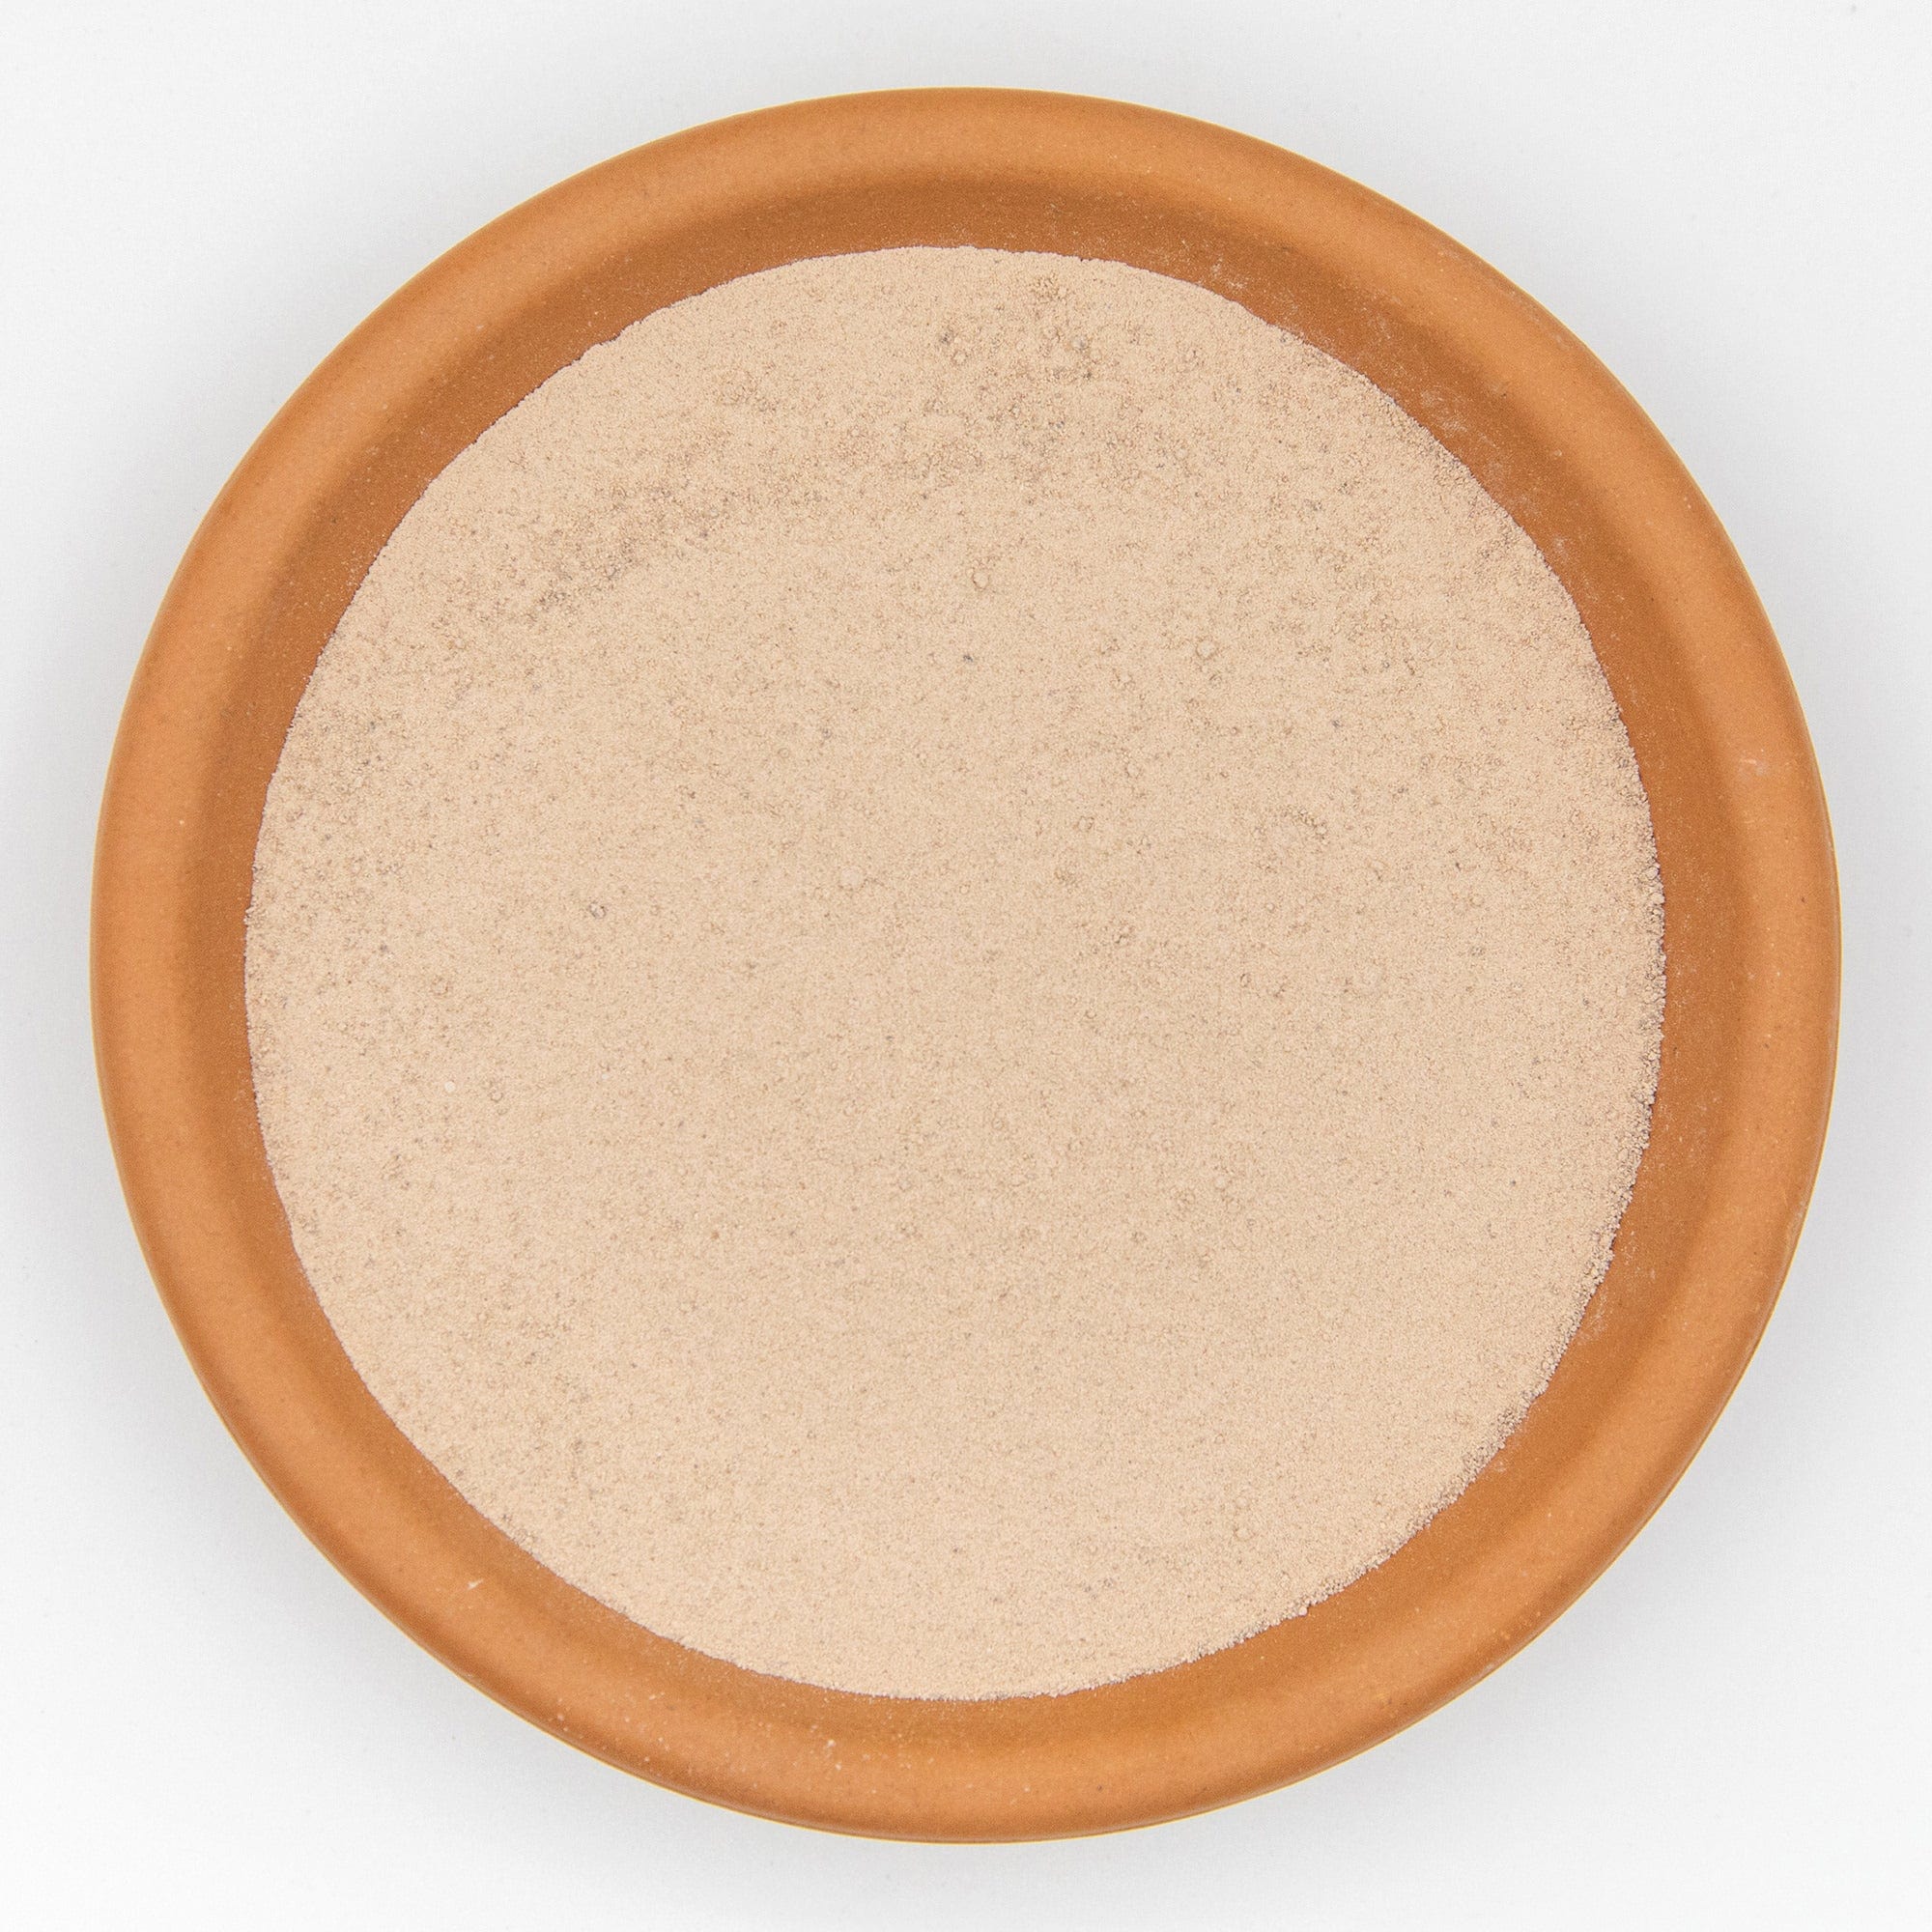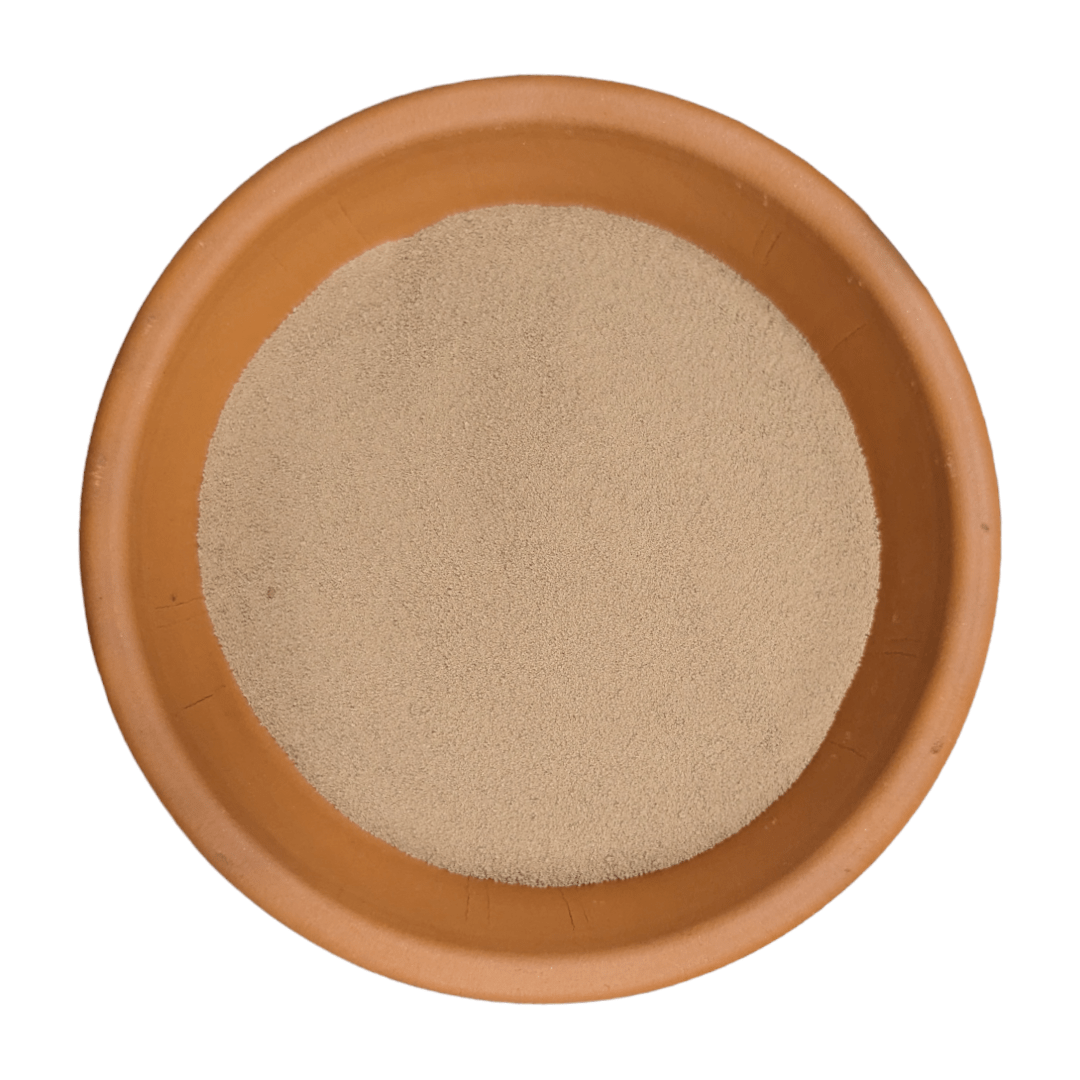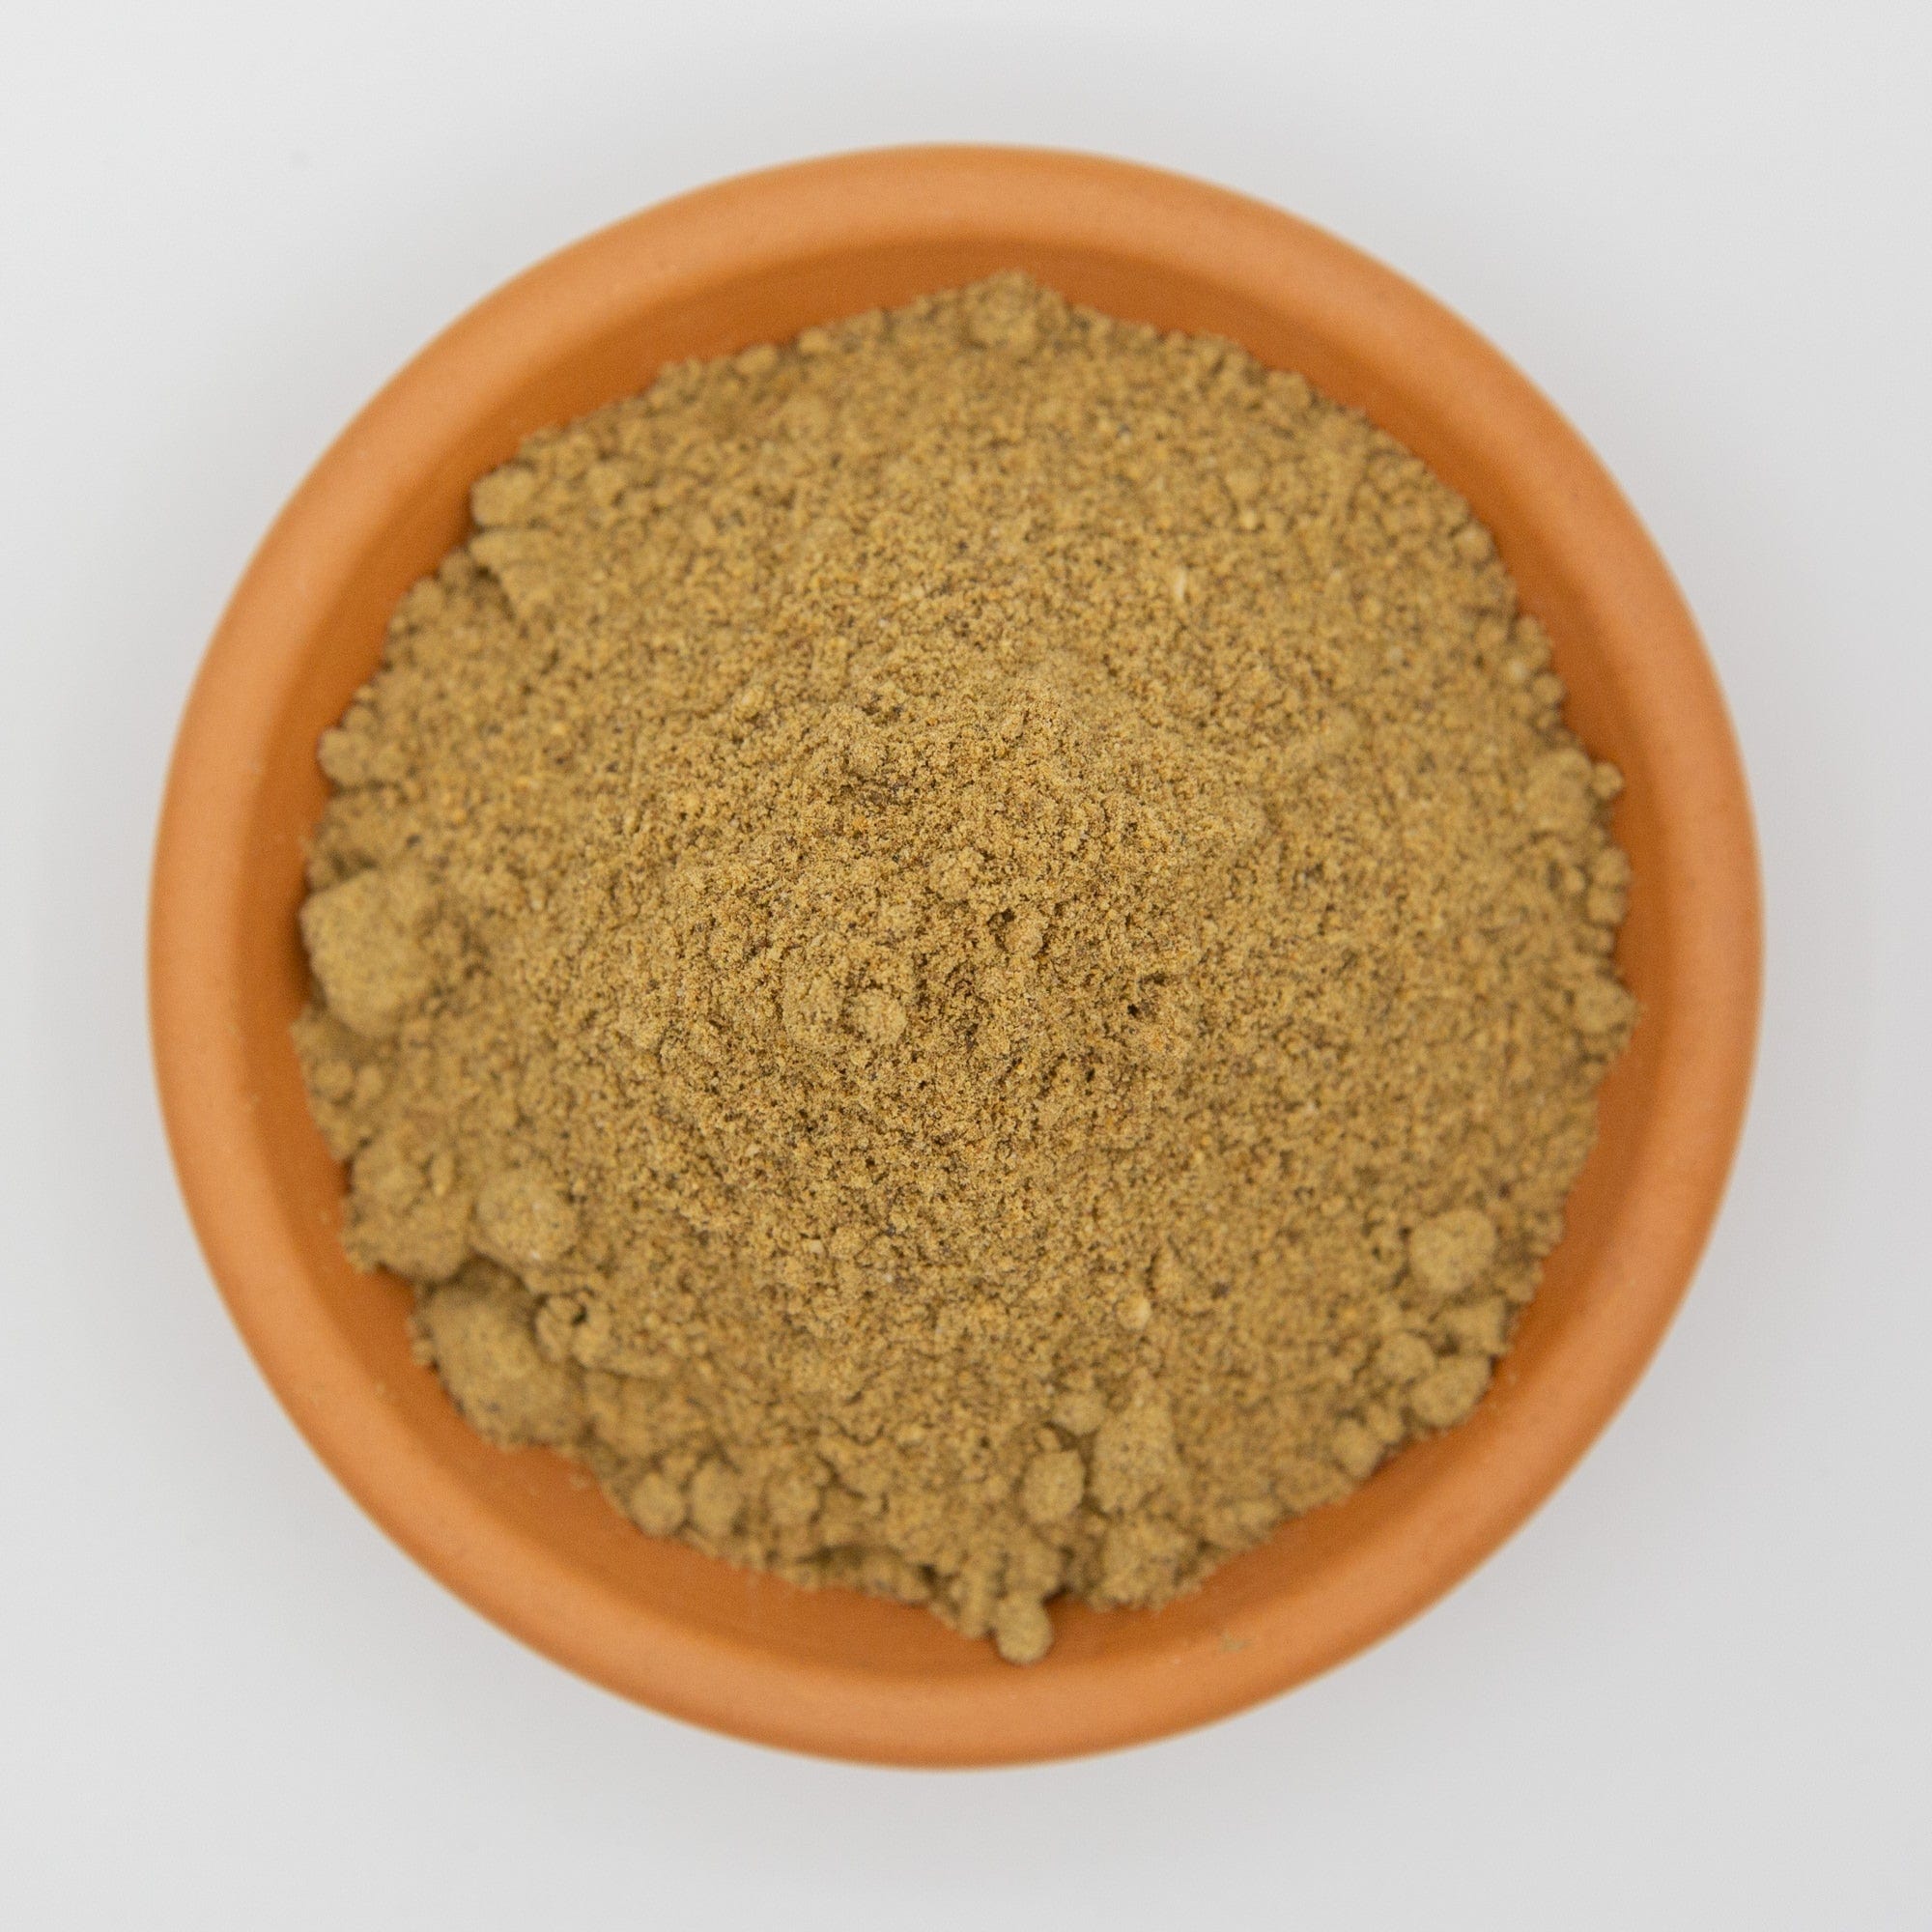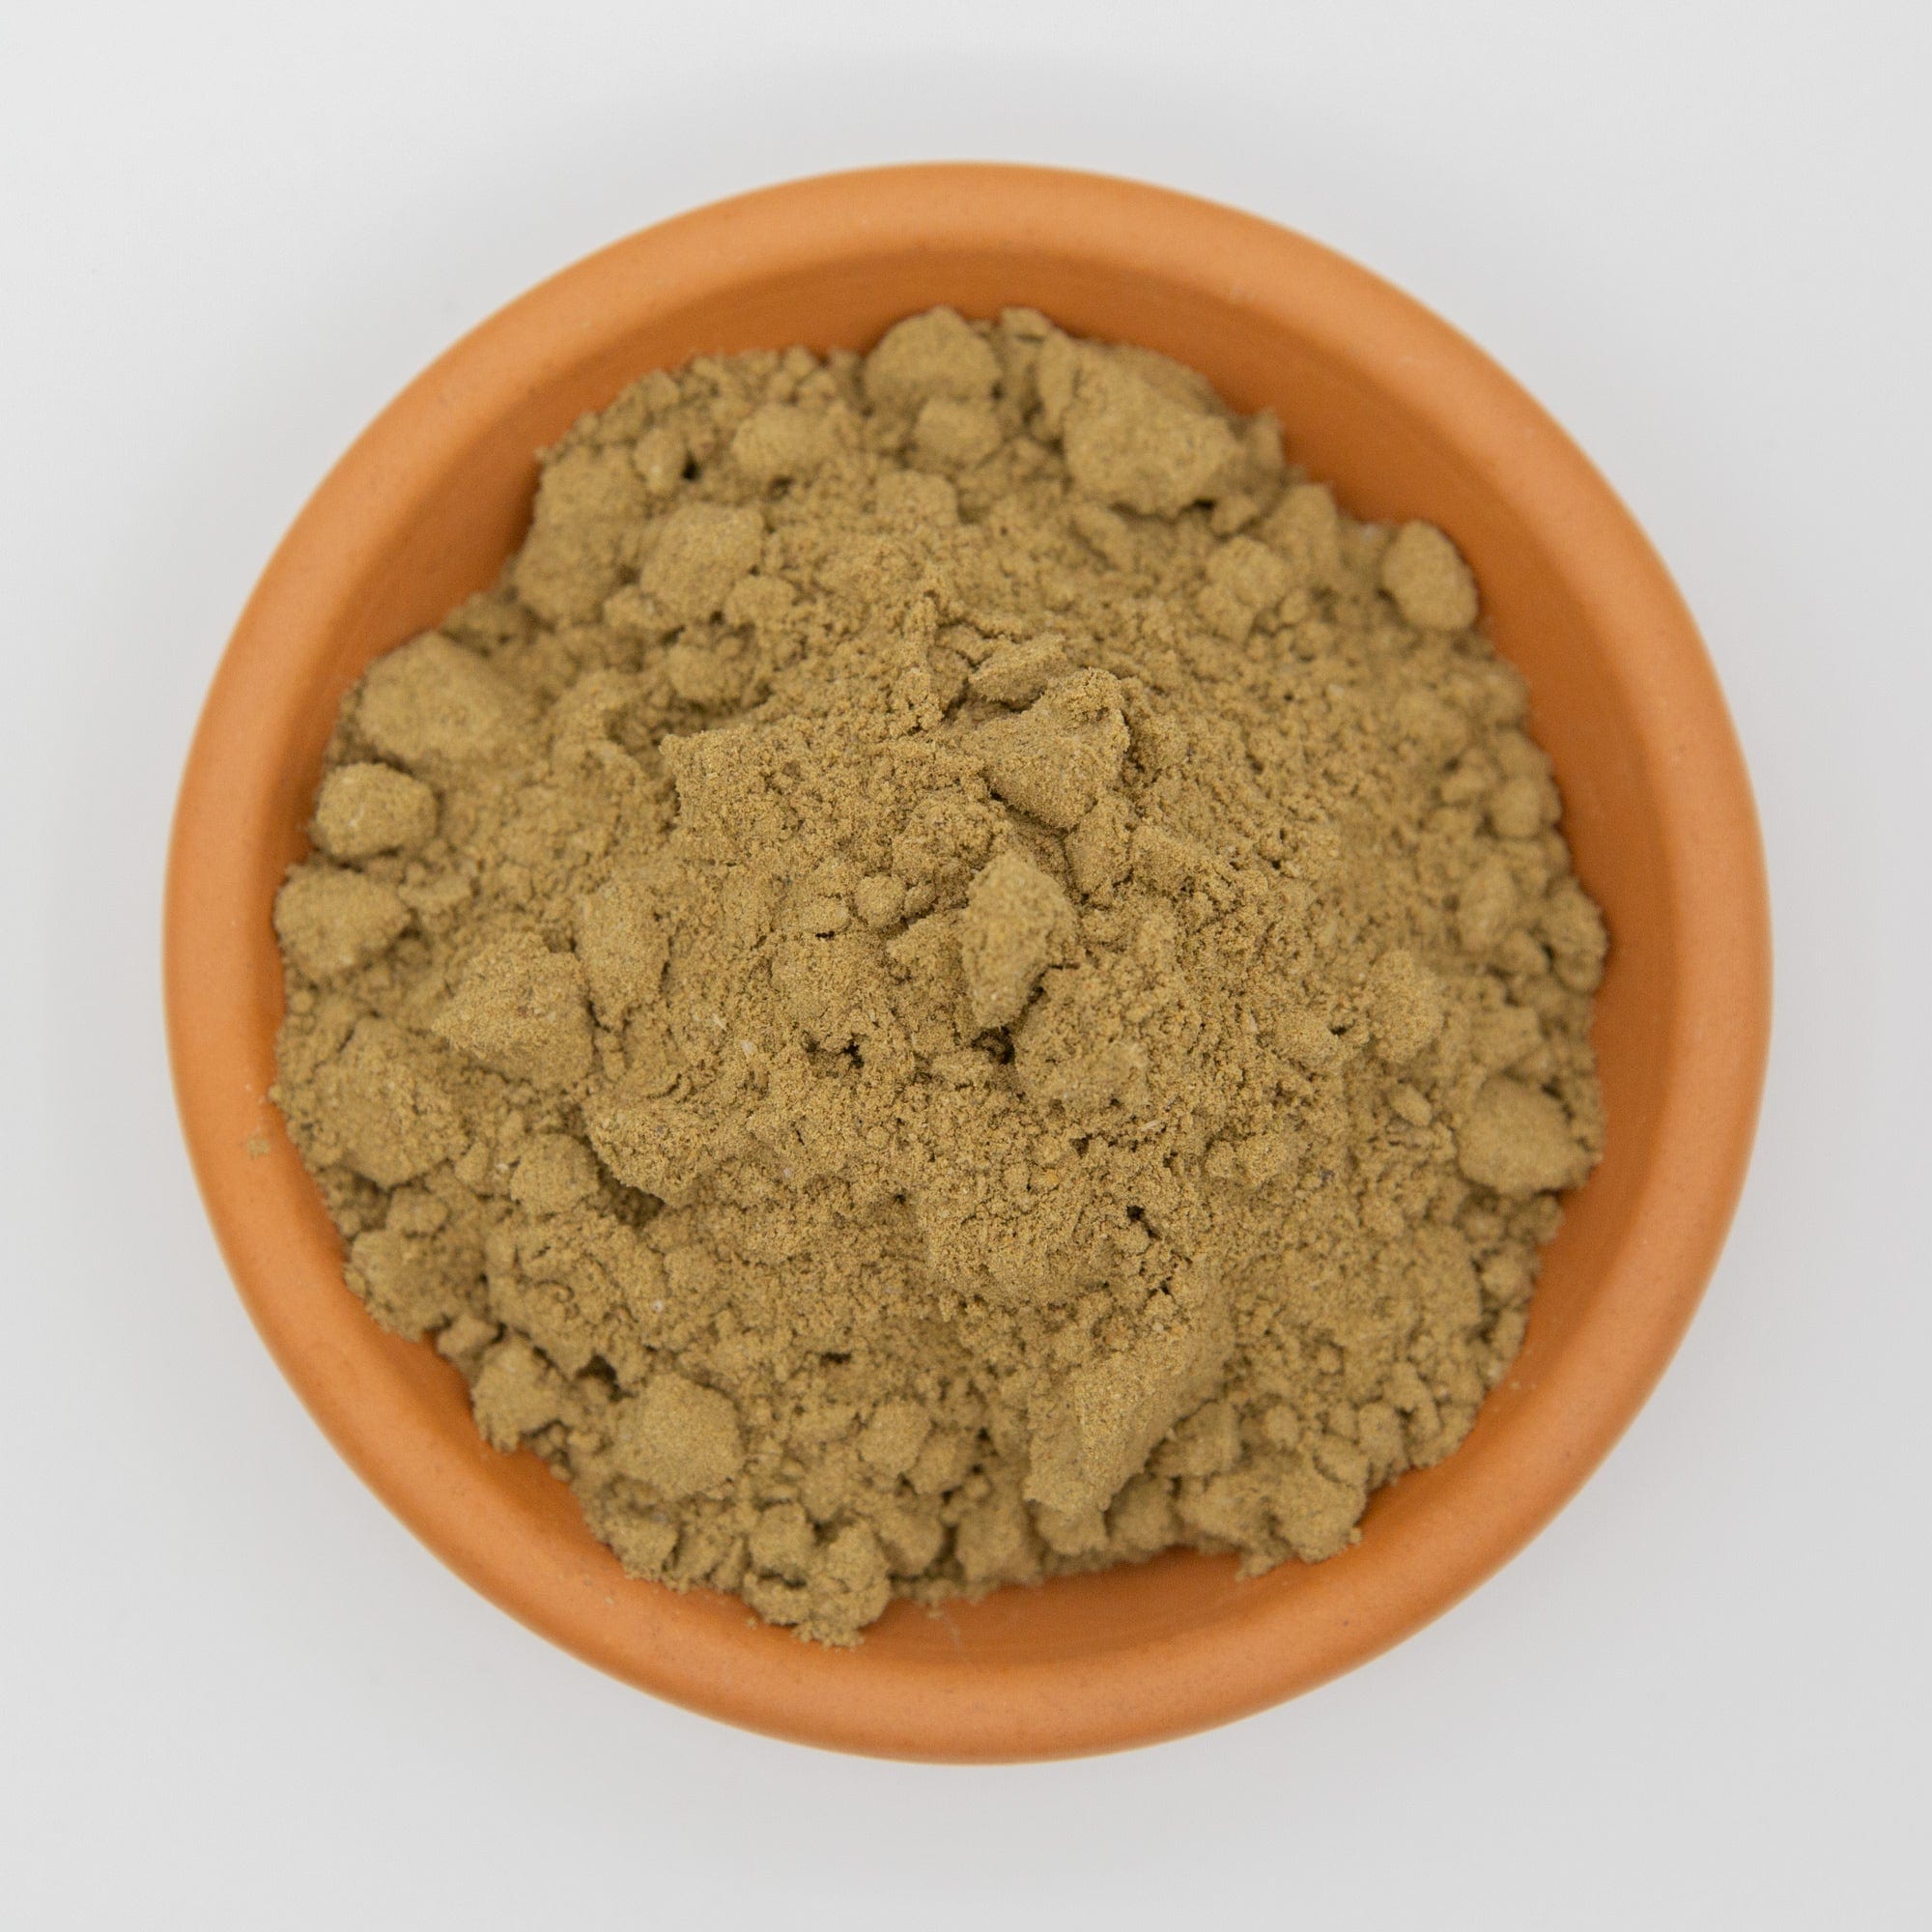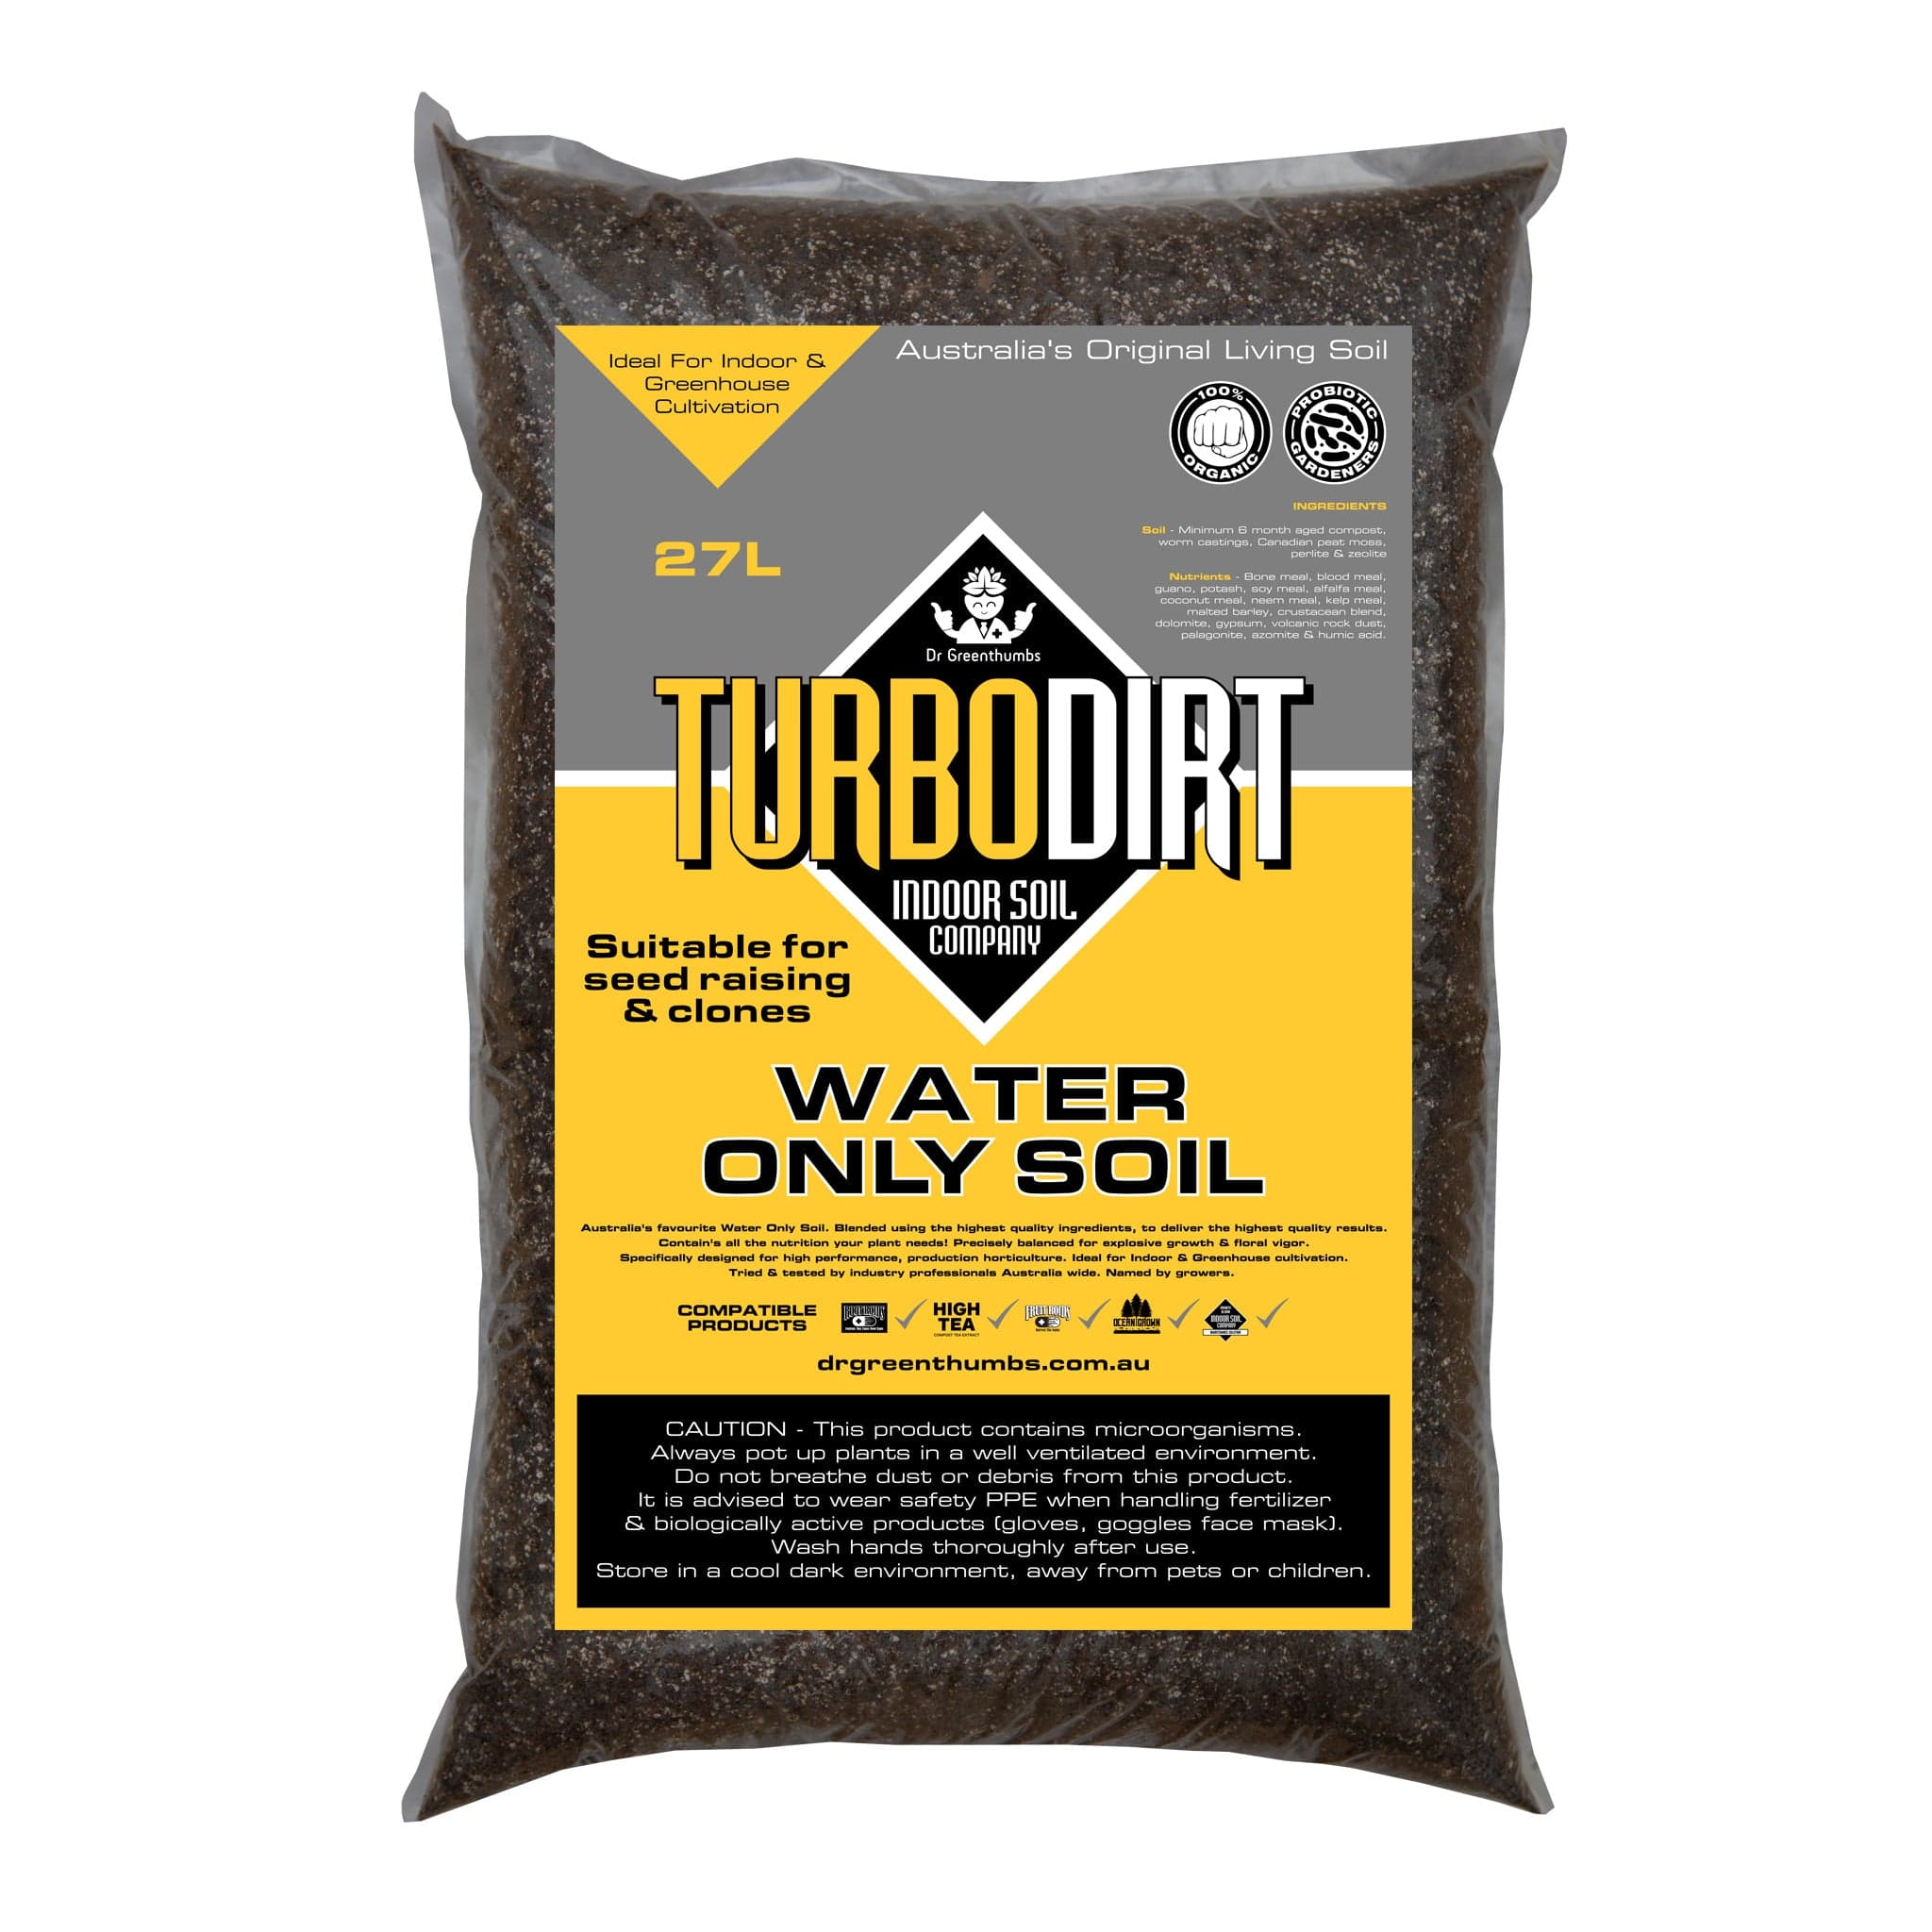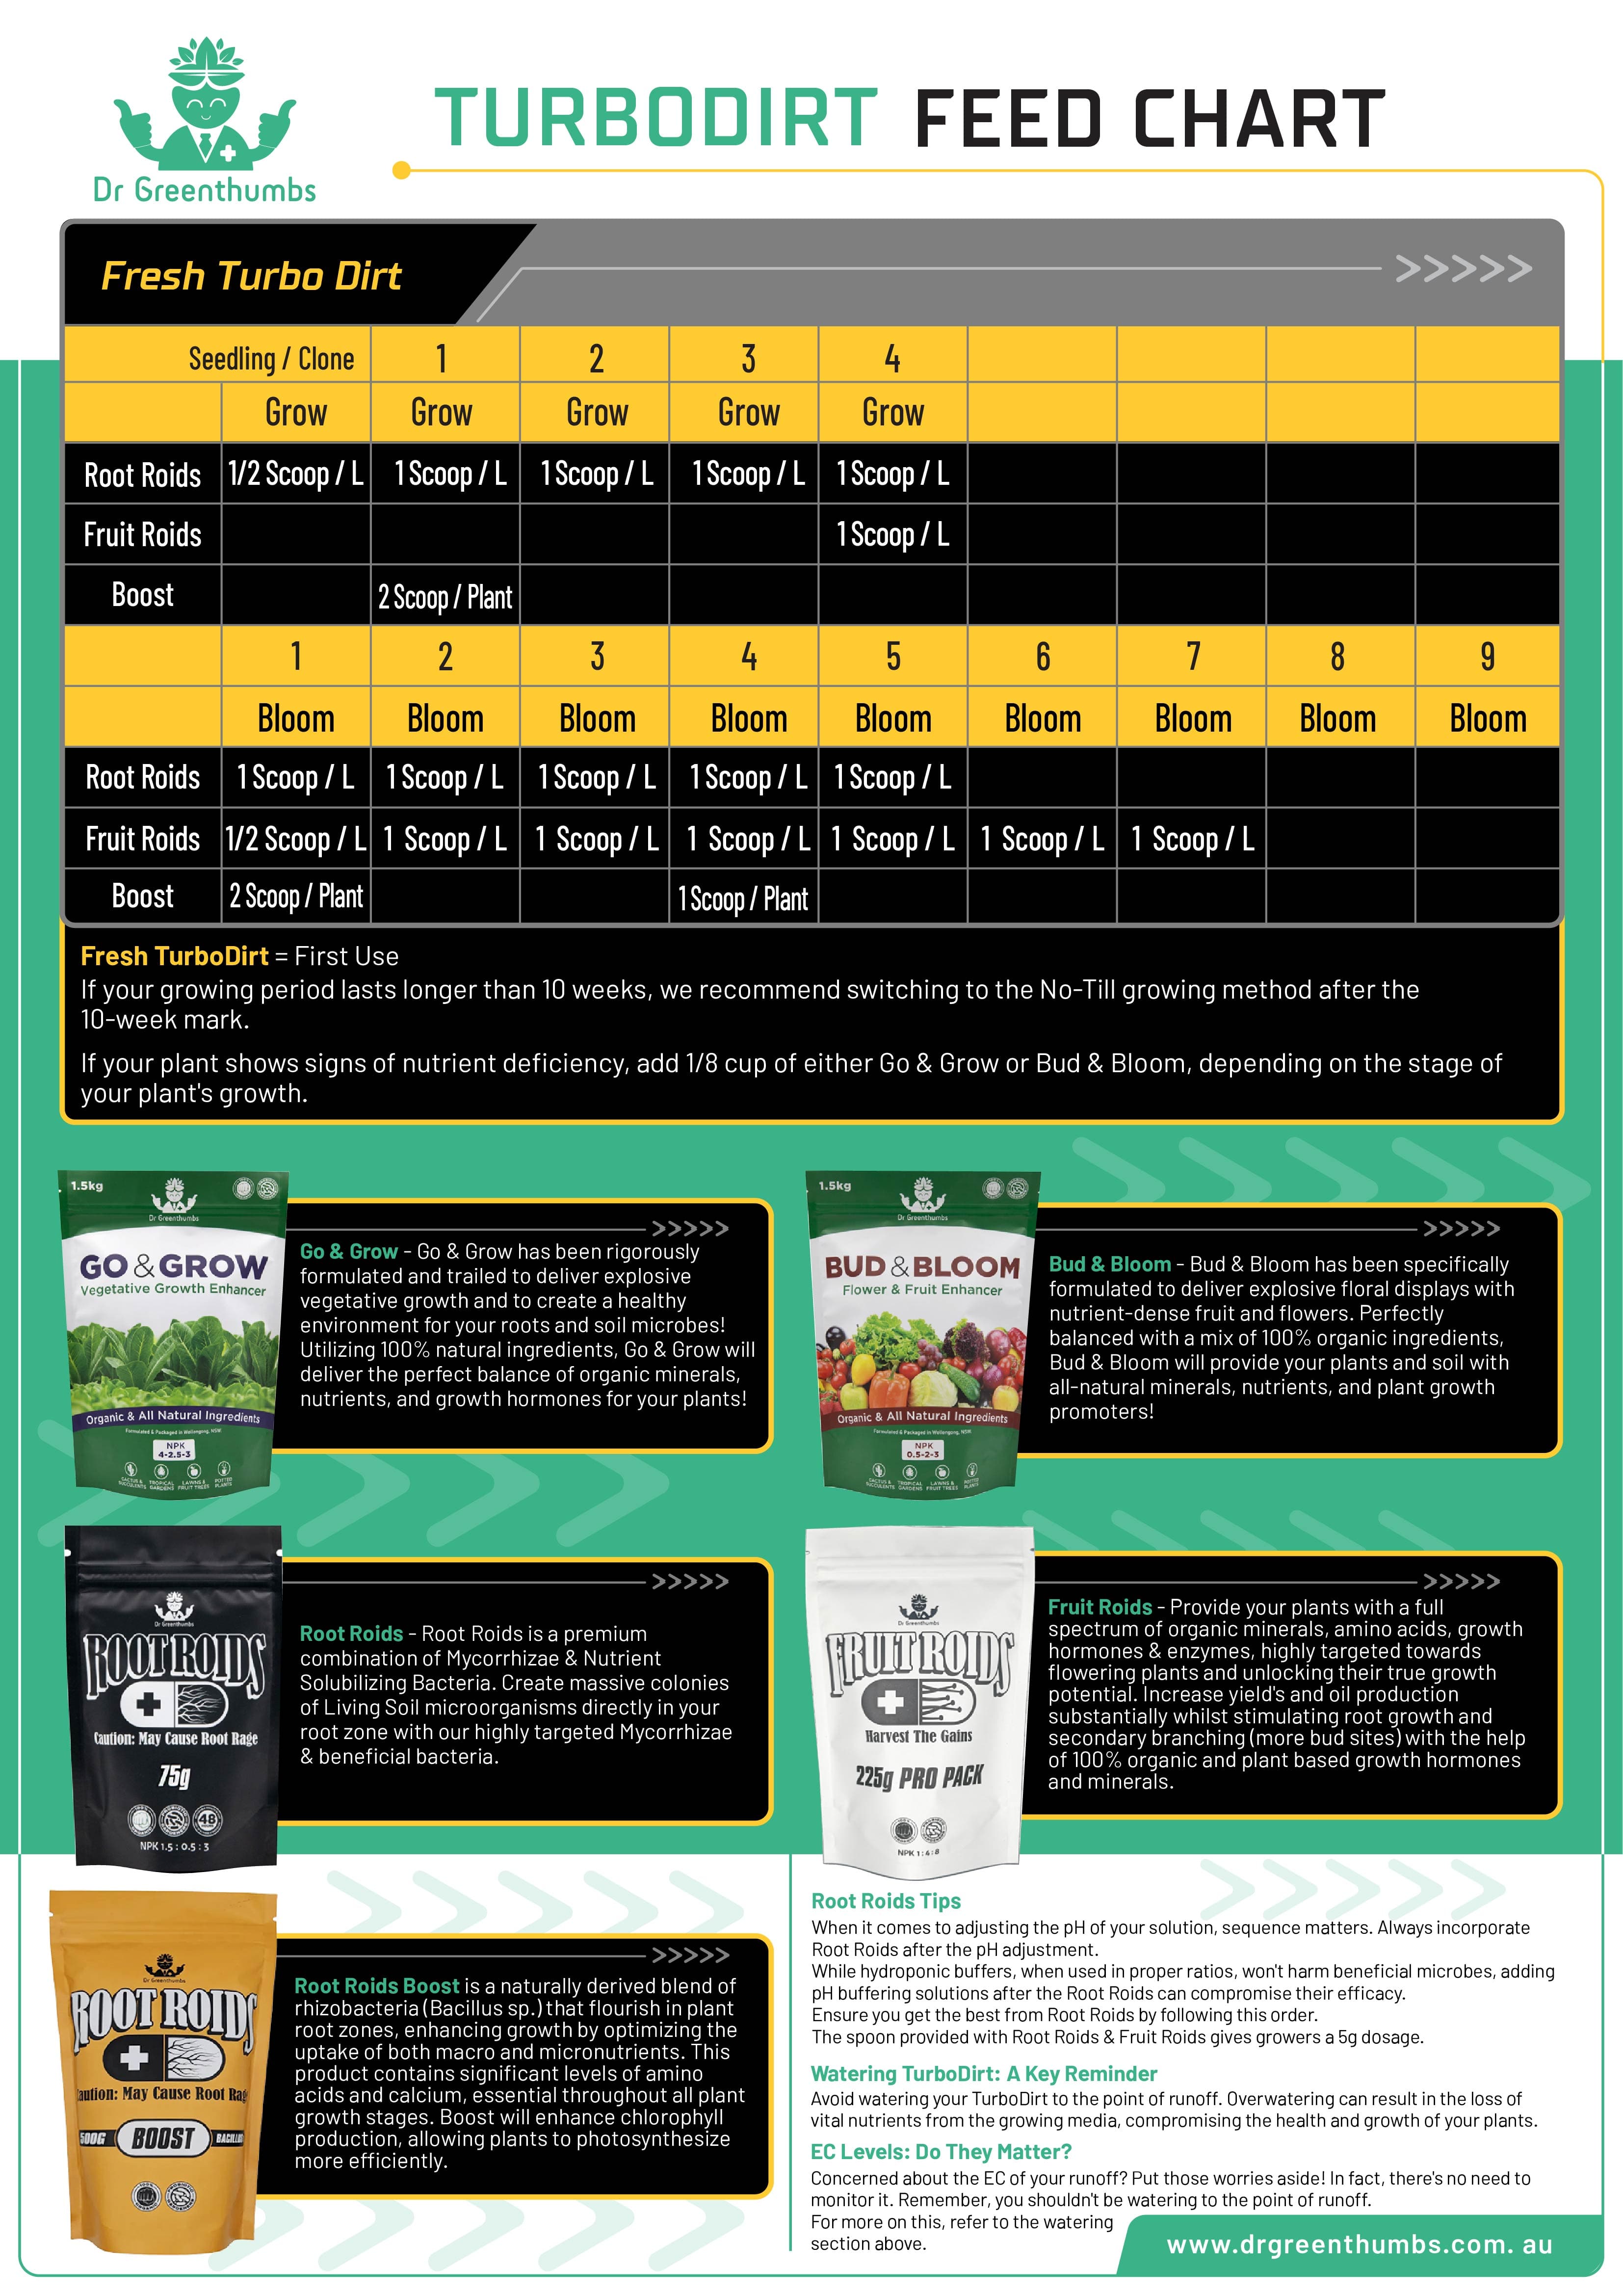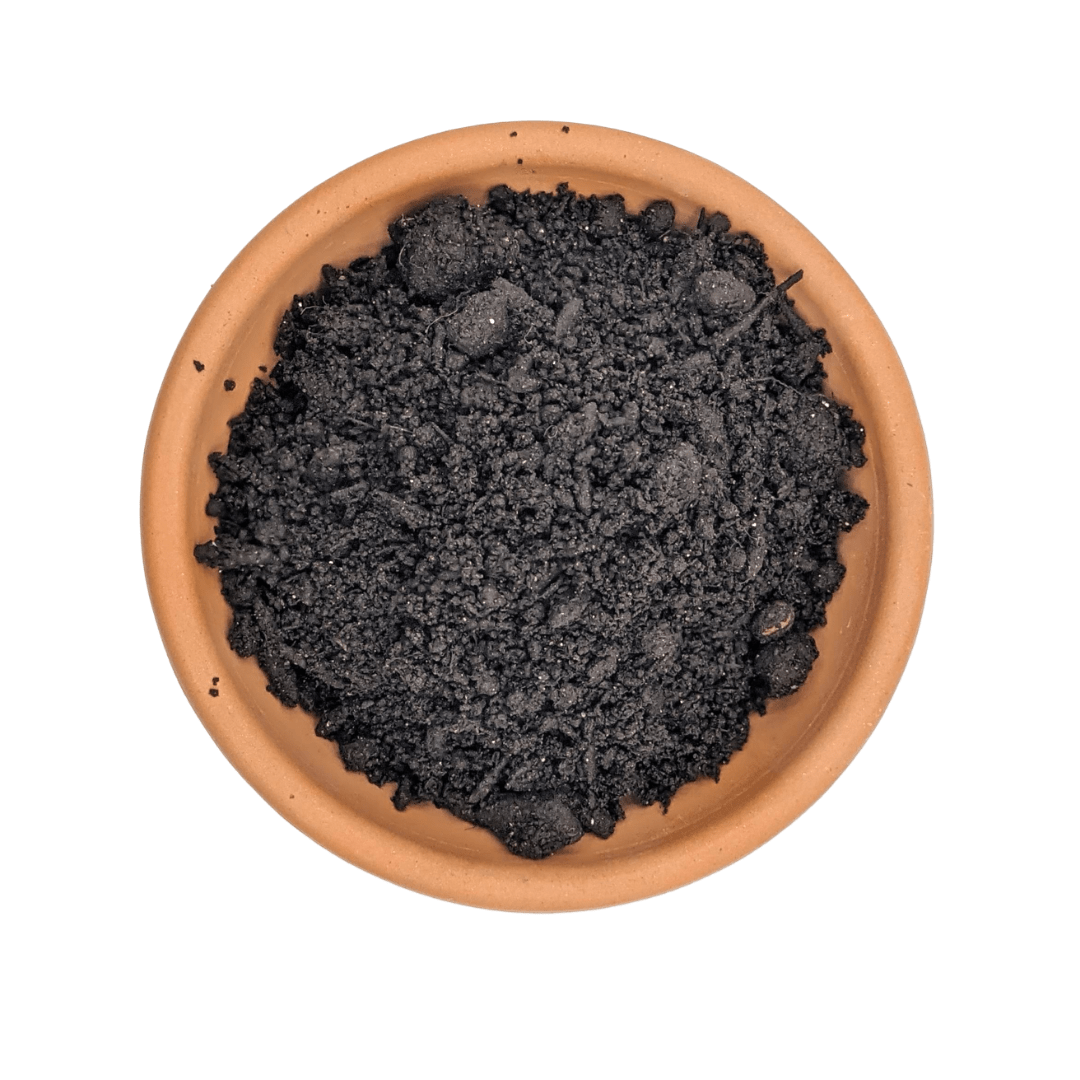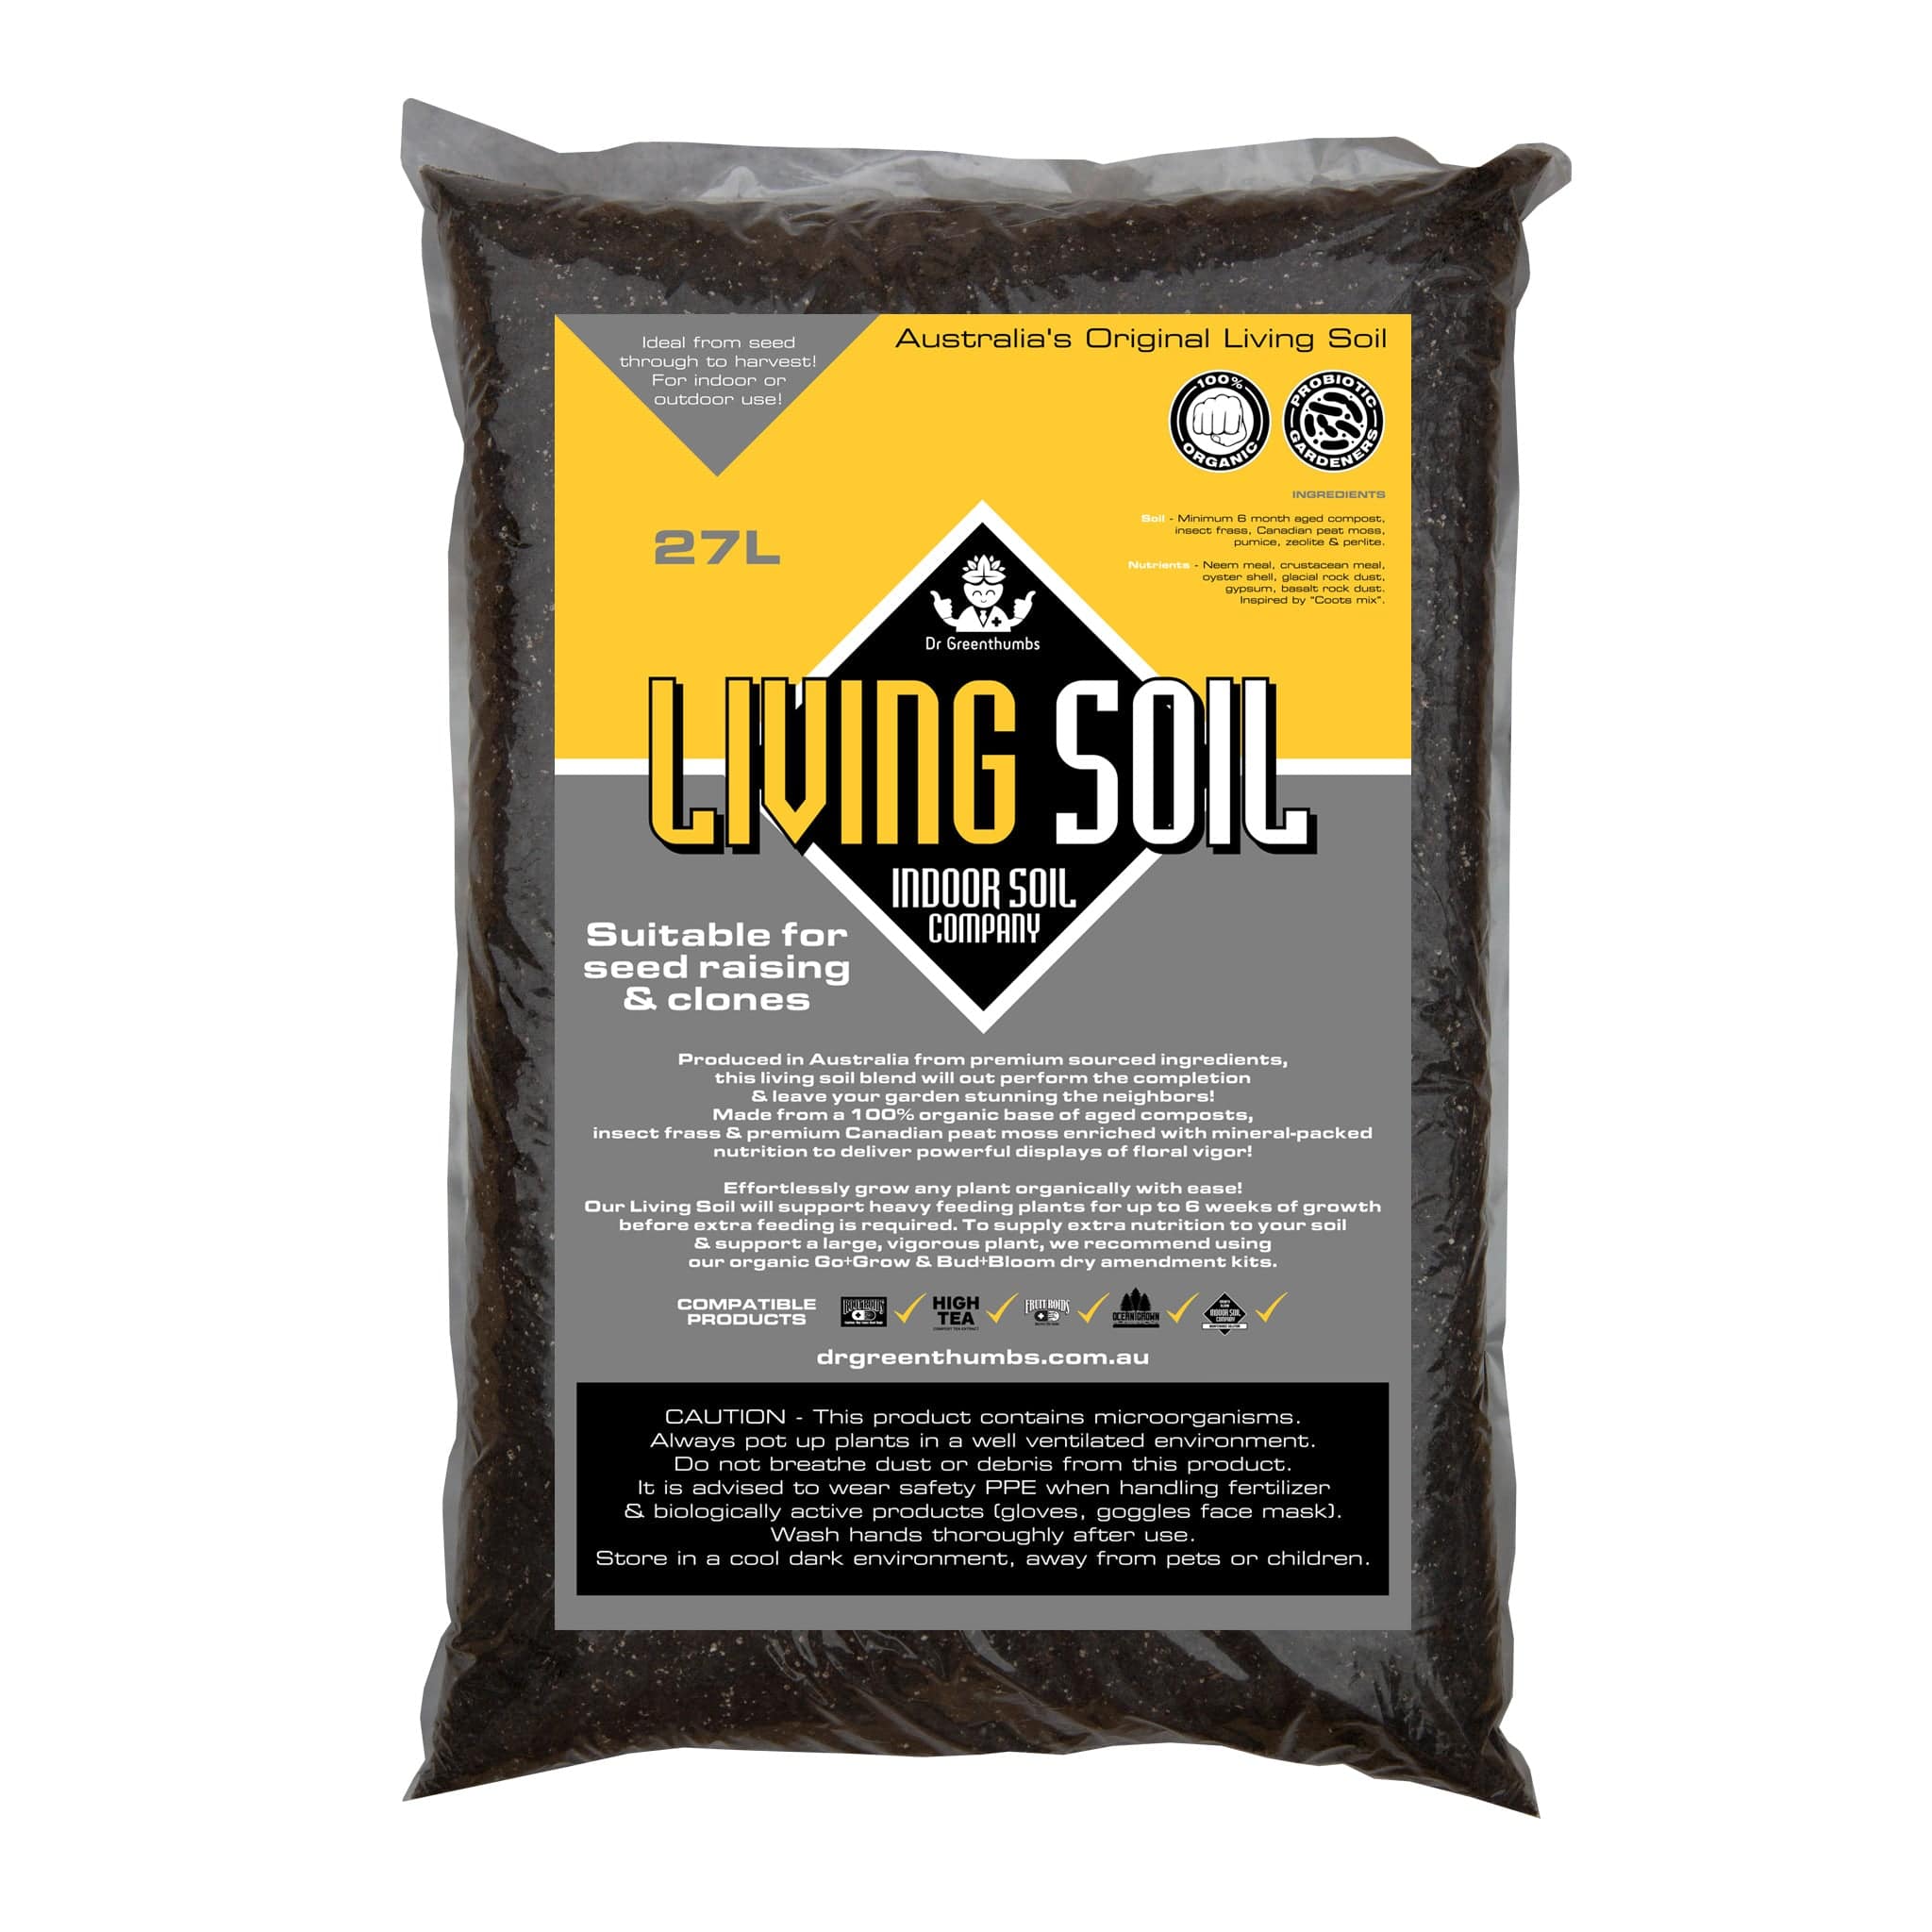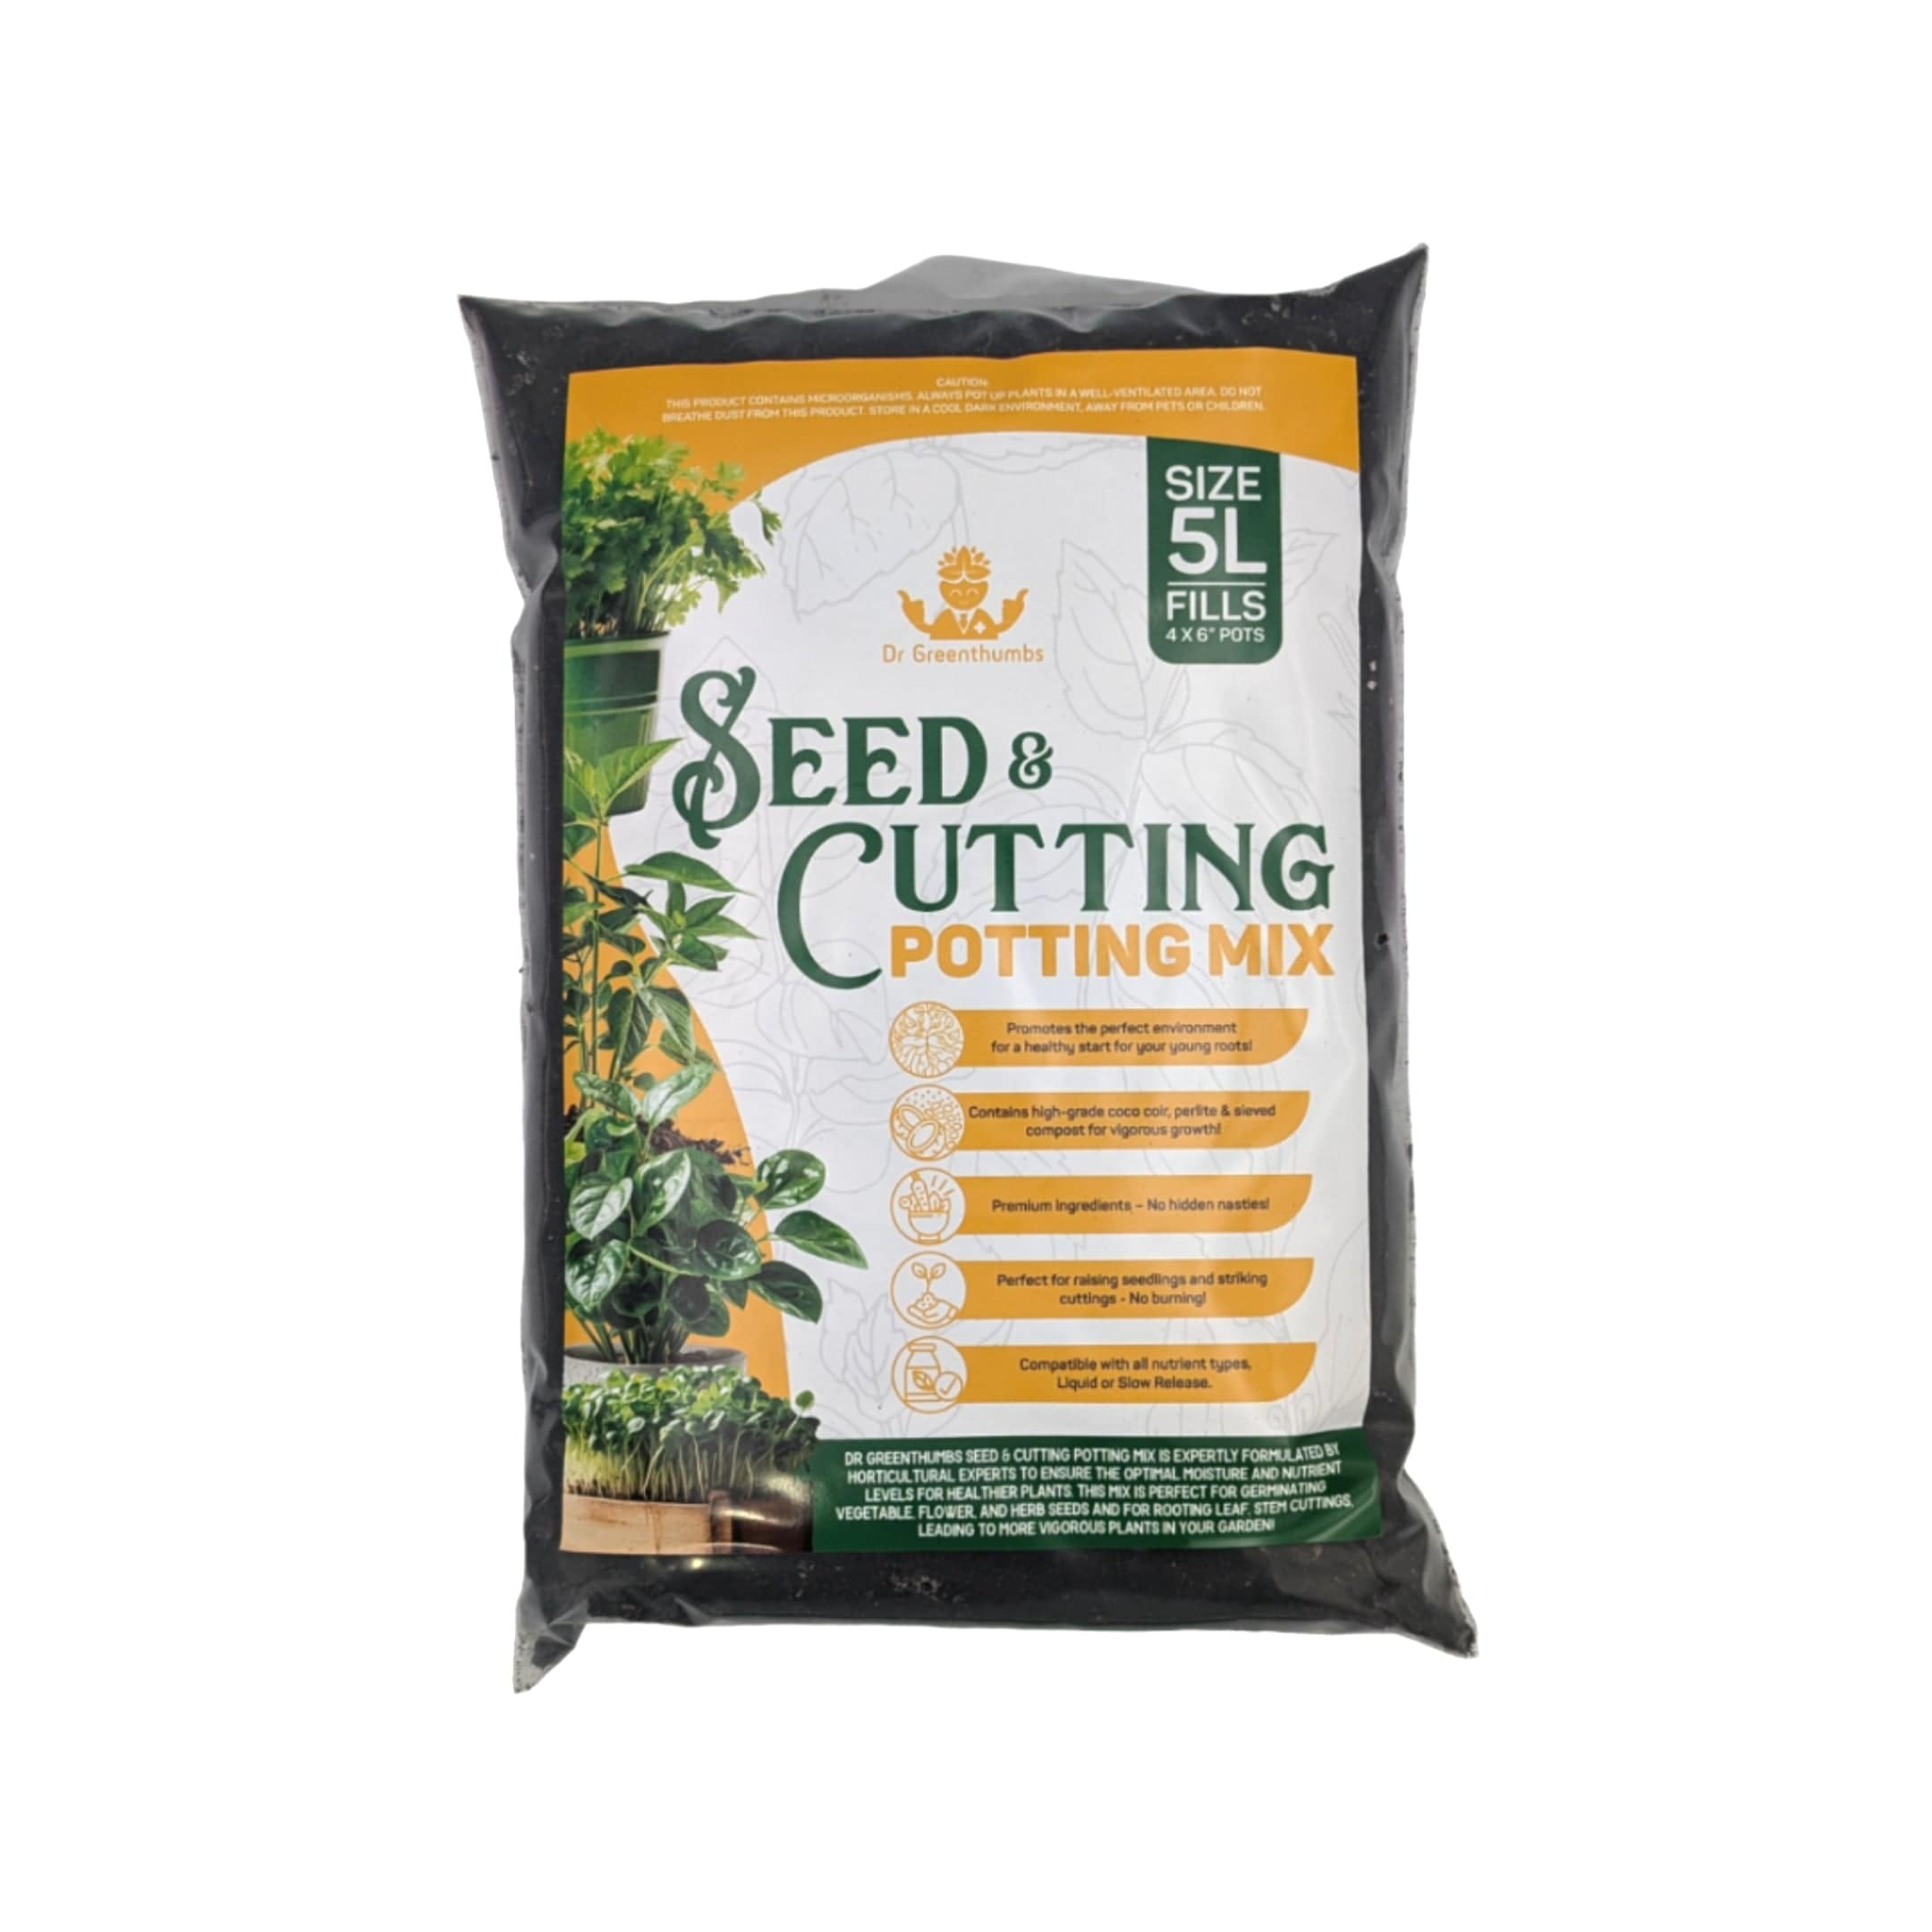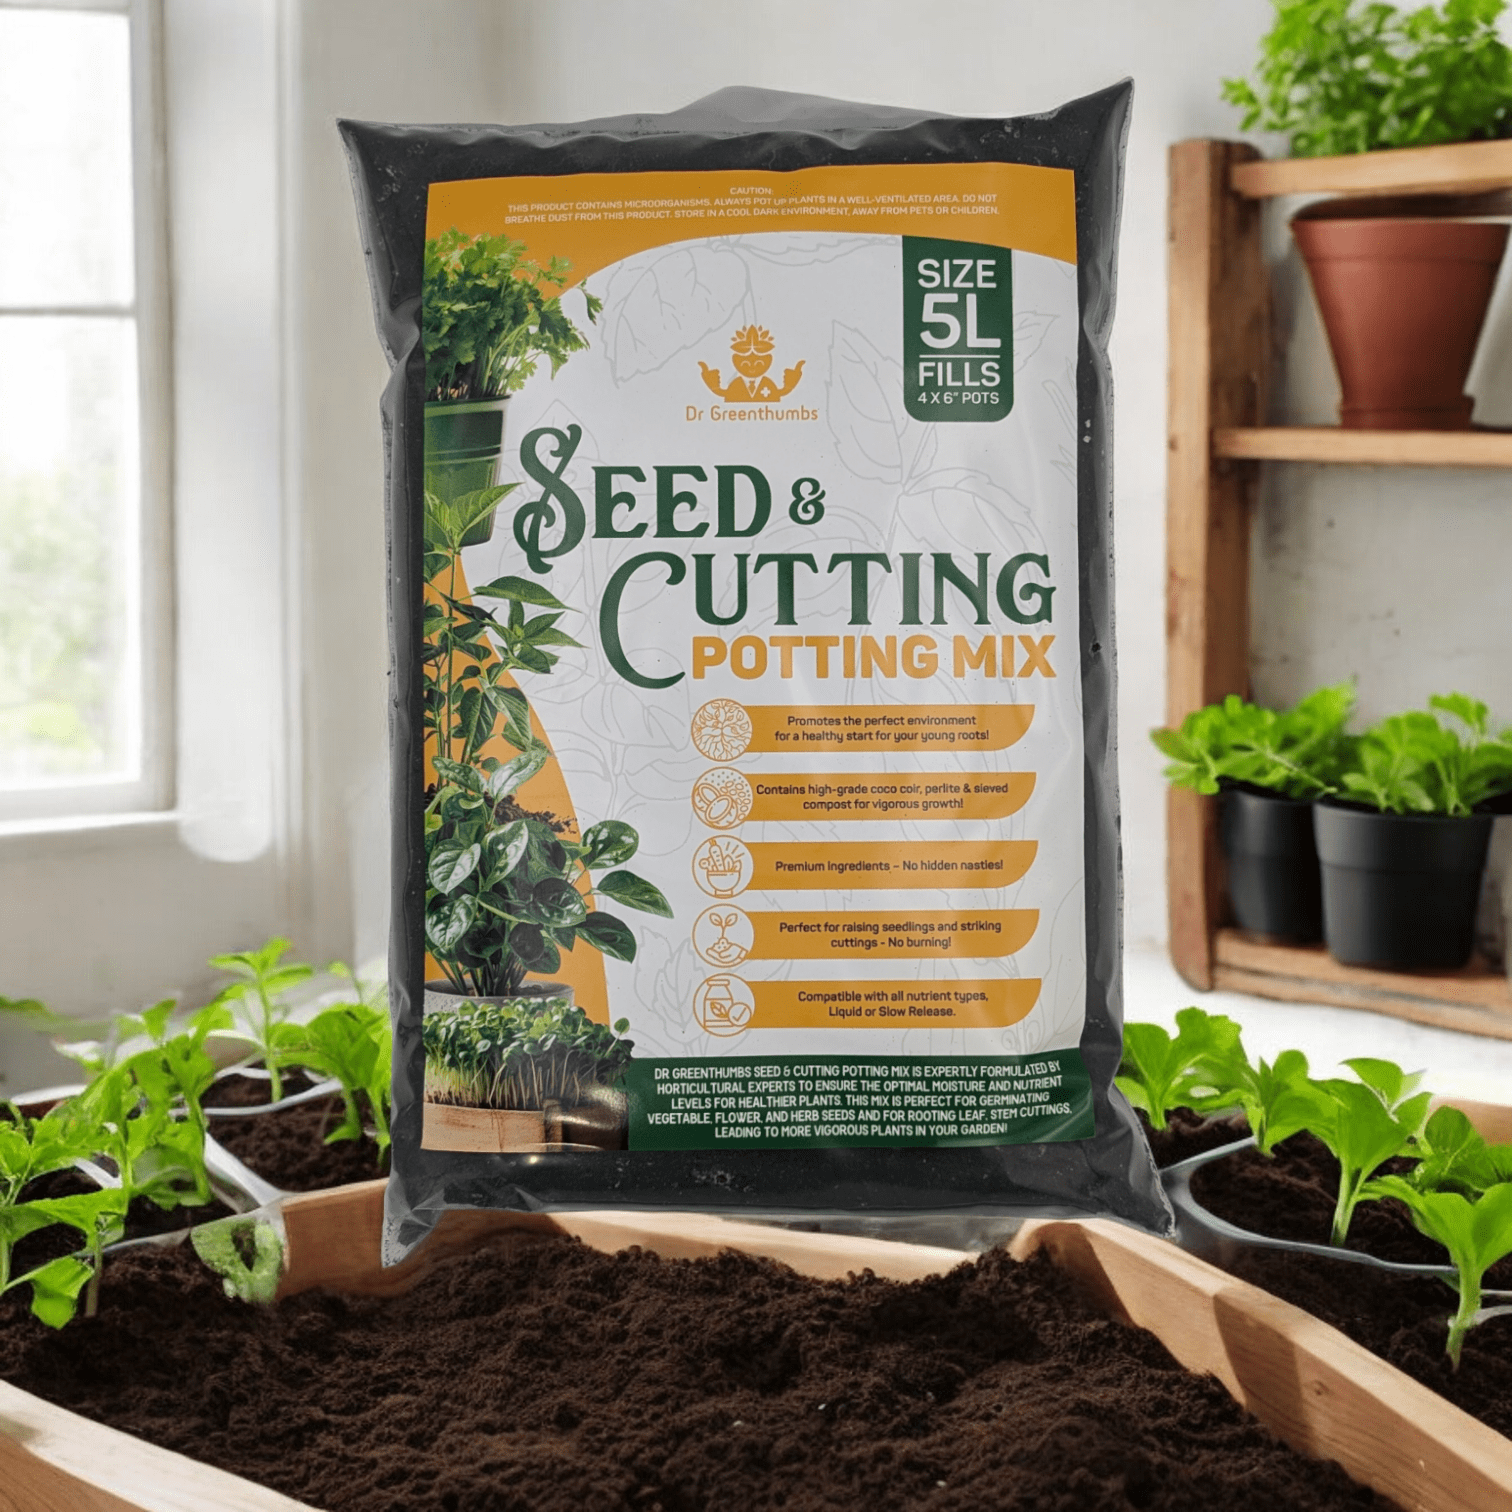

Start your seeds the right way with a light, airy mix that boosts germination and prevents common issues like damping-off. This guide walks you through what works in Australia, why it matters, and how to DIY or choose the easiest ready-made option.
Give young plants the perfect launchpad and they’ll repay you all season.
Table of Contents
- Why Seedlings Need a Special Mix
- What Seed Raising Mix Is Good For
- Seed Raising Mix: What Separates Good Mix from Average Mix
- Seed Raising Mix for Cuttings
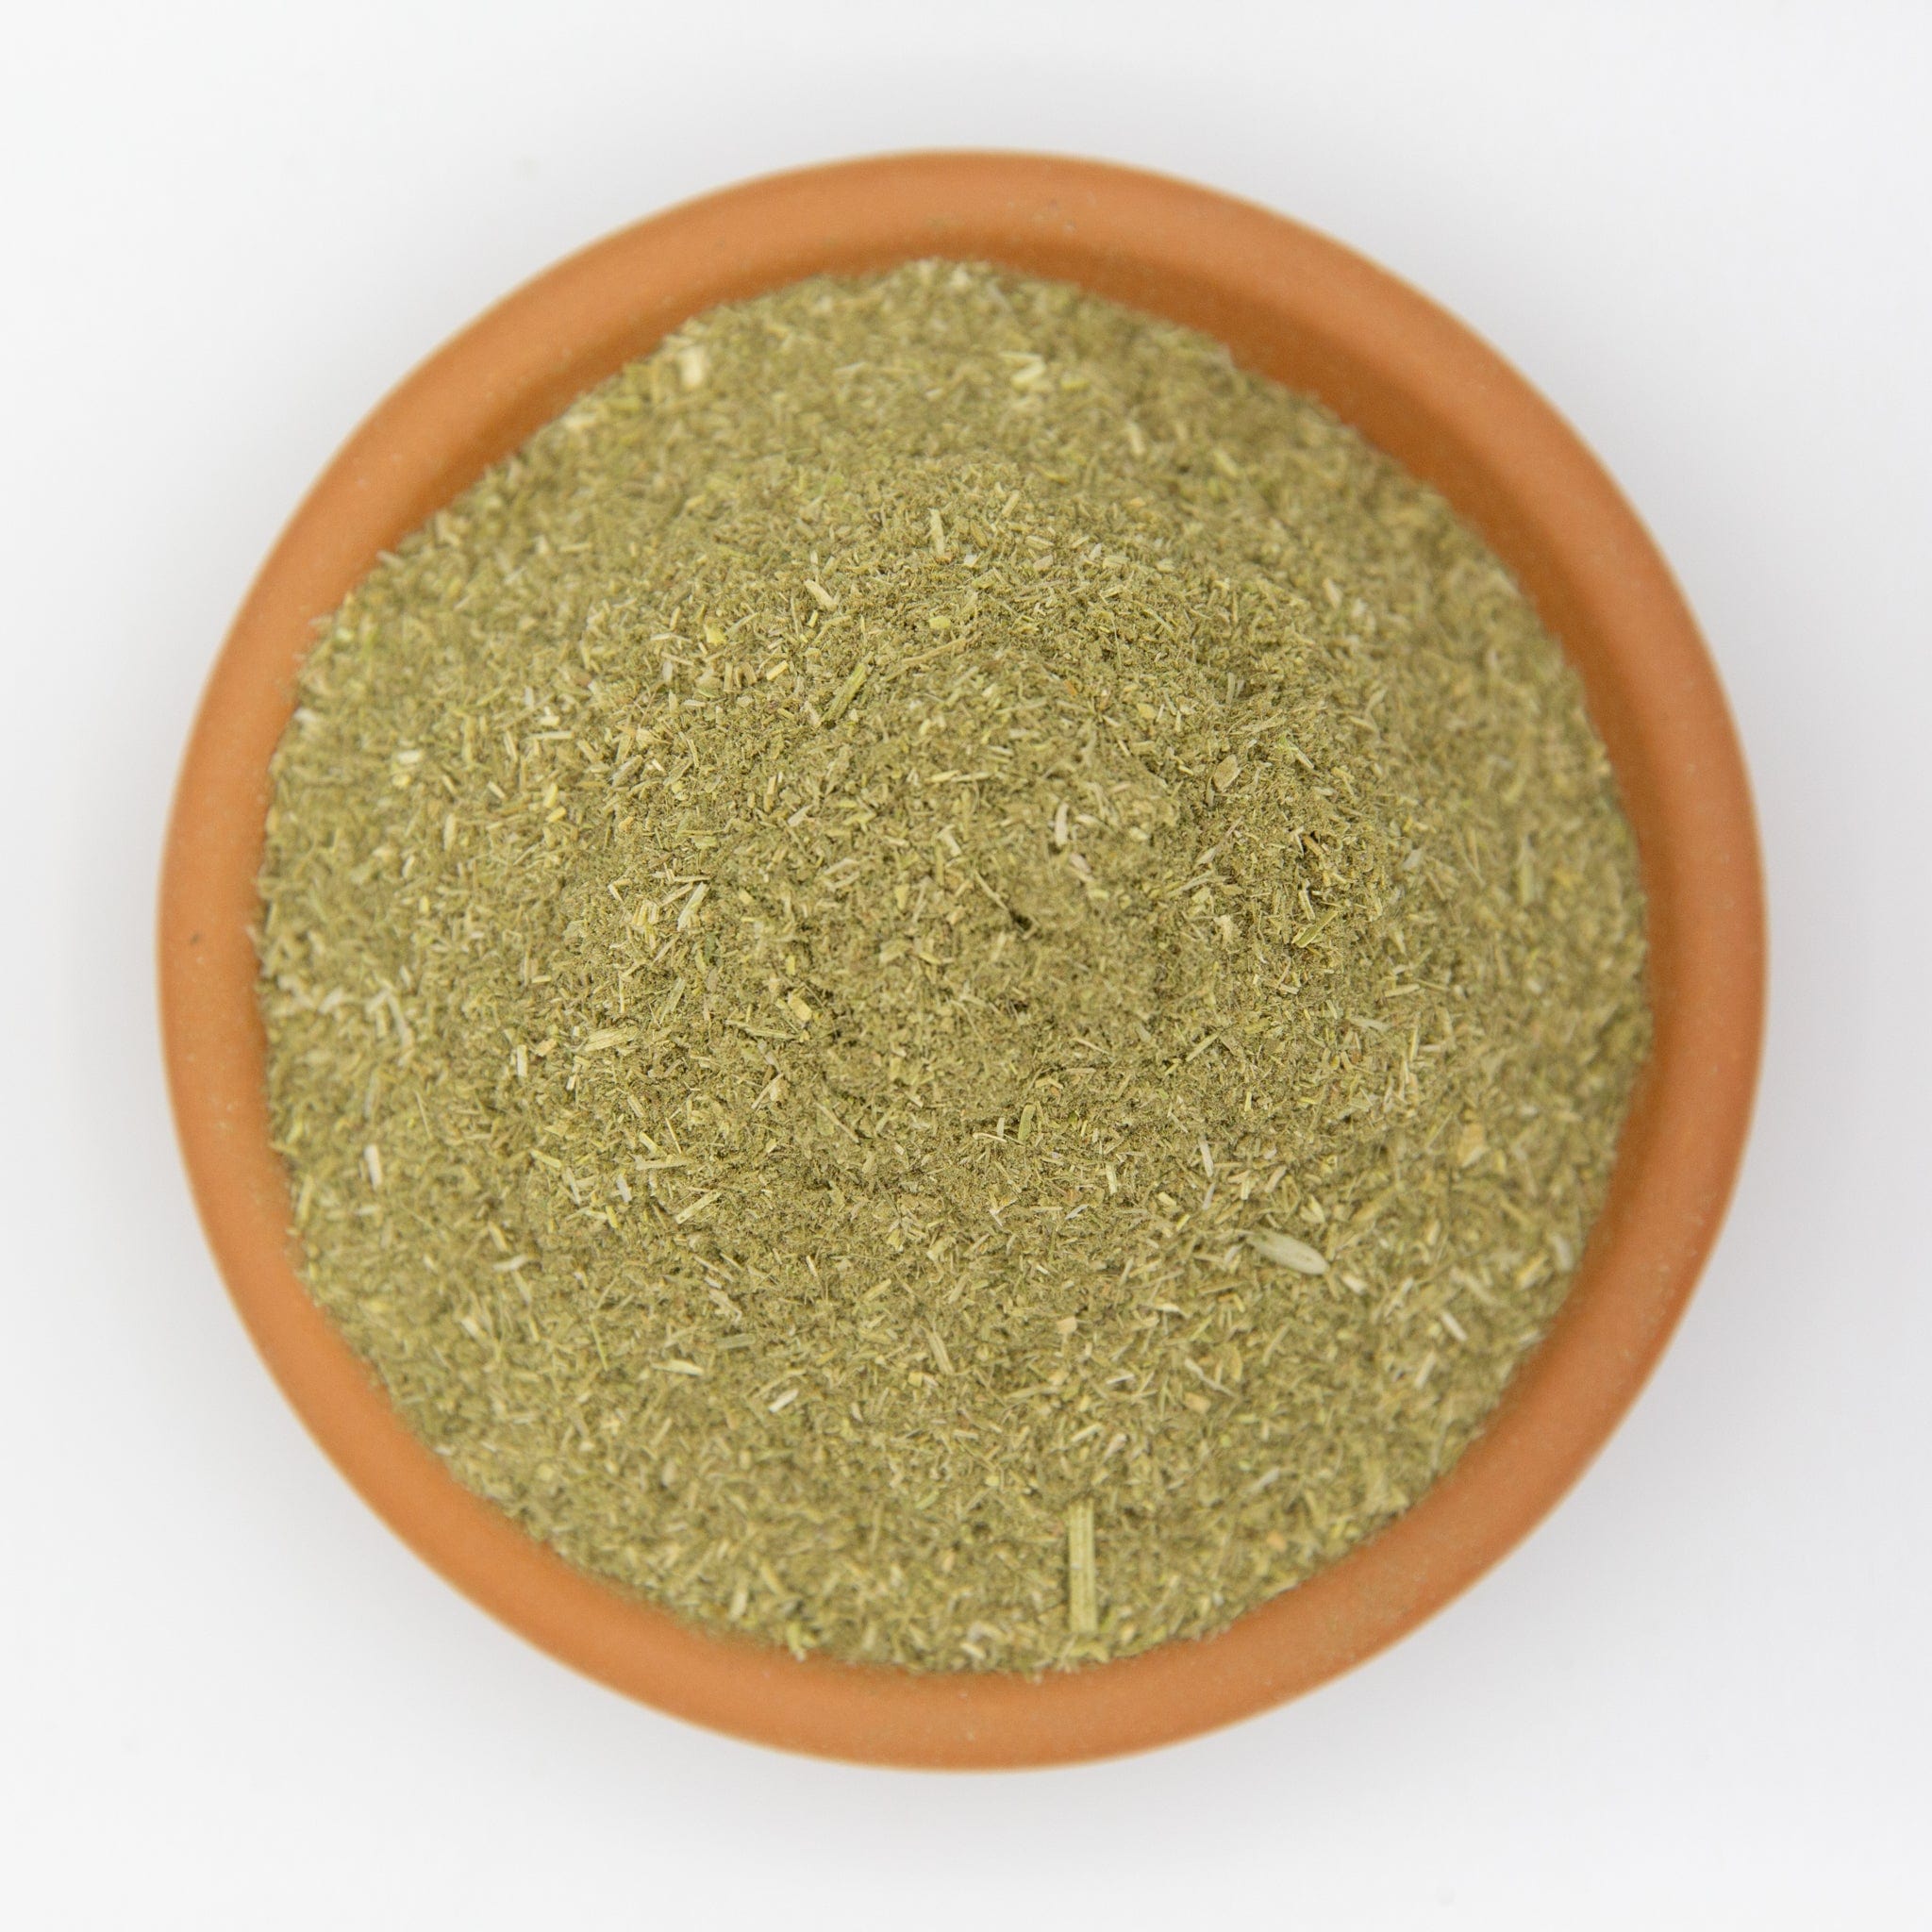
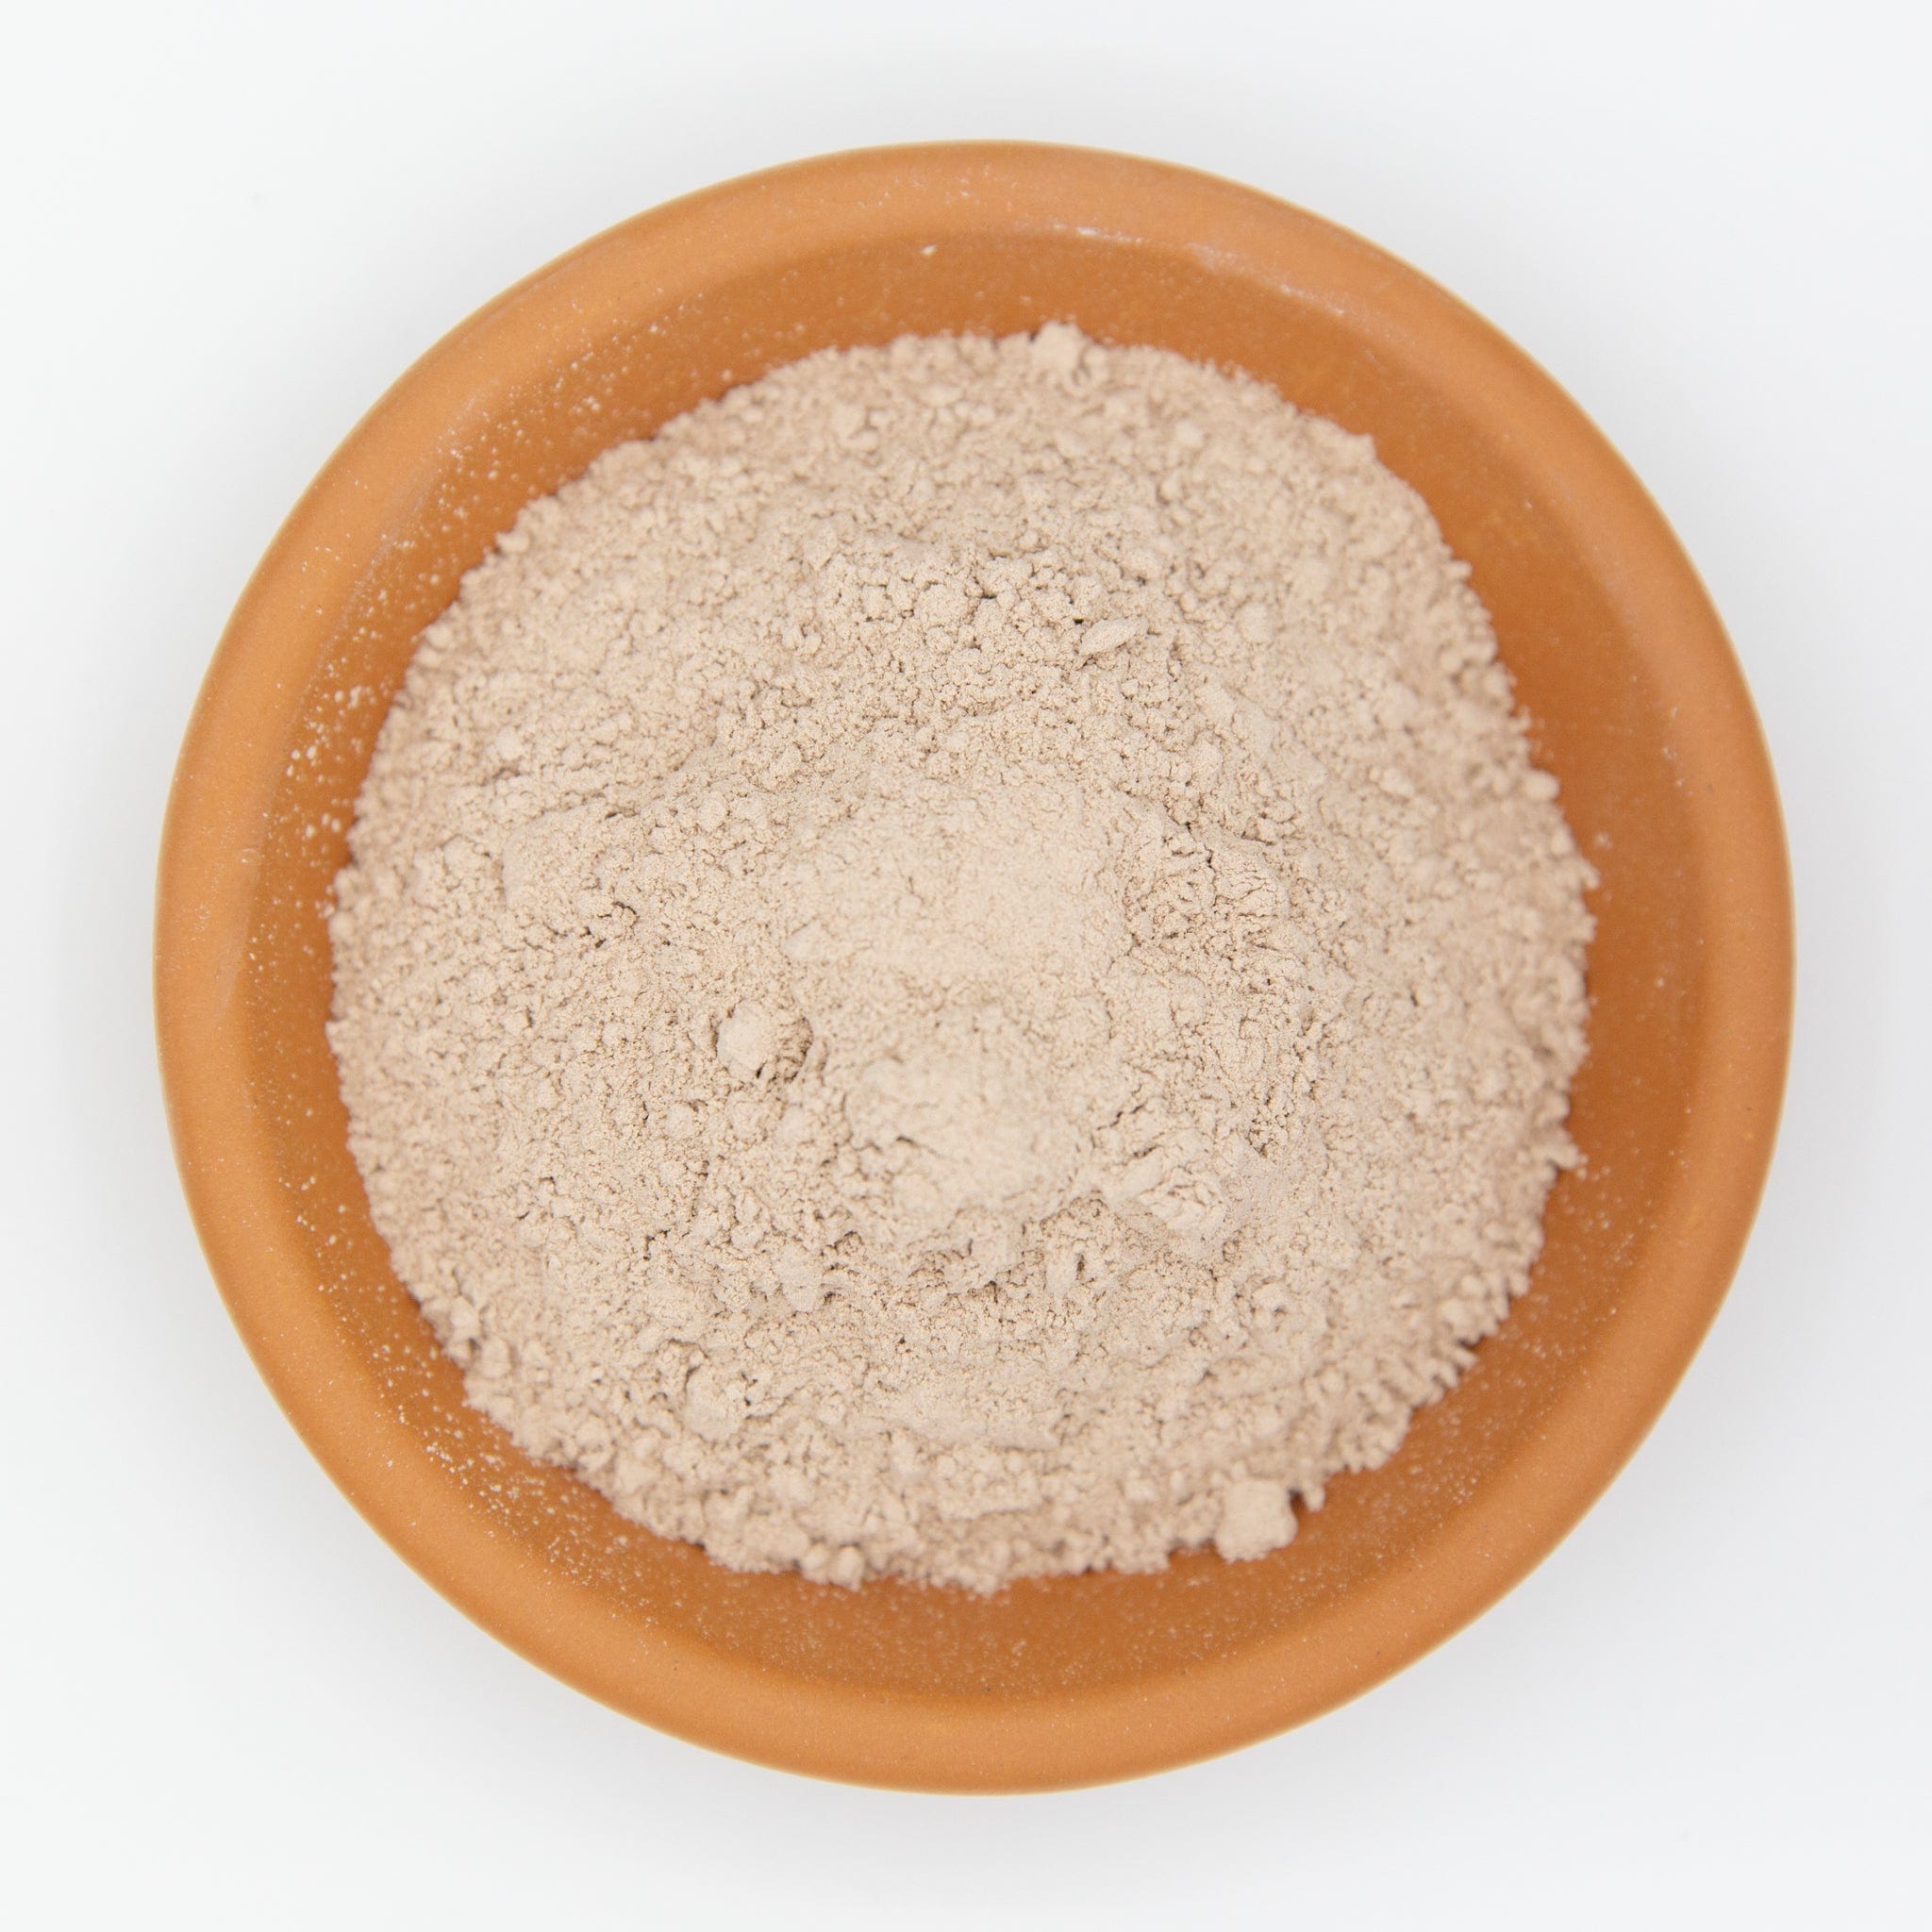
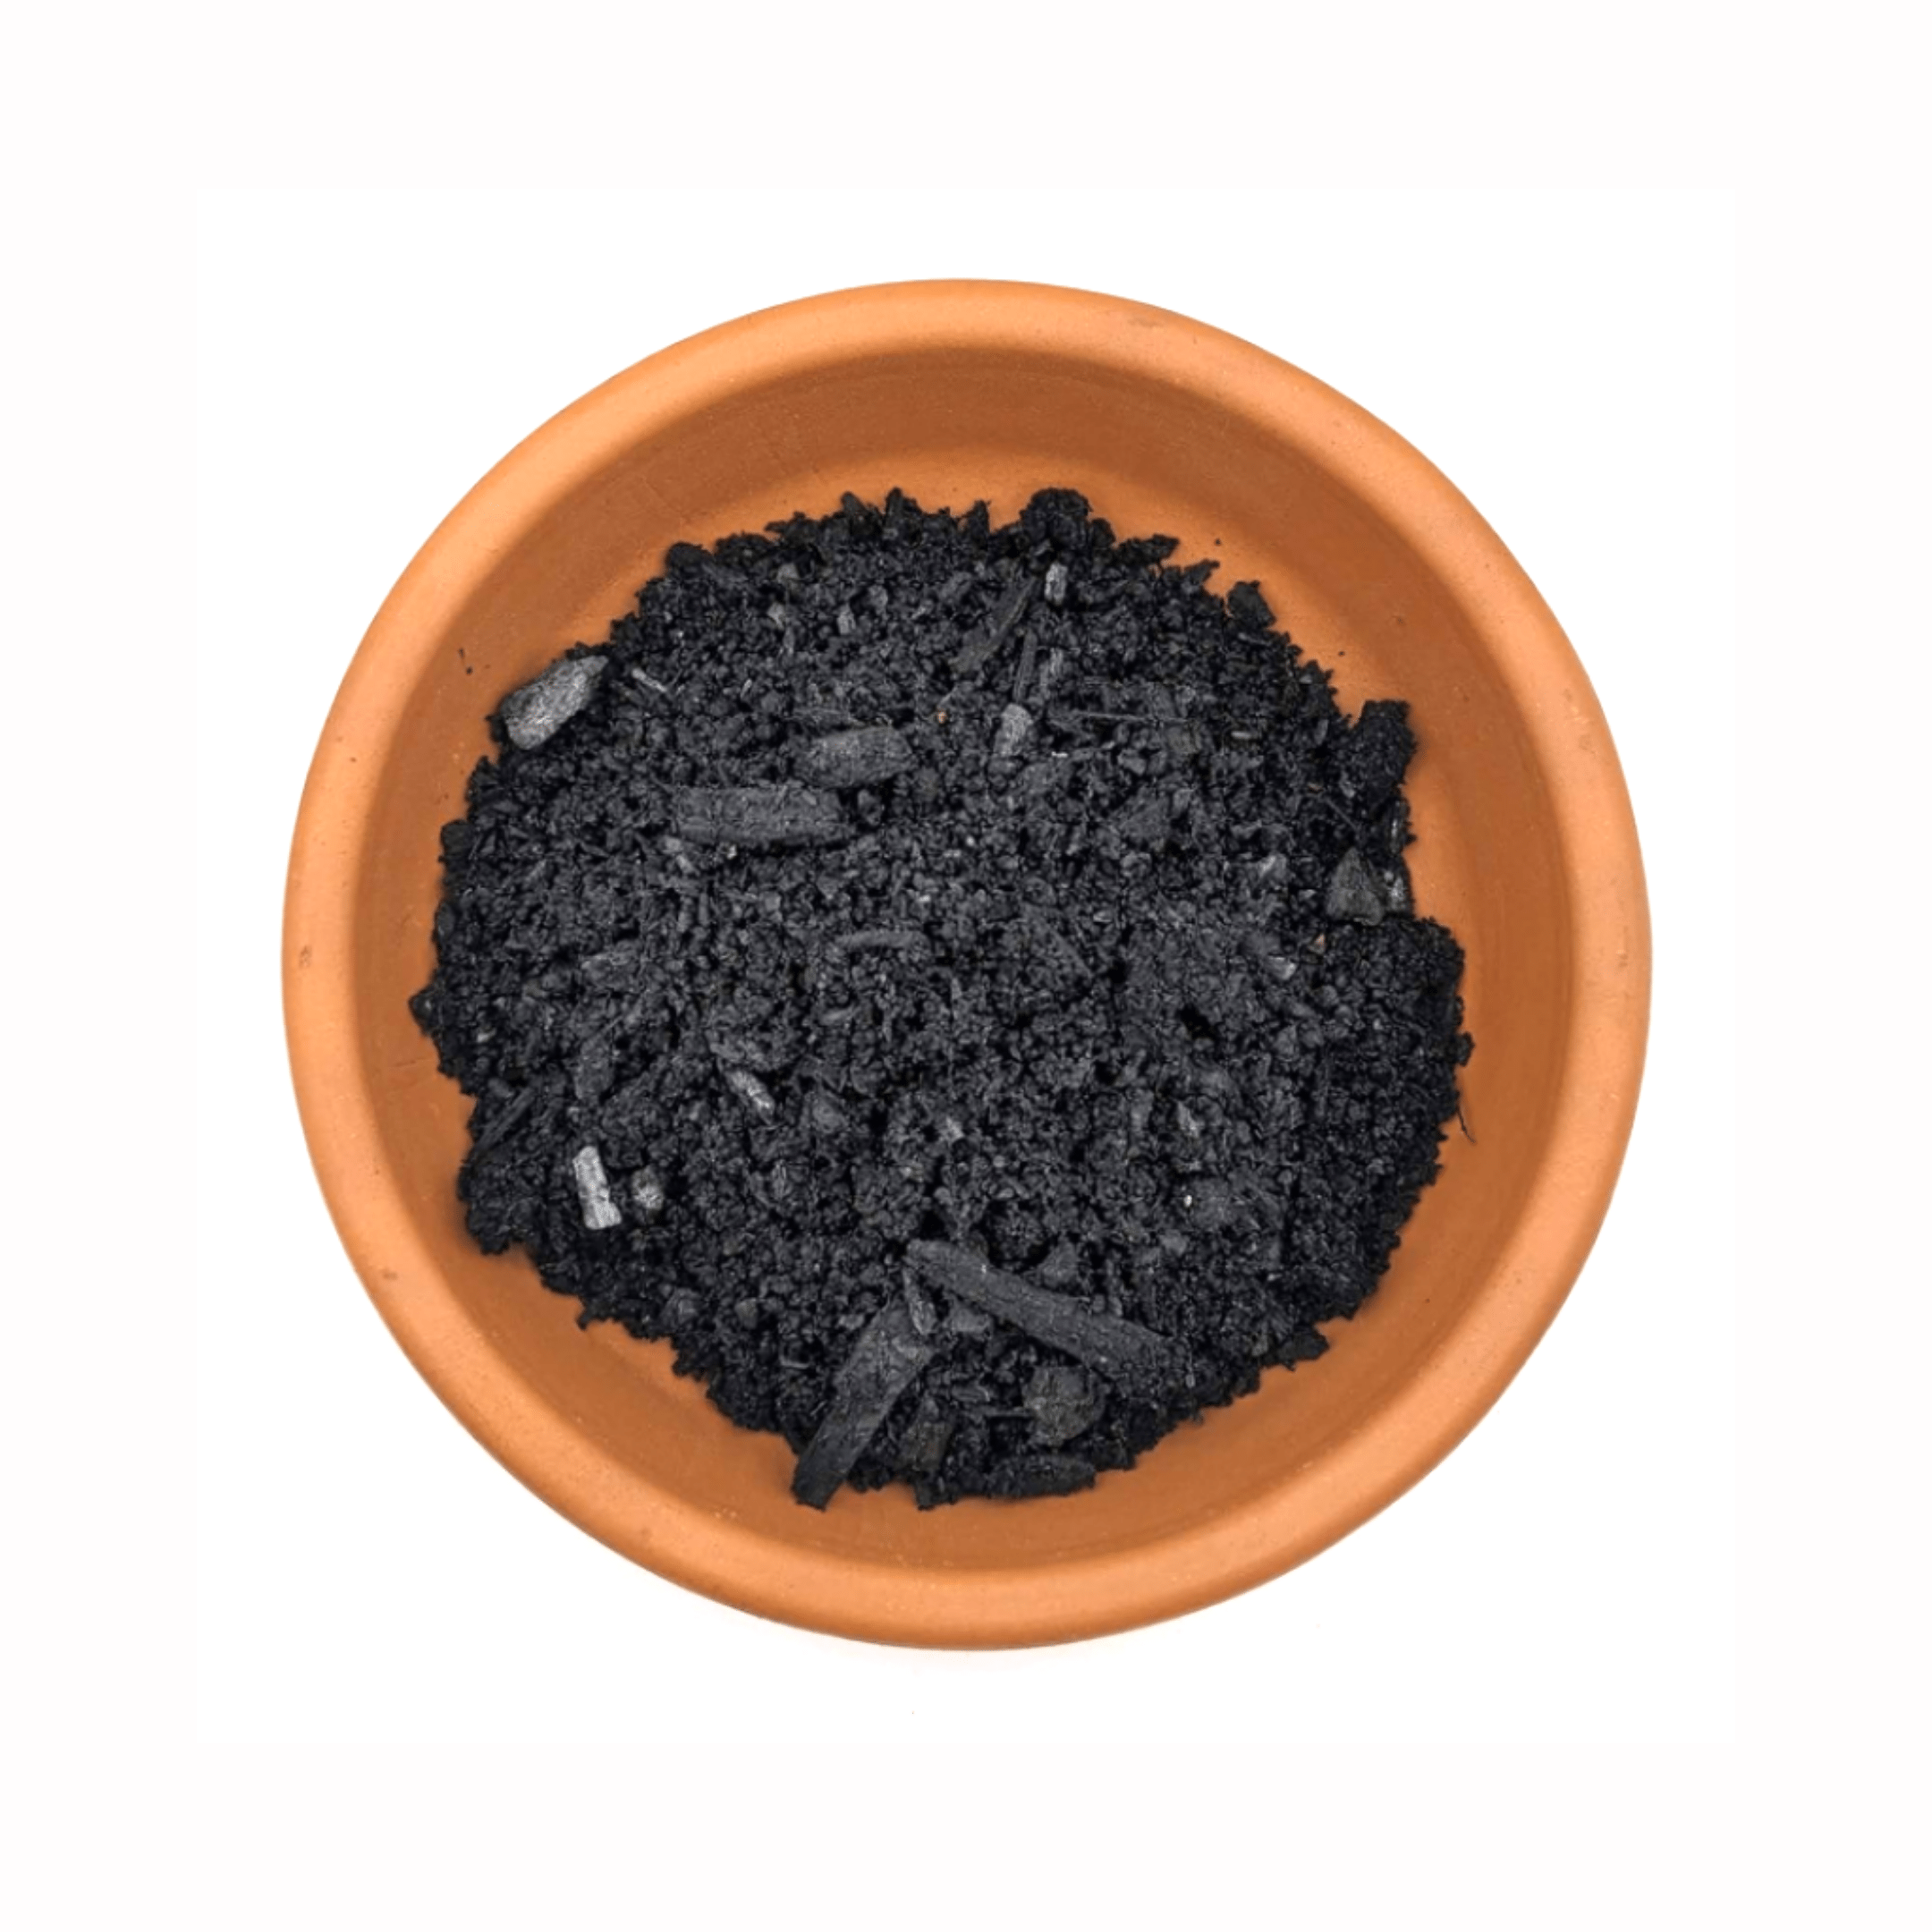
- Core Ingredients Explained
- Ideal Texture, pH & Nutrient Levels
- Seed Raising Mix Moisture
- How to Make Seed Raising Mix Without Overcomplicating It
- DIY Seed-Raising Mix Recipe
- Seed Raising Mix Recipe: Adjust It for the Seed Size
- Homemade Seed Raising Mix: When DIY Is Worth It
- DIY Seed Mix: What It Actually Costs in Australia
- Best Seed Raising Mix Australia: Build for Your Climate
- Seed Raising Mix for Australian Summer and Winter Sowing
- How to Read a Seed Mix Bag Like a Pro
- Prefer Ready-Made? Grab Our Seed Raising Mix
- Step-by-Step: Filling Trays & Sowing
- Tools & Safety Tips for Mixing Like a Pro
- Should You Sterilise Your Mix?
- Troubleshooting Common Issues
- When to Pot Up Seedlings with GreenSpace Premium
- FAQ
- Next Reads for Stronger Seedlings and Better Potting Mixes
If you want the easiest way to get strong seedlings without mixing your own:


Why Seedlings Need a Special Mix
Regular garden soil is heavy, inconsistent and teeming with pathogens that love nothing more than wiping out delicate sprouts. A seed-raising medium must:
- Stay light and fluffy so roots can push through.
- Hold moisture without turning waterlogged.
- Contain only a whisper of nutrients – too much salt or nitrogen burns baby roots.
- Be pest- and disease-free to keep damping-off at bay.
What Seed Raising Mix Is Good For
Even though seedling mixes are great for getting babies off the mark, they aren’t a one-size-fits-all. Think of this blend as the training wheels for roots — light, disease-averse and easy to manage.
Great for:
- Fast germination of seeds in trays and cells.
- Cuttings that need airy, disease-free contact to strike.
- Early growth before plants need rich nutrition.
Not so great for:
- Long-term potting — once seedlings have true leaves and are growing strongly, they quickly outgrow a low-nutrient mix. That’s when you want to shift them into a full-strength potting soil (see When to Pot Up below).
- Hydroponic systems — those need a completely inert medium and tailored nutrient feed.
- Some phosphorus-sensitive natives (like banksias, hakeas, grevilleas); these prefer specially tailored native mixes with lower phosphorus out of the gate.
Think of seed-raising mix as a stepping stone — brilliant for germination and early roots, but not the final home for bigger plants.
Seed Raising Mix: What Separates Good Mix from Average Mix
A good seed raising mix should make germination easier, not give you another thing to fight.
The mix should be fine enough for good seed contact, but not so fine that it turns into sludge after watering. Seeds need moisture to wake up, but once the first root appears, they also need oxygen. That’s the balancing act.
A good seed raising mix should:
- hold moisture evenly around the seed
- drain before it becomes boggy
- stay light in small cells or trays
- have no big bark chunks sitting over tiny seeds
- be gentle enough for young roots
- re-wet without turning hydrophobic
Average mixes usually fail at one of the extremes. They either dry out too fast and leave patchy germination, or they stay wet for days and invite damping-off.
The quick hand test is simple. Moisten a handful and squeeze it. It should clump lightly, then fall apart when you poke it. If water drips out, it’s too wet. If it won’t hold together at all, it may dry too quickly in trays.
Seed Raising Mix for Cuttings
Seed raising mix can work beautifully for cuttings, but cuttings and seeds don’t need exactly the same thing.
Seeds need a fine, gentle surface so they can germinate evenly. Cuttings need firm contact around the stem, strong airflow, and enough moisture to stop wilting while roots form. Too much compost or feed can encourage rot before roots have even started.
For soft cuttings, use a lighter mix with more aeration. For semi-hardwood cuttings, a slightly firmer blend can help hold stems upright. Either way, the mix should be moist, clean and free-draining.
Good cutting mix habits:
- Use clean trays or pots.
- Pre-moisten the mix before sticking cuttings.
- Make a hole first so you don’t scrape off rooting hormone.
- Firm gently around the stem.
- Keep humidity high, but vent daily.
- Avoid strong fertiliser until roots are active.
If you’re striking cuttings and sowing seeds at the same time, you can use the same base mix, then tweak the top layer. Fine and soft for seed trays. Slightly firmer and airier for cuttings. Easy win.
Core Ingredients Explained
|
Ingredient |
What it Brings |
Where to Get It |
|---|---|---|
|
Coco Coir |
Superb moisture retention, pH-stable |
|
|
Peat Moss |
Acid-leaning structure, holds air pockets |
|
|
Perlite |
Extra drainage & oxygen |
|
|
Sieved Compost |
Gentle nutrient background & microbes |
Tip: Keep a 20 L bag of these bases on hand – they’re the backbone of every good seed raising mix.
Ideal Texture, pH & Nutrient Levels
- Texture – Aim for a crumble that compacts when squeezed yet breaks apart with a nudge.
- pH – 6.0 – 6.5 is the butter zone; test with a simple soil strip.
- EC (Electrical Conductivity) – Stay under 1.0 mS/cm to avoid fertiliser burn.
- Cleanliness – Use fresh, clean ingredients and clean trays. If you’re reusing old mix or have had repeated mould or damping-off issues, consider gentle sterilising before sowing.
Seed Raising Mix Moisture
Most seed failures aren’t from bad seed. They’re from bad moisture.
Seed raising mix needs to stay evenly damp while seeds germinate, but that doesn’t mean wet all the time. Too dry and the seed stalls. Too wet and you invite rot, algae, fungus gnats and damping-off.
The sweet spot is simple: squeeze a handful of mix before filling trays. It should clump lightly, then break apart when poked. If water drips out, it’s too wet. If it won’t hold together at all, it’s too dry.
Once the seeds are sown:
- Pre-moisten the mix before filling trays.
- Bottom-water where possible so the surface doesn’t crust.
- Mist tiny seeds gently if the top layer dries.
- Vent humidity domes once seedlings pop up.
- Let the surface breathe between waterings.
If your trays are drying out every few hours, the mix is too airy, the cells are too small, or the spot is too hot. If they’re still wet three days later, the mix is too heavy, the tray is too deep, or airflow is poor.
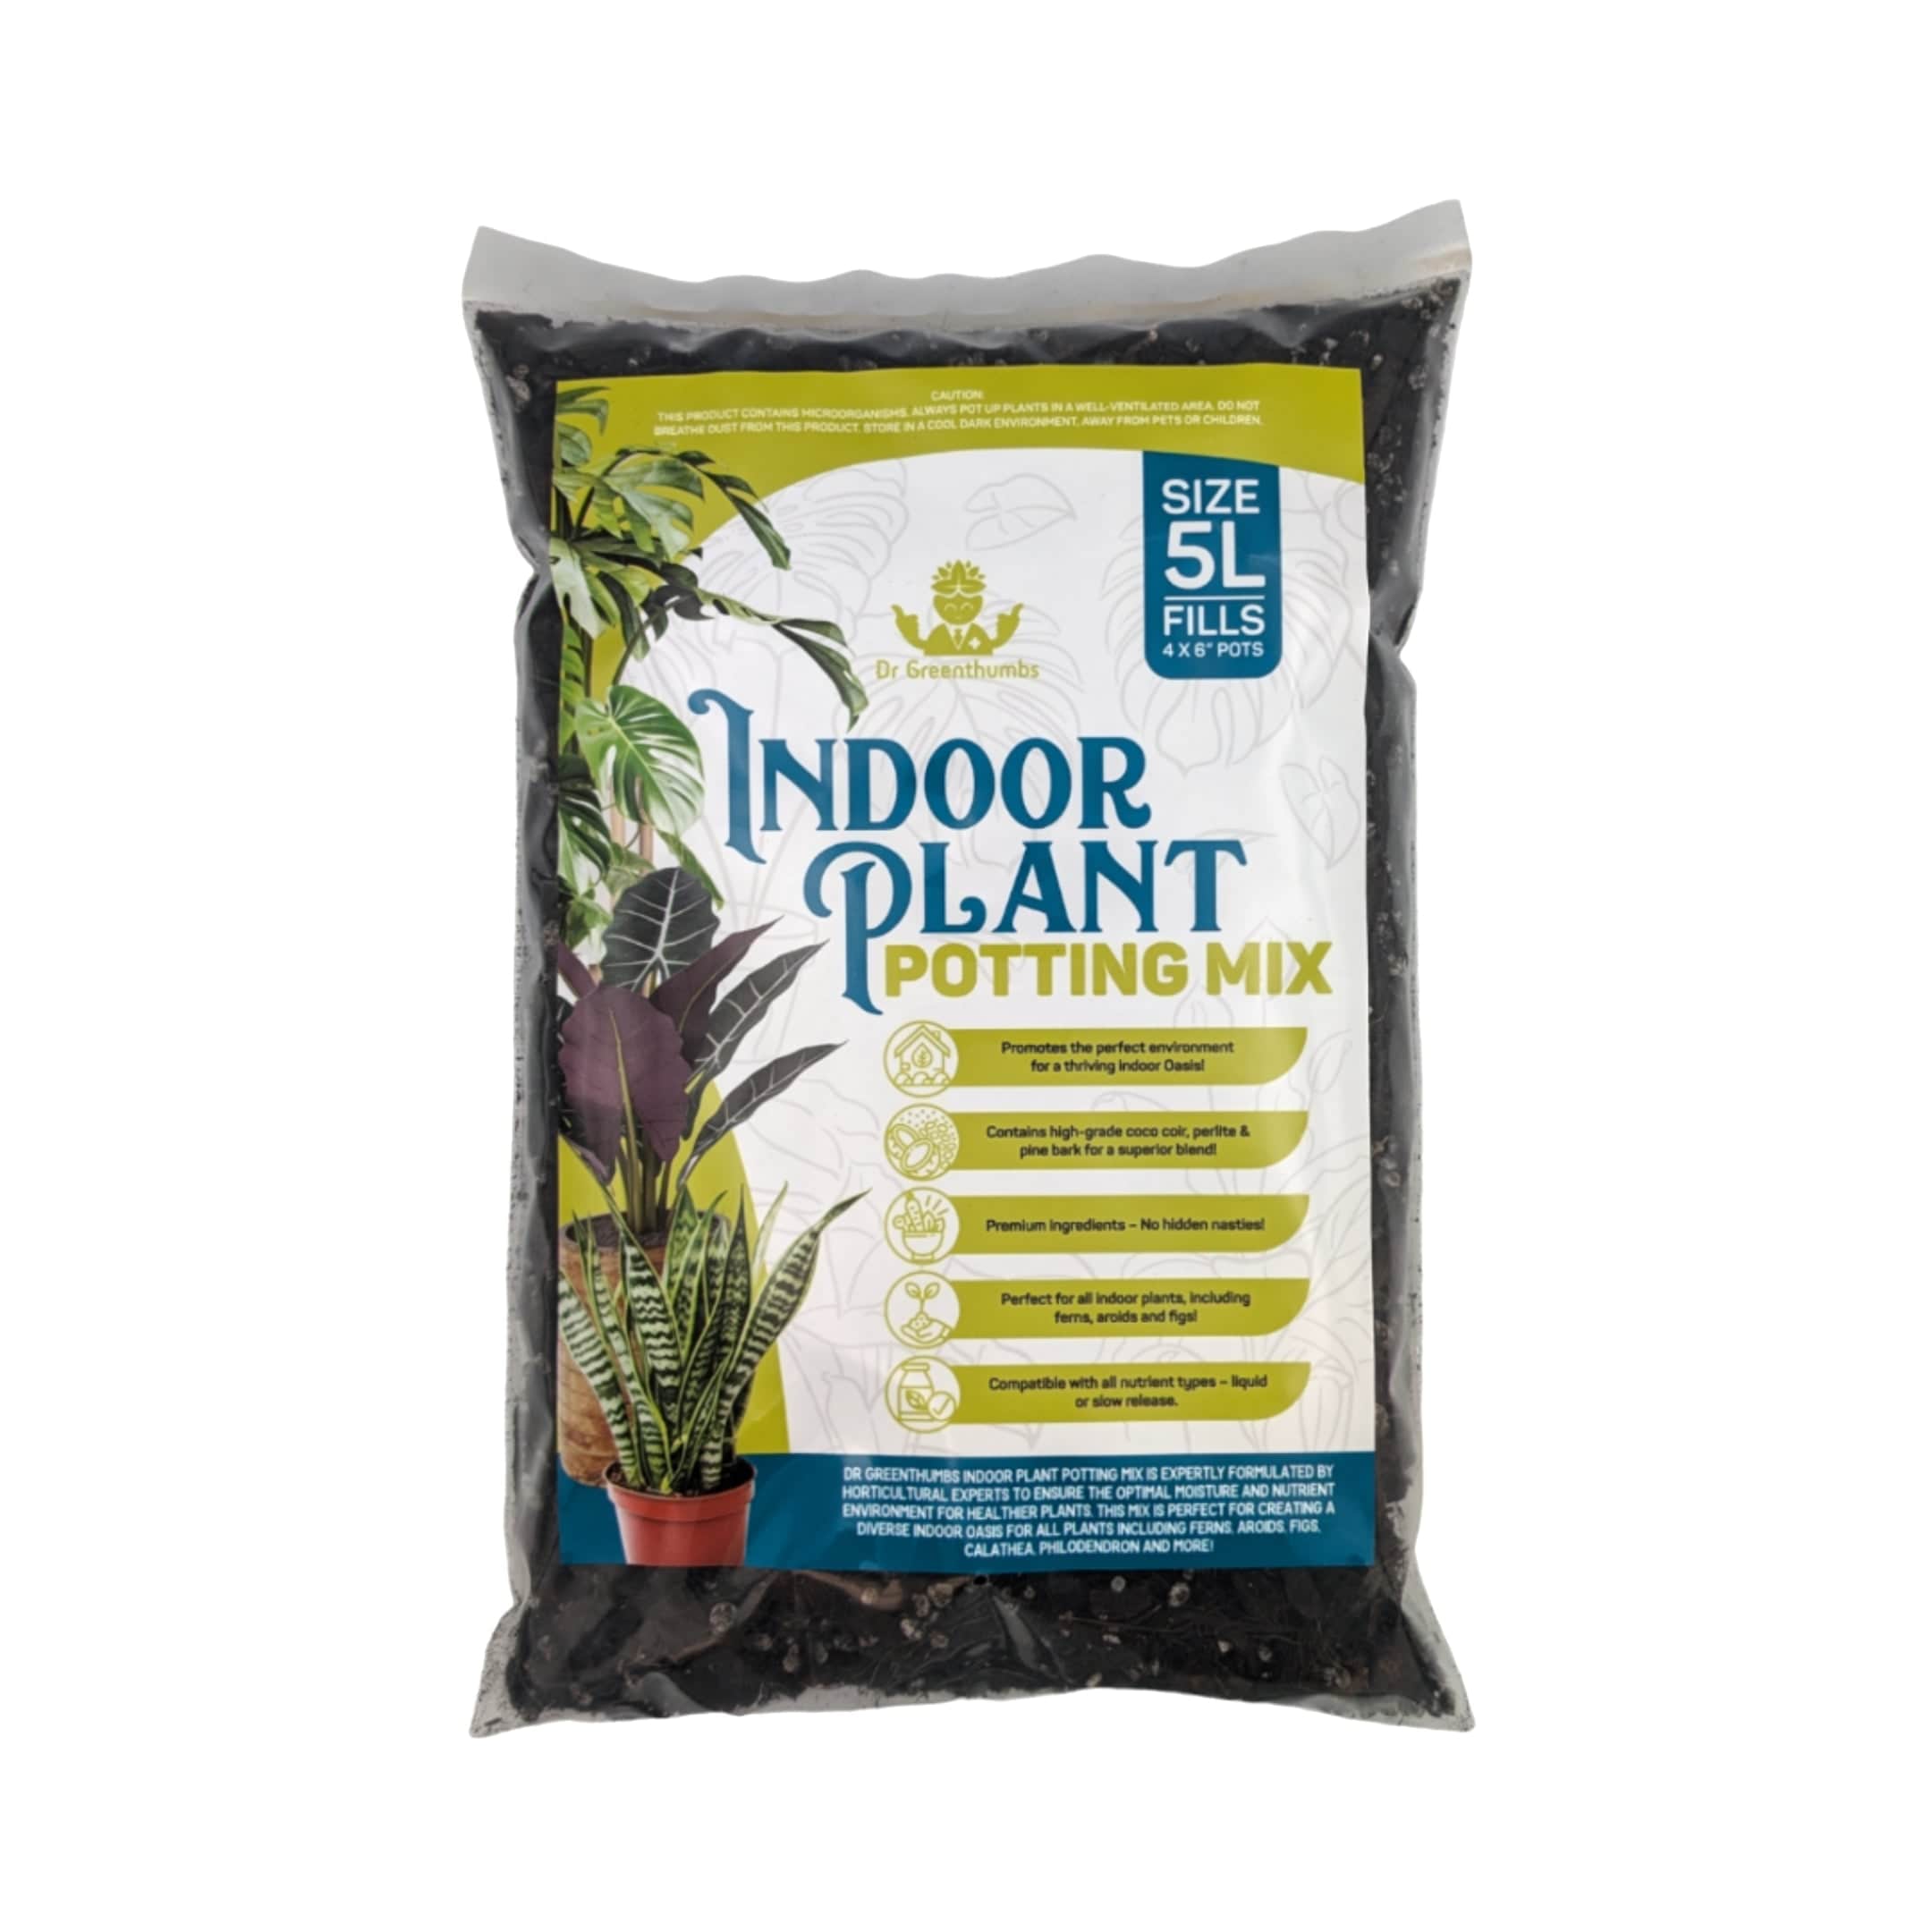
For a ready-to-use option with the right balance of fine texture and aeration, Dr Greenthumbs Seed Raising Potting Mix saves the mucking around.
How to Make Seed Raising Mix Without Overcomplicating It
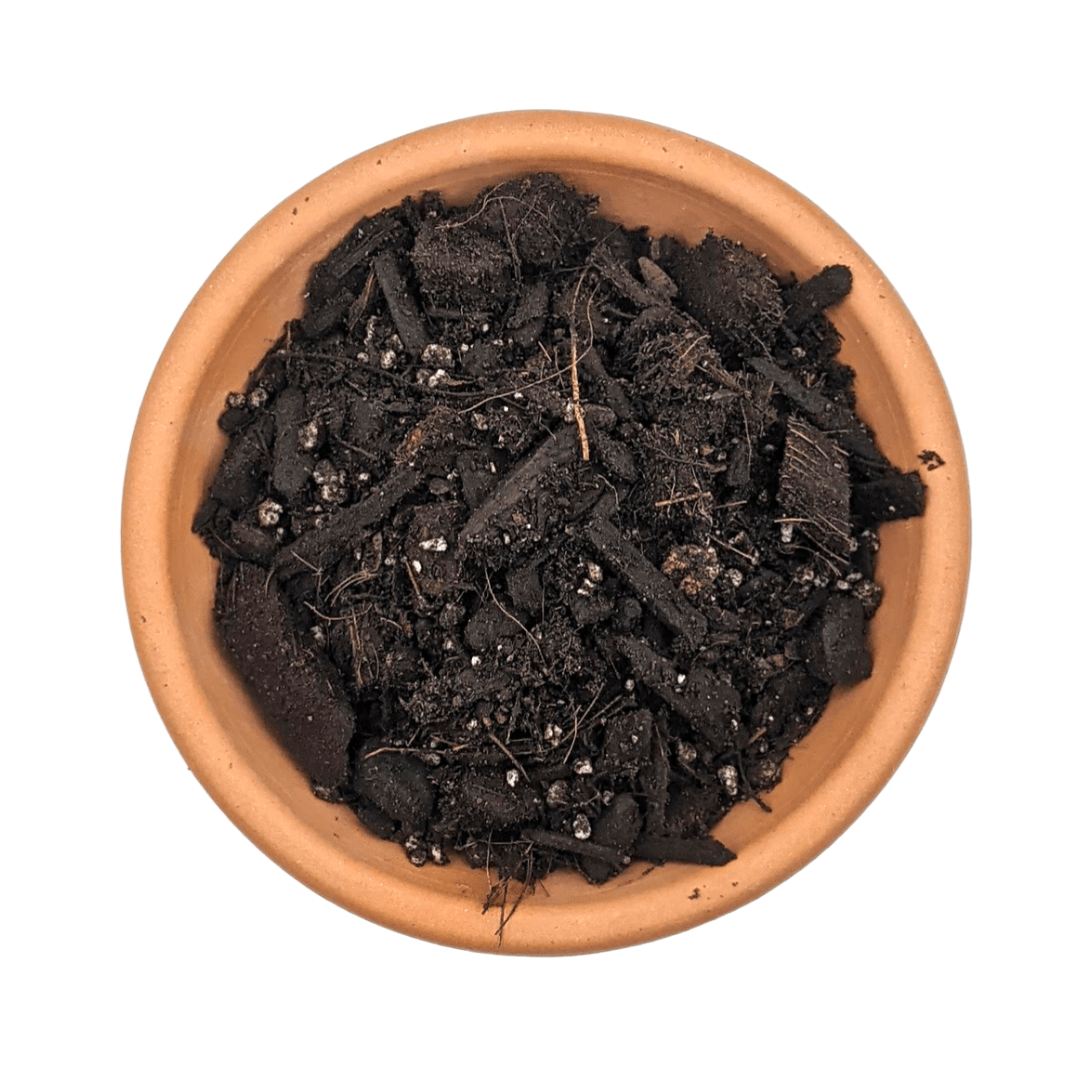
There are two easy ways to make seed raising mix: lighten a quality potting mix by sieving it and adding extra aeration, or build a from-scratch mix with coir, perlite and fine compost. Both methods aim for the same thing: a feather-light, moisture-balanced medium that supports germination without smothering tender roots.
If you’re learning how to make seed raising mix, don’t turn it into a 12-ingredient science project.
Seedlings do not need a fully loaded super soil in the first tray. They need clean texture, gentle moisture, airflow and just enough mild nutrition to get moving. Too much richness early can cause more drama than it solves.
A simple method:
- Hydrate your coco coir until it is fluffy, not dripping.
- Sieve compost or worm castings so only the fine material goes in.
- Add perlite, pumice or peat moss for airflow.
- Mix gently so you don’t crush the aeration.
- Moisten before filling trays.
- Tap trays lightly, but don’t compact them.
- Sow at the correct depth for the seed.
Don’t pack the mix down like you’re laying bricks. Roots need gaps. Water needs paths. Air needs to move.
DIY Seed-Raising Mix Recipe (Makes ~10 L)
|
Component |
Parts (vol) |
|---|---|
|
Coco Coir (hydrated brick) |
4 |
|
Perlite |
1 |
|
Fine-grade Sieved Compost |
1 |
|
Worm Castings (optional booster) |
½ |
- Hydrate the coir until fluffy.
- Combine all ingredients gently – don’t crush the perlite.
- Moisten until it clumps but doesn’t drip.
- Cool completely if you heated or sterilised the mix before use.
Your mix should feel feather-light yet stay damp for 24 h.
Seed Raising Mix Recipe: Adjust It for the Seed Size
A seed raising mix recipe should not be treated like concrete. Different seeds want slightly different conditions.
Tiny seeds like lettuce, basil, snapdragon, poppy and many herbs need close contact with a fine, even surface. If the mix has chunky bark, coarse compost or big perlite pieces, the seed can fall too deep, dry out unevenly or struggle to push through.
Larger seeds like beans, peas, pumpkin, zucchini, corn and sunflower are more forgiving. They have more stored energy and stronger shoots, so they can handle a slightly coarser mix as long as it still drains well.
A practical way to tweak your recipe:
- Tiny seeds: sieve the top 1–2 cm of mix extra fine and mist gently.
- Medium seeds: use the standard seed raising mix as-is, then cover lightly.
- Large seeds: firm the mix slightly for good contact, use a deeper cell or tube, and avoid packing it down like concrete.
- Slow germinators: keep moisture steady and use very clean ingredients.
- Fast growers: do not let them sit too long before potting up.
The base recipe matters, but the surface finish often makes or breaks germination.
Homemade Seed Raising Mix: When DIY Is Worth It
Homemade seed raising mix is worth it if you sow a lot of seeds, already keep ingredients on hand, or want full control over what goes into your trays.
It is less worth it if you’re only starting one punnet of basil and two tomato seeds. By the time you buy coir, compost, perlite and a sieve, a ready-made bag may make more sense.
DIY is best when:
- you raise seedlings every season
- you want peat-free control
- you need to tweak moisture for your climate
- you already have quality compost or worm castings
- you want to make larger batches cheaply
Ready-made is better when:
- you only sow occasionally
- you don’t have clean storage space
- you don’t want to sieve compost
- you need consistency from bag to bag
- you’re trying to avoid contamination from homemade inputs
The main risk with homemade mix is dirty or unfinished ingredients. Half-finished compost, salty inputs, chunky bark, old potting mix or garden soil can undo the whole job.
DIY is excellent when the ingredients are clean. It’s a gamble when they’re not.
DIY Seed Mix: What It Actually Costs in Australia
If you’re weighing buying vs mixing your own, here’s a rough Aussie cost breakdown (2026 ballpark):
- Coco coir: ~$3–$5 per kg
- Perlite: ~$6–$12 per 8 L bag
- Sieved compost: $4–$8 per 10 L
- Worm castings (optional): $8–$15 per 3 L
A fresh DIY batch (~10 L) can come in at under $10–$15 if you already have materials on hand, or about $15–$20 if you buy all fresh inputs. Compare that with commercial seed-raising mixes — often $12–$18 for 5–10 L — and DIY can be a bargain plus you know exactly what’s in it.
Of course, convenience has value too — if your bench time is worth more than your mixing time, a ready mix is still a solid choice.
Best Seed Raising Mix Australia: Build for Your Climate
The best seed raising mix Australia-wide has to handle wildly different conditions.
A tray in humid coastal NSW behaves nothing like a tray in a dry inland summer, a cold Melbourne winter, or a hot Perth afternoon. The mix may be the same, but the way it dries, warms and holds moisture changes fast.
In hot, dry areas, you need a mix that holds moisture long enough for the seed to stay active. Coco coir helps here because it buffers moisture without becoming as heavy as garden soil.
In humid areas, airflow becomes more important. A mix that stays wet too long can turn into a damping-off factory, especially under a humidity dome.
In cold conditions, don’t just add more water. Cold, wet mix slows germination and increases rot risk. Warmth and patience usually beat extra watering.
For Australian conditions, check:
- how fast the surface dries between waterings
- whether the tray is sitting in hot afternoon sun
- whether humidity domes are being vented after germination
- whether the mix is drying at the edge cells first
- whether winter trays need warmth more than water
- The best mix is not just “light and fluffy”. It’s light, fluffy and suited to the weather you’re actually growing in.
Seed Raising Mix for Australian Summer and Winter Sowing
Australia’s seasons can be brutal on seedlings. A mix that behaves perfectly in mild weather can dry out too fast in January or stay cold and soggy in July.
In hot weather, your seed raising mix needs a little more moisture buffering. Coir, fine compost and vermiculite can help keep the tray from drying out between waterings. Just don’t overdo it — seedlings still need oxygen, especially when trays are packed close together.
In cooler months, the risk flips. Wet mix stays wet longer, germination slows down, and damping-off gets more likely. That’s when you want extra airflow, cleaner trays, brighter light and a slightly leaner mix that drains well.
Use this as a rough guide:
- Summer sowing: protect trays from harsh afternoon sun, water early, and check moisture twice daily.
- Winter sowing: avoid cold, wet benches and use a propagation mat if germination is dragging.
- Humid coastal areas: keep the mix lighter and vent covers early.
- Dry inland areas: add a touch more moisture-holding material and avoid tiny cells that dry too fast.
Same seed raising mix, different management. The bag or recipe is only half the job — the conditions around the tray decide whether seedlings cruise or collapse.
How to Read a Seed Mix Bag Like a Pro
When you’re grabbing a ready mix from the nursery, here’s what to keep an eye on:
🔎 Ingredients list:
- Good signs: coco coir/coir fines, perlite or pumice, sieved compost
- Avoid: lots of wood chips, fine dust, or mystery fillers
📊 Nutrient promise:
-
Seedlings need very mild nutrition. Too much fertiliser on the bag can scorch tiny roots.
📏 Texture clues:
-
Words like light, fine, fluffy mean the mix is designed for seeds. Dense or heavy wording usually means potting soil, not seed mix.
🌡 pH / salinity:
-
If you see pH listed in the 6.0–6.5 zone and EC low, you’re in good territory for most seeds.
Understanding these cues helps you pick the right mix without guesswork — and keeps young roots happy from bump to break.
Prefer Ready-Made? Grab Our Seed Raising Mix
Short on time or bench space? Dr Greenthumbs Seed Raising Potting Mix is blended by horticultural pros with:
- High-grade coco coir for moisture control
- Perlite for unbeatable aeration
- Sieved compost for gentle nutrition
- Zero fillers or nasties – just open the bag and fill your trays
Spend less time mixing and more time sowing.
Step-by-Step: Filling Trays & Sowing
- Pre-moisten the mix until it’s evenly damp.
- Fill cells, tapping lightly – don’t compress.
- Sow seeds at twice their thickness.
- Bottom-water trays so the surface stays friable.
- Cover with a clear dome or cling film until green tips appear.
- Vent & Light – Remove cover, place under bright light, 18 – 24 °C ideal.
- Feed Lightly – After two true leaves, dose with a ¼-strength organic liquid feed.
Some seeds need light to germinate, including cosmos, snapdragon and lettuce. For these, press the seed onto the surface without burying it, then mist gently. If the packet says “light required”, follow that instruction.
Tools & Safety Tips for Mixing Like a Pro
A few handy tools make this easier — and keep you safe:
✔ A clean bucket or wheelbarrow (for mixing)
✔ A sieve or riddle (4–6 mm) for that perfect texture
✔ Measuring jug or scoop (keeps ratios consistent)
✔ A spray bottle or watering can with fine rose
✔ Dust mask or respirator (coco coir and perlite dust can irritate lungs)
✔ Gloves — saves itchy hands from prolonged wet work
Hygiene tip: Work in a well-ventilated space and wet materials before stirring. This cuts down dust and makes for a more even mix.
These small steps keep your seed-raising area clean and your lungs and skin happy while you get into it.
Should You Sterilise Your Mix?
You’ll see lots of chatter about sterilising seed mix — and it’s true that heat can kill damping-off pathogens and nasty moulds. But it also wipes out the good microbes that help seedlings thrive.
Here’s a balanced way to think about it:
- Worth it if: you’re re-using old mix, have had repeated mould or fungal issues, or your workspace is humid and closed-in.
- Maybe skip it if: you’re making fresh mix and want to preserve beneficial biology — just keep trays clean, work in a tidy area, and avoid over-watering.
If you choose to sterilise, aim for gentle heat (e.g., 90 °C for ~30 min) rather than incinerating the whole batch. And remember: cleanliness, airflow and proper watering go a long way in keeping seedlings healthy without stripping the mix of life.
Troubleshooting Common Issues
Use this table to match seed-starting problems with likely mix, moisture or light issues. Do not automatically add fertiliser to struggling seedlings until you have checked moisture, airflow, light and tray conditions.
|
Symptom |
Likely Cause |
Quick Fix |
|---|---|---|
|
Fuzzy white mould |
Excess humidity, poor airflow or mix staying too wet |
Increase airflow, vent covers earlier, skim the surface if needed and reduce watering. |
|
Spindly, toppled seedlings |
Low light, too much heat or covers left on too long |
Add brighter light, remove domes once seedlings emerge and keep temperatures steady. |
|
Yellow cotyledons |
Over-watering, low light or seedlings sitting too long in a low-nutrient mix |
Let the mix dry slightly, bottom-water only and pot up once true leaves appear. |
|
Damping-off |
Wet mix, poor airflow, dirty trays or fungal pressure |
Remove affected seedlings, increase airflow, avoid overwatering and use clean trays for the next sowing. |
|
Patchy germination |
Uneven moisture, old seed, chunky surface or inconsistent sowing depth |
Sieve the top layer for tiny seeds, keep moisture steady and follow packet depth instructions. |
|
Tiny seeds washing away |
Watering from above too heavily |
Mist gently or bottom-water so the surface stays stable. |
|
Mix drying out too fast |
Cells too small, mix too airy, hot position or not enough moisture-holding material |
Move trays out of harsh heat, use larger cells or add a little more coir/fine compost next batch. |
|
Mix staying wet for days |
Mix too heavy, tray too deep, poor airflow or too much compost |
Increase aeration, vent covers and let the surface breathe between waterings. |
|
Fungus gnats |
Constantly wet surface and organic matter attracting adults |
Let the surface dry slightly between waterings, improve airflow and avoid leaving trays soggy. |
|
Seedlings stall after germination |
Low light, cold mix, exhausted seed mix or delayed pot-up |
Increase light, add gentle warmth and pot up once true leaves and roots are ready. |
When to Pot Up Seedlings with GreenSpace Premium
Seed raising mix is only the starting point. Once seedlings have true leaves and active roots, they need a richer, more structured potting mix.
Pot up when:
- True leaves present and sturdy stems are forming
- Roots are visibly emerging from cell bases
- Seedlings look perky, not stretched or stalled
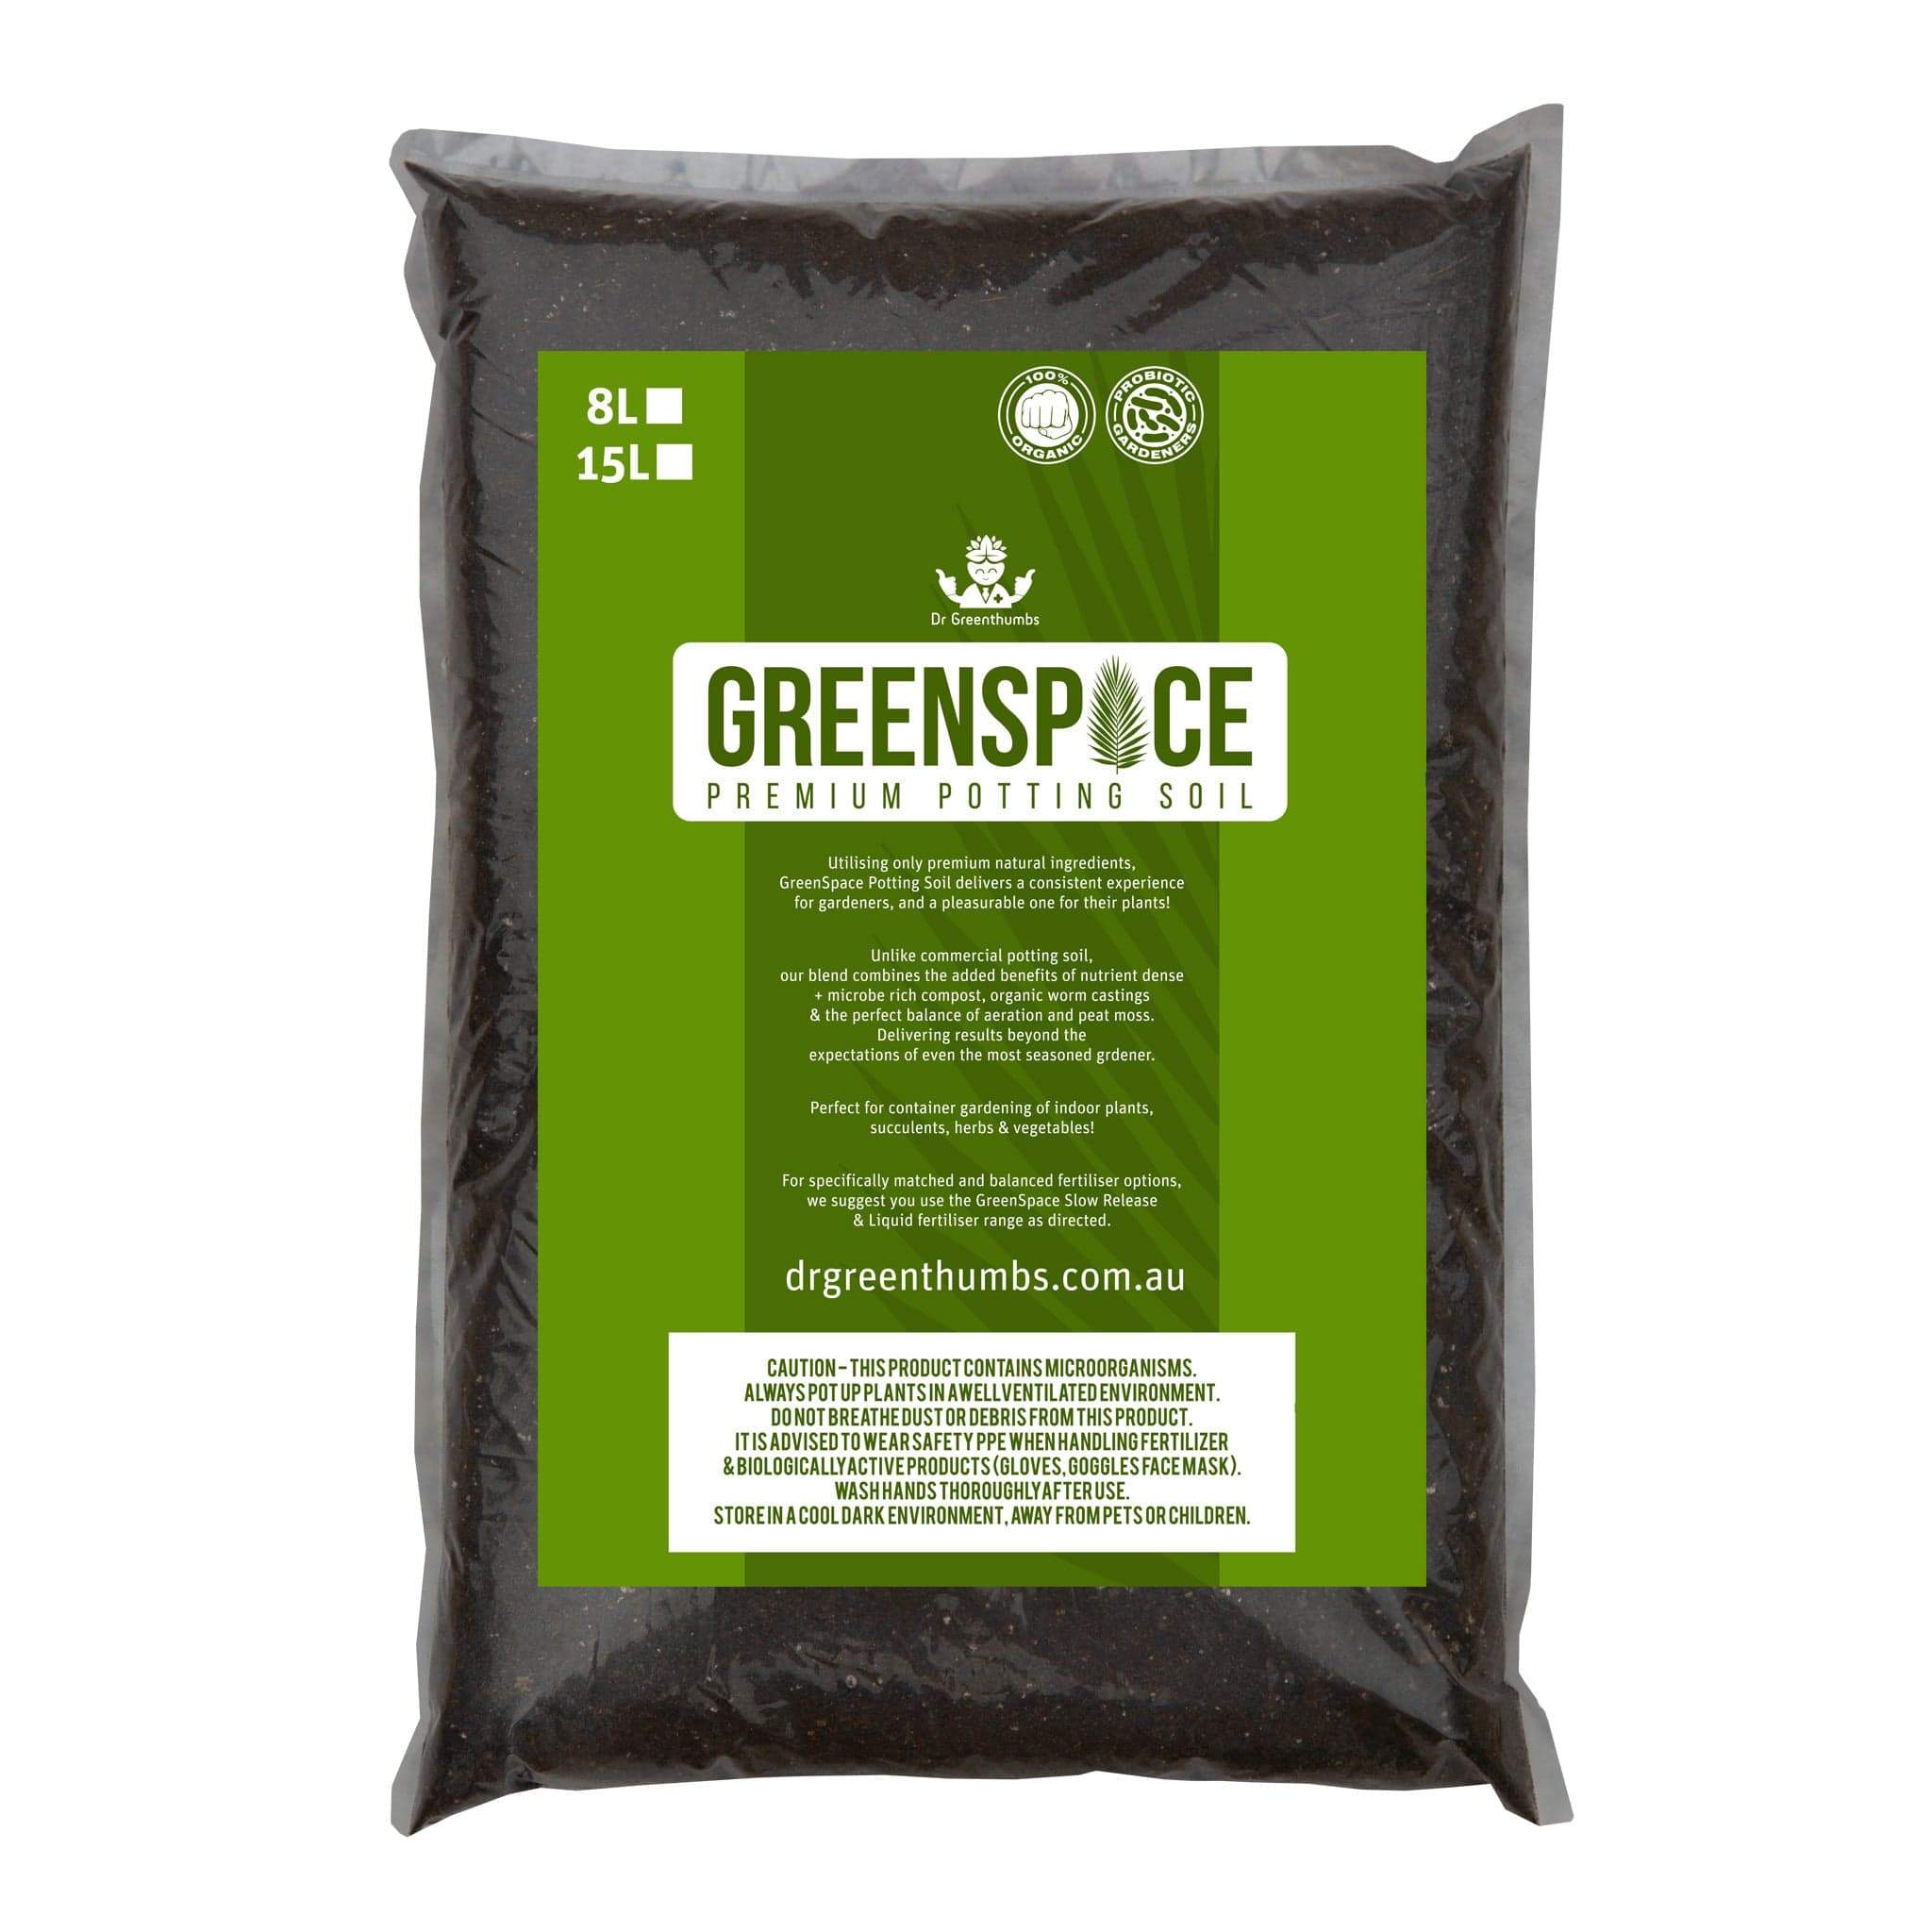
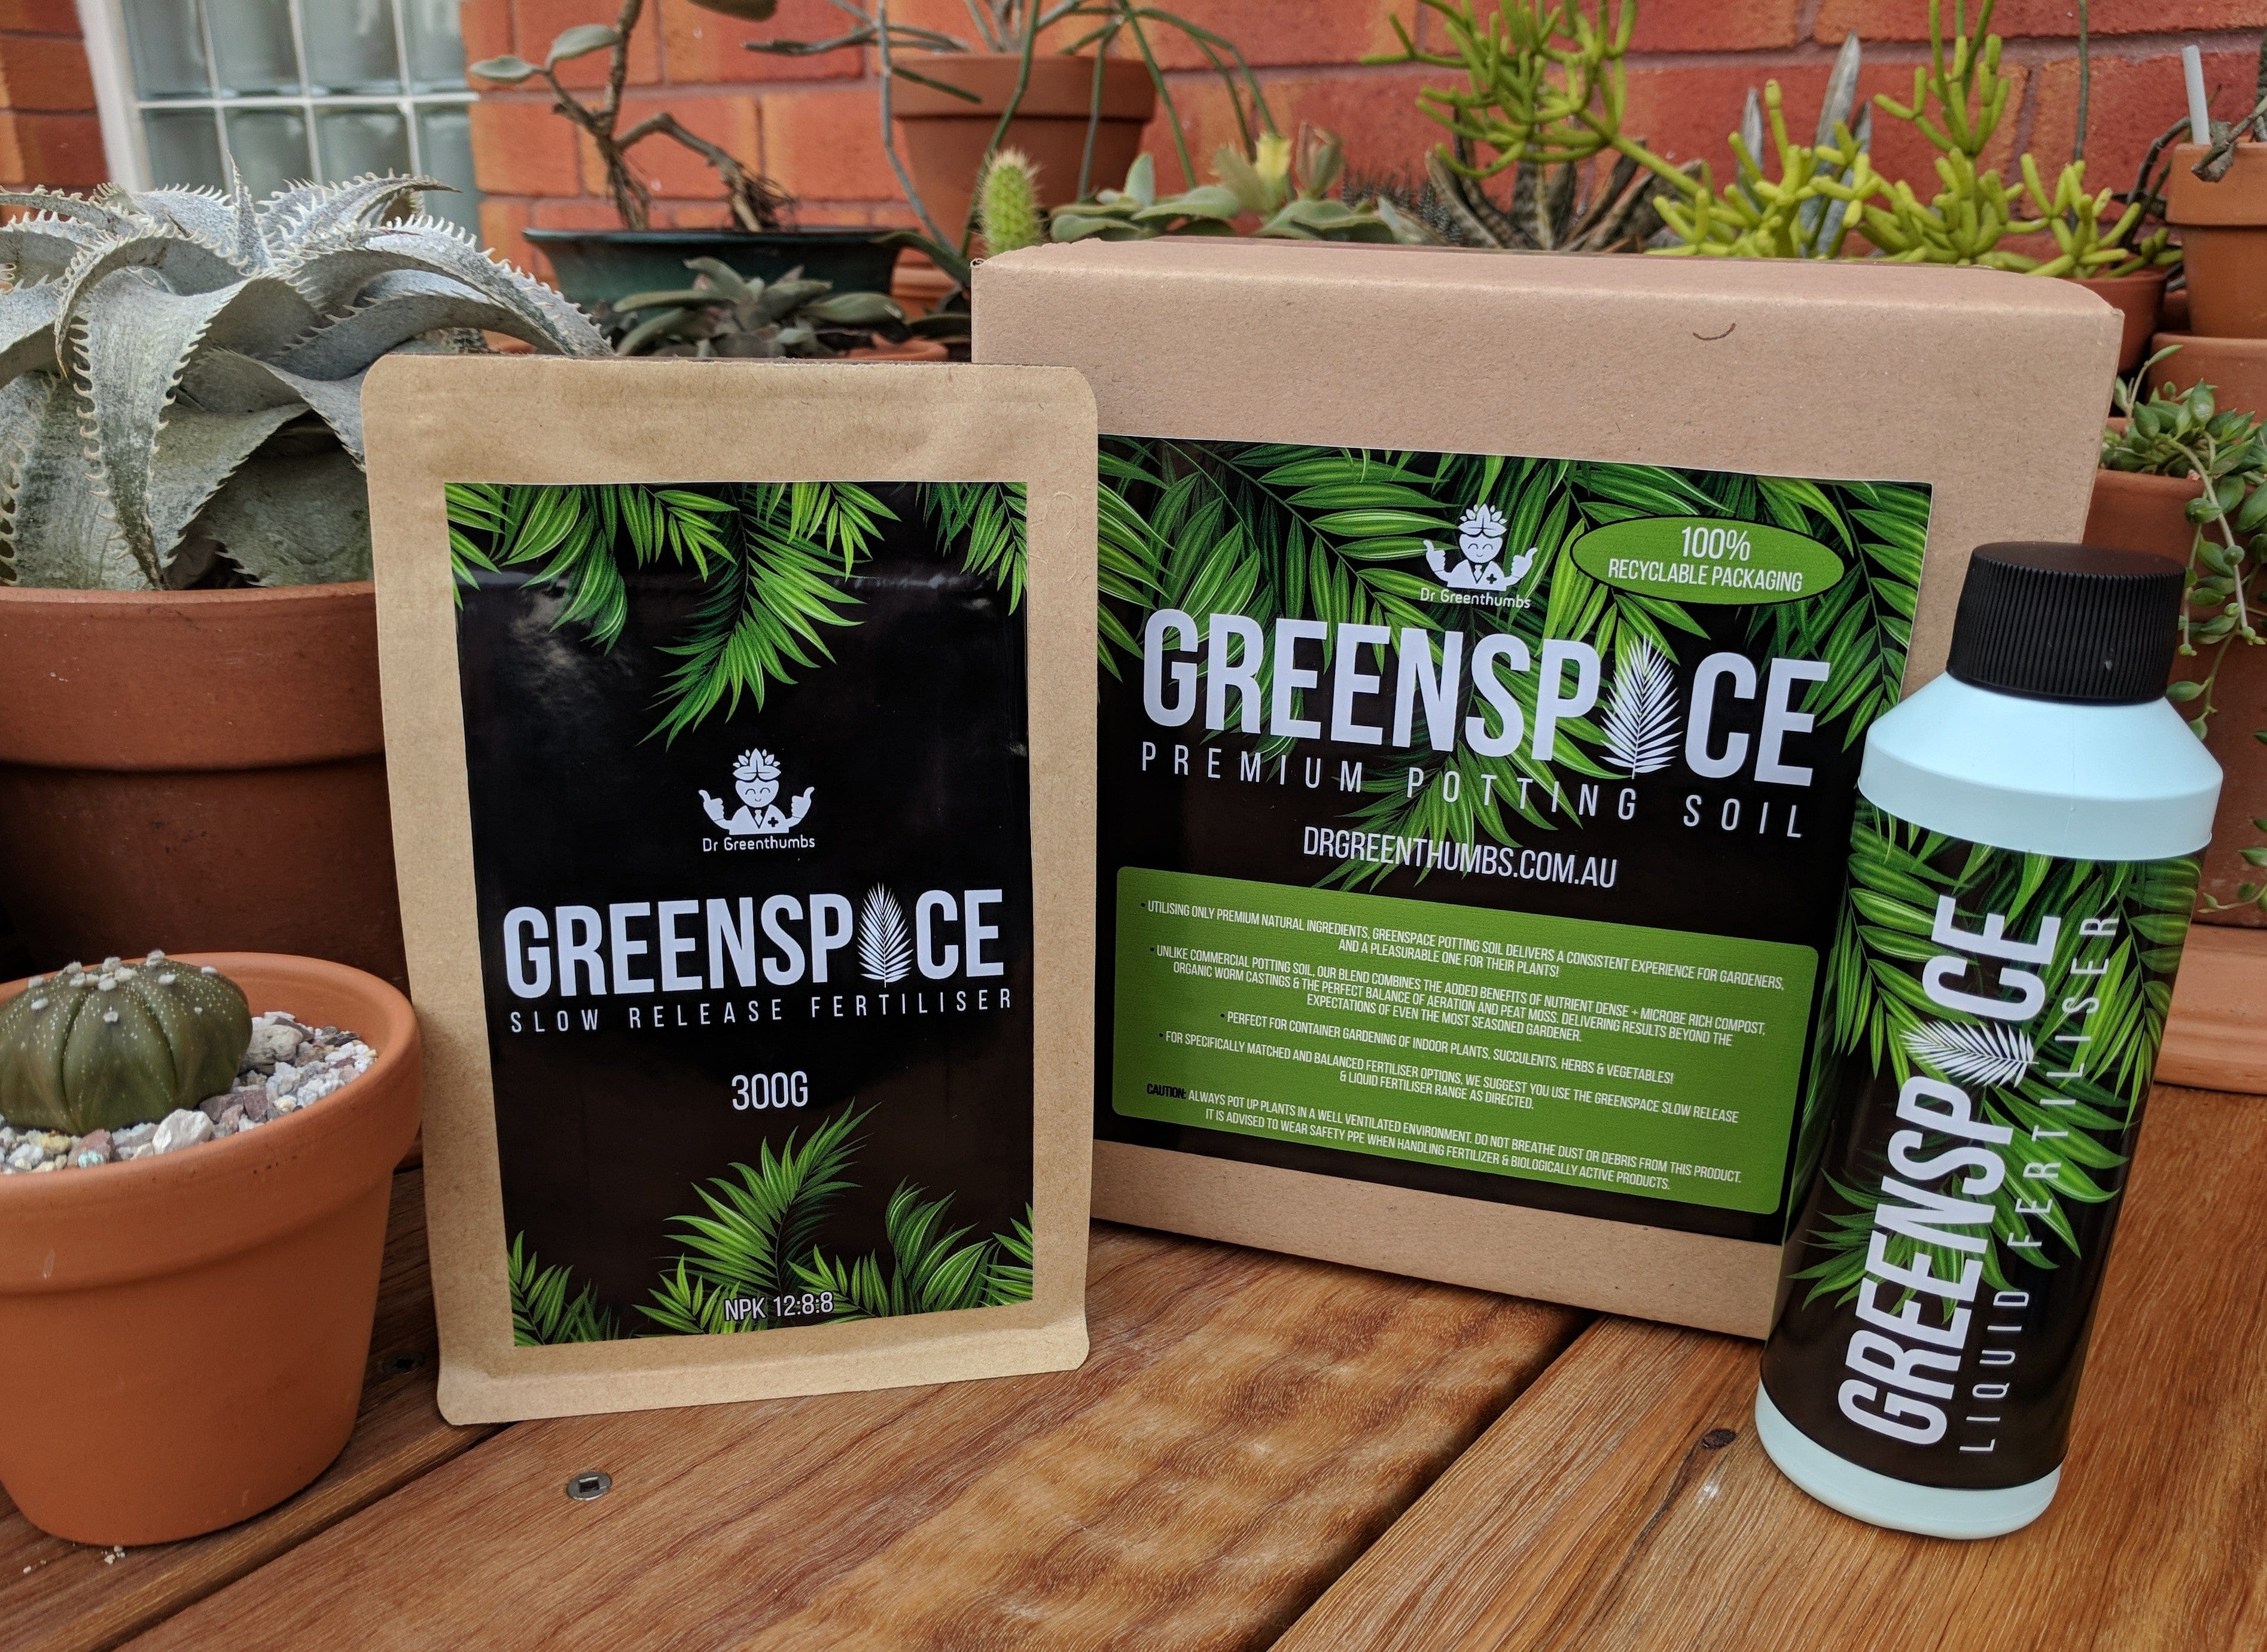
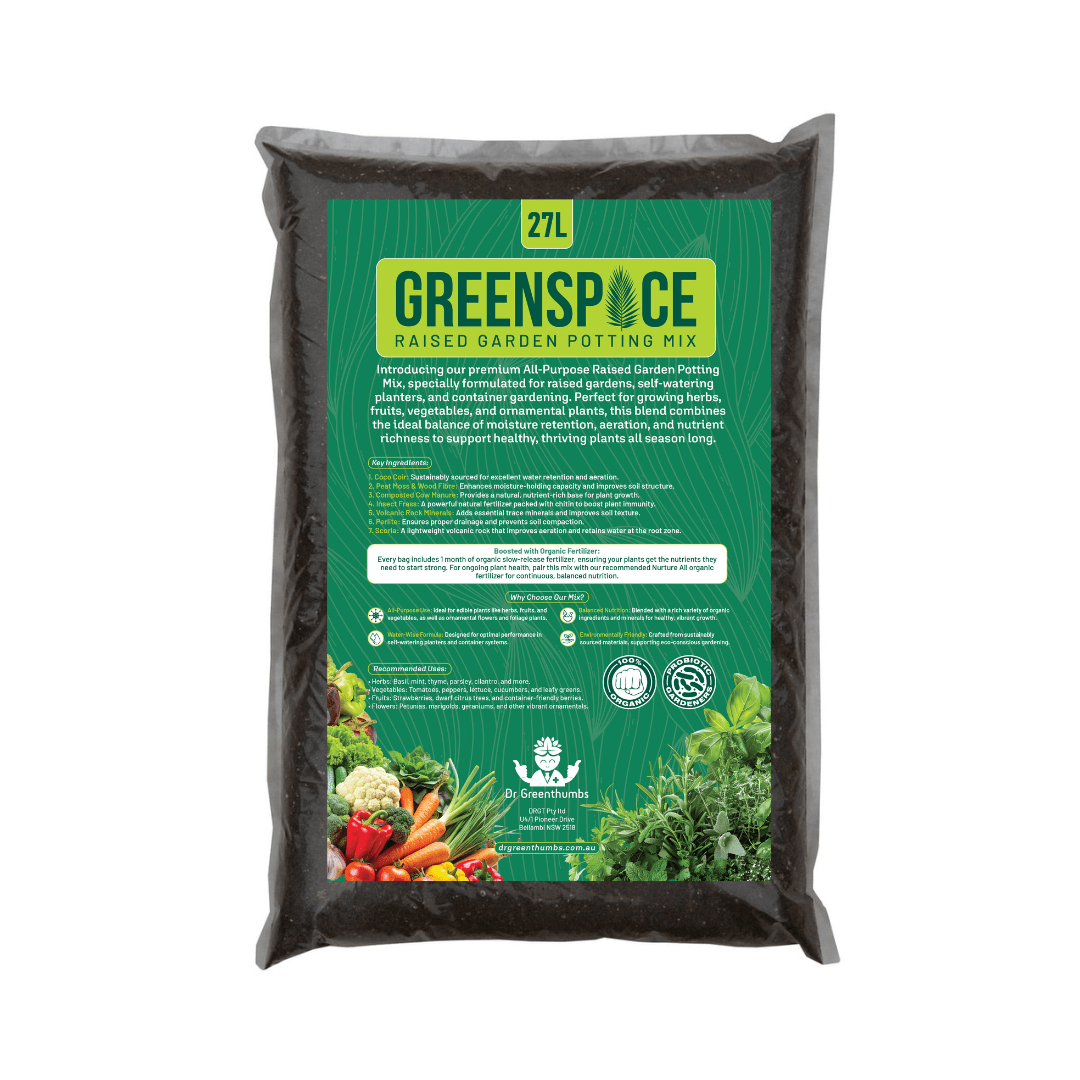
Shift them into a more nutrient-rich, structured mix such as GreenSpace Premium Potting Soil. It gives young plants a chunkier, microbe-rich root zone with better air pockets and more nutrition than a seed raising mix.
After potting up, give seedlings bright light and a mild ½-strength organic liquid feed if needed. This helps prevent leggy growth and keeps new growth tight and vigorous.
GreenSpace Premium Potting Soil is available in 8 L, 27 L and 45 L bags to suit different projects.
FAQ
Can I reuse seed-raising mix?
Only reuse it if the previous seedlings were healthy and the mix has been refreshed or sterilised. If you had mould, fungus gnats, damping-off or diseased seedlings, start fresh.
Is this mix good for cuttings?
Yes, for many soft cuttings, but cuttings may need slightly firmer contact and strong airflow. Use the cuttings section above to tweak the mix.
How wet should the mix stay?
Damp like a wrung-out sponge. It should hold together lightly when squeezed, but it should not drip. Bottom-water where possible.
Happy germinating, legends – and remember, great gardens start with great soil! 🌿
Next Reads for Stronger Seedlings and Better Potting Mixes
Got your seed-raising mix sorted? These guides will help you choose better potting media, avoid common mix problems and set young plants up for stronger growth.
- How to Fix Poor Potting Soil
- Potting Mix vs Garden Soil
- Premium Potting Soil Australia
- How to Correctly Water Your Garden
About the Author