
Tired of container plants that never quite reach their potential? The secret isn't a green thumb – it's living soil that works with our unique Australian climate.
Every Australian gardener has experienced this: you've done your research, invested in quality containers and plants, yet your container garden still struggles. Meanwhile, some gardeners seem to have effortlessly thriving pots year-round. What's the difference?
The answer is beneath the surface – living soil that actually supports plant health rather than just filling space.
Table of Contents
- Why Australian Container Gardens Need Living Soil More Than Ever
- What Makes Soil "Living" (And Why It's Game-Changing for Container Gardens)
- The Dr Green Thumbs Container Living Soil Recipe (Tested in Australian Conditions)
- Creating Living Soil For Your Container Garden: A Step-by-Step Guide
- Troubleshooting Common Australian Container Soil Problems
- Beyond the Basics: Advanced Living Soil Techniques
- Don't Chuck It Away! How To Reuse Your Living Soil
- Your Next Steps: From Soil Theory to Thriving Plants
- Next Reads for Building Better Potting Soil and Healthier Roots
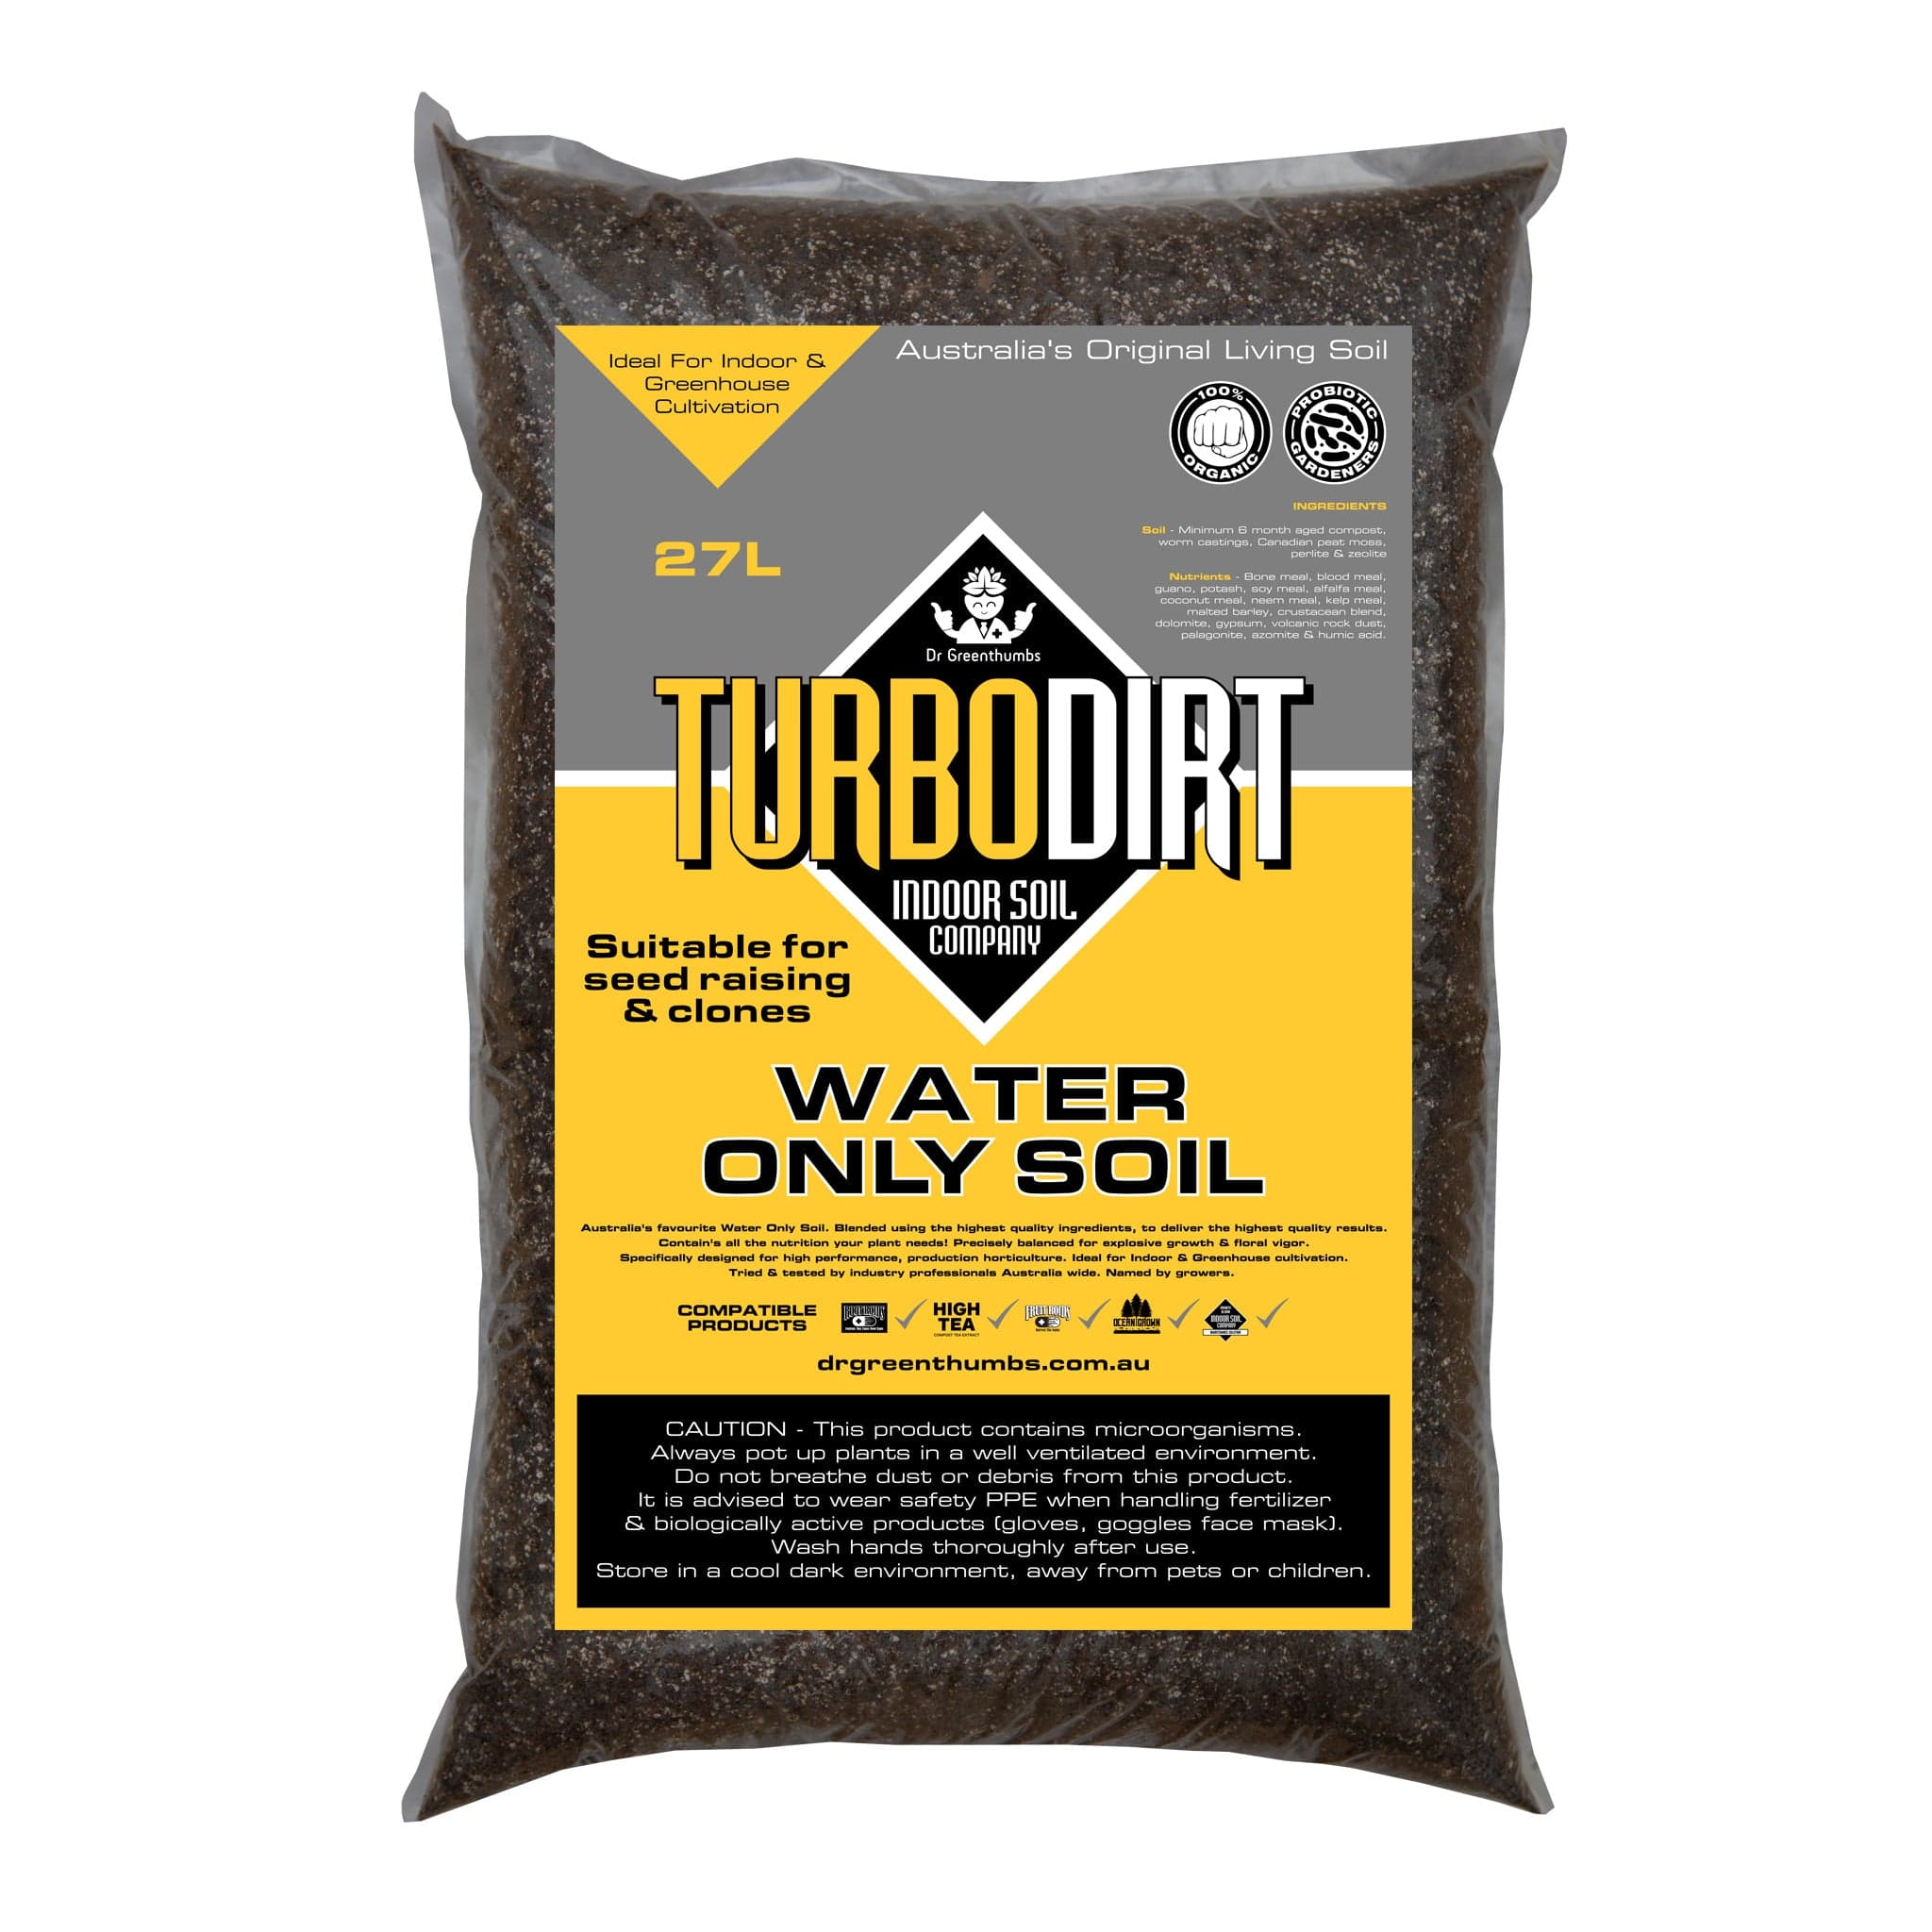
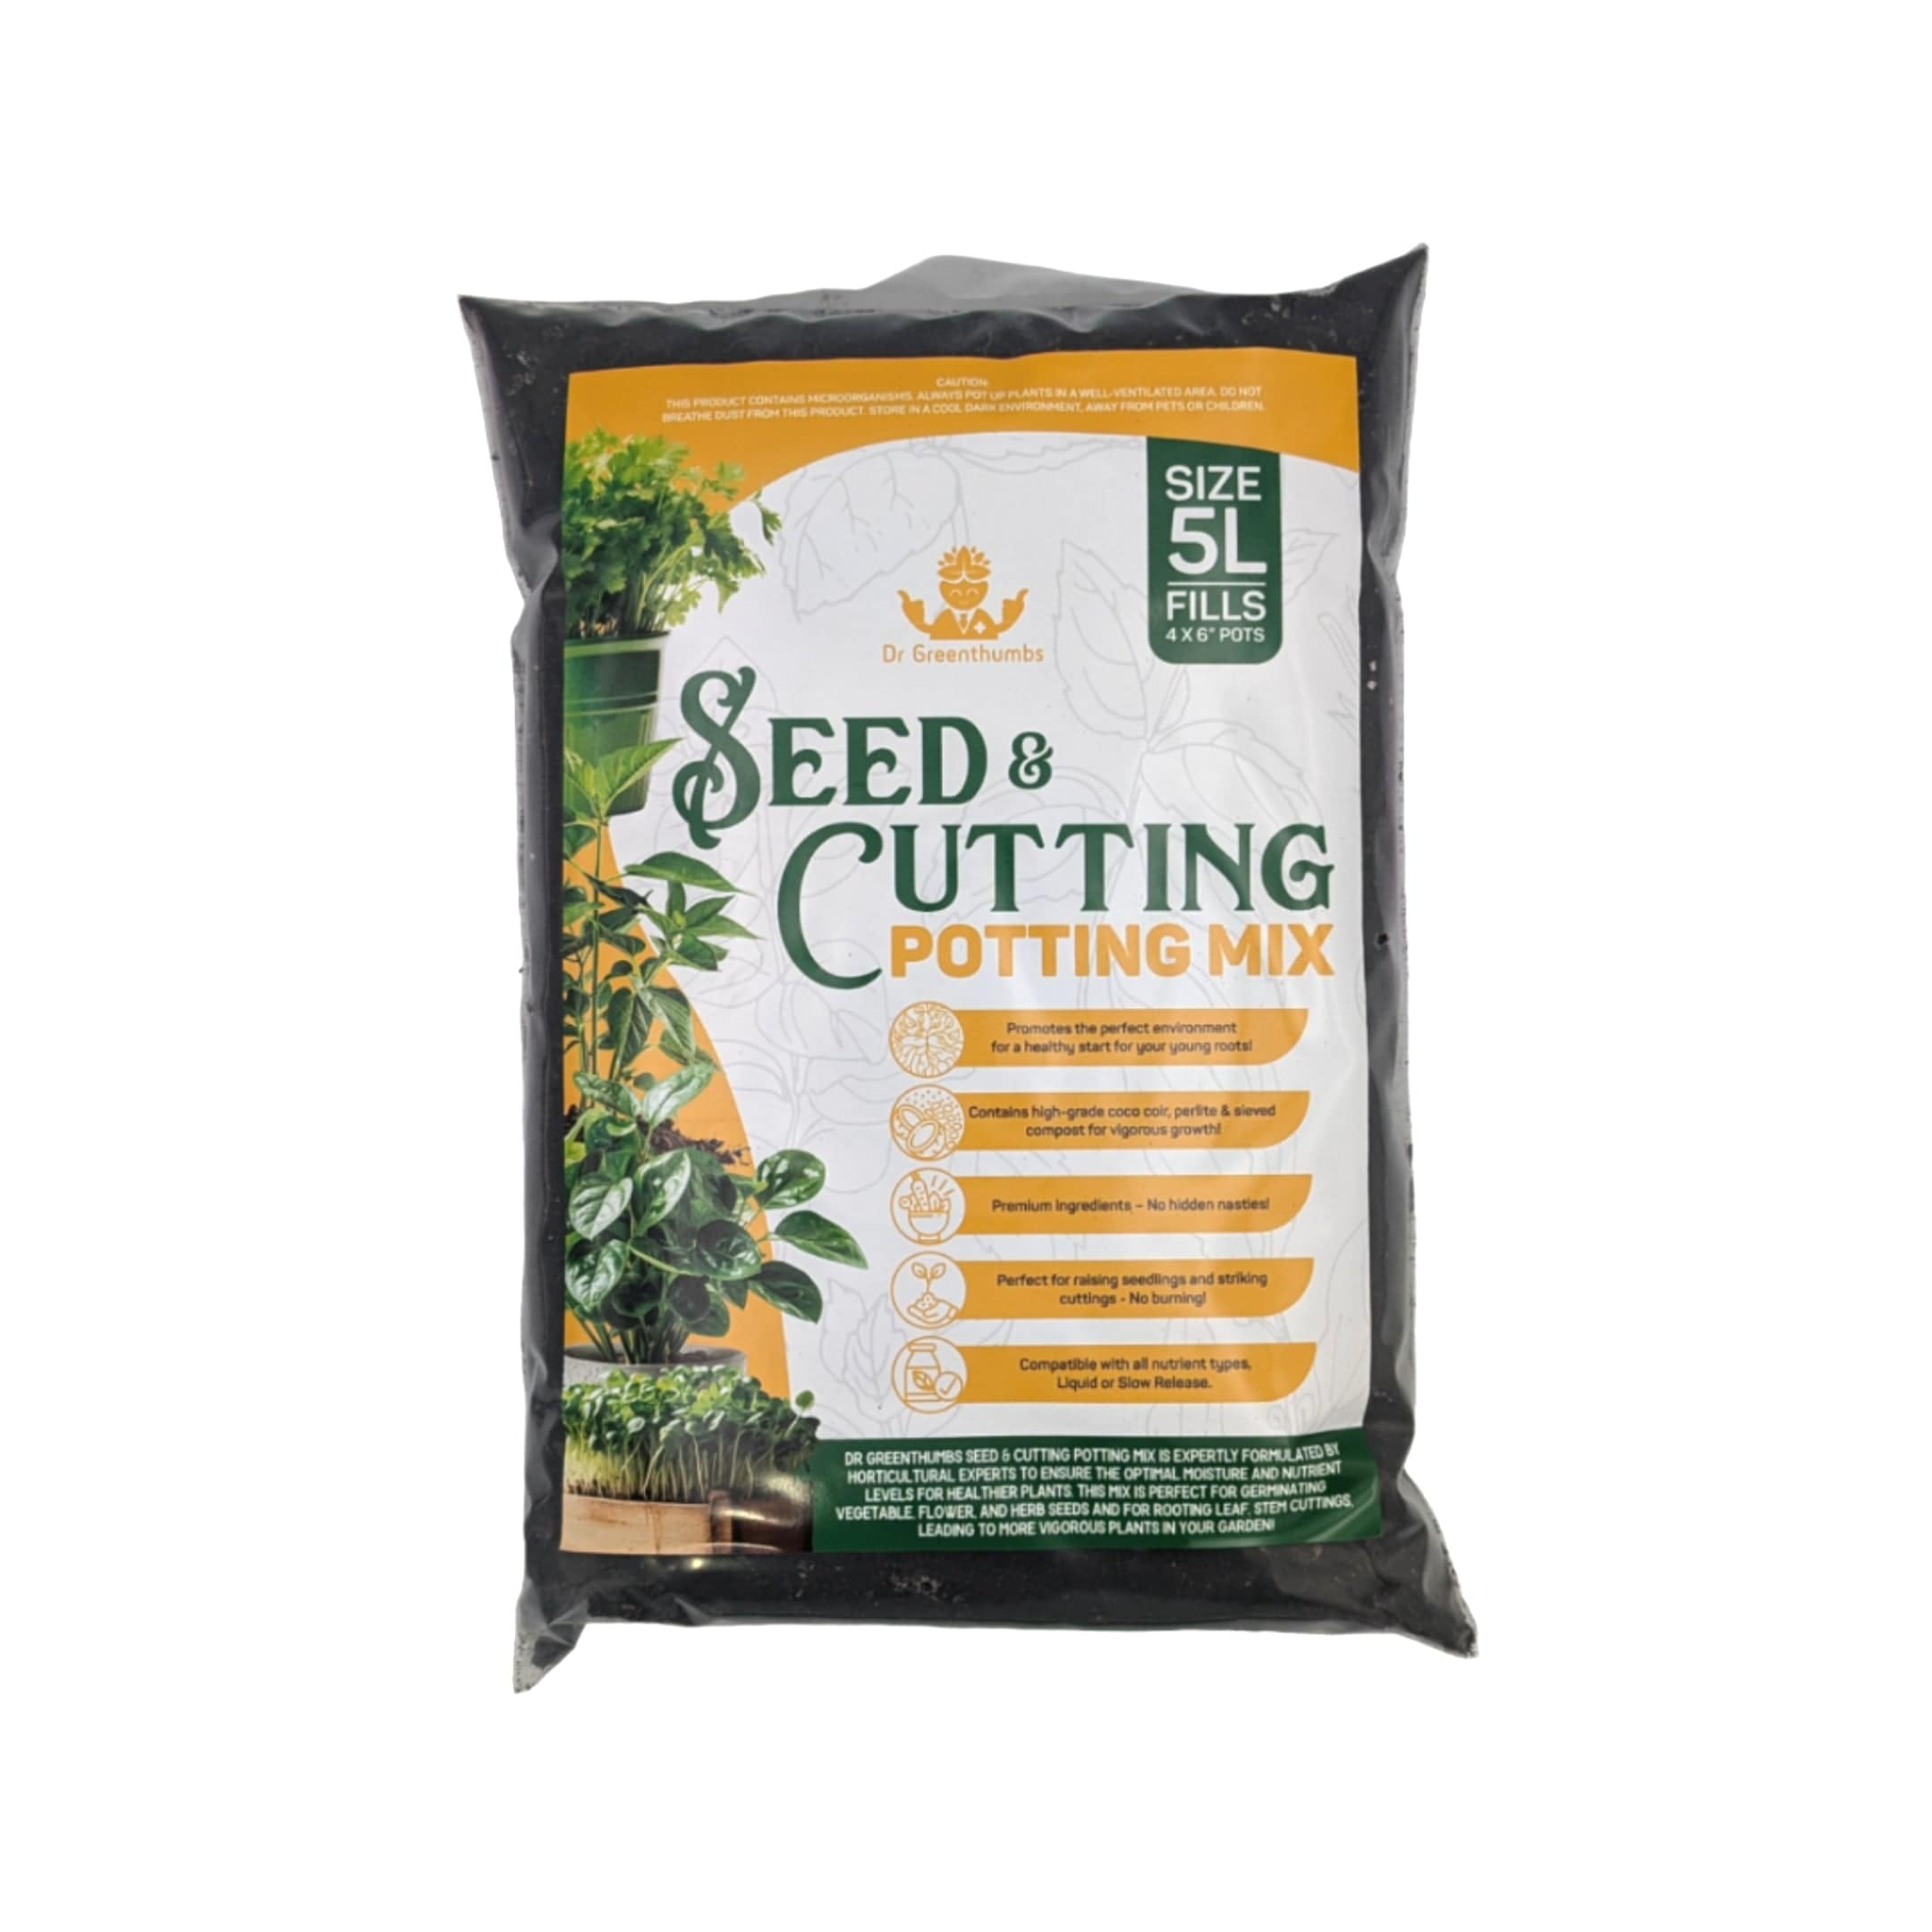
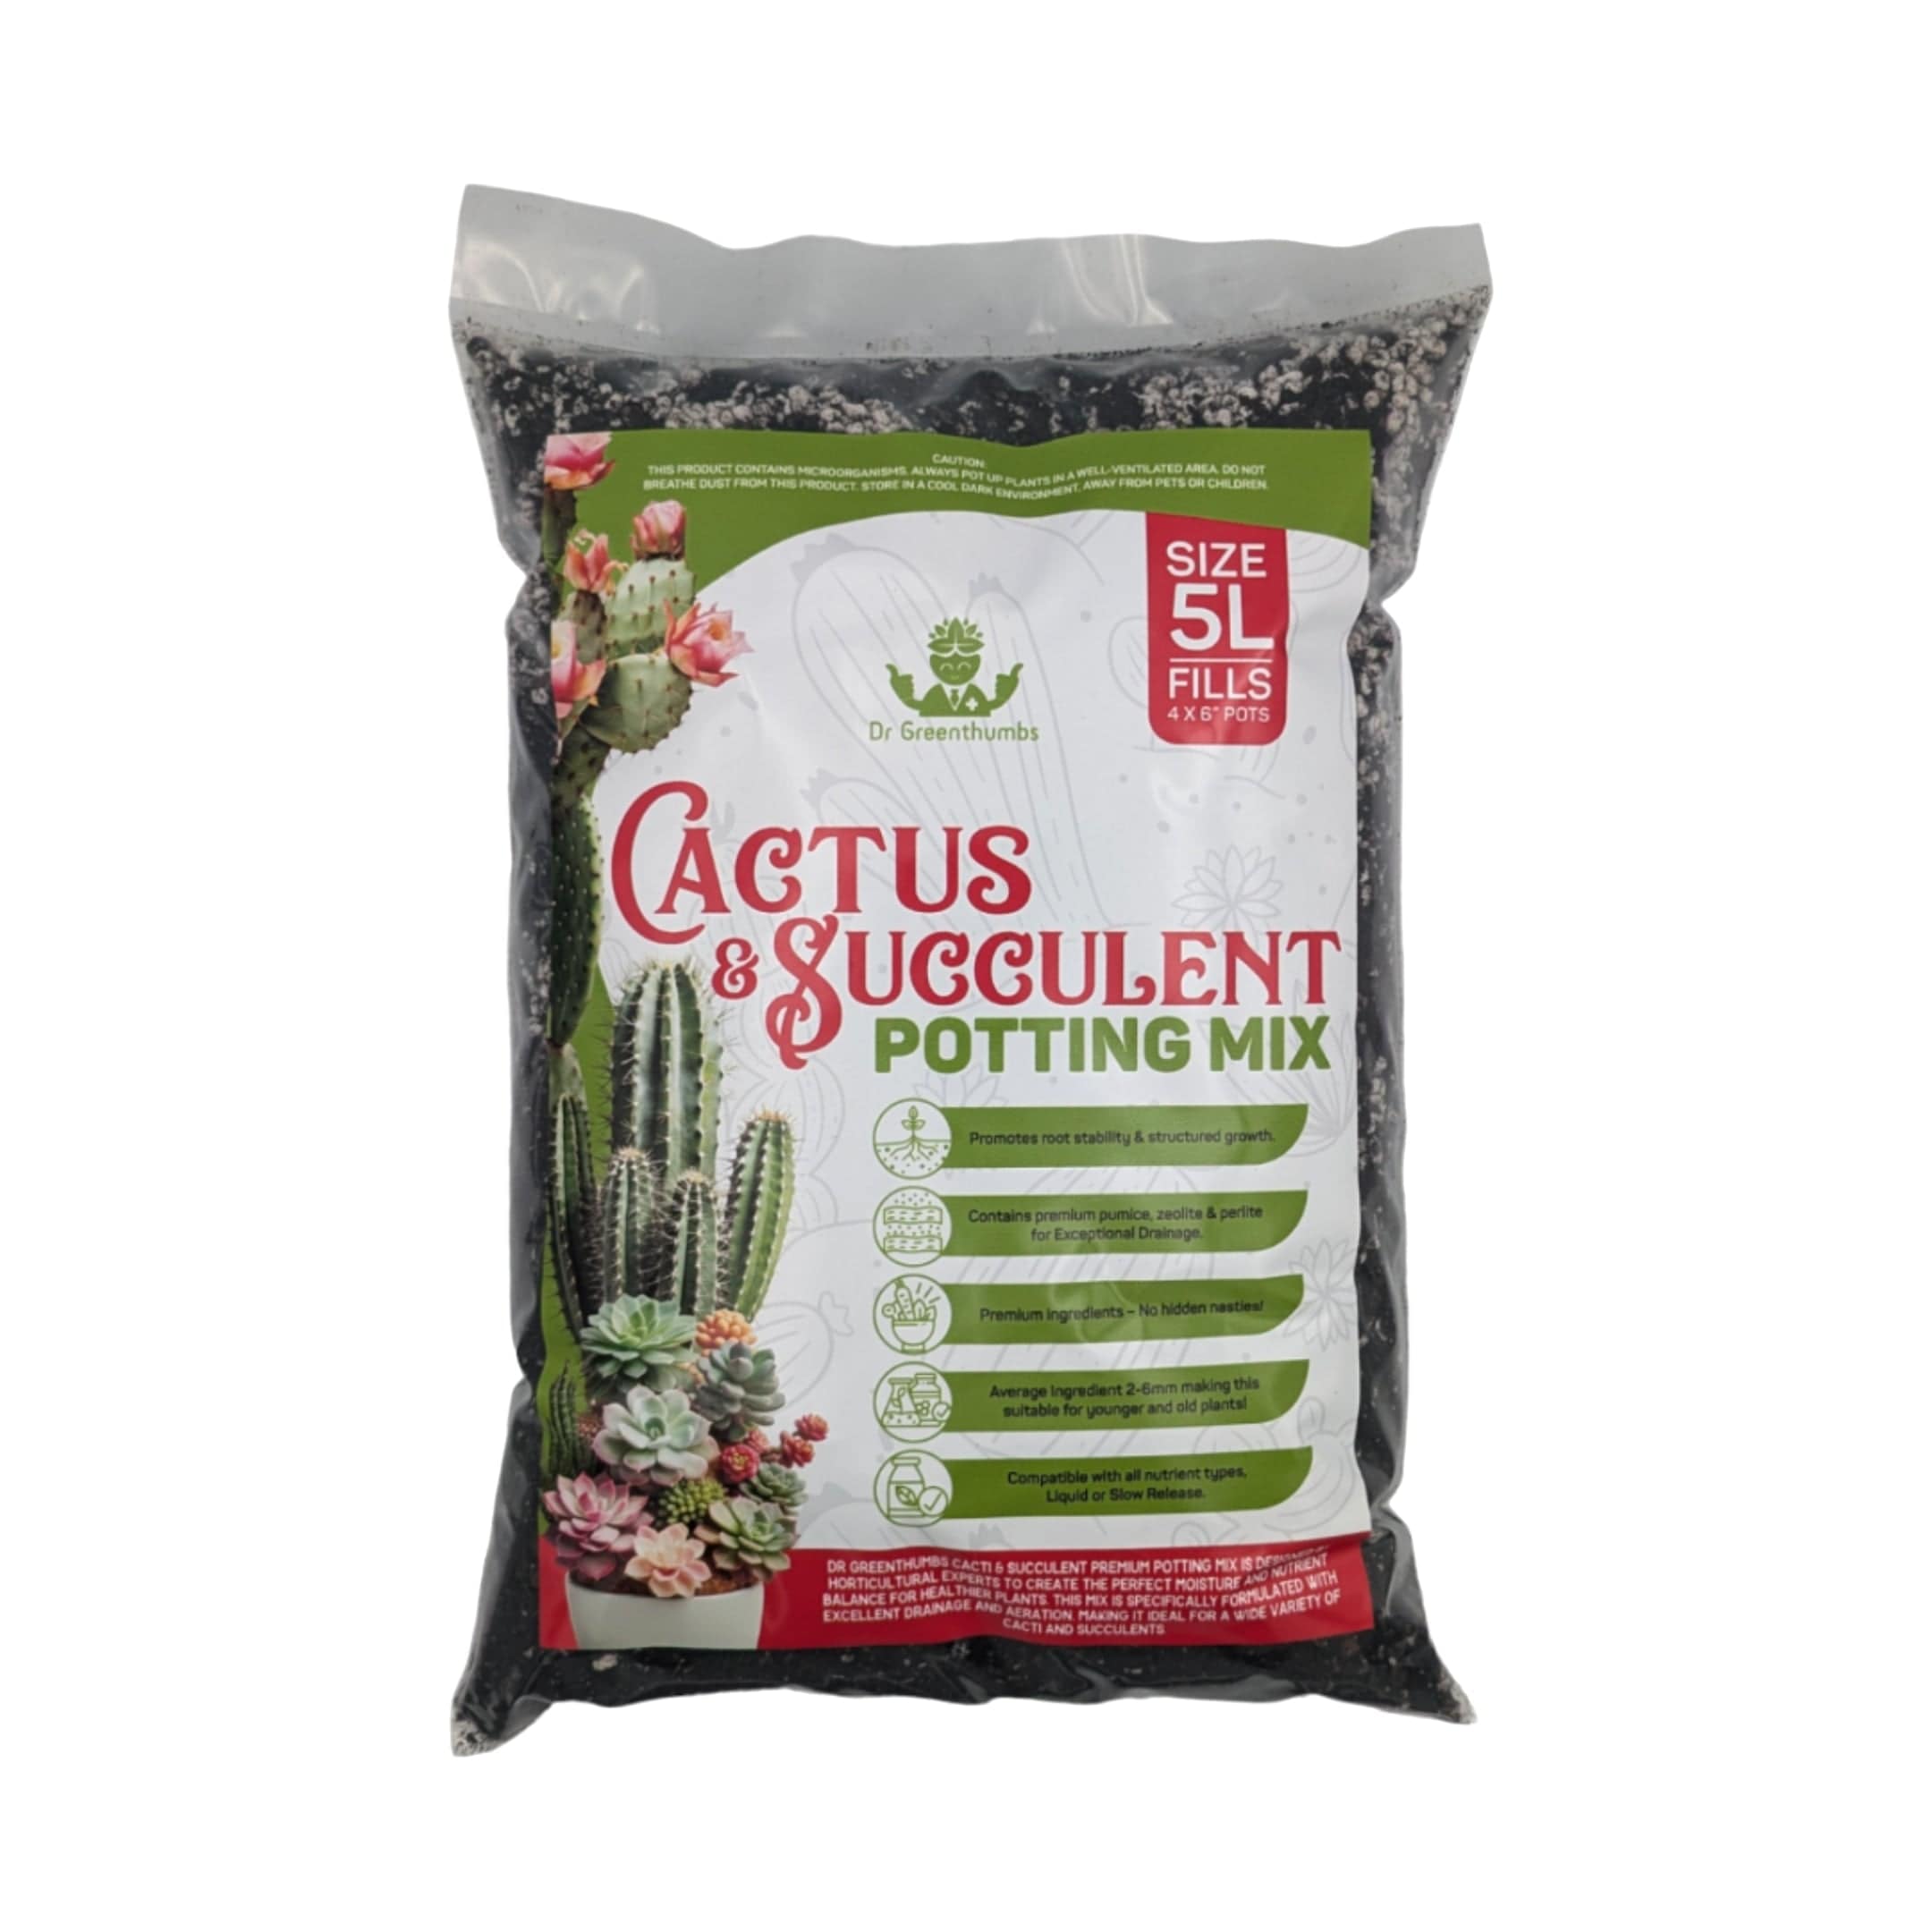
If you want the easiest way to get this mix right, these tools make it simple:


Why Australian Container Gardens Need Living Soil More Than Ever
Here in Australia, intense summer heat, strong UV, periods of heavy rain and the limited root volume inside containers can make moisture and aeration change quickly. Pots may dry hard in hot weather, then stay saturated after prolonged rain, so the growing medium needs to hold useful moisture without becoming compacted or waterlogged.
That is where living soil becomes useful. Instead of treating the container medium as simple filler, the aim is to build a structured, biologically active root zone. First, it helps to understand what actually makes soil “living”.
What Makes Soil "Living" (And Why It's Game-Changing for Container Gardens)
Living soil isn't just dirt with stuff mixed in – it's a thriving ecosystem in a pot. Think of it as creating a miniature version of what happens naturally in healthy bushland, complete with beneficial bacteria, fungi, and microorganisms working 24/7 to feed your plants.
This soil food web creates several benefits that solve the biggest problems Australian container gardeners face:
Moisture regulation that actually works: Creating your own soil will allow much more moisture control. Instead of bone-dry one day and waterlogged the next, living soil holds moisture when plants need it and allows it to drain when they don't.
Self-feeding plants: The microorganisms break down the organic matter we provide like kelp meal and release nutrients back to the plants slowly and steadily – no more boom-bust fertiliser cycles that stress plants.
Disease resistance: A healthy and diverse soil biology allows the "good guys" to out compete harmful pathogens such as root rot, which over time leads to reduced soil borne diseases that often lead to failure for new container growers.
Heat tolerance: If you have a truly living soil and your doing all the right things like mulching and keeping the containers moist, your soil stays cooler in summer because it can regulate itself easier as the microbes store & release moisture. They do this in a variety of ways, for example mycorrhizal fungi from the genus Glomus, will create a protein called glomalin which has a strong association with building soil particle aggregation. This means soils with more glomalin tend to have more stable aggregates, which directly improves the soil’s ability to retain water - right where your plants need it, the root zone (rhizosphere)
In a container garden, biological activity works alongside good soil structure and organic matter to support more consistent moisture conditions and nutrient cycling around the root zone.
The Dr Green Thumbs Container Living Soil Recipe (Tested in Australian Conditions)
After years of testing different ratios and ingredients specifically for Australian container growing, here's our proven recipe that works whether you're in tropical Darwin or temperate Melbourne:
Base Recipe (Makes 30L of premium living soil):
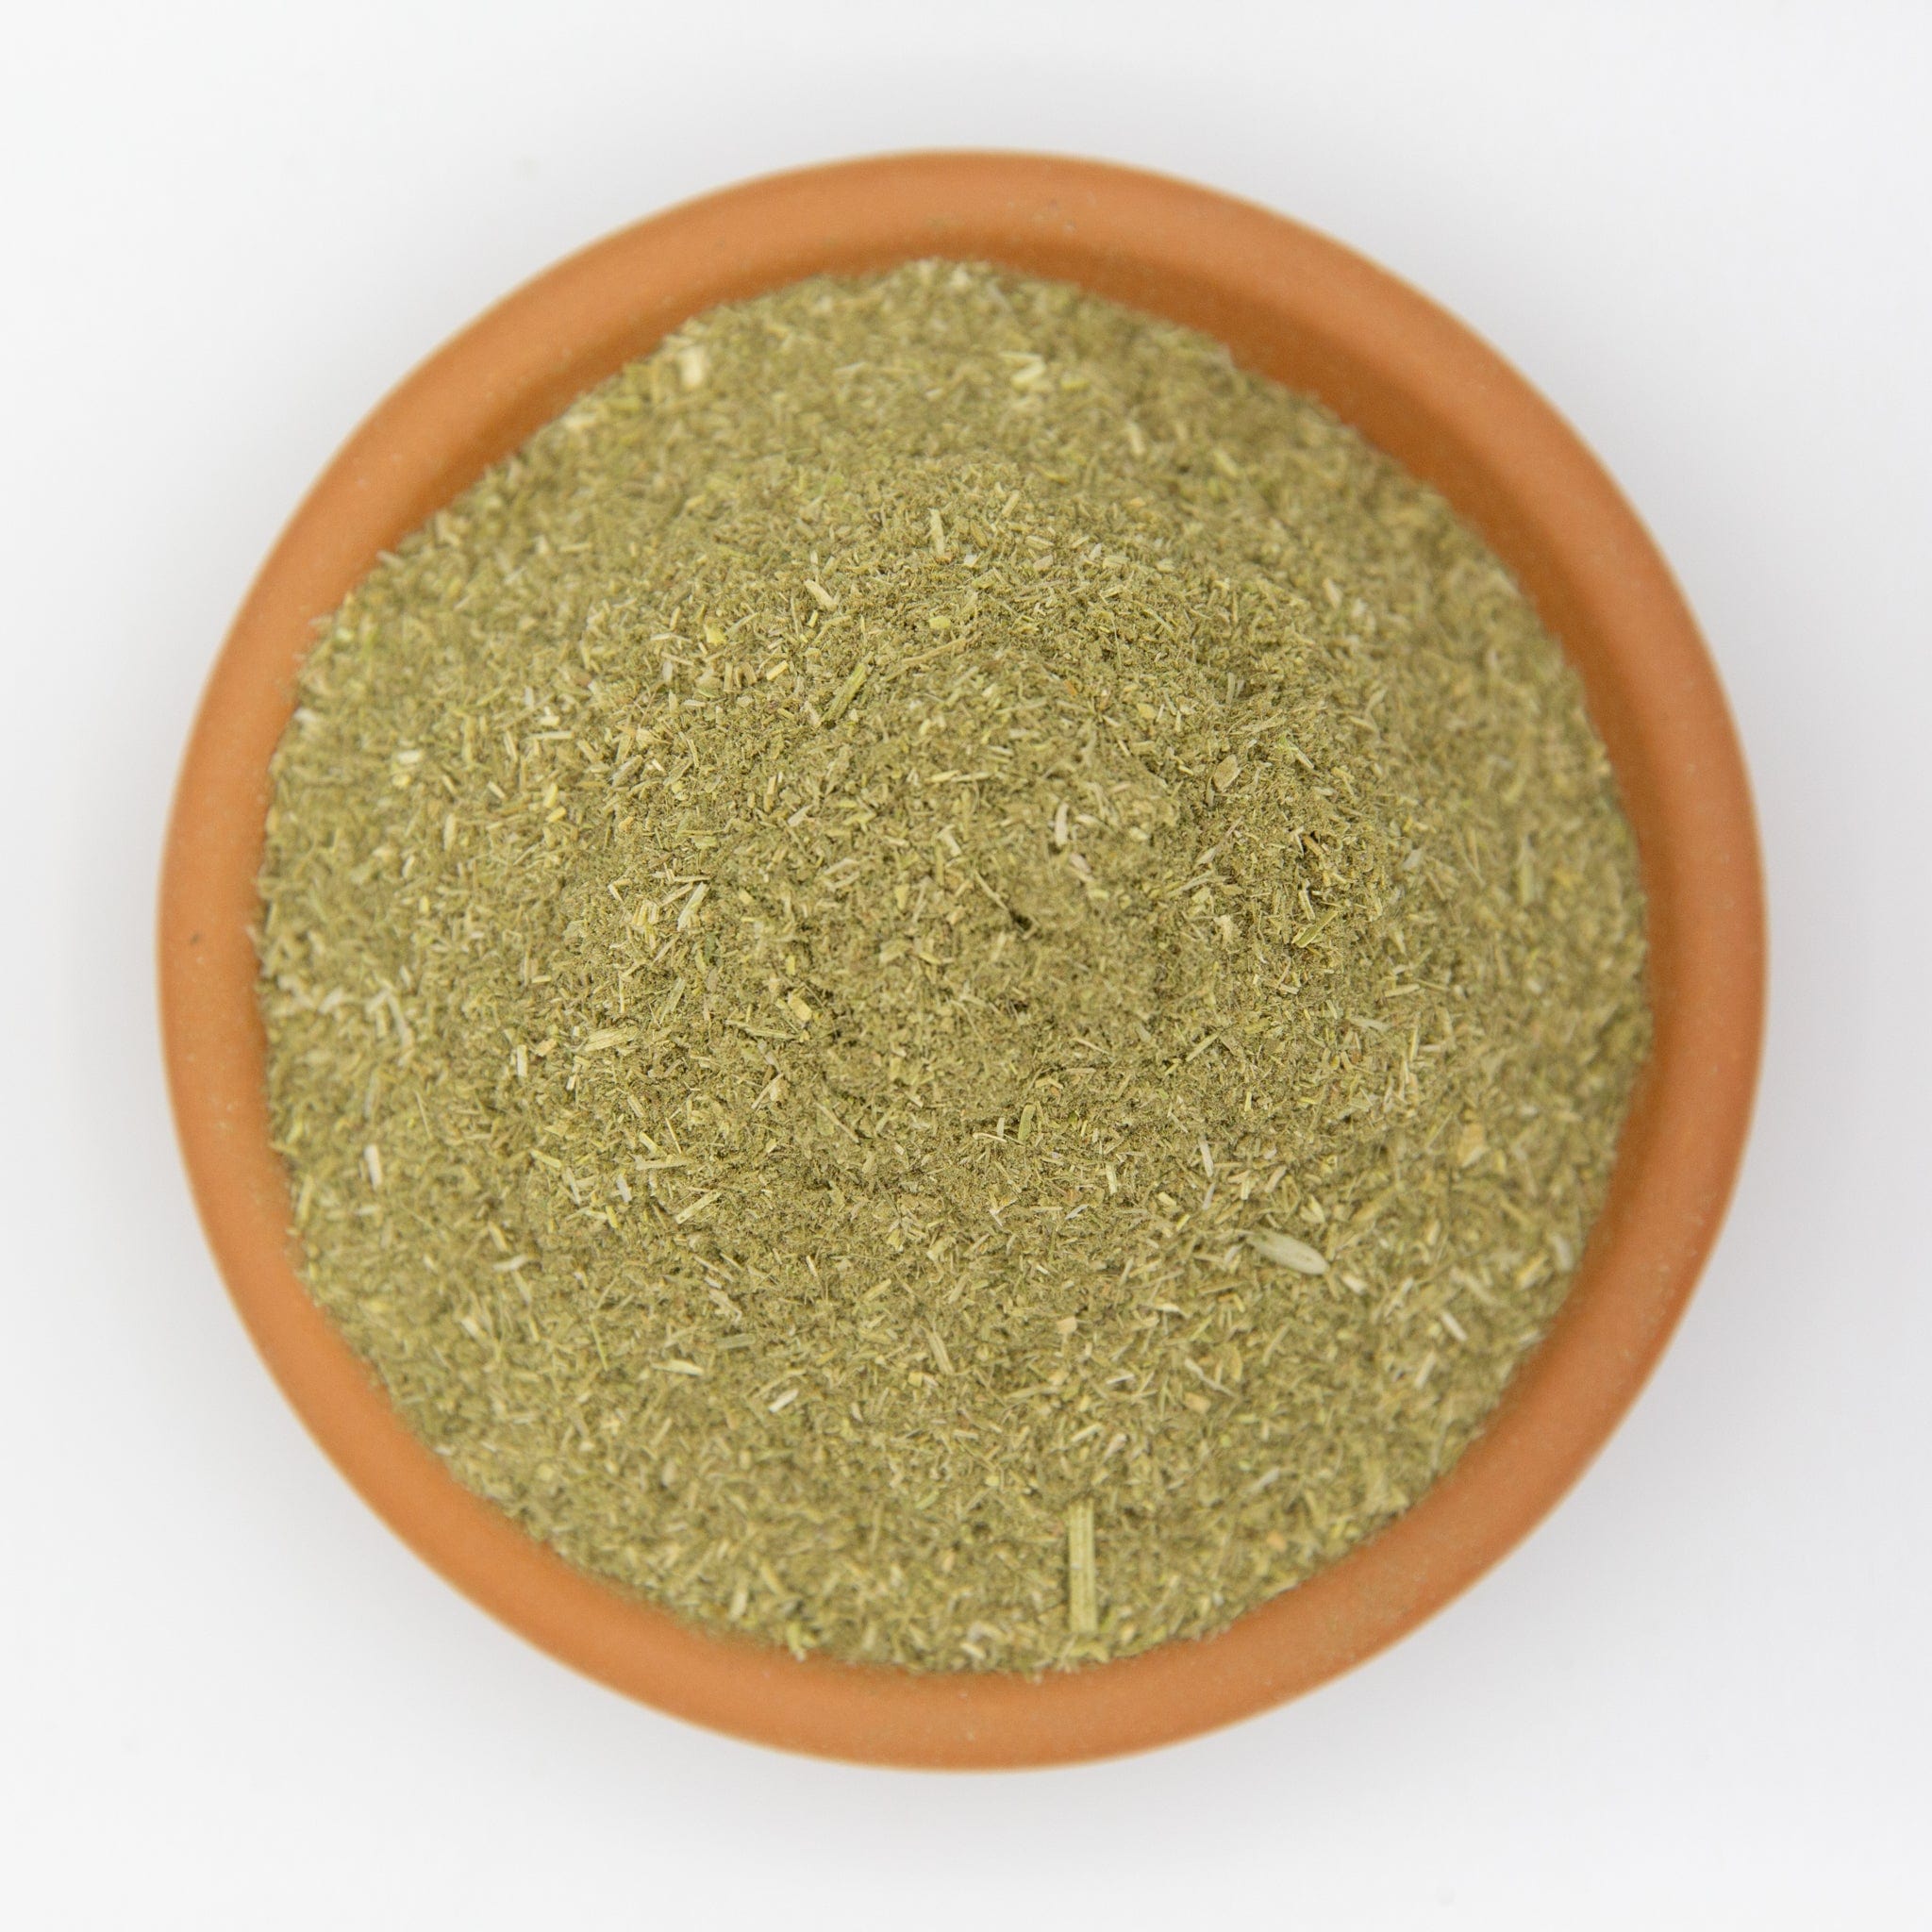
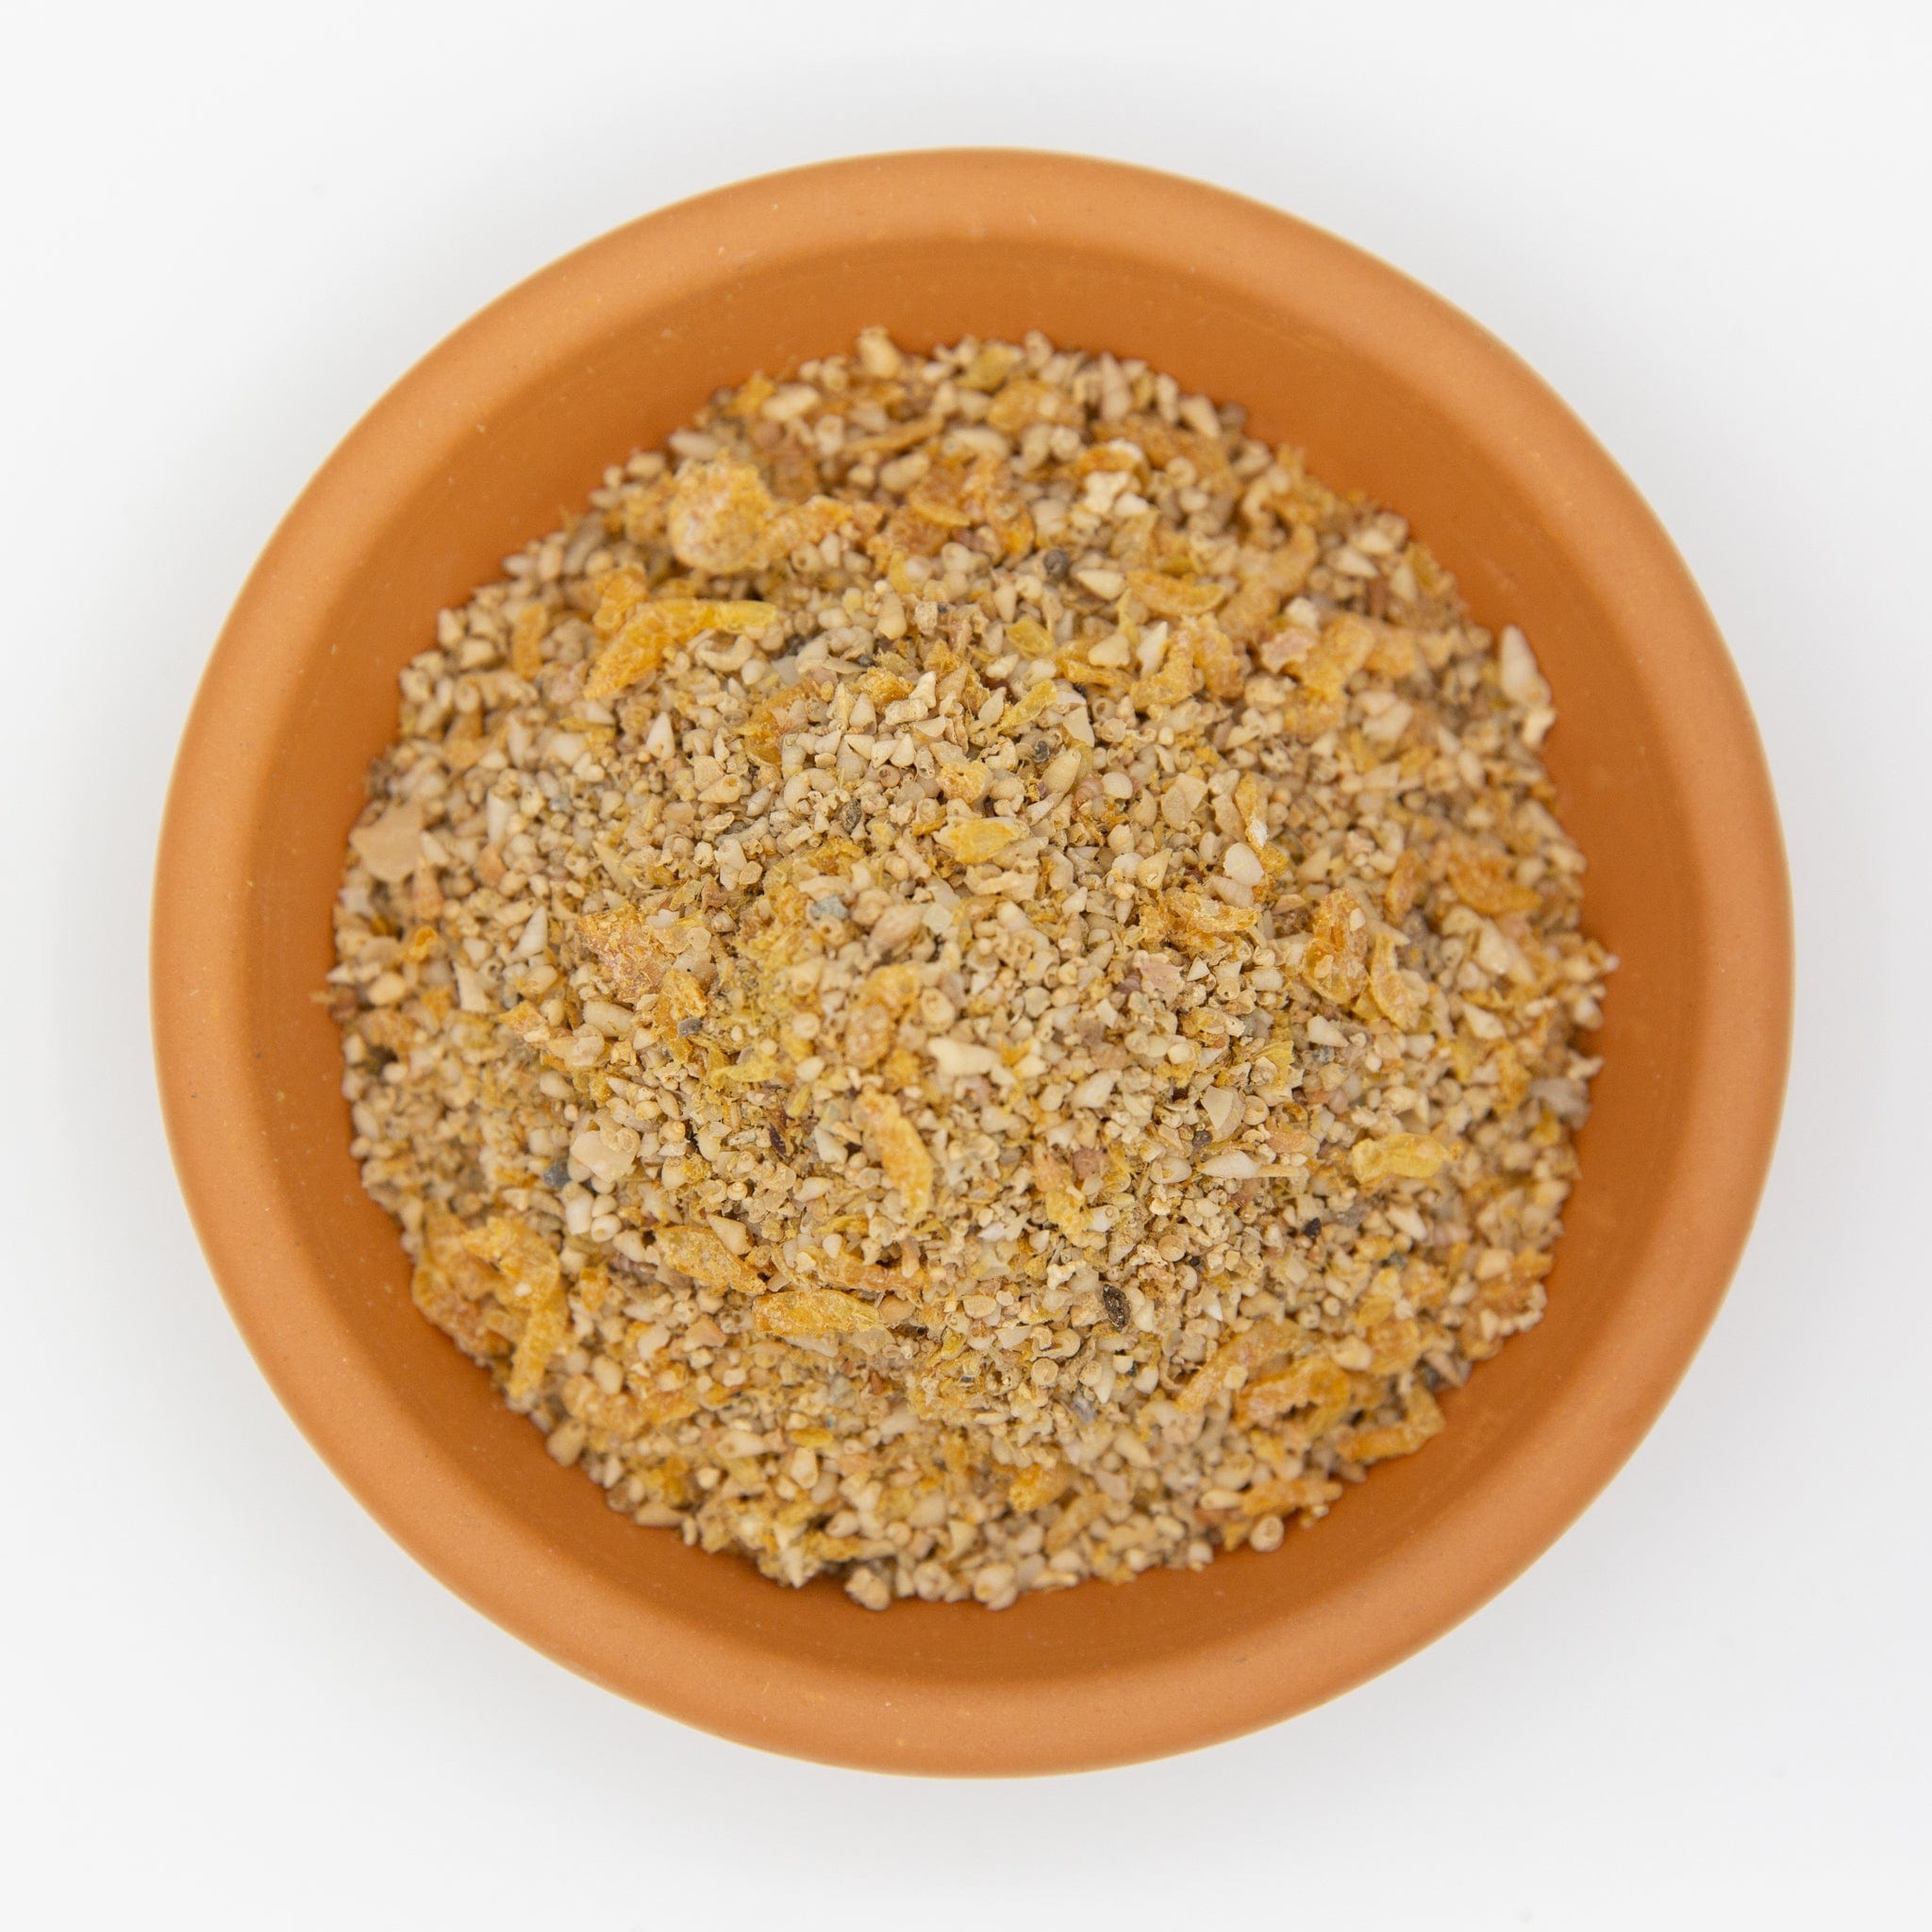
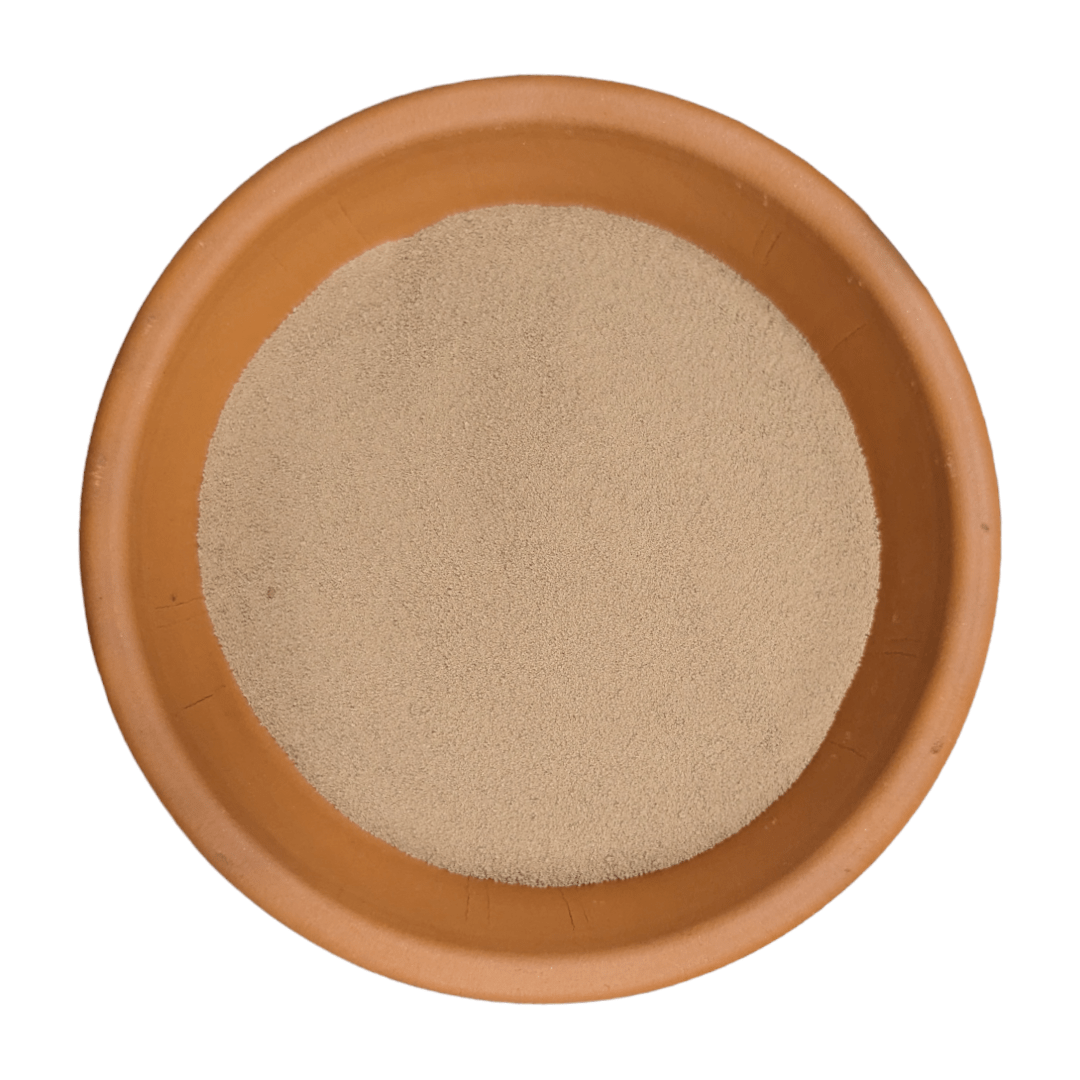
- 1 part Peat moss, coco coir, or leaf mould (moisture retention)
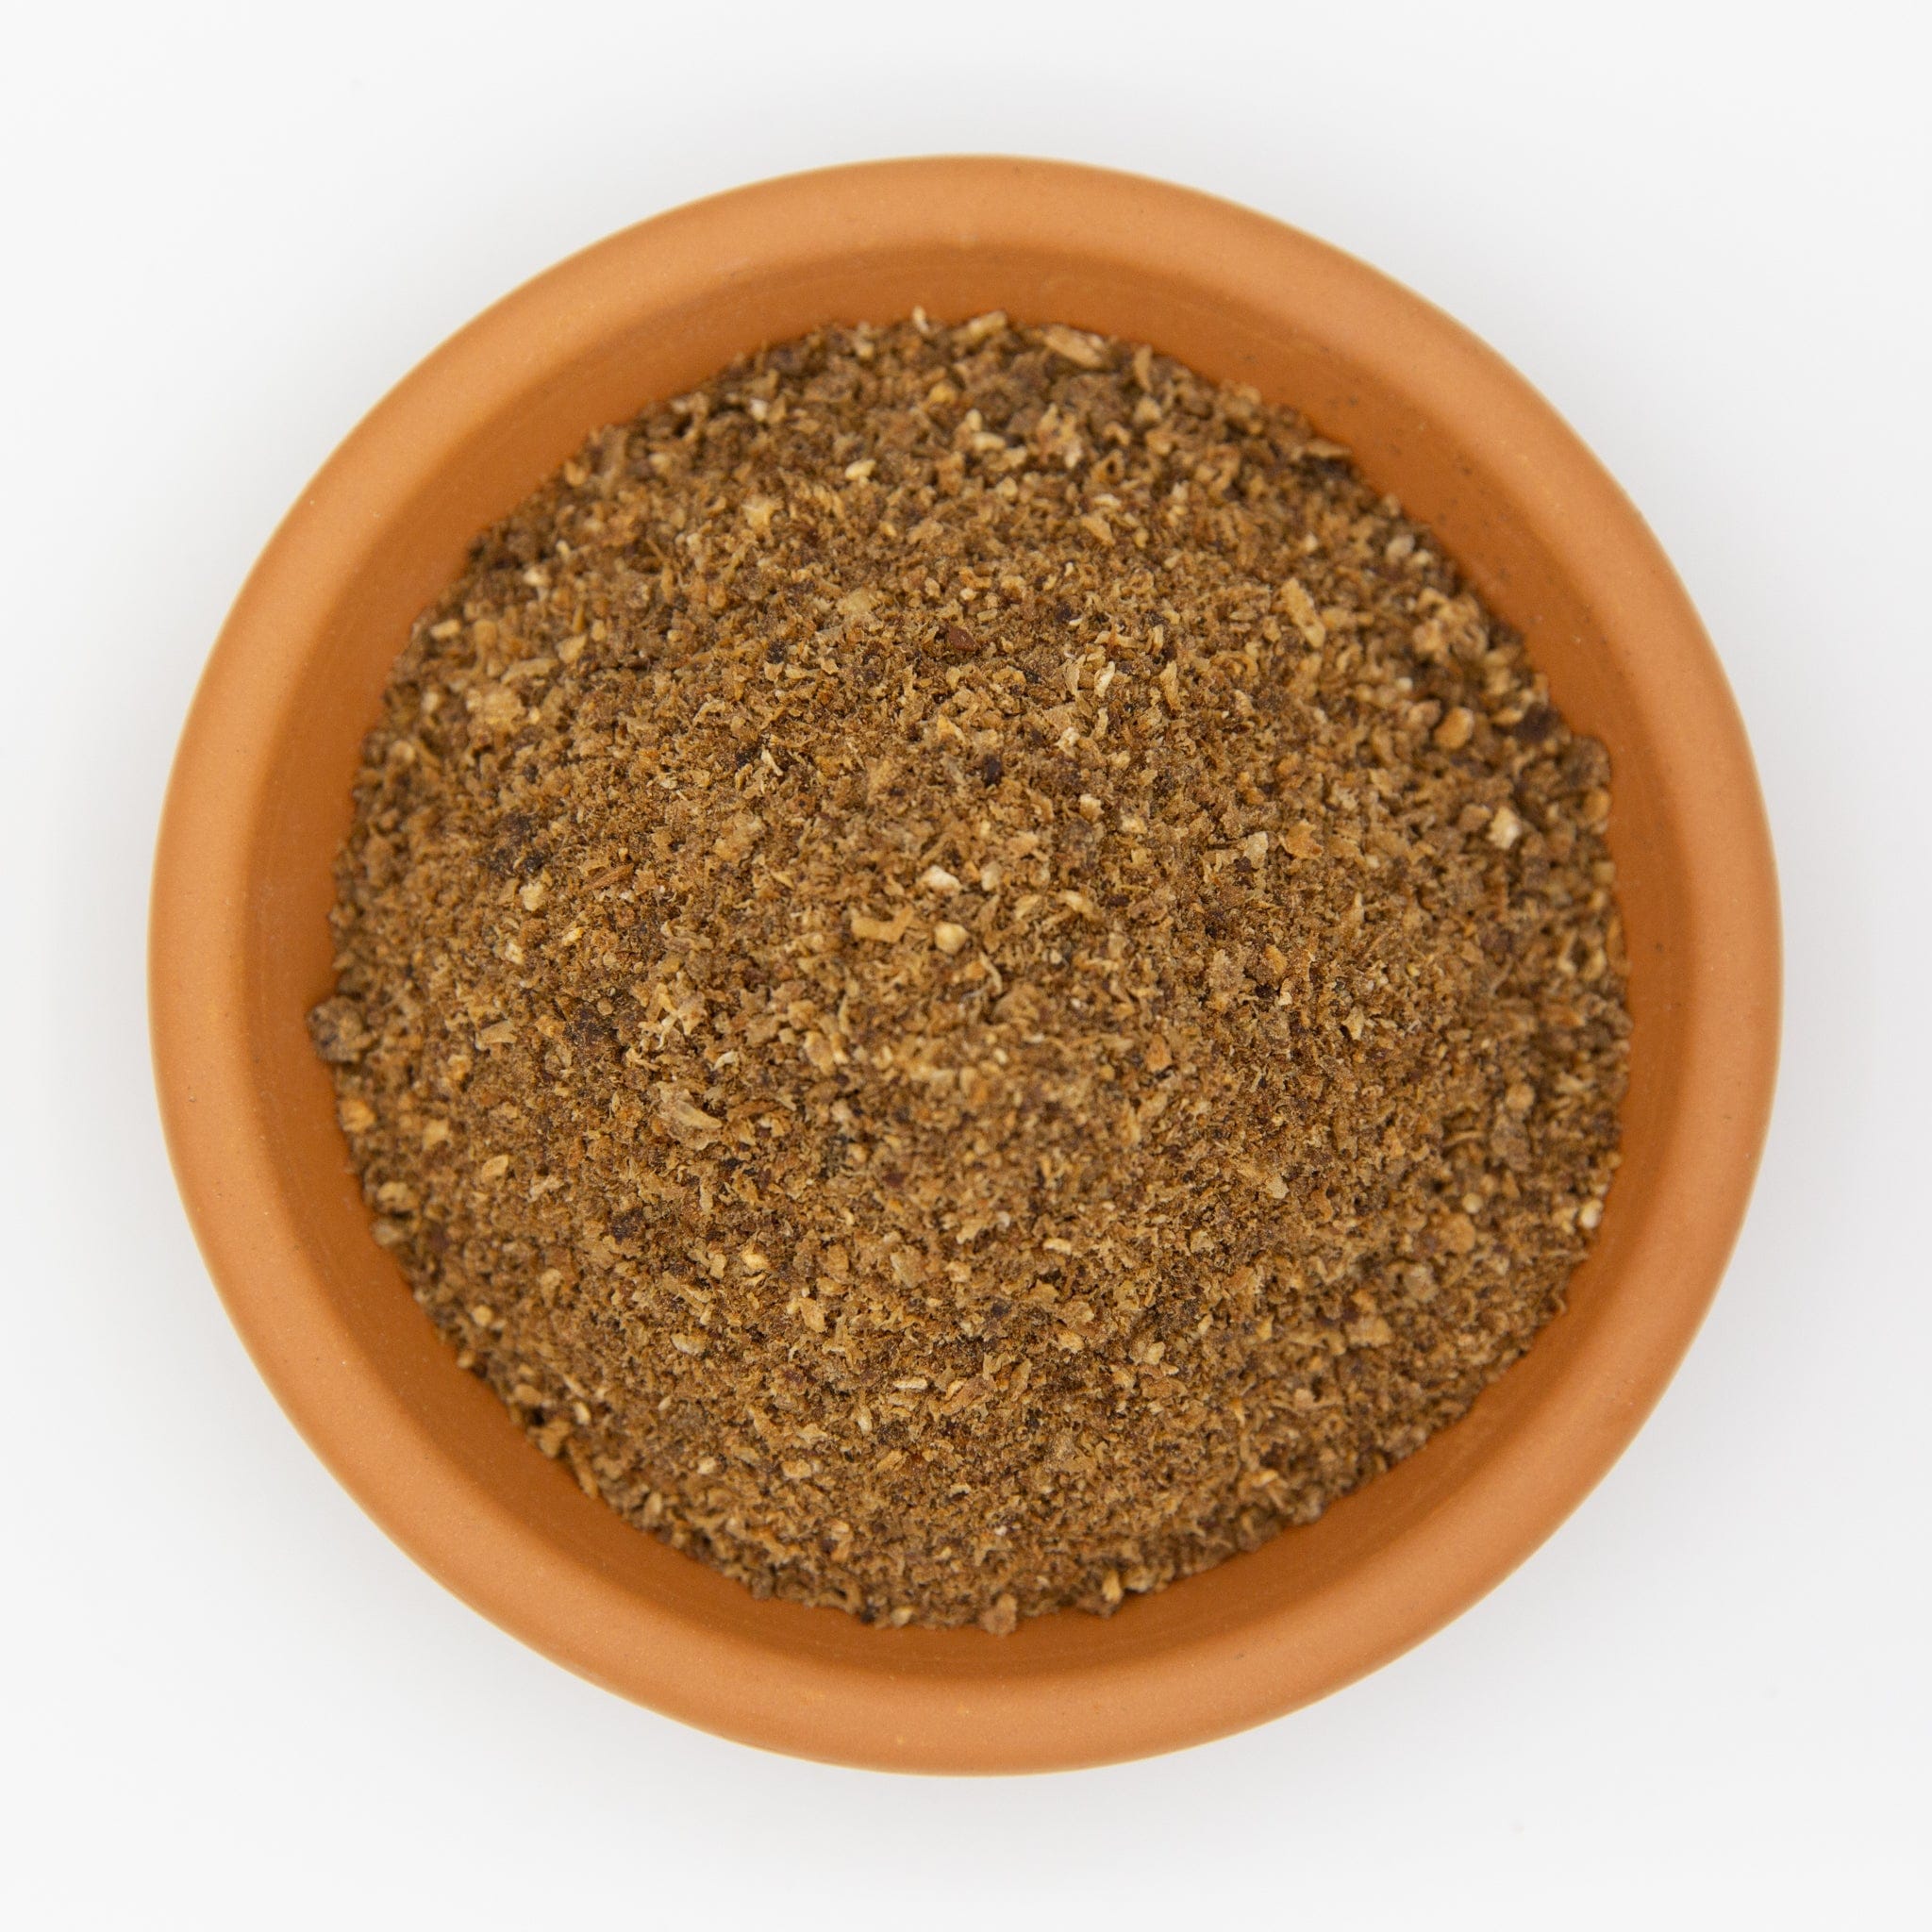
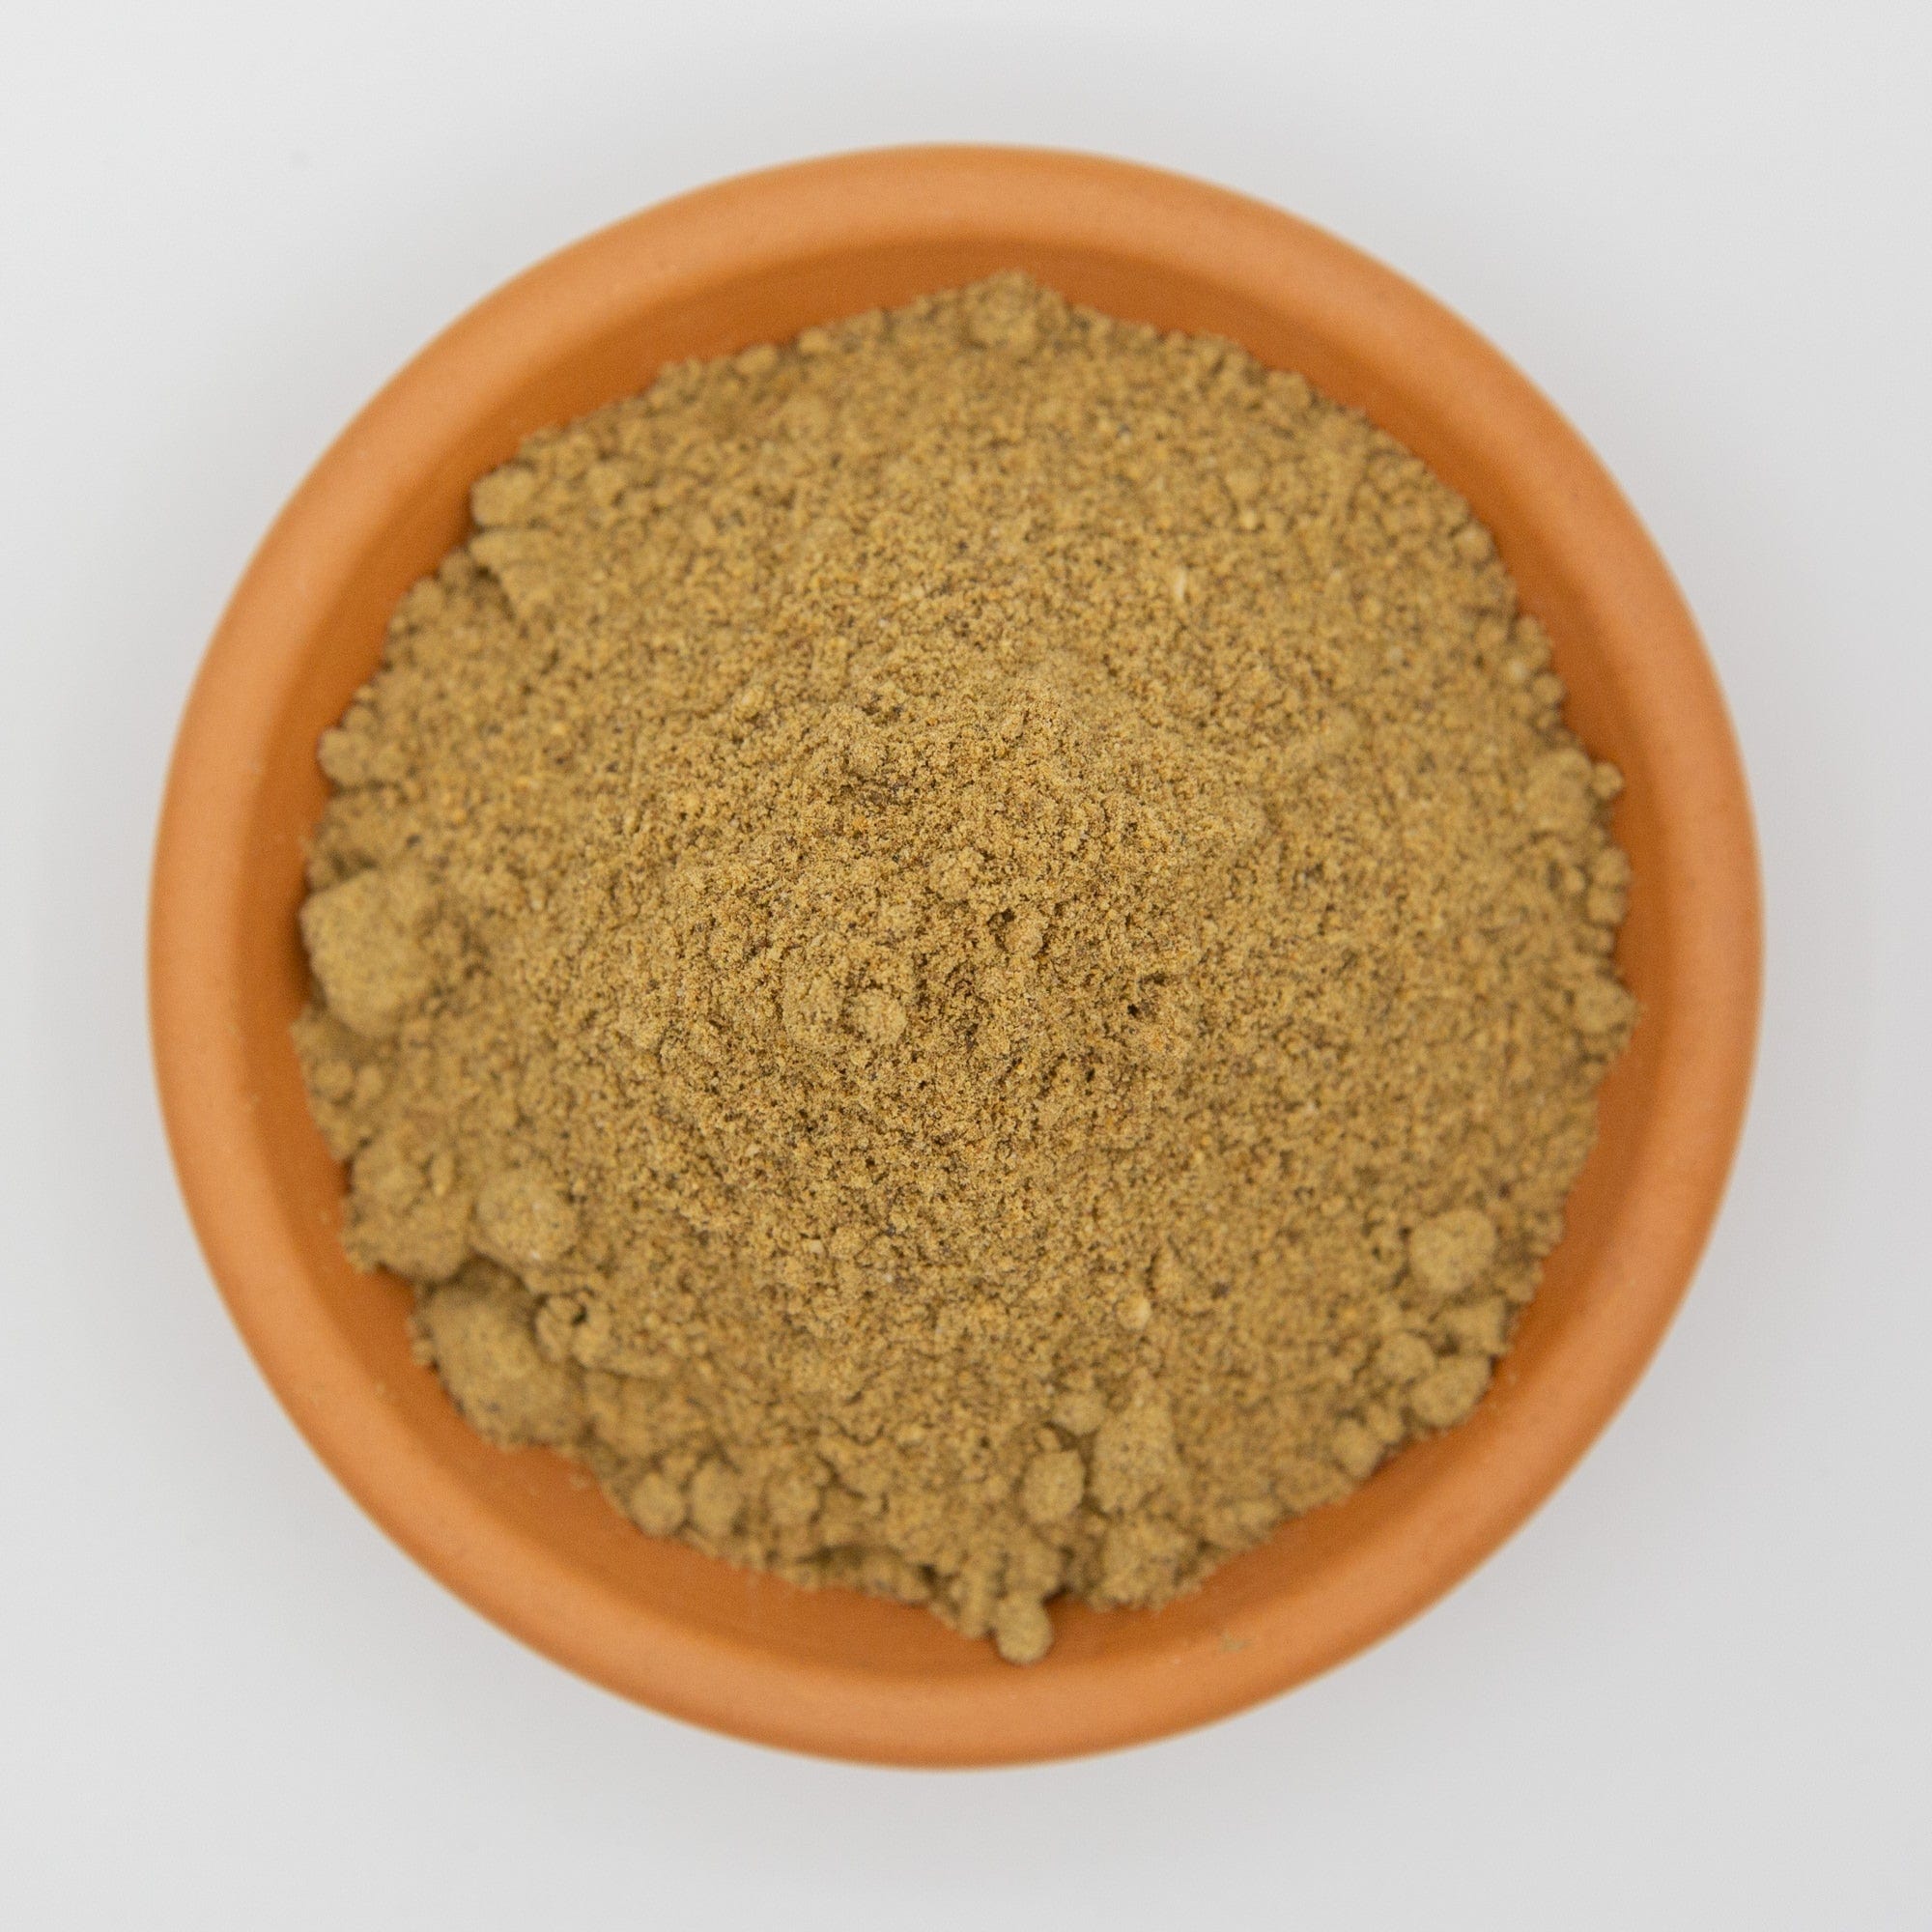
- 1 part Compost and worm castings blend (we recommend 70% compost, 30% worm castings)
- 1 part Perlite, pumice, or lava rock (drainage and aeration)
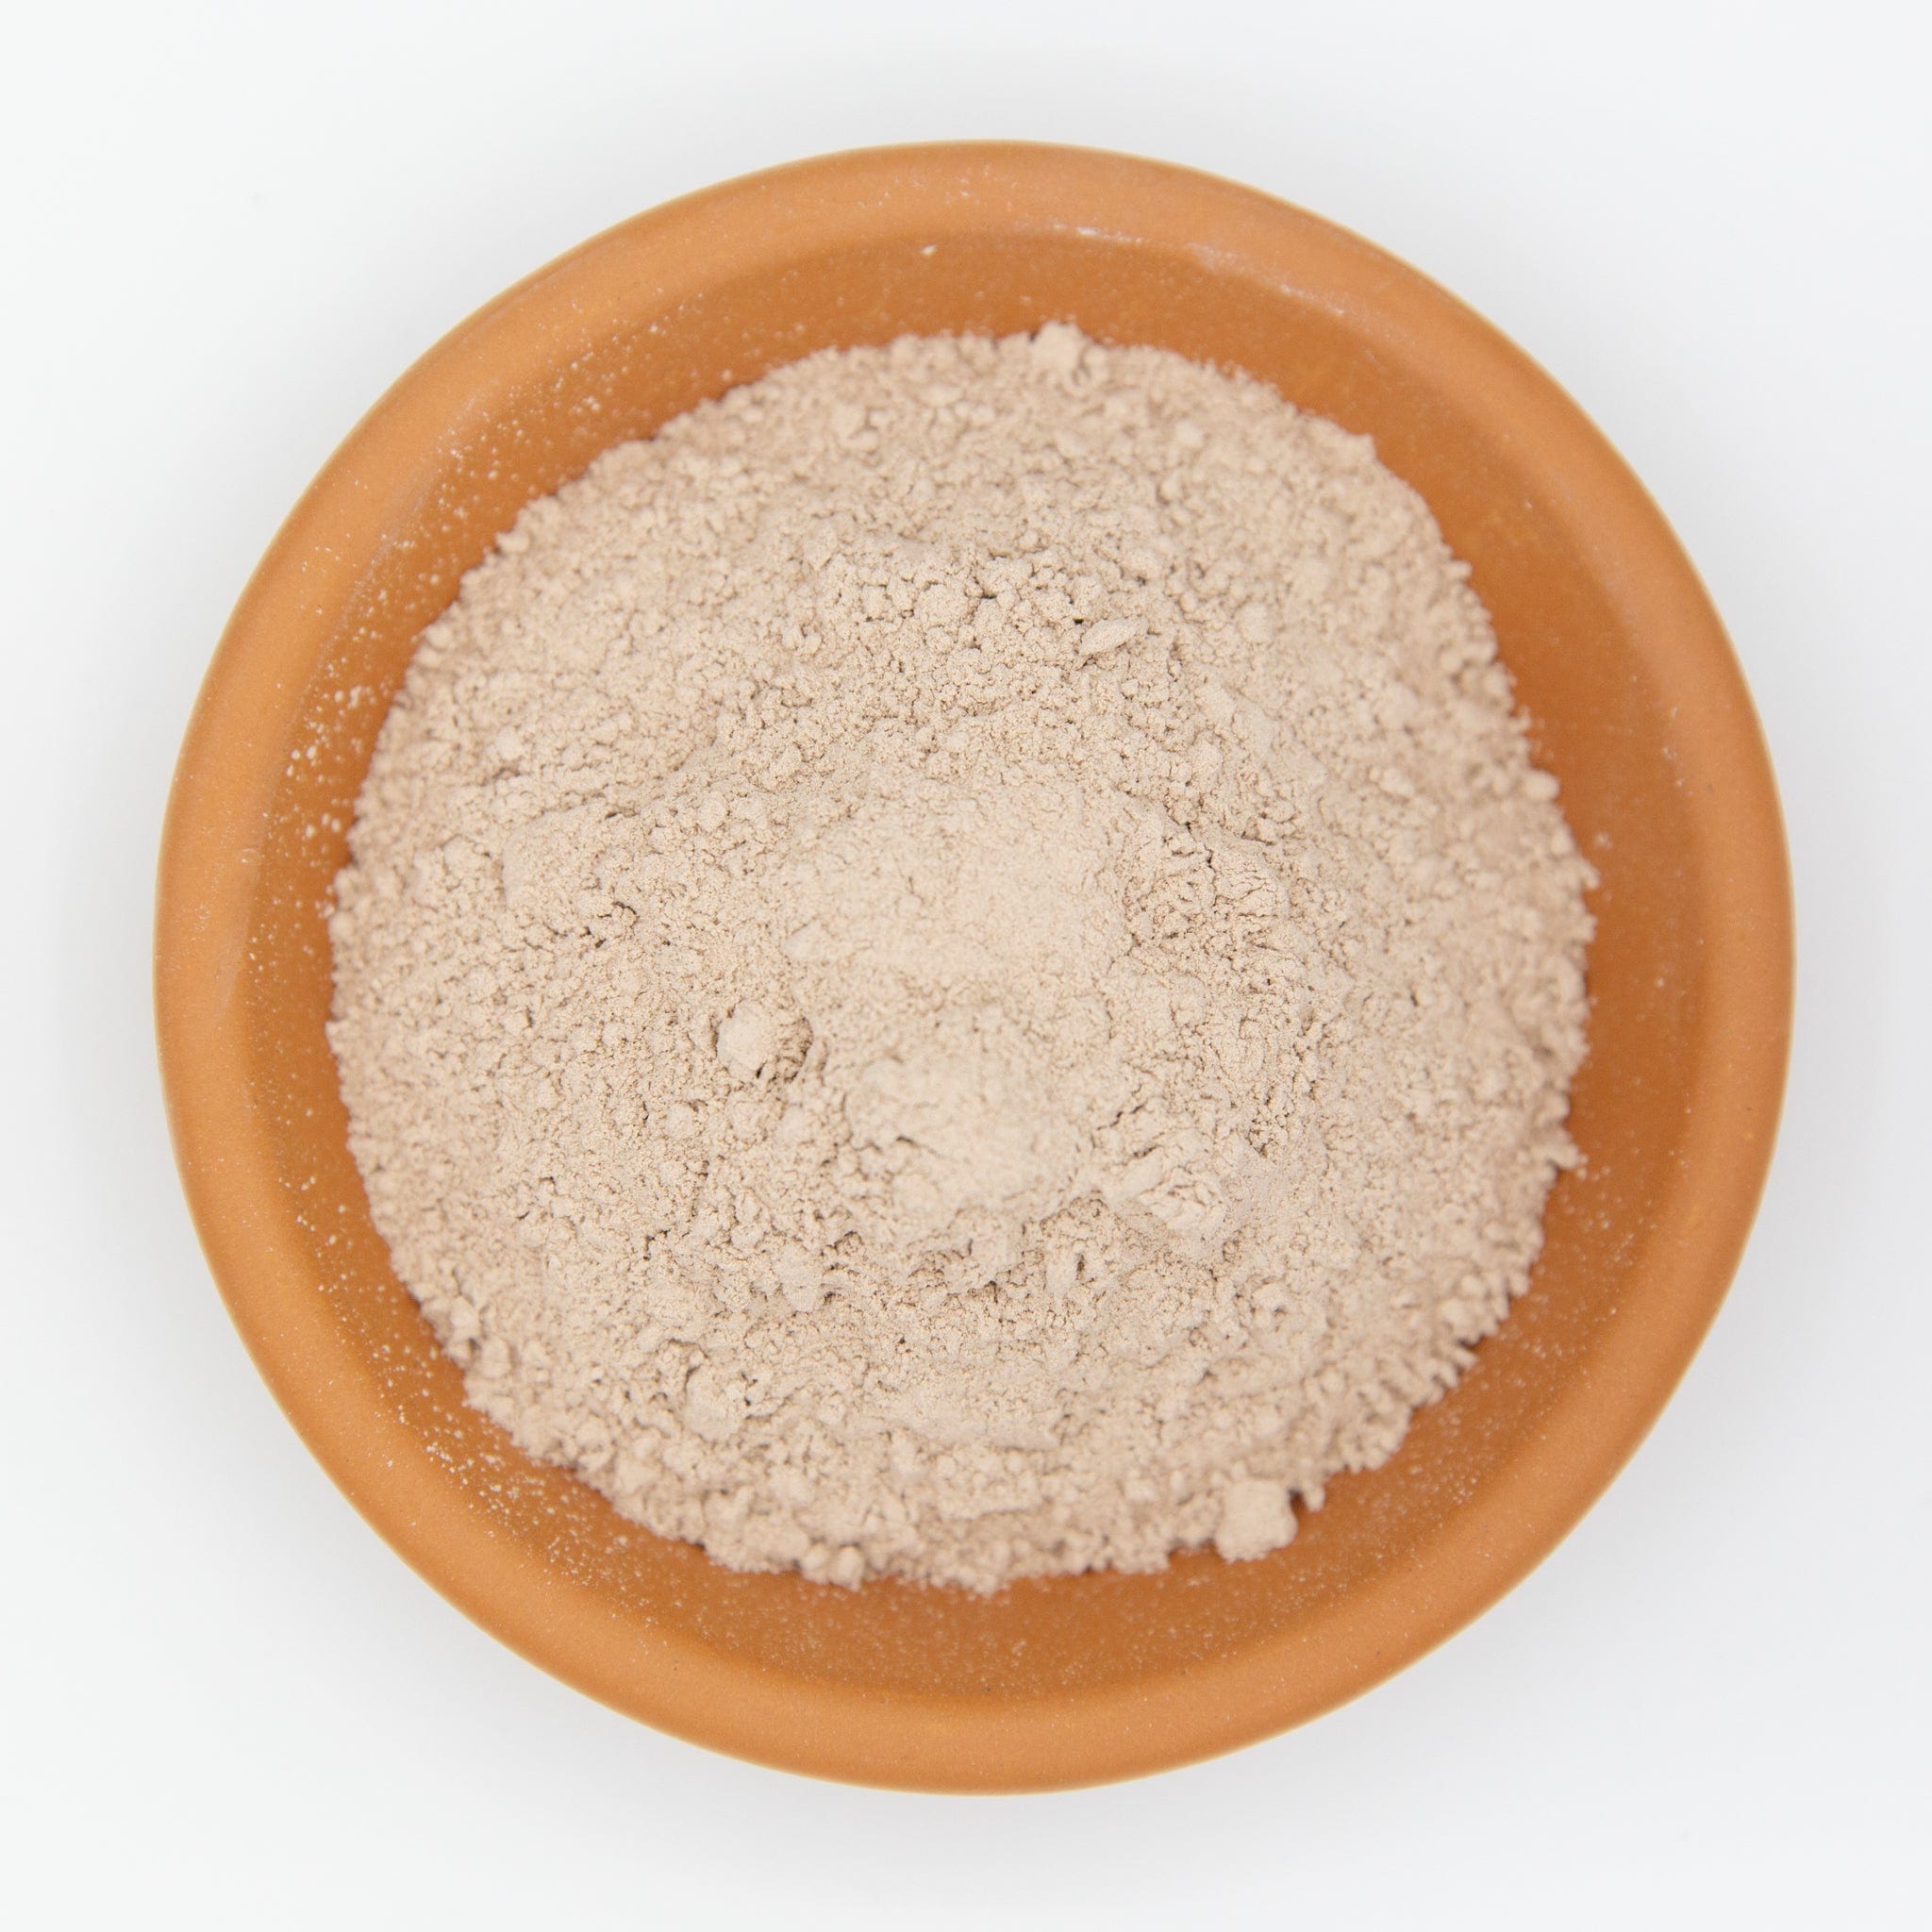
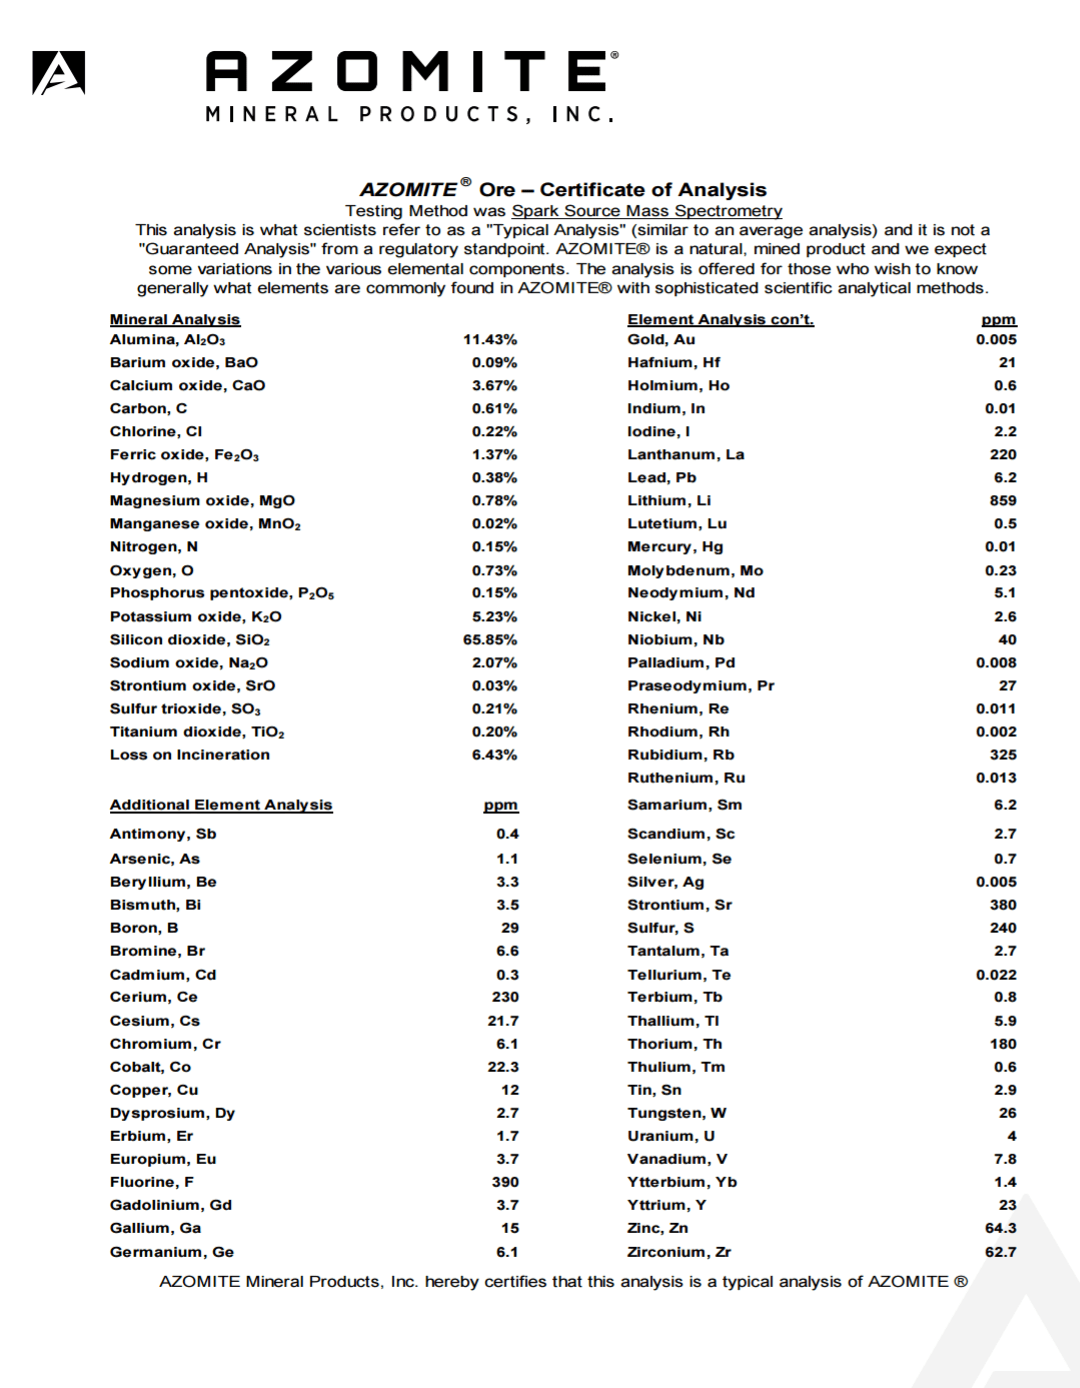
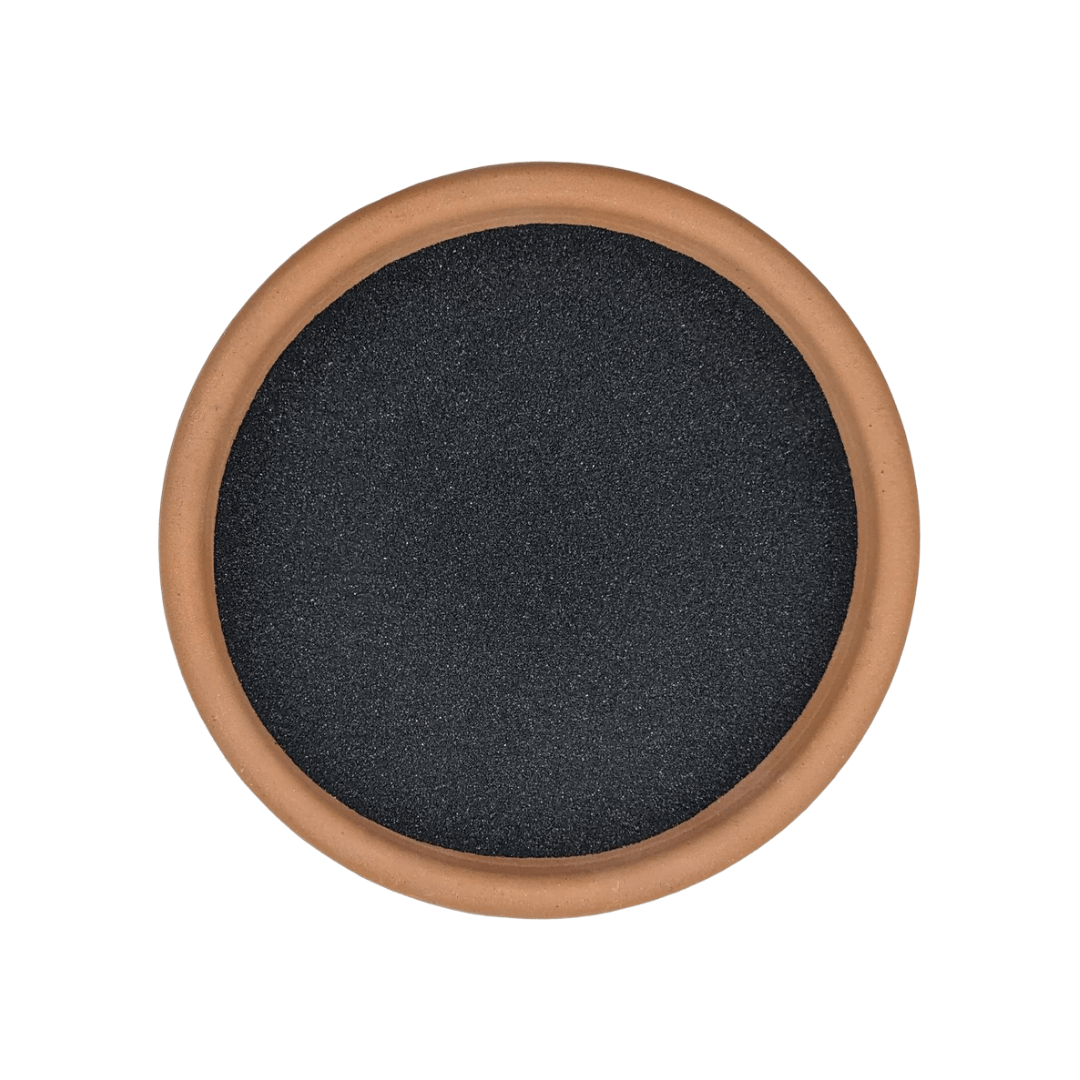
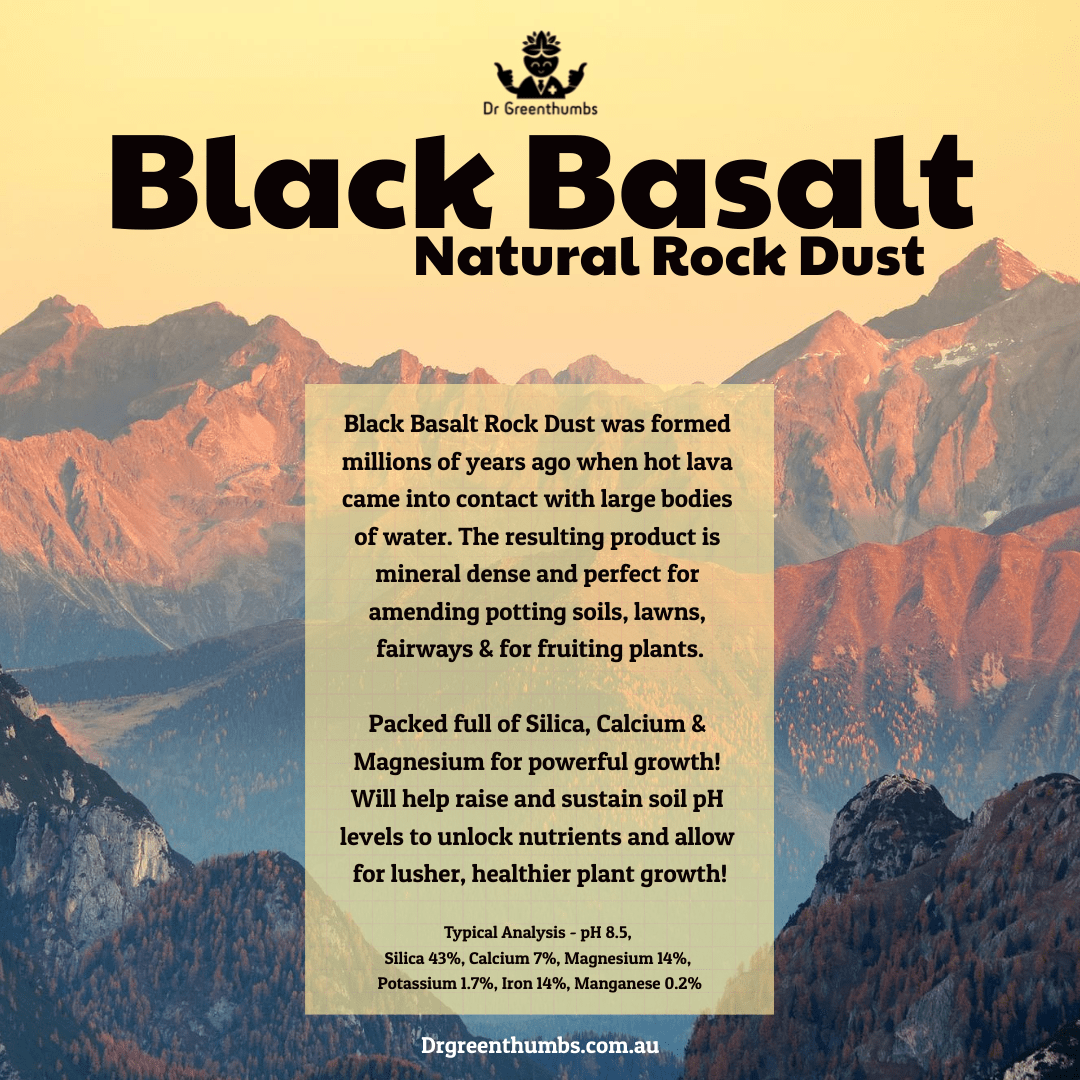
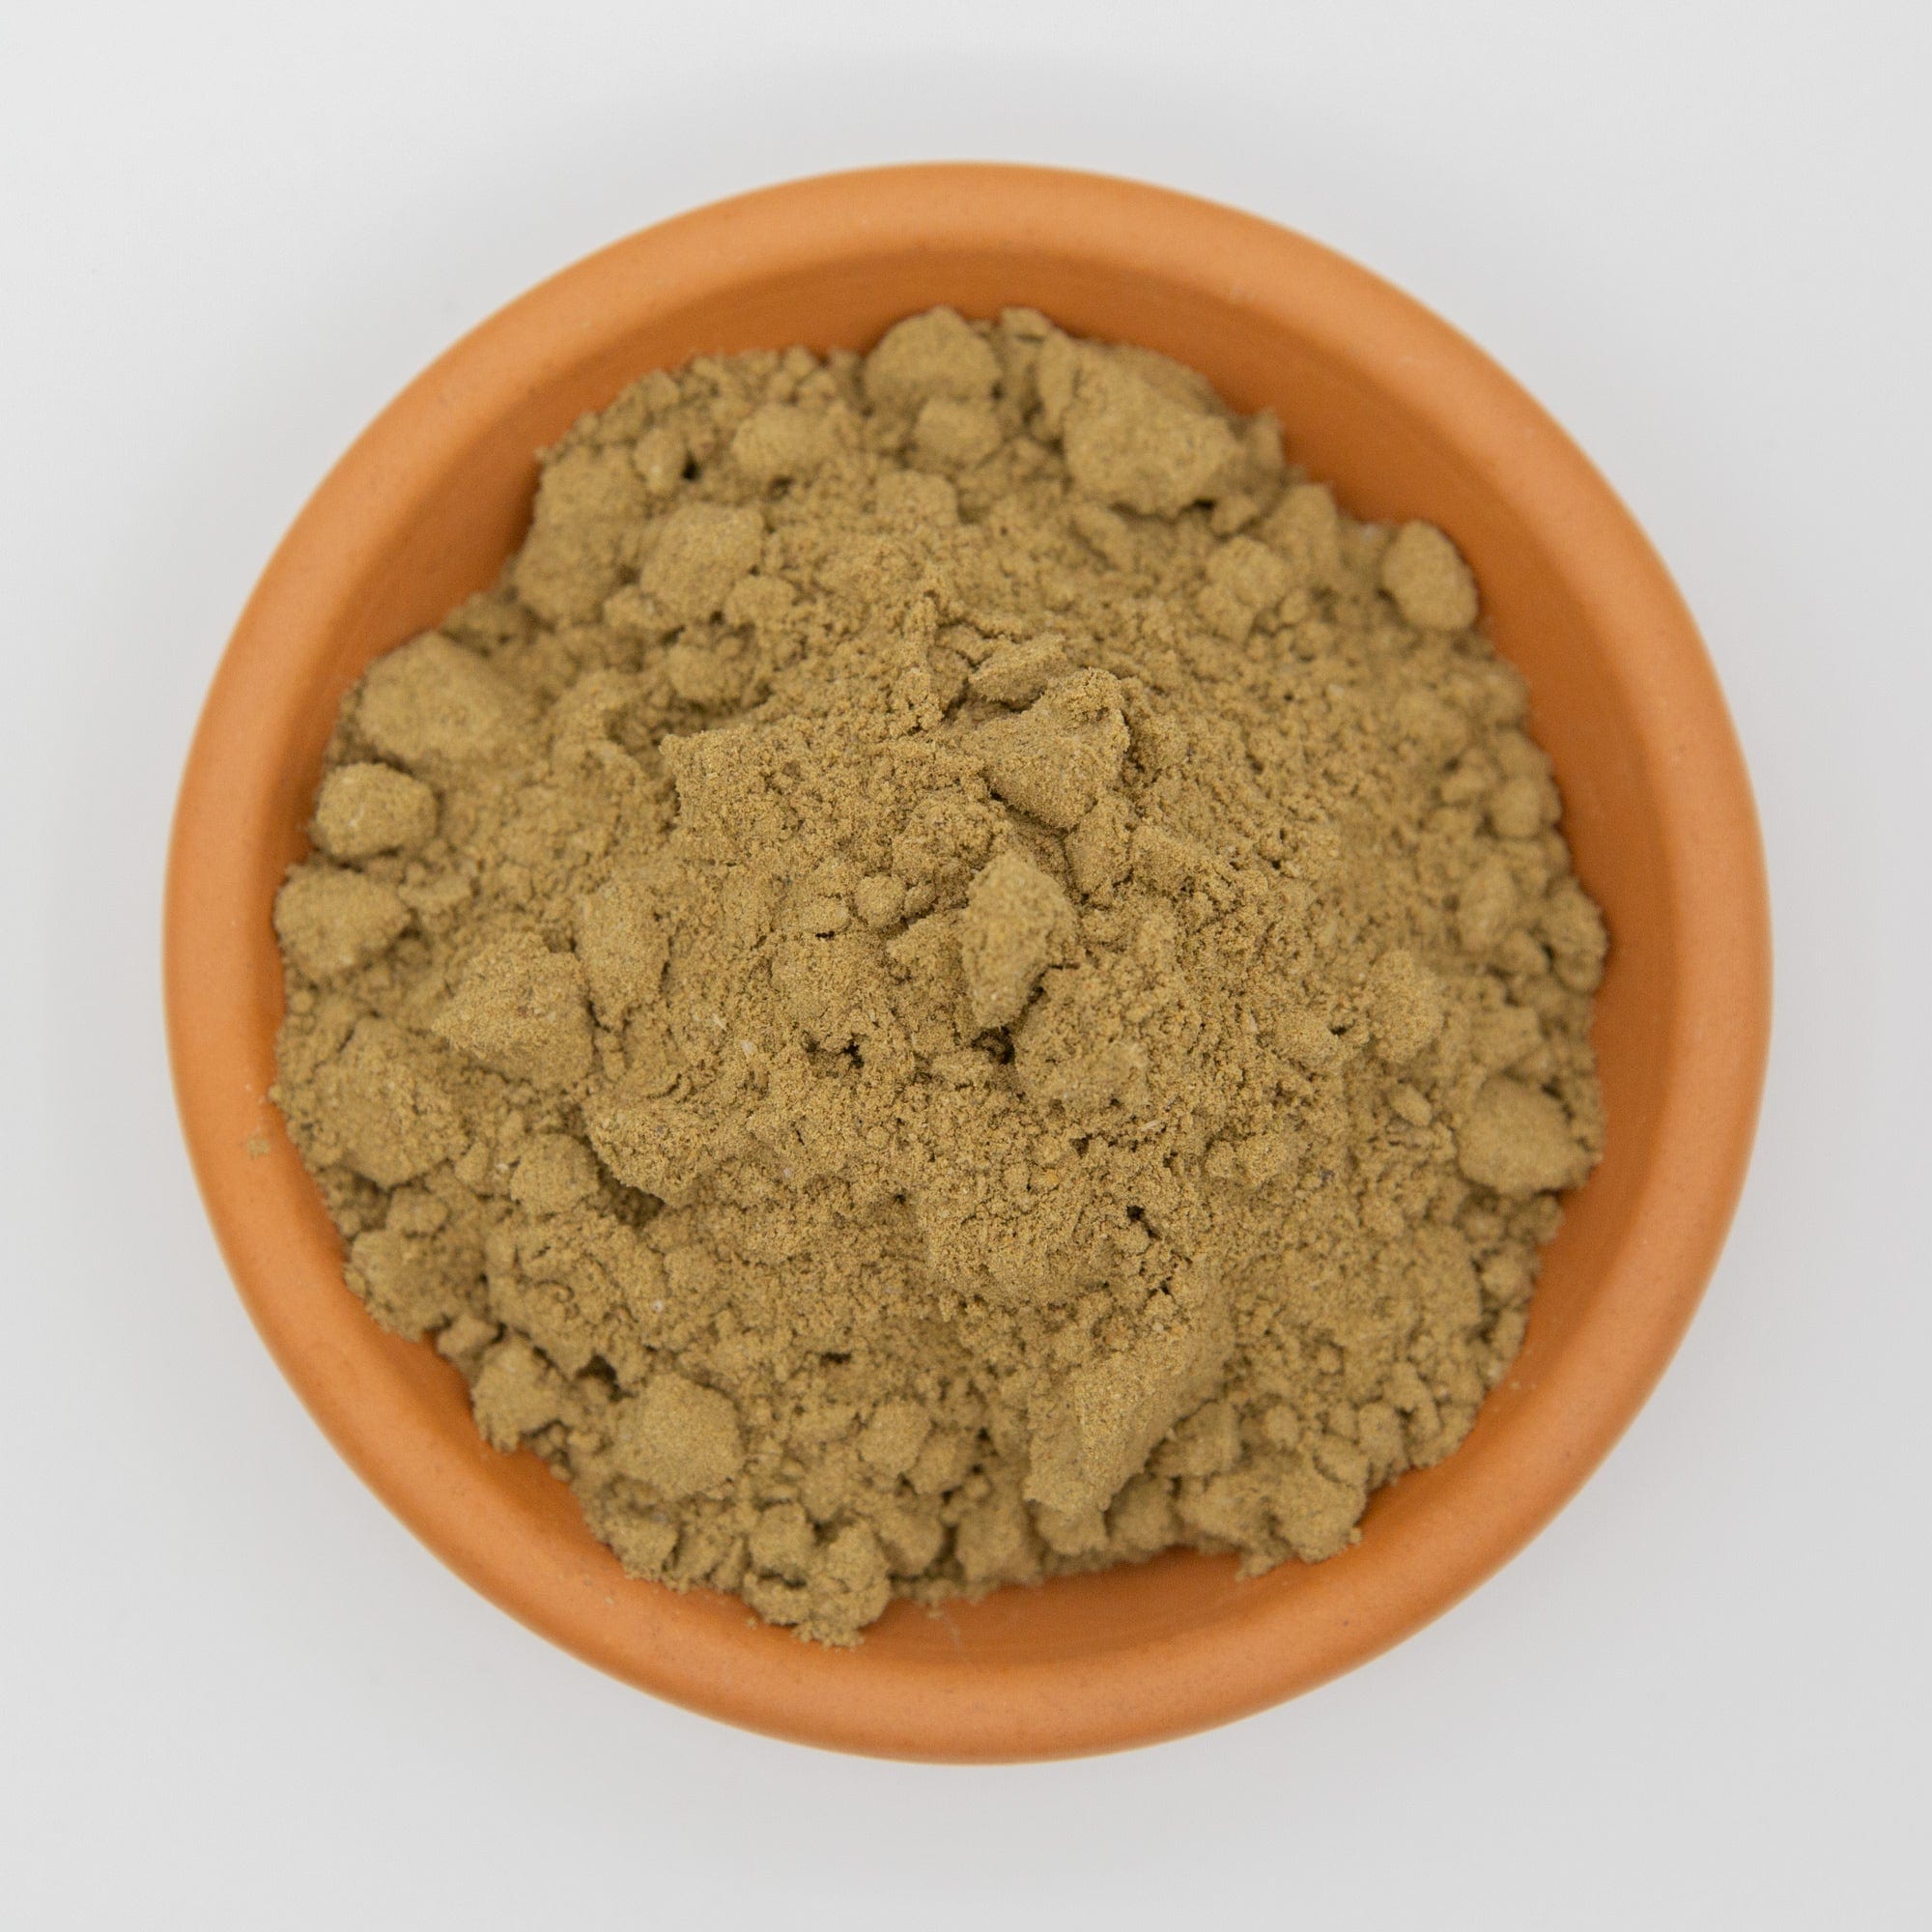
- 1kg Volcanic rock dust per 30L of finished soil mix
Why This Recipe Works for Australian Containers
Choosing the moisture-retaining component: Peat moss, coco coir and leaf mould can all fill the moisture-retaining role in the base recipe. Coco coir is highlighted here because it re-wets more easily after drying and can be a practical option for containers exposed to hot Australian conditions. Peat moss and leaf mould remain valid alternatives where they suit your materials and growing conditions.
The 70:30 compost blend: Pure compost can be too rich and cause burning, while pure worm castings are expensive. This ratio gives you the nutrition kick without the price shock.
Choosing the aeration and drainage component: Perlite, pumice and lava rock can all fill the structural role in this recipe. If lava rock is available, this guide favours it for exposed containers because it is less likely than perlite to float towards the surface during heavy watering or rain. Perlite and pumice remain valid alternatives in the base recipe.
Volcanic rock dust (1kg per 30L of soil): This is the mineral component of the recipe. It contributes mineral material to the finished mix and is included as part of the recipe's longer-term mineral and buffering strategy. Keep perlite, pumice or lava rock as the main structural component responsible for aeration and drainage.
Creating Living Soil For Your Container Garden: A Step-by-Step Guide
Step 1: Source Quality Ingredients From Trusted Suppliers
Your finished soil is only as reliable as the materials used to make it. Choose compost, amendments and other ingredients from suppliers you trust, and be cautious with materials where the feedstock, processing method or possible residues are unknown.
Pro tip: Ask compost suppliers what feedstocks they use and whether they can provide information about how the material was produced. If the source cannot answer basic questions about the compost, choose a better-documented input where possible.
Step 2: Get the Mix Right
In a large wheelbarrow or tarp, combine your ingredients systematically:
- Start with the compost blend (wettest ingredient)
- Add your moisture-retaining component (coco coir or peat moss)
- Work in the drainage material gradually
- Finally, distribute the volcanic rock dust evenly throughout
Mix thoroughly – this isn't a quick job. You want every handful to contain the same ratio of ingredients. Poor mixing leads to wet spots and dry spots that stress plant roots.
Step 3: Inoculate with Beneficial Microbes
The base recipe already contains compost and worm castings, so a biologically active compost blend may already introduce useful soil organisms. Additional inoculation is optional and can be used when you want to add further biological inputs.
- Compost tea: Steep quality compost in water for 24-48 hours, then strain and add to your mix
- Mycorrhizal inoculant: These beneficial fungi form partnerships with plant roots
- Simply add mature compost: If your compost is biologically active, it's already loaded with beneficial organisms
The key is giving these microbes food and time to establish before planting.
Step 4: Let It "Cook" (The Patient Gardener's Advantage)
This is the hardest part for eager gardeners – waiting. Your freshly mixed soil needs 2-4 weeks to "equalise" before it's ready for plants. During this time:
- Microorganisms establish stable populations
- pH levels stabilise
- Organic matter begins breaking down into plant-available nutrients
- The different components truly become "one soil"
Australian timing tip: Start preparing your soil mix in late winter (July-August) so it's ready for the spring planting rush. This timing also allows your soil to experience natural weather cycles while developing its biological activity.
Step 5: Test Before Planting and Make Final Adjustments
Every region in Australia has slightly different soil chemistry and water quality. After your soil has cooked, test it with a basic soil pH and moisture meter to ensure:
- pH is between 6.0-7.0 (suitable for most vegetables and herbs)
- Moisture retention is even throughout
- No waterlogged or bone-dry spots
Based on results, you might need to adjust by adding lime (raises pH), sulphur (lowers pH), or more drainage material.
Troubleshooting Common Australian Container Soil Problems
"My soil goes hydrophobic in summer": Add more coco coir or well-aged compost. These materials help soil re-wet after drying out completely. Don't forget to mulch, 5-10cm!
"Plants are growing slowly despite good soil": Check your containers get morning sun but afternoon shade during peak summer. Even perfect soil can't overcome containers that get too hot.
"I'm getting fungus gnats": Usually indicates too much moisture and not enough air flow. Add more perlite or lava rock, and ensure containers have adequate drainage holes and they are subject to normal airflow conditions.
"Soil compacts after a few months": This suggests not enough organic matter or beneficial fungi. Next batch, increase your compost ratio slightly and add mycorrhizal inoculant.
Beyond the Basics: Advanced Living Soil Techniques
The base recipe should remain your starting point. The adjustments below are optional climate-specific variations for growers who already understand how the base mix behaves in their conditions; they are not mandatory corrections to the recipe.
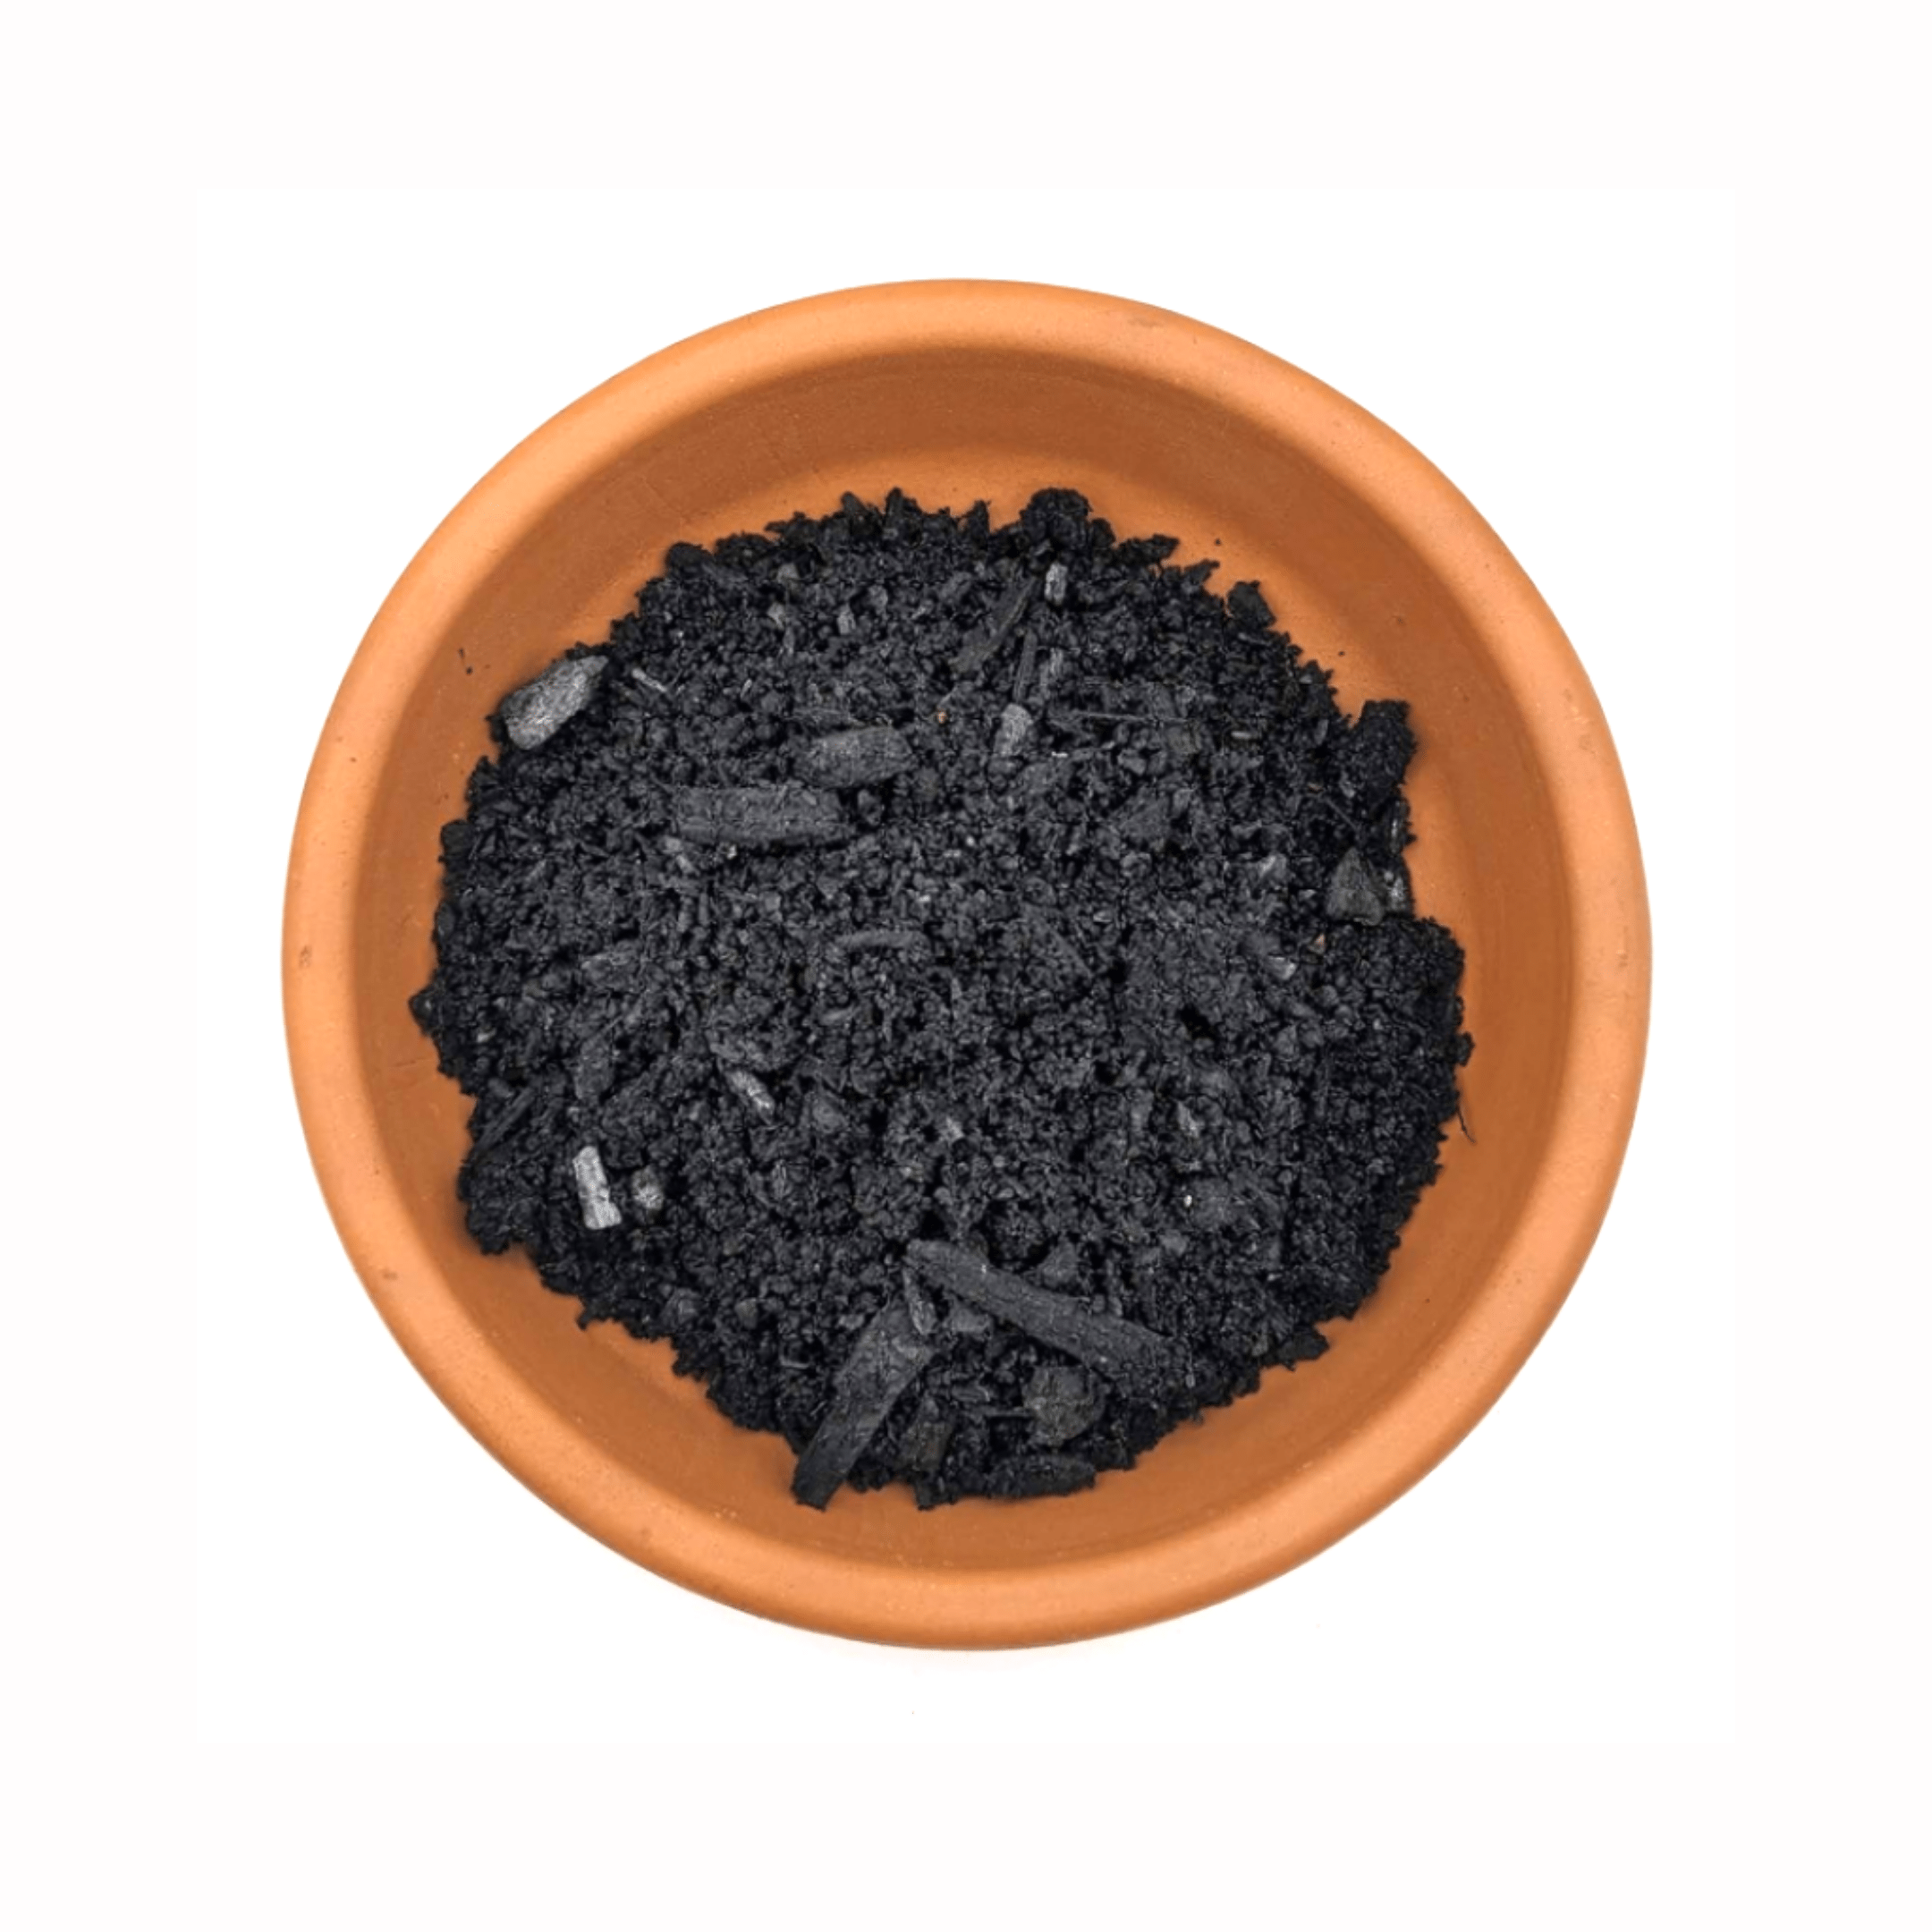
For tropical/subtropical areas (Queensland, NT, northern WA): Increase drainage materials to 40% of the mix and add biochar for extra heat resilience to help your microbes.
For temperate areas (Victoria, Tasmania, southern NSW): Add more organic matter and aeration to help buffer the required moisture levels to your climate. Colder areas may need to increase aeration for cooler months, whereas areas with less rainfall may need to increase their organic matter such as composts to aid water retention.
For arid areas (SA, western NSW, central Australia): Growers in arid areas should focus on increasing water-holding ingredients like coco coir and add clay-rich compost (20% clay/80% compost) to improve the water holding capacity. If a local clay source isn't available to blend with your compost, commercial sources such as calcium bentonite will work (avoid sodium bentonite). Vermiculite is also a fantastic choice and can hold up to 3-4 times its own volume in water. This would be my preference if you cannot source any clay locally.
Don't Chuck It Away! How To Reuse Your Living Soil
Unlike commercial potting mix that gets replaced annually, living soil improves with age. At the end of each growing season:
- Remove old plant material
- Add fresh compost (about 20% of the container volume)
- Mix gently and let it rest for a few weeks
- Plant again in soil that's even better than before
Many of our customers have been using the same base soil for 5+ years, just refreshing it annually. Compare that to buying new potting mix every season – the savings add up quickly.
Your Next Steps: From Soil Theory to Thriving Plants
Plan to prepare your mix roughly 2–4 weeks before you intend to plant, allowing the soil time to equalise as described in the step-by-step process above. Start with the base recipe, then use the troubleshooting or climate-adjustment sections only where your conditions show they are needed.
Ready to create soil that supports healthy plant growth?
All the ingredients for this proven living soil recipe are available through our online store with Australia-wide shipping, or you can visit our Bellambi location for personalised advice from our growing team.

Next Reads for Building Better Potting Soil and Healthier Roots
Mixing your own potting soil? These guides will help you improve drainage, troubleshoot tired mixes and build stronger root health in every container.
- How to Fix Poor Potting Soil
- Fabric Pots vs Plastic: Root Health
- Pumice Stone for Plants Australia
- Organic Gardening 101: Living Soil Aussie Guide
About the Author