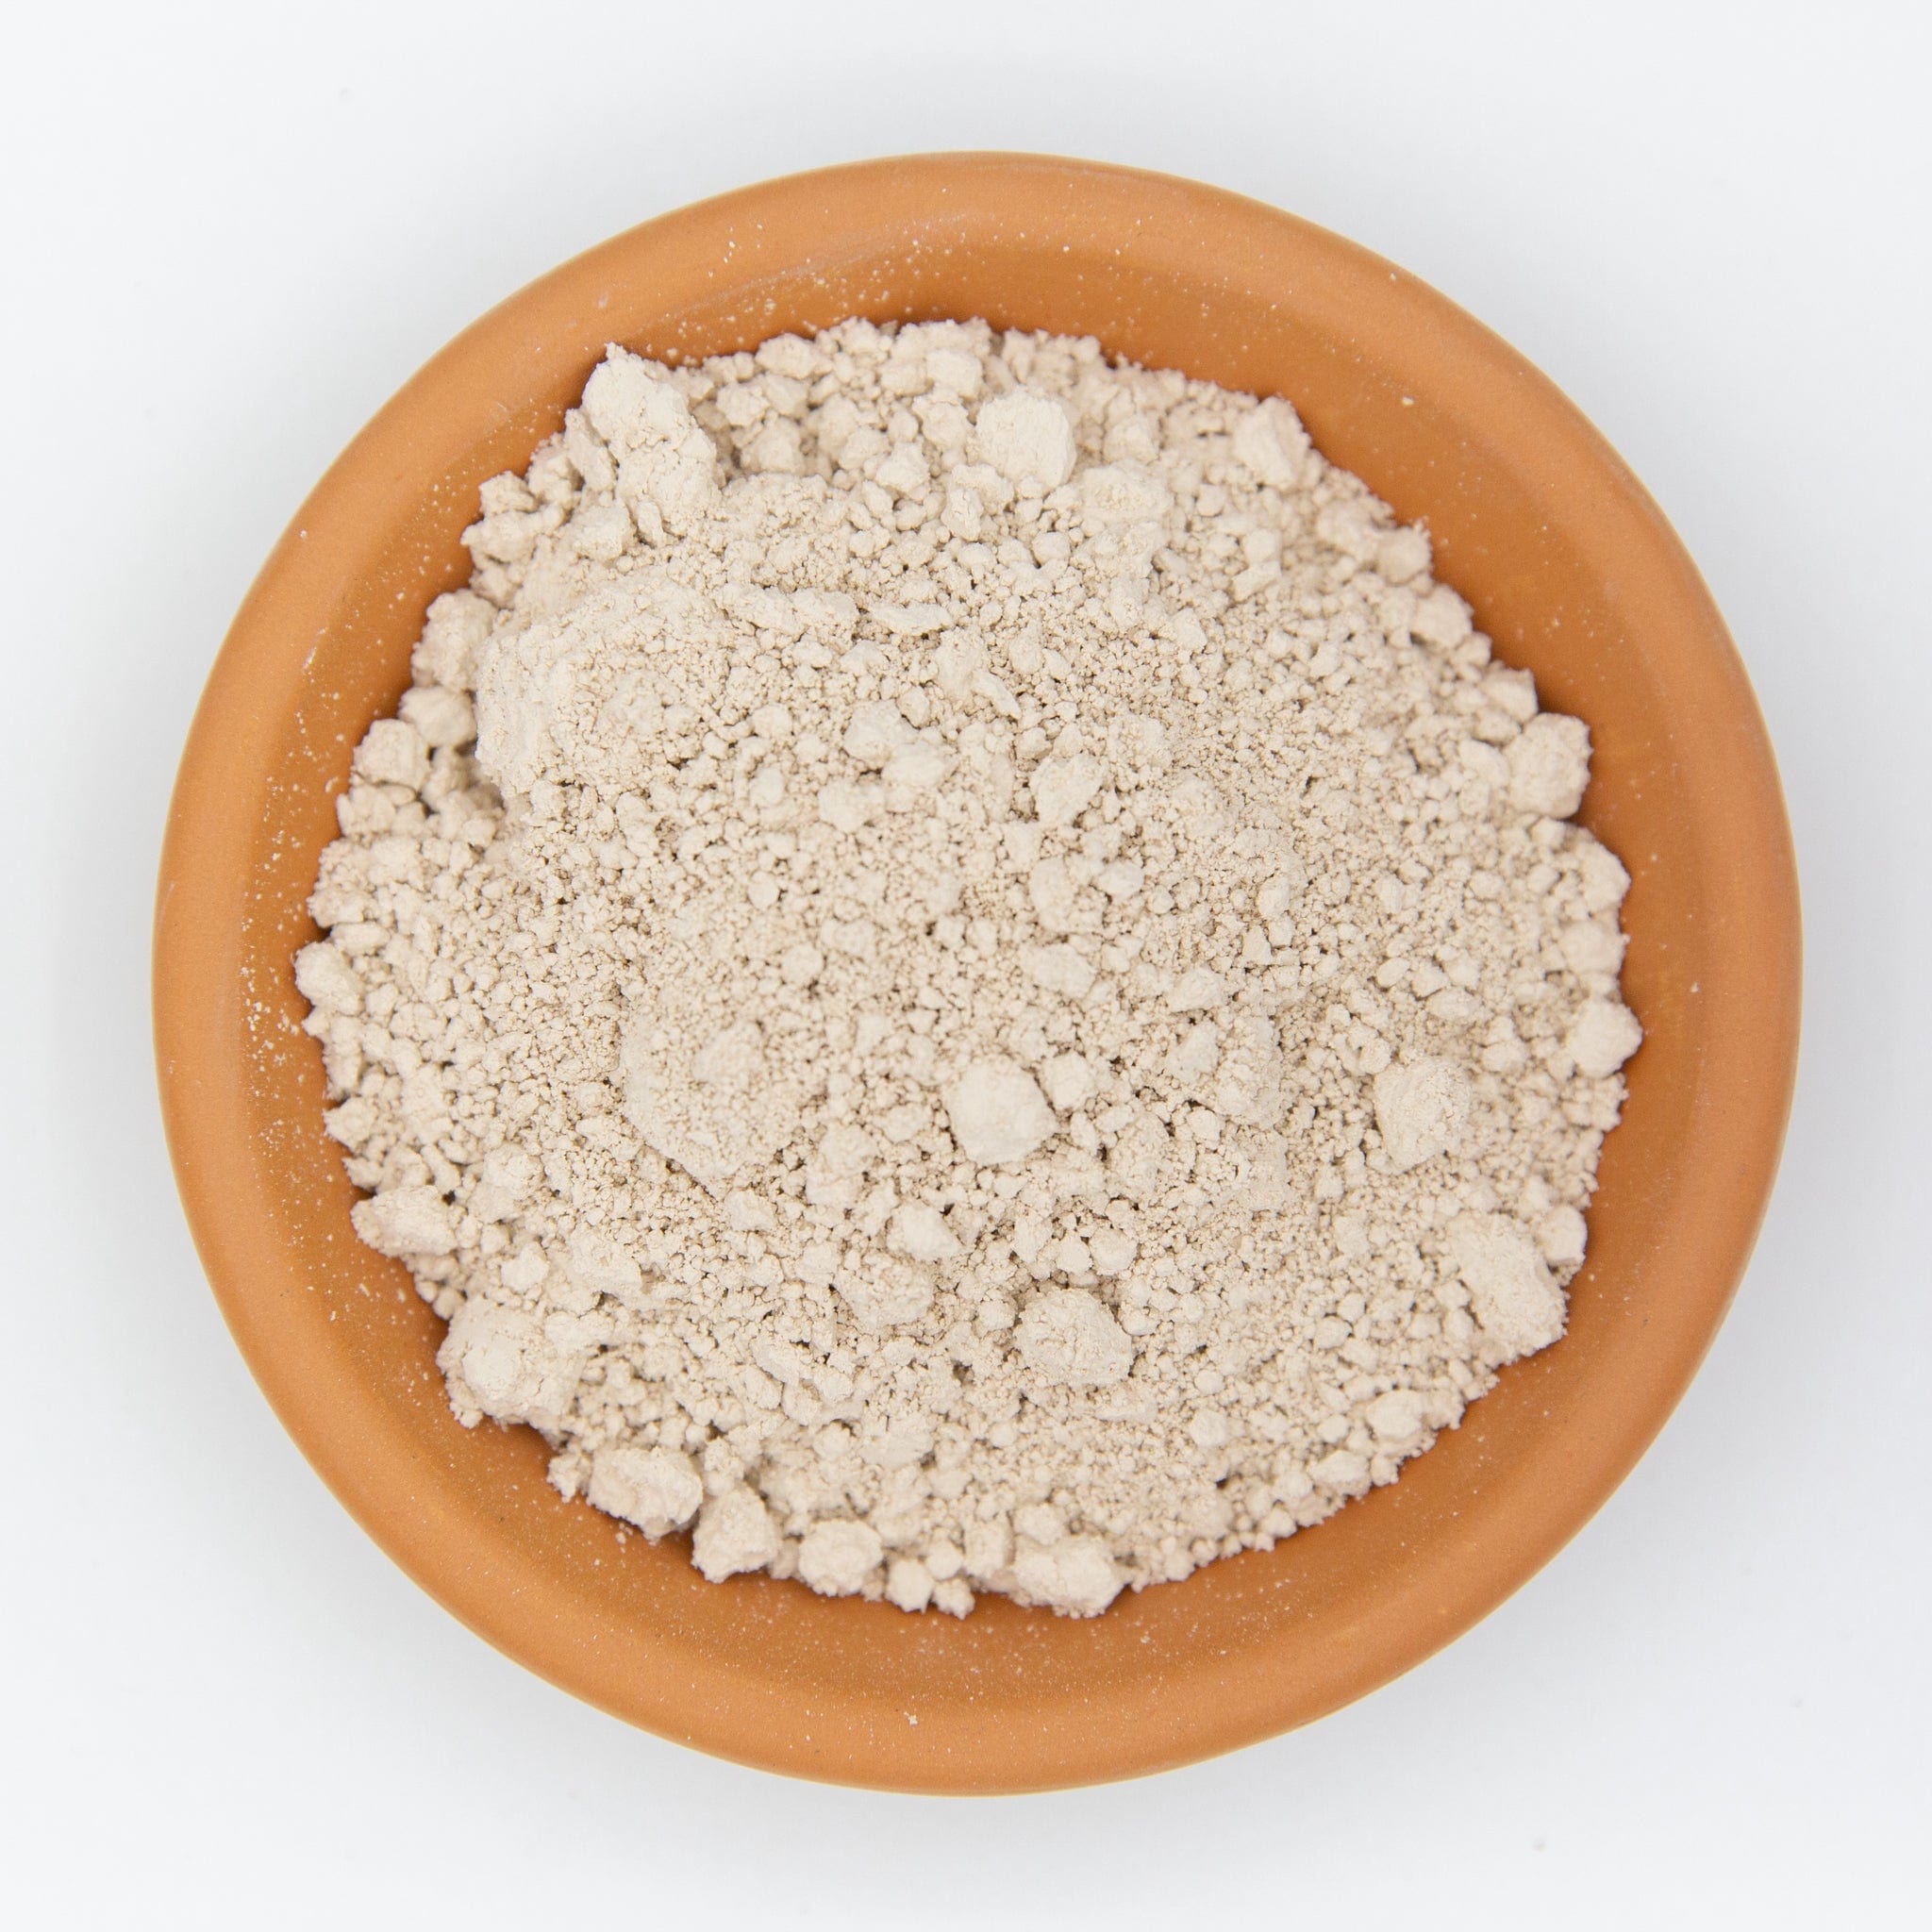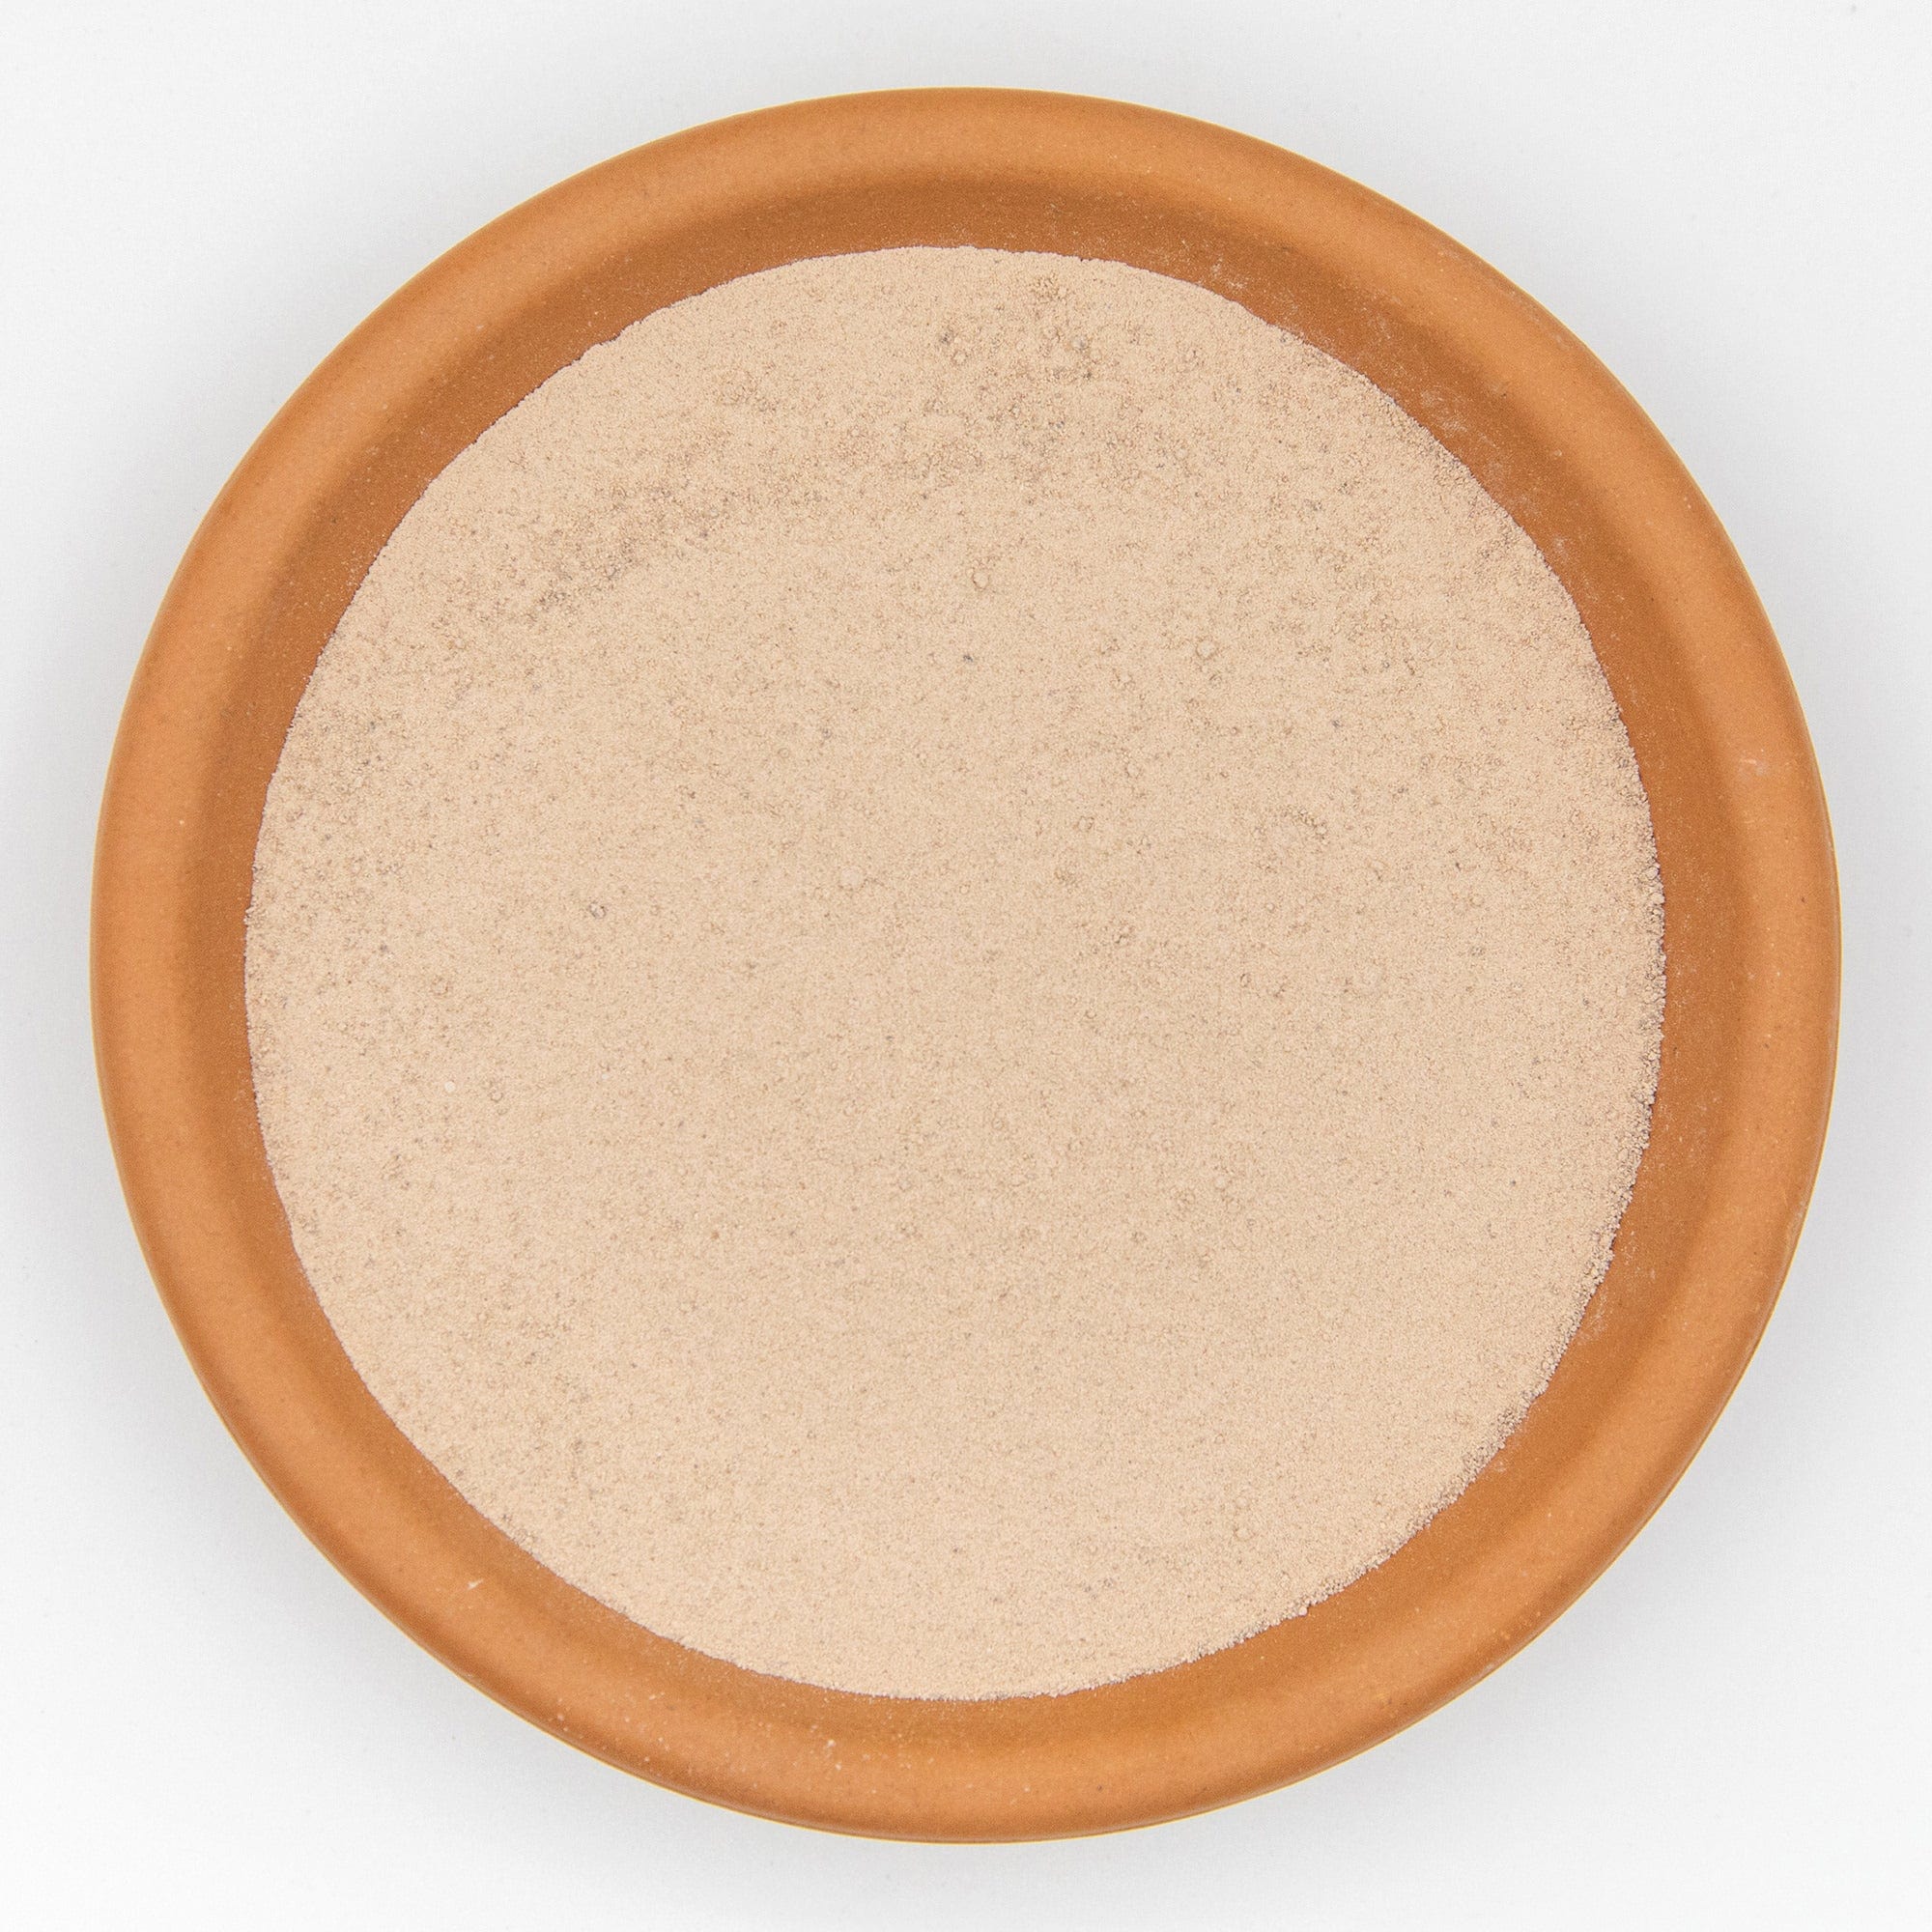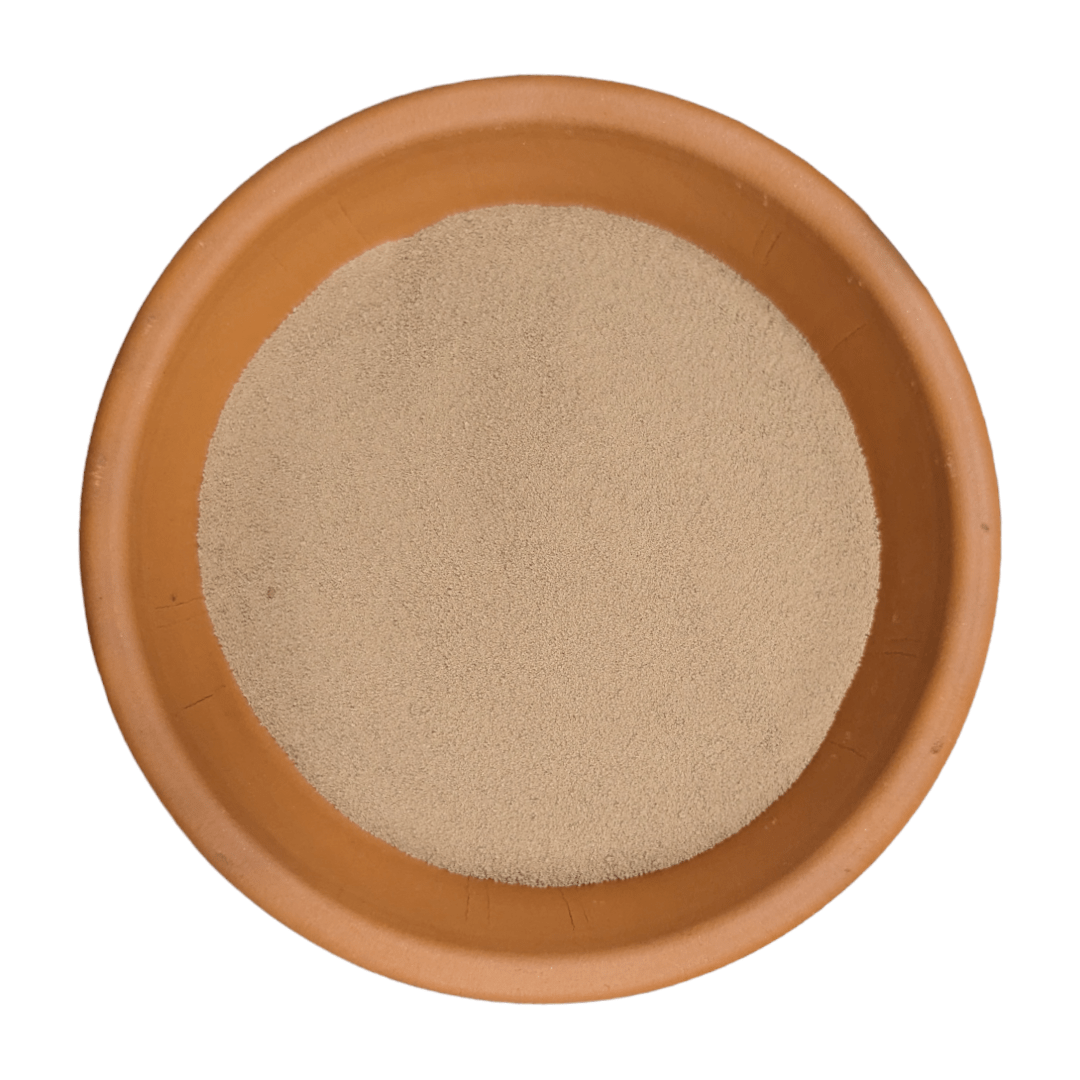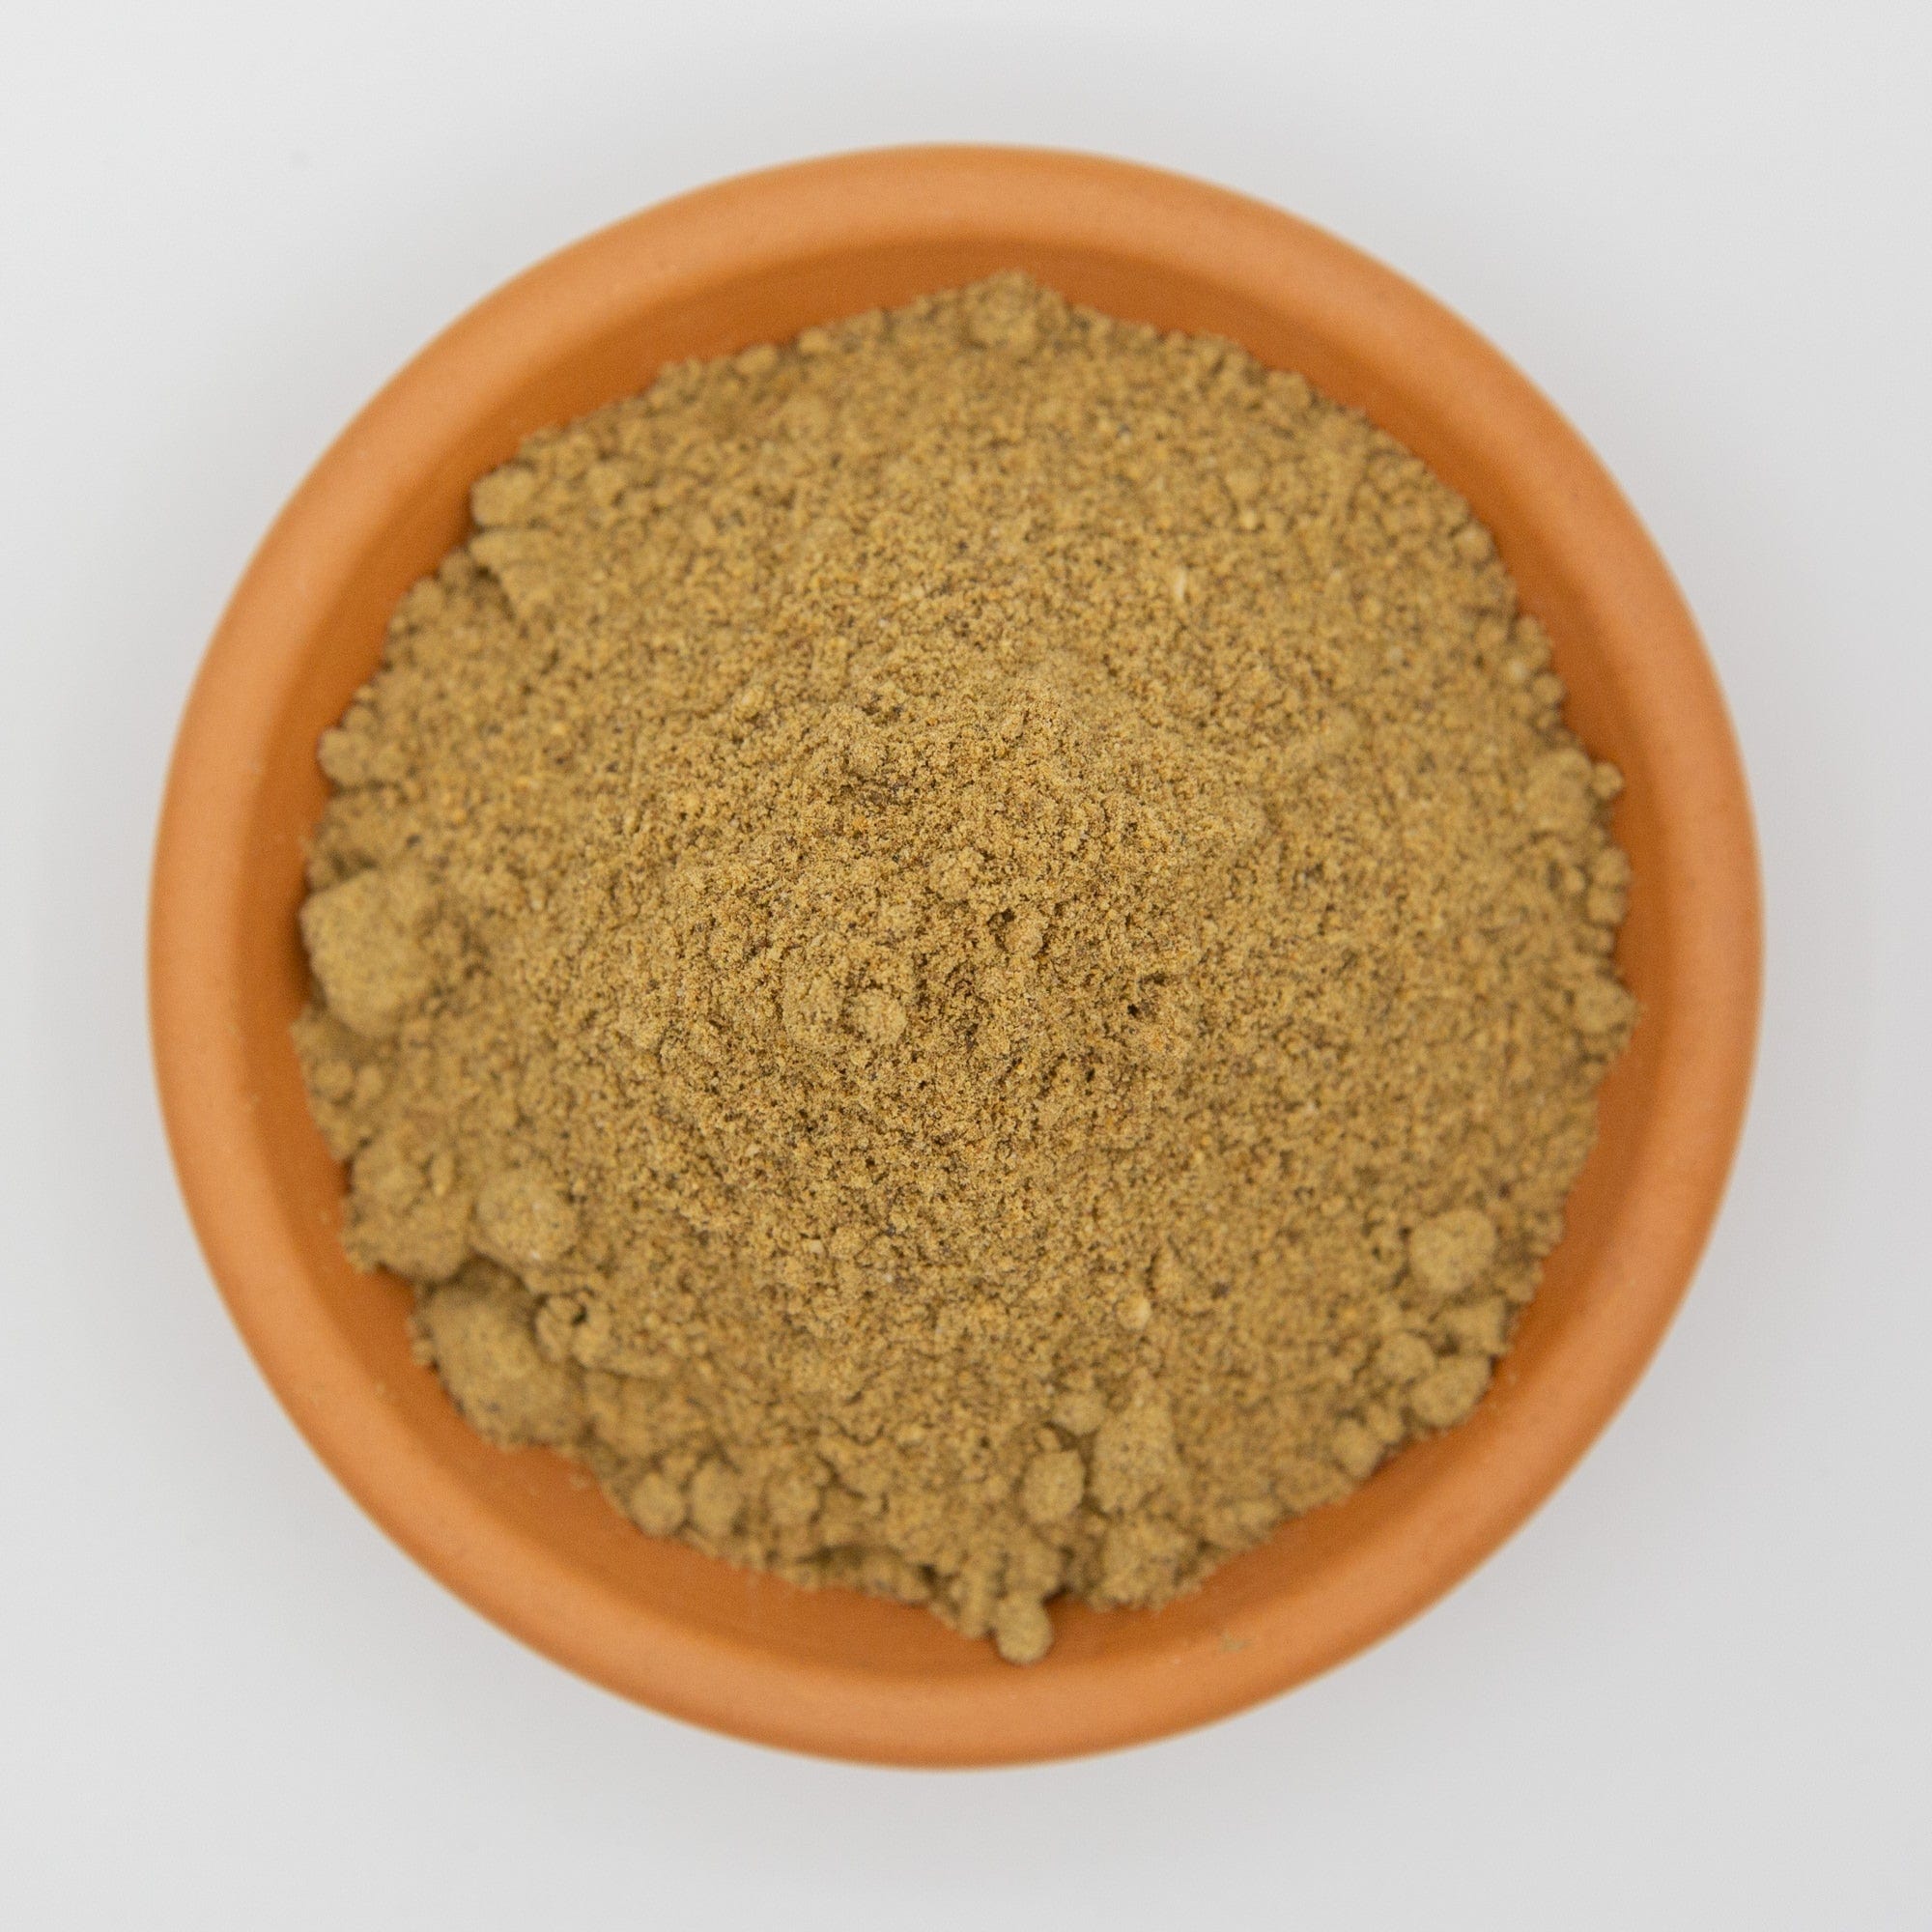

Sick of watching your cacti sulk or rot in soggy “all-purpose” potting mix?
This guide shows you exactly how to blend a fast-draining, mineral-rich cactus soil from ingredients you can grab at Bunnings or order in a click from Dr Greenthumbs. Scroll for the recipe, common mistakes, a quick video demo, and the fastest shortcut if you’d rather go straight to a pro-blended mix.
Table of Contents
- Cactus Soil Basics
- Which Cactus Are You Potting? Match the Mix to the Plant
- Cactus Soil vs Succulent Potting Mix: When They Should be Different
- What Is a Cactus and Succulent Mix (and Why It Matters)
- How to Choose the Right Cactus Mix Potting Soil for Your Climate
- What Makes a High-Quality Cactus Potting Mix?
- Potting Mix for Cactus: Quick Tests before you Repot
- Cactus Potting Soil vs Regular Potting Mix – Key Differences
- Exact DIY Recipe For Dry Lovers
- Mixing Instructions
- Cactus Soil Mix Ratio: The Easy “Parts” Method
- Succulent Soil Mix Ratio: Don’t Make It Too Lean
- How To Make Cactus Soil from a Bagged Potting Mix
- How To Make Succulent Soil for Small Pots and Shallow Planters
- Perlite vs Vermiculite: What’s Right for Cacti?
- Why These Ingredients Work
- Ingredient Substitutions & Aussie Sourcing Tips
- Pot Setup & Drainage Engineering – The Foundation of Happy Cacti
- Cactus Potting Mix for Indoor Windowsills
- Making It By the Bucket (Scale-Up + Storage Tips)
- Common Mistakes When Using Cactus and Succulent Potting Mix
- Cactus Soil After Root Rot: How to Repot Without Finishing the Plant Off
- When to Refresh and Maintain Your Cactus Soil
- Dust, Safety + Mixing Tips (Keep it Clean)
- When to Buy Pre-Made Mix
- Store-Bought Mix Reality Check — What to Watch For
- Frequently Asked Questions
- Final Thought
- Next Reads for Building a Better Fast-Draining Soil Mix
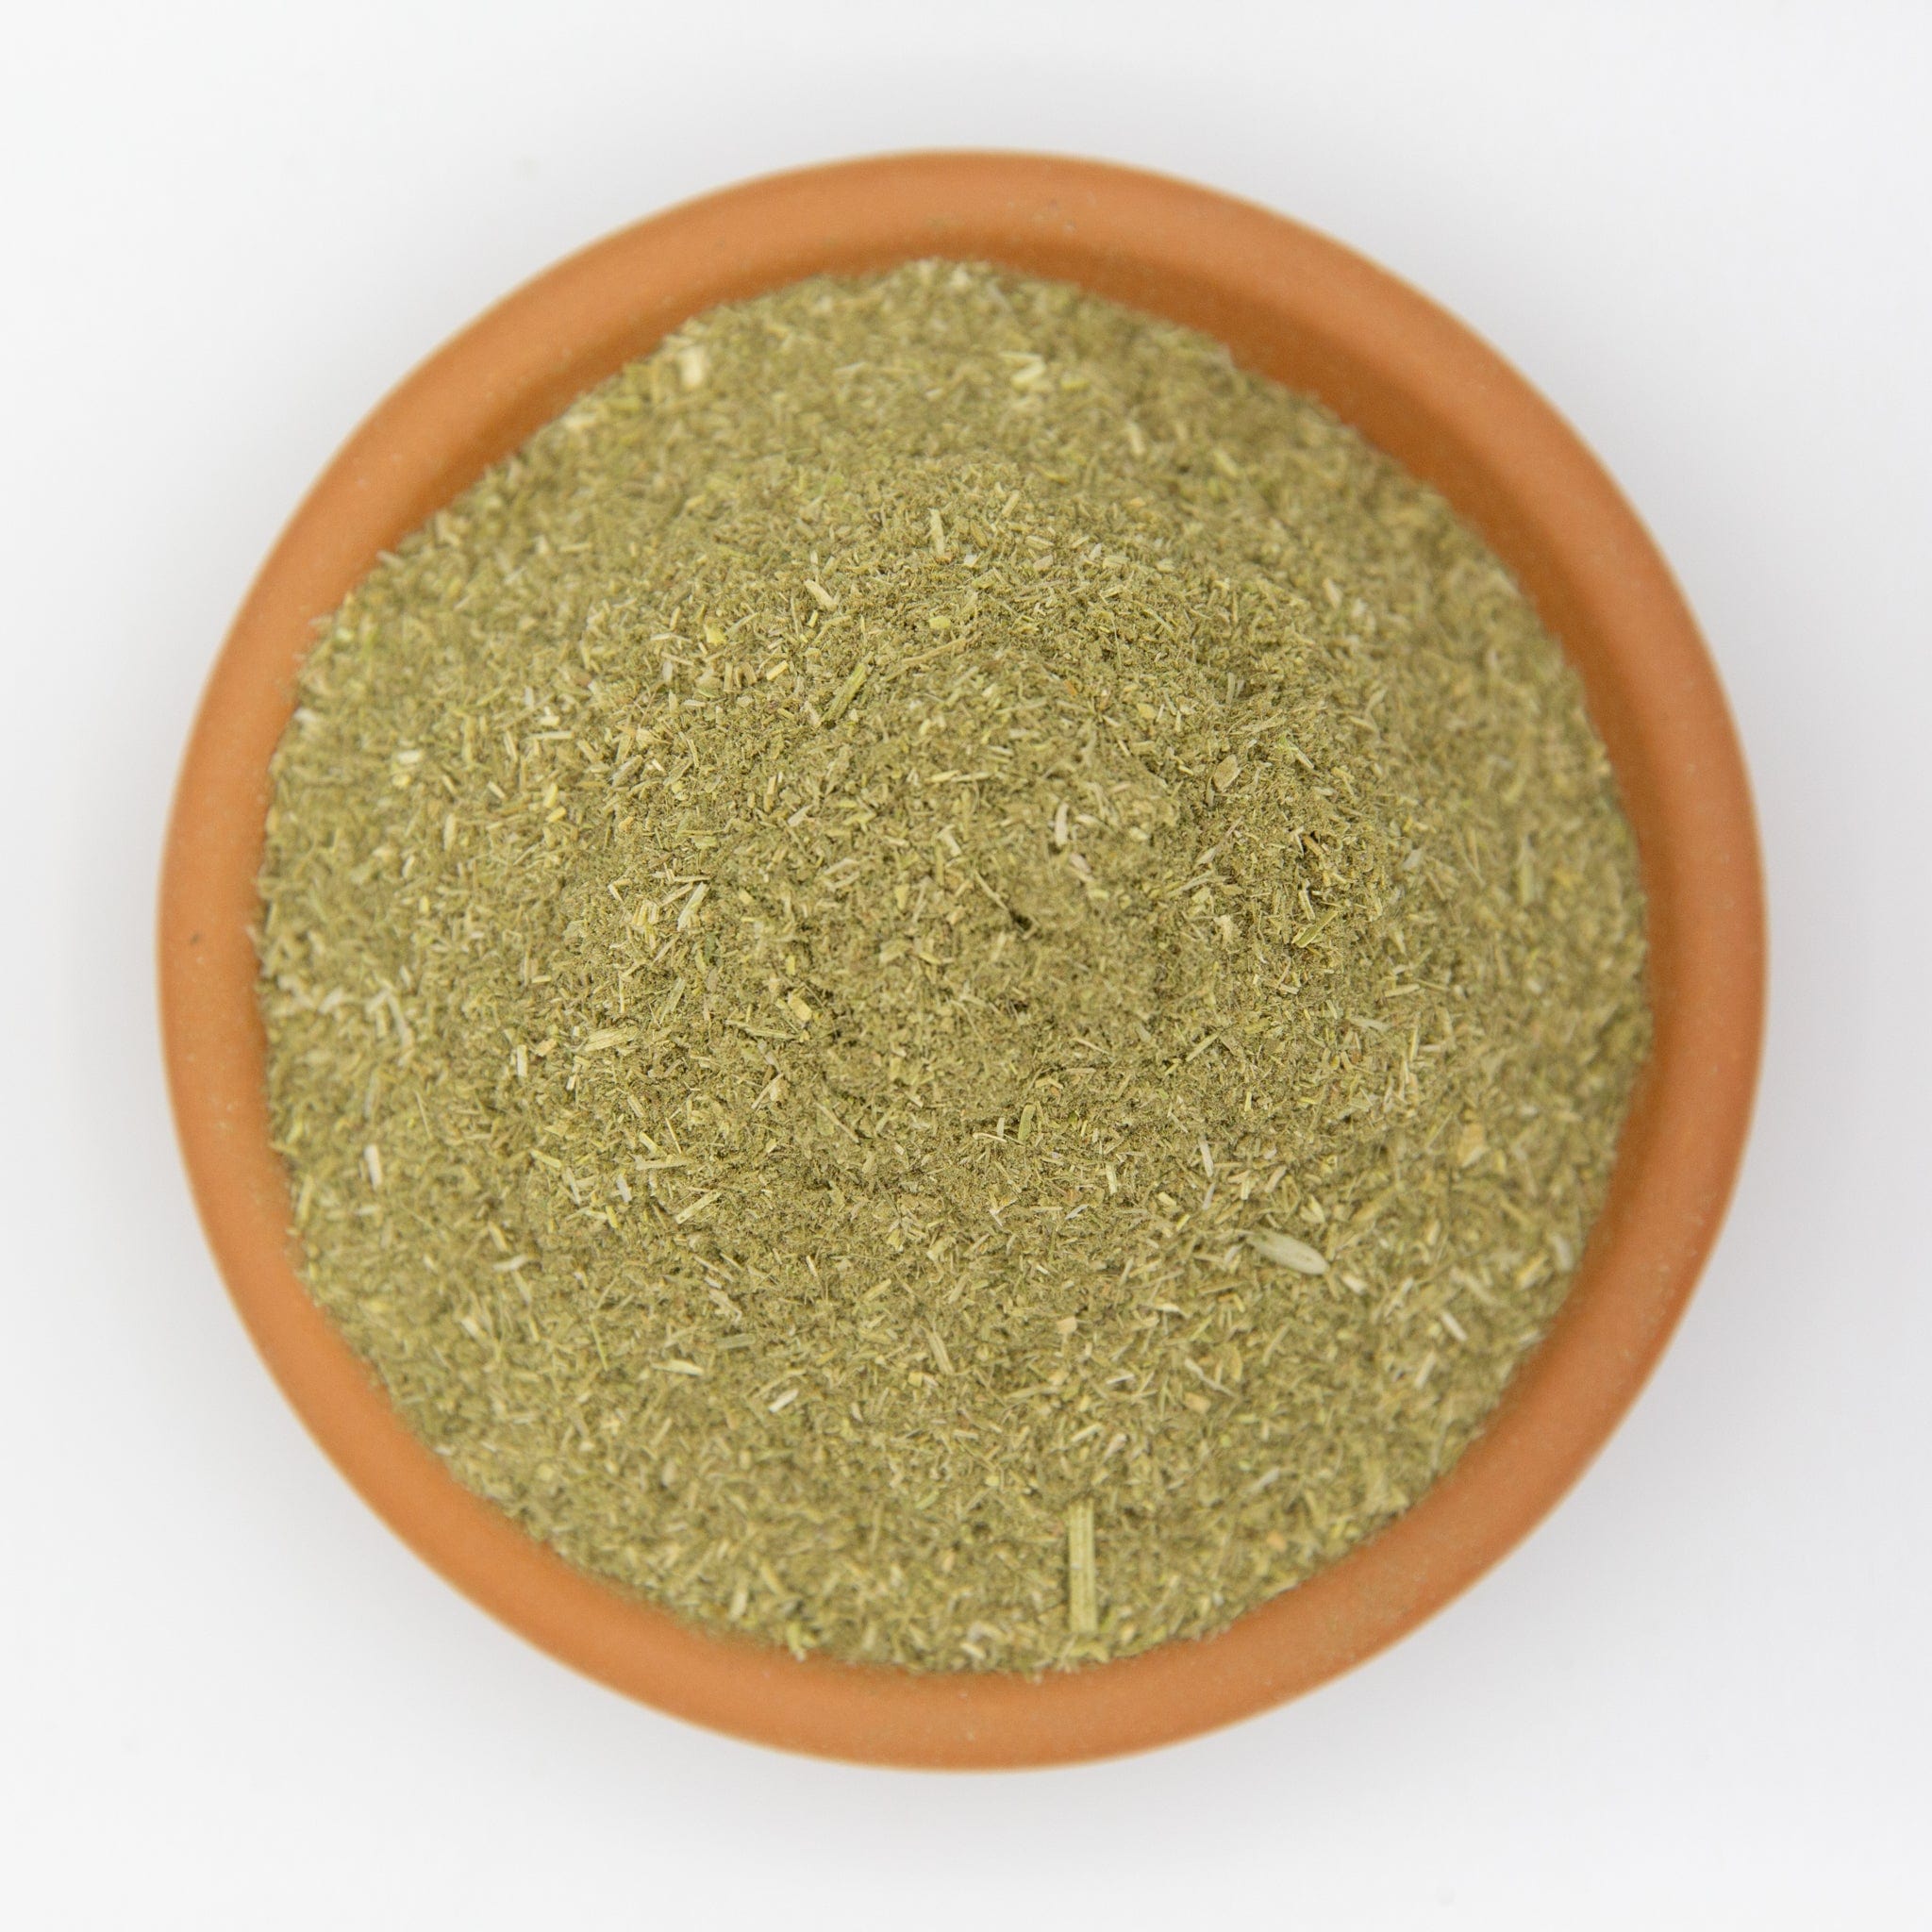
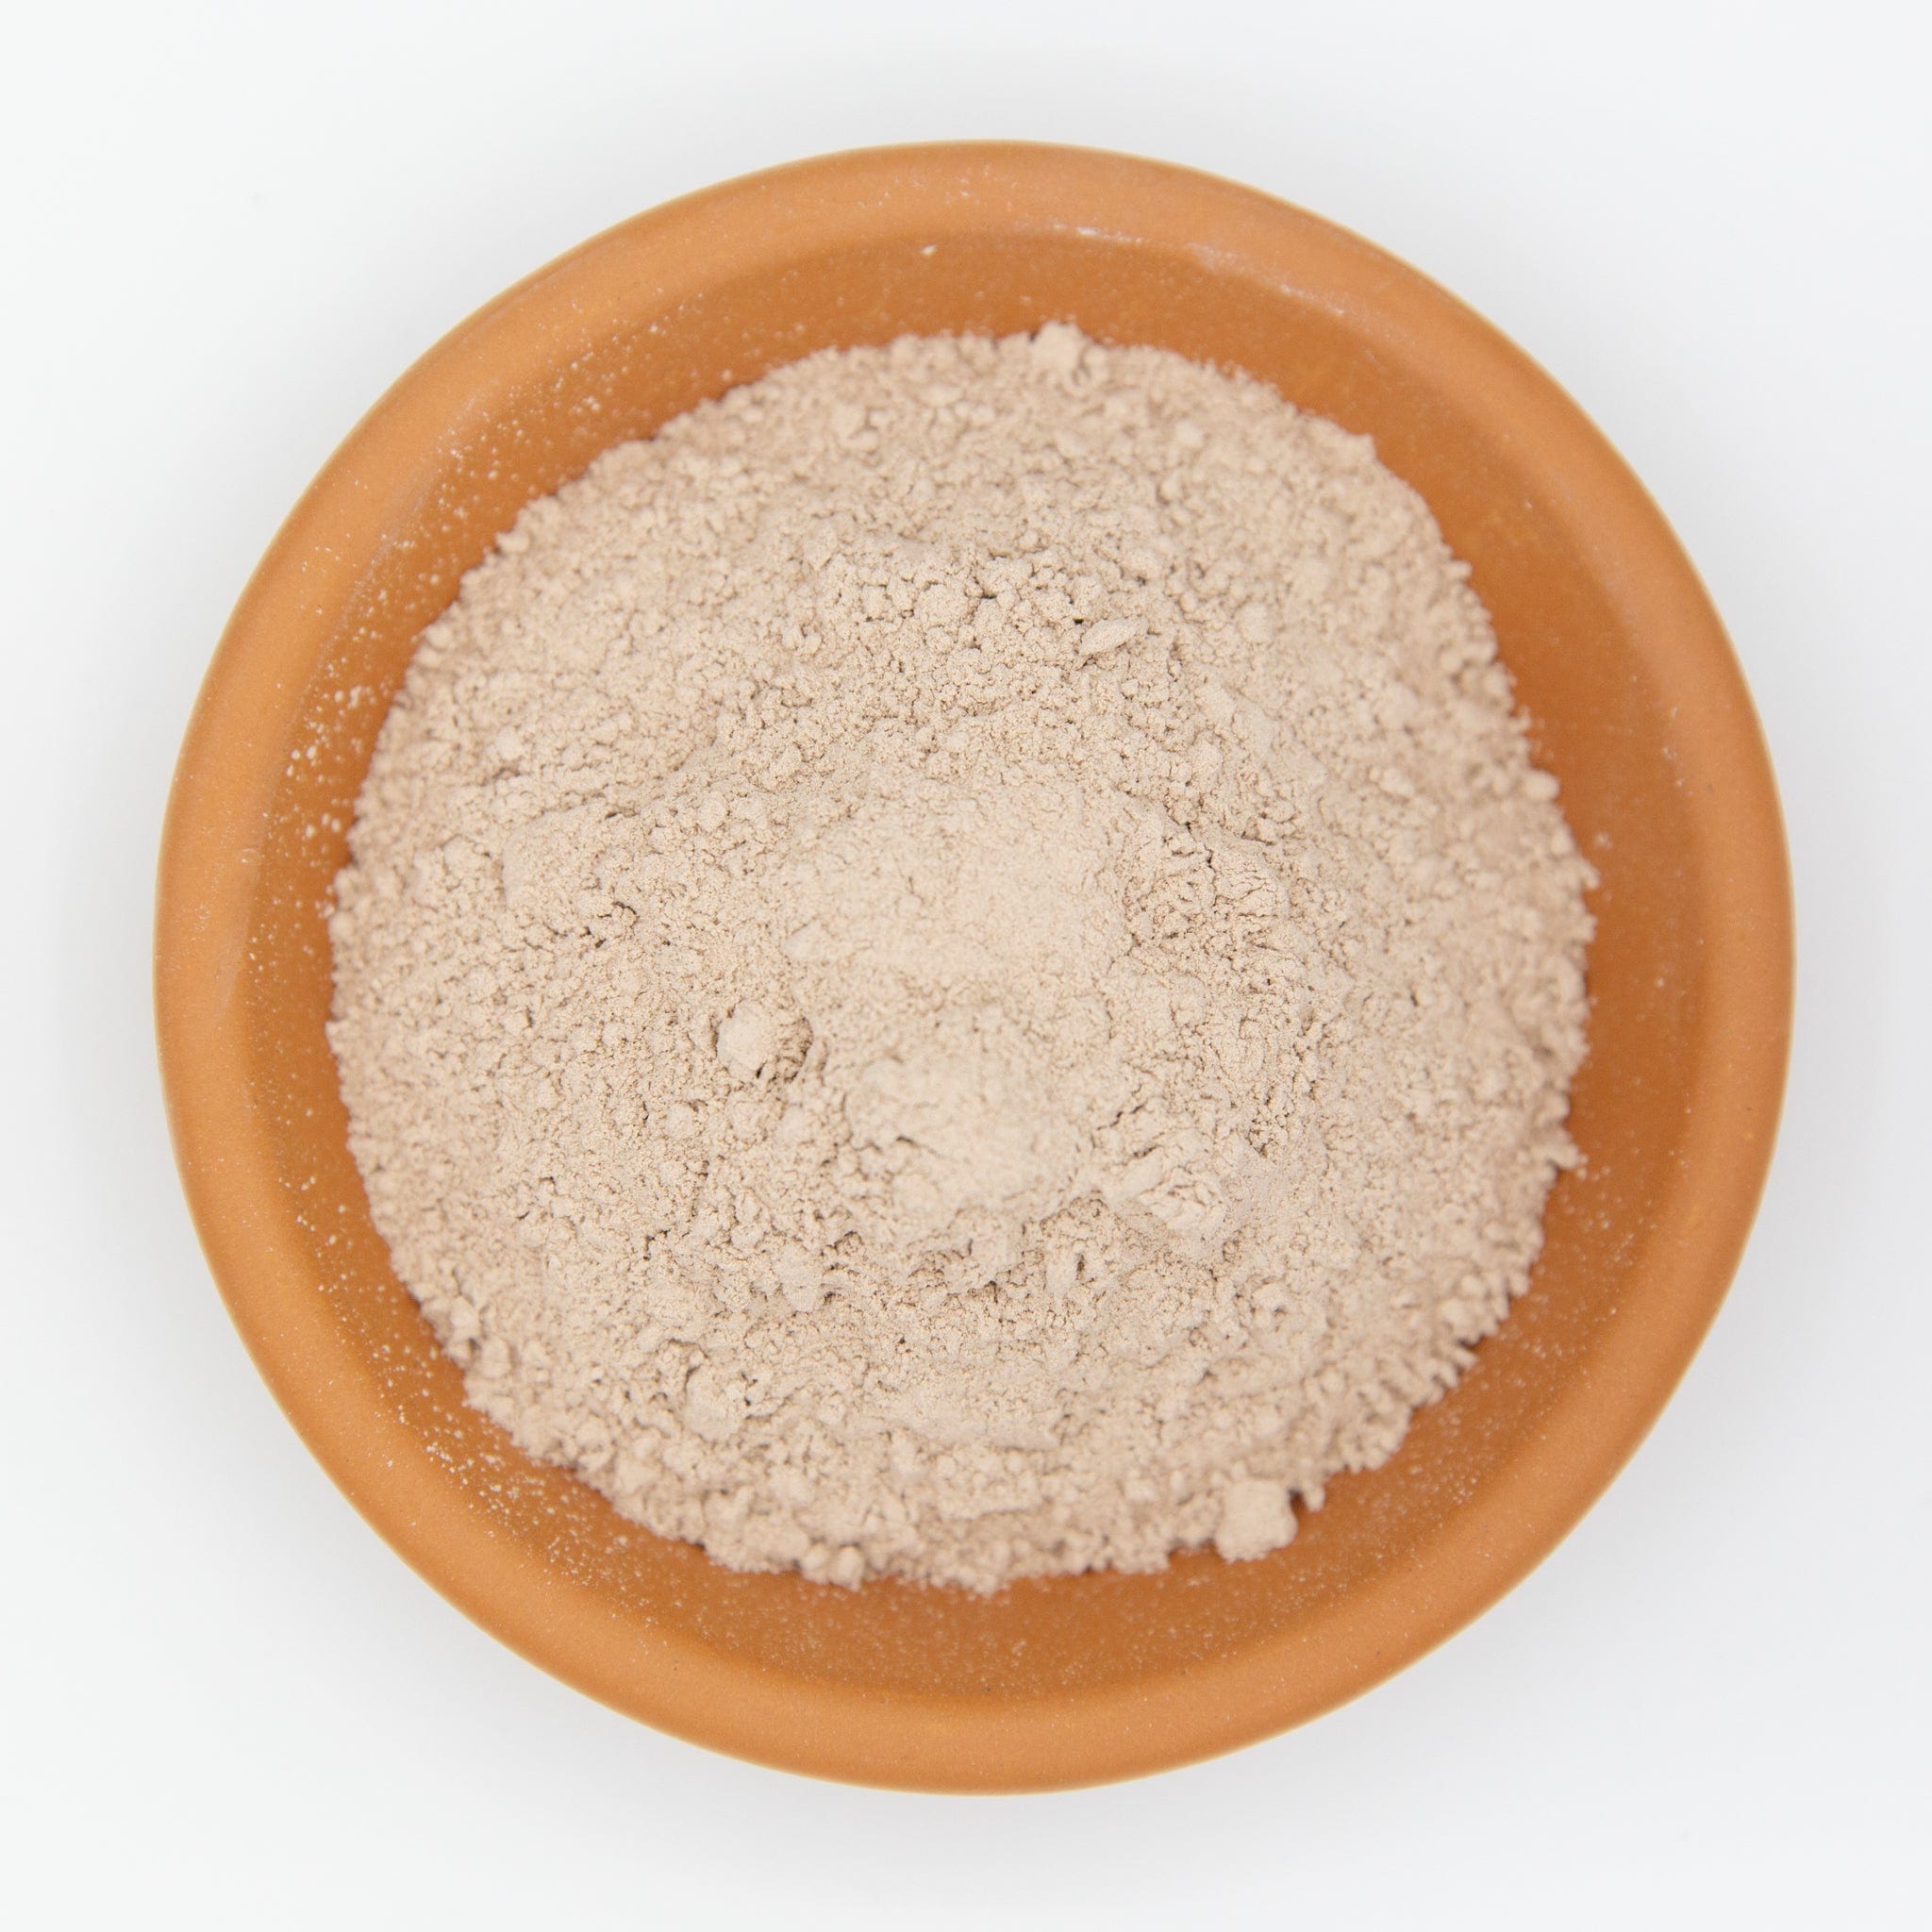
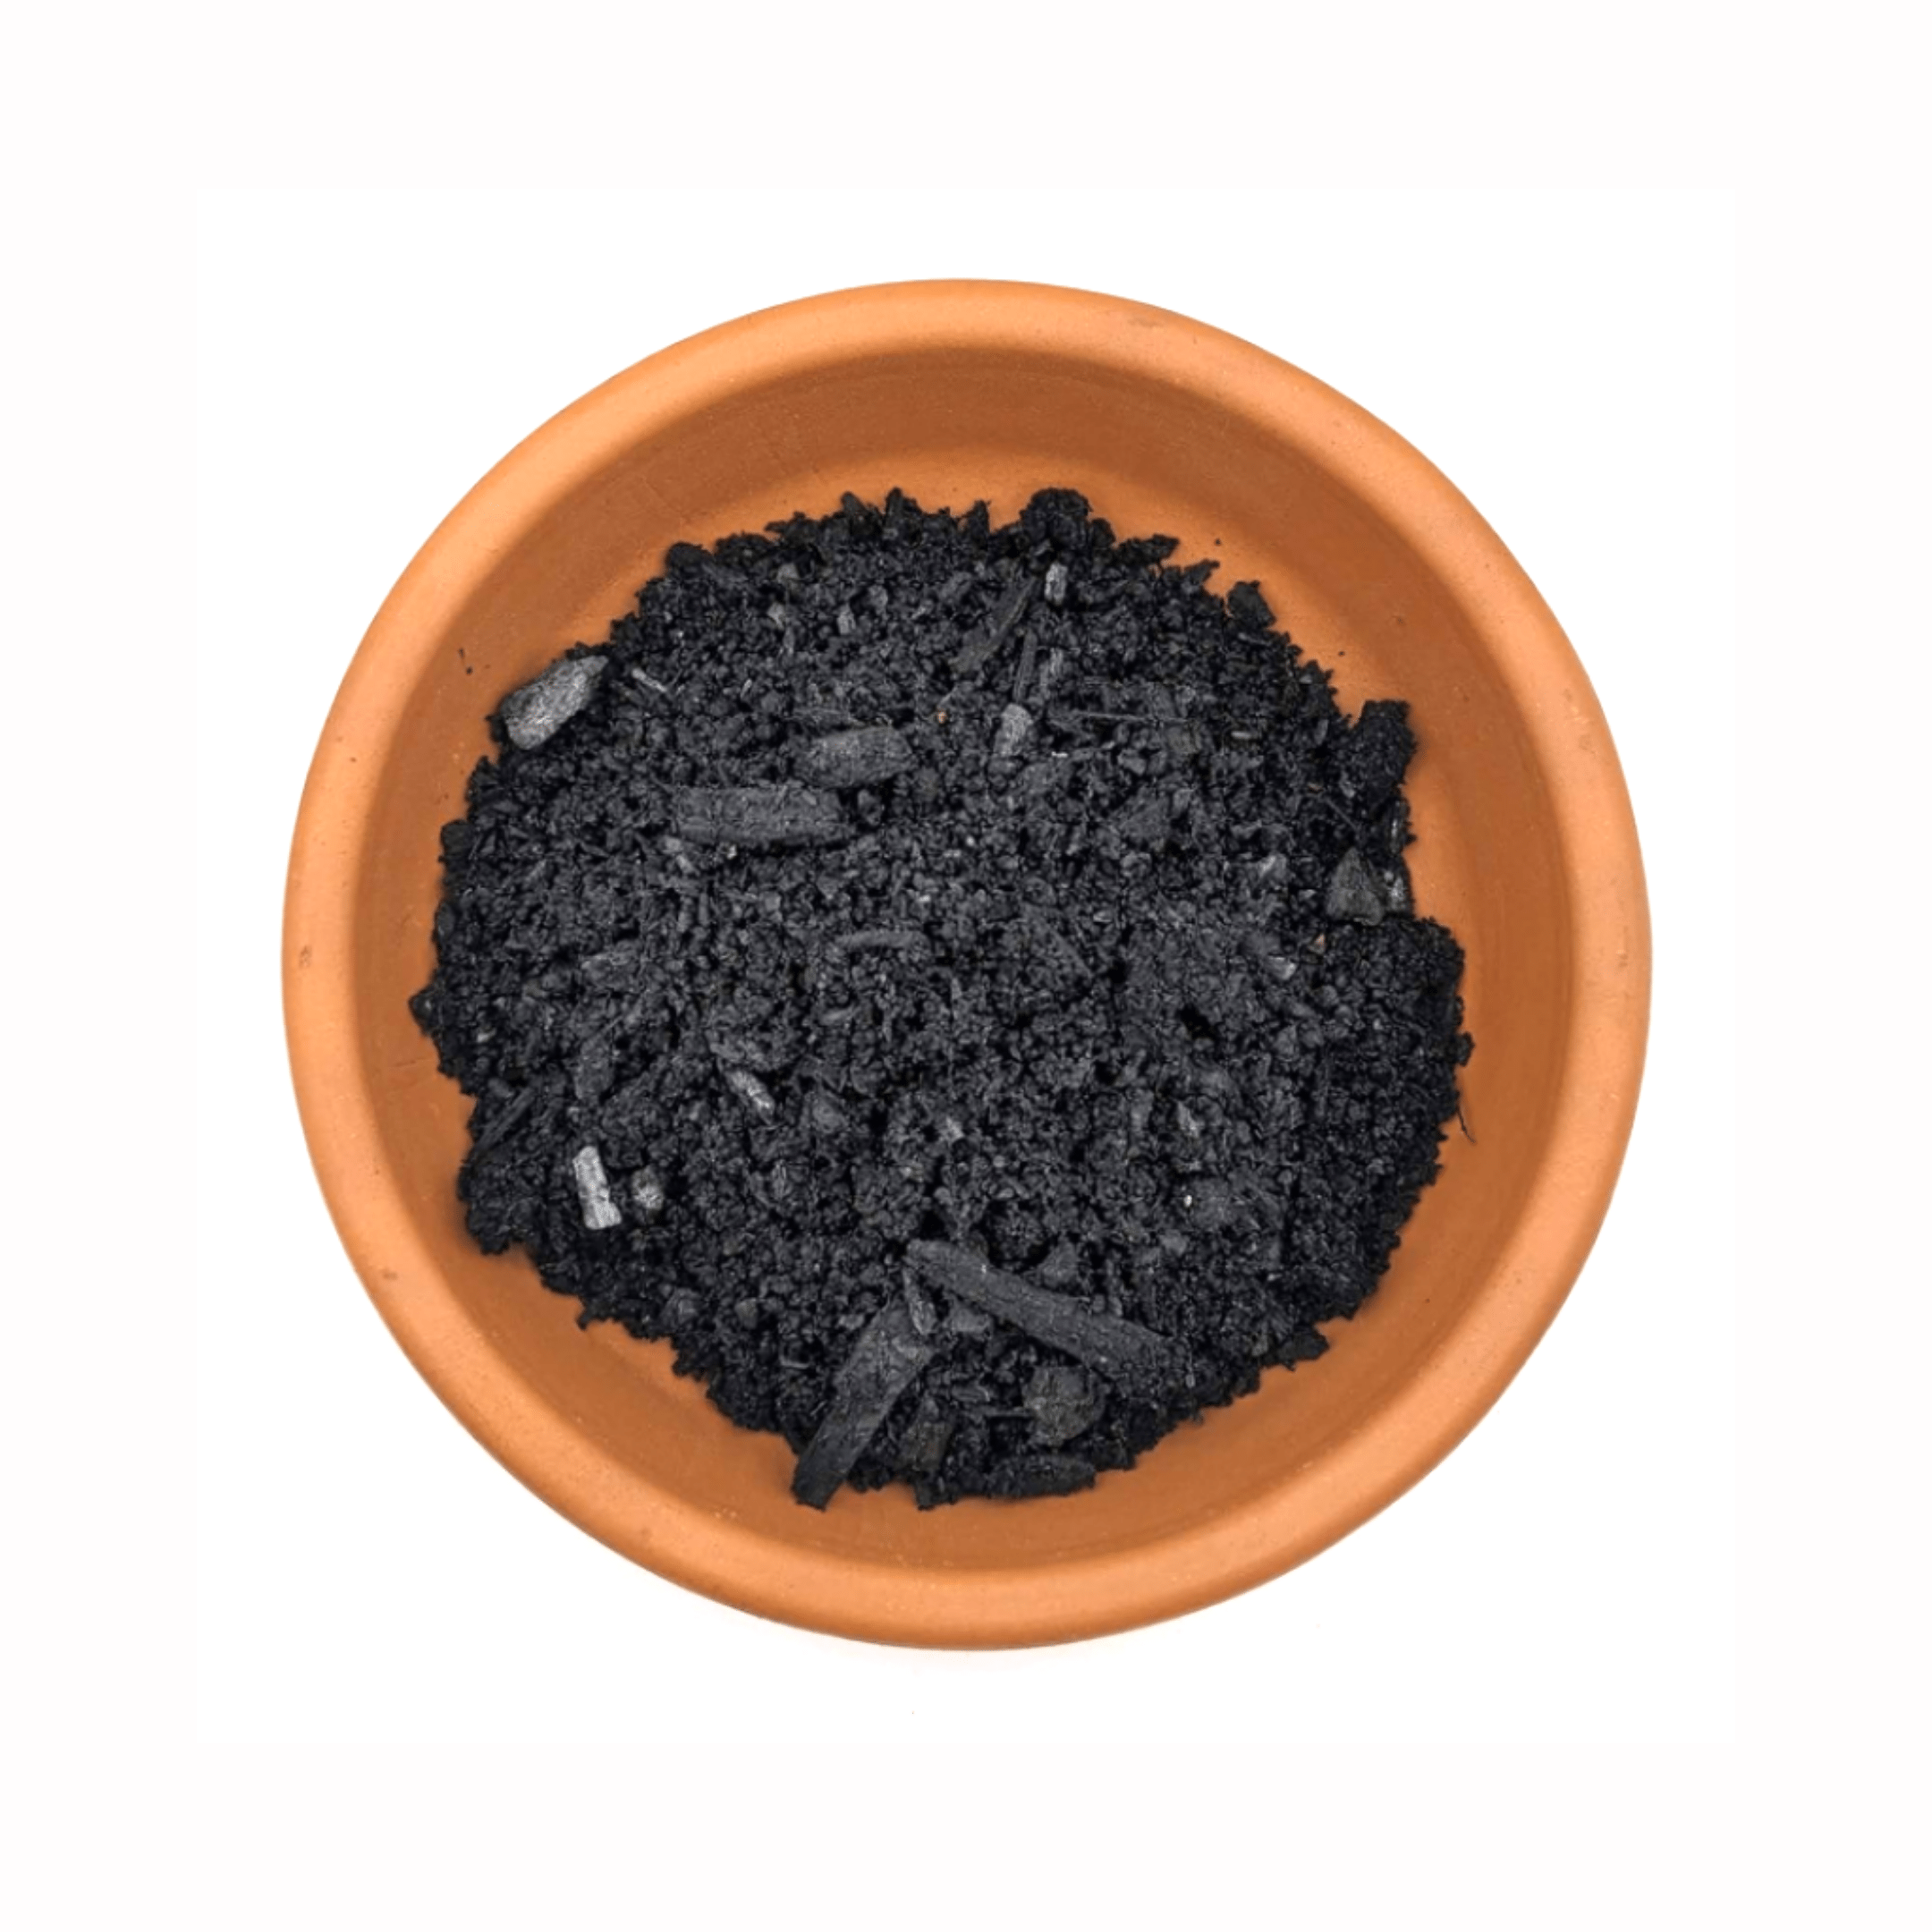
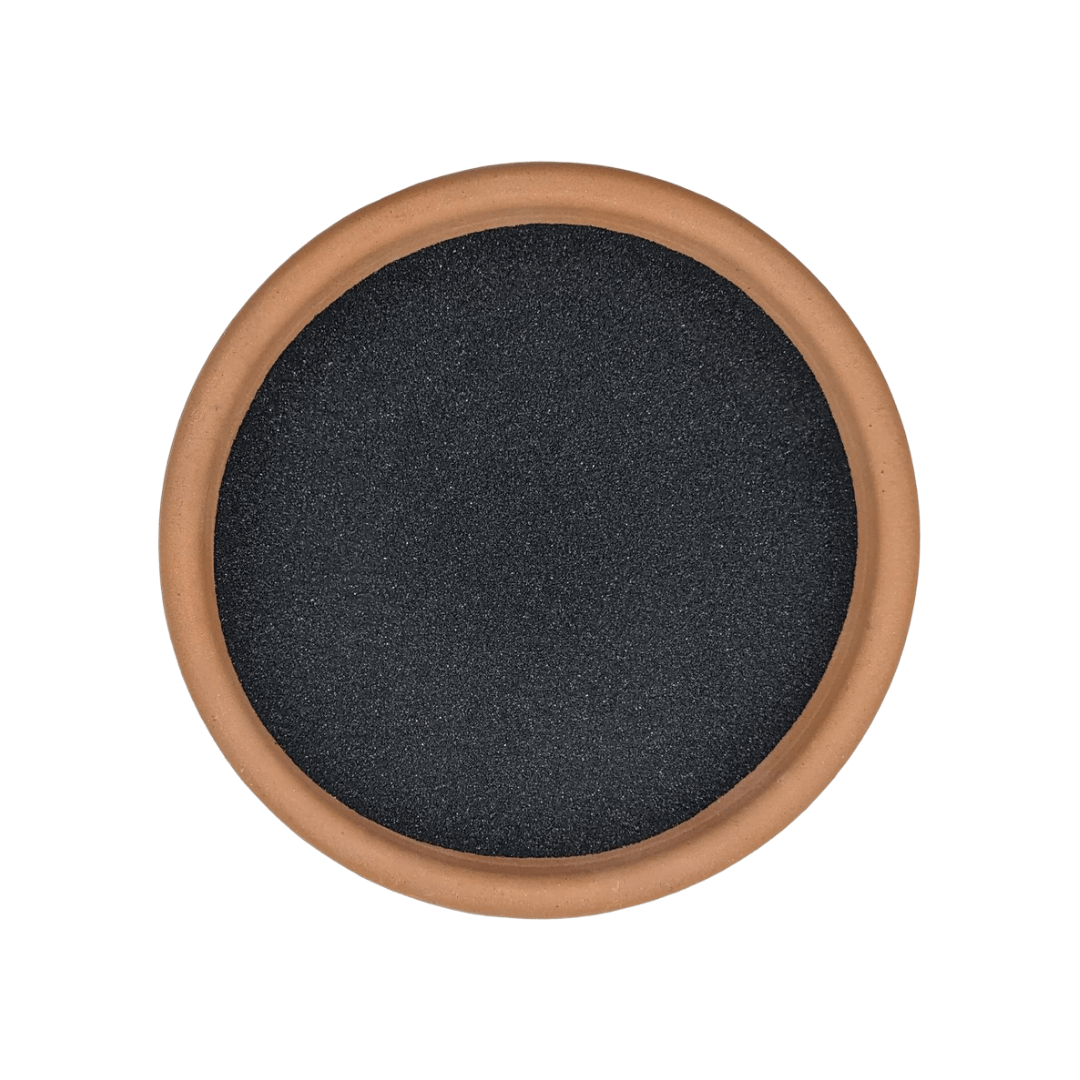
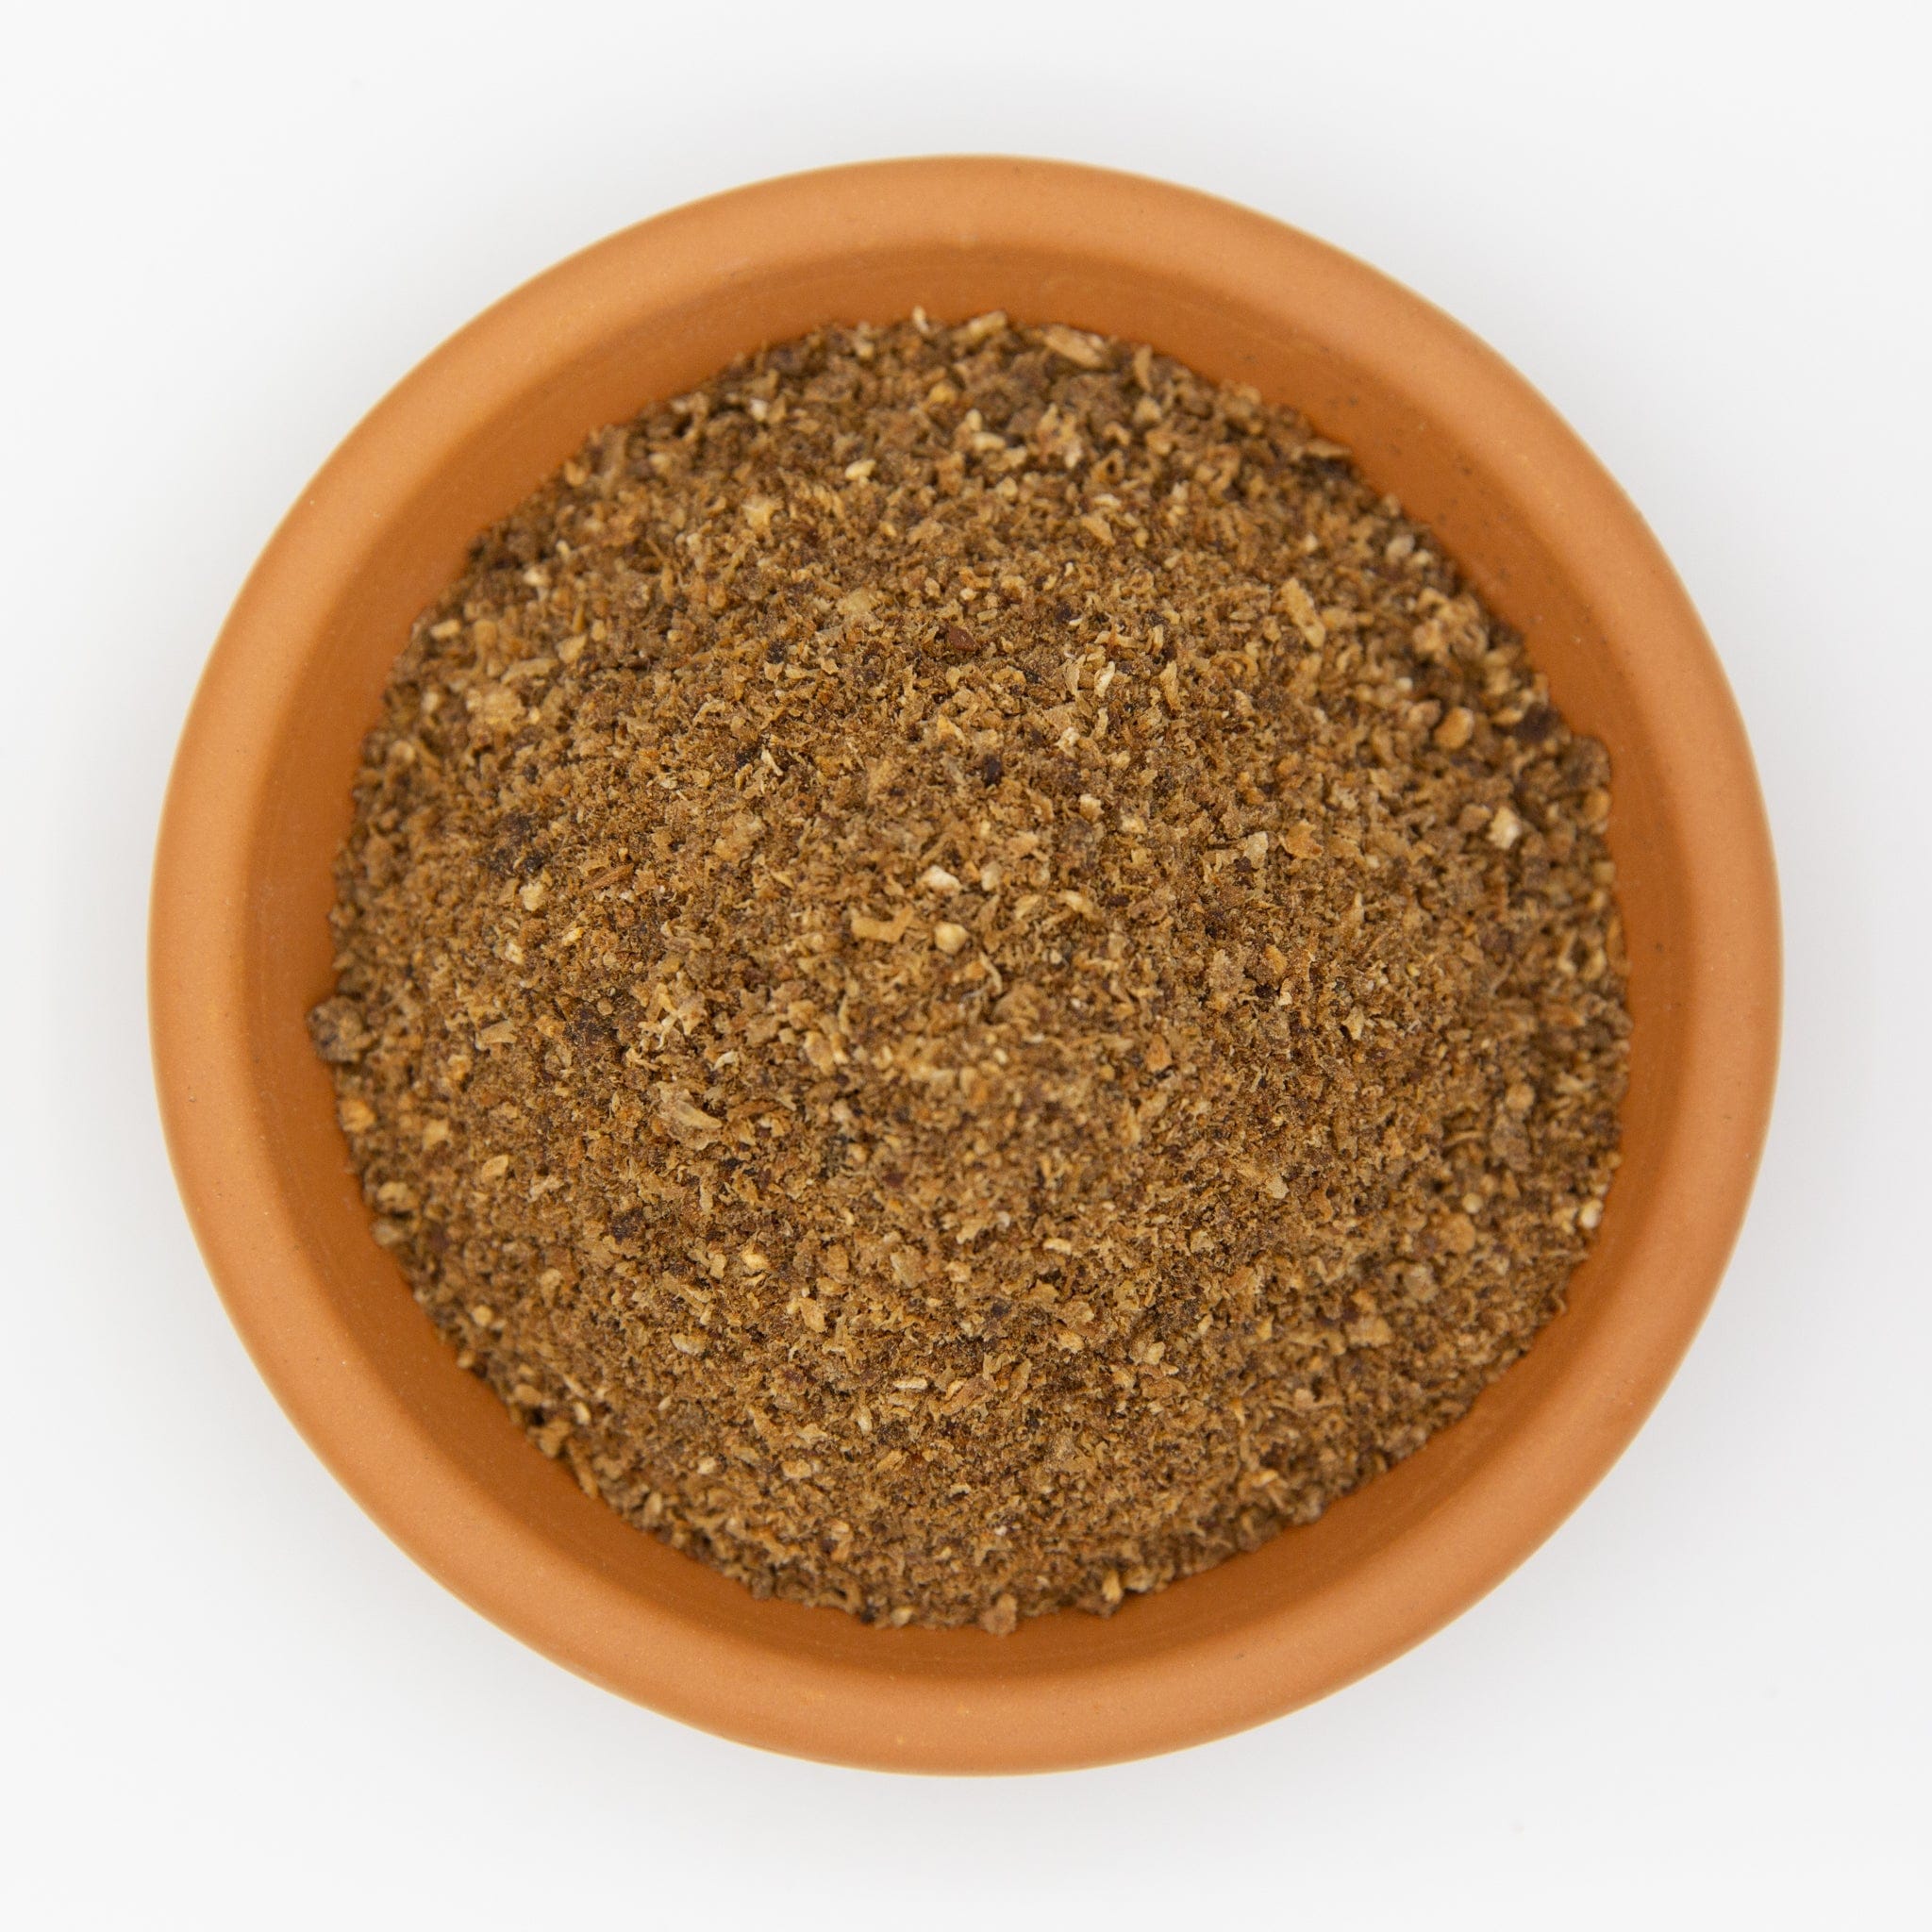
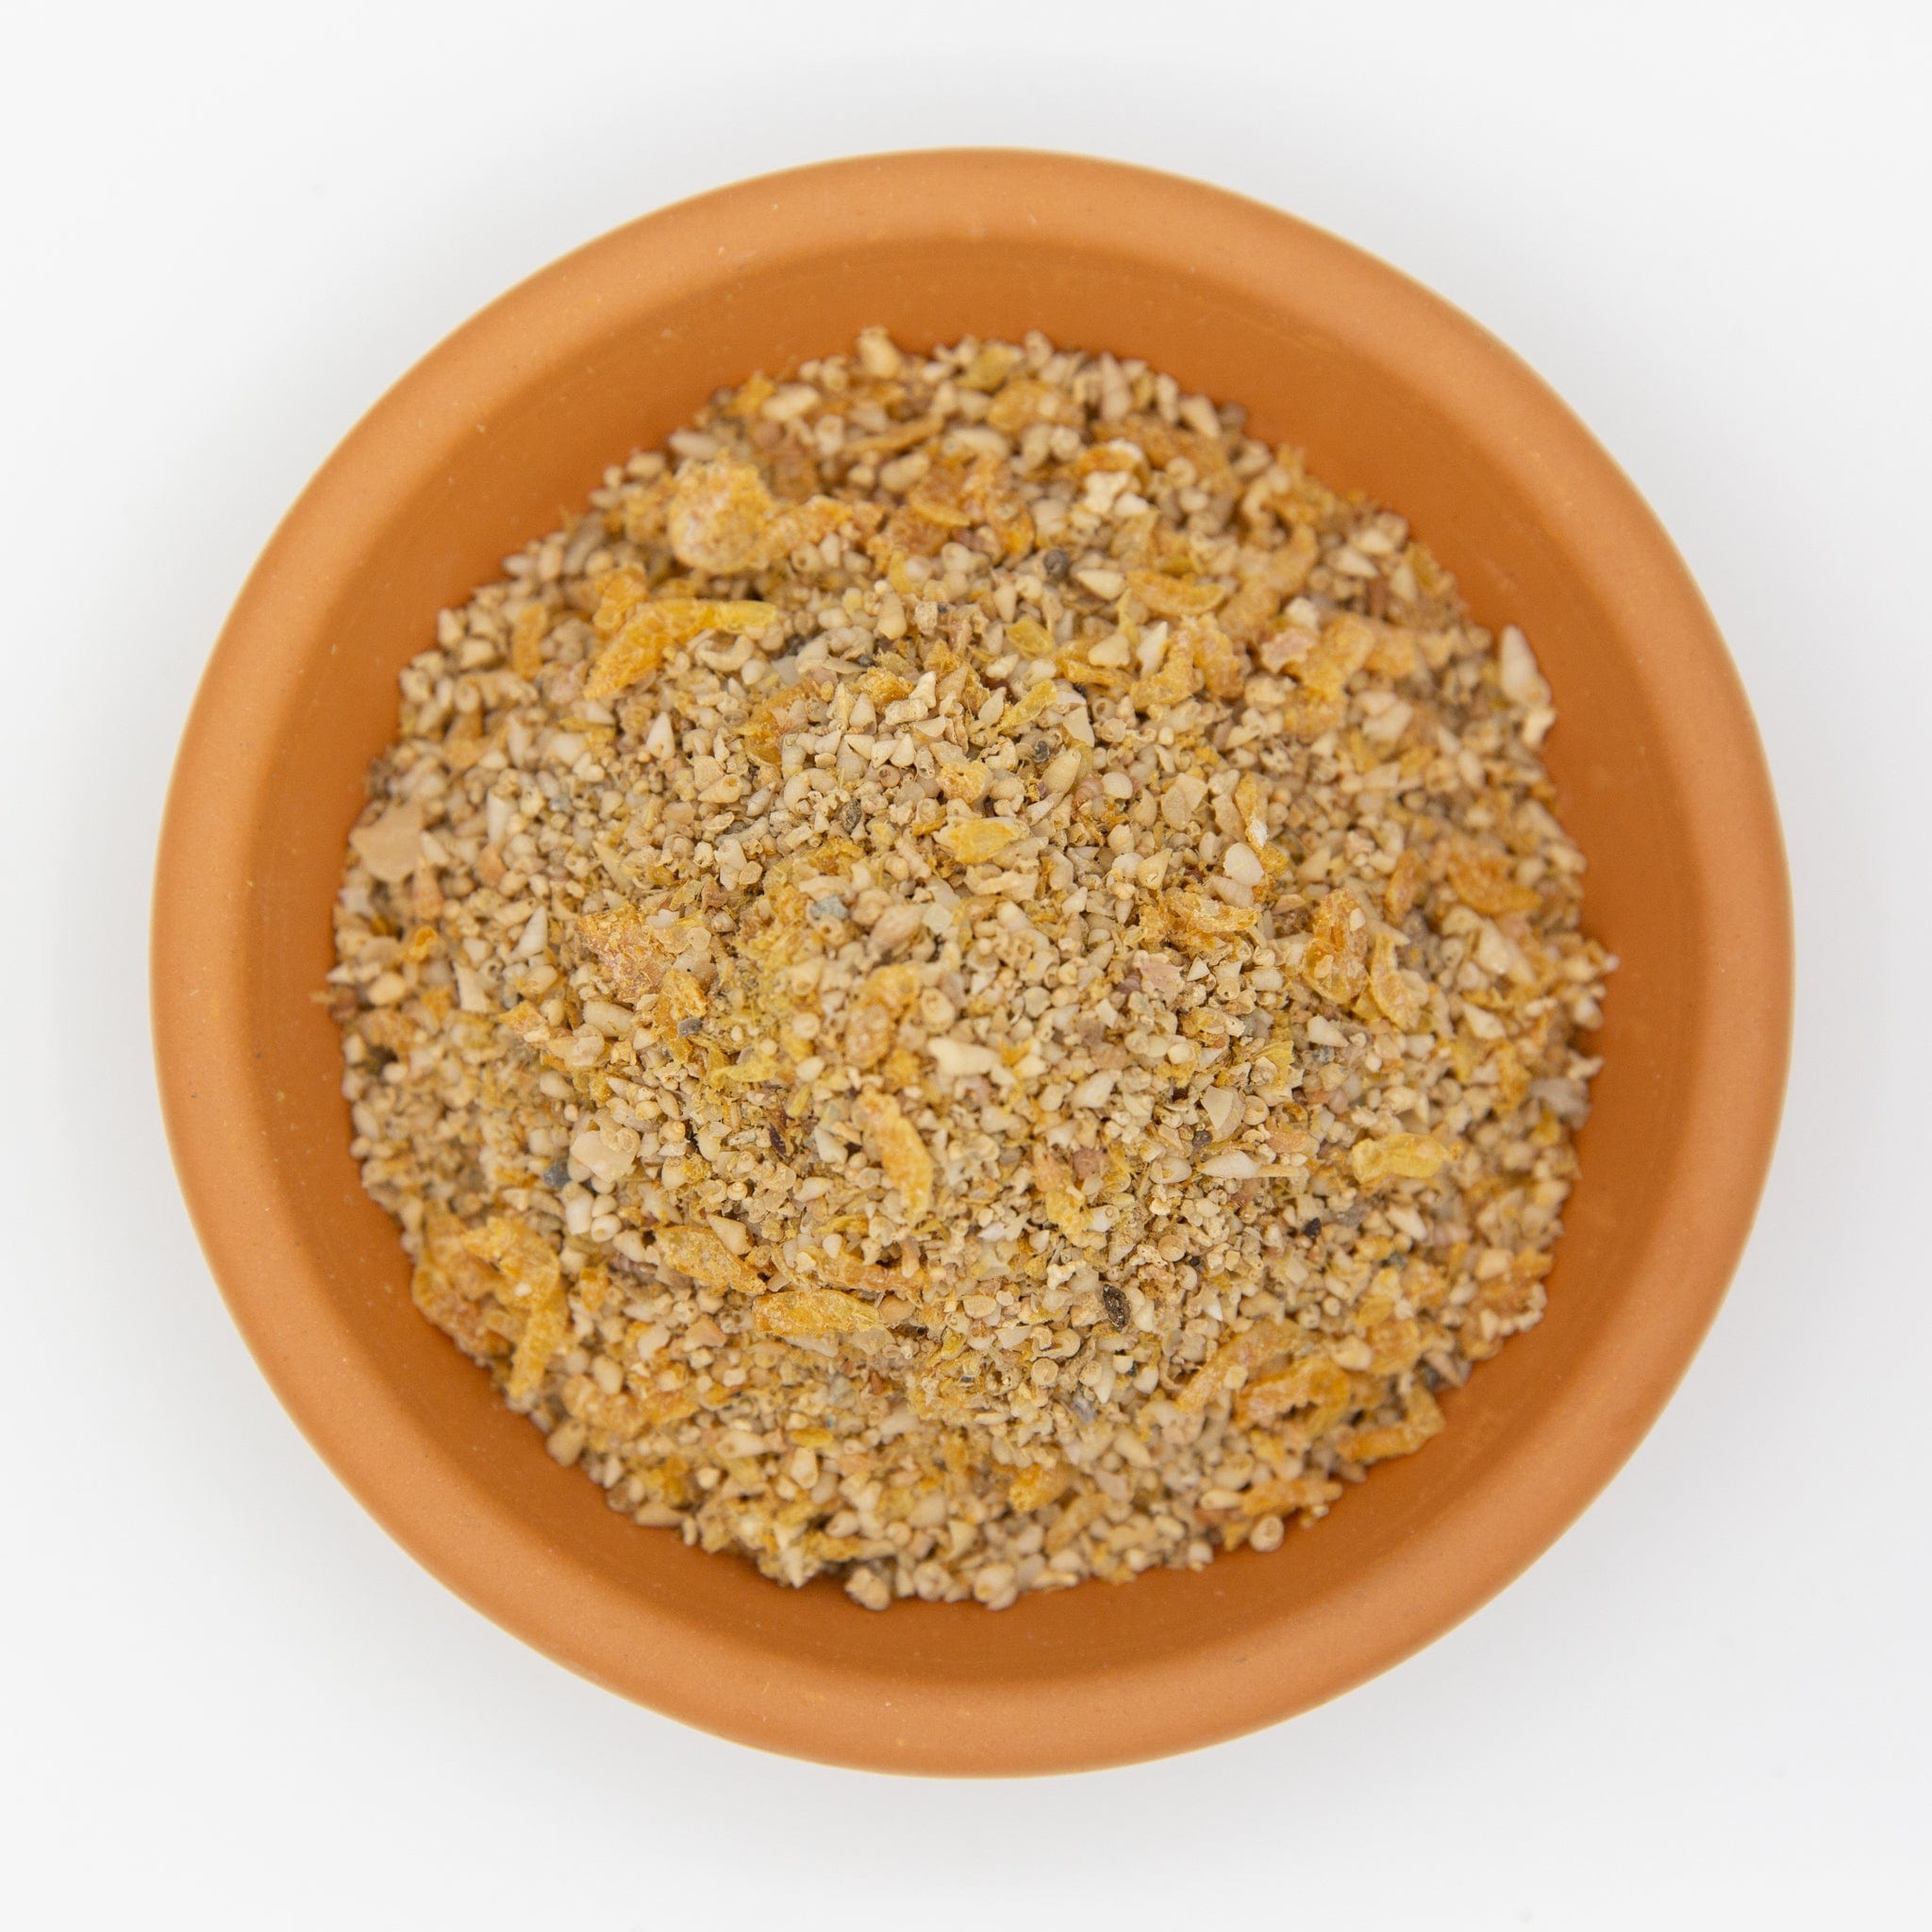
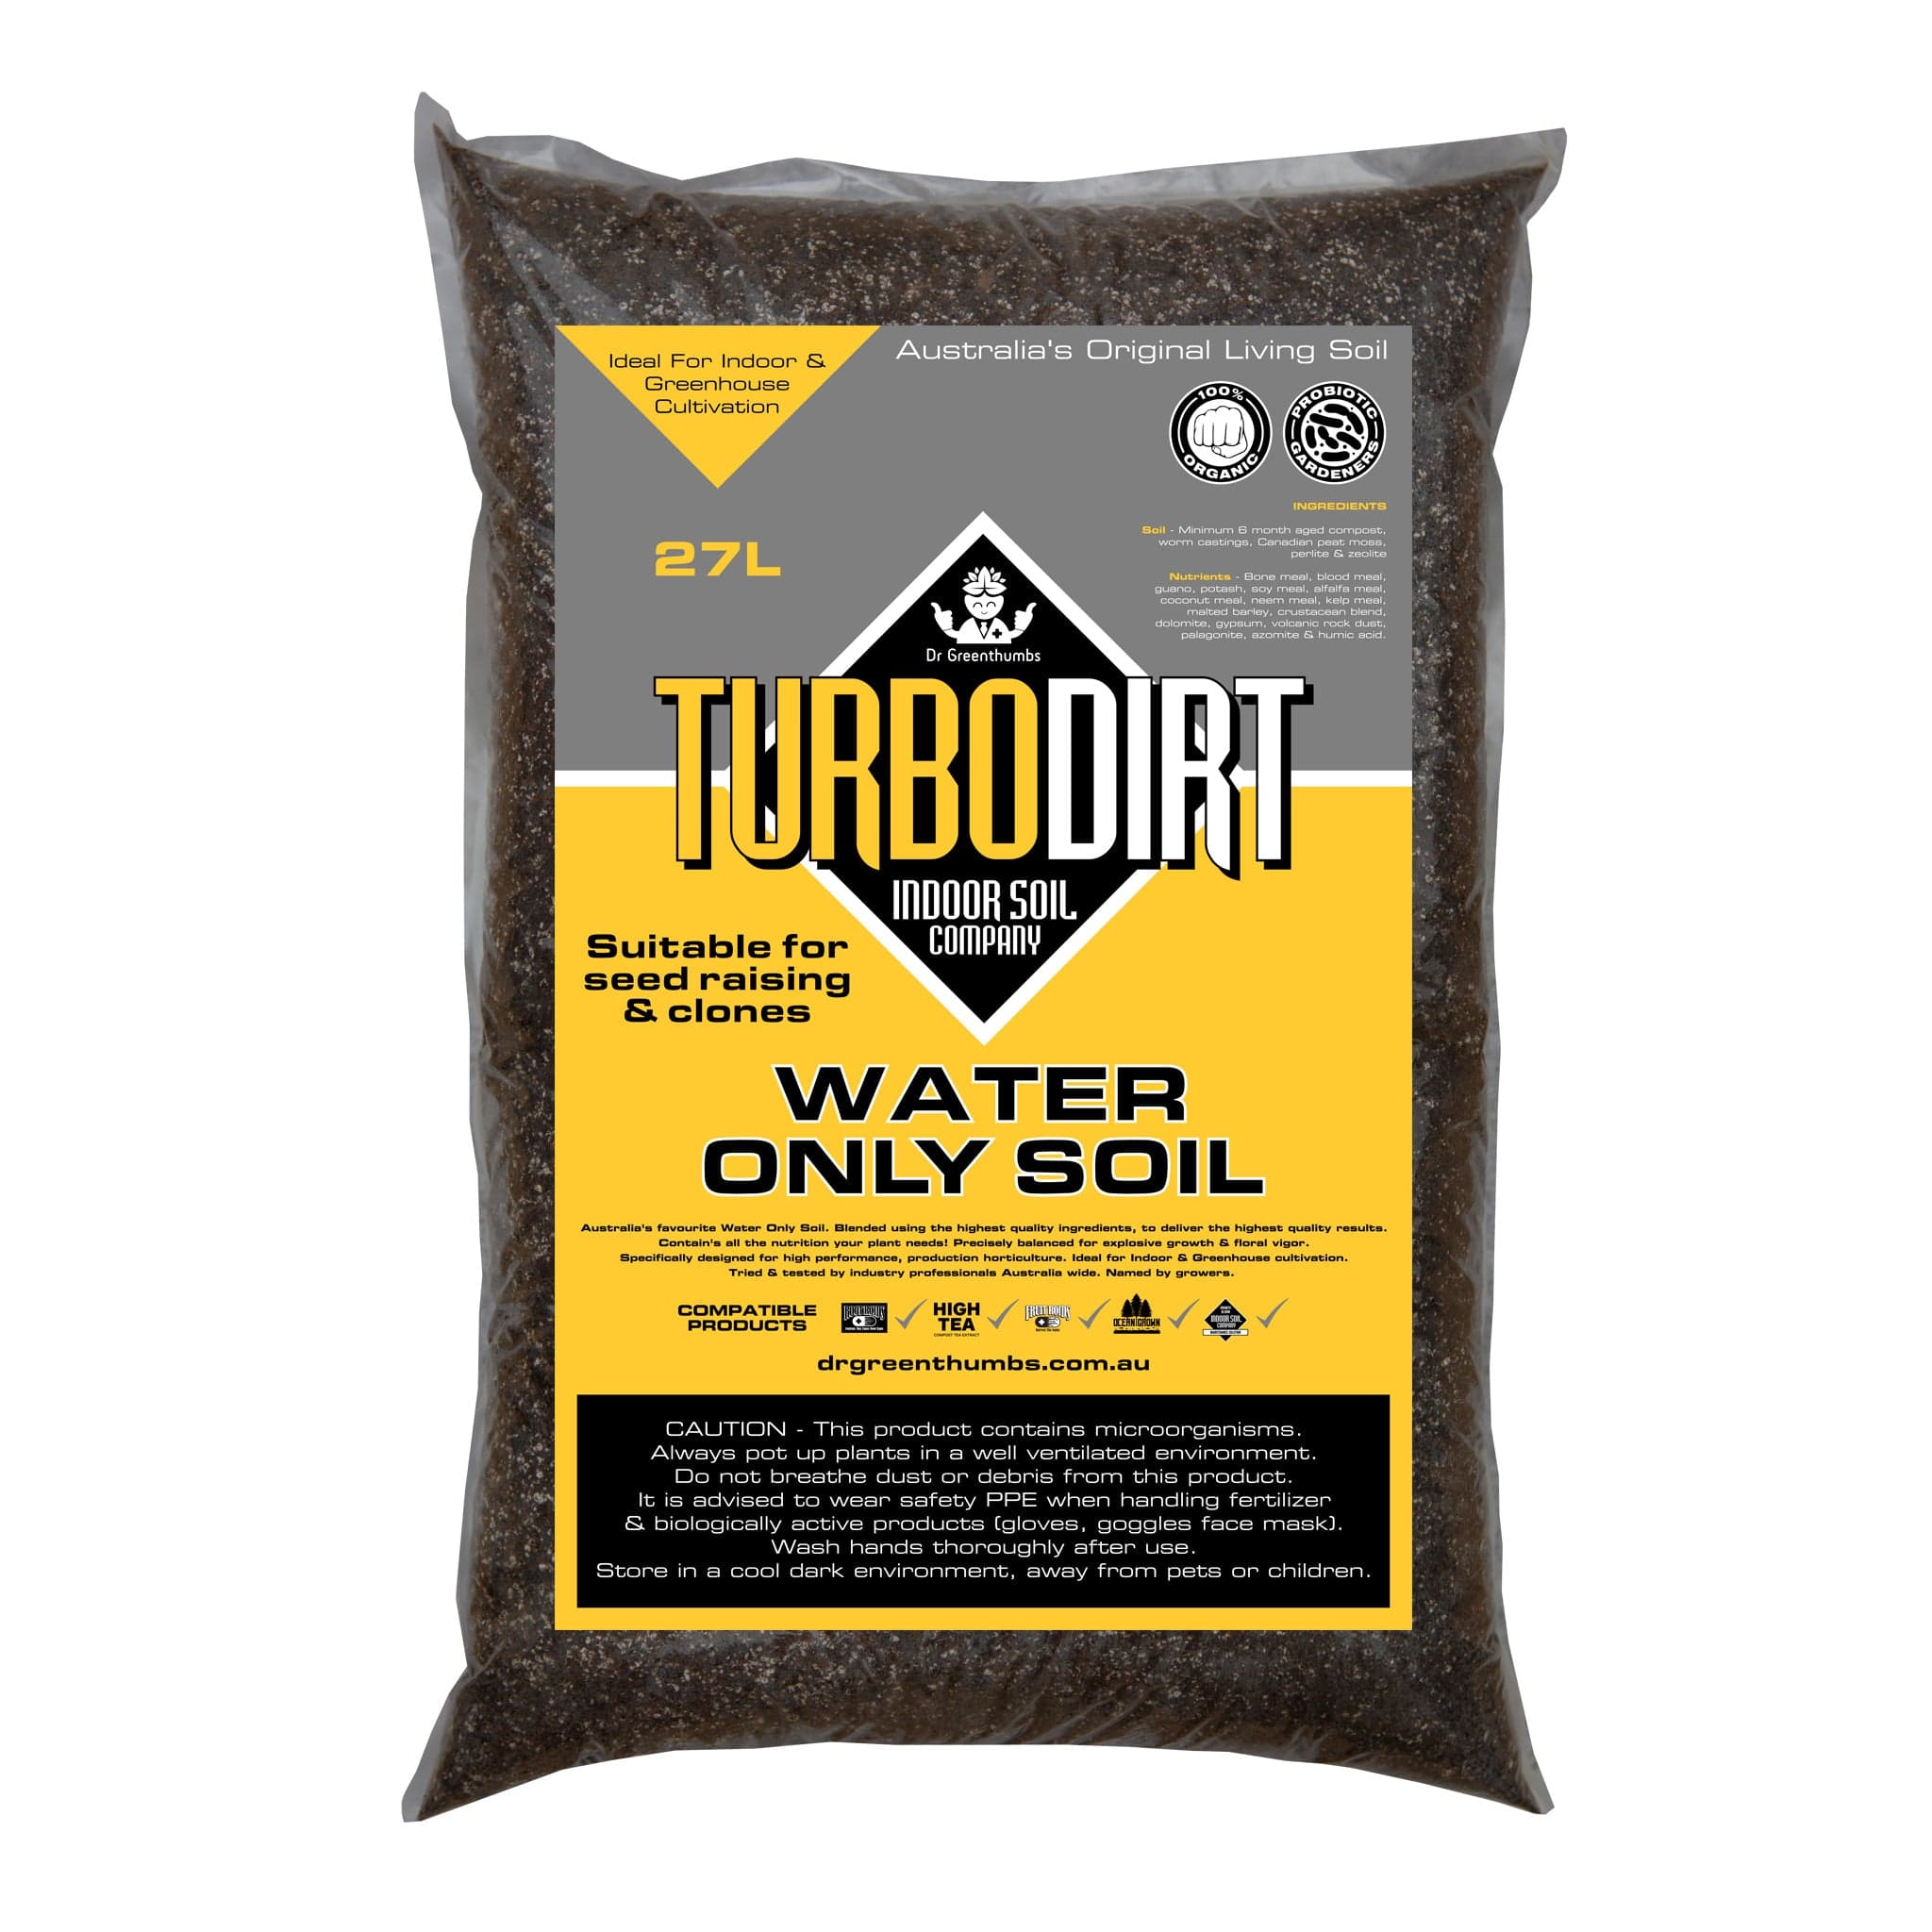
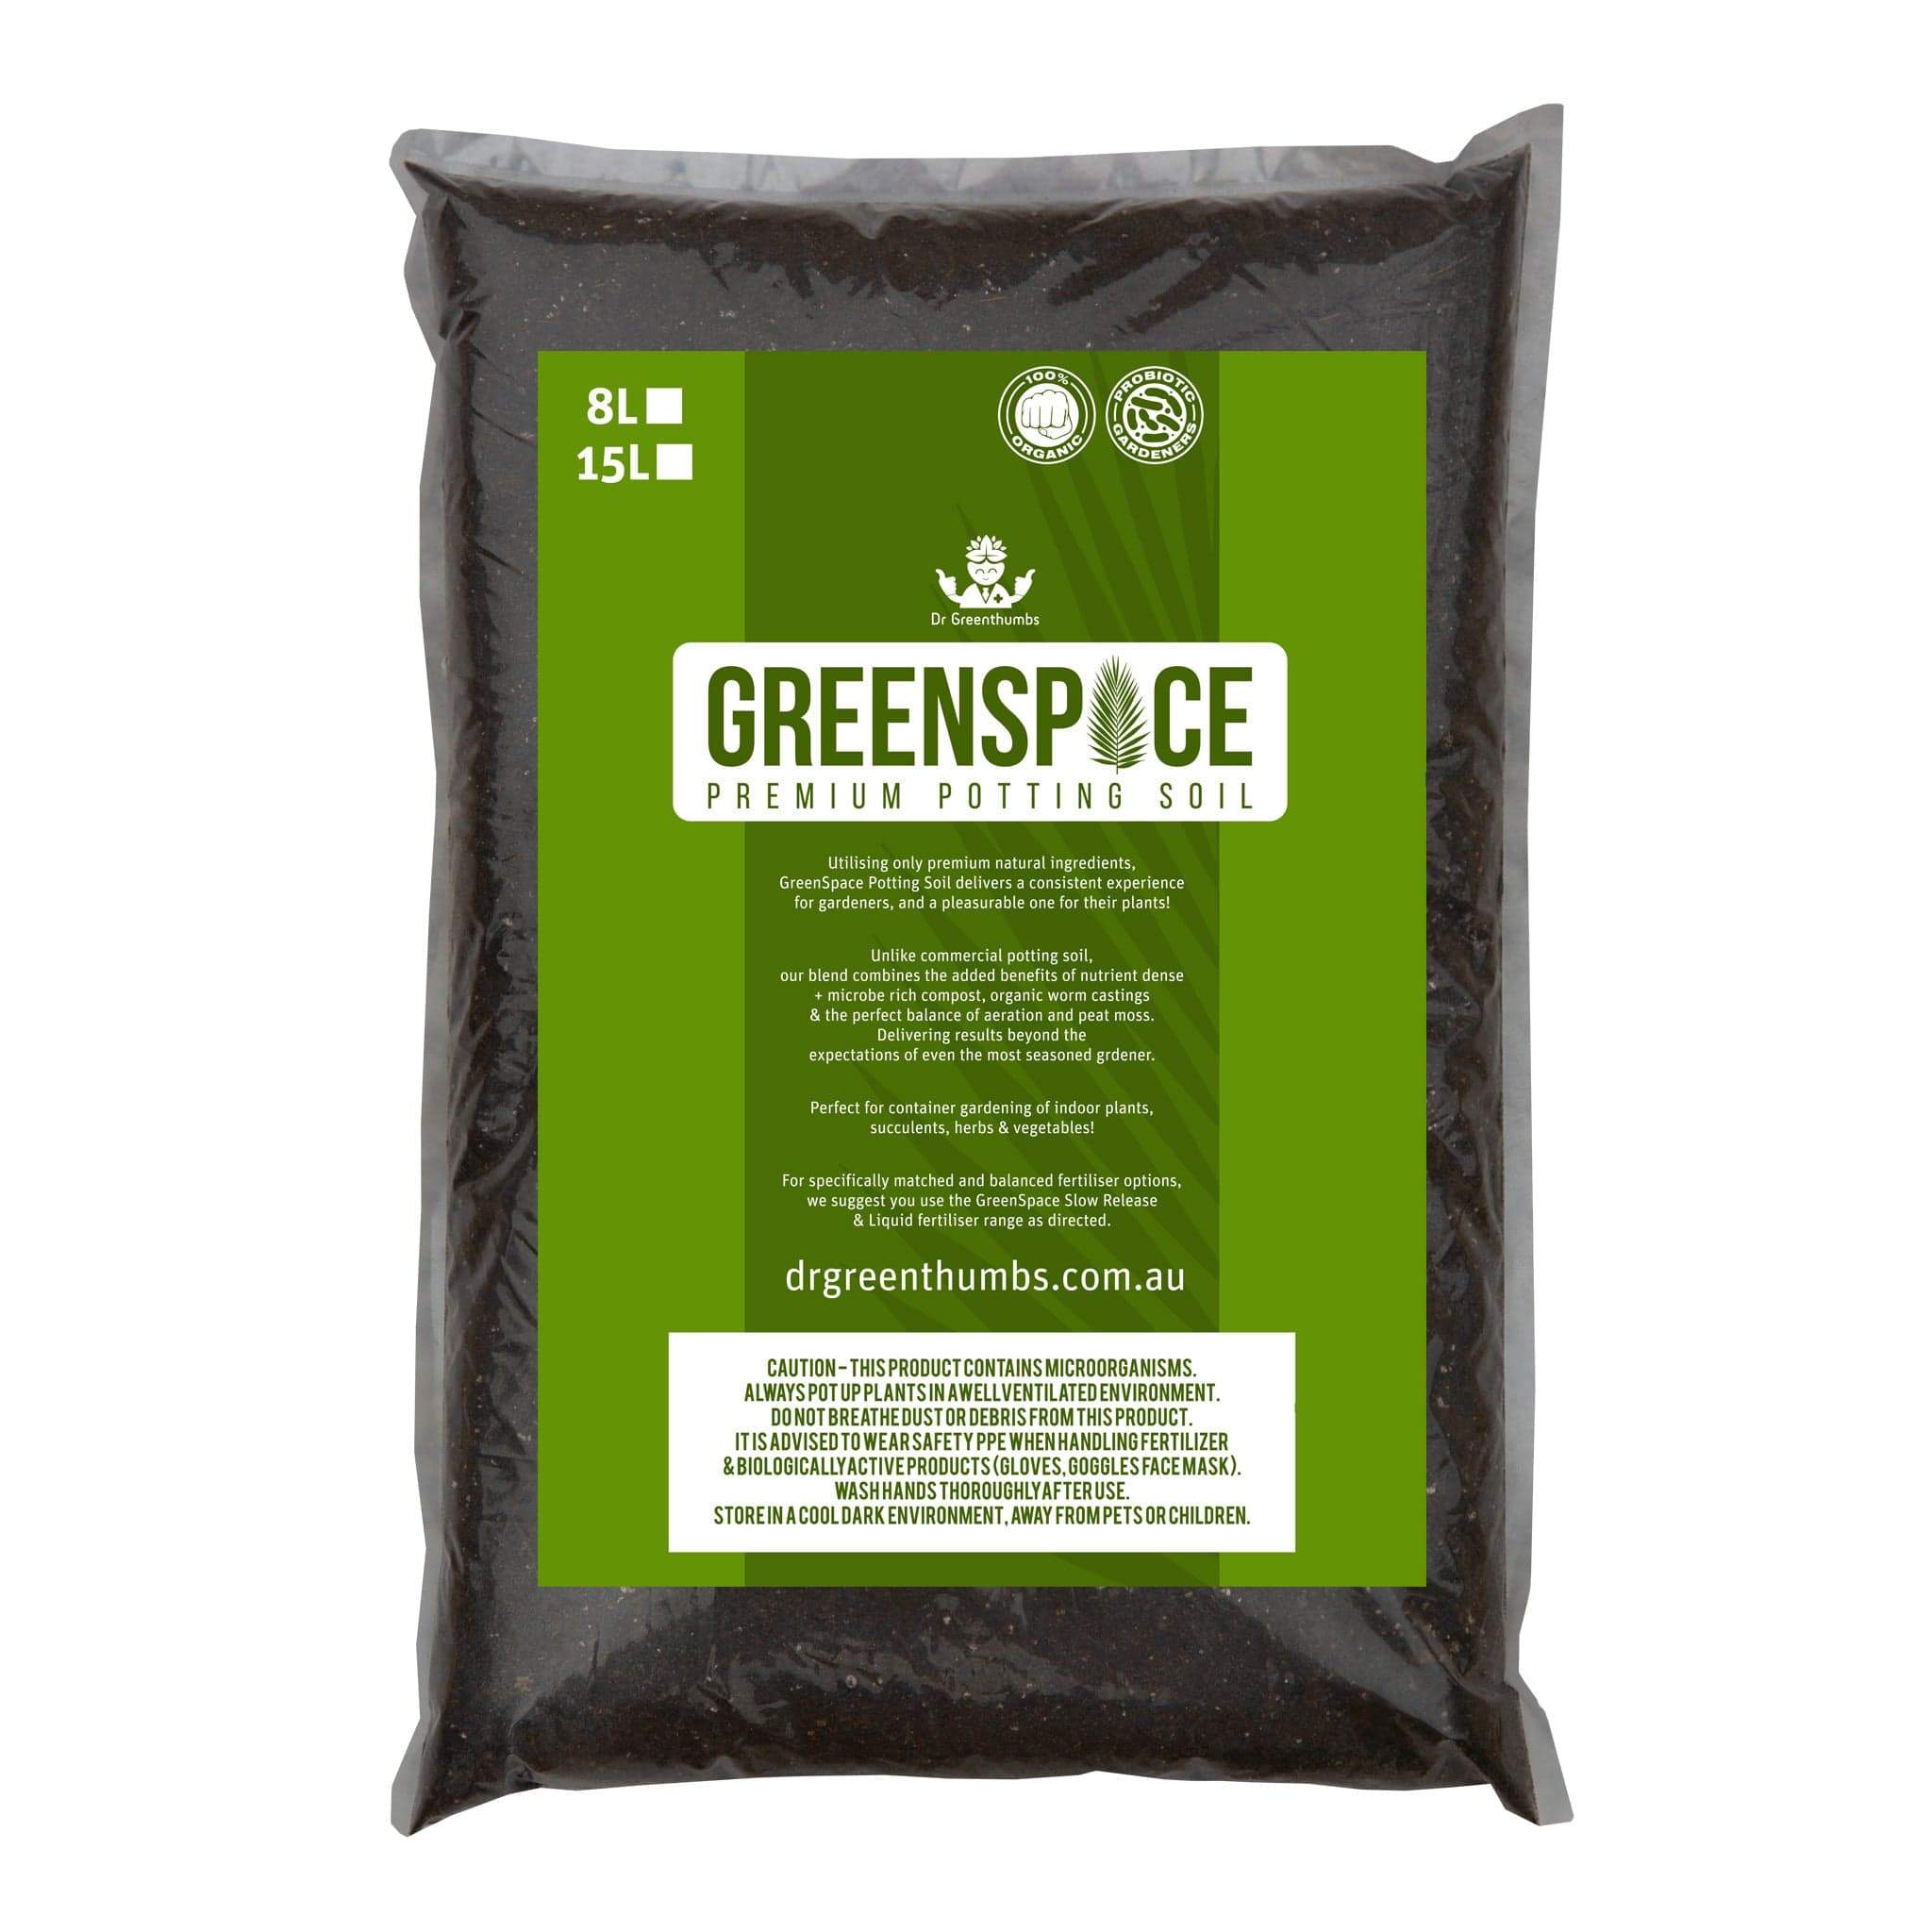
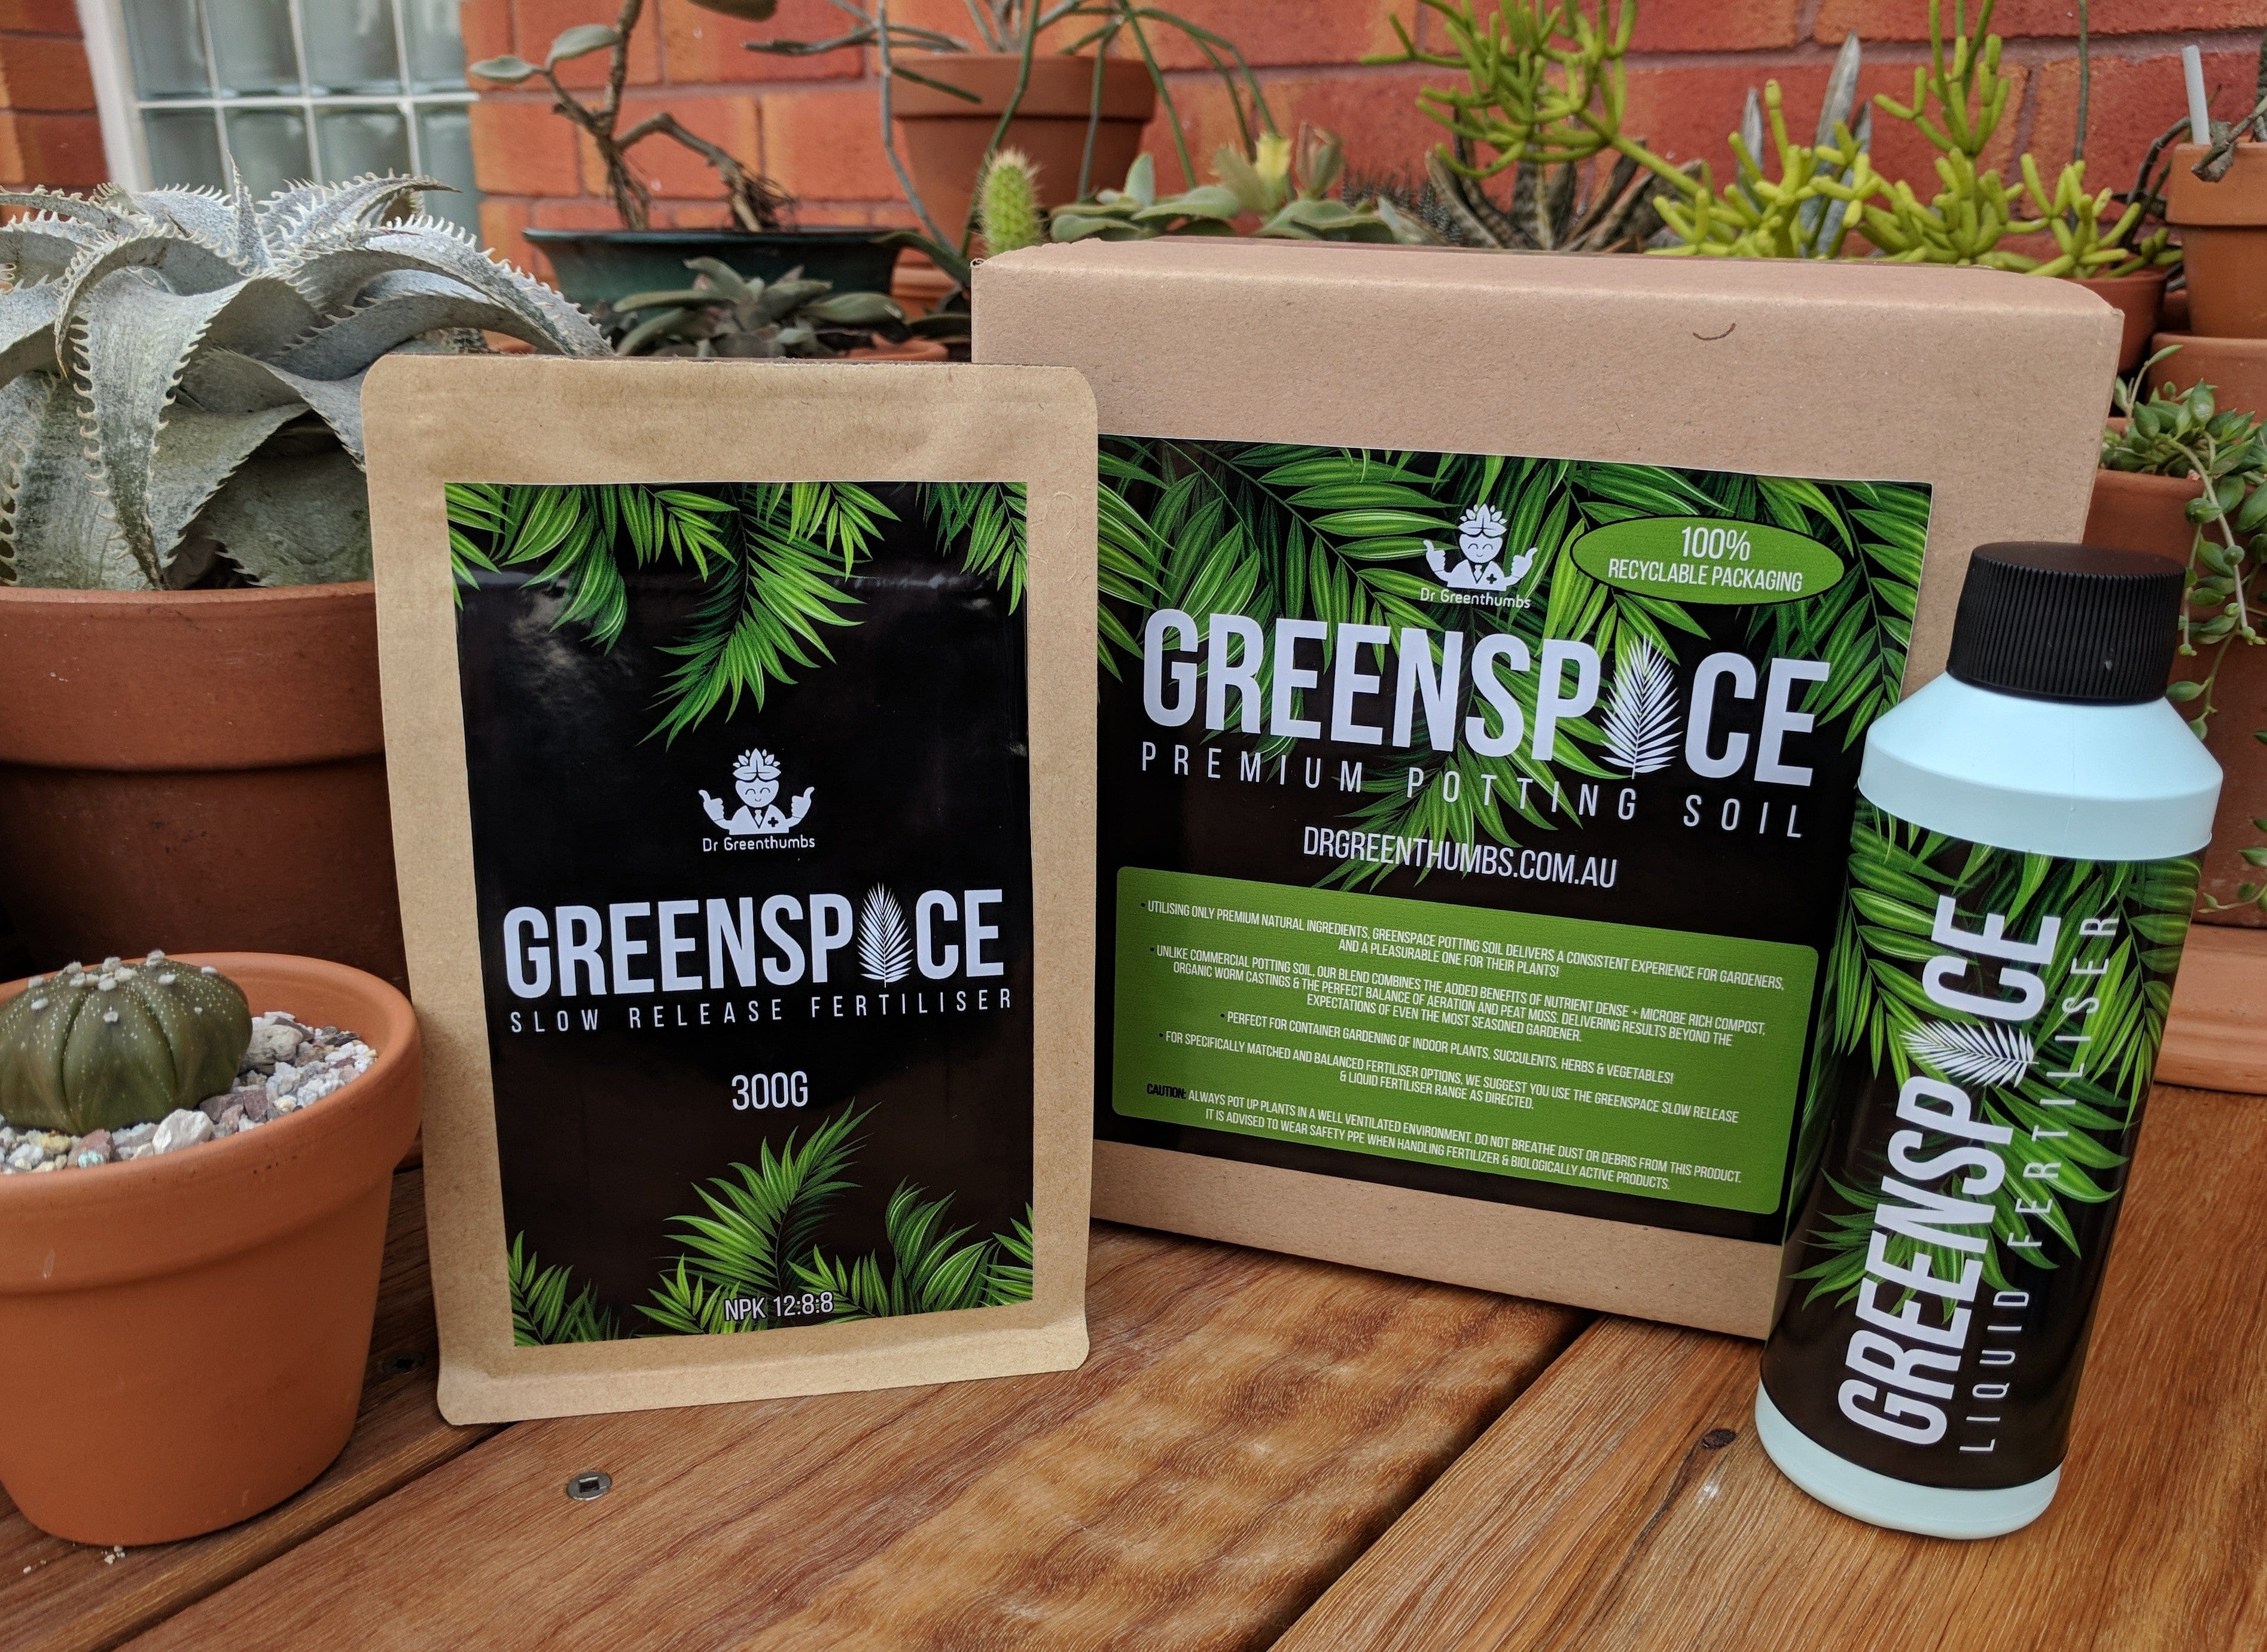
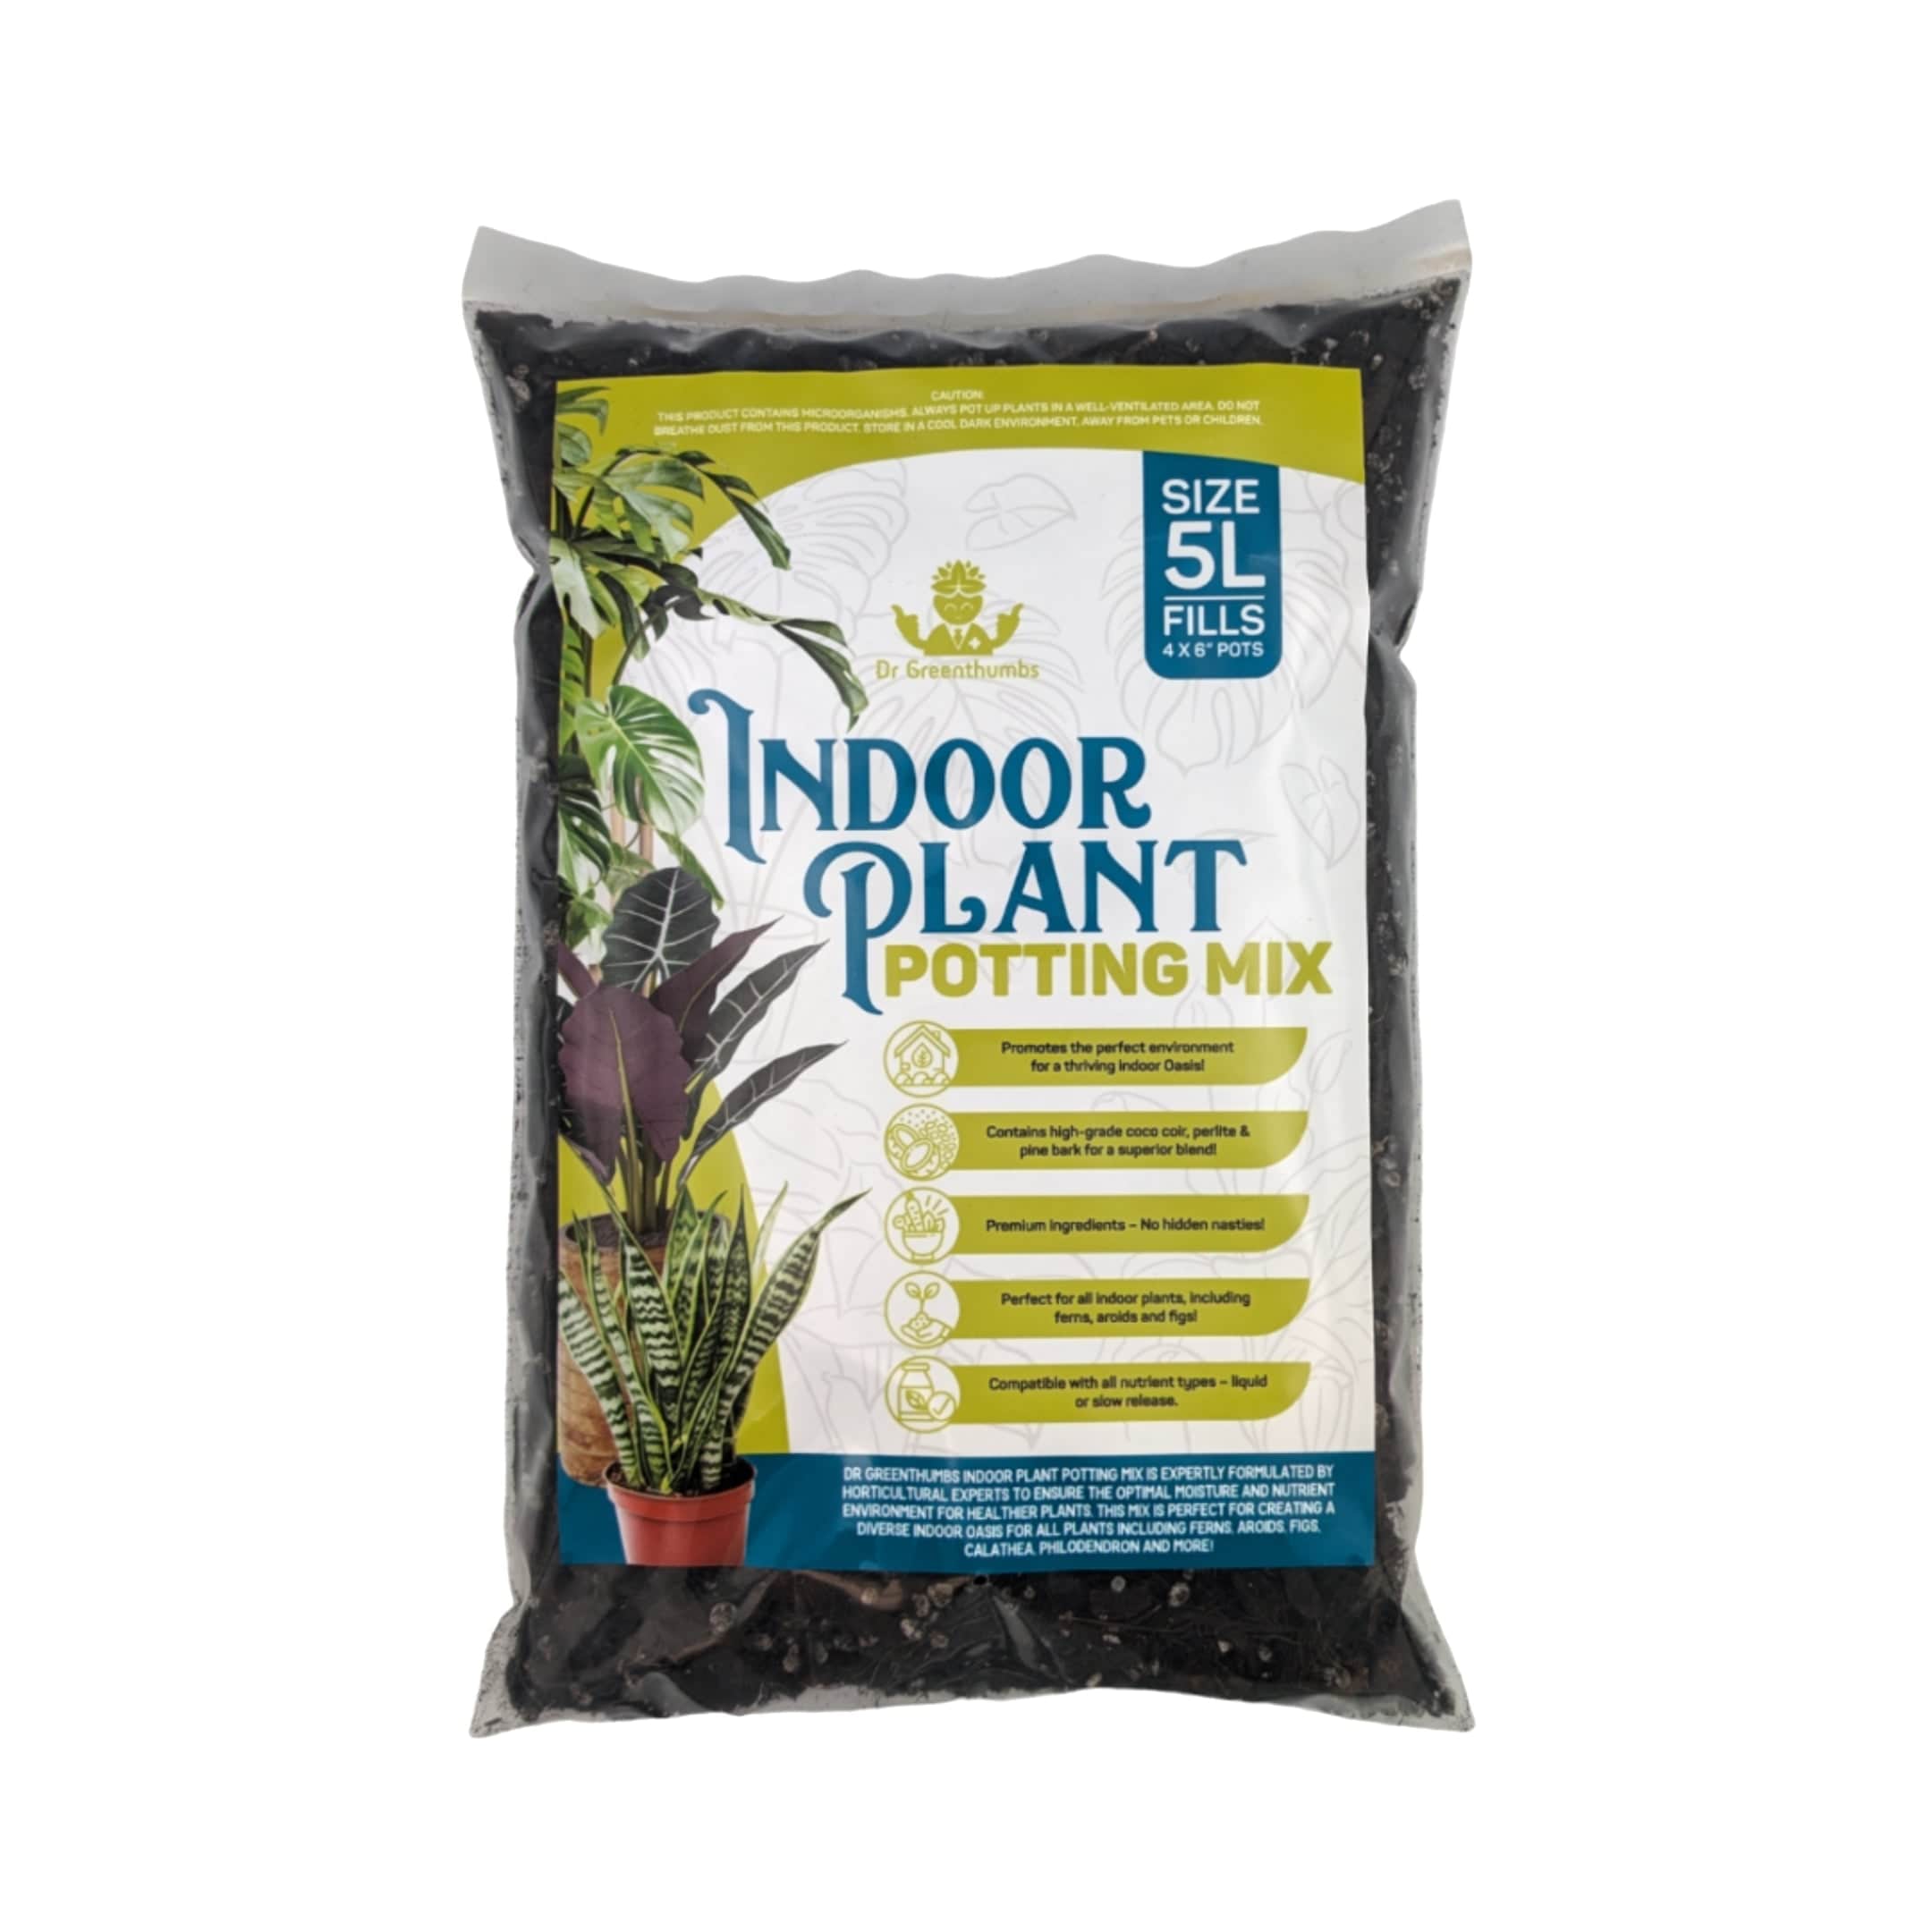
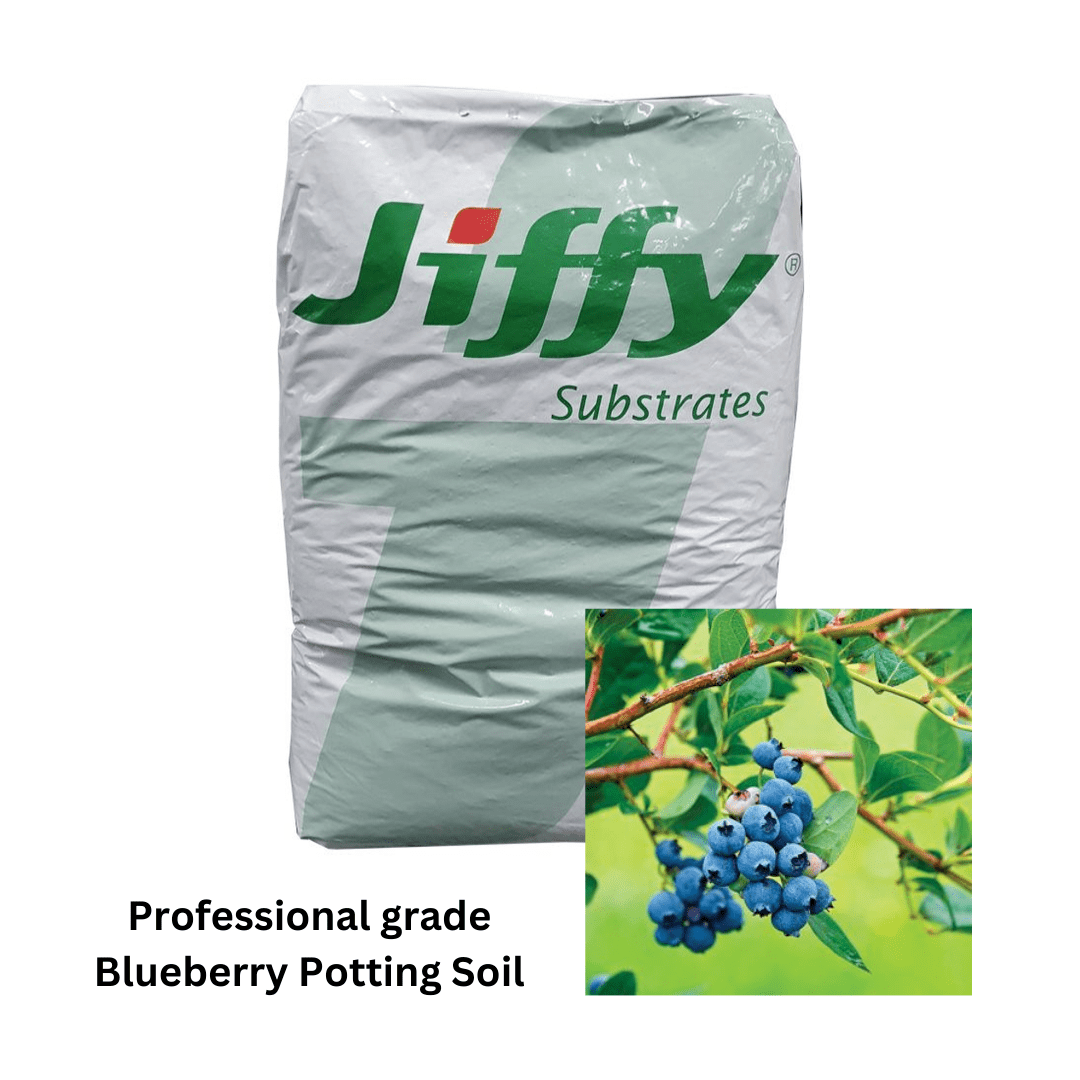
If you want the easiest way to get this right, these are the key ingredients/tools:


Cactus Soil Basics
Cacti hail from arid zones where rain drains through gravel in minutes. If you're wondering what soil to plant cactus in, you need a light, gritty medium with around 70–80% mineral content to mimic those naturally fast-draining conditions. A moisture-holding peat mix spells certain rot in our humid Aussie summers. Aim for:
- Rapid drainage: water should disappear through the pot in 5 sec.
- Air pockets: oxygen keeps roots alive and prevents anaerobic pathogens.
- Slight acidity – neutral pH (6.0-6.5) helps nutrient uptake.
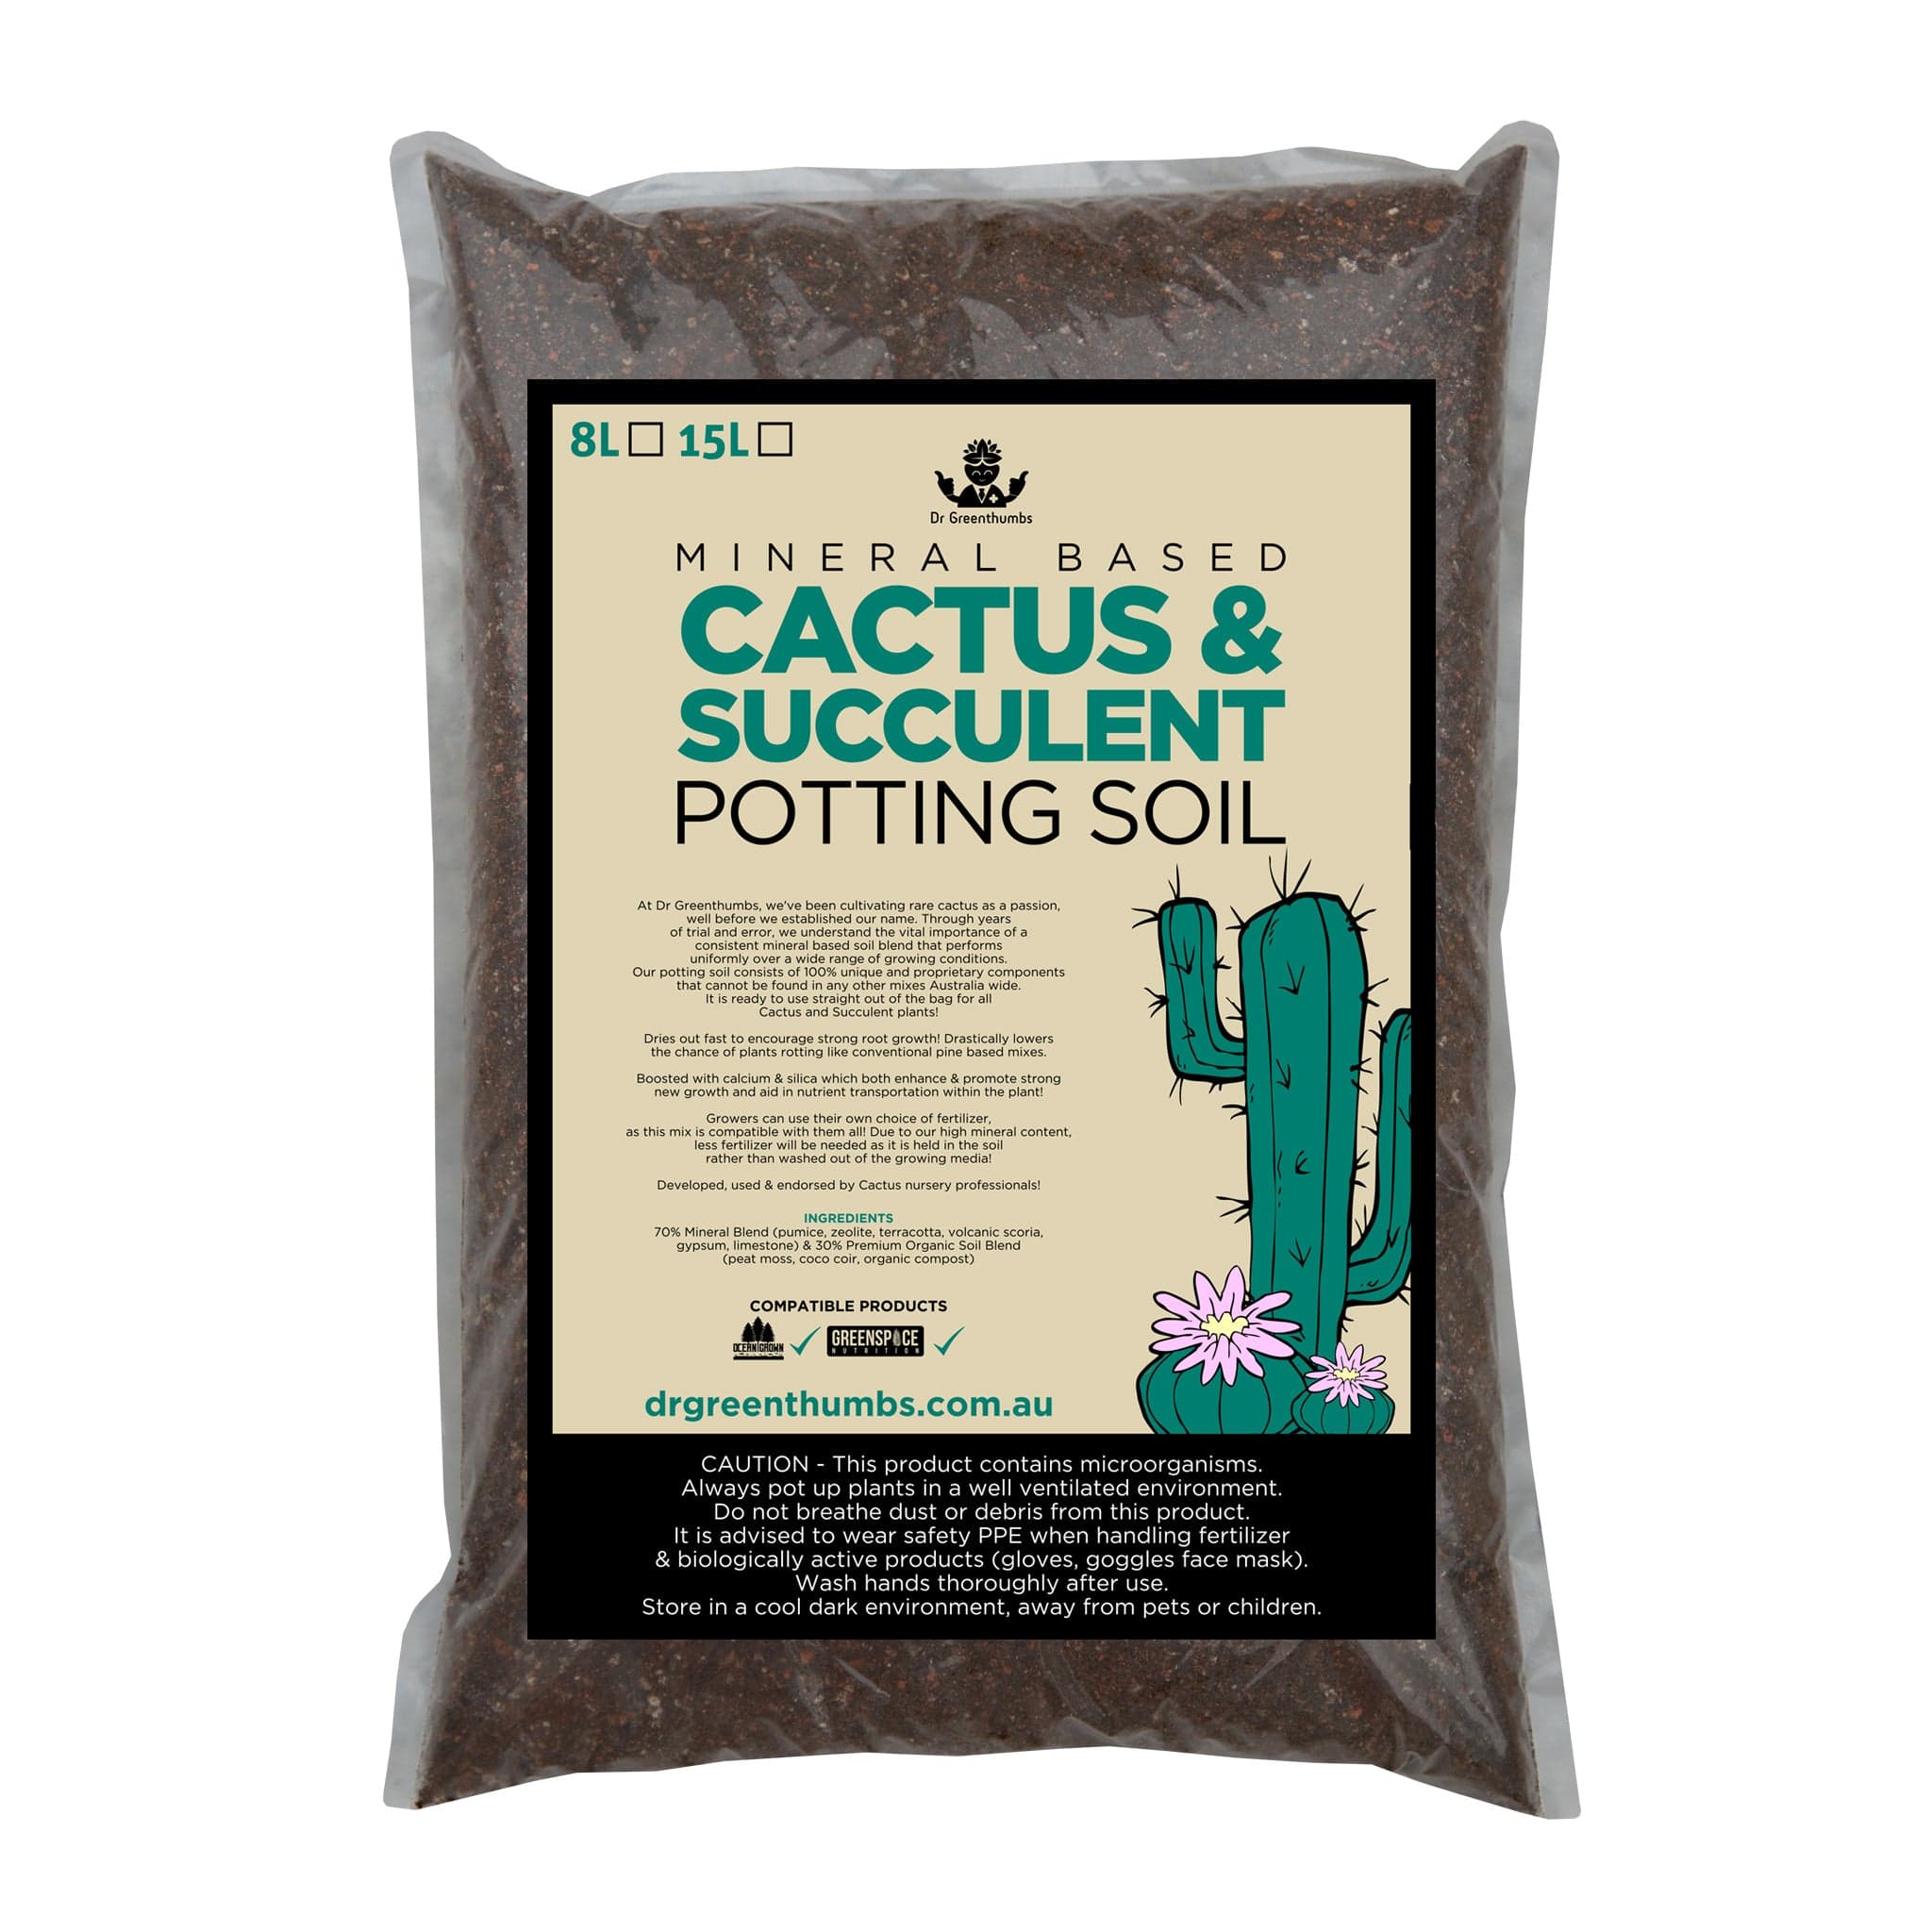
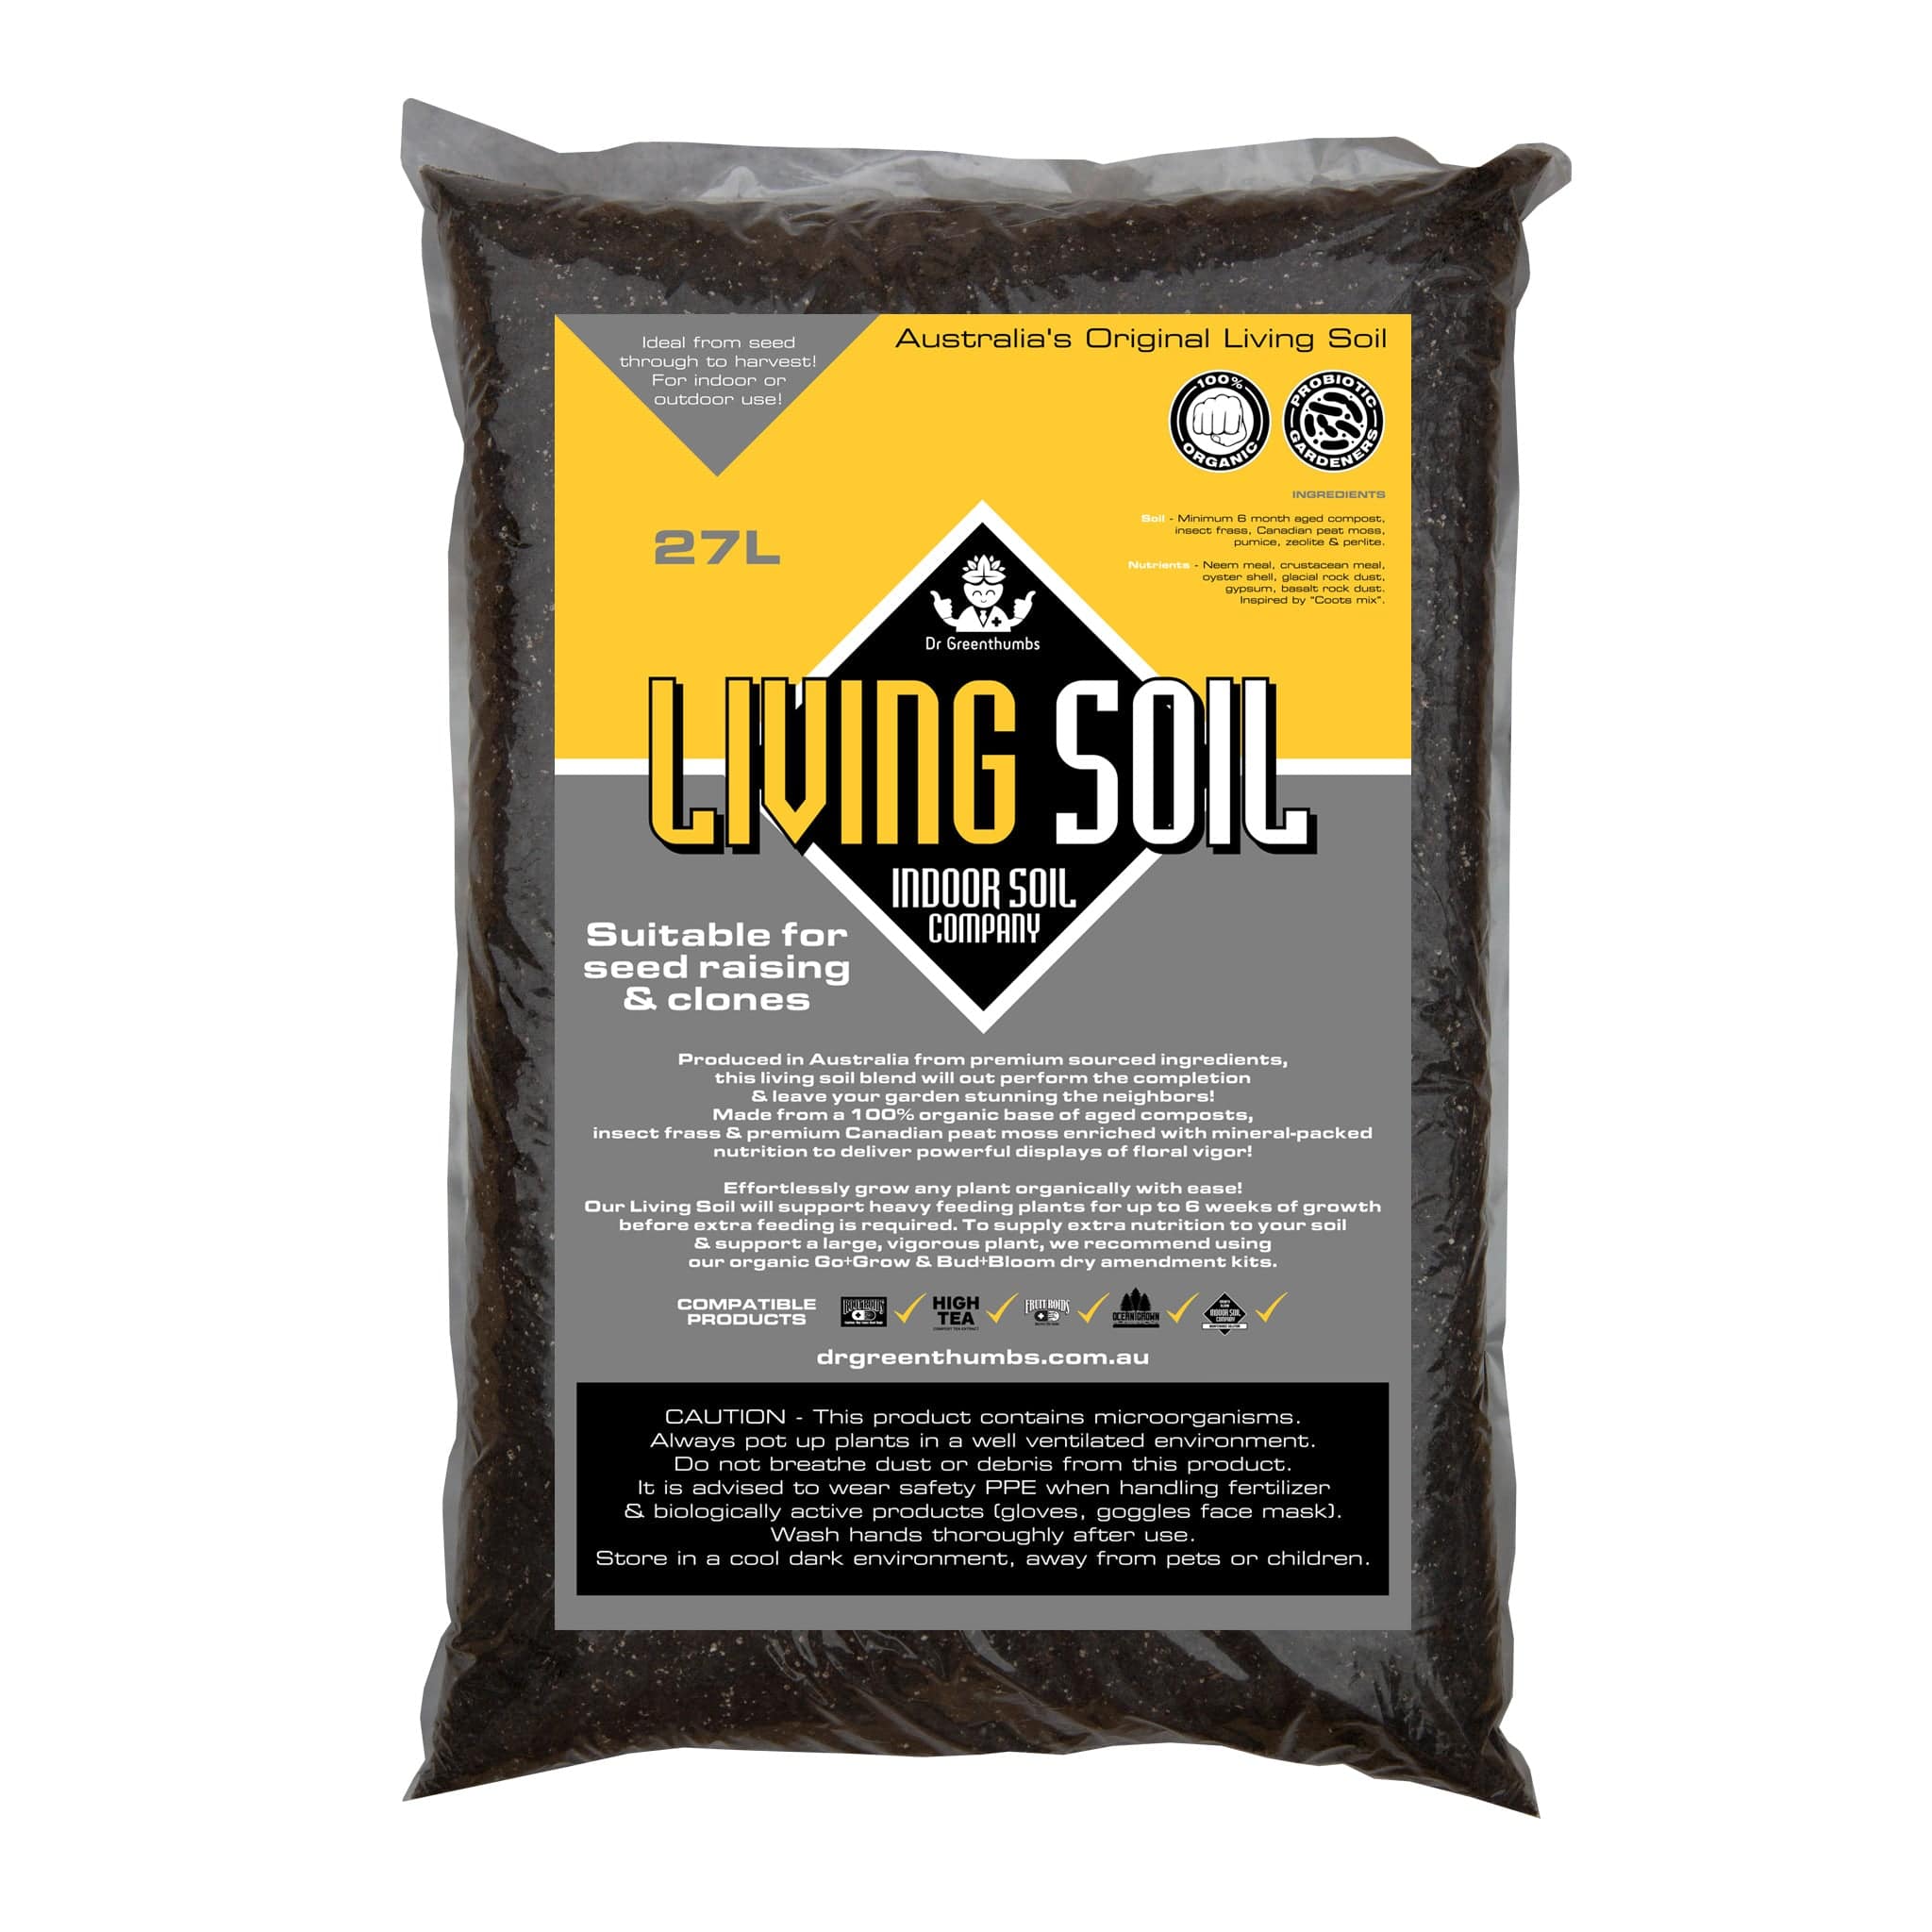
Shortcut: If you want a mineral-leaning base without the measuring, start with the ready-made Mineral Based Soil and tweak with extra pumice or zeolite to taste.
If you want to understand the backbone of this recipe, The Aussie Grower’s Guide to Pumice Stone for Plants (2025) breaks down why pumice is the gold standard for drainage and long-term structure in arid mixes.
Which Cactus Are You Potting? Match the Mix to the Plant
Cacti aren’t all the same, and knowing what type you’re potting helps you fine-tune your soil blend. Most Aussie growers think “cactus” and treat every plant the same, but the truth is a bit more nuanced:
- Desert species (think Echinopsis, Ferocactus, Opuntia) thrive in very gritty, mineral-dominant mixes with plenty of airflow and almost no soggy bits.
- Columnar or tropical cacti (like Hylocereus or jungle-type species) benefit from a slightly higher organic fraction if they’re grown in shaded or indoor conditions — just enough to help seedlings stay hydrated without going mushy.
- Epiphytic cacti (e.g., Rhipsalis, Hatiora) like a bit more organic structure because in nature they grow in mossy tree crotches rather than pure desert gravel.
As a rule of thumb, desert types do best around 70–80 % mineral content, while columnar/epiphytic types can tolerate 60–65 % mineral with a touch more coir or fine bark. See how the ratios in this post mimic those natural habitats to keep roots happy.
One cactus and succulent potting mix can cover a lot of plants, but not every plant wants the exact same balance.
Use the grittiest mix for:
- Lithops and split rocks
- Ariocarpus, Astrophytum and other fussy desert cacti
- Small globular cacti in humid areas
- Plants recovering from rot
- Outdoor pots exposed to rain
Use a balanced gritty mix for:
- Echinopsis
- Mammillaria
- Opuntia
- Aloe
- Haworthia
- Jade plants
- Echeveria in bright light
Use a slightly chunkier, more buffered mix for:
- Rhipsalis
- Christmas cactus
- Epiphytic cactus types
- Some euphorbia
- Succulents growing in very hot terracotta pots
The biggest mistake is treating every spiky or fleshy plant like it came from the same patch of desert. Some want lean mineral grit. Some want a little more organic structure. The goal is always the same though: water can move through, roots can breathe, and the mix dries before trouble starts.
Cactus Soil vs Succulent Potting Mix: When They Should be Different
Cactus soil and succulent potting mix often get sold as the same thing, and for many plants that’s fine. But they’re not always identical in practice.
A true cactus soil should usually be leaner, grittier and more mineral-heavy. It suits plants that hate sitting wet, especially globular and desert-style cacti. Succulent potting mix can usually carry a little more moisture-holding material, because many succulents have finer roots and fleshy leaves that use water differently.
Use the drier, sharper cactus-style mix for:
- Ariocarpus, Astrophytum, Lophophora and other rot-prone collectors’ cacti
- Globular desert cacti
- Small pots in humid climates
- Plants recovering from rot
- Growers who water too often
Use a slightly more buffered succulent-style mix for:
- Echeveria, sedum, crassula and kalanchoe
- Shallow-rooted succulents
- Small terracotta pots that dry very fast
- Hot, dry balconies
- Plants that shrivel too quickly between waterings
Same family of ingredients, different balance. That’s the part most bagged mixes don’t explain clearly enough.
Succulents don’t all behave like desert cacti. A chunky cactus mix can work well, but some fleshy succulents need a touch more moisture buffering so they don’t shrivel between waterings — especially in small terracotta pots or hot, bright windows.
The trick is still fast drainage, just not “dry in five minutes” drainage.
For most common succulents like echeveria, sedum, crassula, kalanchoe and haworthia, aim for a mix that:
- Drains quickly after watering
- Holds a small amount of moisture around the roots
- Doesn’t collapse into sludge after a few months
- Has enough mineral grit to stop the base staying wet
- Lets you water deeply, then leave the plant alone
Where people go wrong is using a moisture-heavy indoor potting mix because succulents “look thirsty”. That usually backfires. Soft leaves can wrinkle from underwatering, but they can also wrinkle when roots are rotting and no longer taking up water.
If the leaves are wrinkled but the stem base is soft, translucent or blackening, don’t water again. Pull the plant, check the roots and repot into a sharper succulent potting mix before the rot travels further.
What Is a Cactus and Succulent Mix (and Why It Matters)
A proper cactus and succulent mix isn’t just “soil with sand thrown in” — it’s a deliberately engineered growing medium designed to control water, oxygen, and nutrient flow around the roots.
Unlike standard potting soil, which holds moisture for longer periods, cactus and succulent mixes are built to drain rapidly while still retaining just enough moisture for uptake. This balance is critical because cacti and succulents are highly sensitive to prolonged wet roots, which quickly leads to rot.
At a practical level, a quality mix should:
- Drain freely within seconds after watering
- Feel gritty, not dense or spongy
- Contain a high proportion of mineral components (like pumice, coarse sand, or perlite)
- Avoid heavy organic matter that compacts over time
How to Choose the Right Cactus Mix Potting Soil for Your Climate
Not all cactus mix potting soil performs the same across Australia — and this is where most growers unknowingly run into trouble.
Your local climate should directly influence how “fast” or “slow” your mix drains:
Hot, dry regions (WA, SA, inland NSW/VIC):
- Slightly more organic matter is acceptable
- Helps retain moisture between watering cycles
- Reduces frequency of watering
Humid or coastal areas (QLD, NSW coast):
- Prioritise fast-draining, mineral-heavy mixes
- Reduce compost or peat content
- Increase airflow around roots to prevent fungal issues
Cool or temperate zones (VIC, TAS):
- Balance is key — avoid extremes
- Ensure mix doesn’t stay cold and wet for extended periods
A common mistake is using the same mix recipe year-round. In reality, seasonal tweaks (like adding more drainage in wetter months) can significantly improve plant health and reduce rot risk.
What Makes a High-Quality Cactus Potting Mix?
A high-performing cactus potting mix isn’t defined by brand — it’s defined by structure.
The best mixes consistently combine three functional components:
1. Drainage (Prevents Rot)
Materials like pumice, perlite, or coarse sand create air pockets and allow excess water to escape quickly.
2. Structure (Prevents Compaction)
Ingredients such as scoria or gravel maintain long-term stability so the mix doesn’t collapse over time.
3. Controlled Organic Matter (Supports Growth)
A small portion of organic material (like coco coir or composted bark) provides nutrients without holding excessive moisture.
A simple benchmark:
- If water pools on top → too dense
- If the mix dries rock-hard → too mineral-heavy
- If roots stay wet for days → too organic
The sweet spot is a fast-draining, lightly moisture-retentive mix that dries out predictably — not instantly, but never sluggishly.
Potting Mix for Cactus: Quick Tests before you Repot
Before you put a good cactus into any potting mix, test the mix first. It takes two minutes and can save you a rotten plant.
The drain test:
Fill a spare nursery pot with the mix and water it properly. Water should move through freely, not sit on top or creep through like soup through a sock.
The squeeze test:
Grab a damp handful and squeeze. If it stays in a tight clump, it’s too fine or too organic. If it crumbles apart with a bit of grit and texture, you’re on the right track.
The float test:
Water the pot and watch what rises. A little perlite floating is normal, but if half the mix lifts, separates or washes away, the blend may be too light and uneven.
The dry-back test:
Check the pot after a day or two. The exact timing depends on climate, pot size and season, but cactus mix should not still feel wet and heavy for days on end. If it does, add more mineral material before you repot.
The smell test:
Fresh cactus mix should smell earthy or neutral. If it smells sour, swampy or rotten, don’t use it around plants that hate wet feet.
These tests matter because “well-draining” on a bag doesn’t always mean well-draining in your pot, in your climate, with your watering habits.
Cactus Potting Soil vs Regular Potting Mix – Key Differences
Using standard potting mix for cacti is one of the fastest ways to kill them.
Here’s how cactus potting soil differs:
|
Feature |
Regular Potting Mix |
Cactus Potting Soil |
|---|---|---|
|
Water retention |
High |
Low to moderate |
|
Texture |
Fine, dense |
Gritty, coarse |
|
Drainage speed |
Slow |
Rapid |
|
Airflow |
Limited |
High |
|
Root health |
Risk of rot |
Promotes oxygenation |
Regular mixes are designed for thirsty plants. Cactus potting soil is designed for survival in low-moisture environments.
The key difference is oxygen availability at the root zone. Cacti need their roots to dry out and re-oxygenate between watering cycles — something standard mixes simply don’t allow.
Exact DIY Recipe For Dry Lovers (Makes ~5 L)
|
Ingredient |
Metric |
Imperial |
Why |
|---|---|---|---|
|
Pumice (3-5 mm) |
2 L |
8 cups |
Creates macro-porosity & wicks excess water |
|
Perlite (coarse) |
1 L |
4 cups |
Ultra-light, boosts drainage further |
|
Washed coarse sand |
1 L |
4 cups |
Adds weight so tall columnars stay upright |
|
High-grade zeolite |
0.5 L |
2 cups |
CEC buffer stores calcium & magnesium |
|
Sieved coco coir |
0.5 L |
2 cups |
Minimal organic fraction for micro-life |
Optional boosts
- 1 tbsp Root Roids for mycorrhizal kick-start
- Pinch of slow-release mineral fertiliser
Printable card: copy the table, laminate, stick to your shed wall.
For growers working across bonsai, succulents and cacti, the Bonsai Potting Mix Guide for Australian Growers (2025) shows how similar mineral components can be tuned for very different water needs.
Mixing Instructions
- Sanitise your tub and trowel with 3 % hydrogen peroxide.
- Layer ingredients dry, largest particles first.
- Stir for one full minute – aim for a uniform texture.
- Moisten lightly until the mix just darkens; it should crumble if squeezed.
- Pot up; leave 1 cm rim space for top-dressing.
Cactus Soil Mix Ratio: The Easy “Parts” Method
If you don’t want to measure litres every time, use parts instead. One part can be a cup, scoop, yoghurt tub, bucket or whatever you’ve got handy — just keep the measuring container the same for every ingredient.
For most desert-style cacti, a safe cactus soil mix ratio is:
- 3 parts mineral drainage material
- 1 part coarse structure material
- ½ to 1 part light organic material
That gives you a gritty, open mix that drains fast but doesn’t turn into a bone-dry brick after one hot day.
A simple version looks like this:
- 3 parts pumice, perlite or scoria
- 1 part washed coarse sand or fine gravel
- ½ part coco coir, composted bark fines or low-nutrient potting base
If you’re in a humid spot, watering too often, or growing rot-prone collector plants, push the mineral side harder. Go closer to 4 parts mineral to ½ part organic. If you’re inland, growing in terracotta, or your pots dry out too quickly, keep a little more organic matter in the mix so the roots get time to drink.
The trick is not chasing a “perfect” number. The right cactus soil mix ratio is the one that lets you water properly, drain fully, then dry down before the roots sit wet.
Succulent Soil Mix Ratio: Don’t Make It Too Lean
A succulent soil mix ratio usually needs a touch more moisture buffering than a hardcore cactus blend. Succulents like echeveria, jade, crassula, sedum, kalanchoe and haworthia still hate soggy roots, but many of them have finer root systems and fleshy leaves that can wrinkle hard if the mix dries too aggressively.
A good starting point is:
- 2 parts mineral drainage material
- 1 part light potting base
- 1 part chunky structure material
That gives you roughly a 60–70% mineral blend, which is a sweet spot for most potted succulents.
Use more mineral material if:
- The pot is plastic or glazed ceramic
- The plant is outdoors in rain
- You’re in coastal NSW, QLD or another humid area
- The plant has previously rotted
- You tend to water “just in case”
Use a slightly more buffered mix if:
- The plant is in terracotta
- The pot is tiny and dries in a day
- You’re growing on a hot balcony
- Leaves wrinkle quickly even when roots are healthy
- You’re growing shallow-rooted succulents that hate drying too hard
If the plant is soft at the base, translucent, blackening or dropping leaves from the stem upward, don’t assume it needs more water. That’s often rot talking, not thirst.
How To Make Cactus Soil from a Bagged Potting Mix
This shortcut is for growers starting with an existing bagged mix, not for people making the full cactus soil recipe from scratch.
Already got a bag of cactus mix or regular potting mix sitting in the shed? You can still use it, but don’t trust it straight out of the bag.
Most bagged mixes are made to suit the broadest possible customer, not your exact cactus, pot, climate and watering habits. Some are fine. Some are basically regular potting mix with a sprinkle of perlite and a cactus picture on the front.
Here’s the quick upgrade method:
- Tip the bagged mix into a tub.
- Pick out big bark chunks, sticks or clumps that stay wet.
- Add at least the same volume of mineral drainage material.
- Mix thoroughly so the grit is spread evenly.
- Wet a small handful and squeeze it.
- If it forms a dense mud ball, add more pumice, perlite or scoria.
- If it falls apart loosely but still feels slightly damp, you’re close.
For a safer cactus blend, start with 1 part bagged mix to 1 part pumice, perlite or scoria. For fussy desert cacti, push it to 1 part bagged mix to 2 parts mineral amendment.
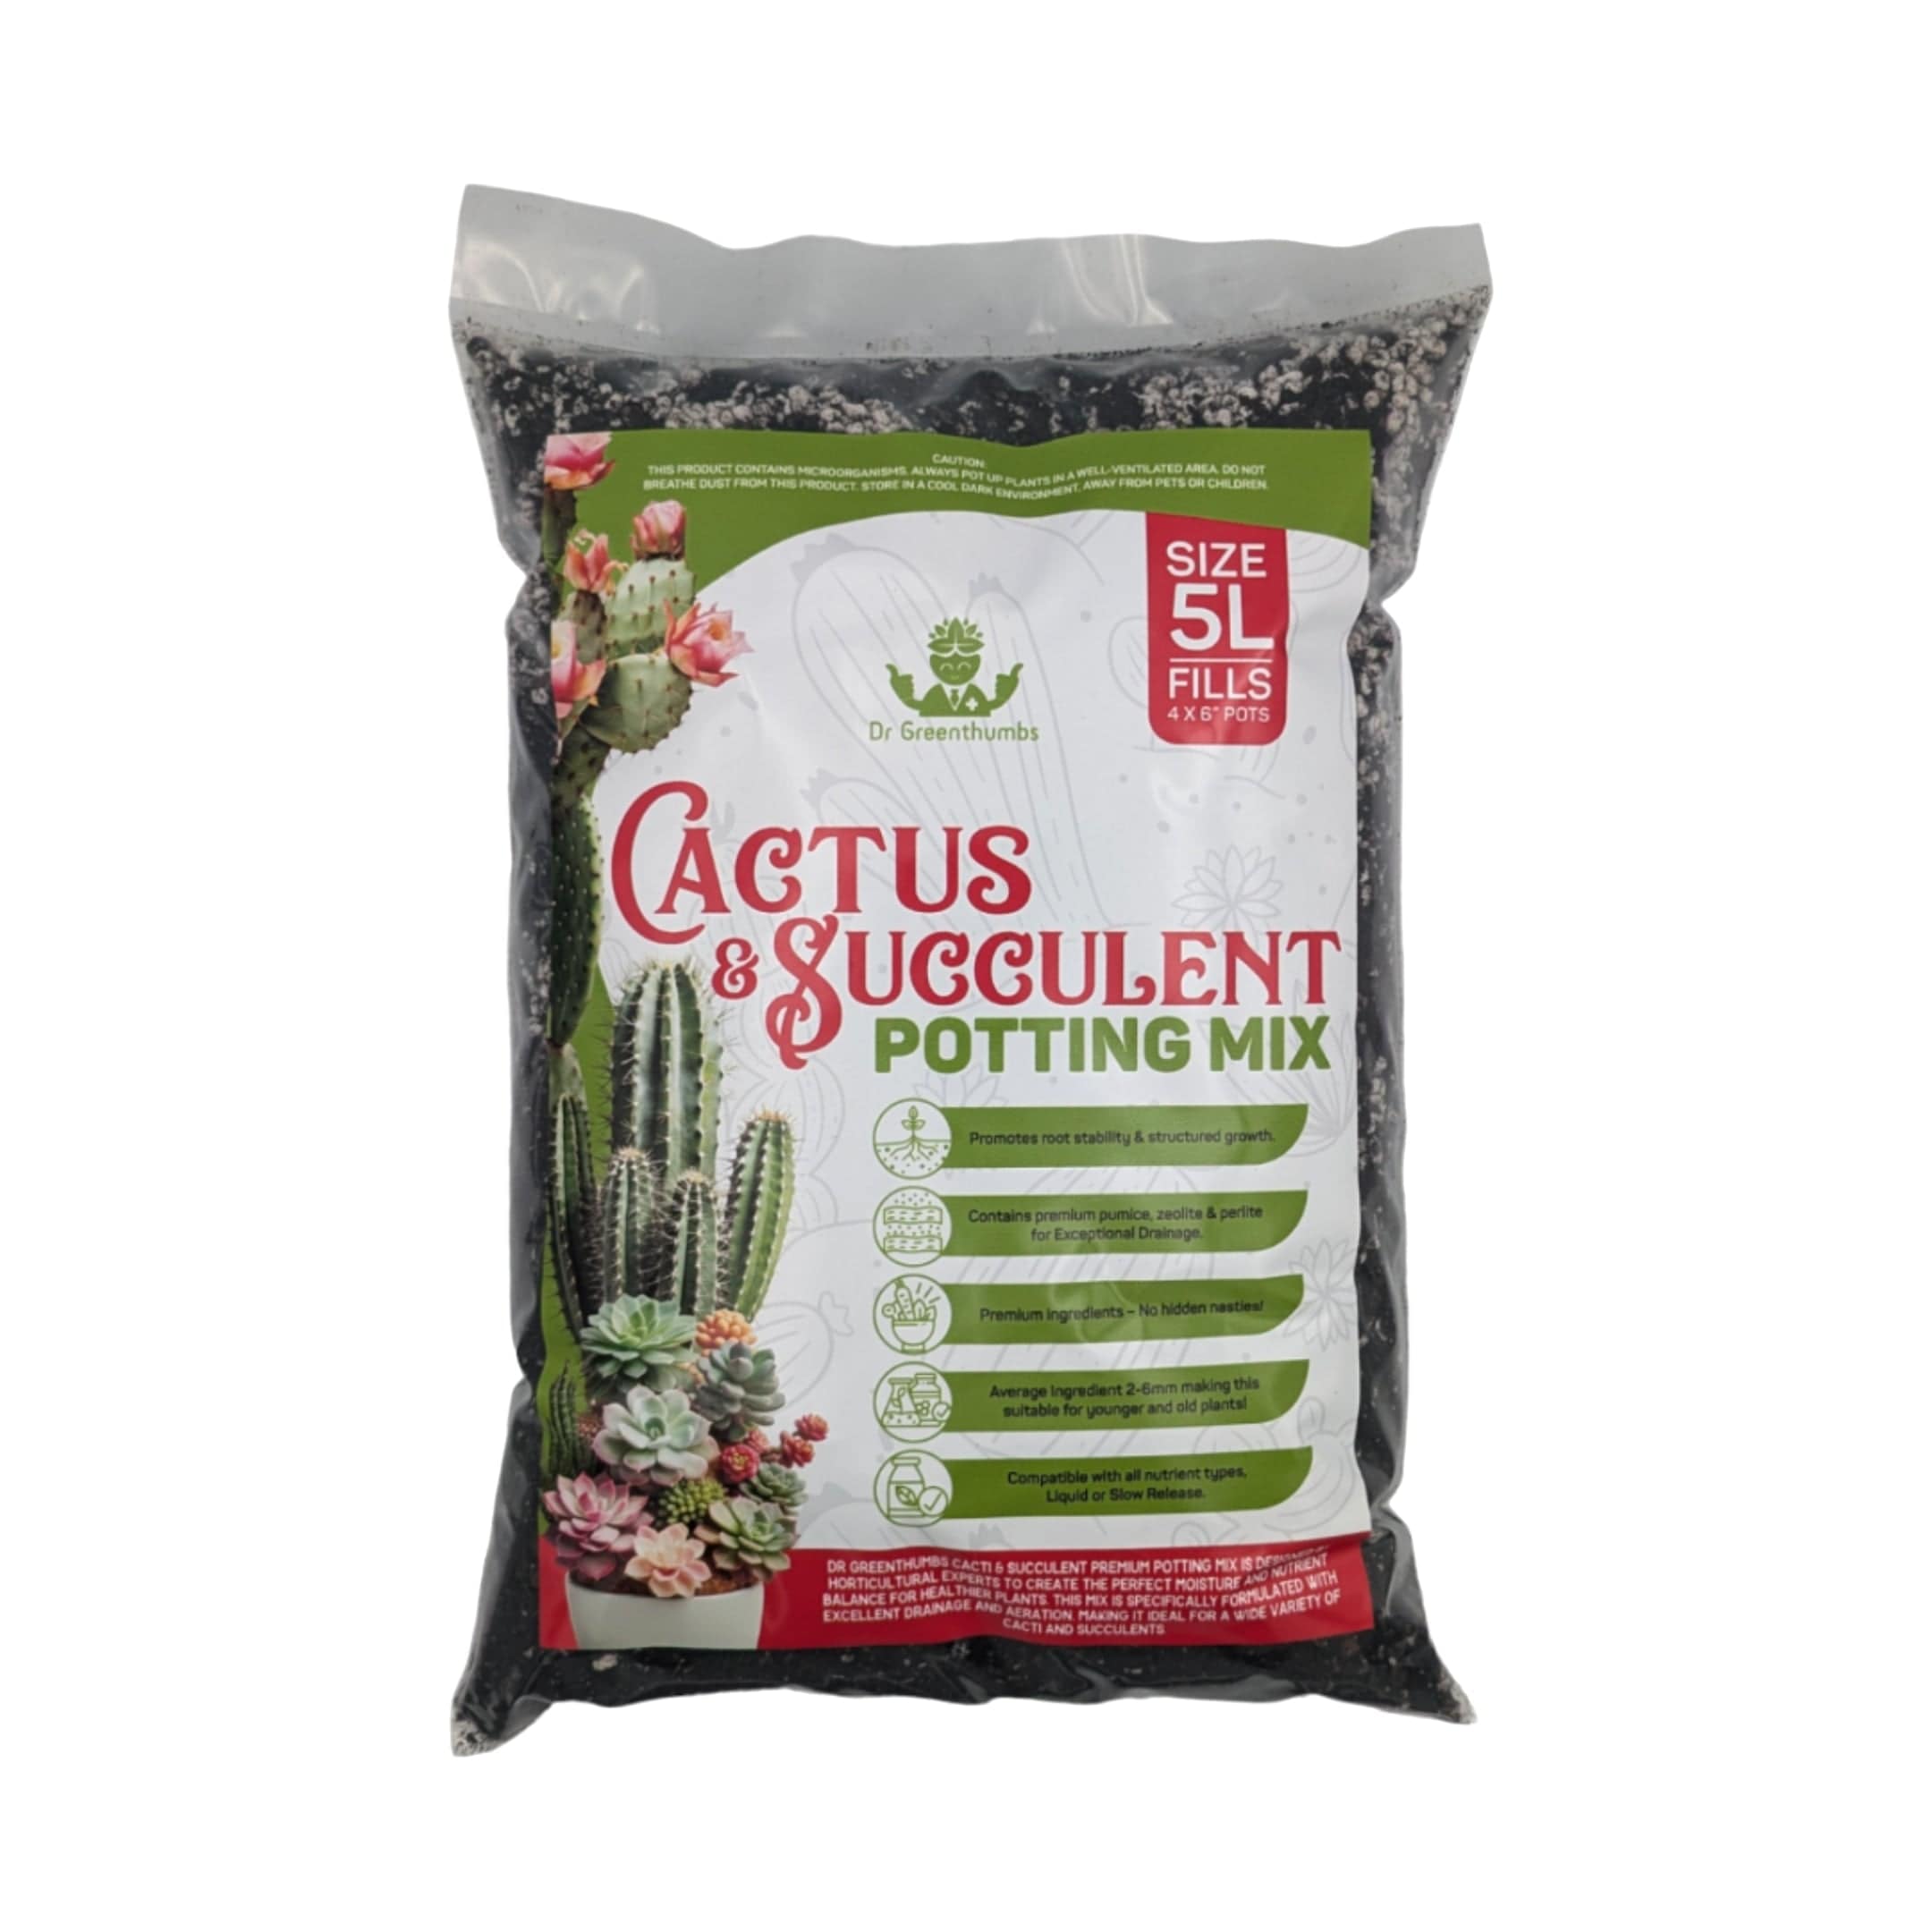
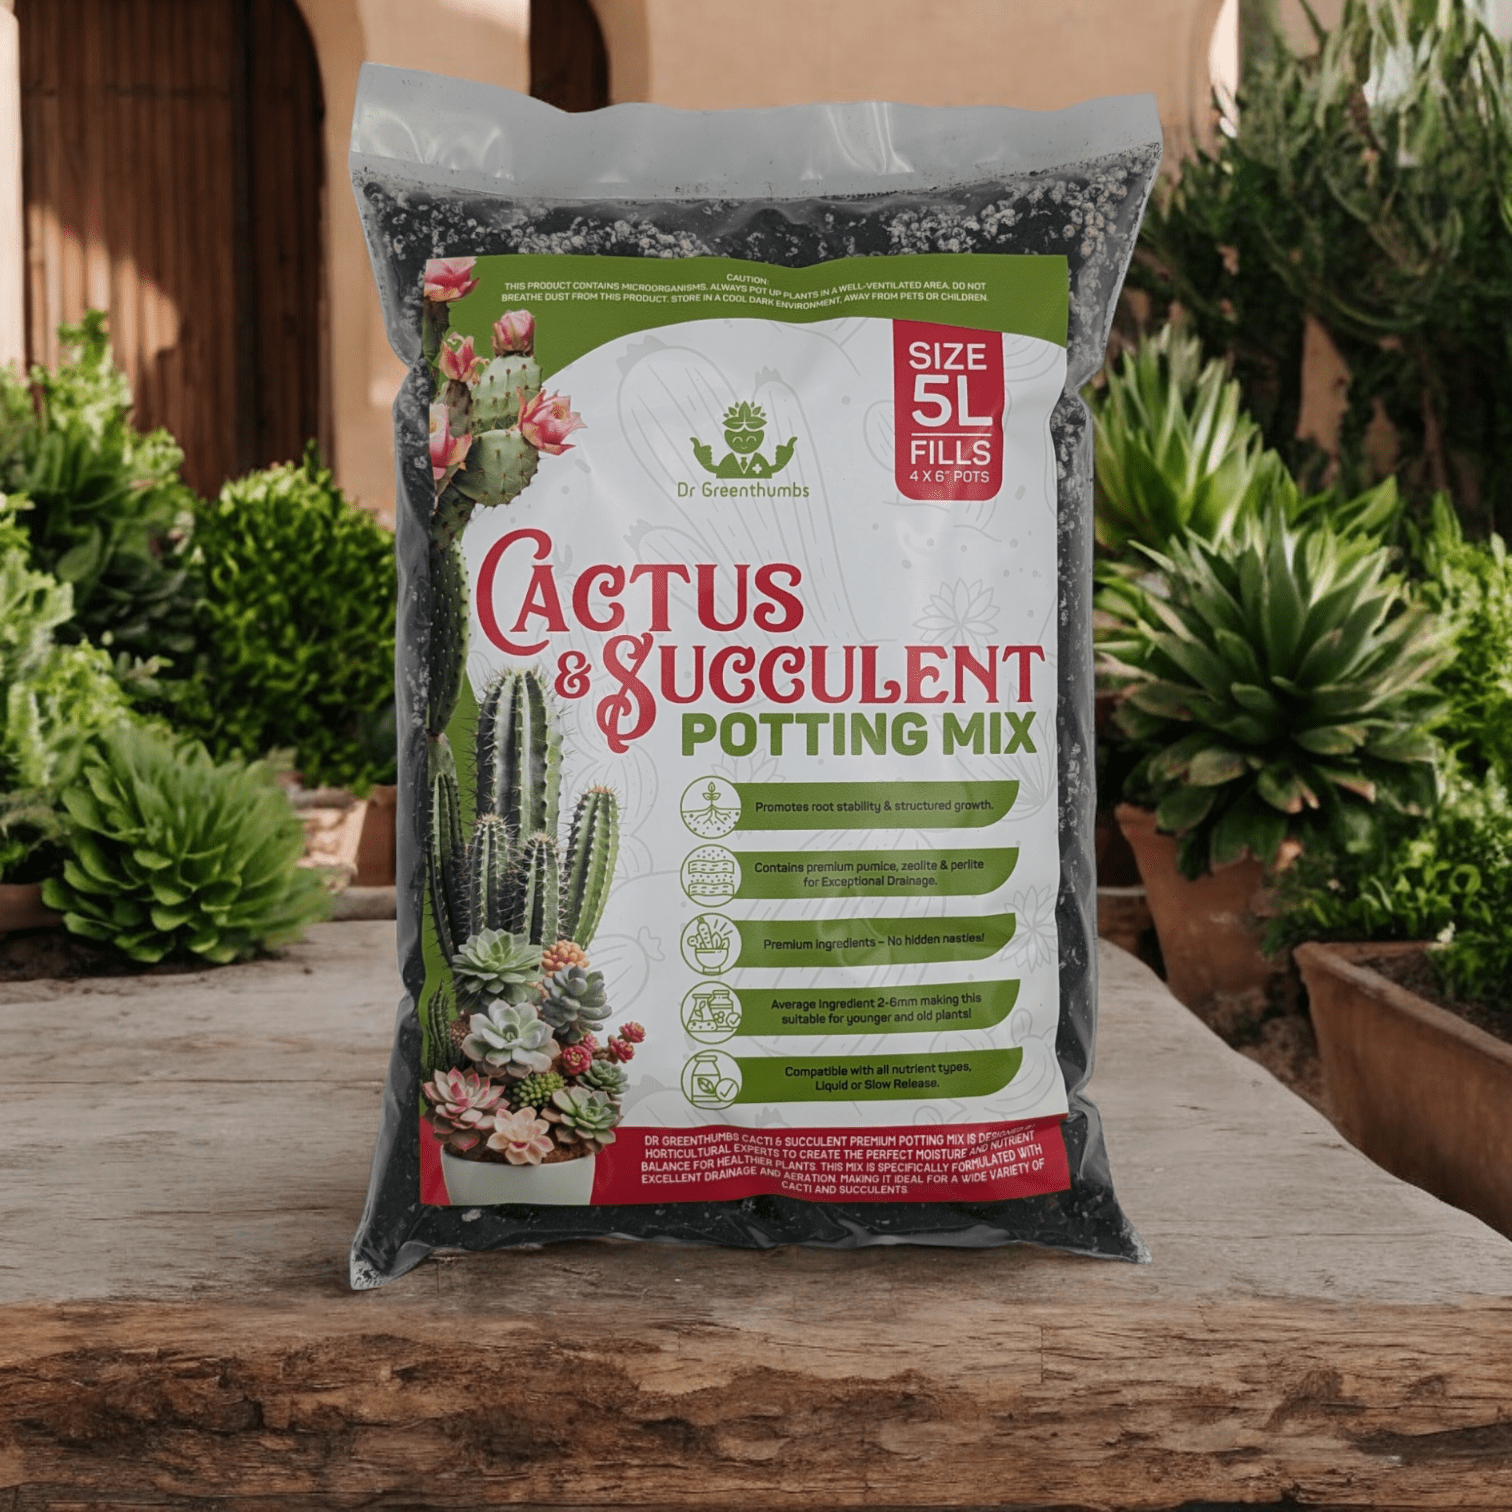
If you’d rather skip the guesswork, Cactus & Succulent Potting Mix - 5L is the cleaner shortcut because it’s already built around drainage, aeration and mineral structure.
How To Make Succulent Soil for Small Pots and Shallow Planters
Small succulent pots dry differently to big cactus pots. They heat up quicker, dry from the sides faster, and don’t leave much room for error. Shallow bowls are even trickier because they often look decorative but hold water around the lower roots if the mix is too fine.
For small pots and shallow planters, make succulent soil that is open but not dust-dry.
Use this succulent mix recipe:
- 2 parts pumice, perlite or scoria
- 1 part fine bark, coco coir or light potting base
- 1 part coarse sand, grit or small gravel
Keep the particle size fairly even. Huge chunks in a tiny pot create big air gaps where fine roots struggle to grip. Powdery fines do the opposite and clog the whole mix up. Aim for a crumbly texture where the plant sits firmly without the mix turning dense.
A few practical rules:
- Don’t use a deep layer of rocks at the bottom.
- Don’t pack the mix down like concrete.
- Don’t use a pot without a drainage hole unless you enjoy gambling with rot.
- Don’t water again just because the top looks dry.
- Do check the weight of the pot before watering.
For shallow succulent bowls, top-dressing with fine grit helps keep leaves off damp media and makes watering cleaner. Just don’t use top-dressing as a cover-up for a soggy mix underneath.
Perlite vs Vermiculite: What’s Right for Cacti?
Two of the lightweight amendments you’ll hear about are perlite and vermiculite, but they aren’t interchangeable:
- Perlite is a superstar for cactus soil — it’s super airy, won’t hold much water, and helps keep the whole mix open and fast-draining.
- Vermiculite holds a lot of moisture and nutrients, which is great for thirsty tropical plants — but for cacti it can hold too much water and lead to rot.
So in our recipes and recommendations, perlite is always the go-to amendment, while vermiculite is usually best left out of succulent/cactus blends.
Why These Ingredients Work
- Pumice & perlite are inert, meaning they don’t break down and collapse over time.
- Zeolite acts like a smart sponge, trading nutrients with roots on demand.
- Coco coir replaces peat (better for the planet) and hosts beneficial microbes.
Need everything in one go? Check out the Cactus & Succulent Soil Builder DIY Kit – pre-weighted bags plus a recipe card let you skip the scales.
Ingredient Substitutions & Aussie Sourcing Tips
Not all ingredients are always on the shelf — and that’s okay. Here’s how to make smart swaps without losing quality:
- Pumice alternatives: If true pumice is running low, coarse scoria or lava rock are solid substitutes for creating air pockets.
- Sand choices: Avoid fine beach sand — it compacts. If you use sand, make sure it’s washed coarse sand or builder’s sand from a reputable source.
- Zeolite substitutes: Other porous mineral stones like expanded shale work well when zeolite isn’t easy to find.
Sourcing locally matters too — most hardware and garden centres (Bunnings, local nurseries) keep coarse amendments. Just avoid fine bark chunks or peat-heavy garden mixes — they hold water when you want it to drain.
Pot Setup & Drainage Engineering – The Foundation of Happy Cacti
Getting the mix right is only half the story — how you set up the pot and drainage makes a world of difference:
- Always use a pot with drainage holes — standing water at the bottom is the #1 root rot cause.
- Line the base with fine mesh or flyscreen to keep soil from washing out while still letting water escape.
- Optional base layer: a thin layer of scoria or coarse crushed rock gives initial drainage before the soil even starts to wet.
- Pot shape matters: wide shallow pots suit small globular types, while taller shapes help columnar species stay upright without toppling.
These little setup tricks make sure the soil you just worked so hard on actually behaves the way it should in real Aussie conditions.
Cactus Potting Mix for Indoor Windowsills
Indoor cactus growing is a different game to outdoor cactus growing. Less airflow, weaker light and cooler winter rooms all slow down how fast the pot dries.
That means a cactus potting mix that performs beautifully outside can stay wet too long indoors if the pot is oversized, the plant is shaded or the room is cool.
For indoor windowsills:
- Use a smaller pot rather than “giving it room to grow”.
- Choose terracotta if you tend to overwater.
- Keep the mix gritty and open, but not so dusty that it compacts.
- Avoid sitting the pot inside a sealed decorative cover pot after watering.
- Rotate the plant so one side doesn’t stretch toward the light.
- Water based on dryness, not a calendar.
North-facing windows are usually the strongest indoor option in Australia. East-facing can work for many smaller cacti. South-facing windows are often too dim unless the plant is very tolerant or you’re using a grow light.
If you want a ready-made shortcut, Mineral Based Cactus Soil is the cleaner option when you don’t want to muck around with measuring pumice, perlite, sand and mineral amendments yourself.
Making It By the Bucket (Scale-Up + Storage Tips)
If you’re making more than just one pot’s worth, it’s handy to think in “parts” — a method that scales perfectly whether you’re potting one cactus or filling a 60 L storage container:
- 1 bucket = 1 part — use any consistent container to measure.
- Store leftovers in a sealed tub with a label — keeps moisture and pests out and makes future mixes a breeze.
Batching saves time and ensures consistency across pots, especially when you’ve got a whole collection to look after.
Common Mistakes & Quick Fixes
|
Mistake |
Symptom |
Fix |
|---|---|---|
|
Using peat-heavy potting mix |
Mushy brown roots |
Repot into recipe above; cut away rot |
|
Skipping top dressing |
Algae, fungus gnats |
Add 5 mm grit or crushed granite |
|
Over-watering |
Wrinkled yet blackened stems |
Water only when mix is bone dry 5 cm down |
|
No drainage hole |
Base rot |
Always use a pot with at least one 8 mm hole |
Even with the right cactus and succulent potting mix, a few missteps can undo all the benefits:
-
Using decorative pots without drainage holes
No mix can compensate for trapped water at the base. -
Overwatering “just in case”
Fast-draining mixes still need proper watering intervals — not constant moisture. -
Not adjusting store-bought mixes
Most off-the-shelf products are too moisture-retentive out of the bag. Always assess and amend if needed. -
Letting the mix break down over time
Organic components decompose, reducing airflow. Refresh or repot every 12–18 months. -
Ignoring pot size
Oversized pots hold excess moisture longer, even with a good mix.
Dialling in these fundamentals matters more than chasing the “perfect” recipe.
Cactus Soil After Root Rot: How to Repot Without Finishing the Plant Off
Once rot has started, cactus soil becomes damage control. The goal isn’t to “feed” the cactus back to health. It’s to remove the wet, infected mess and give the remaining healthy tissue a dry, oxygen-rich place to recover.
Do this instead:
- Remove the cactus from the pot and knock away the old wet mix.
- Cut off black, mushy or foul-smelling roots with a clean blade.
- Let the cut areas dry and callus before repotting.
- Repot into fresh, dry cactus soil — not reused soggy mix.
- Don’t water straight away.
- Keep it bright, warm and protected from harsh midday sun while it settles.
The biggest mistake is repotting into fresh mix and watering immediately “to help it recover”. That’s how rot keeps moving. A cactus with damaged roots needs air first, not another drink.
If the base of the cactus is already soft and spreading upward, you may need to cut above the rot, let the healthy section callus, then re-root it. Brutal, but better than watching the whole plant turn to soup.
When to Refresh and Maintain Your Cactus Soil
Cactus soil doesn’t last forever. Over time the smallest particles break down and water drainage slows, so it’s worth a quick look every year or two:
- If water starts hanging around longer than it used to, it’s time to repot or refresh the mix.
- A light top-dress with fresh pumice/grit each season keeps roots happy and air flowing.
- When repotting, shake off old soil, sieve if needed, and add fresh mix to improve drainage and nutrient balance.
These aftercare habits help your cactus stay in its prime without a full repot every year.
Dust, Safety + Mixing Tips (Keep it Clean)
Some of the mineral ingredients we use — like perlite, pumice or zeolite — can be dusty when dry. A couple of simple habits make this much safer and more enjoyable:
- Wear a dust mask and gloves if you’re mixing indoors or on a windy day.
- Lightly mist dry ingredients with water before stirring — this knocks down fine dust without wetting the whole mix.
- Mix in a tub or on ground that’s easy to sweep — easier clean-up, less dust in noses and lungs.
These practical tips help keep you comfortable, safe, and make the whole job feel less like a dusty chore.
When to Buy Pre-Made Mix
Buying pre-made mix makes sense when consistency matters more than customising every ingredient yourself.
- New growers wanting zero guesswork
- Indoor keepers who water on autopilot
- Collectors of grafted or rare species worth the extra insurance
Grab our Cactus & Succulent Potting Mix – 5 L, or stock up with the value Buy 2 Get 1 Free bundle if you’ve got a greenhouse full of spiky friends.
Store-Bought Mix Reality Check — What to Watch For
Not all so-called “cactus mixes” are created equal. While some pre-made blends can be great time-savers, watch out for:
- Bark-heavy or peat-rich mixes — they hold water like regular potting soil and defeat the purpose of a gritty blend.
- Fine sands or garden soil fillers — they compact and block airflow.
- Lack of drainage amendments — if perlite/pumice aren’t present visibly, it might not drain fast enough.
A quick sieve test helps: if most of what you see is organic dust and tiny particles, it’s probably too heavy — amend it with more coarse mineral bits before use.
Frequently Asked Questions
Can I reuse old cactus soil?
Yes, if it still drains fast. Sieve out roots, bake at 90 °C for 30 min to sterilise, then refresh with 30 % new pumice.
Is garden sand okay?
Only if it’s coarse and washed. Fine beach sand compacts and suffocates roots.
How often should I fertilise?
In the growing season (spring–summer) apply a half-strength mineral feed monthly.
Do I need to adjust pH?
The above recipe lands around 6.3. If you add limestone chips the pH will slowly rise, so test yearly.
Final Thought
Blending your own cactus mix is cheaper than coffee‐shop succulents and gives you total control over drainage and nutrients. Follow the metric recipe, dodge the common mistakes, and your cacti will charge into growth come spring. If mixing isn’t your jam, let Dr Greenthumbs do the dirty work – our full cactus soil collection has a blend for every grower.
Happy potting, legends! 🌵
Next Reads for Building a Better Fast-Draining Soil Mix
Got your cactus mix sorted? These guides will help you choose better drainage ingredients, compare potting media and refine your mixes for other plants too.
- Pumice Stone for Plants Australia
- Vermiculite vs Perlite Australia Guide
- Premium Potting Soil Australia
- DIY Monstera Soil Mix + Repotting Checklist
About the Author