
Monsteras need a potting mix that gives their roots air, moisture and structure at the same time. If the mix is too dense, roots stay wet and oxygen-starved. If the mix is too chunky, water can rush through before the plant gets a proper drink.
The best Monstera soil mix is chunky, airy and moisture-balanced. It usually includes a quality potting mix base, orchid bark, perlite or pumice, coco chips and a small amount of compost or organic nutrition.
This guide explains the best soil for Monstera plants in Australian homes, including a DIY Monstera soil mix recipe, how to adjust the mix for your watering style, what to check before buying bagged potting mix, and how to handle Monstera deliciosa, Monstera adansonii, root rot, yellowing leaves, self-watering pots and Bunnings-style mixes.
Table of Contents
- Monstera Soil Type: Chunky, Airy and Moisture-Balanced
- The Family-Safe DIY Monstera Soil Recipe
- Alternative Soil Mixes for Different Growers
- Monstera Soil Mix: What Each Ingredient Actually Does
- Best Soil for Monstera: The Squeeze Test Before You Pot
- Monstera Potting Mix Should Drain Fast, Not Dry Out Instantly
- Potting Mix for Monstera: Match the Chunkiness to Your Watering Style
- Monstera Soil Mix Ratios for Different Watering Styles
- Monstera Soil Mix Recipe: How to Adjust It Without Stuffing It Up
- Monstera Potting Mix Recipe for Small Plants vs Big Established Plants
- Best Soil for Monstera Deliciosa vs Smaller Monstera Types
- Monstera Adansonii Soil: Slightly Finer Than Deliciosa
- Monstera Deliciosa Best Soil for Variegated Plants
- Monstera Soil Mix for Root Rot Recovery
- Best Potting Mix for Monstera When Leaves Are Yellowing
- Potting Mix for Monstera in Self-Watering Pots
- Monstera Potting Mix for Moss Poles and Climbing Support
- Soil for Monstera in Australian Apartments
- Best Potting Mix for Monstera: Bagged Mix vs DIY
- Potting Mix for Monstera: What to Avoid Buying
- Monstera Potting Soil From Bunnings: What to Check Before Buying
- Potting Monstera: When Not to Repot Yet
- Step-by-Step: The Aussie Monstera Repotting Method
- Aftercare and Pot Size Tips
- Soil pH: What It Is and Why It Matters
- FAQs
- Ready to Give Your Monstera the Right Root Zone?
- Next Reads for Building a Better Monstera Mix and Stronger Indoor Growth
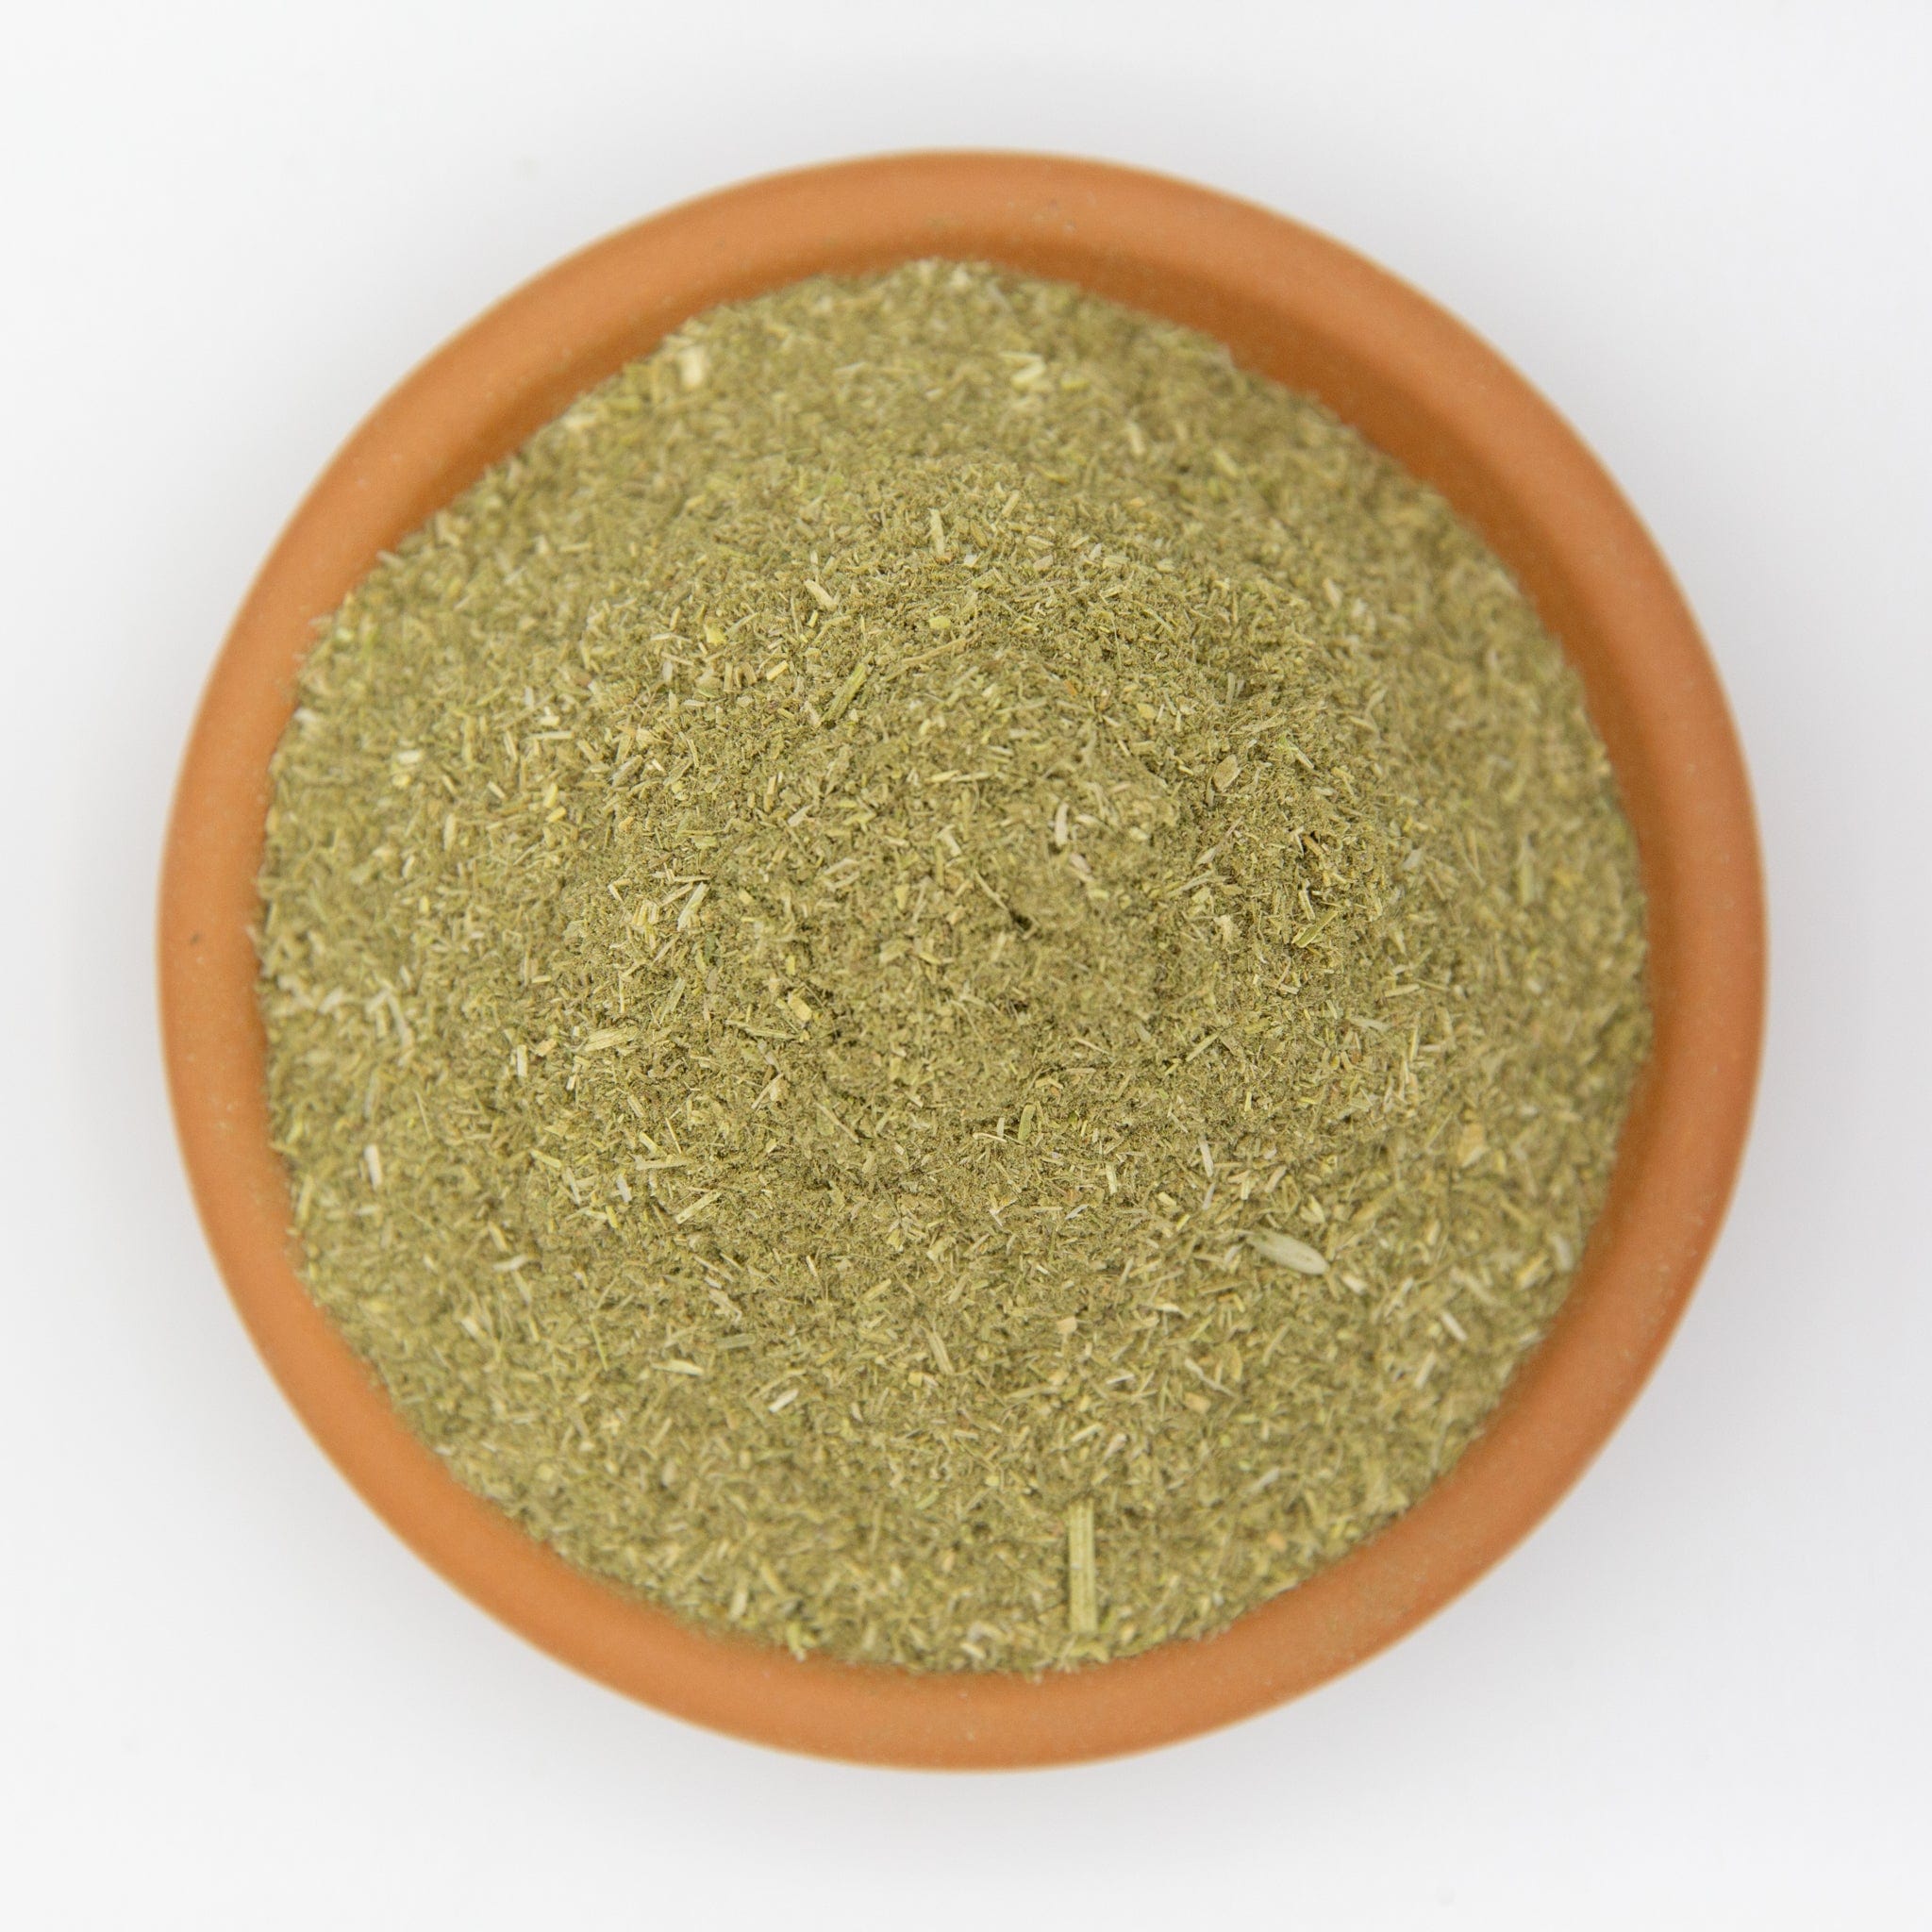
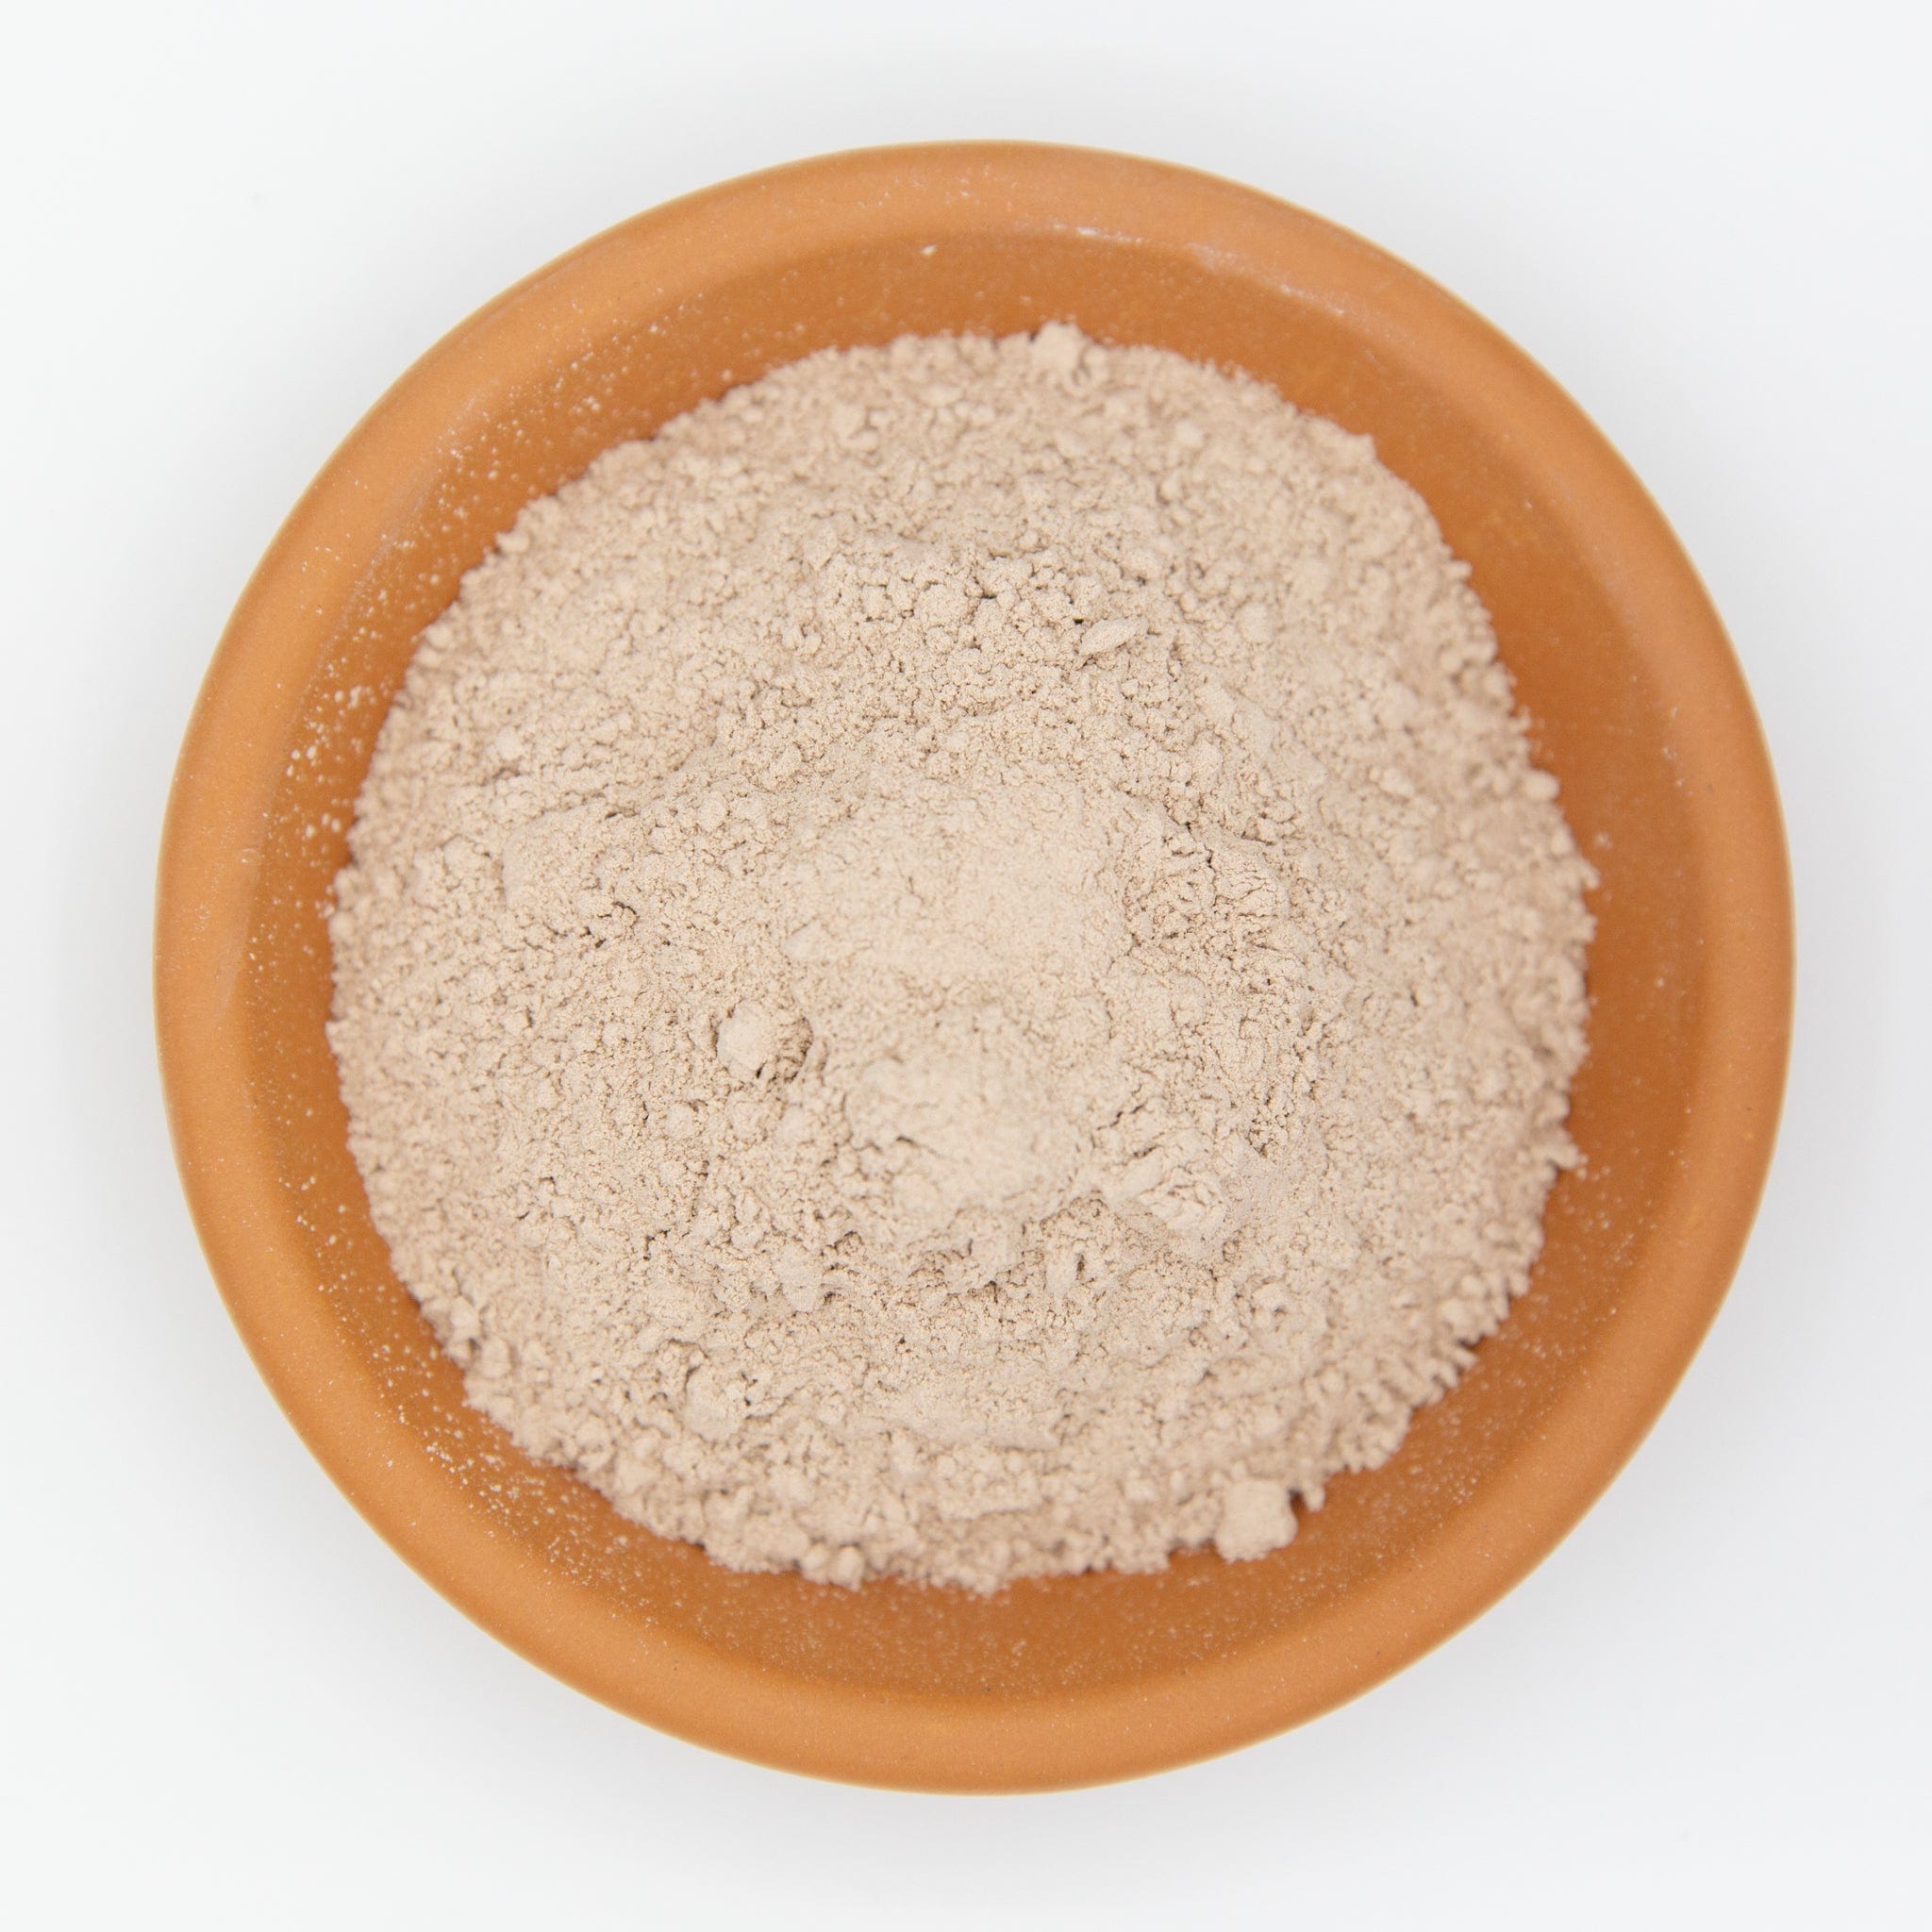
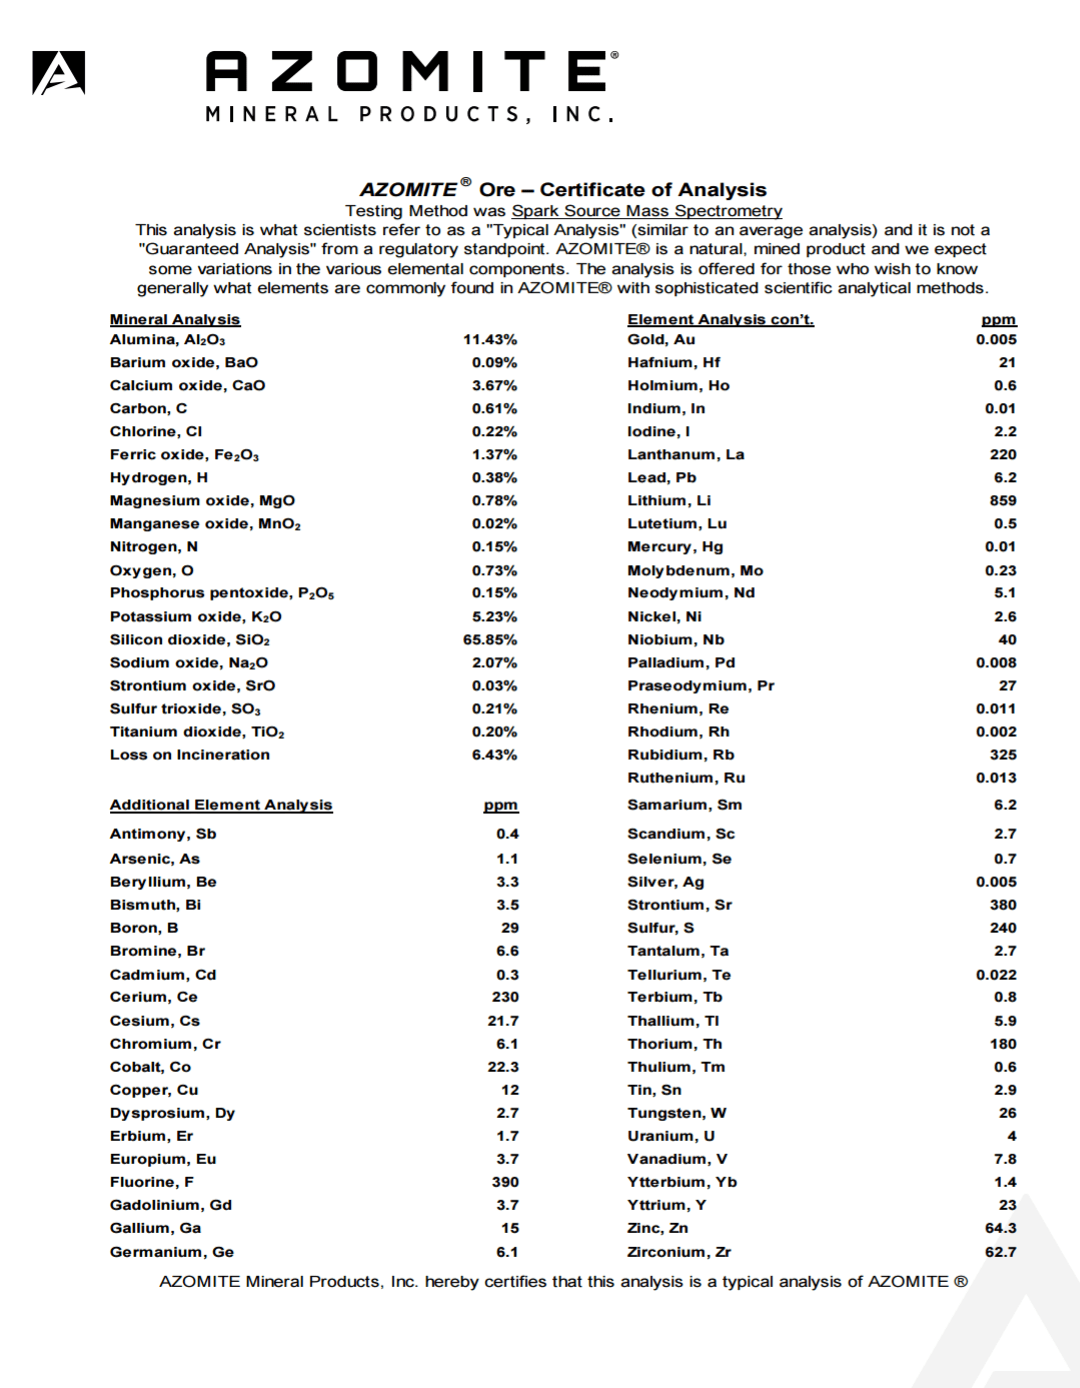
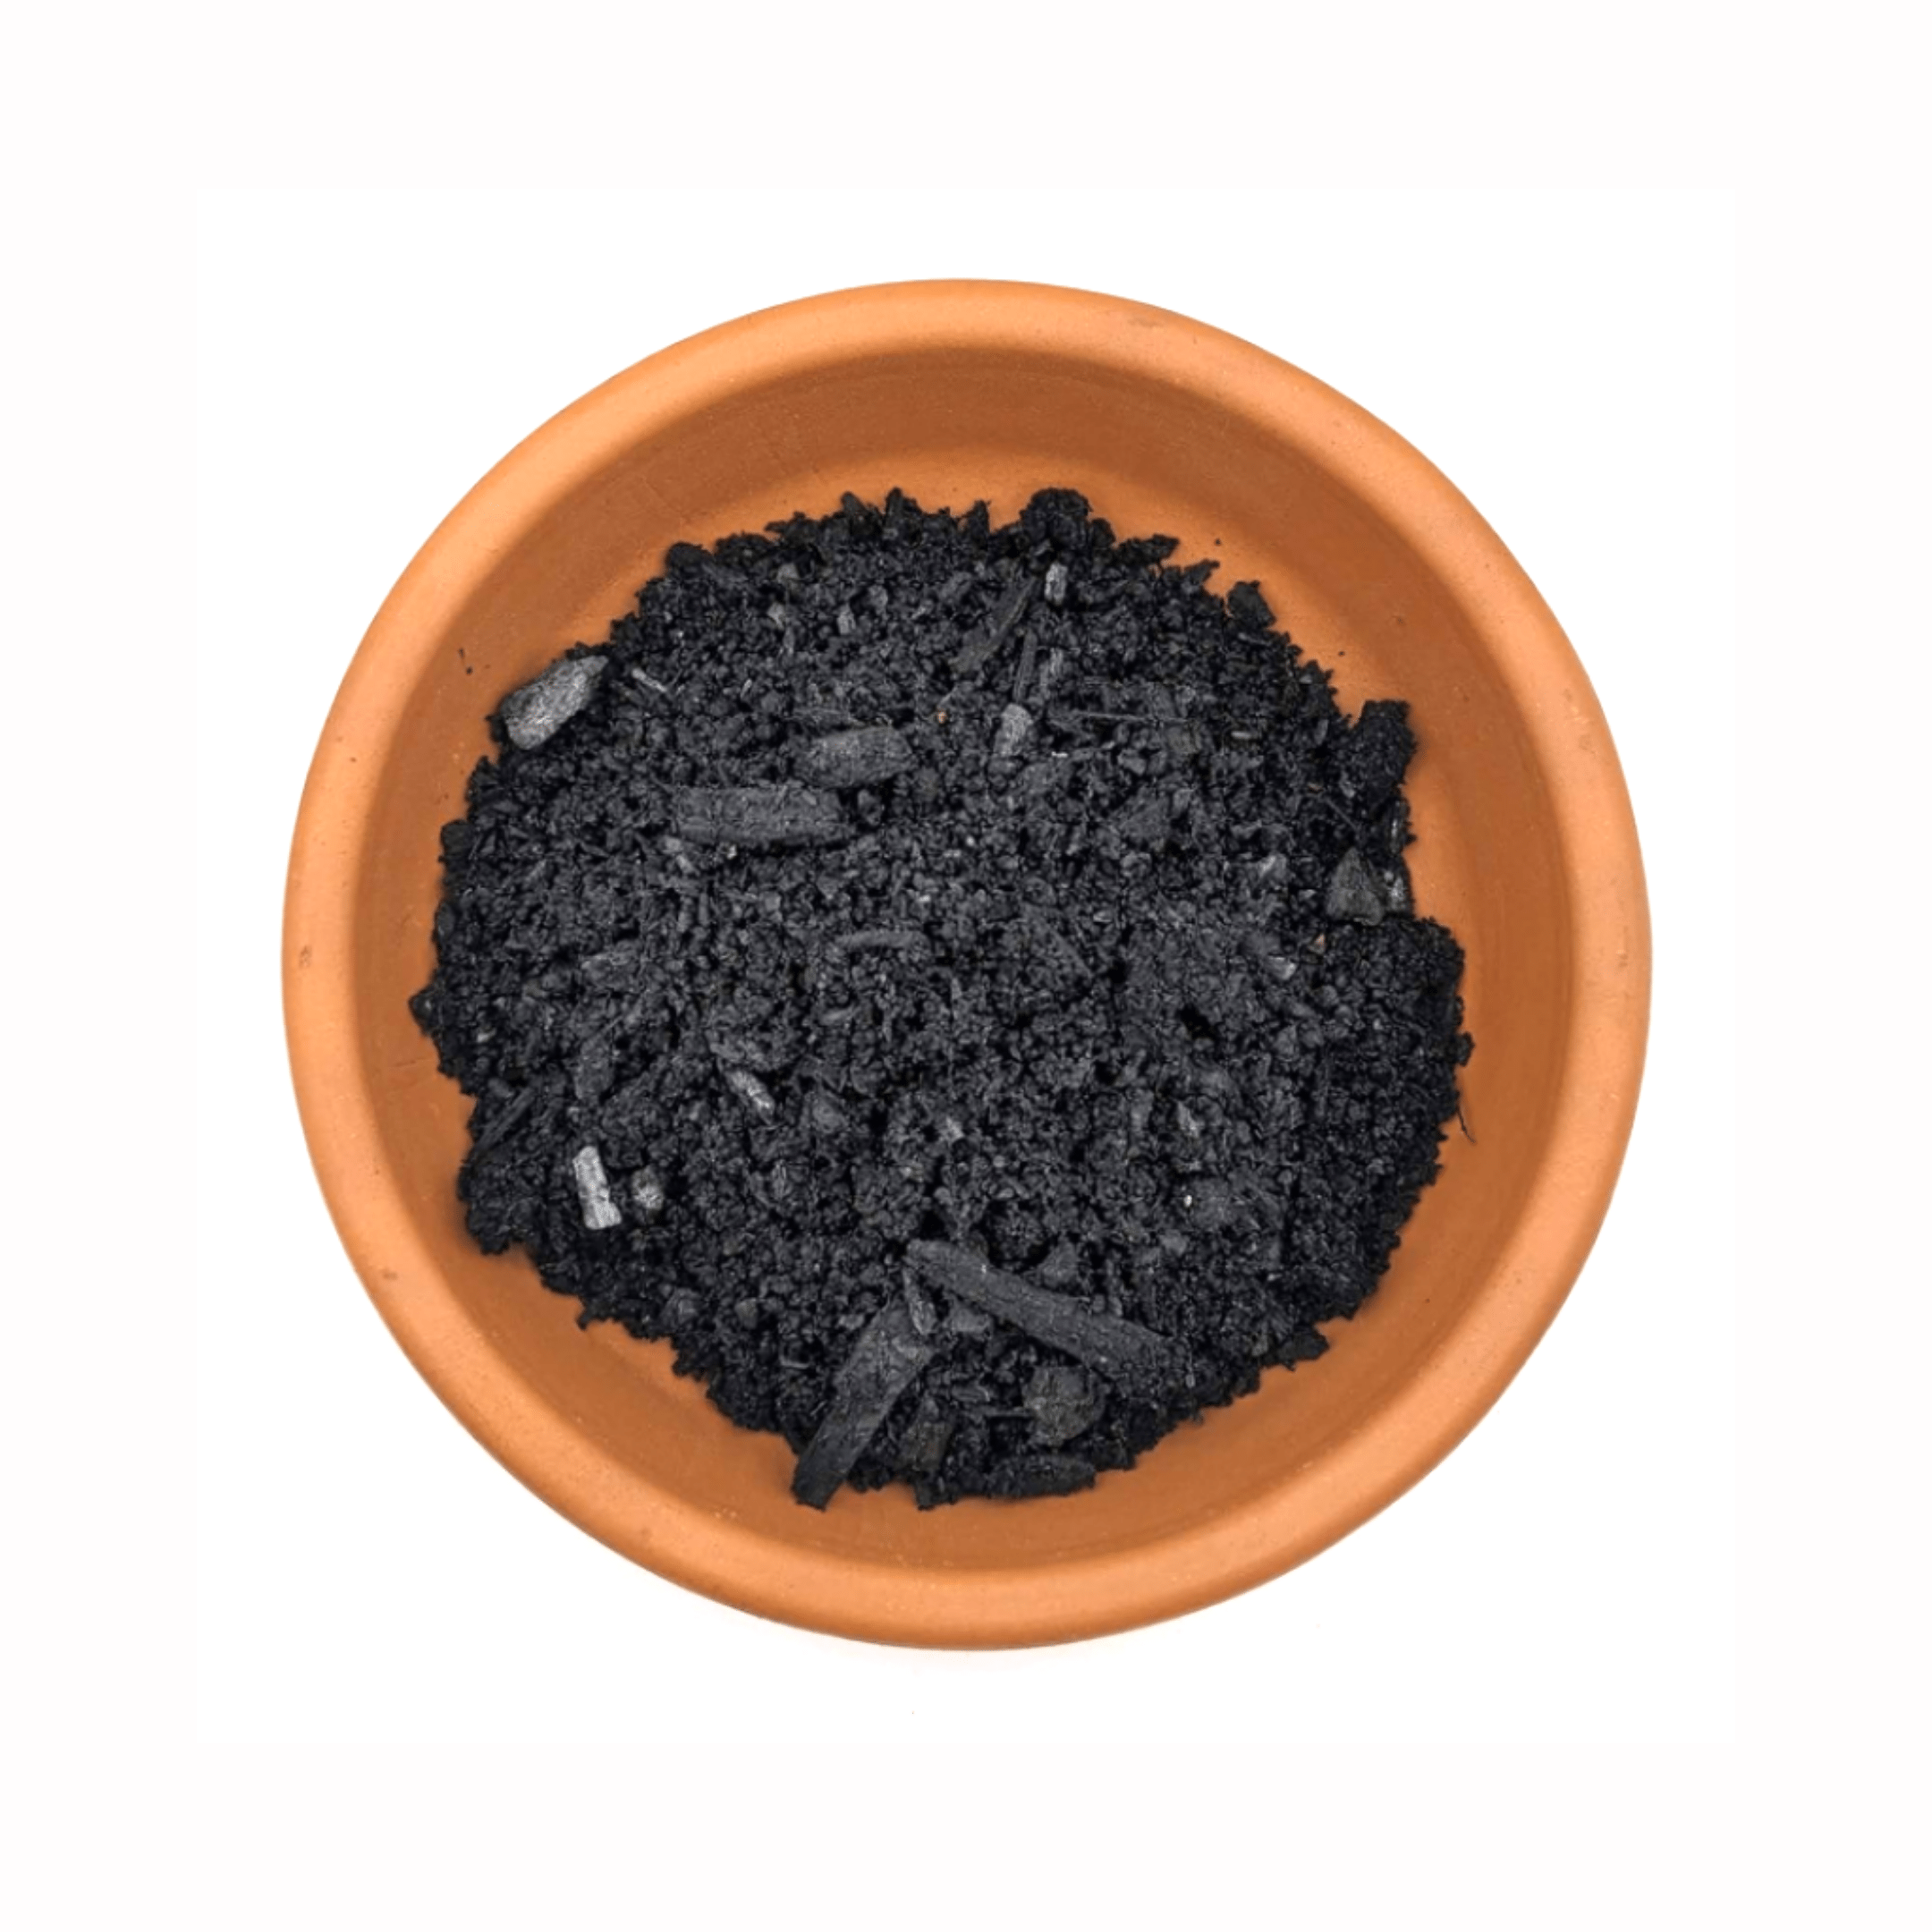
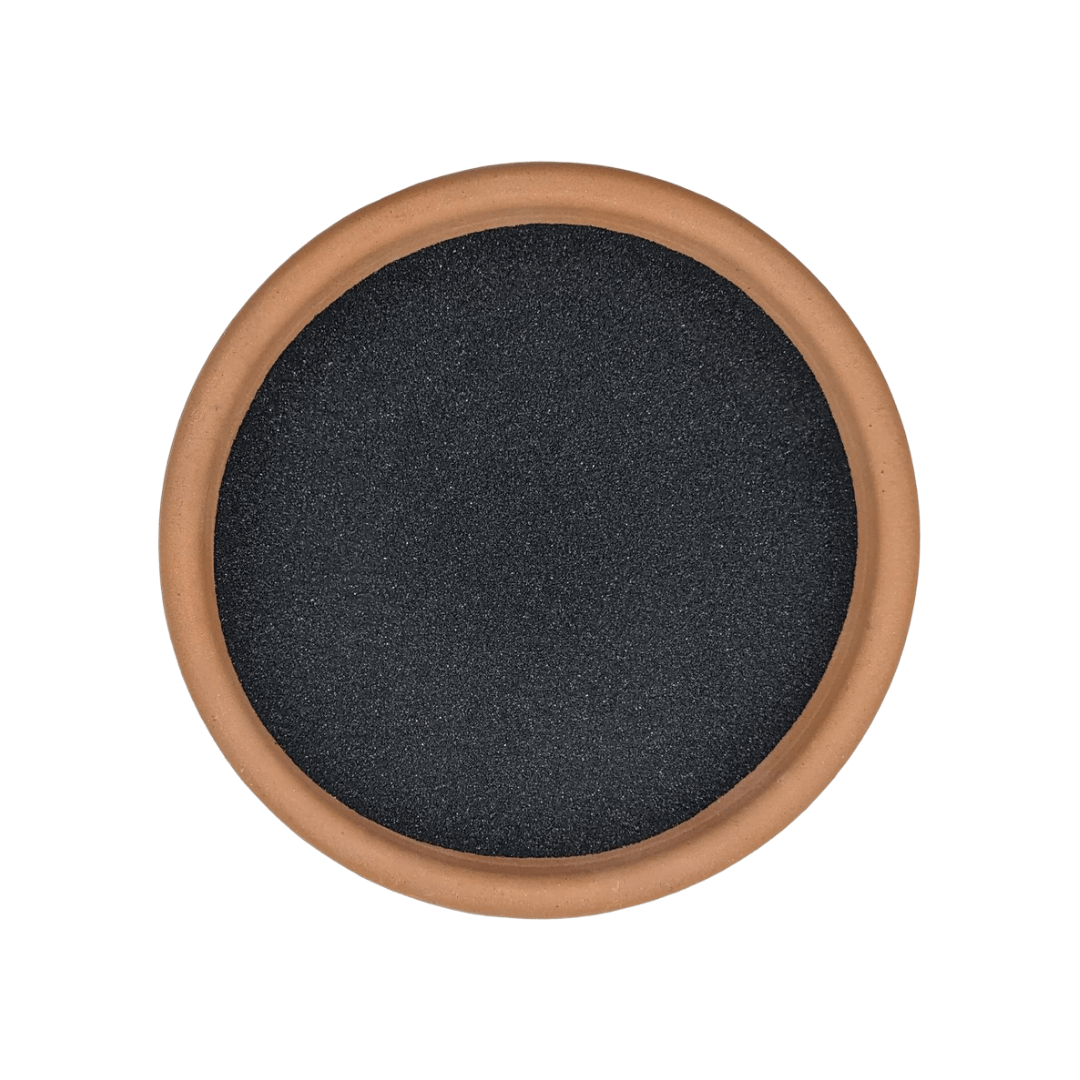
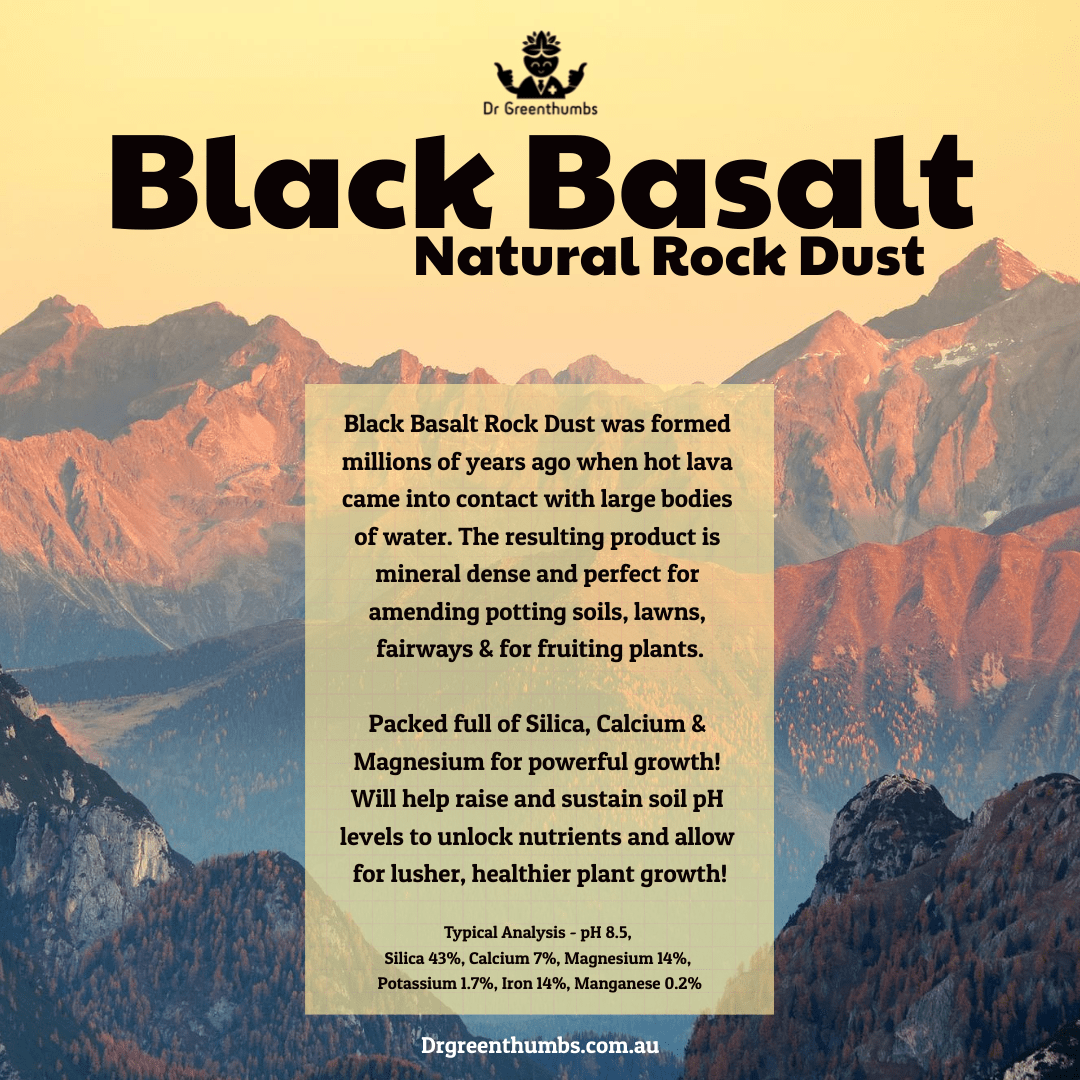
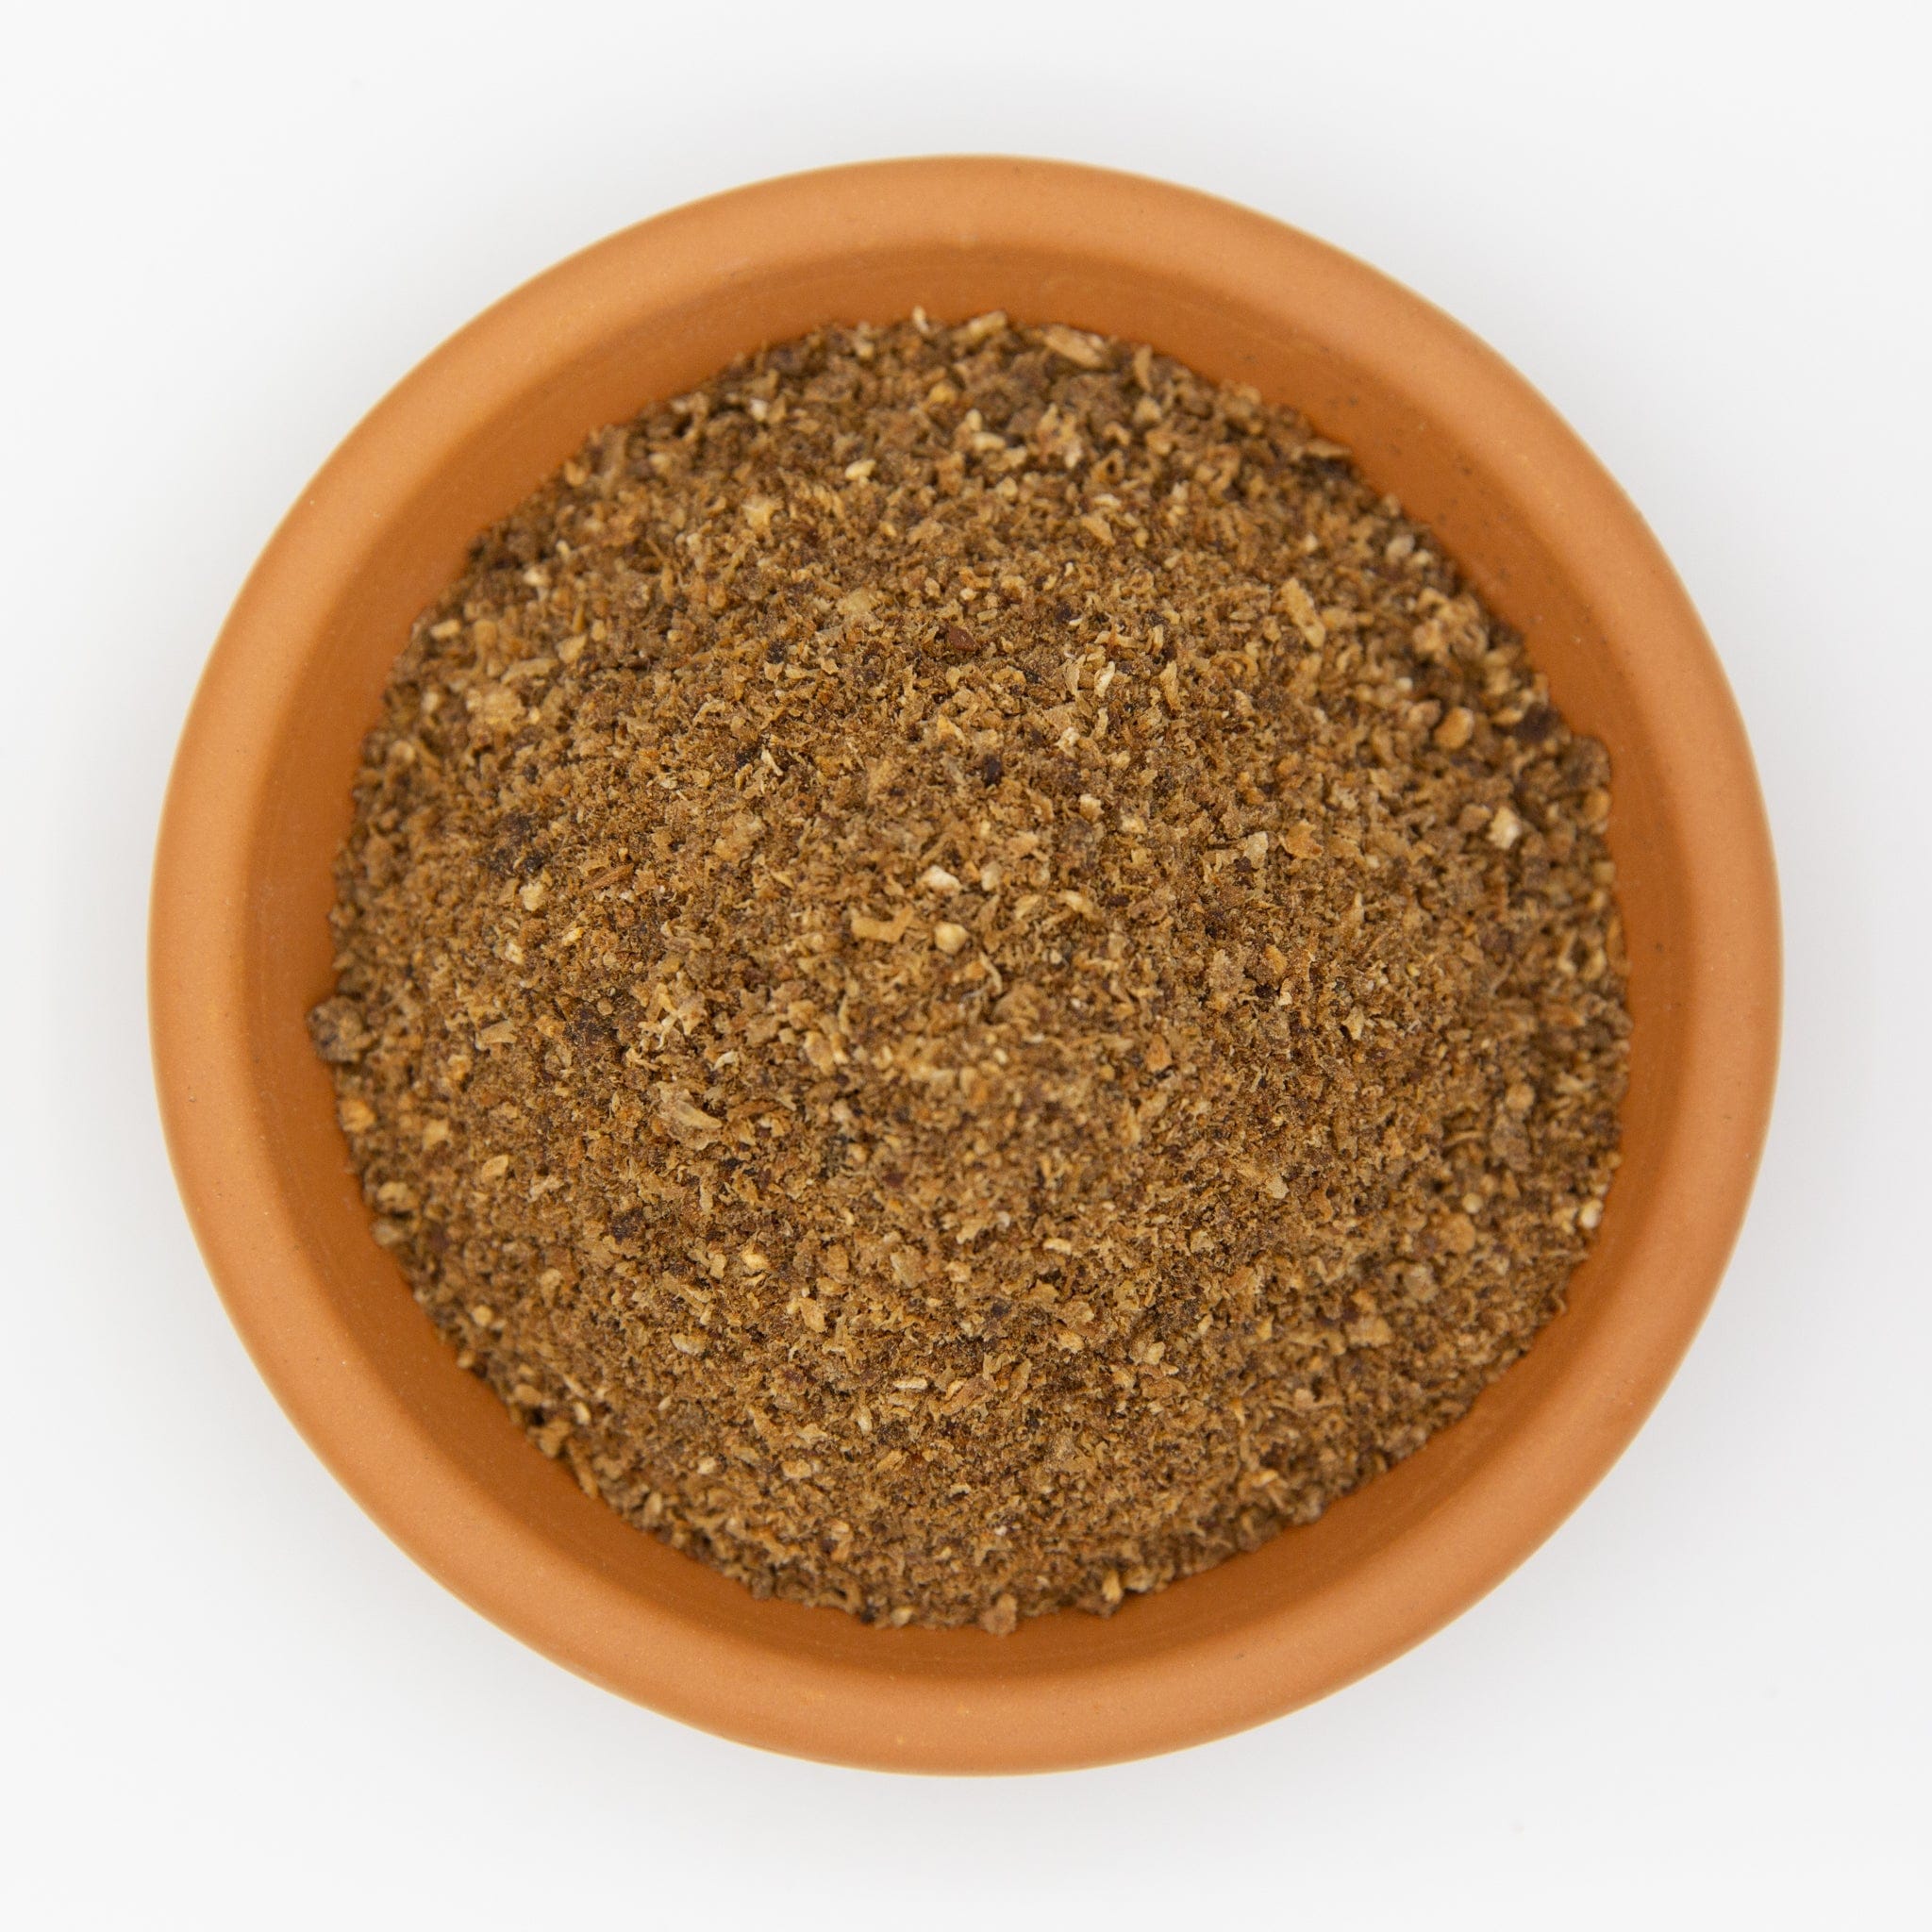
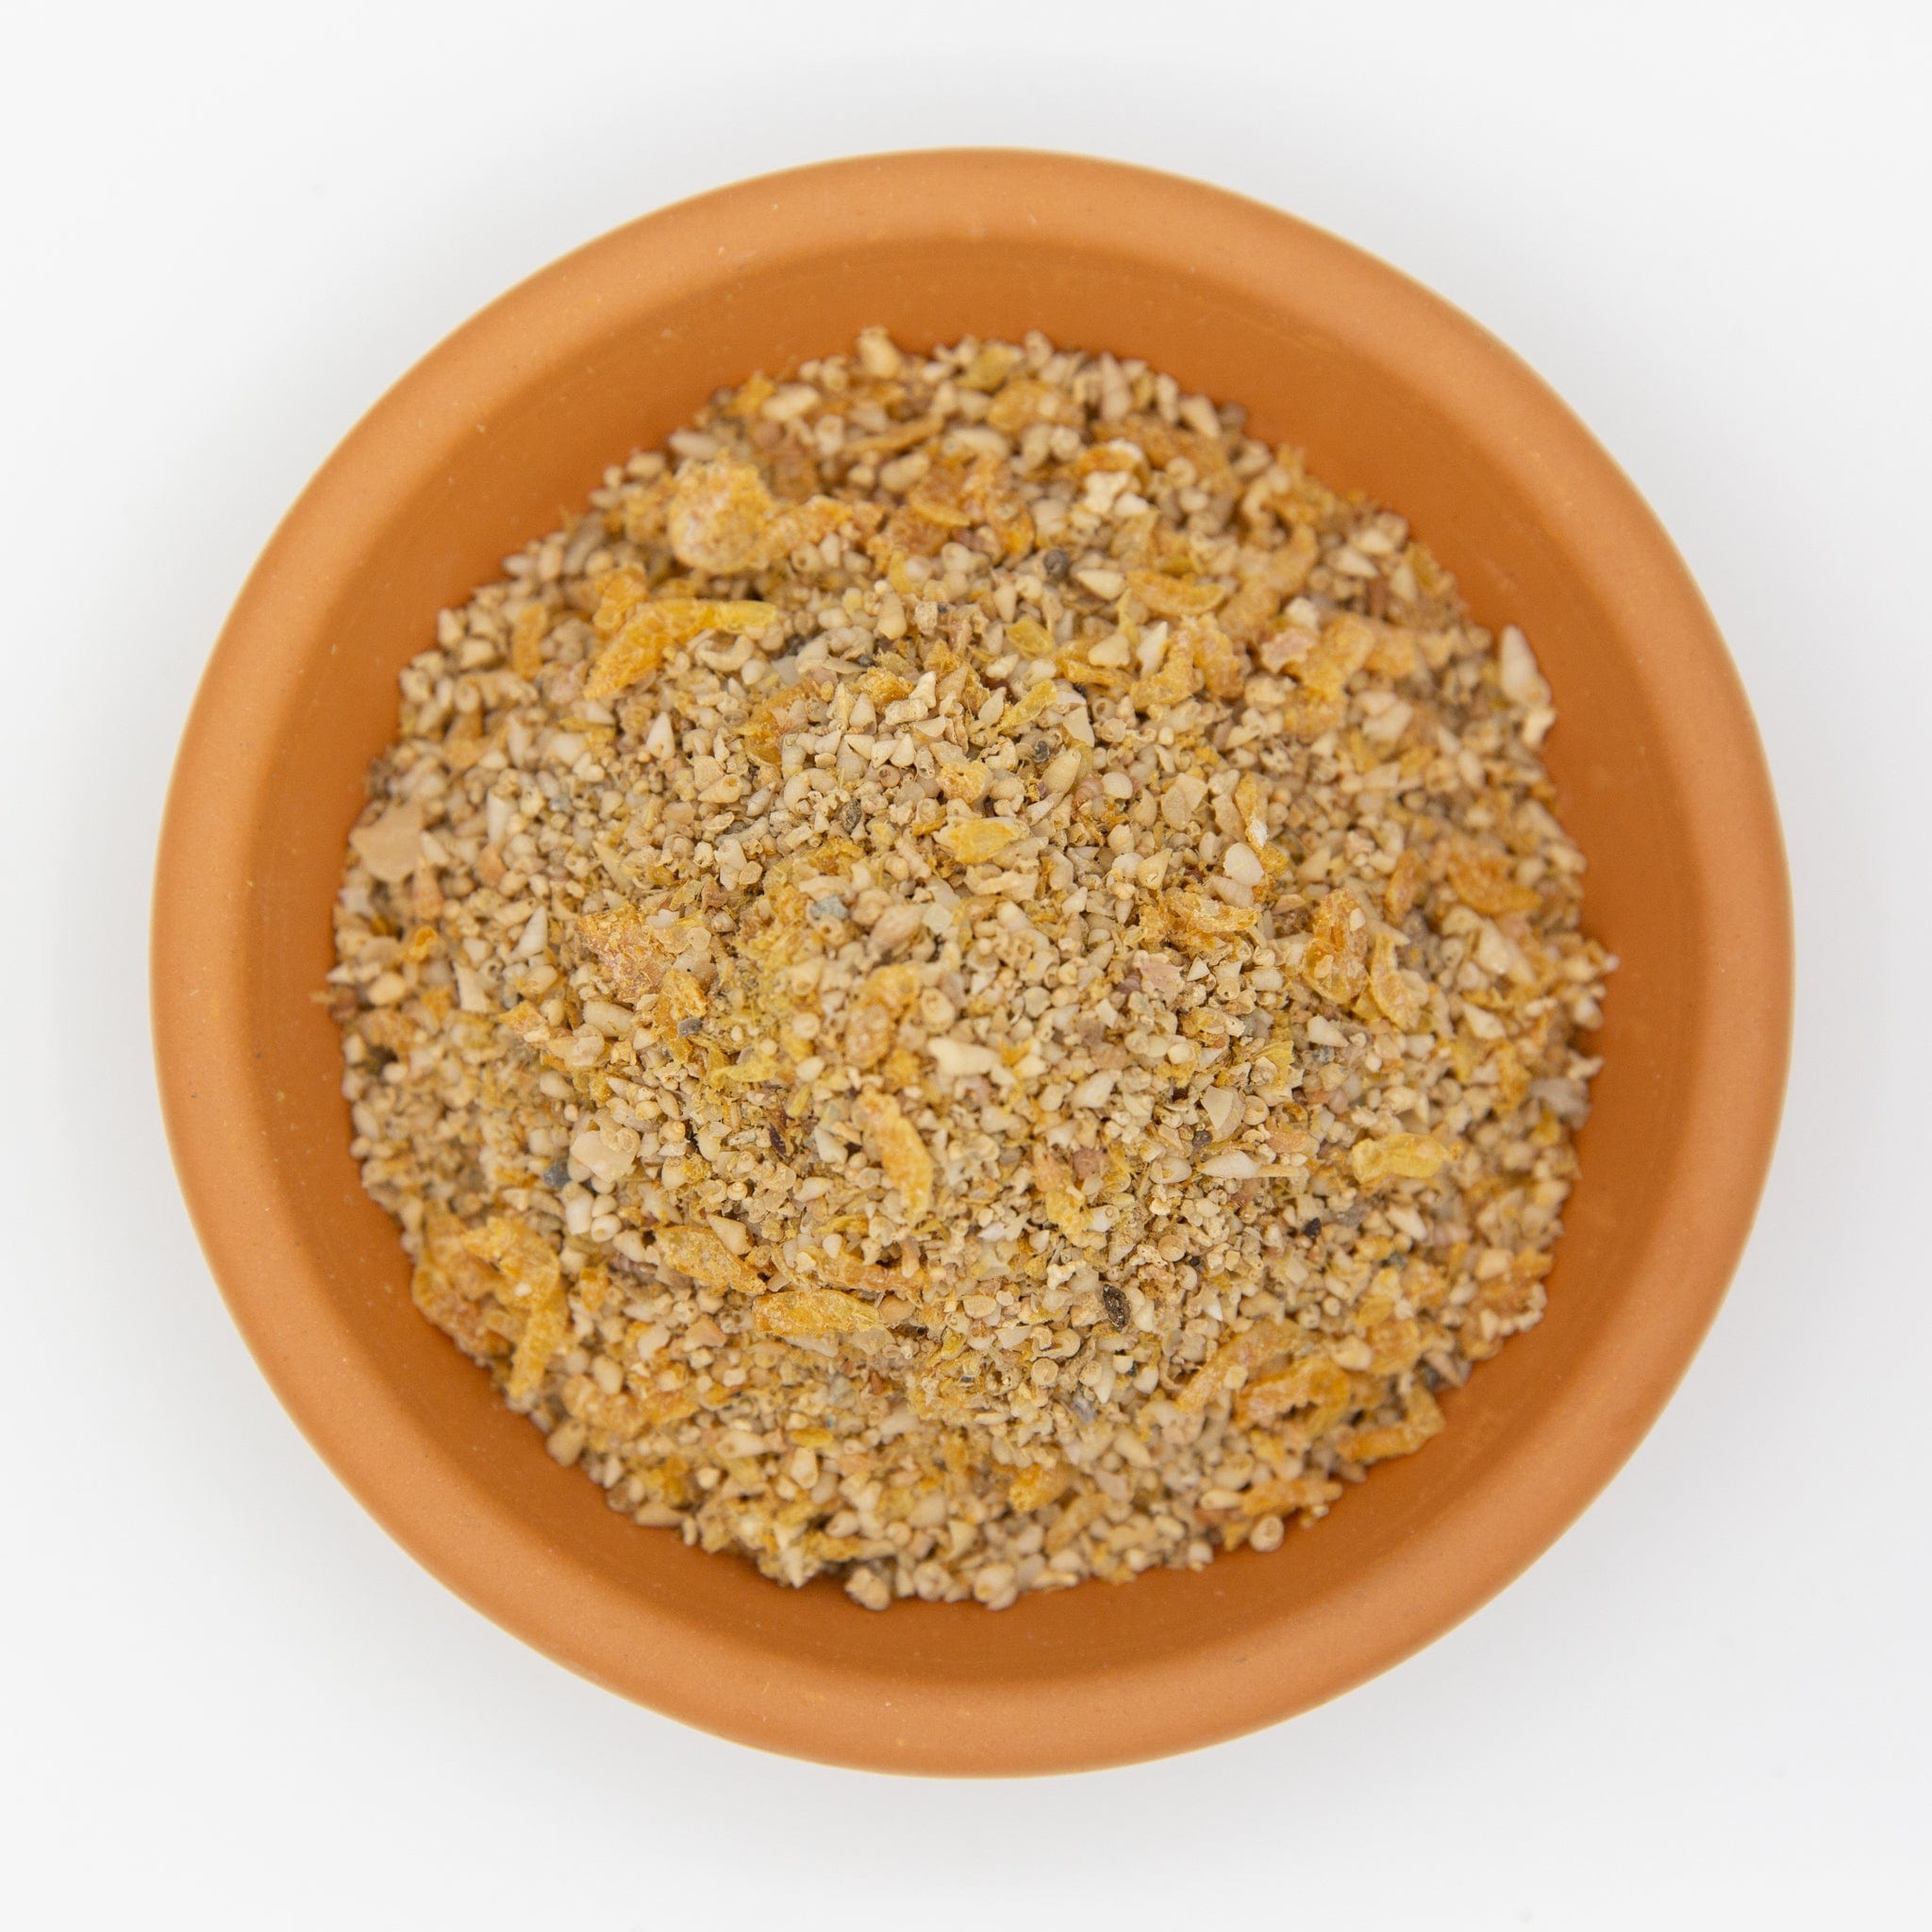
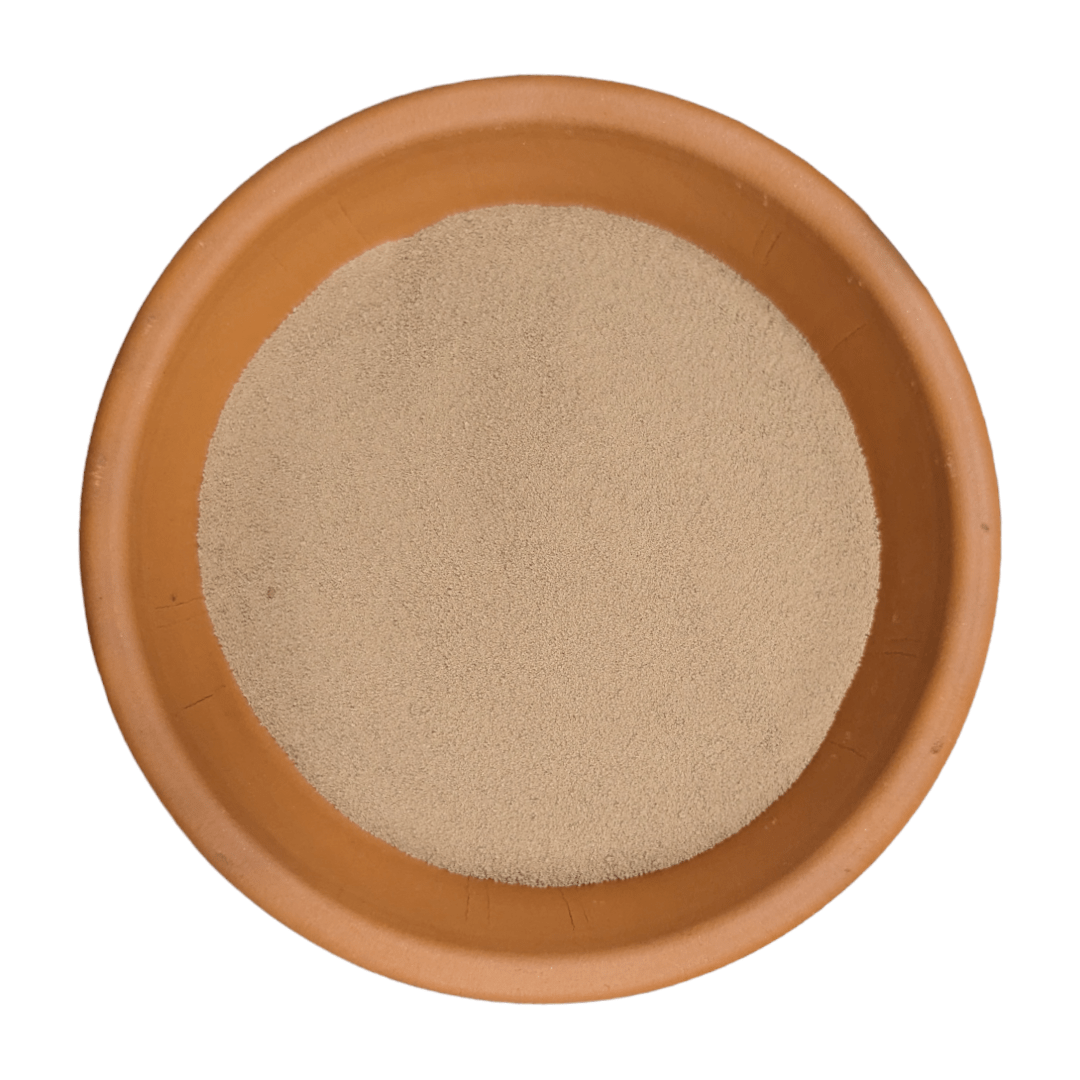
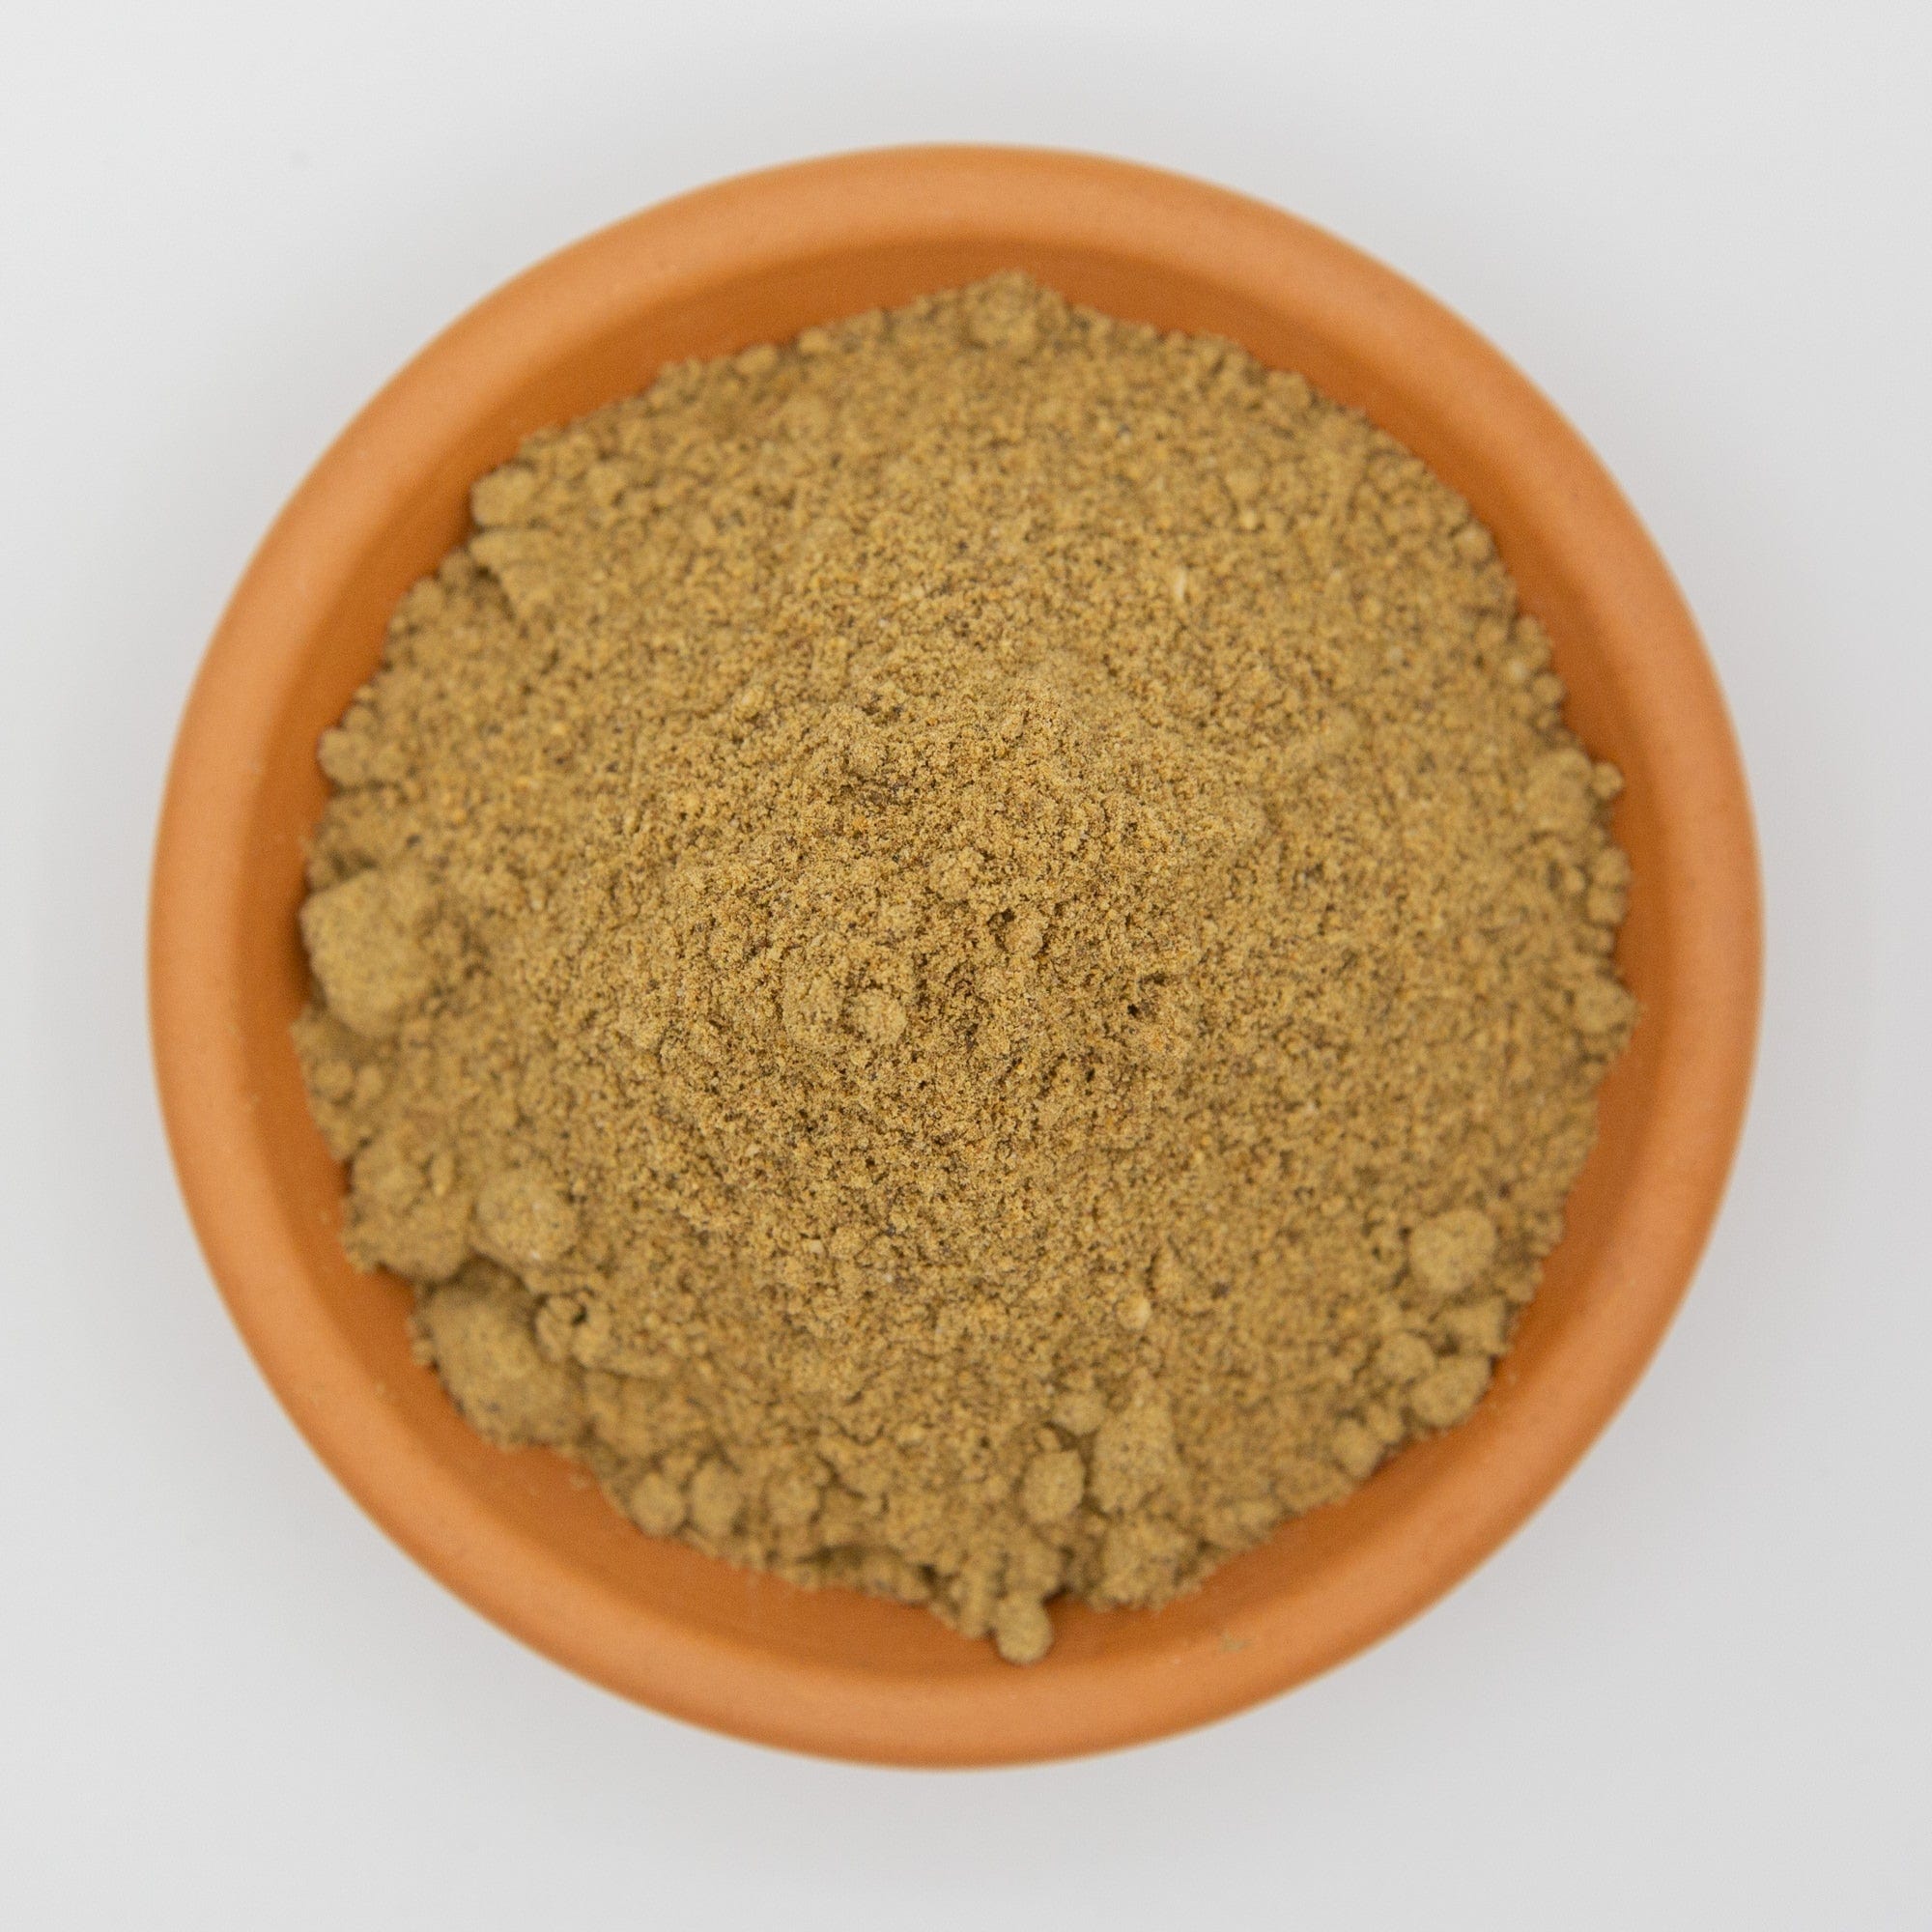
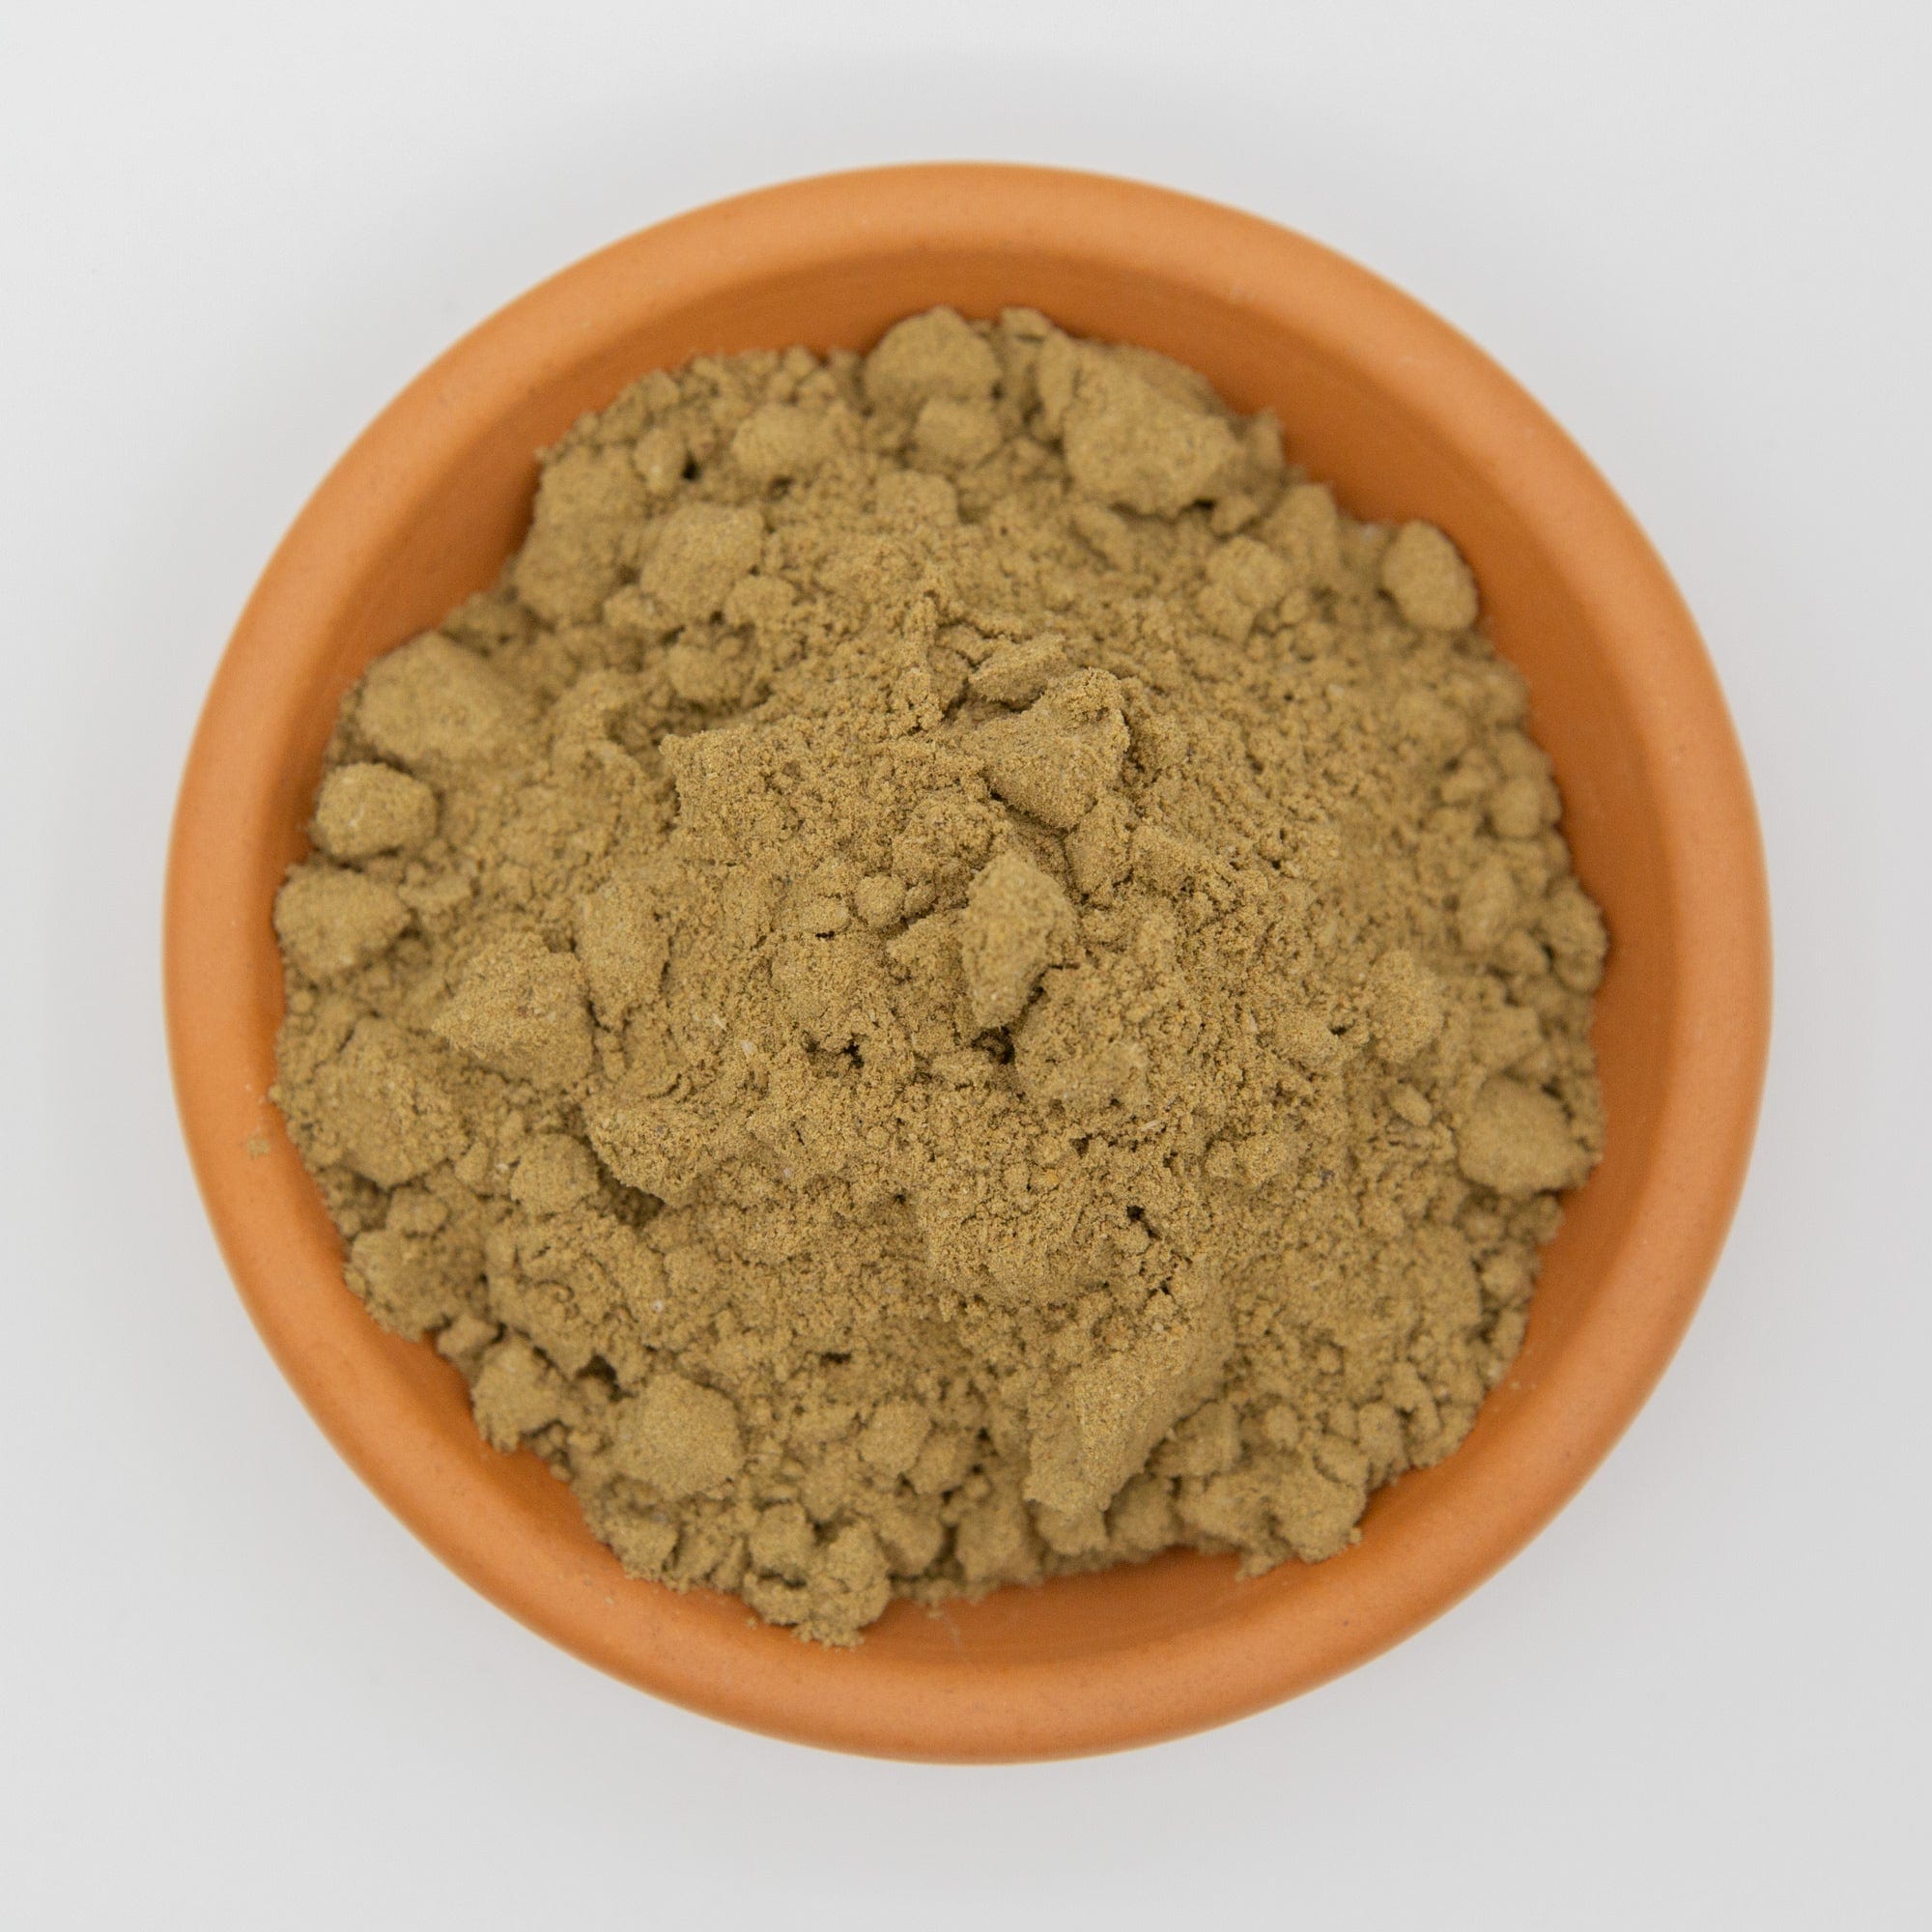
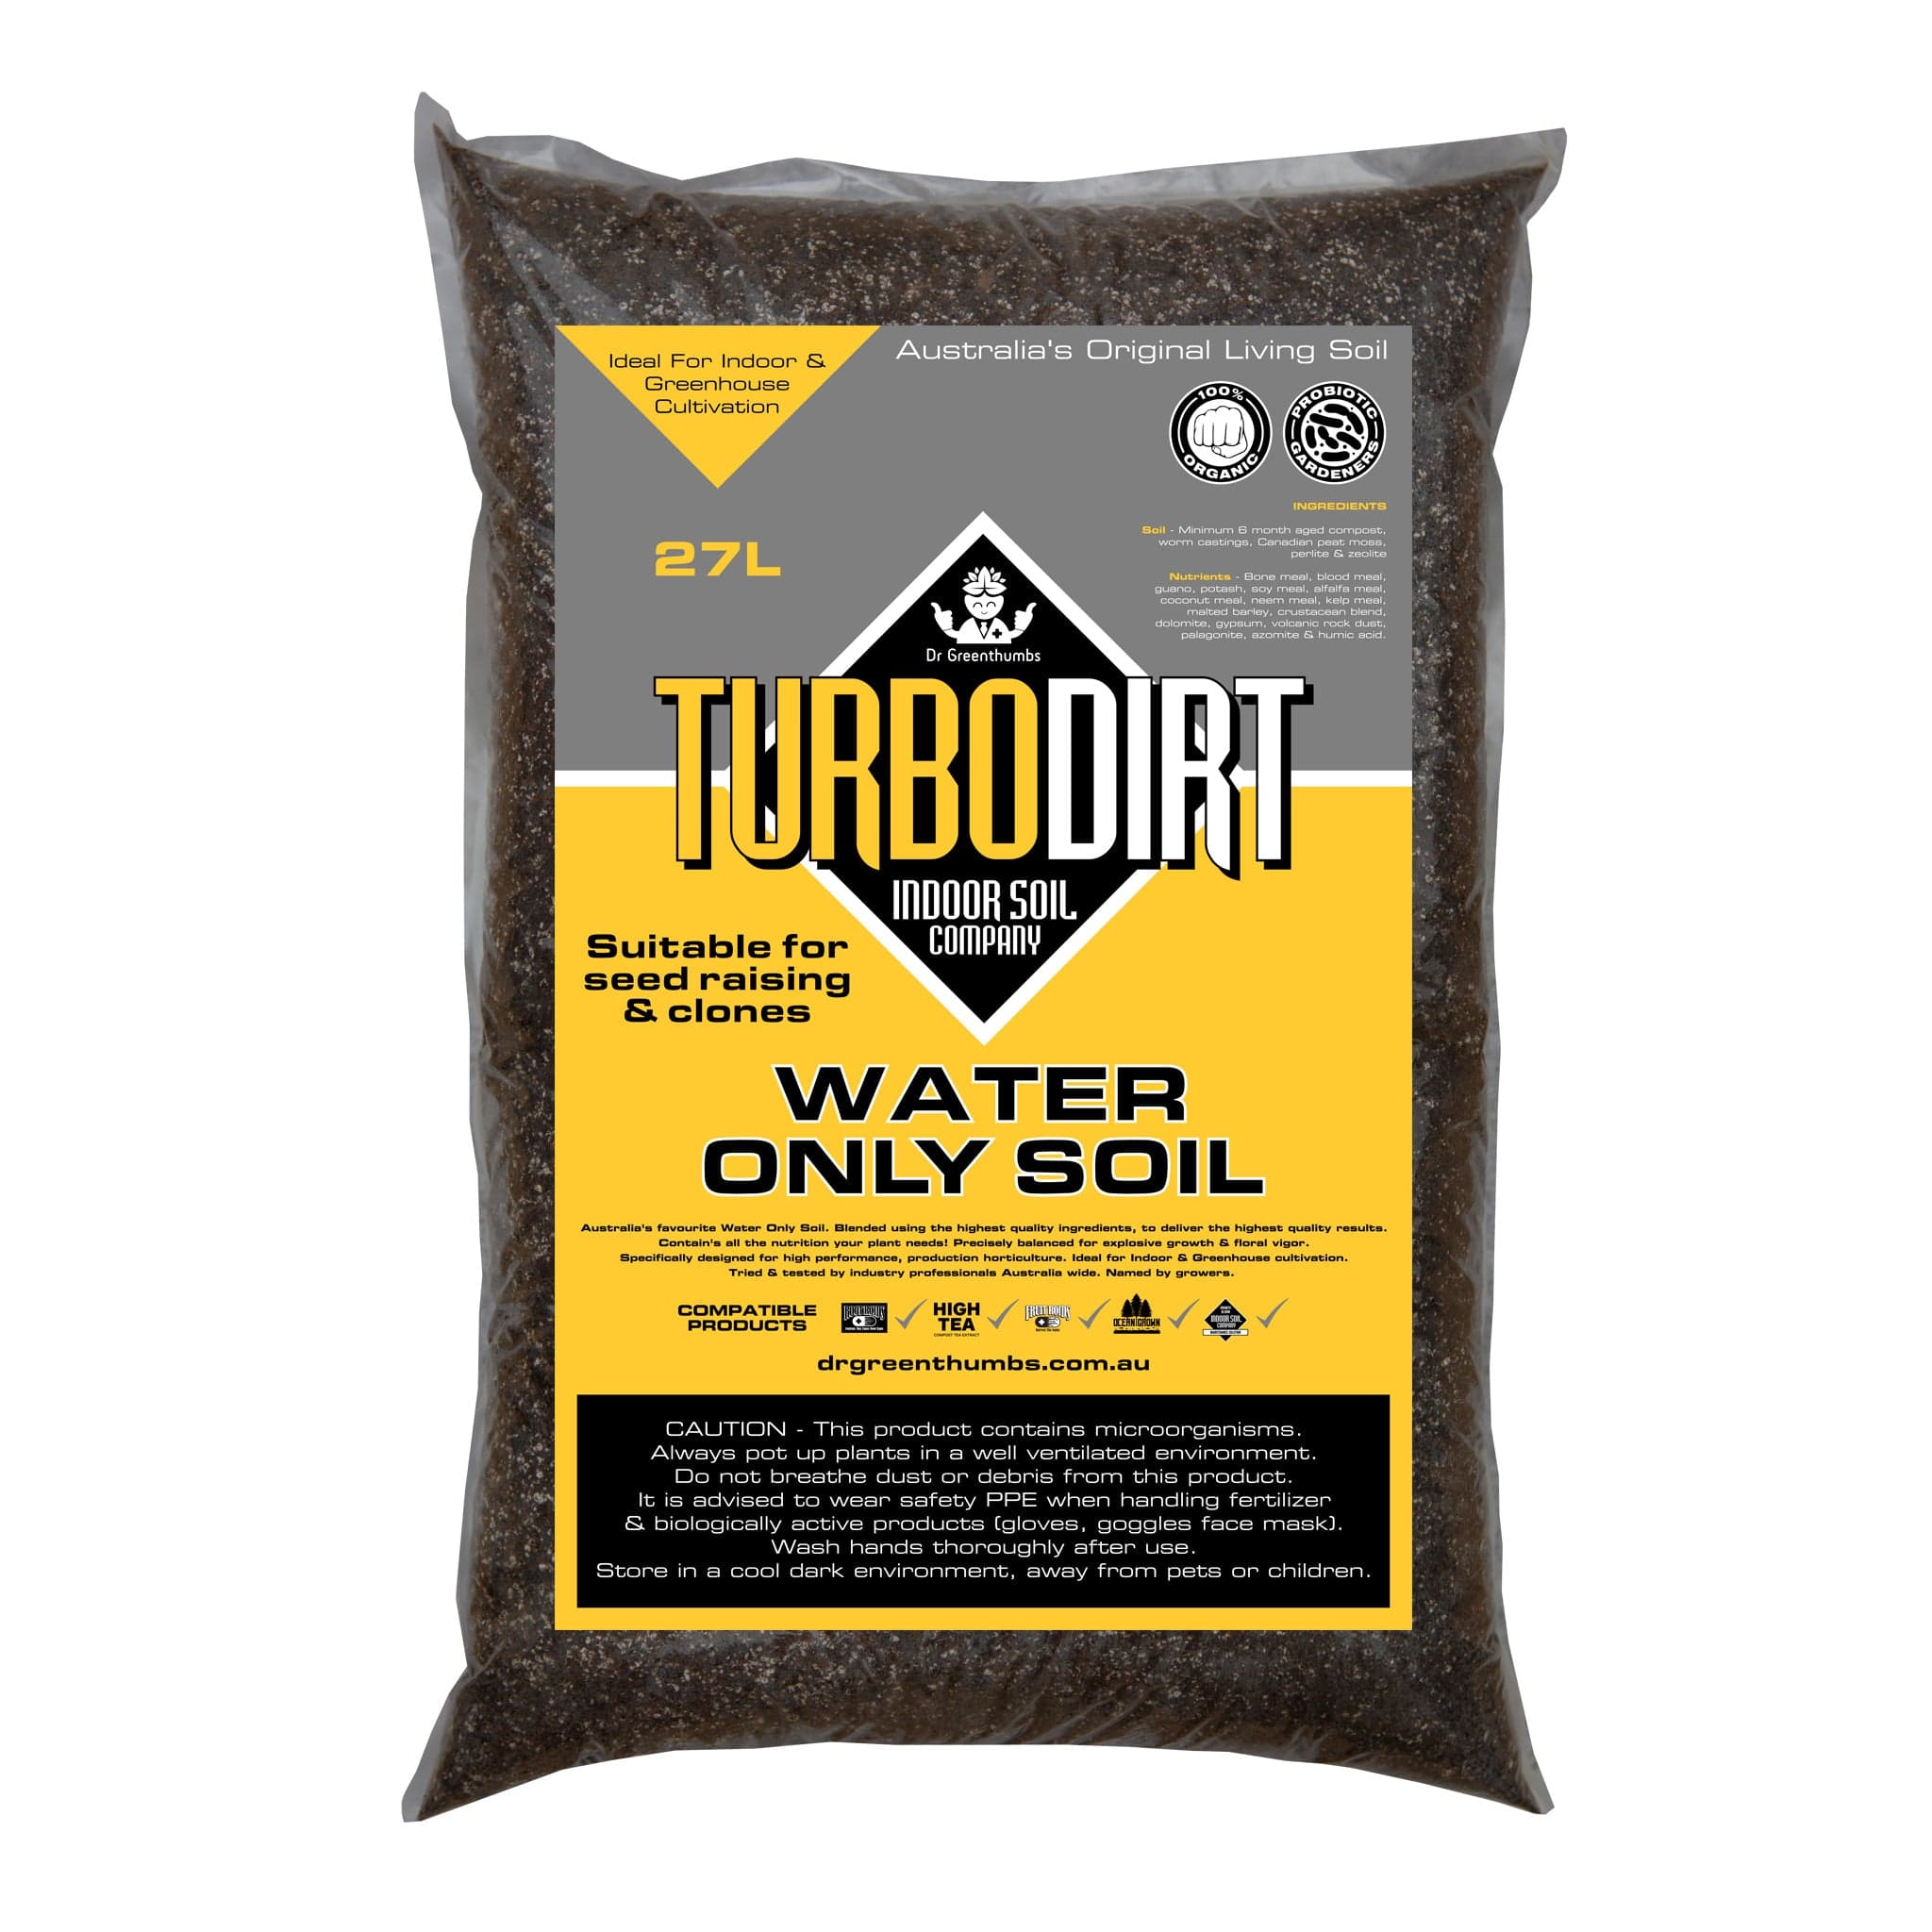
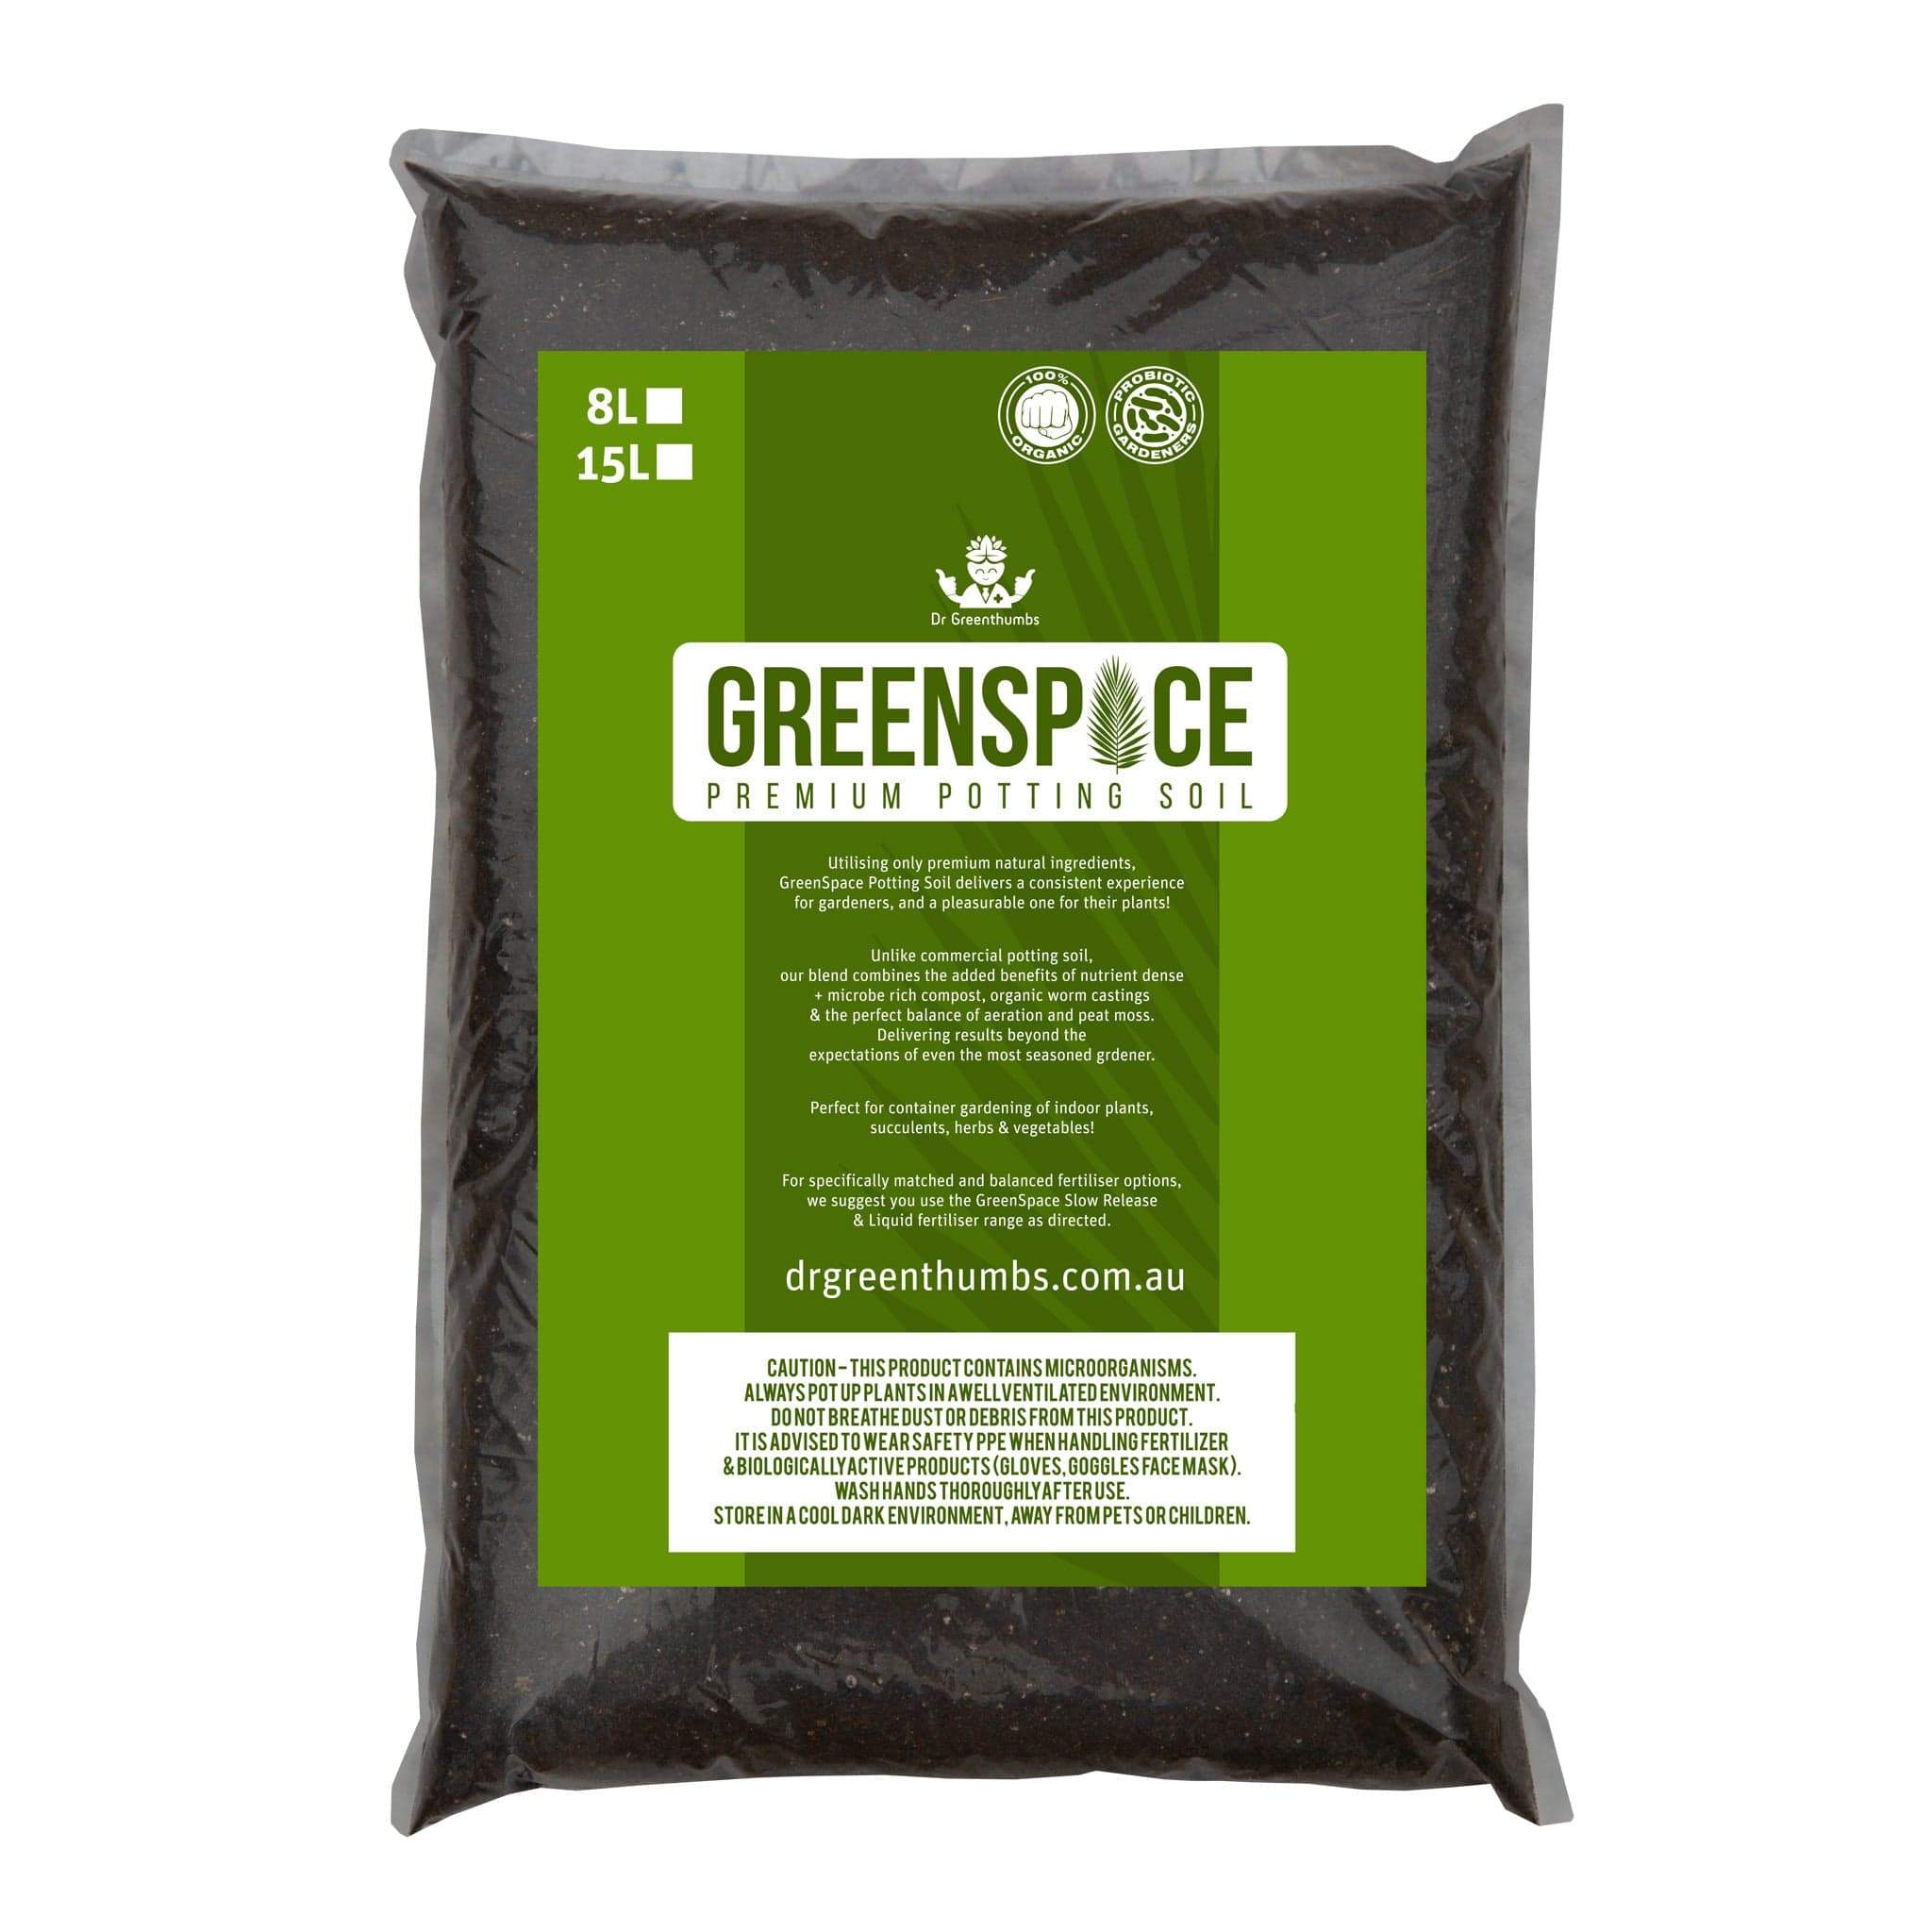
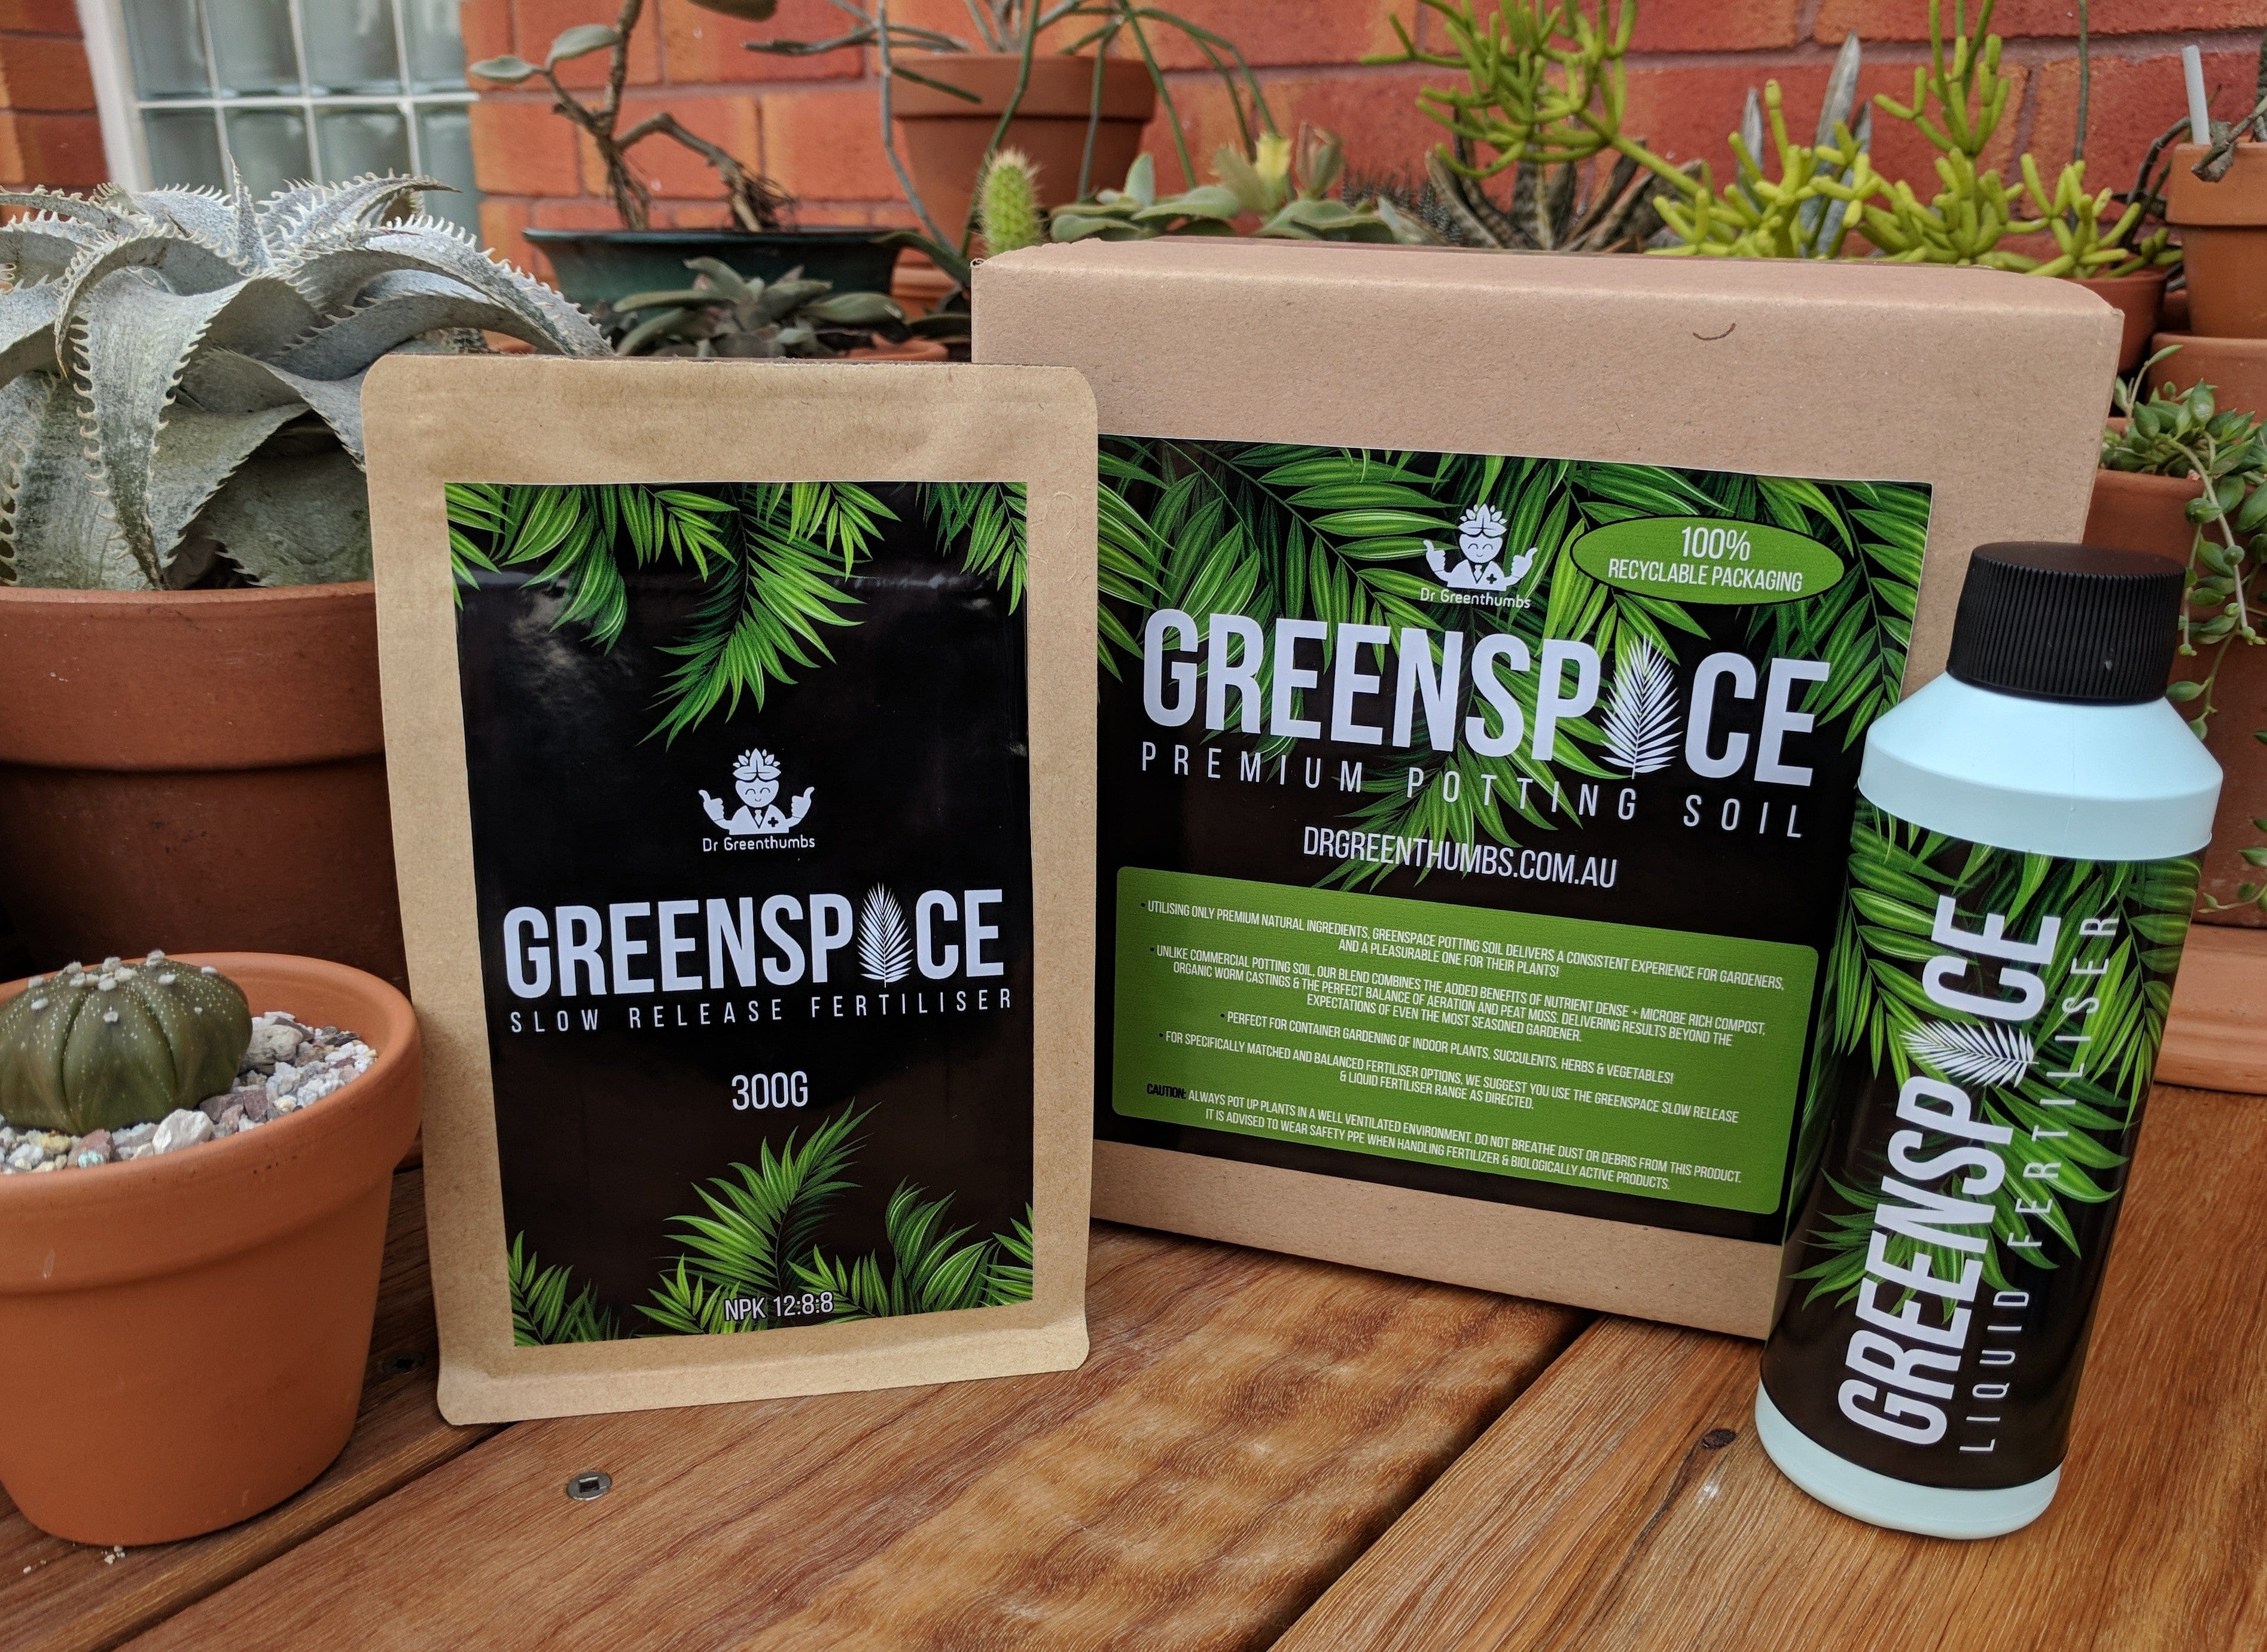
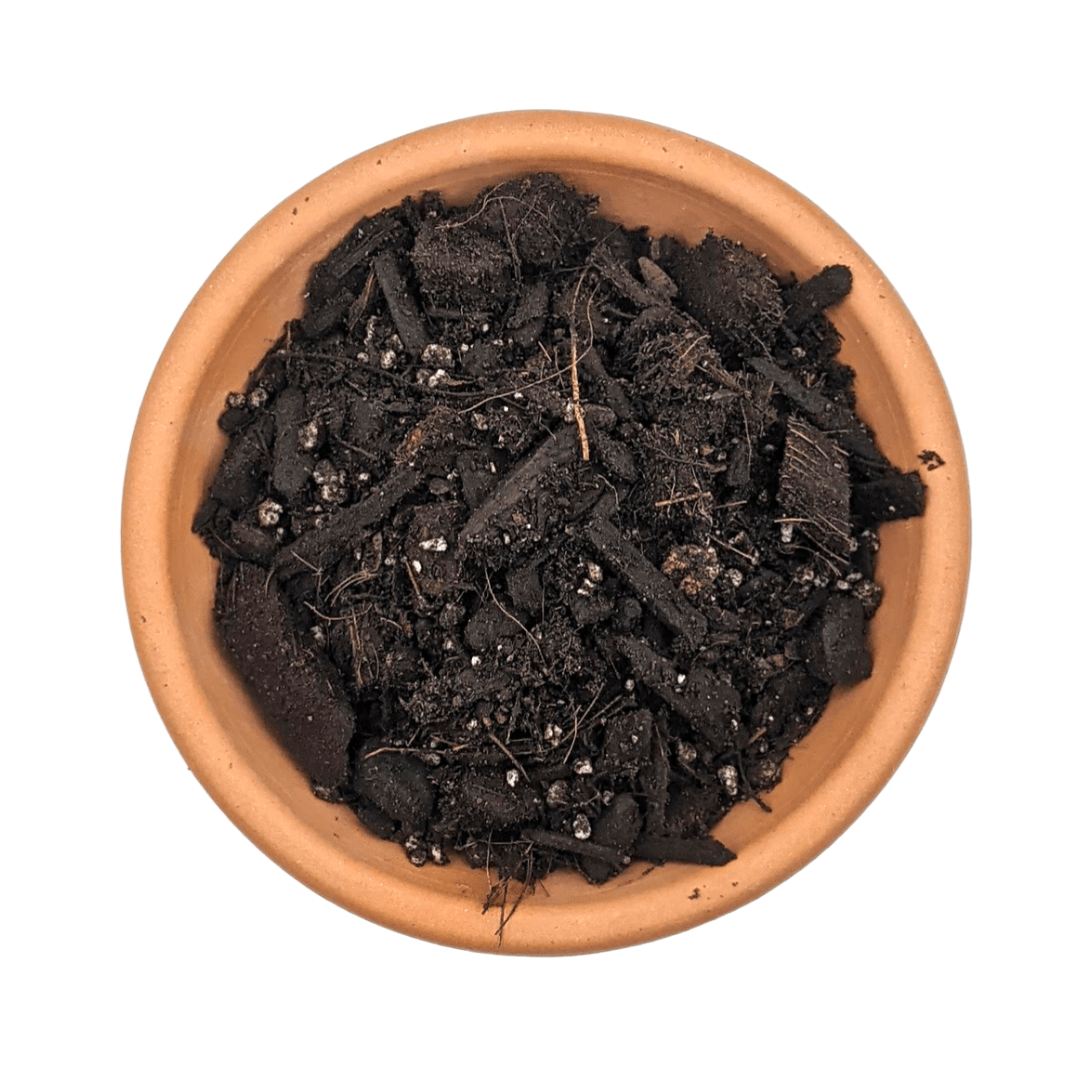
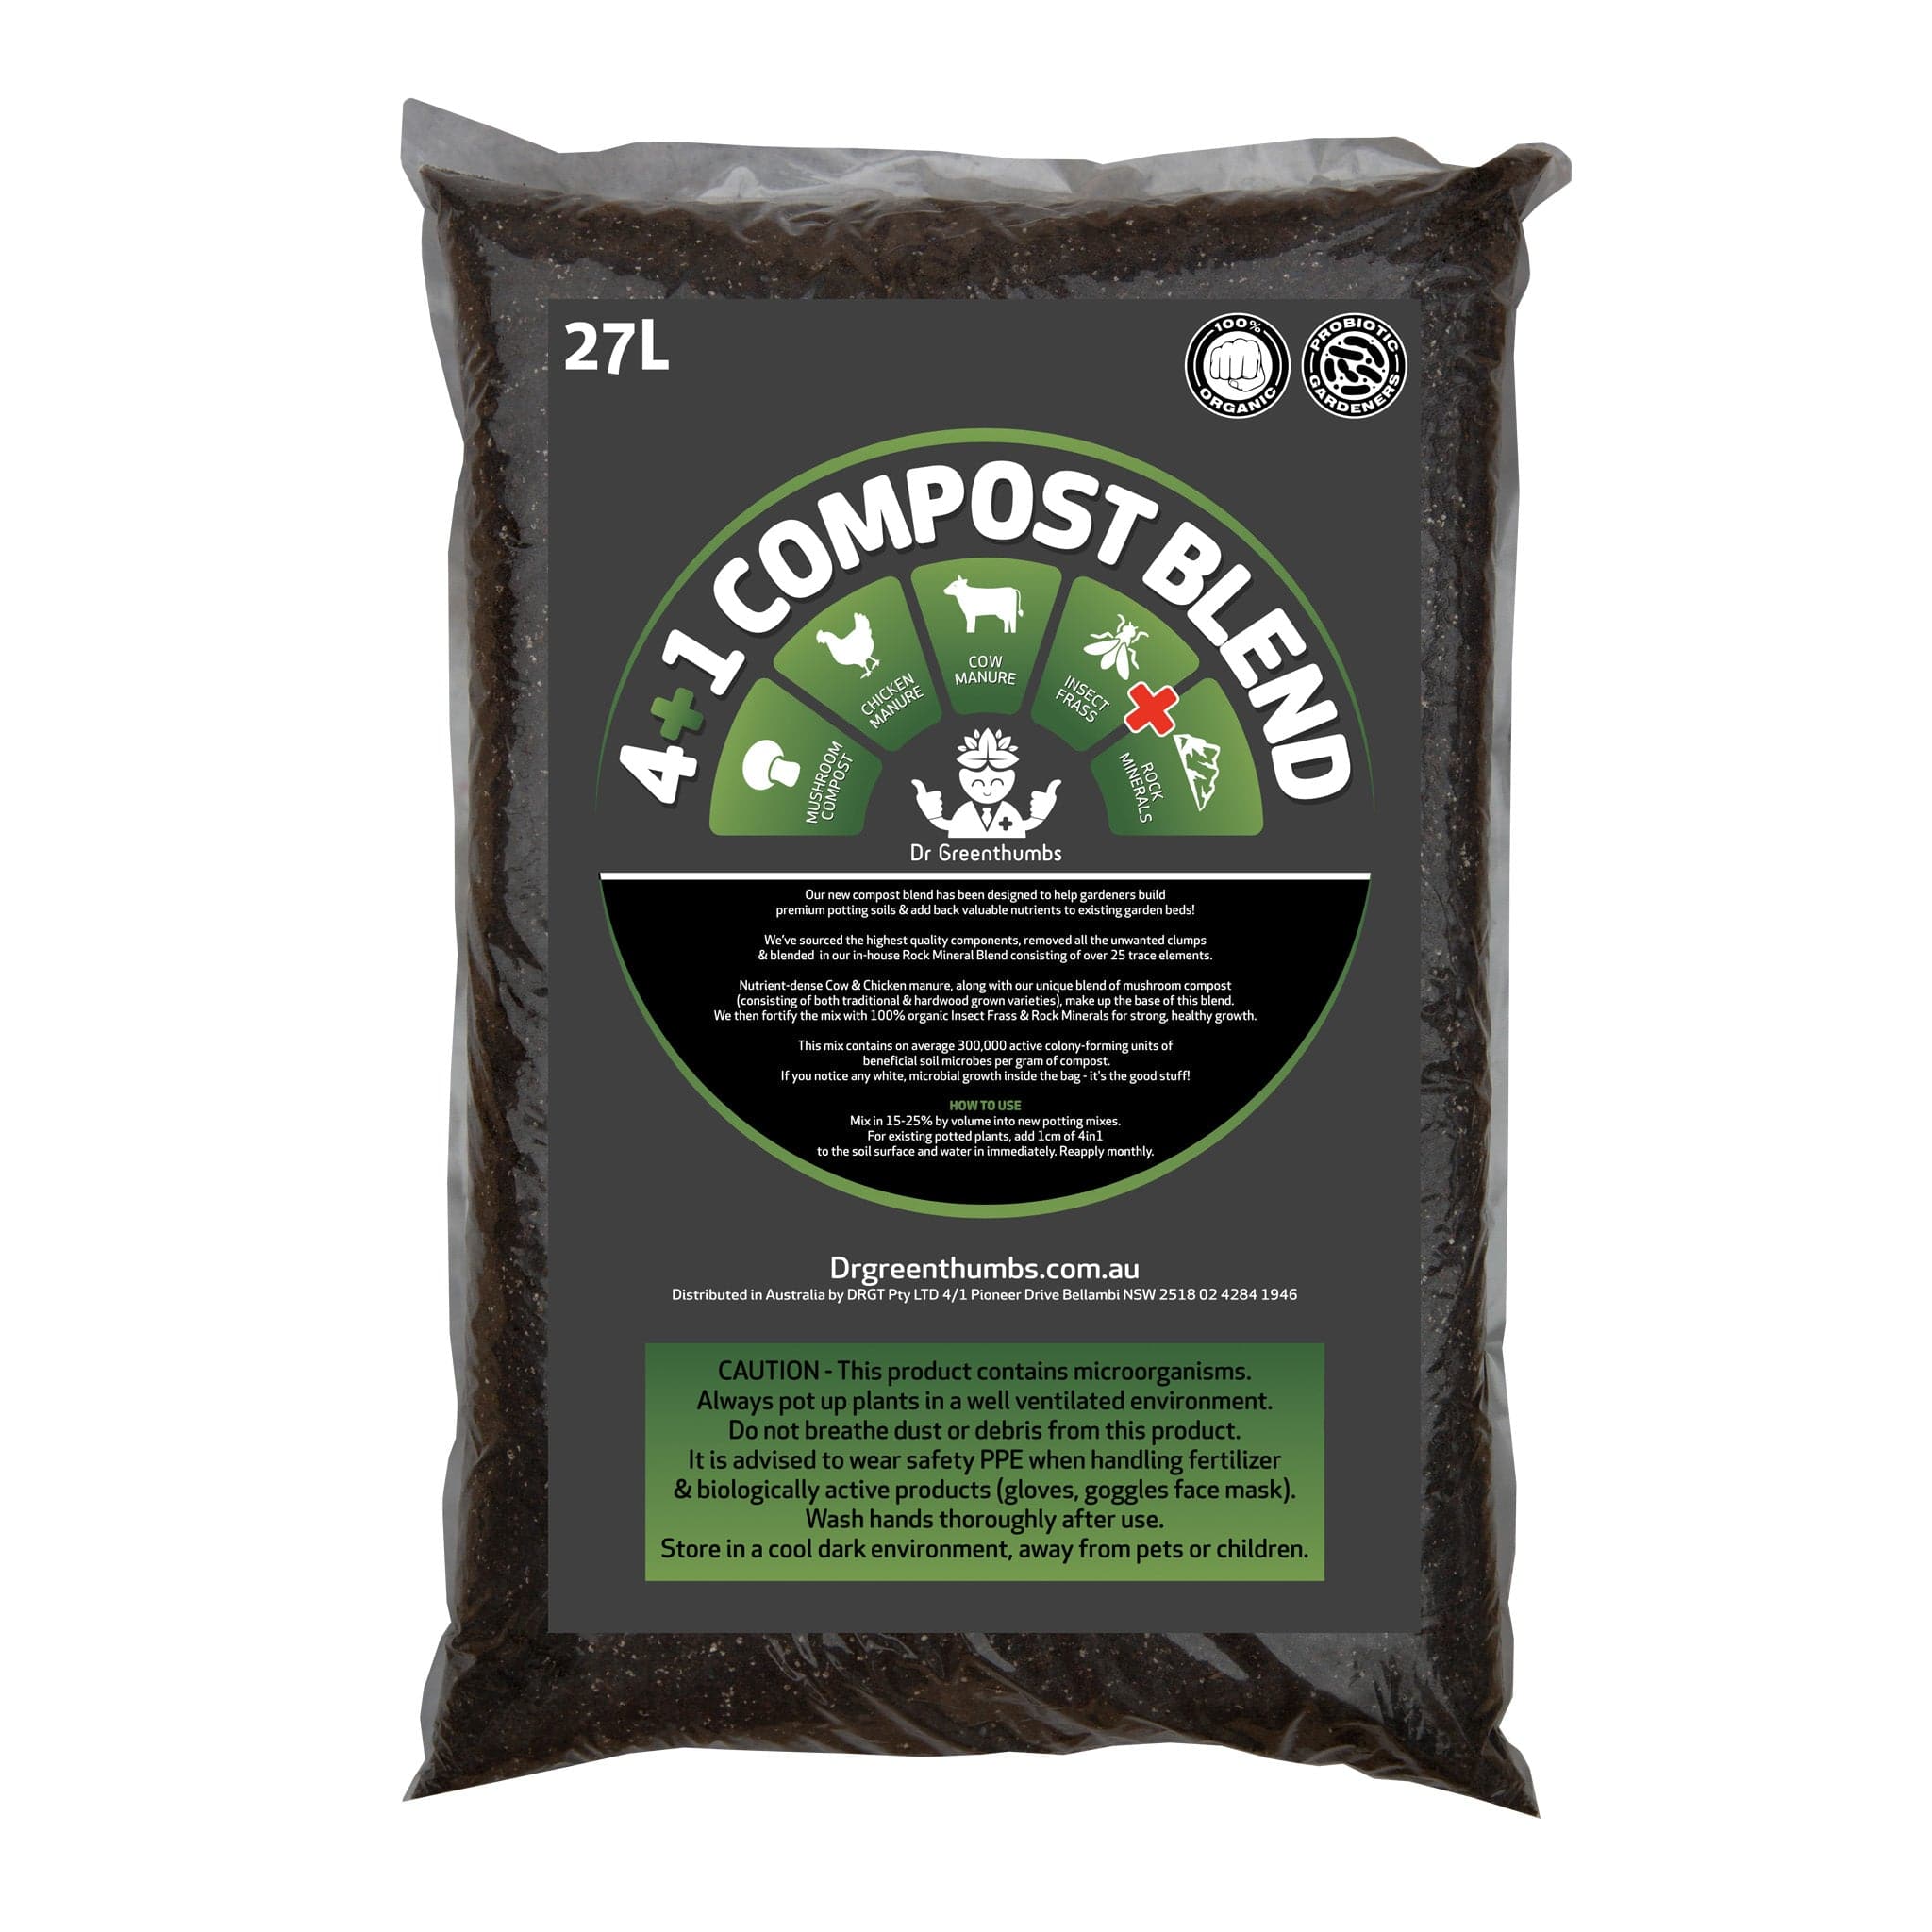
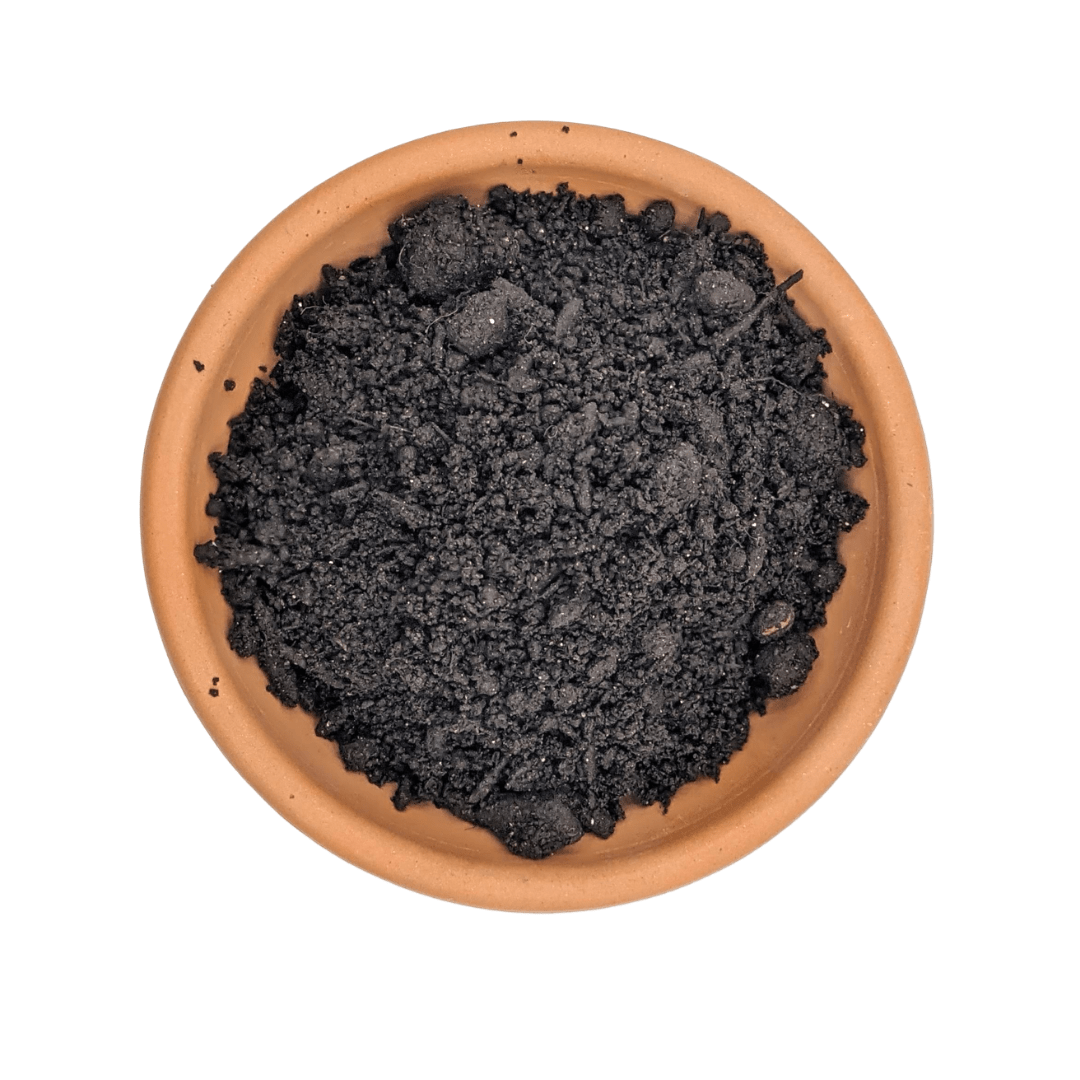
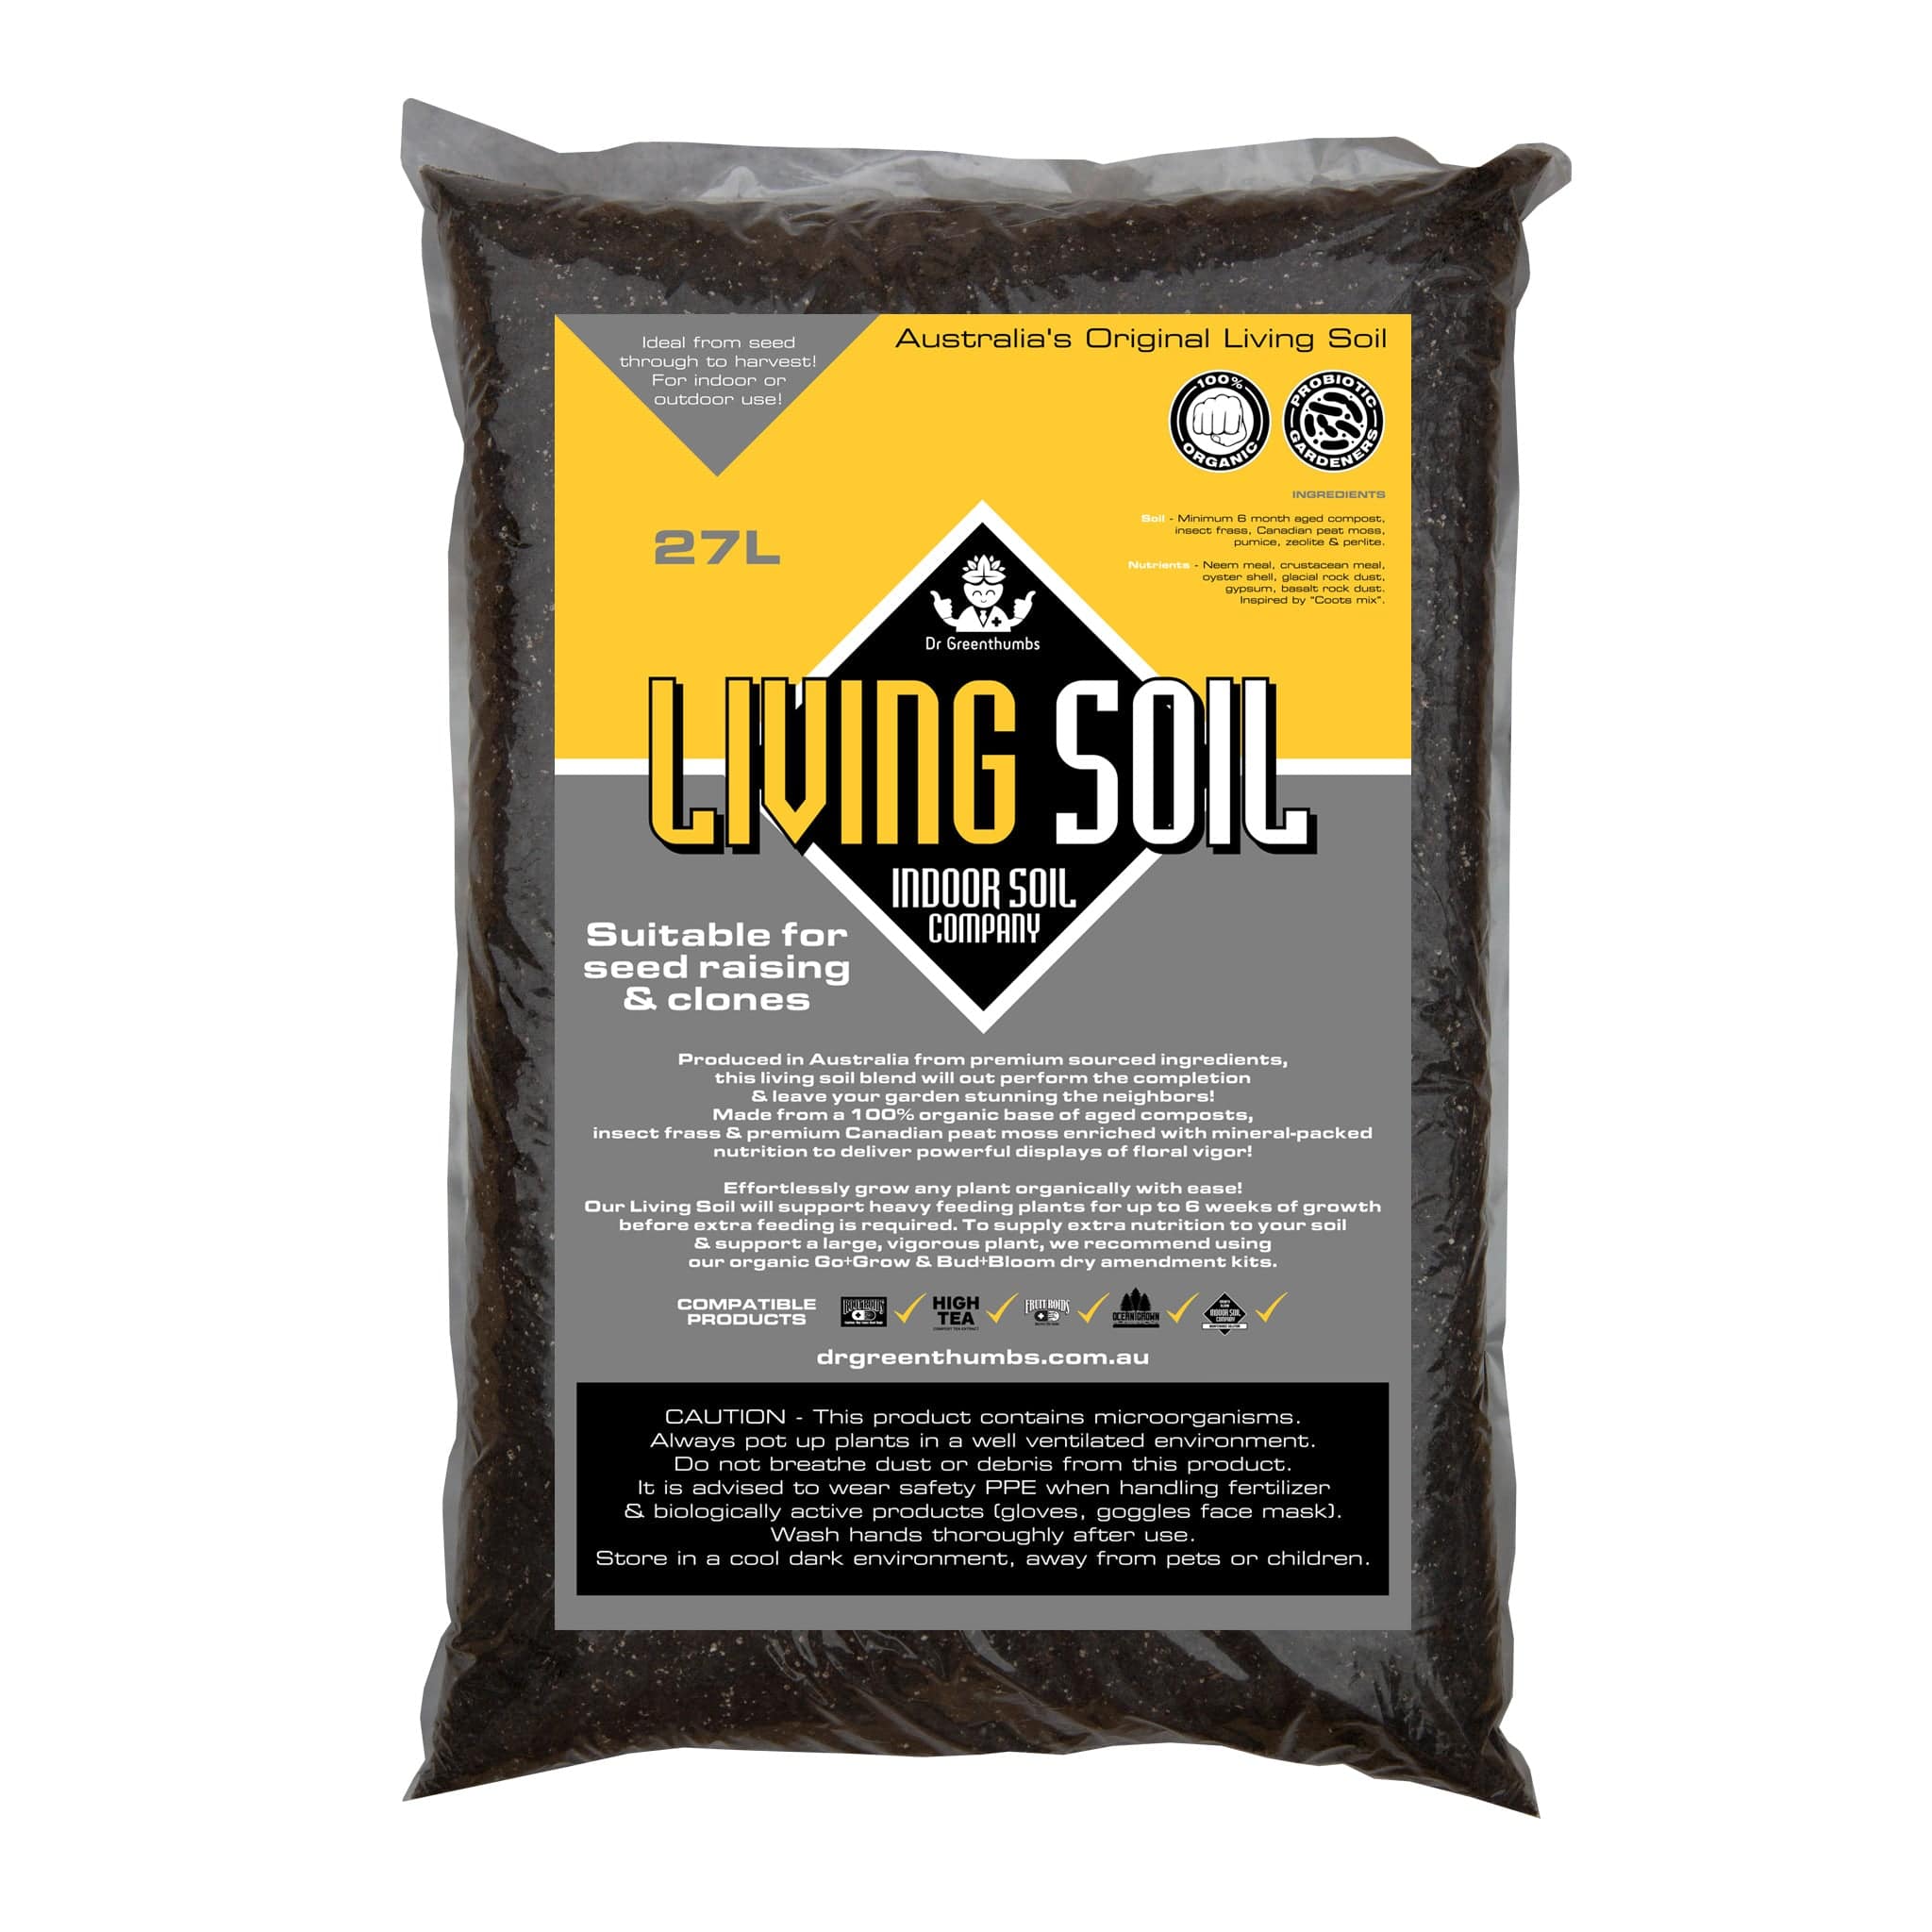
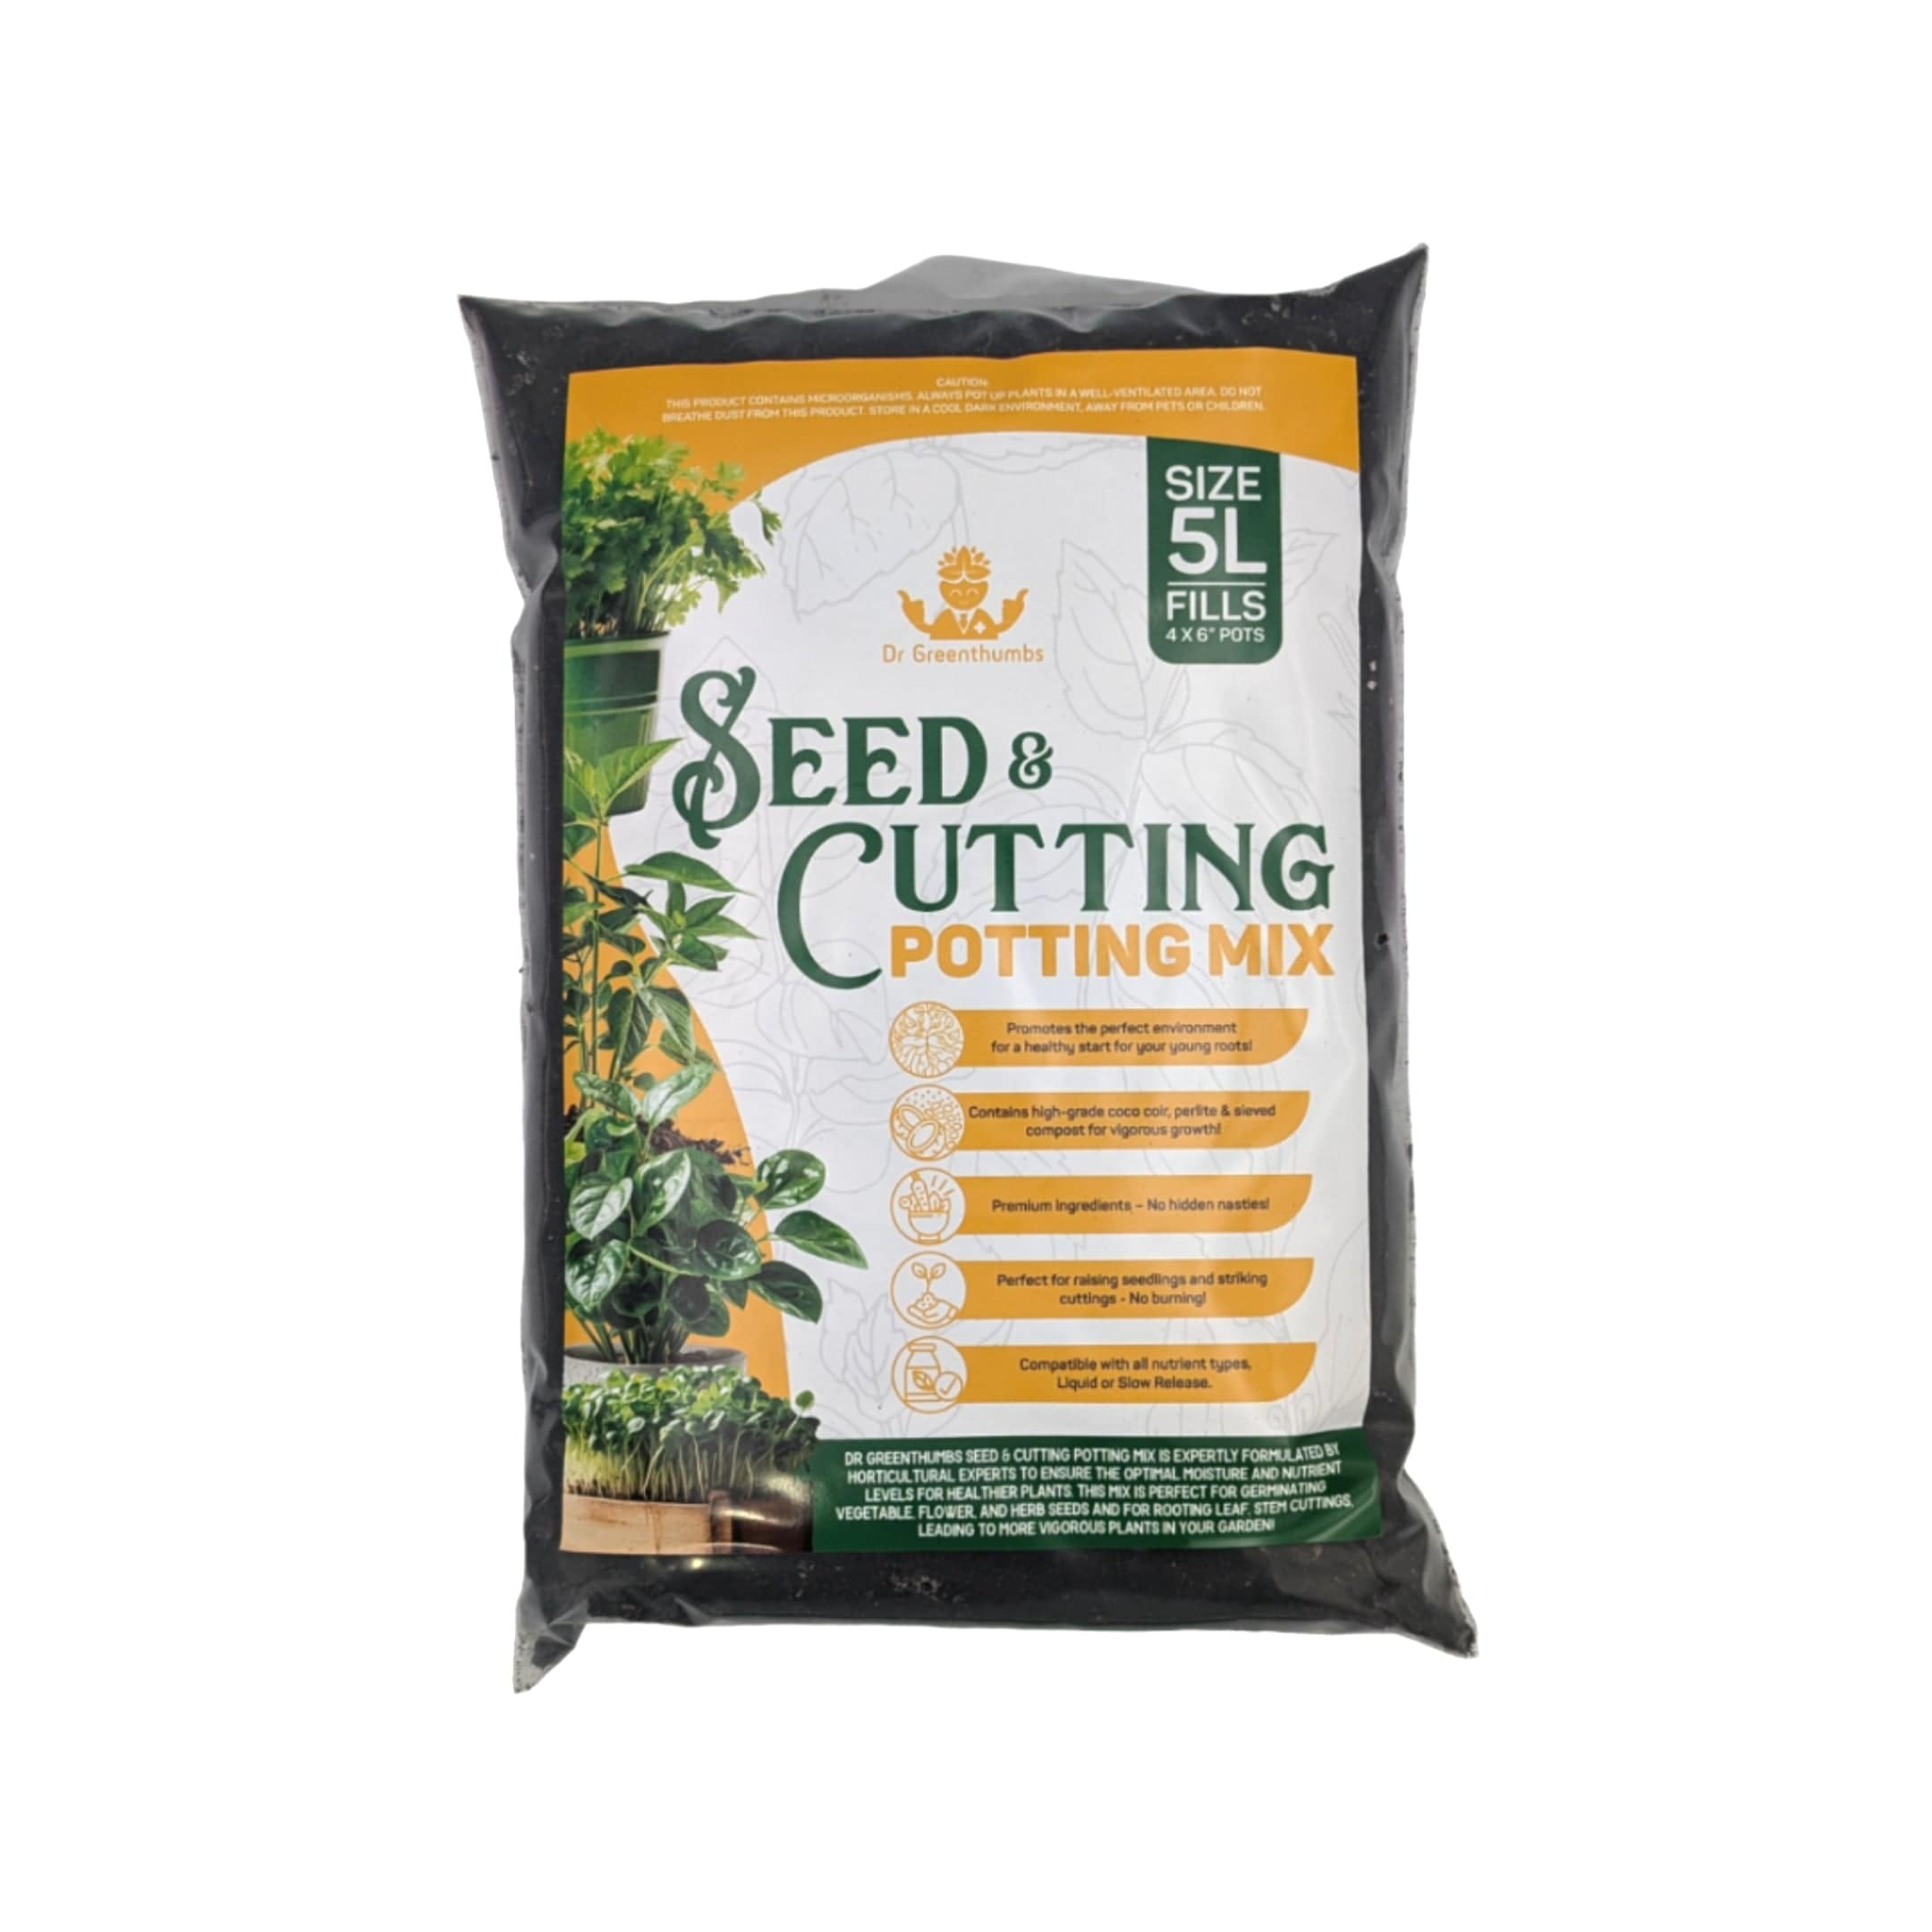
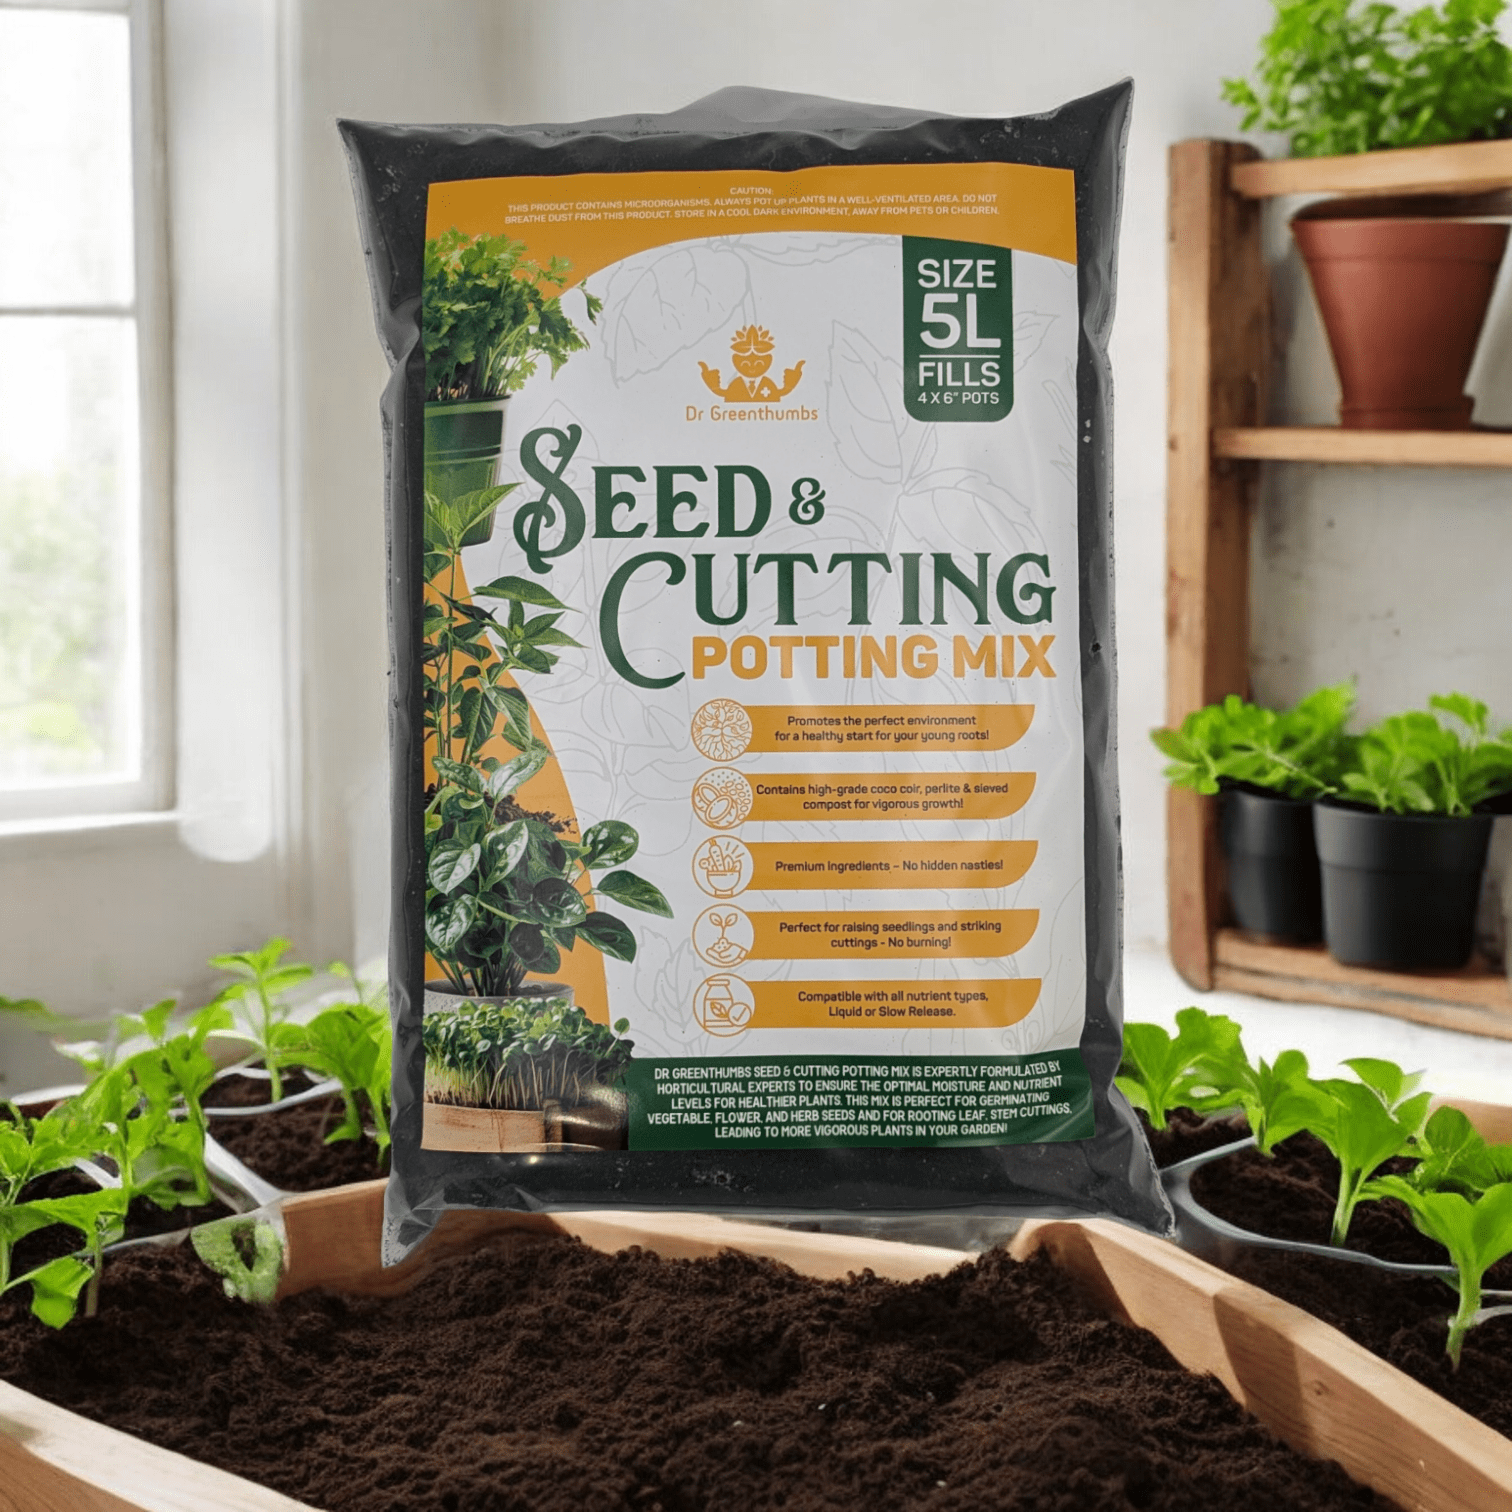
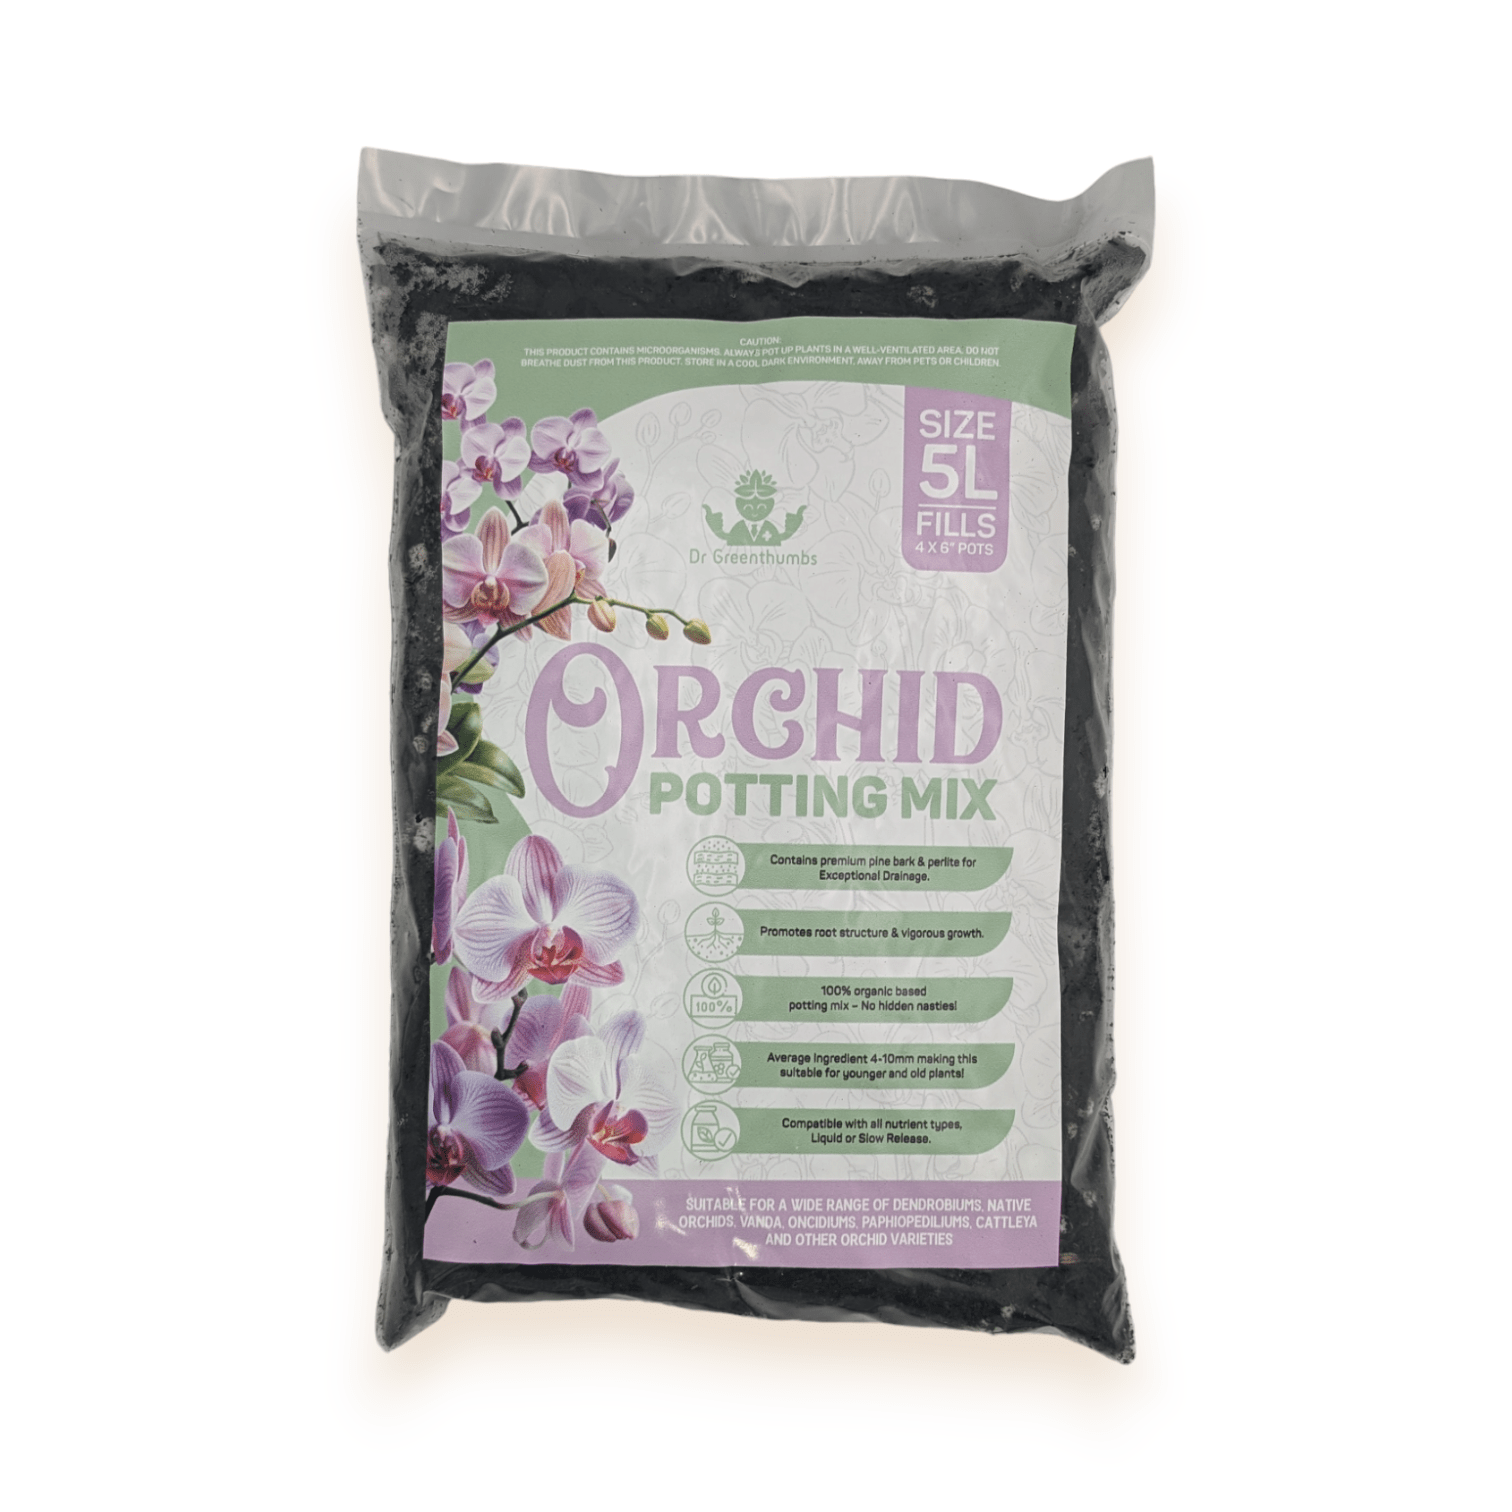
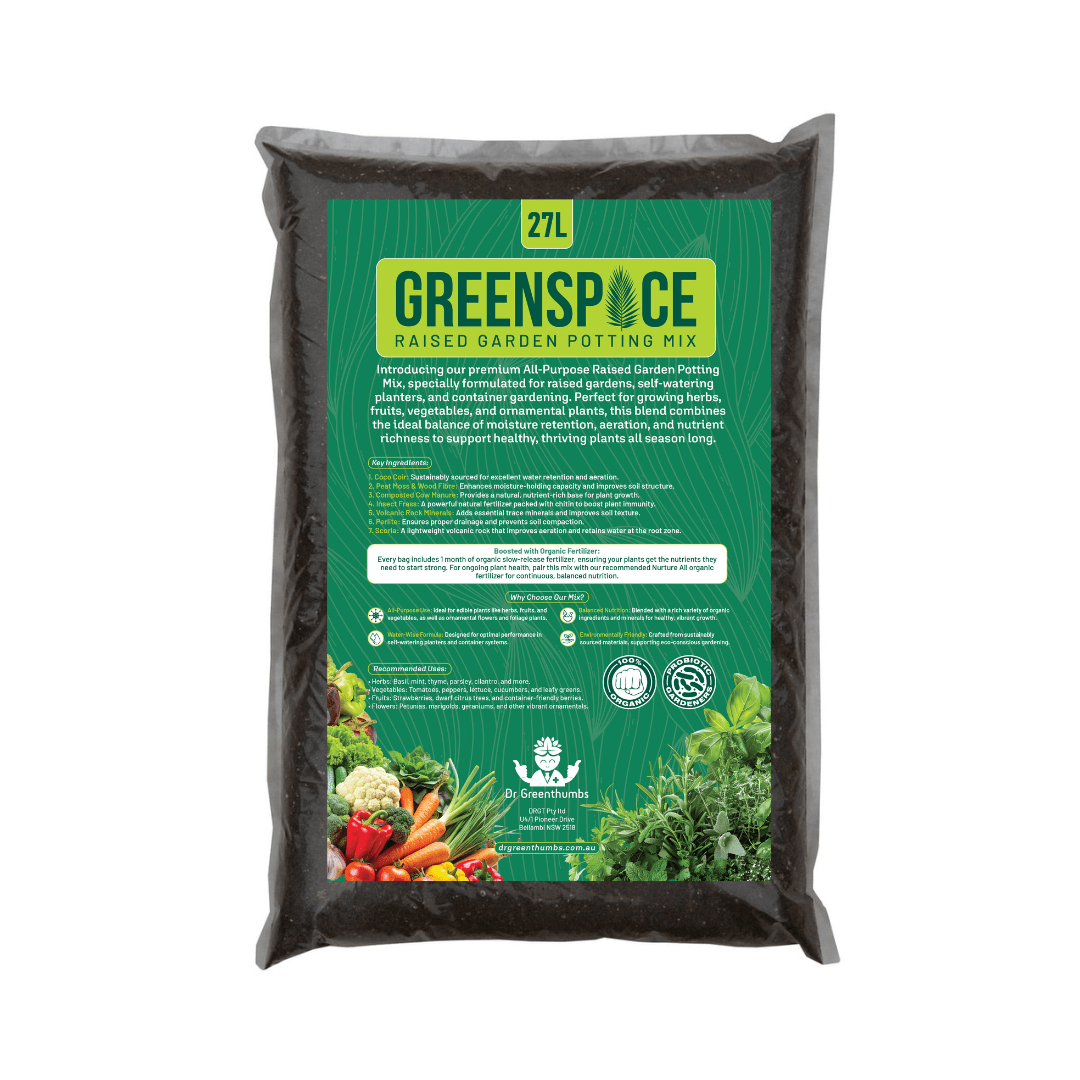
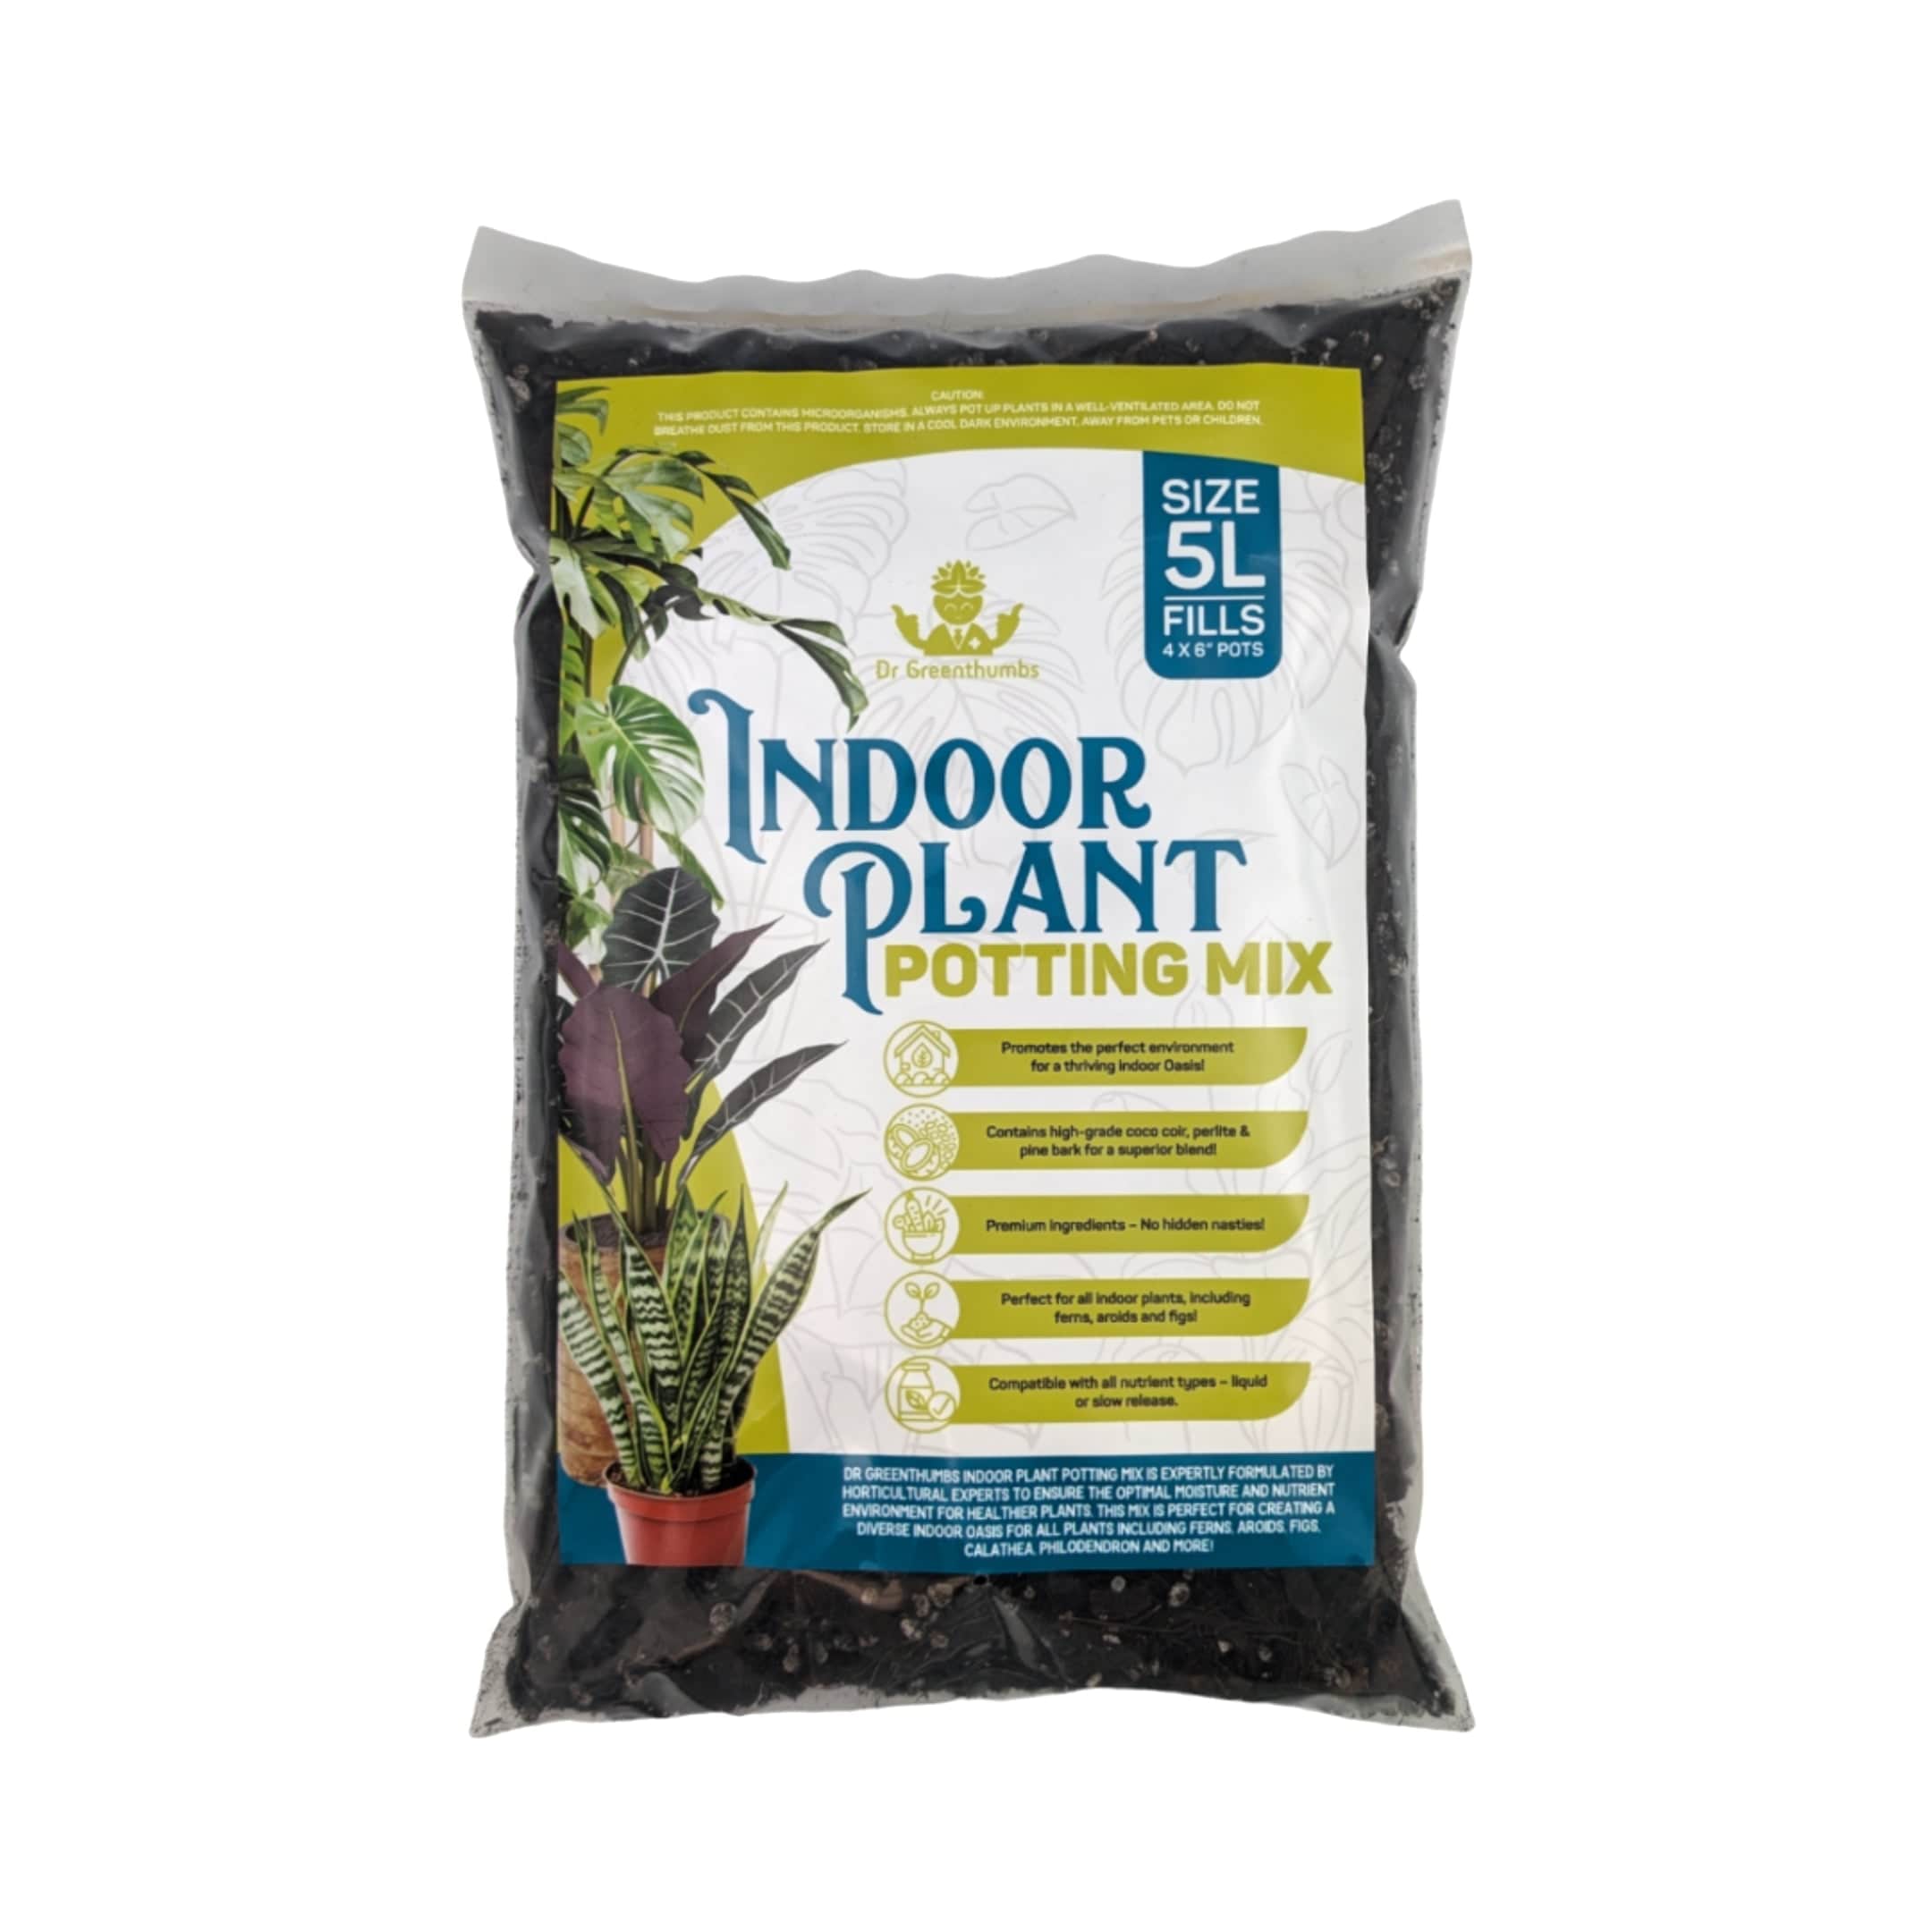
If you want the quickest way to get this mix right without guessing, these are the core materials:


Monstera Soil Type: Chunky, Airy and Moisture-Balanced
Monstera soil type should be chunky, airy and moisture-balanced—the ideal soil for Monstera needs all three. That’s the simple answer.
The longer answer is that Monsteras are aroids. They naturally grow with access to loose organic matter, tree debris, air gaps and climbing support — not dense garden soil wrapped around the roots like wet cement. Indoors, we have to fake that environment inside a pot.
A good Monstera soil type has three jobs:
- hold enough moisture that roots don’t dry instantly
- drain fast enough that roots are not sitting wet
- keep air pockets open after repeated watering
That’s why a proper mix usually includes bark, perlite or pumice, coco chips or coir, and a quality organic base. Each ingredient balances the others. Bark alone is too dry. Compost alone is too wet. Perlite alone has no real food. A good blend gives structure, moisture and nutrition together.
If the mix looks like one uniform black mass, it’s probably too fine. If it looks like a chunky trail mix with different particle sizes, you’re closer.
The Family-Safe DIY Monstera Soil Recipe
If you’re learning how to make Monstera soil, this family-safe recipe gives you a reliable starting point that has been refined by countless Australian indoor gardeners:
Base Foundation (60%):
- 30% Premium Potting Mix – Provides essential organic nutrition without synthetic nasties
- 20% Perlite – Creates crucial air pockets for happy roots
- 10% 4+1 Compost Blend – Slow-release nutrition that feeds your plant naturally
The Chunky Bits (40%):
- 30% Orchiata Bark – Mimics your Monstera's natural tree-climbing environment
- 10% Coco Coir Chips – Retains moisture without creating soggy conditions
Optional: Add root microbes or a gentle biological starter only if the plant is healthy and the mix already has good drainage and airflow.
Alternative Soil Mixes for Different Growers
Not everyone wants the same recipe — and that’s okay. Here are two great alternatives depending on what you’re looking for:
🌿 Beginner-Friendly Mix (Easy & Reliable)
Perfect for everyday plant parents who want simplicity without compromise. This mix uses fewer ingredients but still gives great drainage and aeration:
- 60% Premium Potting Mix
- 20% Perlite
- 20% Coco Coir
Quick to make, easy to find ingredients, and perfect if you’re just starting out.
🌱 Ultra-Chunky “Aroid” Mix (For Airy Roots)
If your home is humid or you tend to overwater, go chunkier. This mix mimics rainforest floor conditions beautifully:
- 30% Orchid Bark (bigger bits)
- 30% Perlite
- 20% Coco Coir Chips
-
20% Compost
The larger bark pieces keep air flowing and help reduce the risks of soggy soil and gnats.
These options let you tailor your soil mix so it plays nicely with your growing conditions — not just a one-size-fits-all approach.
Monstera Soil Mix: What Each Ingredient Actually Does
A proper Monstera soil mix works because every ingredient has a job.
Potting mix gives the base structure and holds nutrients. This is the part that keeps the plant fed and stops the whole blend turning into loose gravel.
Perlite creates air pockets and helps water move through the pot. It’s light, easy to use and handy when a mix feels too heavy.
Orchiata bark adds chunky structure and mimics the loose, woody material Monsteras naturally grow around. It gives roots something to grip and stops the mix collapsing into a soggy block.
Coco coir chips hold a little moisture while still keeping the mix open. They’re useful when you want airflow without drying the plant out too hard.
Compost adds slow, natural nutrition, but don’t overdo it. Too much compost can make the mix heavy and wet.
Root microbes help new roots settle in and explore the fresh mix, especially after repotting stress.
That’s the whole game: structure, airflow, moisture control and food. If one ingredient is missing, you can usually adjust. If the whole mix is fine, dense and wet, your Monstera will sulk no matter how nice the pot looks.
Best Soil for Monstera: The “Squeeze Test” Before You Pot
The best soil for Monstera isn’t just about a fancy ingredient list. It’s about how the mix behaves once it’s wet.
Before you commit your plant to a new mix, do the squeeze test:
- Wet a handful of your finished mix.
- Squeeze it firmly in your palm.
- Open your hand and see what happens.
If it holds together like mud, it’s too dense. Add more bark, perlite or chunky material.
If it falls apart instantly and won’t hold any moisture, it may be too lean for indoor growing. Add a little more quality potting mix, compost or coco chips.
What you want is that sweet middle ground: the mix clumps lightly, then breaks apart when you poke it. That means it can hold enough moisture for roots to drink, but still has the airflow Monsteras need to avoid soggy feet.
This is the bit a lot of recipes miss. Two people can use the same ingredients and get very different results depending on particle size, compost quality, how fine the potting mix is, and how heavy-handed they are with watering.
Your Monstera doesn’t care what the bag says. It cares whether the roots can breathe.
Monstera Potting Mix Should Drain Fast, Not Dry Out Instantly
A good Monstera potting mix should let water move through cleanly, but it shouldn’t turn bone dry the next day unless your home is hot, windy or very bright.
Fast drainage and zero moisture are not the same thing.
The aim is to water thoroughly, let excess drain away, then keep a little even moisture around the root zone while plenty of air remains in the mix. That’s why bark, perlite, coco chips and a decent organic base work so well together. The chunky parts keep the structure open, while the finer organic ingredients stop the plant drying out like it’s sitting in a basket of gravel.
Watch how your mix behaves after watering:
- Water sits on top for ages = too compacted
- Pot stays heavy for a week = too dense or pot is too big
- Water blasts straight through and the plant wilts fast = too dry or too chunky
- Pot feels lighter over a few days = you’re in the zone
This is also why drainage holes matter. No soil recipe can save a Monstera sitting in a sealed decorative pot full of water. Use a nursery pot inside the pretty pot if you want the look without drowning the roots.
Potting Mix for Monstera: Match the Chunkiness to Your Watering Style
The right potting mix for Monstera depends on how you actually care for the plant, not how you wish you cared for it.
If you’re a chronic overwaterer, go chunkier. Add more bark, perlite or coco chips so the mix sheds excess water faster and keeps oxygen around the roots.
If you’re forgetful and your plant regularly goes crispy between drinks, don’t go too extreme with the chunky bits. Keep a stronger moisture-holding base so the mix doesn’t dry out in two seconds.
Here’s the simple rule:
- Heavy-handed waterer = more chunky drainage
- Forgetful waterer = more moisture buffer
- Humid home = more airflow
- Dry, heated home = slightly more moisture retention
- Small pot = dries faster
- Oversized pot = stays wet longer
This is where Aussie homes can be all over the shop. A Monstera in a humid Brisbane apartment will not dry like one sitting near a heater in a Melbourne lounge room. Same plant, same recipe, completely different result.
So don’t copy a recipe blindly from someone overseas and expect magic. Use it as a starting point, then adjust the texture to suit your house.
Monstera Soil Mix Ratios for Different Watering Styles
The best Monstera potting mix ratio is the one that matches how you actually water. Be honest here — your habits matter more than the recipe on the bag.
If you’re a heavy waterer, go chunkier:
- 40% premium potting mix
- 30% orchid bark
- 20% perlite
- 10% coco chips or charcoal
This gives water more escape routes and keeps oxygen around the roots.
If you forget to water, keep a little more moisture in the mix:
- 50% premium potting mix
- 20% orchid bark
- 15% perlite
- 15% coco coir or coco chips
That still drains properly, but it won’t dry out quite as fast in a warm room.
If your Monstera is in a bright, warm spot, it can handle a touch more moisture retention. If it’s in a cooler room, low light corner or air-conditioned space, lean chunkier. Less light means slower drinking, and slower drinking means soggy soil becomes a problem fast.
A good mix should hold enough moisture to stop the plant drying out overnight, but not so much that the roots sit wet for days. That’s the line you’re aiming for.
Monstera Soil Mix Recipe: How to Adjust It Without Stuffing It Up
A Monstera soil mix recipe is a starting point, not a prison sentence.
Once you’ve made the base mix, adjust it in small steps:
- Too wet and heavy? Add 10–15% more bark or perlite.
- Too dry and loose? Add 10% more potting mix or coco chips.
- Not enough nutrition? Add a small amount of compost, not half the bag.
- Getting fungus gnats? Let the top dry better and avoid overloading fine organic matter.
- Roots are tiny or stressed? Keep the mix airy, but don’t go so chunky that young roots can’t access moisture.
The biggest mistake is overcorrecting. If your mix is a bit heavy, don’t turn it into 80% bark overnight. If it dries too fast, don’t dump in heaps of compost and undo all the drainage work.
Make one adjustment, water it in, then see how it behaves over the next week.
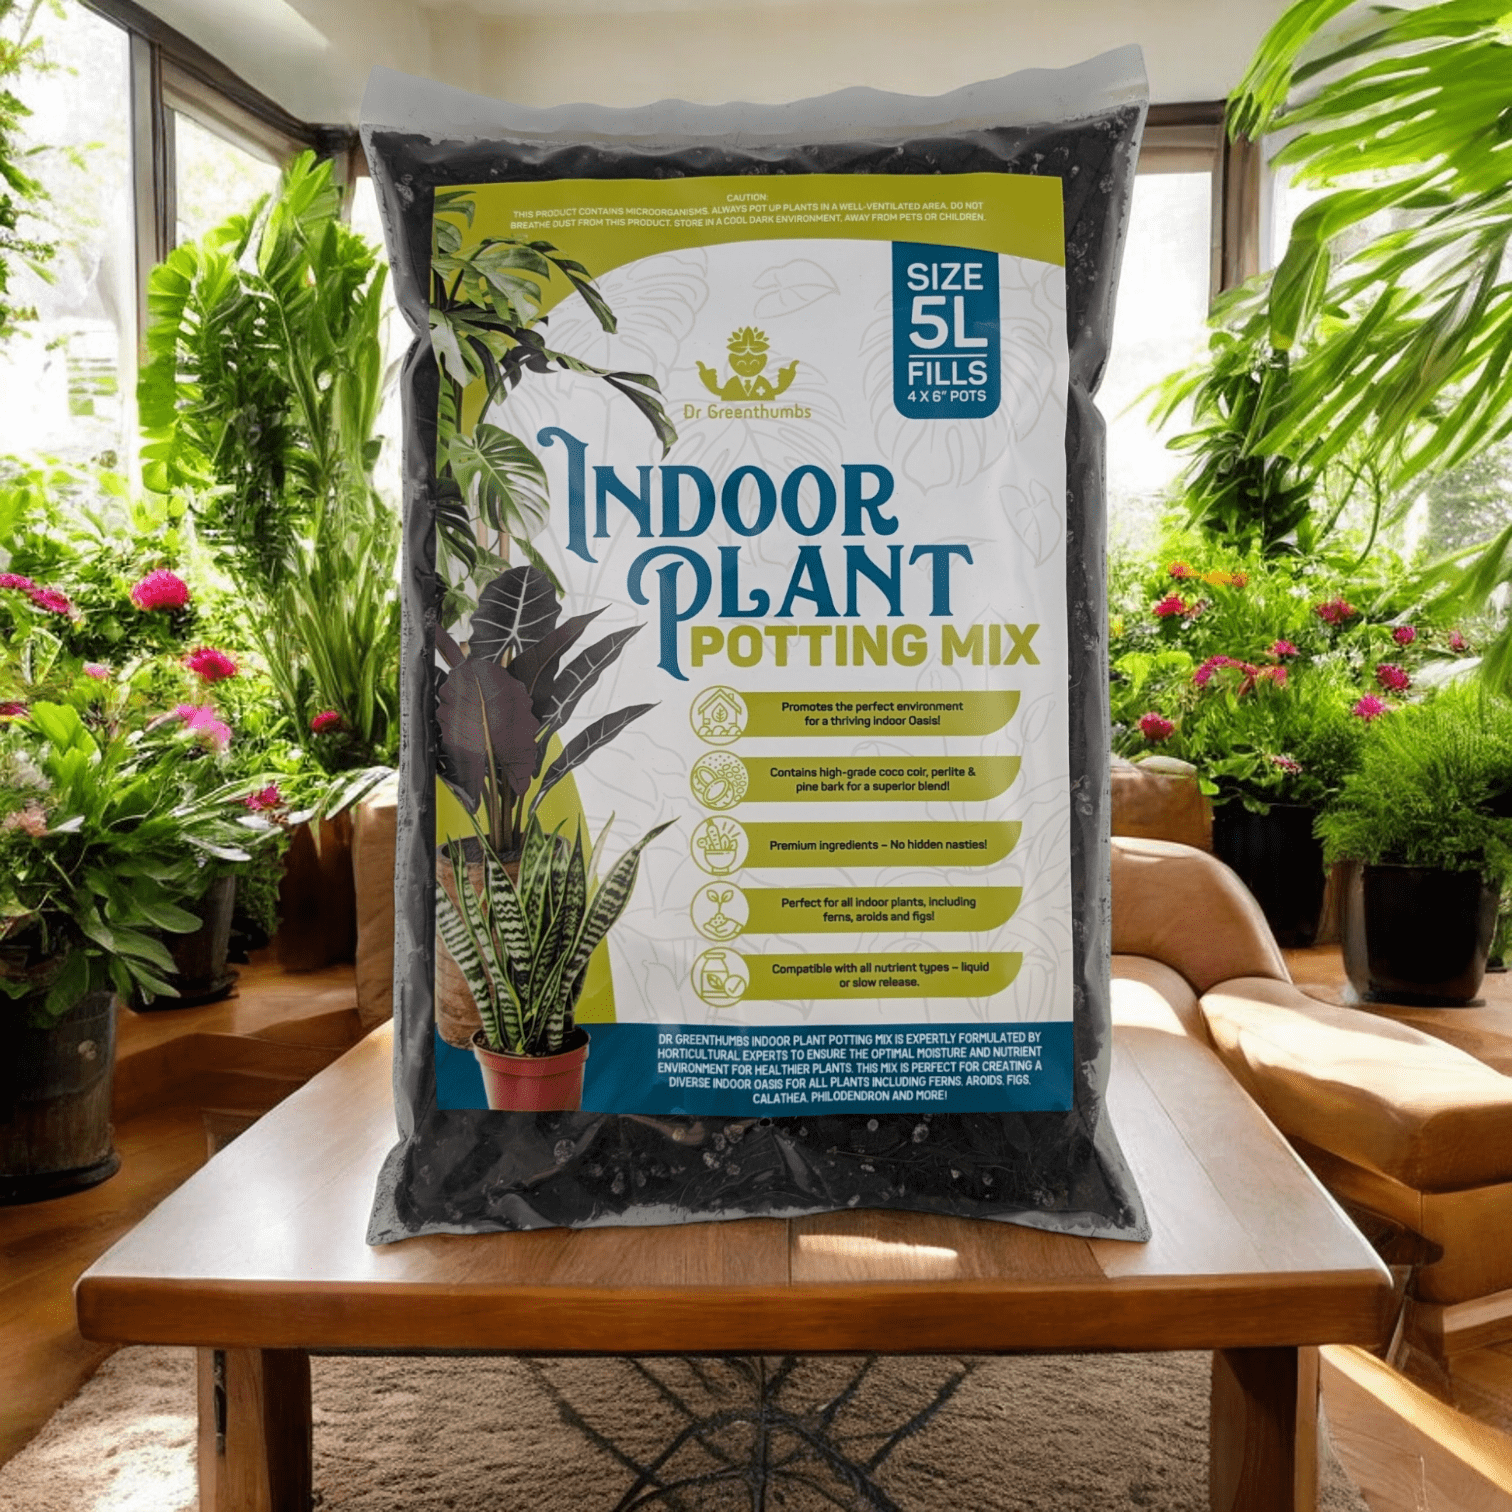
For an easy foundation, start with a reliable indoor potting base and build the chunkier Monstera structure around it.
Monstera Potting Mix Recipe for Small Plants vs Big Established Plants
A Monstera potting mix recipe should change slightly as the plant matures.
Small Monsteras with finer root systems need a mix that stays a touch more evenly moist. If the blend is too chunky, water can run past the roots before they’ve had a proper drink.
Large established Monsteras can handle a bolder, chunkier mix because they have bigger roots, thicker stems and more leaf mass pulling moisture through the pot.
For smaller plants:
- Keep more base potting mix in the blend
- Use medium chunks rather than huge bark pieces
- Avoid oversized pots
- Don’t let the entire root ball dry rock-hard too often
For big plants:
- Increase bark and perlite for structure
- Use a heavier pot so the plant doesn’t tip
- Check the centre of the root ball, not just the surface
- Add support while repotting if the plant is starting to lean
This is why a baby Monstera and a giant lounge-room beast shouldn’t always get the exact same mix. Same principles, slightly different execution.
Best Soil for Monstera Deliciosa vs Smaller Monstera Types
The best Monstera deliciosa soil mix is usually chunkier and more structural than the mix you’d use for smaller Monstera types.
Monstera deliciosa gets big, heavy and root-hungry. It needs a mix that can support a large root system, hold a pole steady and stay open for months without collapsing. Bigger bark chunks, perlite, coco chips and a reliable organic base all make sense.
Smaller species like Monstera adansonii, siltepecana and dubia still like airflow, but they often have finer roots and smaller pots. If the mix is too chunky, water can rush past the root ball and leave the plant drying unevenly. These plants usually prefer a slightly finer version of the same idea: still airy, just not full of huge bark pieces.
As a guide:
- Monstera deliciosa: chunkier, stronger structure, larger pot stability
- Monstera adansonii: airy but a little more moisture-retentive
- Monstera siltepecana: light, open mix with even moisture
- Monstera dubia: moisture-retentive but not soggy, especially when mounted
- Variegated deliciosa: airy and stable, but avoid harsh dry-backs
Same family, same principles. Different plant size, different execution.
Monstera Adansonii Soil: Slightly Finer Than Deliciosa
Monstera adansonii soil should still be airy, but it usually doesn’t need to be as chunky as a big Monstera deliciosa mix.
Adansonii has smaller leaves, finer stems and often lives in smaller pots or hanging baskets. If you use huge bark chunks through the whole mix, the roots may not contact enough moisture and the plant can wilt or crisp between waterings.
A good adansonii mix should:
- drain freely
- hold light, even moisture
- include smaller bark pieces
- avoid dense soggy peat-heavy media
- suit either climbing or trailing growth
- dry down steadily, not instantly
If your adansonii is climbing a pole, it can handle a bit more structure. If it’s trailing from a hanging pot, moisture loss may be faster, so don’t make the mix too dry and chunky.
Same principle as deliciosa: oxygen matters. Just scale the particle size to the plant.
Monstera Deliciosa Best Soil for Variegated Plants
Monstera deliciosa best soil advice gets more important with variegated plants like Thai Constellation and albo. These plants are expensive, slower-growing and less forgiving when roots go bad.
Variegated Monsteras have less green tissue, which can mean slower growth and less energy production. That doesn’t mean they need a totally different soil, but it does mean you should avoid extremes.
Don’t go too wet. Root rot on a variegated Monstera is a costly lesson.
Don’t go too dry either. Harsh dry-backs can stress fine roots and make white sections crisp faster.
Aim for:
- chunky but stable structure
- even moisture without sogginess
- clean, fresh ingredients
- a pot with excellent drainage
- no oversized pot
- steady aftercare after repotting
For these plants, consistency matters more than clever recipes. Use a reliable chunky base, then adjust lightly if your home is unusually dry or humid.
The goal is boring root stability. Fancy leaves come after that.
Monstera Soil Mix for Root Rot Recovery
A Monstera soil mix for root rot recovery needs to be more forgiving than the standard “healthy plant” mix. Once roots have gone mushy, the plant has less working root mass and a lower tolerance for wet, compact media.
Start by cutting away any black, slimy or hollow roots with clean secateurs. Don’t leave half-rotten roots in the pot and hope they magically bounce back. They won’t. Then repot into a fresh, chunky mix that gives the remaining roots oxygen straight away.
For recovery, lean a touch chunkier:
- more orchid bark for air pockets
- perlite for drainage
- coco chips for light moisture buffering
- less compost than usual
- no dense garden soil
- no oversized pot full of wet media
The pot size matters here. If root rot has taken out a lot of the root system, don’t jump into a giant pot. Use a pot that matches what’s left of the roots, not what the plant looked like before it crashed.
Water in lightly, then let the mix start drying before watering again. The plant needs oxygen more than sympathy watering.
Best Potting Mix for Monstera When Leaves Are Yellowing
The best potting mix for Monstera yellowing problems depends on what’s causing the yellowing. Don’t blame the soil automatically, but don’t ignore it either.
Yellow leaves can come from overwatering, underwatering, low light, old age, nutrient issues, cold stress, pests or root rot. The soil mix is usually involved when the pot stays wet too long, dries too fast, smells sour, or collapses around the roots.
Check the pot before changing the recipe:
- Is the pot heavy days after watering?
- Does water sit on top before draining?
- Does the mix smell stale or sour?
- Are roots brown and mushy?
- Is the plant in a pot with no drainage?
- Is the mix mostly fine black material with no chunks?
If yes, the mix is likely part of the problem. Repot into a fresh chunky blend and trim any damaged roots.
If the mix drains well and roots look firm, the yellowing may be light, feeding, temperature or watering rhythm instead. Changing soil won’t fix a Monstera sitting in a dark corner with cold wet roots.
Potting Mix for Monstera in Self-Watering Pots
Potting mix for Monstera in self-watering pots needs extra care. Self-watering pots can work, but only if the mix still has enough air. If you use a heavy indoor mix with a water reservoir underneath, you can create a slow-motion root rot setup.
Monsteras like moisture, but they do not want stagnant wet feet. In a self-watering pot, the lower zone stays wetter for longer, so the mix should be chunkier than normal.
Use:
- orchid bark
- perlite or pumice
- coco chips
- a moderate amount of quality potting mix
- minimal compost
Avoid:
- dense peat-heavy mixes
- compost-heavy blends
- garden soil
- very fine coir on its own
- oversized self-watering pots
Let the plant establish normal roots before relying fully on the reservoir. Top-water at first so the whole root ball settles, then slowly transition to the reservoir once roots are active. If the plant is in low light or winter conditions, keep the reservoir lower or let it dry down between fills.
Self-watering does not mean “set and forget”. It means the pot stores water. You still need to check whether the Monstera is actually using it.
Monstera Potting Mix for Moss Poles and Climbing Support
Monstera potting mix becomes more important once you add a moss pole, coir pole or support plank. A climbing Monstera has a heavier top, bigger leaves and more leverage on the root ball, so the mix needs structure without turning into concrete.
If the mix is too loose, the pole wobbles and the plant never anchors properly. If it’s too dense, the roots stay wet and the plant sulks. You want a chunky but stable base that grips the support and still lets water move through cleanly.
When potting with a pole:
- Position the pole before backfilling.
- Anchor it deep enough that it doesn’t rock.
- Backfill with chunky mix around both roots and pole base.
- Gently firm the mix without compacting it hard.
- Tie the main stem to the support, not the leaf petioles.
- Water in slowly so the mix settles around the root ball.
For bigger Monsteras, use a heavier pot or cache pot so the whole setup doesn’t tip. The best soil mix in the world won’t help if your plant keeps trying to launch itself across the lounge room.
Soil for Monstera in Australian Apartments
Soil for Monstera in Australian apartments needs to deal with weird indoor conditions: air-con, heaters, low airflow, hot windows, tiny balconies and decorative pots with no drainage.
Every home changes how a Monstera mix behaves. Humid rooms, dry heaters, air-con, hot windows, low airflow and bright balconies all affect how quickly the pot dries. Treat the soil mix as your plant’s weather buffer: it needs to suit both your home and your watering style.
That means the mix needs to be open enough to avoid soggy roots, but not so lean that it dries out every second day in summer. Most apartment Monsteras do best in a chunky indoor mix with a proper drainage pot sitting inside a cover pot.
Apartment checklist:
- use a nursery pot with drainage holes
- check the cover pot for leftover water
- keep the mix chunky but not bone-dry
- avoid giant pots in low-light rooms
- rotate the plant so growth stays balanced
- don’t let leaves press against hot glass
- use a support before the plant starts leaning badly
If you’re growing on a balcony, remember that wind changes everything. A mix that behaves perfectly indoors can dry much faster outside. Add a little more moisture buffer or move the plant out of harsh afternoon exposure.
The right Monstera mix is not just about the plant. It’s about the room it has to survive in.
Best Potting Mix for Monstera: Bagged Mix vs DIY
The best potting mix for Monstera is the one that gives you consistency.
DIY is great if you like controlling every ingredient and you’ve got a few plants to repot. You can make it chunkier, richer, lighter or more moisture-holding depending on your home.
Bagged mixes are better if you want fewer ingredients sitting around the laundry and less mucking around. The catch is that many general indoor mixes are made to suit a broad range of houseplants, not big aroids with chunky root systems.
If you’re buying a ready-made mix, check for:
- Bark or chunky organic matter
- Perlite, pumice or another drainage material
- A base that doesn’t feel like heavy mud
- Drainage holes in the pot you’ll actually use
- No weird chemical smell or waterlogged texture in the bag
If the bagged mix looks fine and fluffy but not chunky, you can still rescue it. Add bark and perlite before potting. That turns an average indoor mix into something much more Monstera-friendly.
Don’t overthink it, but don’t trust “premium indoor mix” on the label without checking the texture either.
Potting Mix for Monstera: What to Avoid Buying
Not every bag labelled “premium potting mix” is right for a Monstera on its own. Some mixes are built to hold water for outdoor pots in full sun, which is a very different job to supporting a tropical aroid in a lounge room.
Avoid using these straight from the bag:
- moisture-control mixes that stay wet for too long
- cheap black potting mixes that collapse into sludge
- heavy garden soil
- seed-raising mix on its own
- compost-heavy blends with no chunky drainage
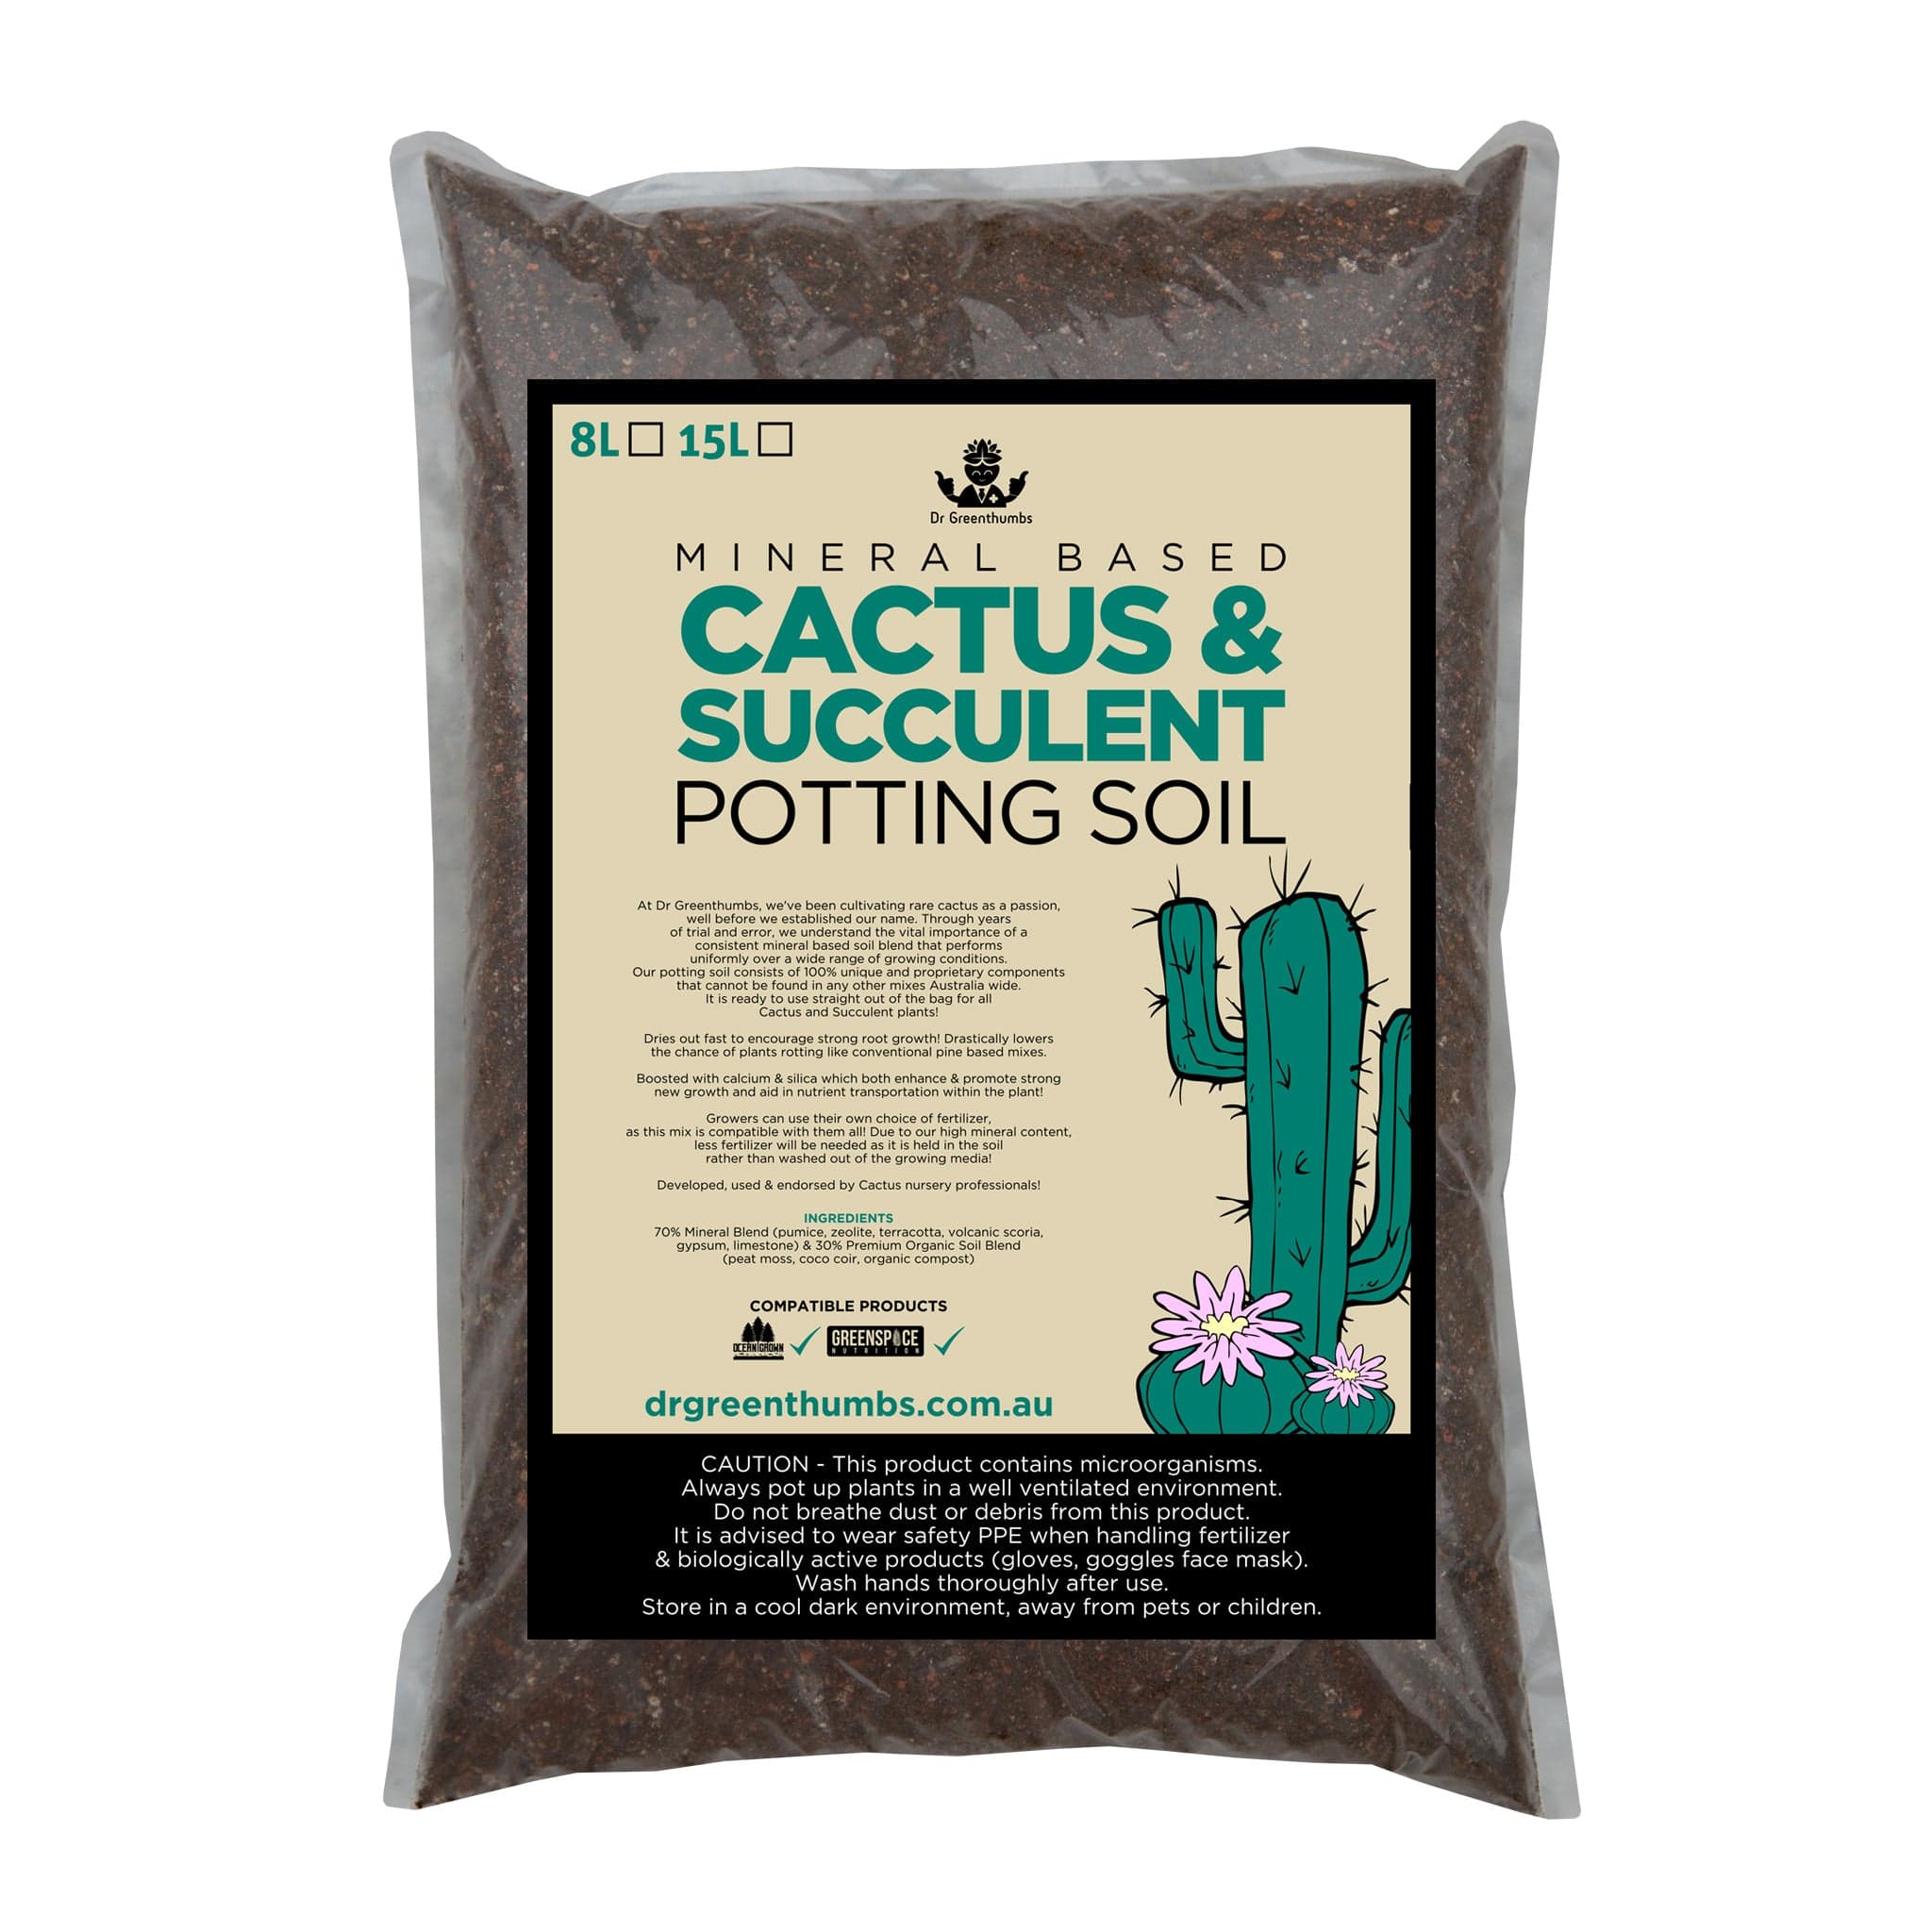
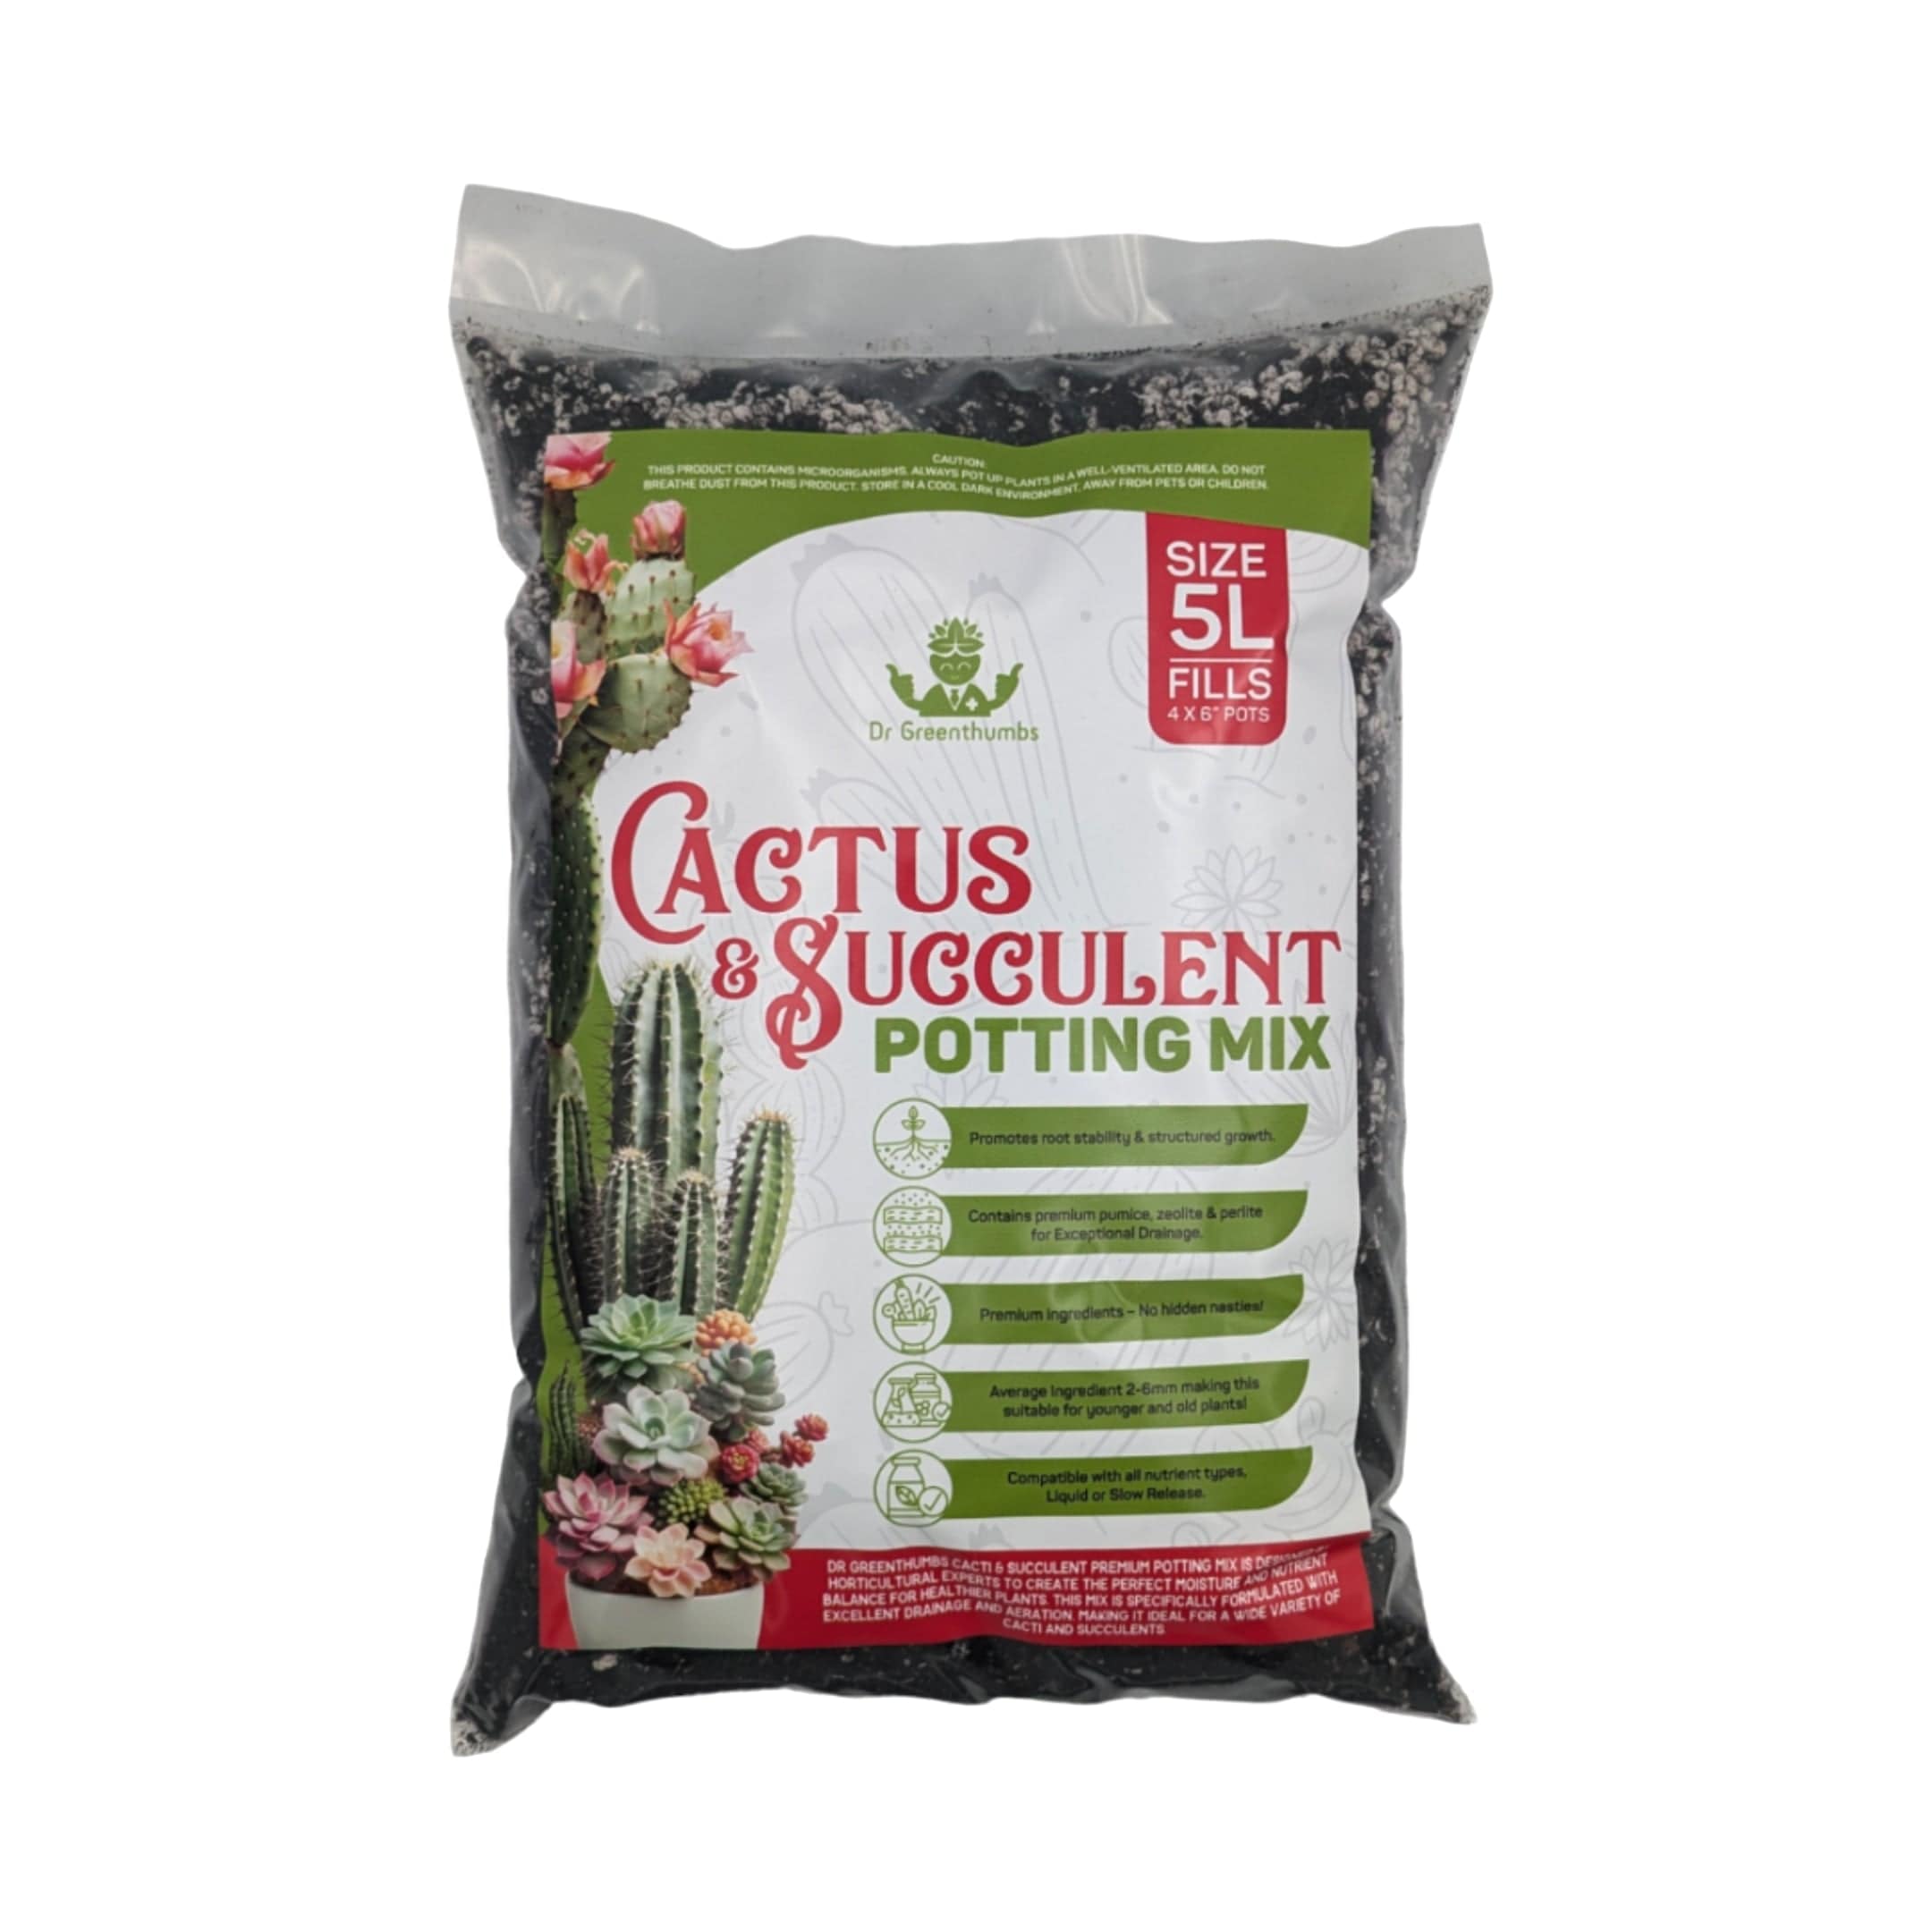
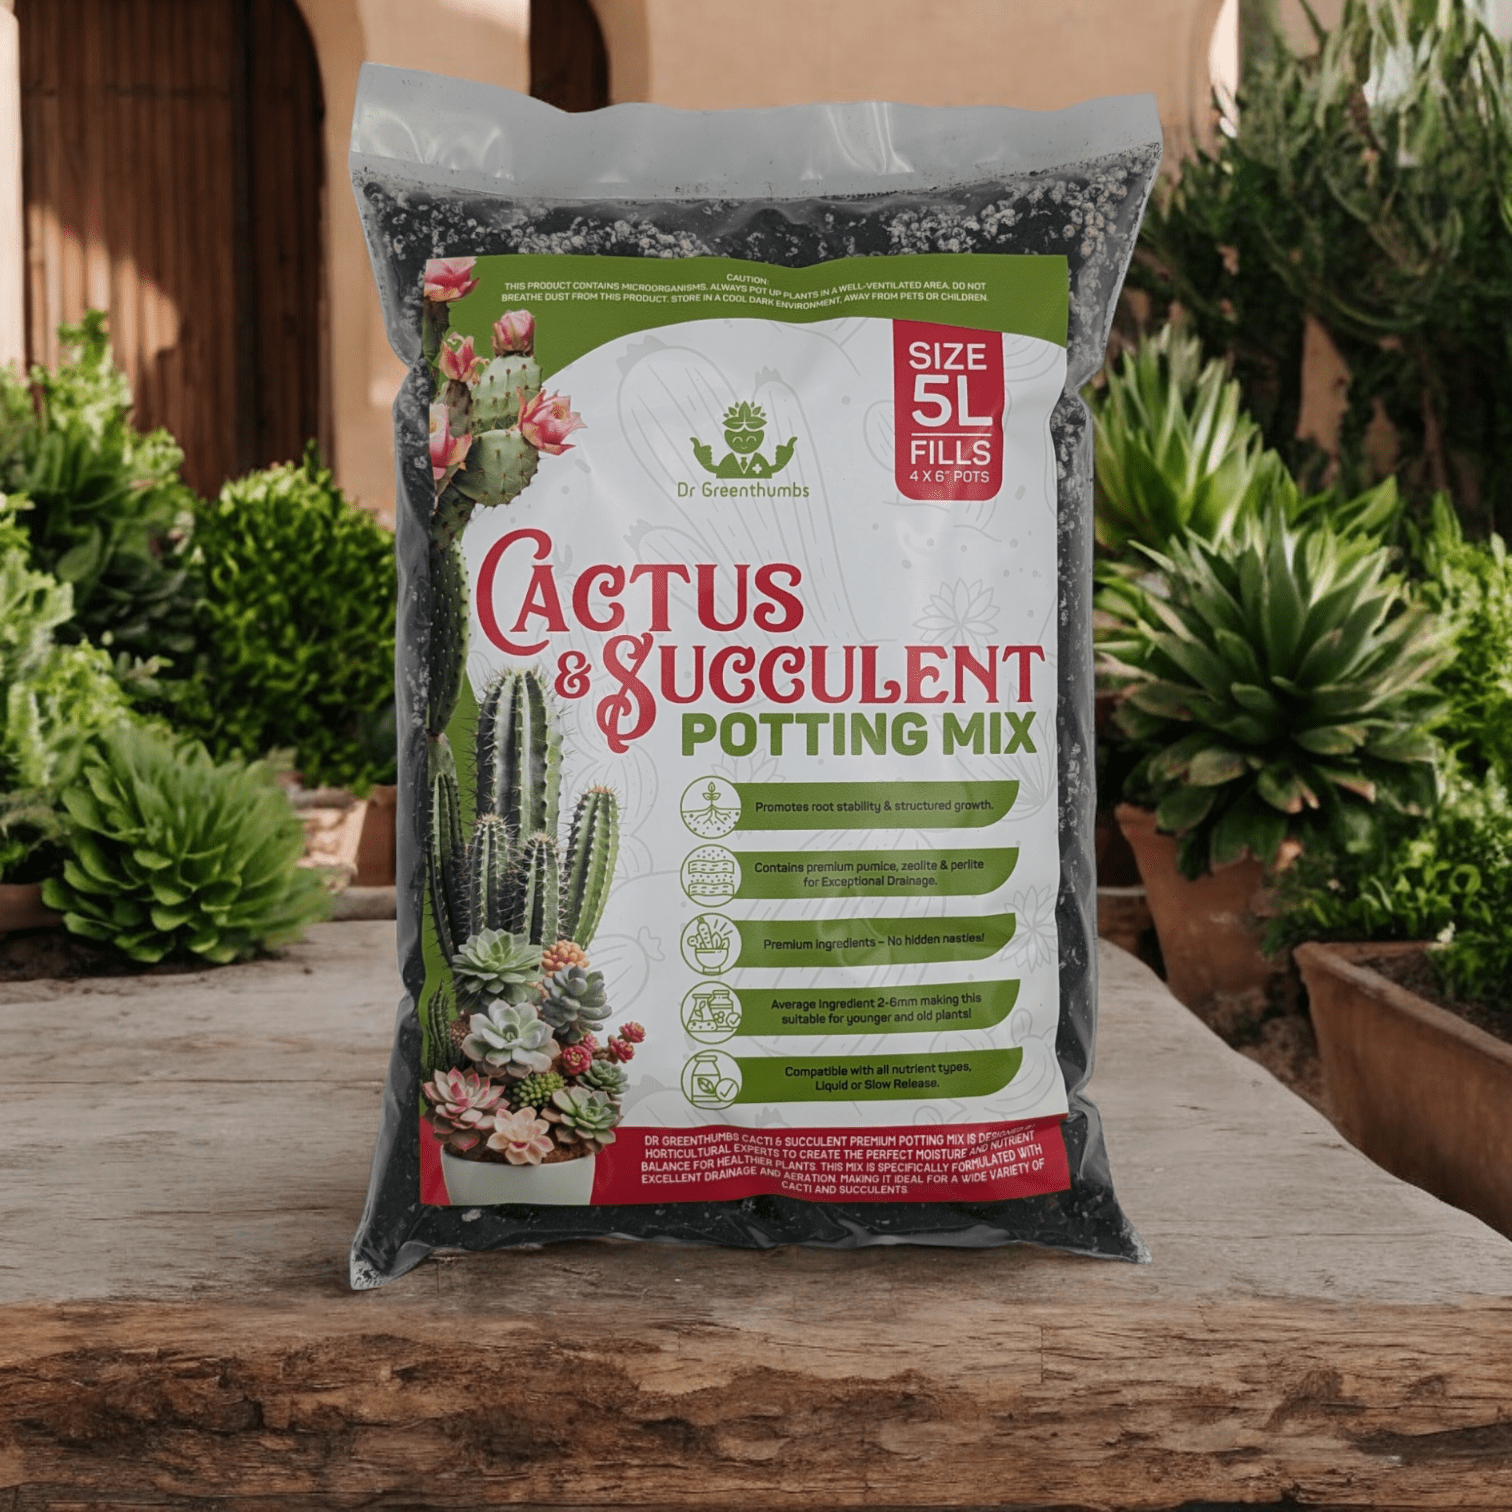
- cactus mix by itself, unless you add organic matter back in
The problem isn’t that these products are always “bad”. It’s that they’re not balanced for Monstera roots indoors.
A cactus mix may drain fast but can be too lean. A rich compost mix may feed well but hold too much water. A standard indoor mix may be fine for some plants but still too tight for a big Monstera in a plastic pot.
If you already bought a regular mix, don’t bin it. Open it up. Add orchid bark, perlite and coco chips until it looks chunky enough that water can move through easily. You should be able to see different particle sizes, not one uniform damp mass.
Monstera Potting Soil From Bunnings: What to Check Before Buying
Monstera potting soil from Bunnings or any big-box garden aisle can work, but don’t buy on the front label alone. “Indoor plant mix” is not automatically a Monstera mix.
Open the bag if you can see a sample, or check the product details closely. You’re looking for structure: bark, perlite, coco chunks, pumice or other coarse material. If the mix looks fine, black and dense, it will probably need help.
Before using a bagged mix, ask:
- Does it contain chunky material?
- Does it drain freely?
- Is it mostly fine peat or compost?
- Does it smell fresh, not sour?
- Would it stay wet for days in a plastic pot?
- Can I add bark and perlite to improve it?
If you already bought a standard indoor mix, don’t panic. Cut it with orchid bark and perlite before potting your Monstera. That turns a broad houseplant mix into something much closer to what aroids prefer.
The mistake is using a generic bagged mix straight from the shelf, then wondering why the Monstera gets yellow leaves and fungus gnats two months later.
Potting Monstera: When Not to Repot Yet
Potting Monstera plants at the wrong time can set them back. Repotting is useful when the plant needs it, but it’s not a hobby you need to do every time you get bored.
Hold off repotting if:
- the plant is pushing healthy new growth
- roots are not circling heavily
- the mix still drains well
- the plant was recently moved or shipped
- it is mid-winter and growth is slow
- the plant is already stressed from pests, cold or underwatering
Repot when:
- roots are circling hard or coming out the bottom
- the mix stays wet too long
- the plant dries out immediately after watering
- the pot is unstable
- root rot needs cleaning up
- the mix has collapsed into sludge
If the plant is only slightly root-bound but otherwise happy, you may not need a full repot. You can refresh the top layer, improve support, adjust watering and wait until active growth starts.
Repotting is a tool. Use it when it solves a problem.
Step-by-Step: The Aussie Monstera Repotting Method
Before You Start: Check your calendar – the best time for repotting in Australia is early spring (September-October) when your plant is gearing up for its growing season. Avoid the peak summer months when your Monstera is already stressed from heat.
What You'll Need:
- Your DIY soil mix (prepared fresh)
- A pot 2-5cm larger than the current one with drainage holes
- Clean secateurs for root pruning
- A drop sheet (trust me, your partner will thank you)
The Process:
- Gentle Liberation: Carefully remove your Monstera, supporting the stem. Don't yank – these beauties have delicate roots that store next year's growth potential.
- Root Health Check: Look for brown, mushy, or circling roots. Healthy roots should be white to light tan and firm to touch. Trim any damaged sections with clean secateurs.
- The Foundation Layer: Add a shallow layer of your soil mix to the new pot's base – just enough to position your plant at the same depth it was previously growing.
- Positioning & Backfilling: Centre your Monstera and gradually fill around the roots with your soil mix. Gently tap the pot sides to settle the soil without compacting it.
- First Watering: Water lightly after repotting so the mix settles around the roots. Avoid soaking the pot if the root system was recently trimmed or stressed.
Aftercare and Pot Size Tips
Once you’ve given your Monstera a new lease on life with fresh soil, don’t forget the aftercare that helps it thrive:
🪴 Pot Size Rule-of-Thumb
Choose a pot that’s only 1–2 cm larger in diameter than the old one. Going much bigger can hold extra moisture and slow drying, which isn’t ideal. Monsteras like a snug home with room to grow — not a mansion they never fill.
🌤 Aftercare for 1–2 Weeks
- Keep your Monstera in bright, indirect light.
- Water lightly for the first week — let the top couple of centimetres dry before a fuller water.
- Avoid fertilising straight away; give roots time to settle.
- If you see slower growth at first, that’s normal as your plant settles into its new mix.
These simple steps help your plant avoid transplant shock and get growing again fast.
Soil pH: What It Is and Why It Matters
Healthy Monsteras love soil that’s slightly acidic to neutral — think pH 5.5–7. That sweet spot helps roots access nutrients easily and keeps them happy long term.
You can test soil pH with a simple kit from your local nursery or garden shop. Just mix a small scoop of soil with water in the tester cup and compare it against the pH chart. If your mix reads too acidic or alkaline, a bit of garden lime (to raise pH) or sulfur (to lower pH) can bring things back into the sweet zone.
Getting this right means better nutrient uptake and fewer surprises as your Monstera grows.
FAQs
What soil is best for Monstera?
The best soil for Monstera is chunky, airy and moisture-balanced. It should drain freely, hold light moisture and keep oxygen around the roots. A good mix usually includes potting mix, orchid bark, perlite or pumice, coco chips and a small amount of compost.
What potting mix should I use for Monstera?
Use a chunky indoor potting mix or a DIY aroid-style blend. Avoid dense black potting mix, garden soil, compost-heavy blends or anything that stays wet for days.
What is the best Monstera soil mix recipe?
A strong starting recipe is 30% premium potting mix, 20% perlite, 10% compost blend, 30% orchid bark and 10% coco coir chips. Adjust it depending on your watering style, pot size and home conditions.
Can I use Bunnings potting mix for Monstera?
Yes, but check the texture first. If the mix is fine, black and dense, add orchid bark and perlite before using it for a Monstera. Look for chunky structure, drainage and a fresh smell.
What soil is best for Monstera deliciosa?
Monstera deliciosa usually prefers a chunkier, more structural mix because it gets large, heavy and root-hungry. Use bark, perlite, coco chips and a reliable organic base.
What soil is best for Monstera adansonii?
Monstera adansonii still needs airflow, but it usually prefers a slightly finer and more evenly moist mix than a large Monstera deliciosa. Avoid huge bark chunks through the whole mix.
How chunky should Monstera soil be?
It should be chunky enough that water drains freely and air pockets remain open, but not so chunky that water rushes through and the plant dries out too quickly.
Can I use cactus mix for Monstera?
Cactus mix can drain well, but it is often too lean on its own. If using cactus mix, add organic matter such as quality potting mix, coco chips or compost so the Monstera has enough moisture and nutrition.
What soil should I use after root rot?
Use a fresh, chunky mix with more orchid bark and perlite, less compost and a pot that matches the remaining root system. Do not move a root-rot plant into an oversized pot full of wet media.
Do Monsteras need acidic soil?
Monsteras generally prefer slightly acidic to neutral soil, around pH 5.5–7. Most quality indoor potting mixes are already in a suitable range.
Ready to Give Your Monstera the Right Root Zone?
If your Monstera is stuck in dense, tired or soggy potting mix, upgrading the soil is one of the simplest ways to support healthier roots.
Use the recipe above as your base, then adjust the chunkiness for your watering style, plant size and home conditions.
Shop the Monstera soil ingredients collection and build a mix that drains freely, holds light moisture and keeps air around the roots.
Next Reads for Building a Better Monstera Mix and Stronger Indoor Growth
Got your Monstera mix sorted? These guides will help you fine-tune watering, feeding, indoor care and chunky potting blends so your plant keeps pushing healthier growth.
- Indoor Potting Mix Australia
- Mastering Watering: Moisture Meter Hack
- Indoor Plant Fertiliser Guide Australia
- Indoor Plant Care Aussie Guide
About the Author