
After surveying over 600 customers during the 2025 winter period and hearing your feedback, I thought it would be good to re-do this guide and equip our customers with the confidence to create their own living soil blends using the highest quality ingredients we've been able to source Australia Wide.
We receive daily phone calls from customers across Australia (yes, we're old-school and still have customer service on the "blower"!) looking for the mythical soil recipe they think we're hiding from them. The reality is, the perfect recipe will vary based on local and seasonal factors like rainfall, temperature, and humidity. What we do have to offer is the best living soil "recipe" to launch your growing journey with and adapt as you go to meet your local demands.
What I want to give you here is a foundation that actually works, that I personally trust and use myself, but most importantly a recipe my team can help you troubleshoot if required. The world doesn't need another rubbish recipe that someone pulled off chatgpt and posted to reddit.

Table of Contents
- The Foundation Recipe: Simple, Effective, Proven
- Meet the Soil Food Web — Nature’s Underground Workforce
- Adding Nutrition: Feed Your Soil Biology
- Living Soil Ingredients — What They Really Do
- Choosing Amendments — A Simple Decision Guide
- Organic Standards, Soil Safety & Why Testing Matters
- Budget-Friendly Alternative: Working with What You Can Get
- Critical Timing for Budget Mixes (Don't Rush This Bit!)
- Water-Only, No-Till & Reusing Your Living Soil
- Moisture Masters: Avoiding Dryback, Hydrophobic Soil & Dead Spots
- Want to Take It Further?
-
Next reads for building richer living soil that gets better over time
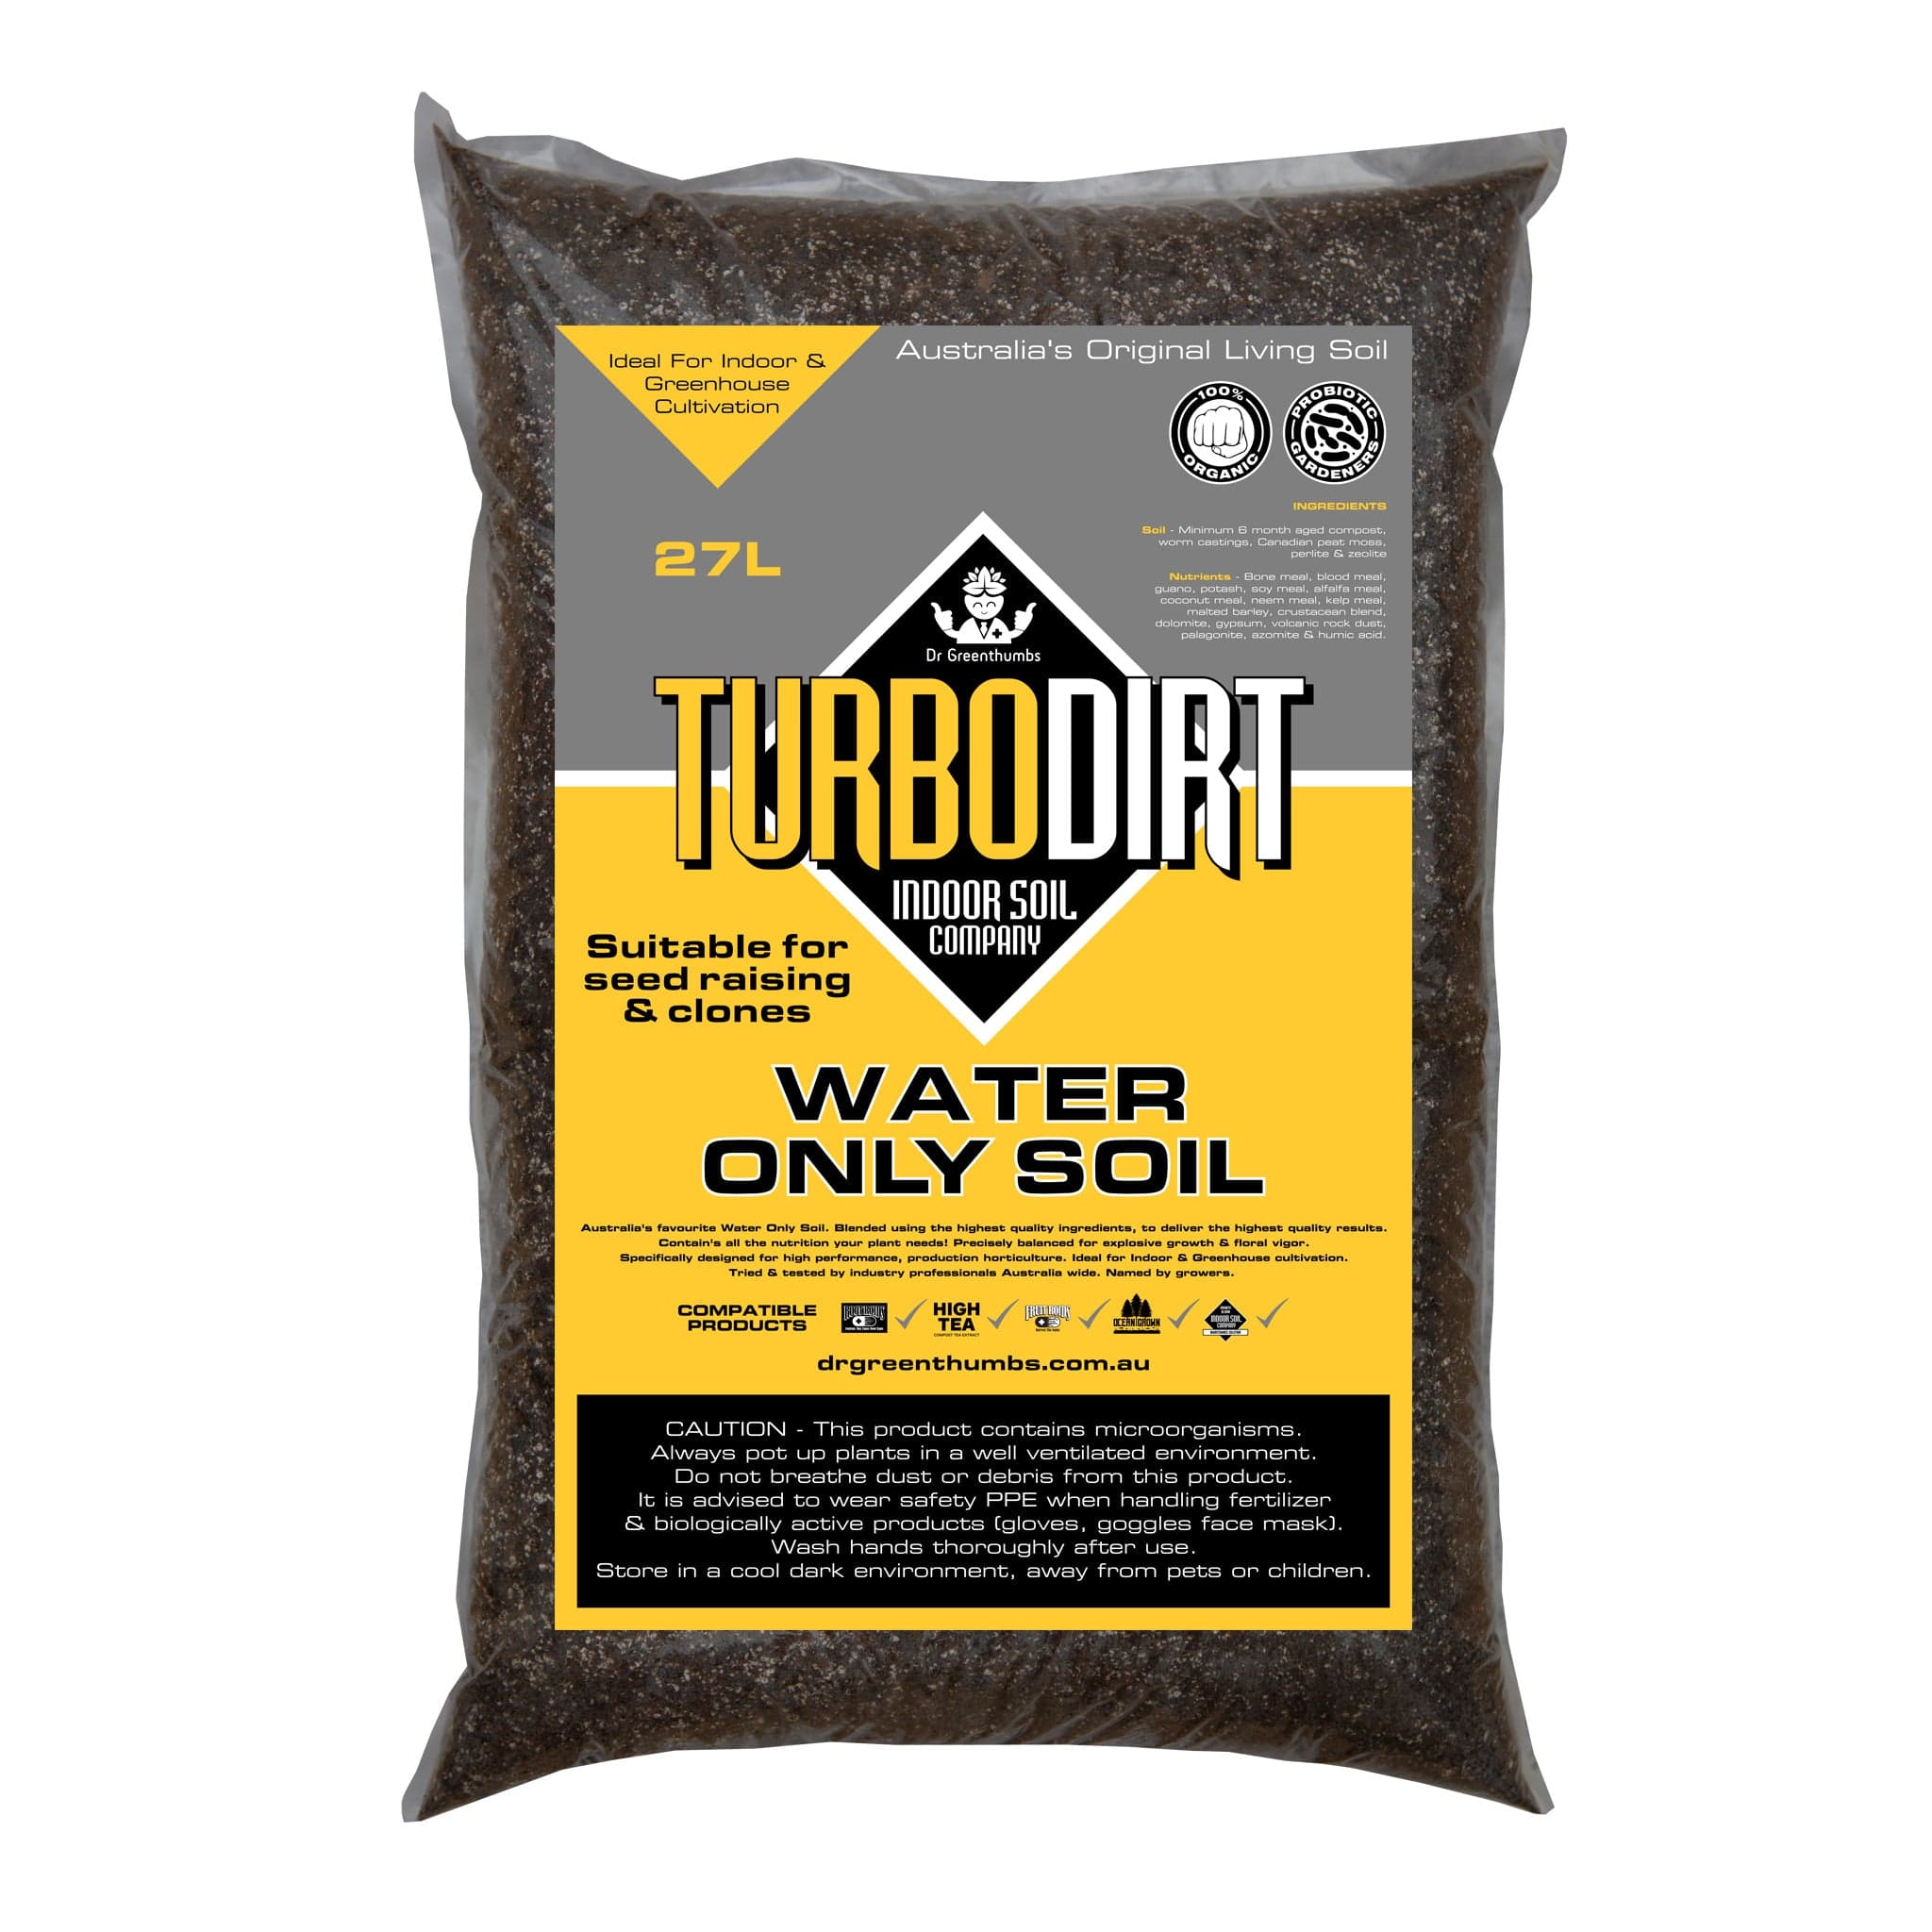
If you want the easiest way to build living soil without guesswork, these are the core inputs growers rely on:


The Foundation Recipe: Simple, Effective, Proven
A widely used and trusted recipe to set the foundation is as follows:
Base Living Soil Mix (Equal Parts):
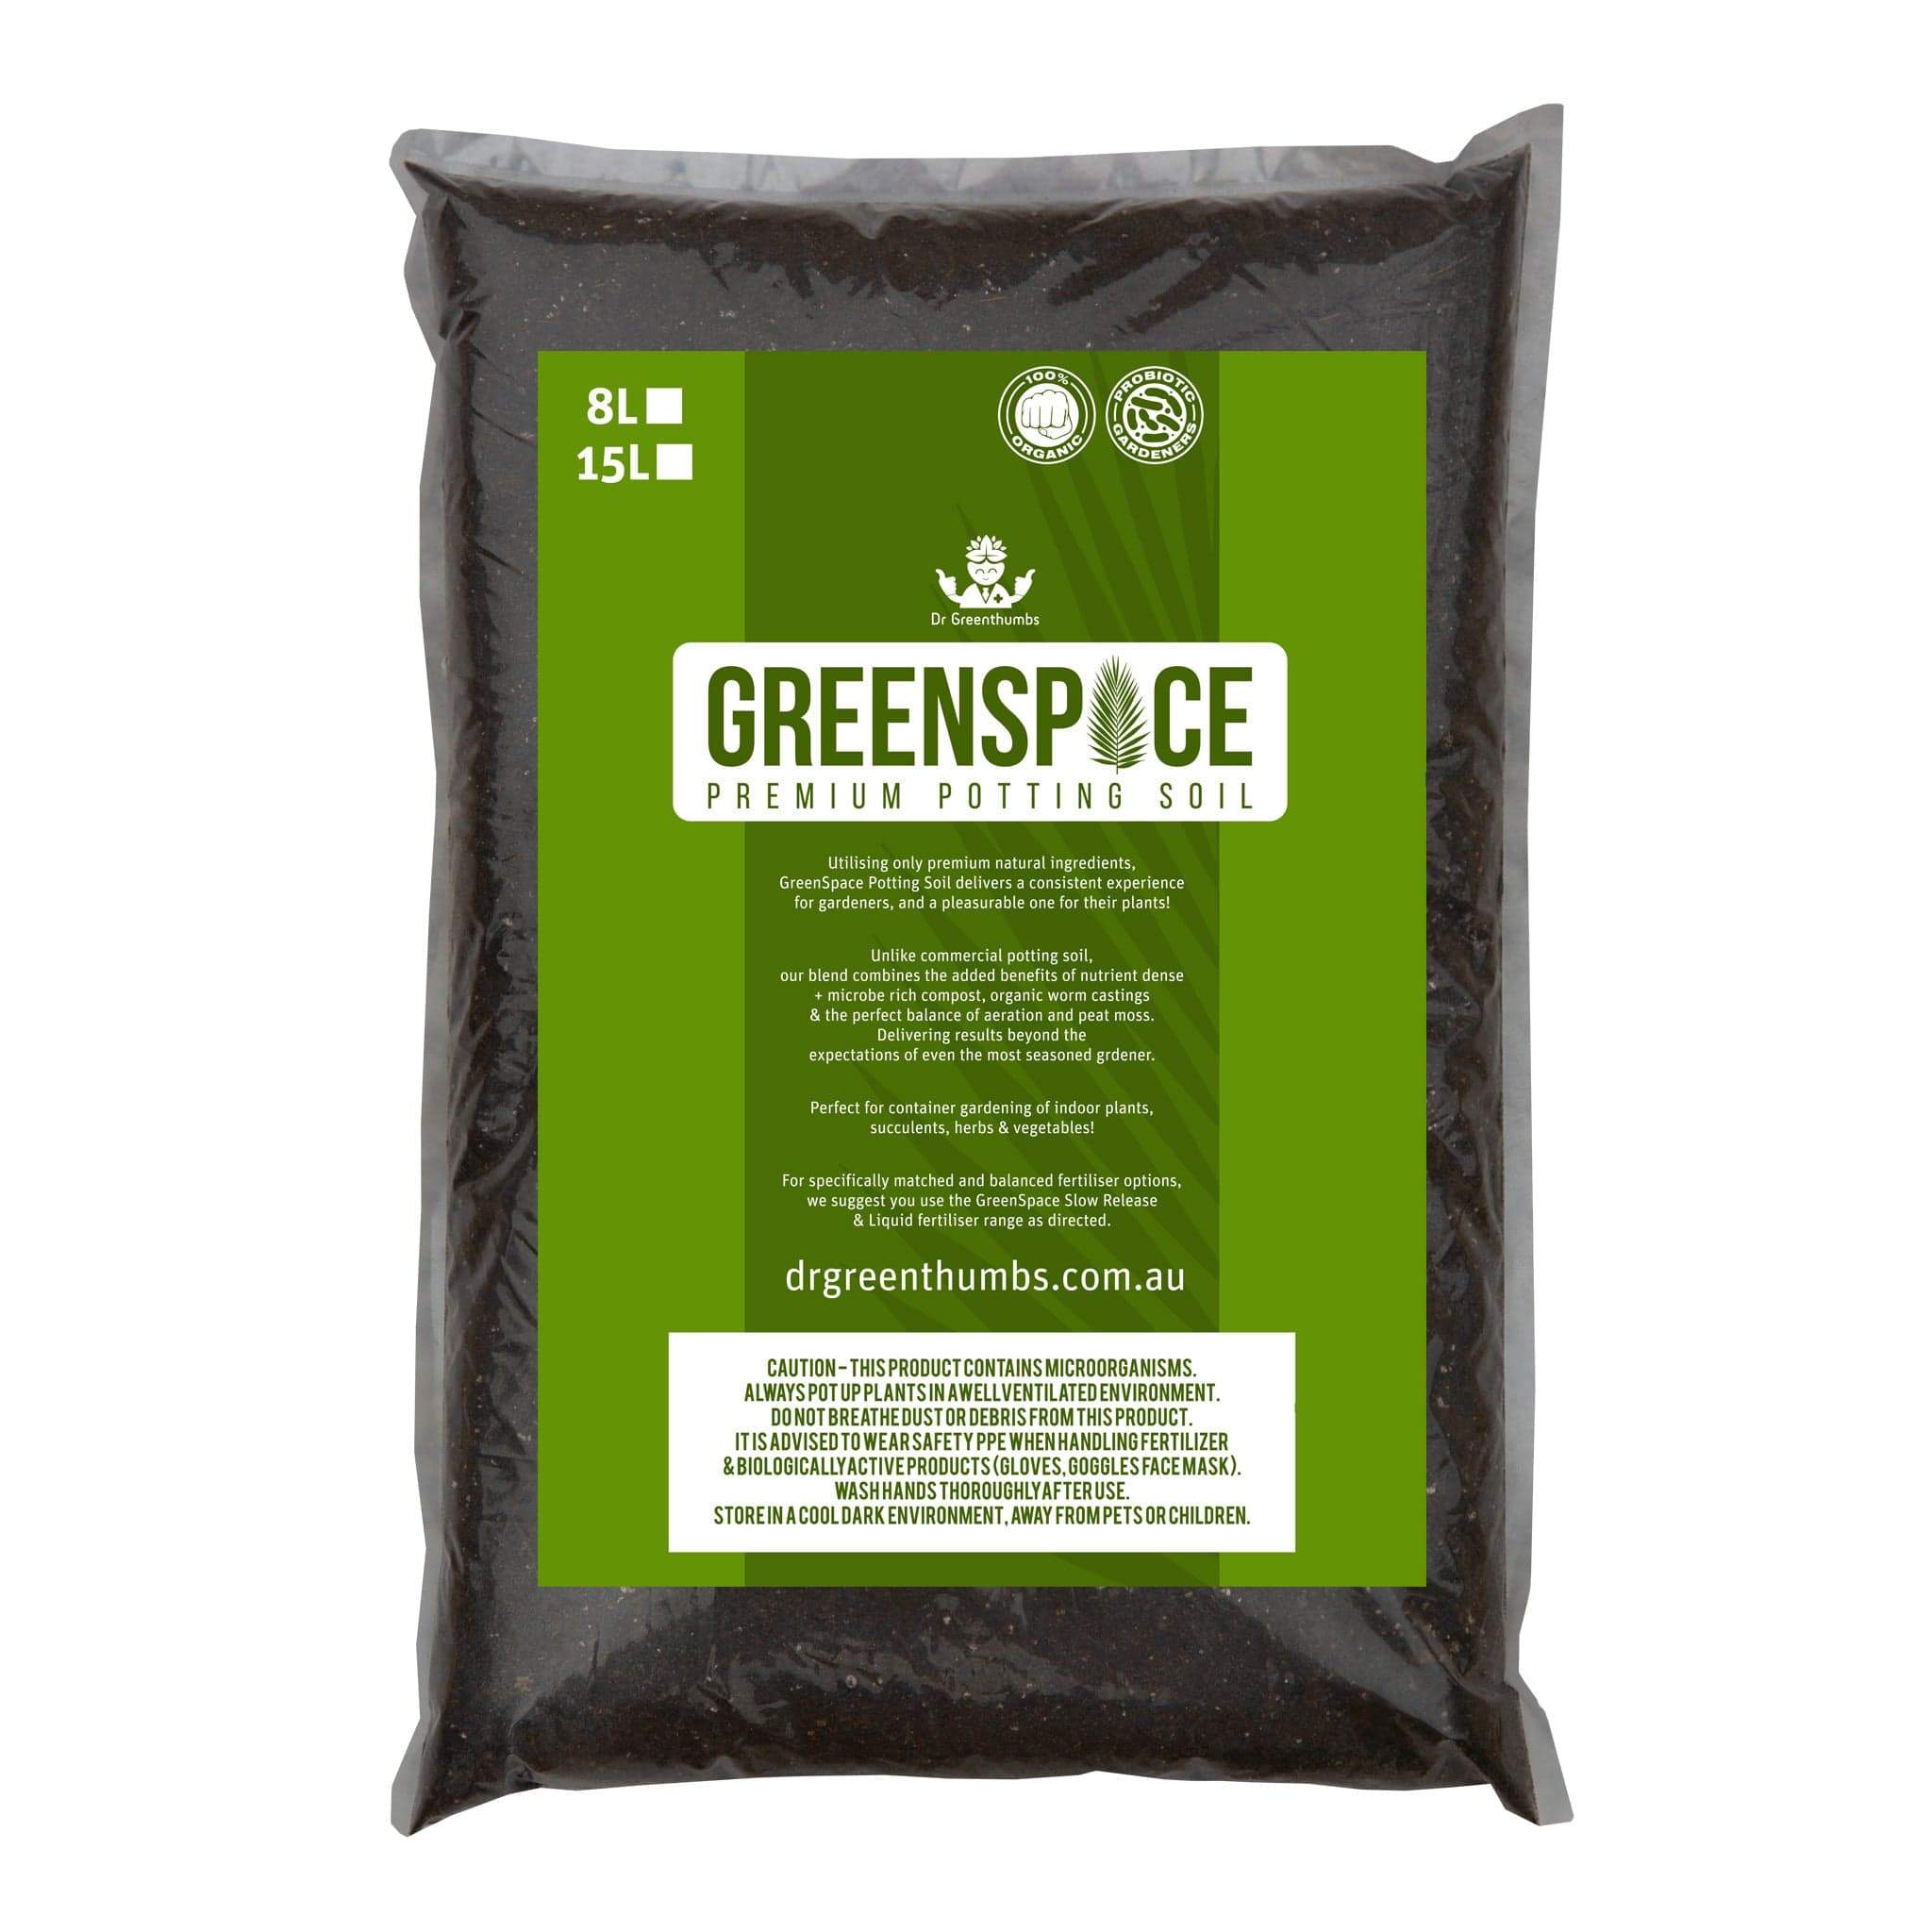
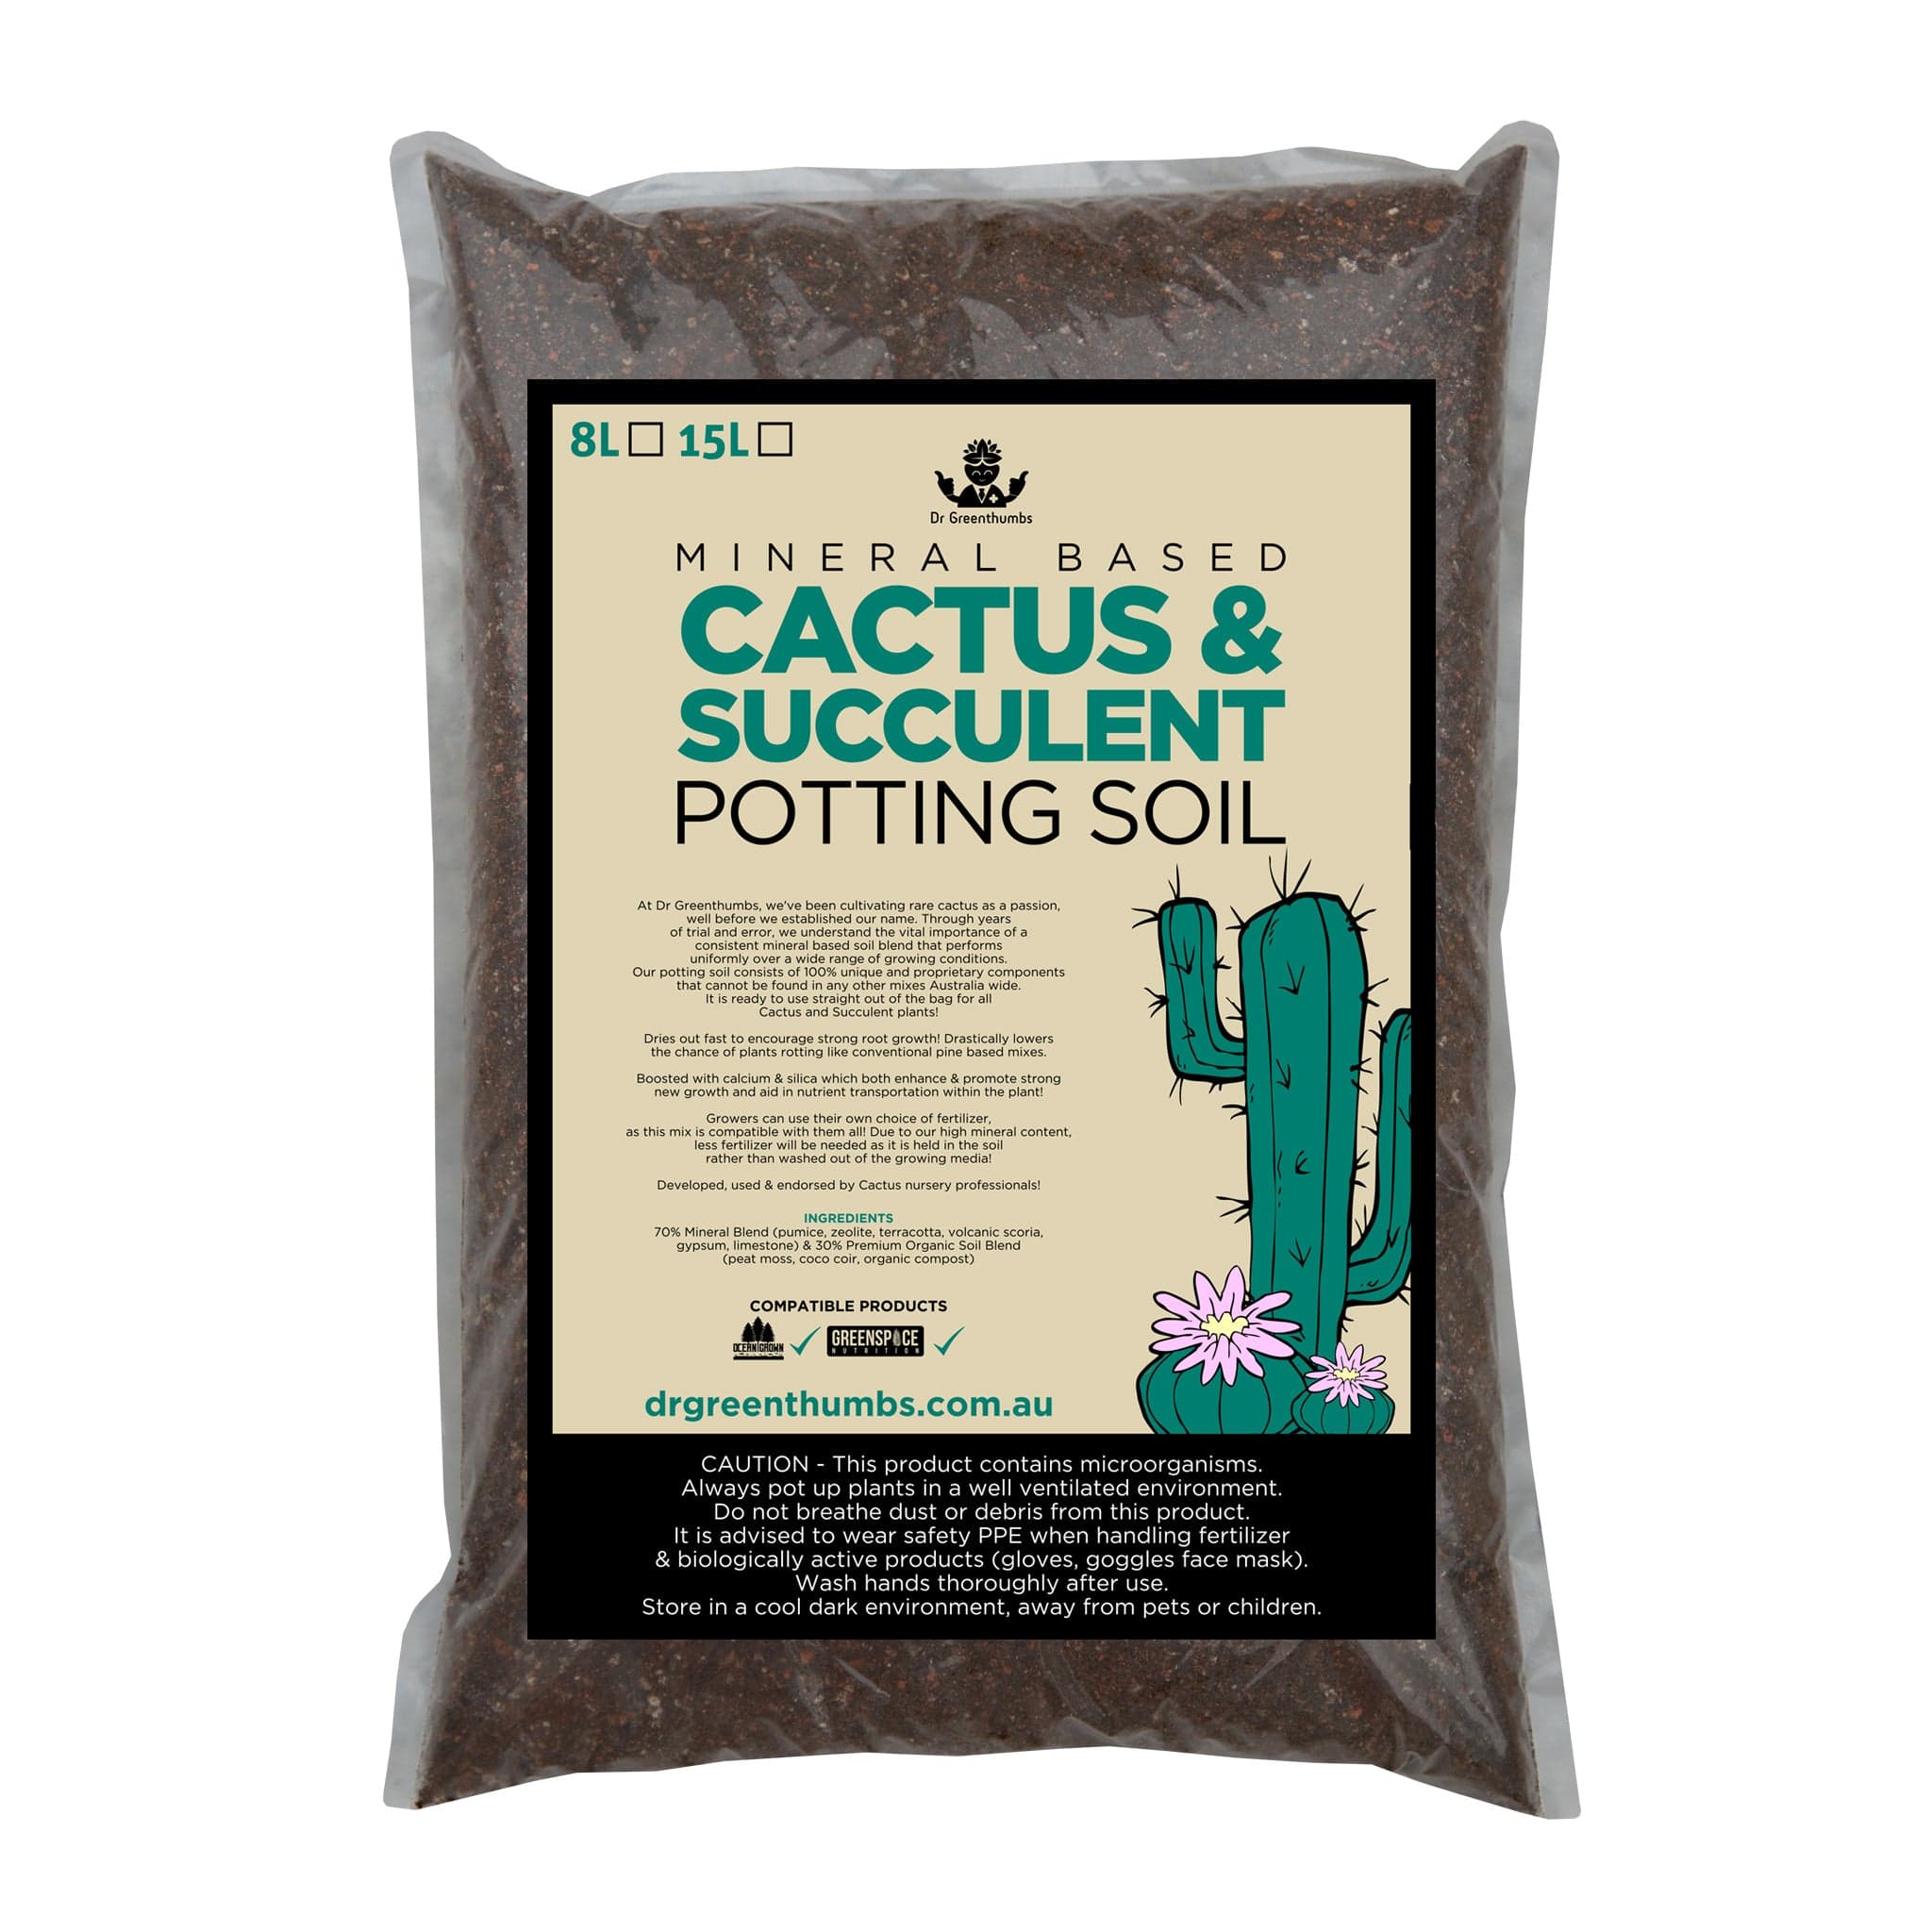
- 1 part Peat Moss, Coco Coir, or Leaf Mold
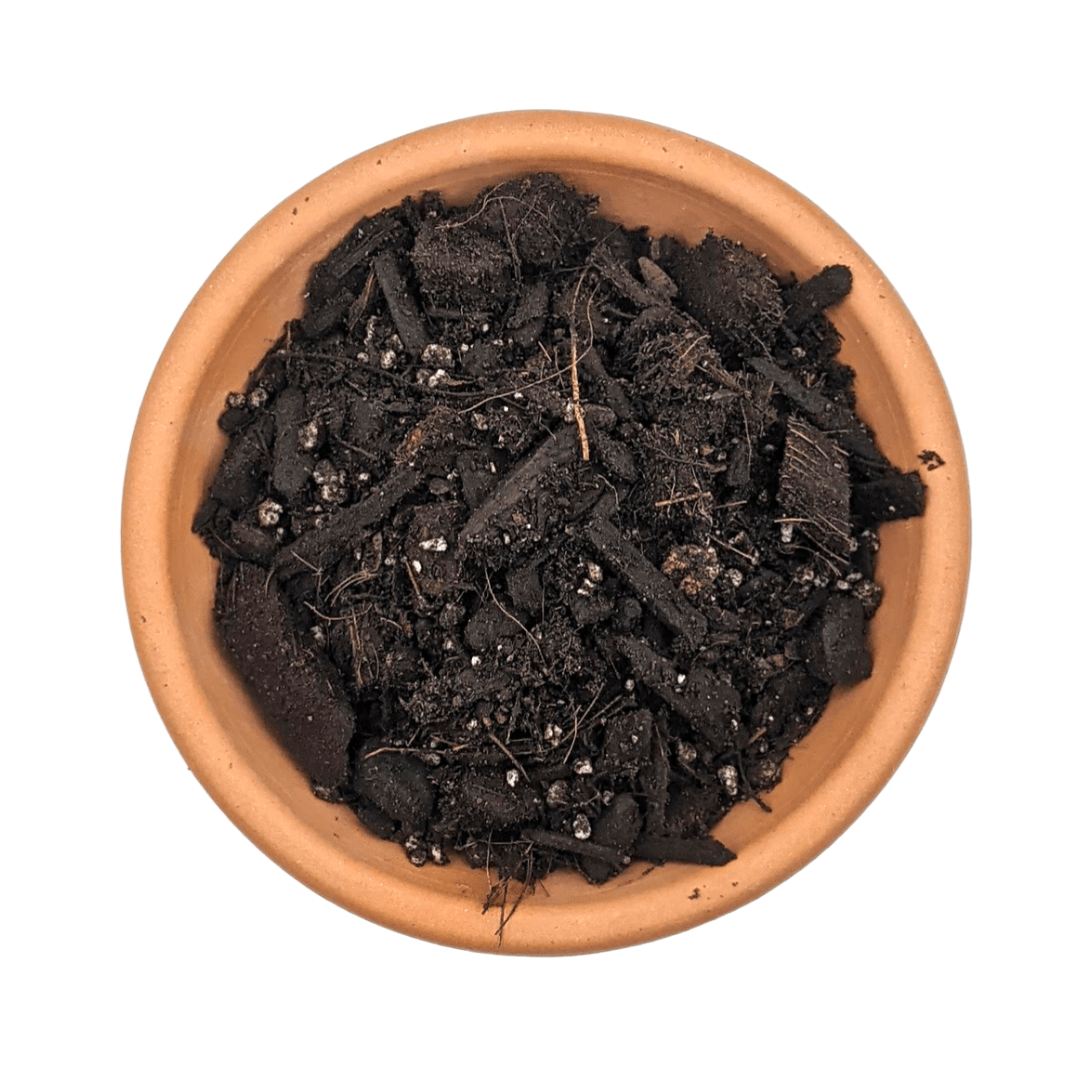
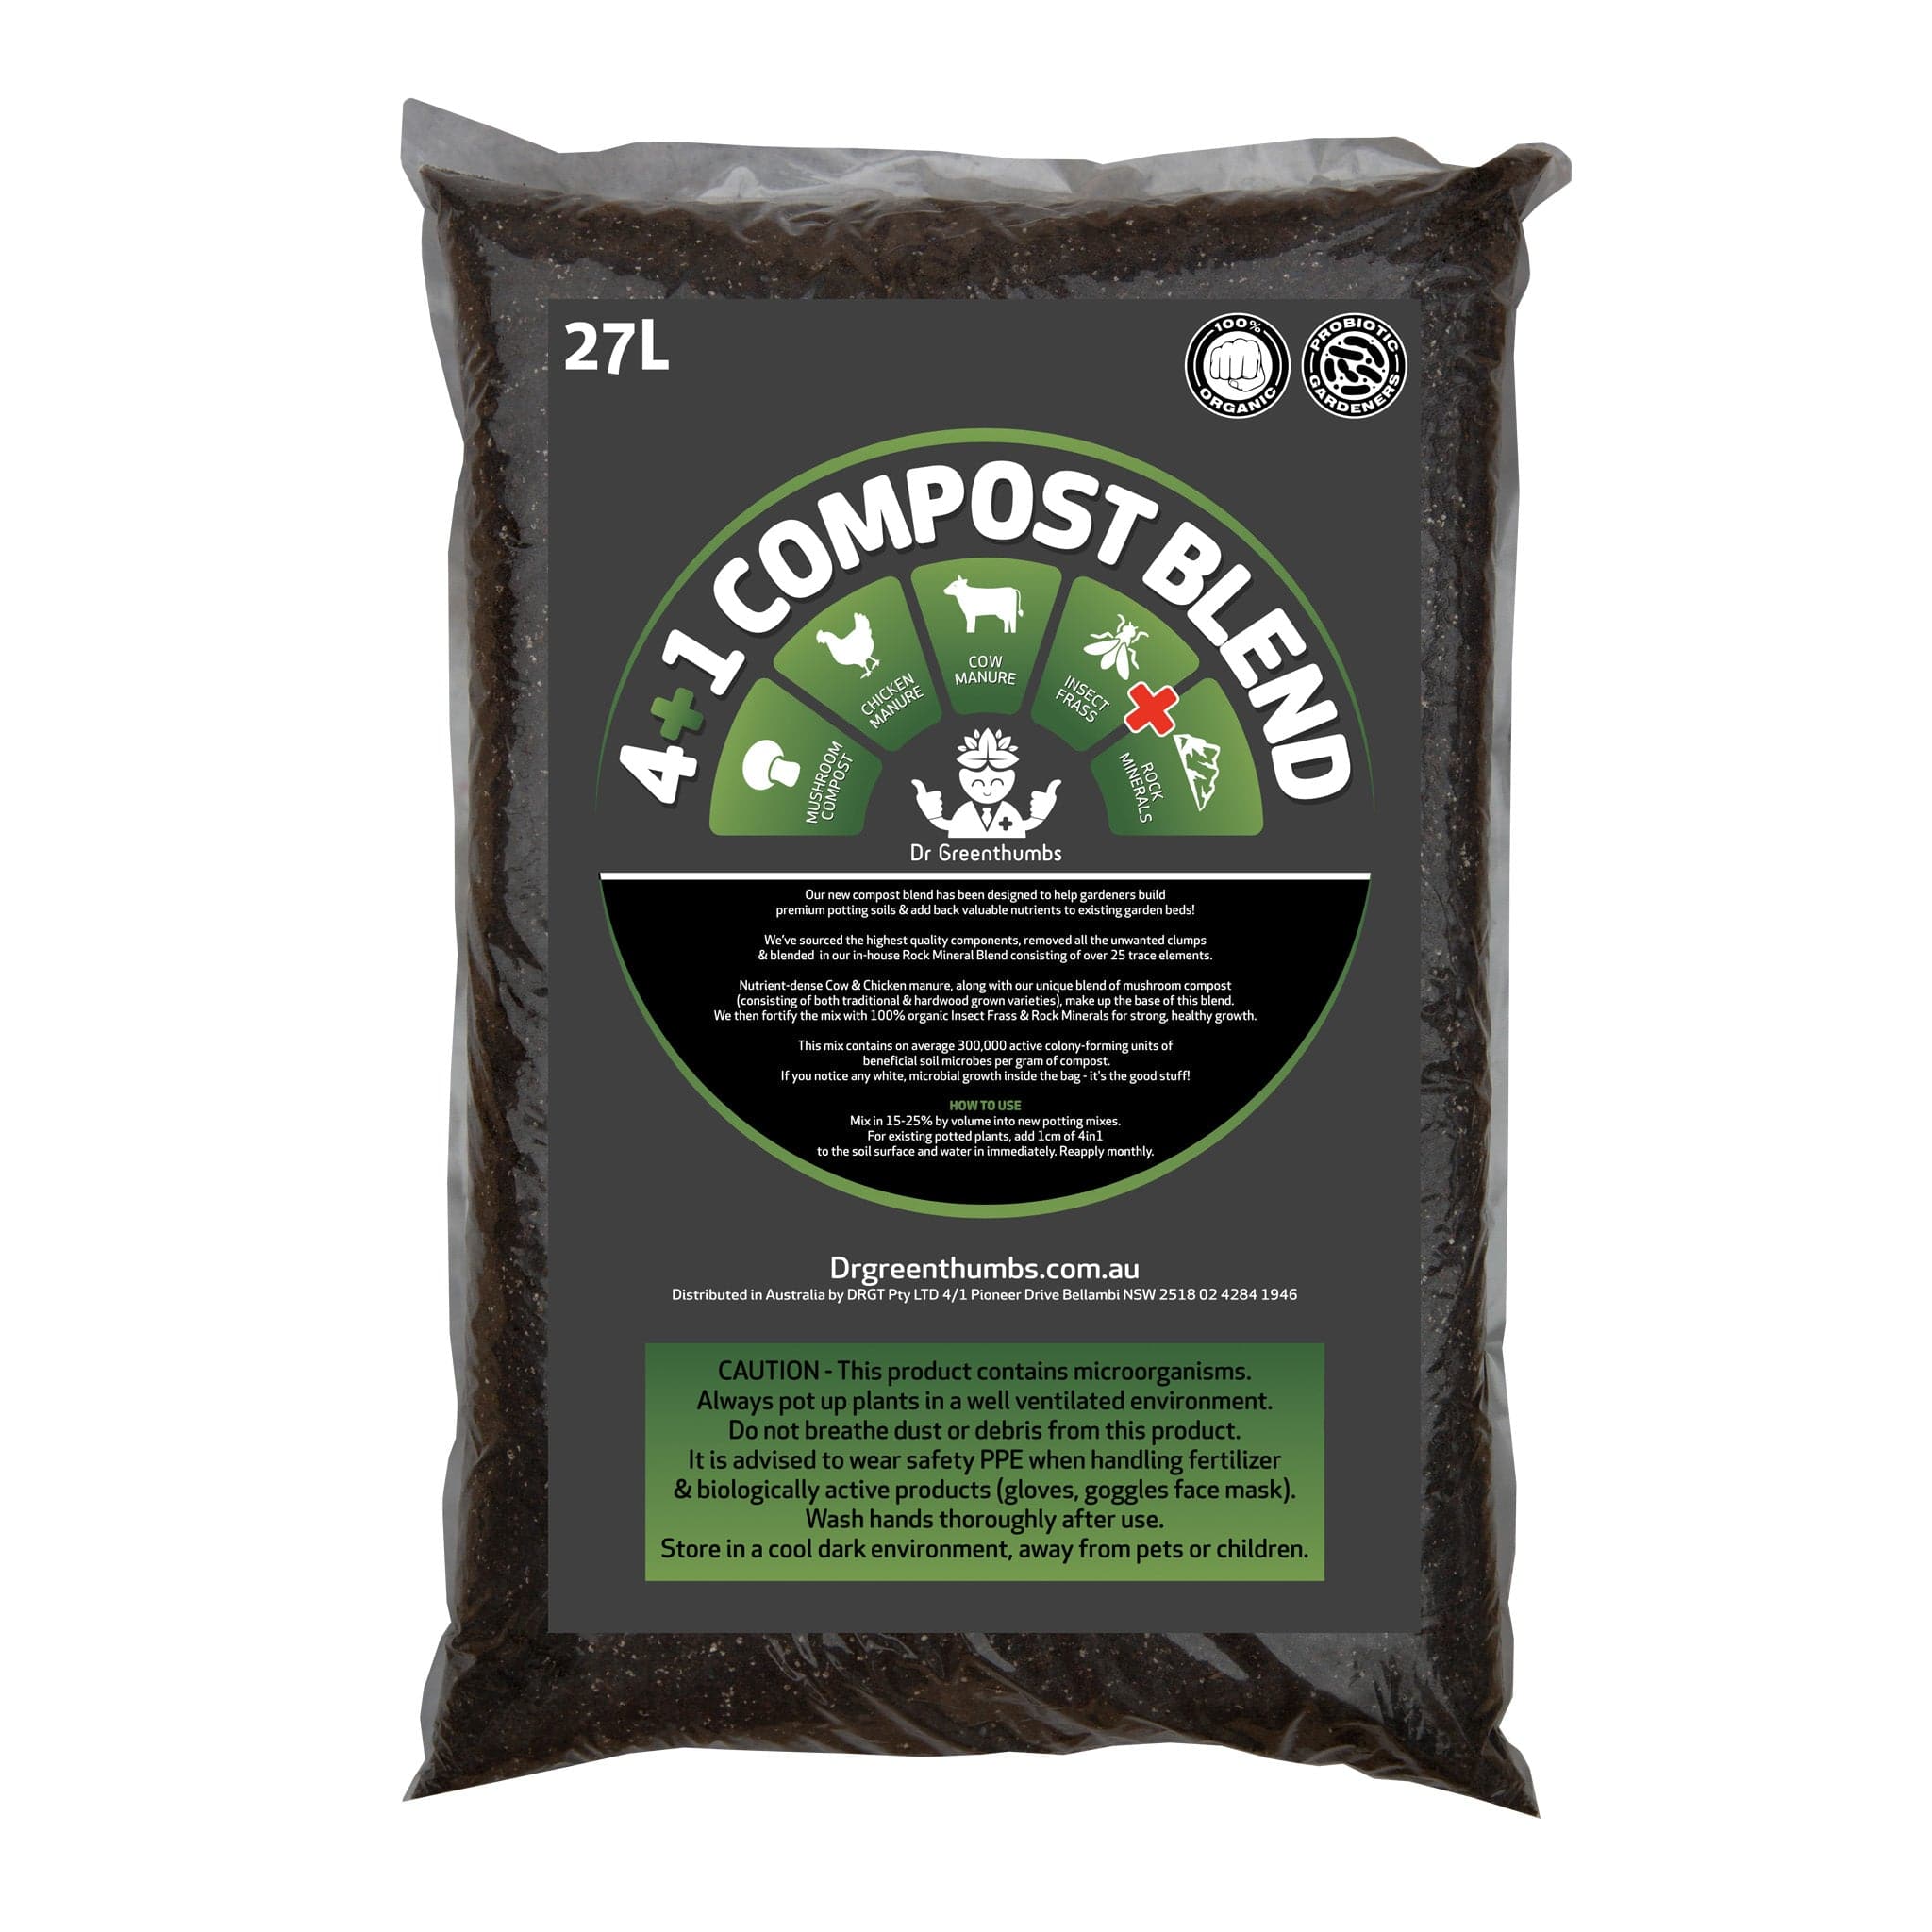
- 1 part Compost or Worm Castings (we suggest a 70:30 blend)
- 1 part Perlite, Pumice, or Lava Rock
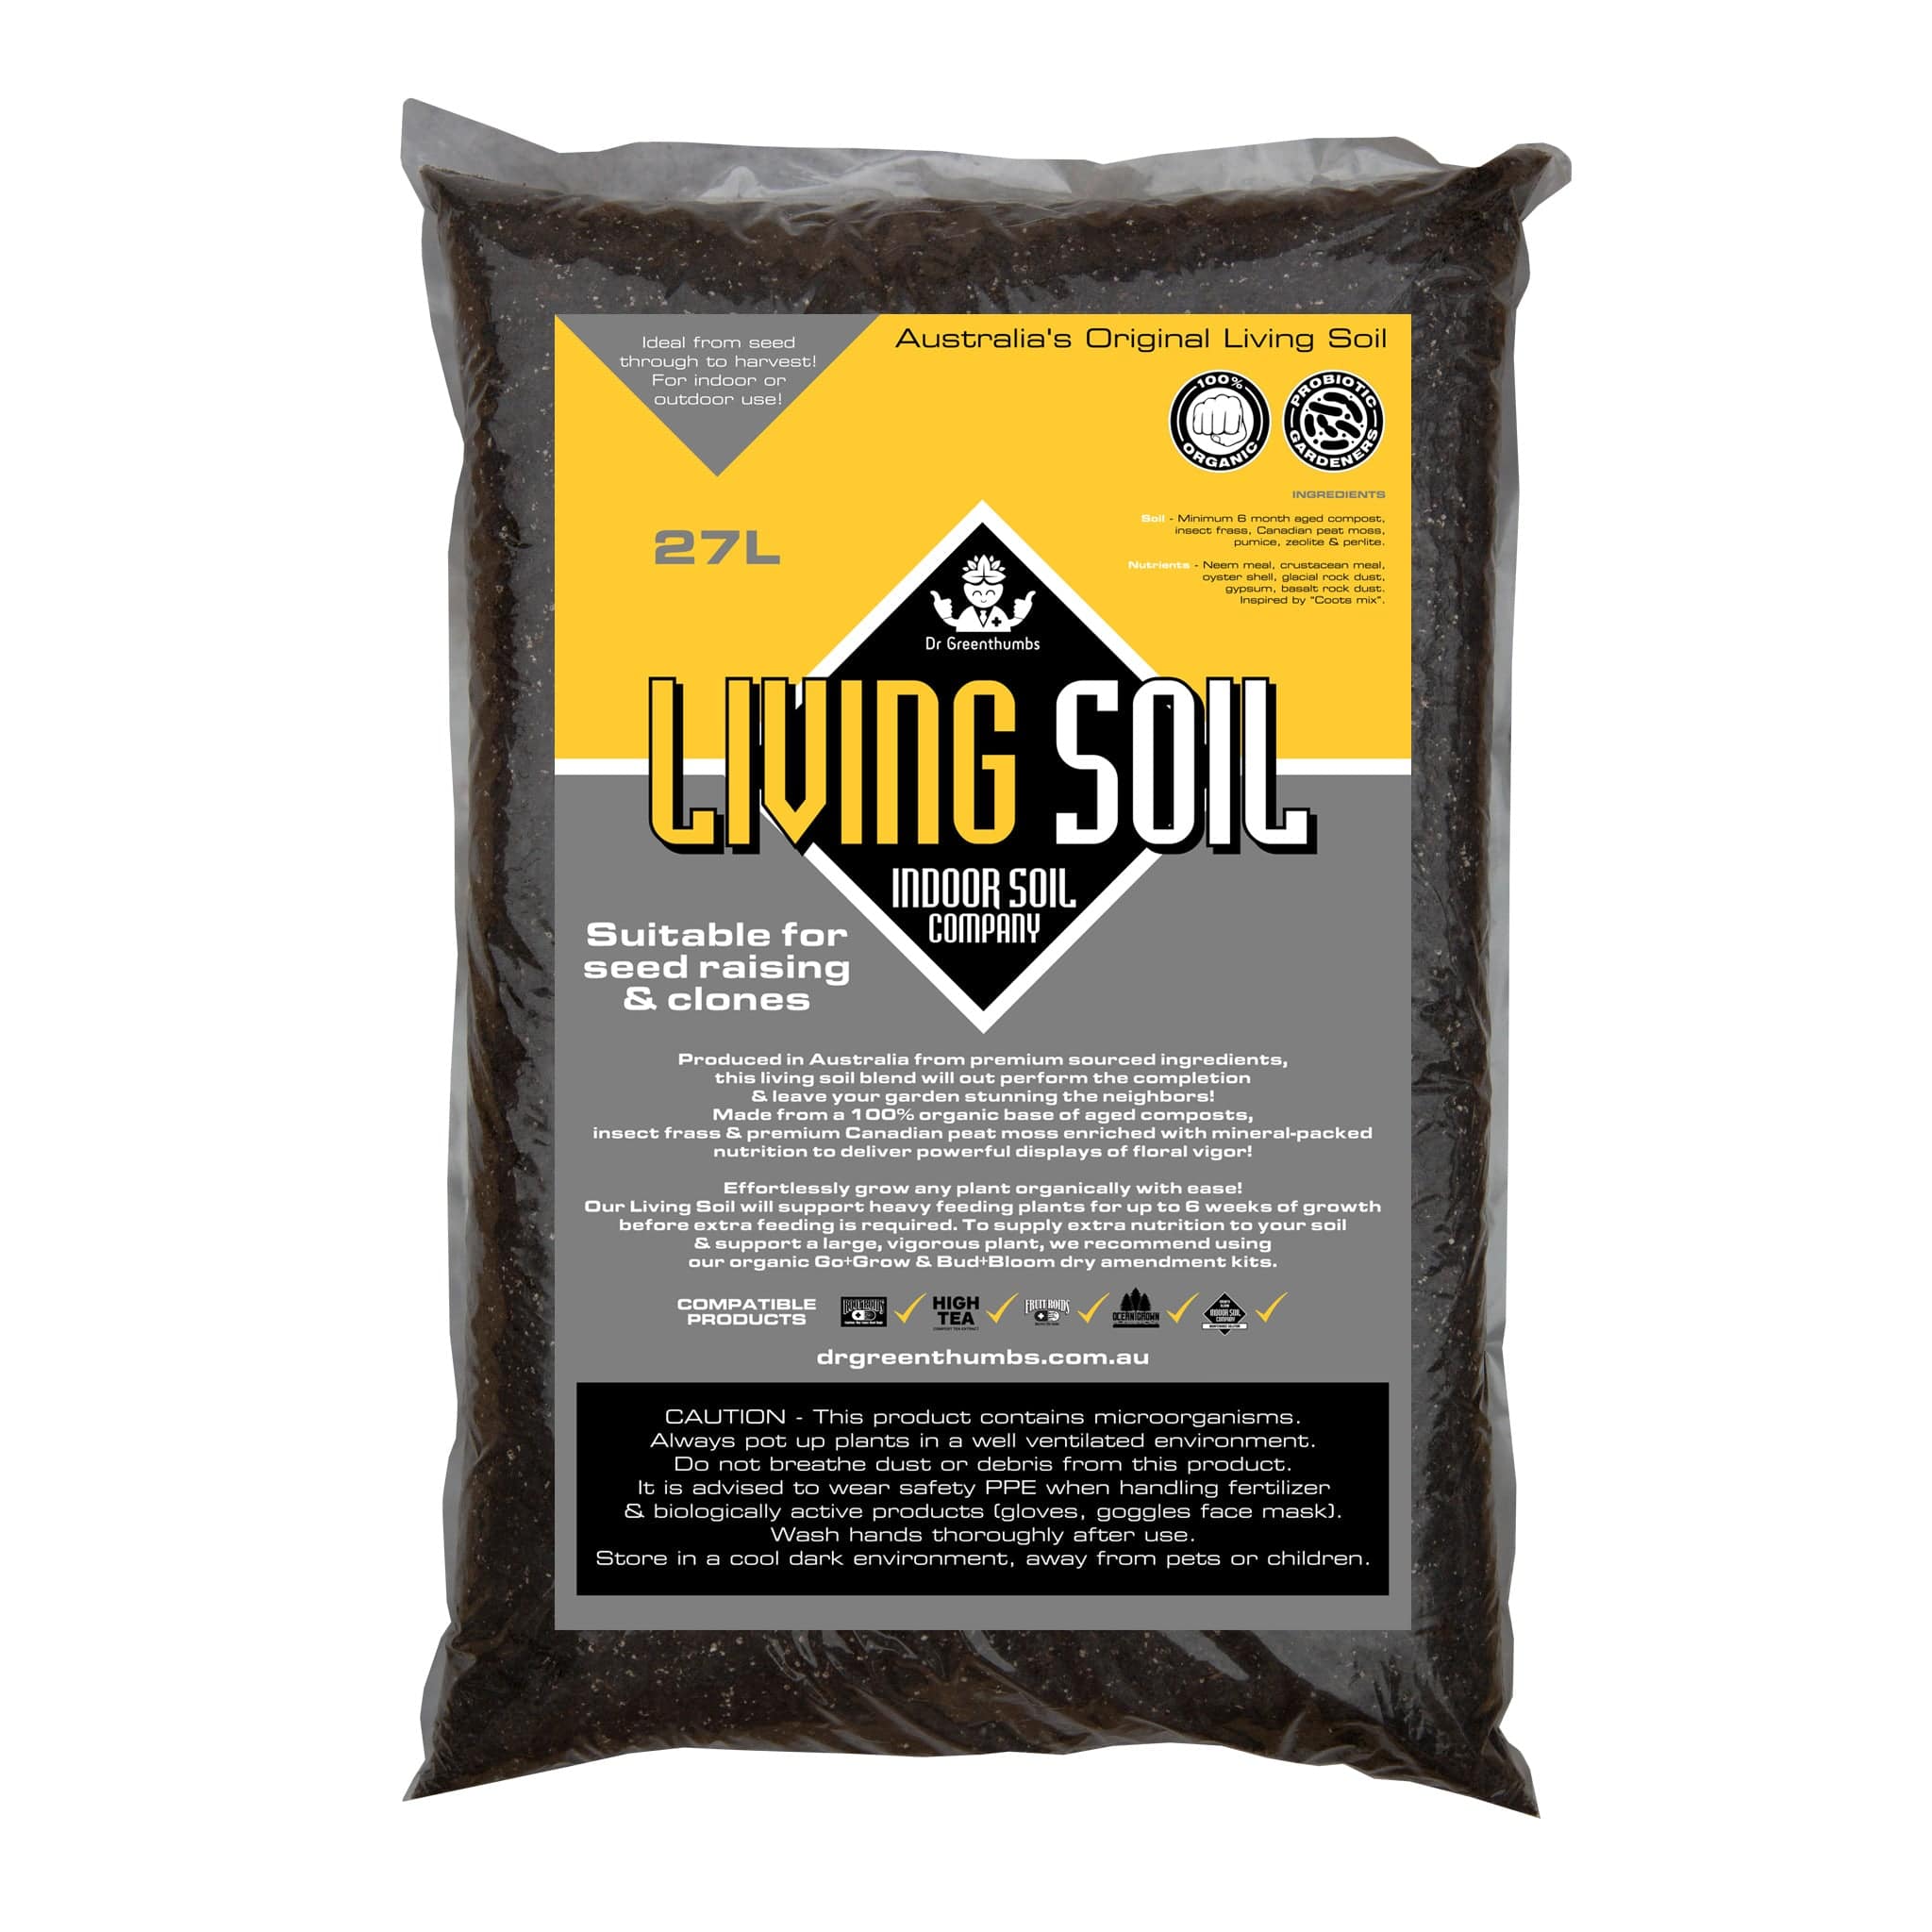
Once you've mixed these equal parts, your soil is ready to be used immediately for seed raising and propagation. If you have picky seedlings, you may exclude some of the compost mixture. However, if you use a high-quality, screened, and matured compost like the one available on our website, you won't encounter any issues planting seeds in this soil.

Meet the Soil Food Web — Nature’s Underground Workforce
When we talk about living soil, we’re really talking about building a vibrant, self-sustaining ecosystem beneath your feet. Think of it as a bustling city of tiny workers all doing different jobs so your plants can live their best life.
At the base of this city are microbes - bacteria and fungi that turn organic material into plant-available nutrients. Then you’ve got protozoa and nematodes nibbling on microbes, releasing nitrogen as they go. Arthropods, mites and earthworms help break down bigger pieces of organic matter, improve aeration, and keep that cycle humming.
This whole network is called the Soil Food Web because every critter feeds something else, and the more diverse it is, the healthier your soil becomes. You’re not just pouring nutrition in - you’re creating a self-regulating nutrient system that keeps plants happy longer, resists disease, and makes better use of water and organic matter.
Your DIY recipe feeds this web with compost, worm castings, biochar and minerals — but it’s worth remembering that biology thrives on diversity, not uniformity. That’s why garden-grown compost, worm castings, leaf mold and even a handful of healthy garden soil from a thriving patch can do wonders when mixed in.
Adding Nutrition: Feed Your Soil Biology
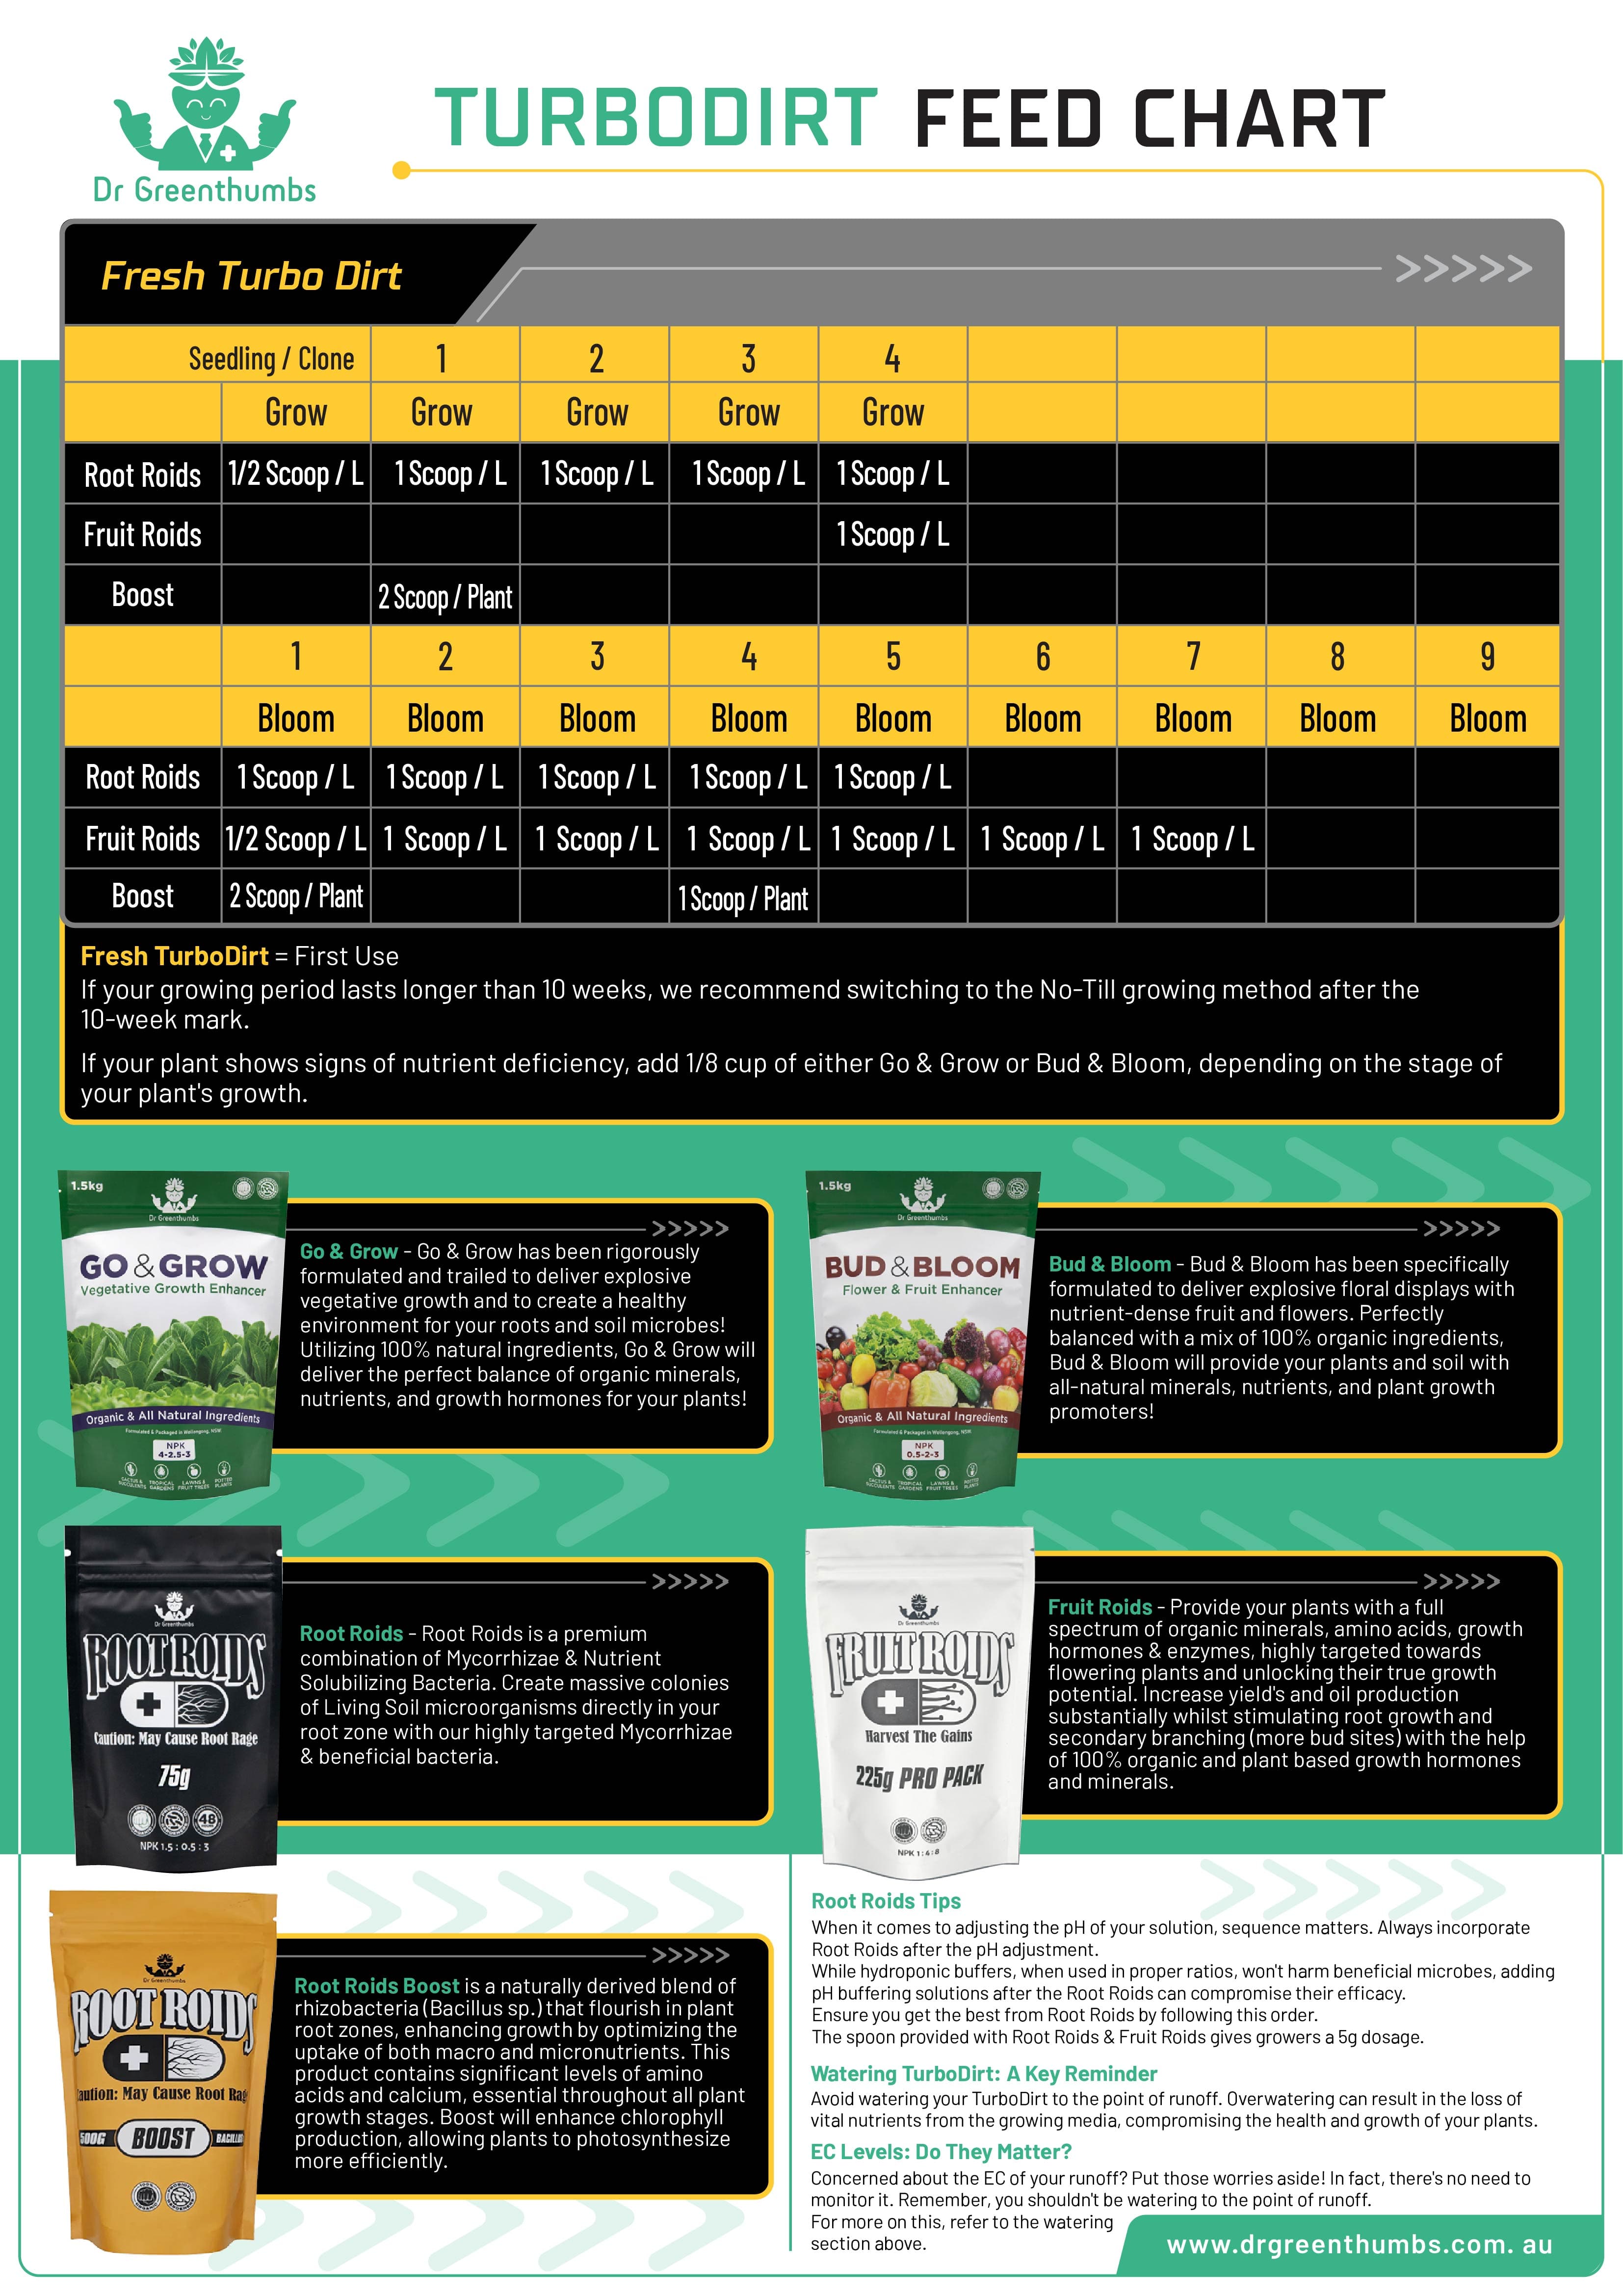
To add nutrition, growers have several options based on the plants they want to grow and their nutrient needs. This soil recipe works well for most herbaceous plants and vigorous growers with the addition of dry amendment fertilizers.
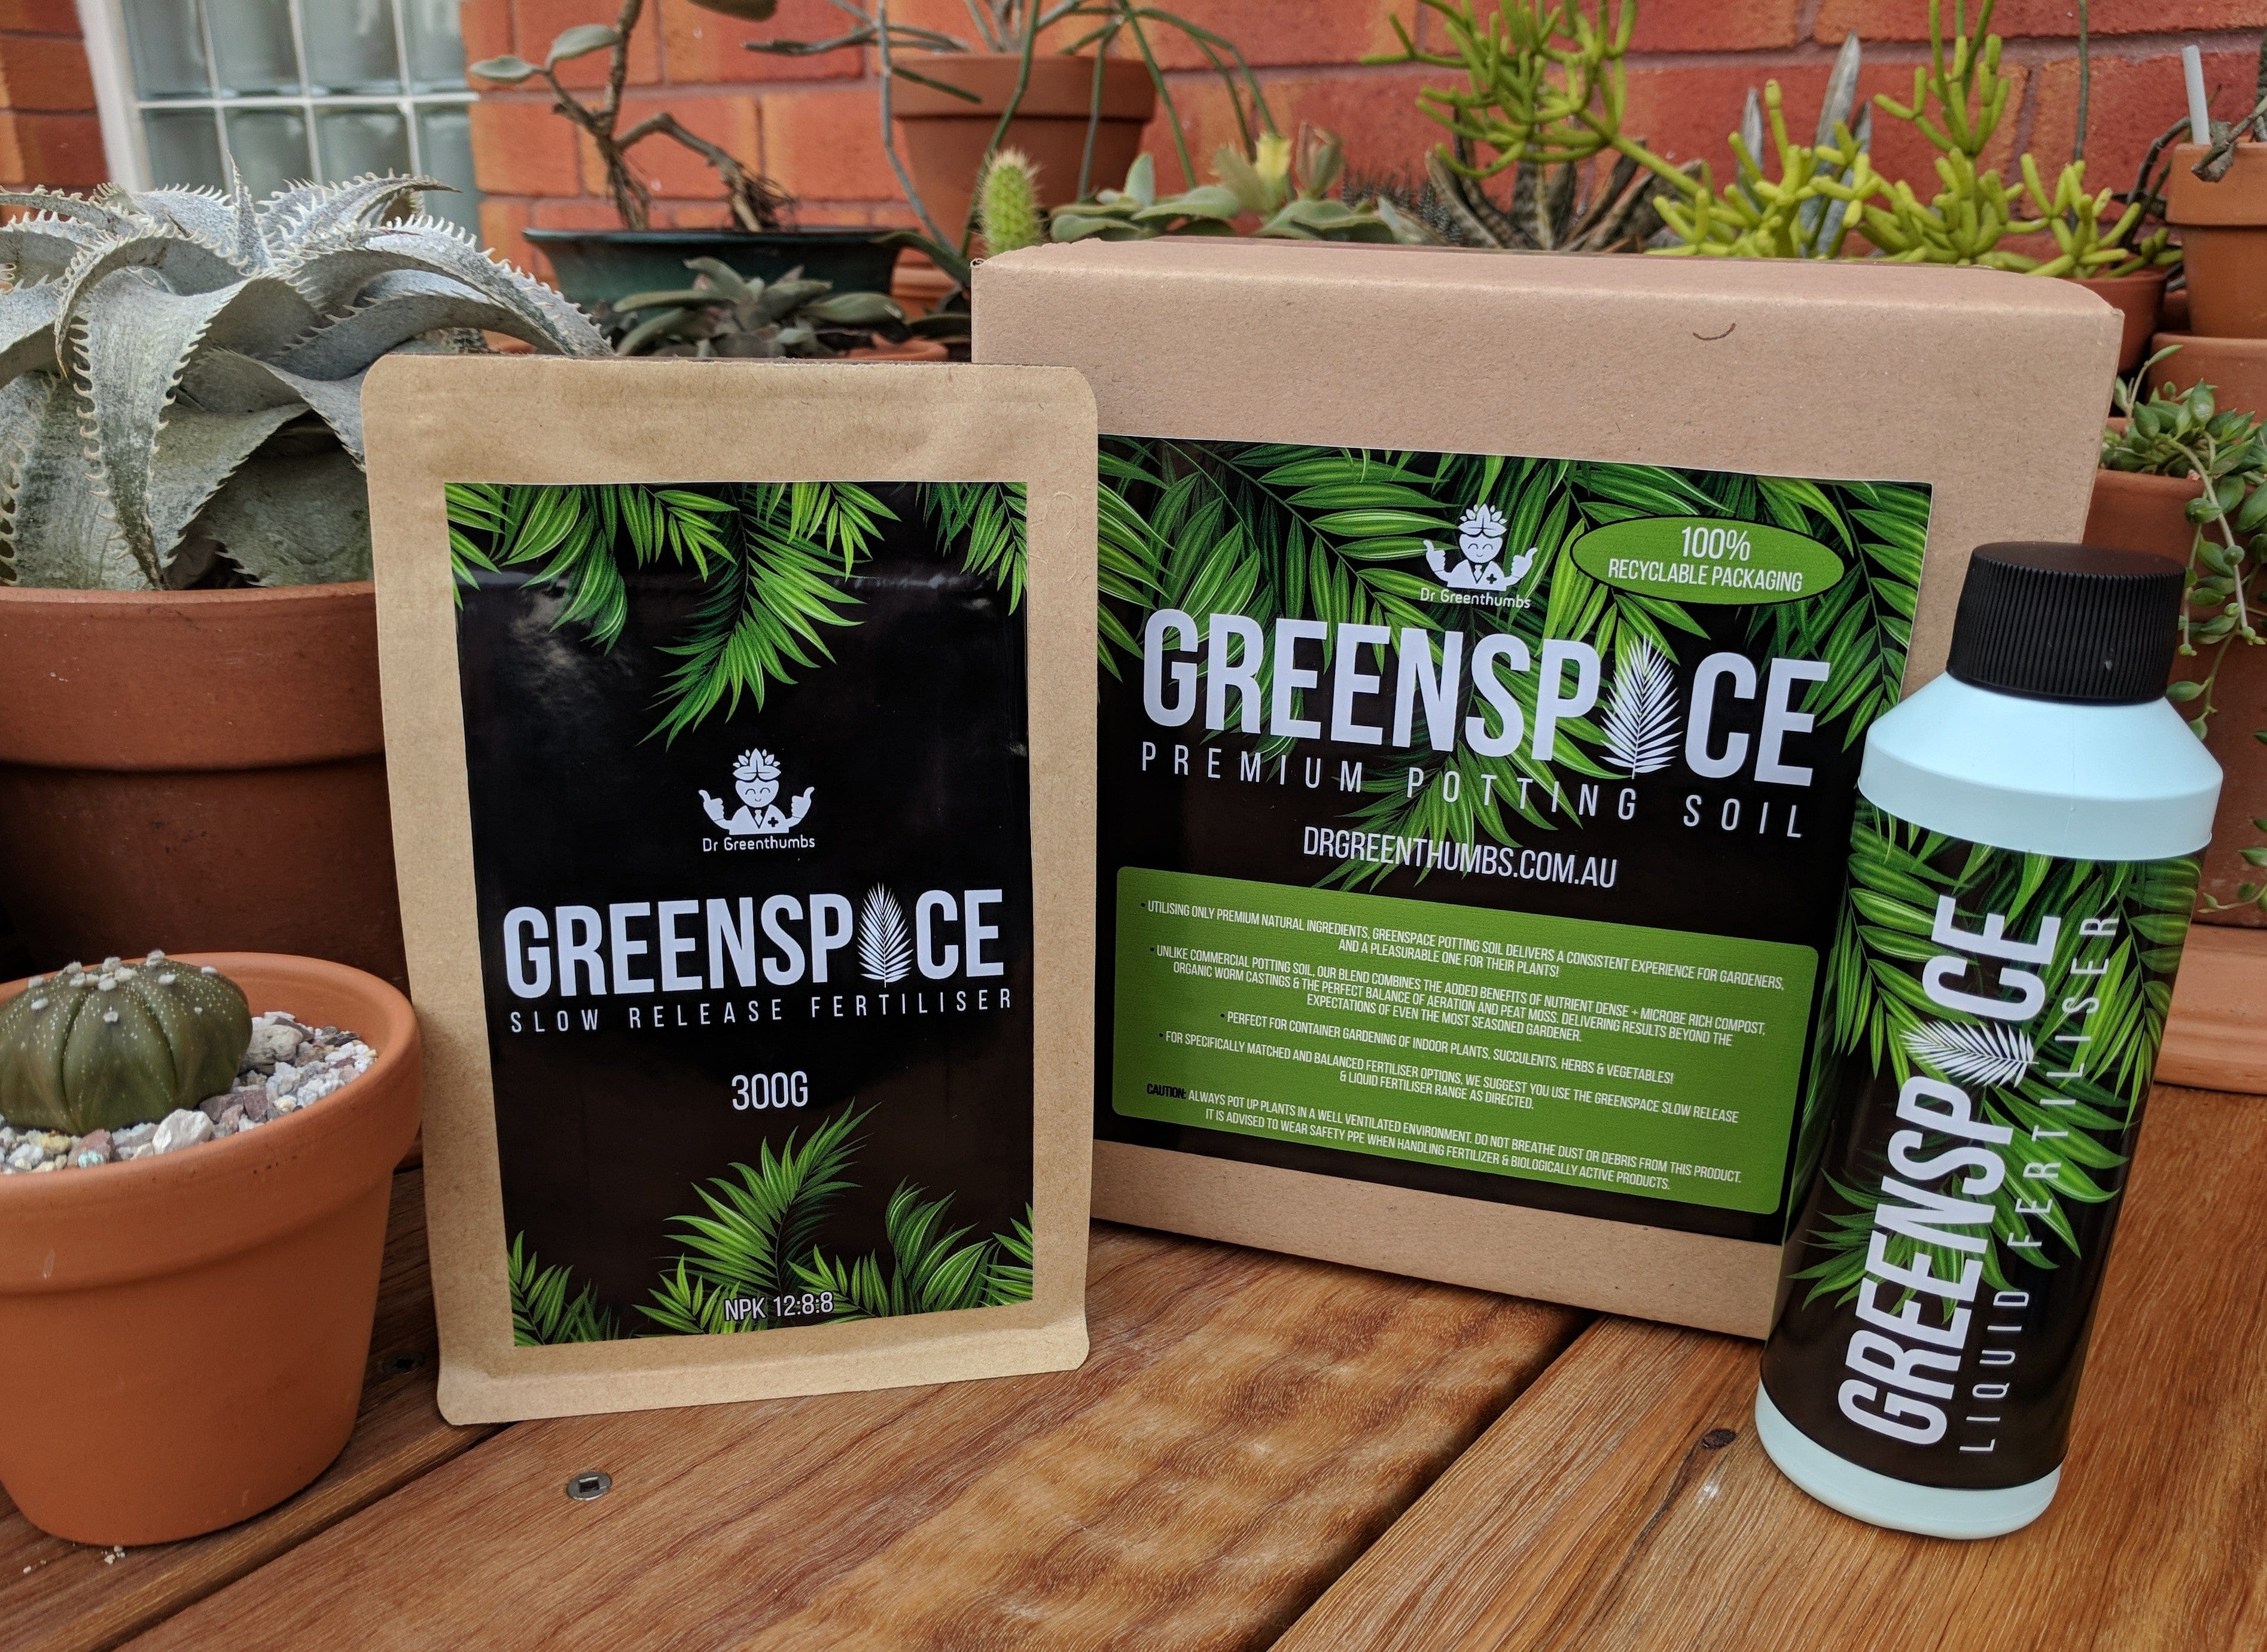
We offer pre-blended, ready-to-use kits that make it easy for new gardeners. Our Go & Grow + Bud & Bloom nutrient kits are a great choice for those looking for a 100% organic option.
Living Soil Ingredients — What They Really Do
Here’s a quick glossary of the common soil ingredients mentioned in this guide (and why we use them):
-
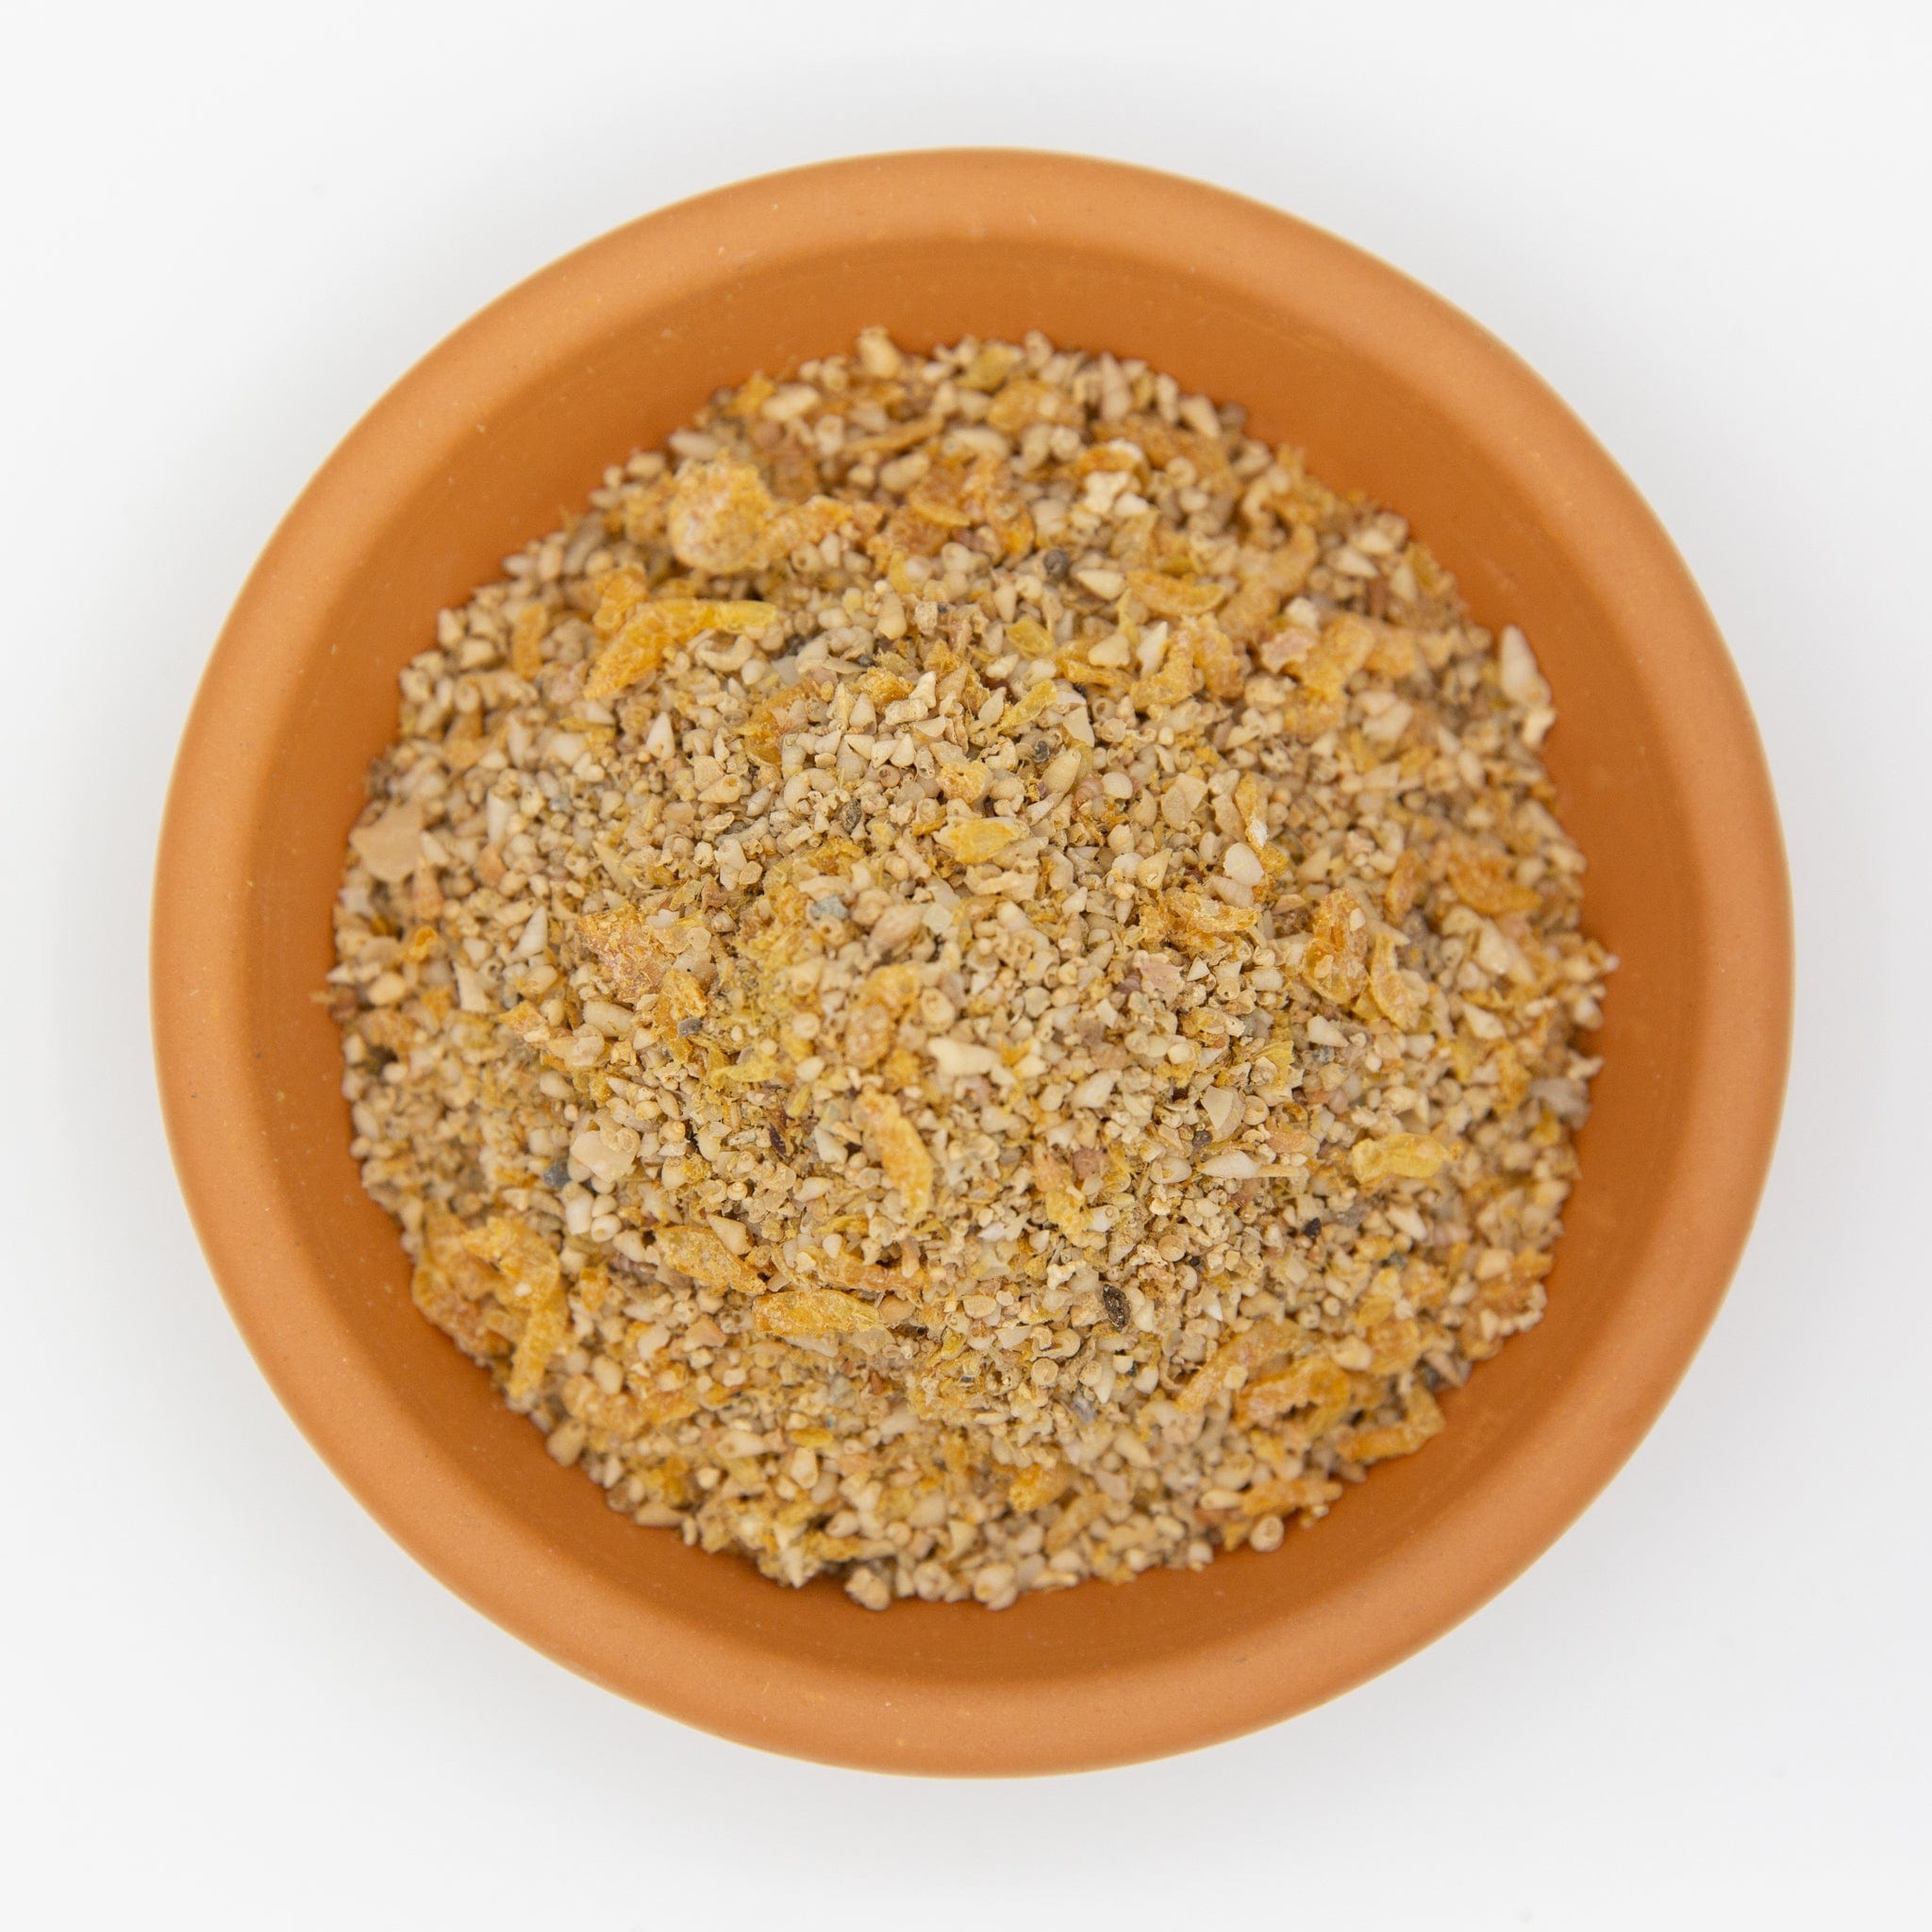
Compost/Worm Castings - the backbone of soil life; feeds microbes and adds nutrients.
-
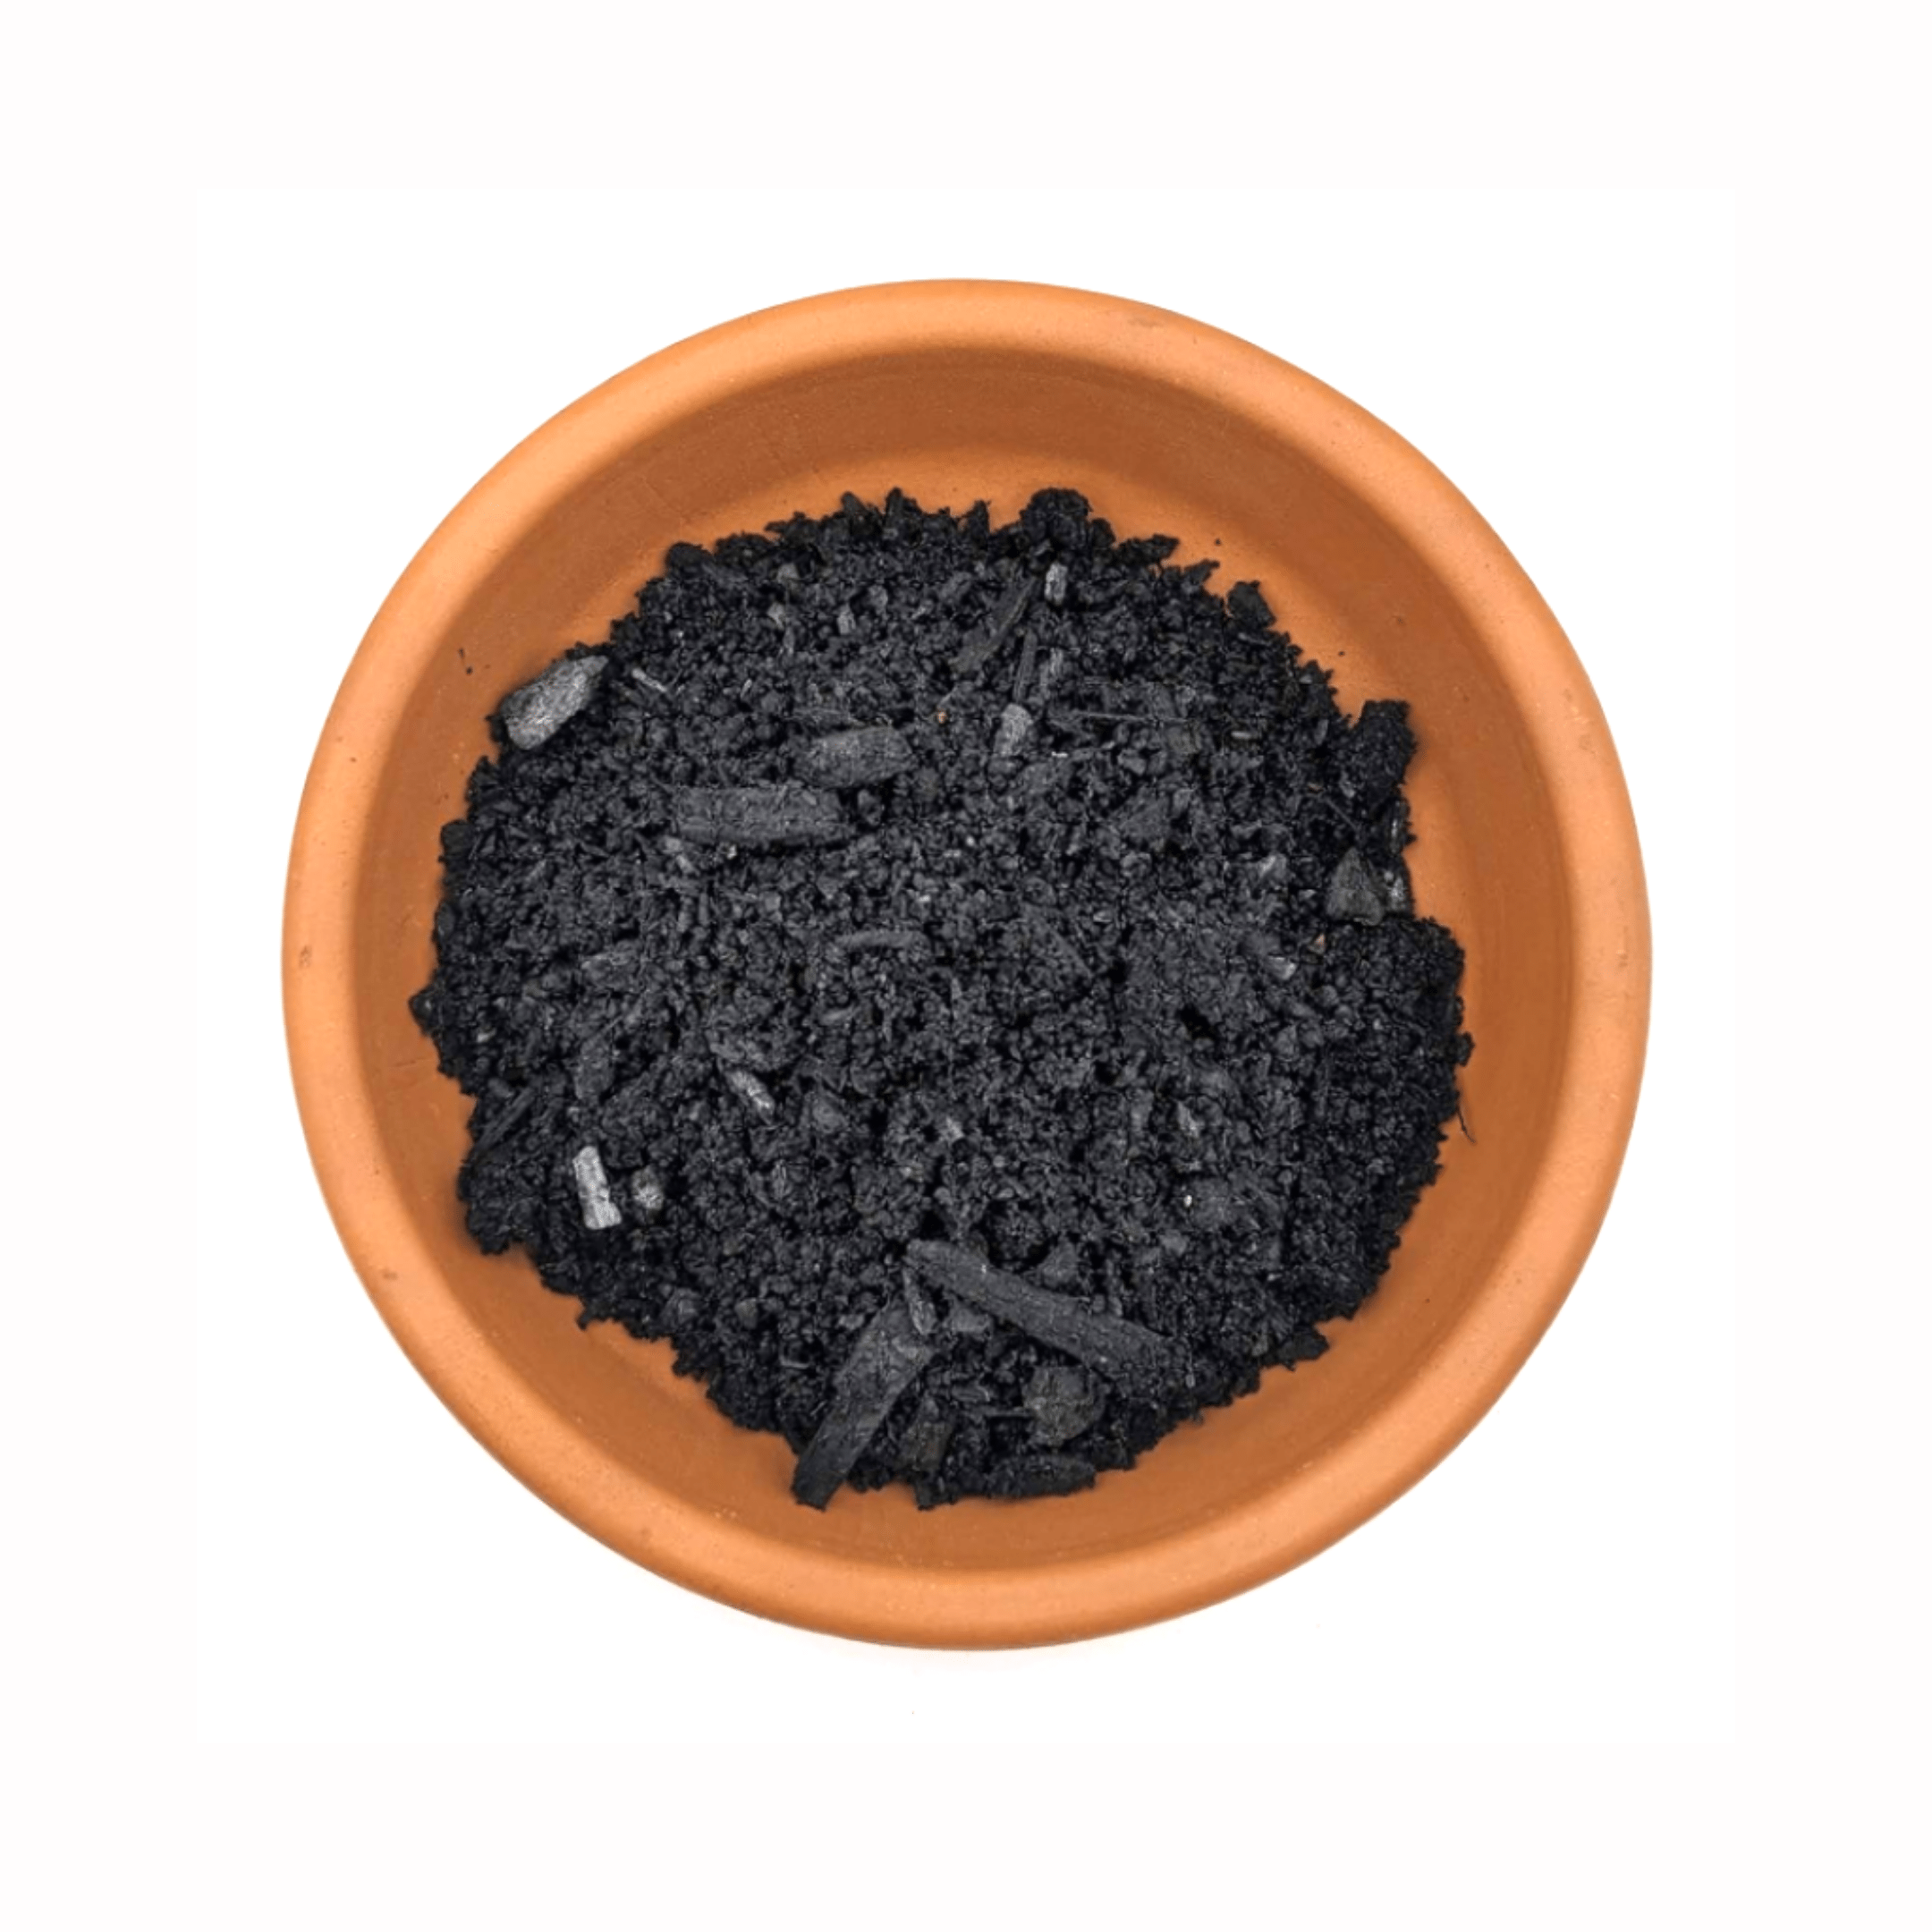
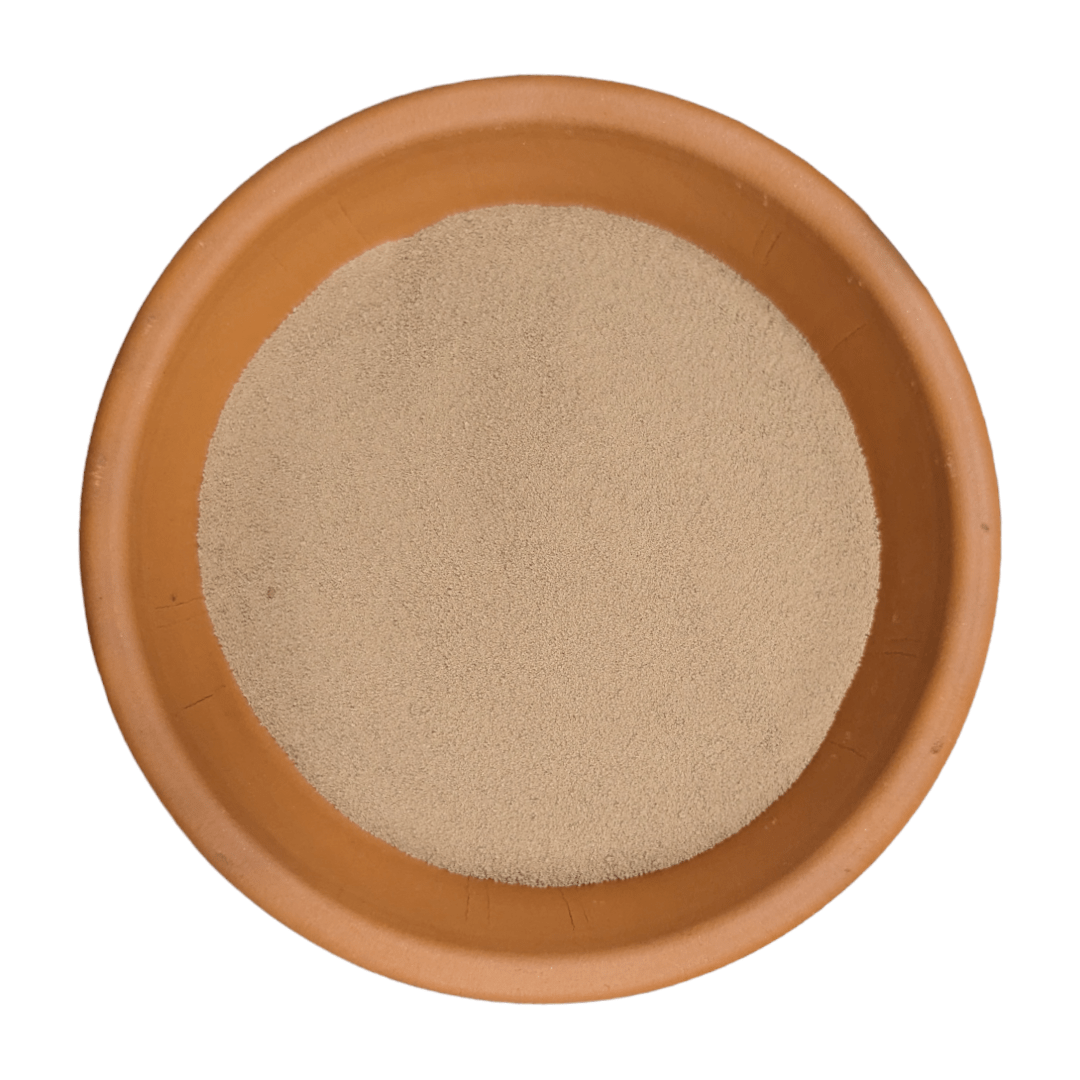
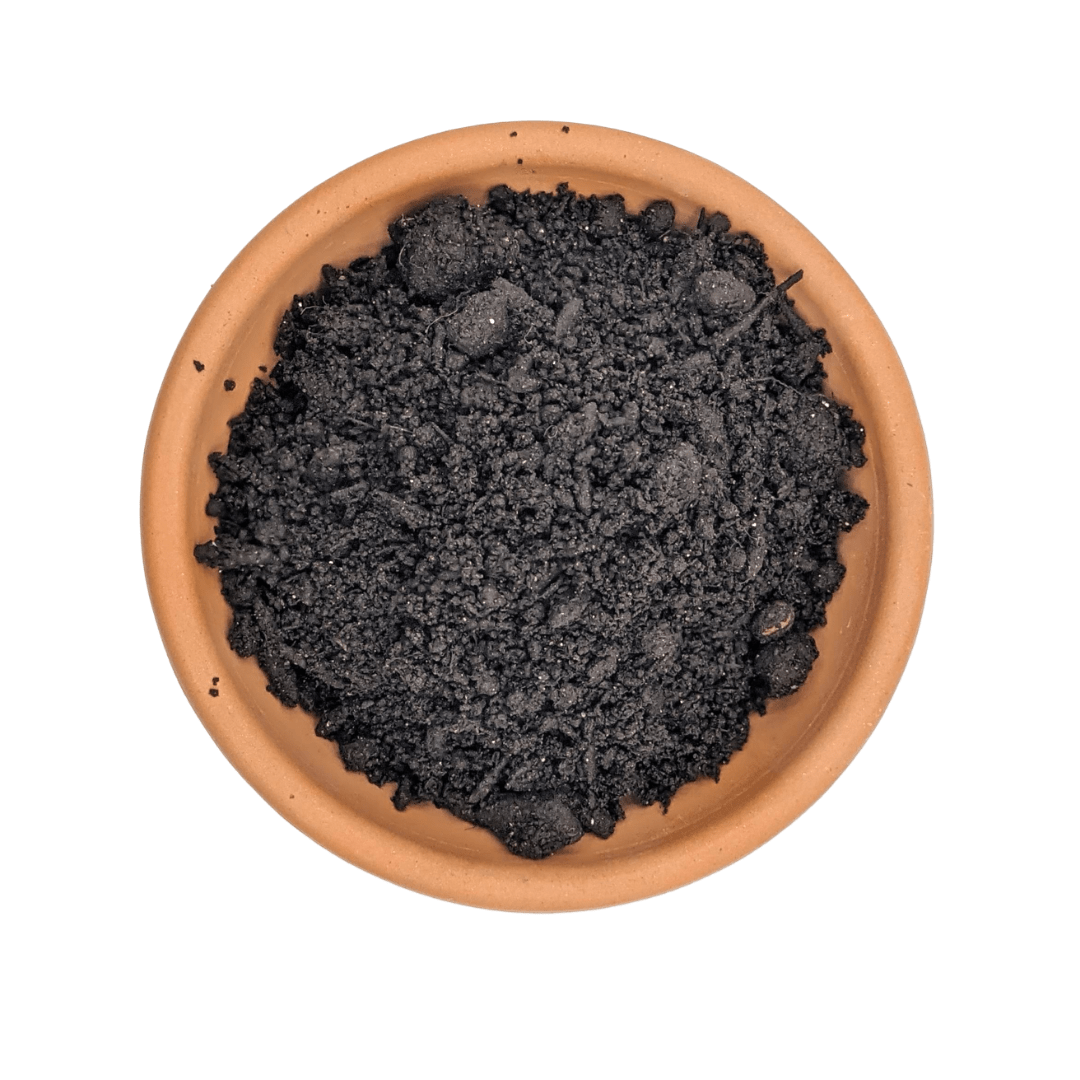
Biochar - porous carbon that acts like a tiny sponge for moisture and microbes.
-
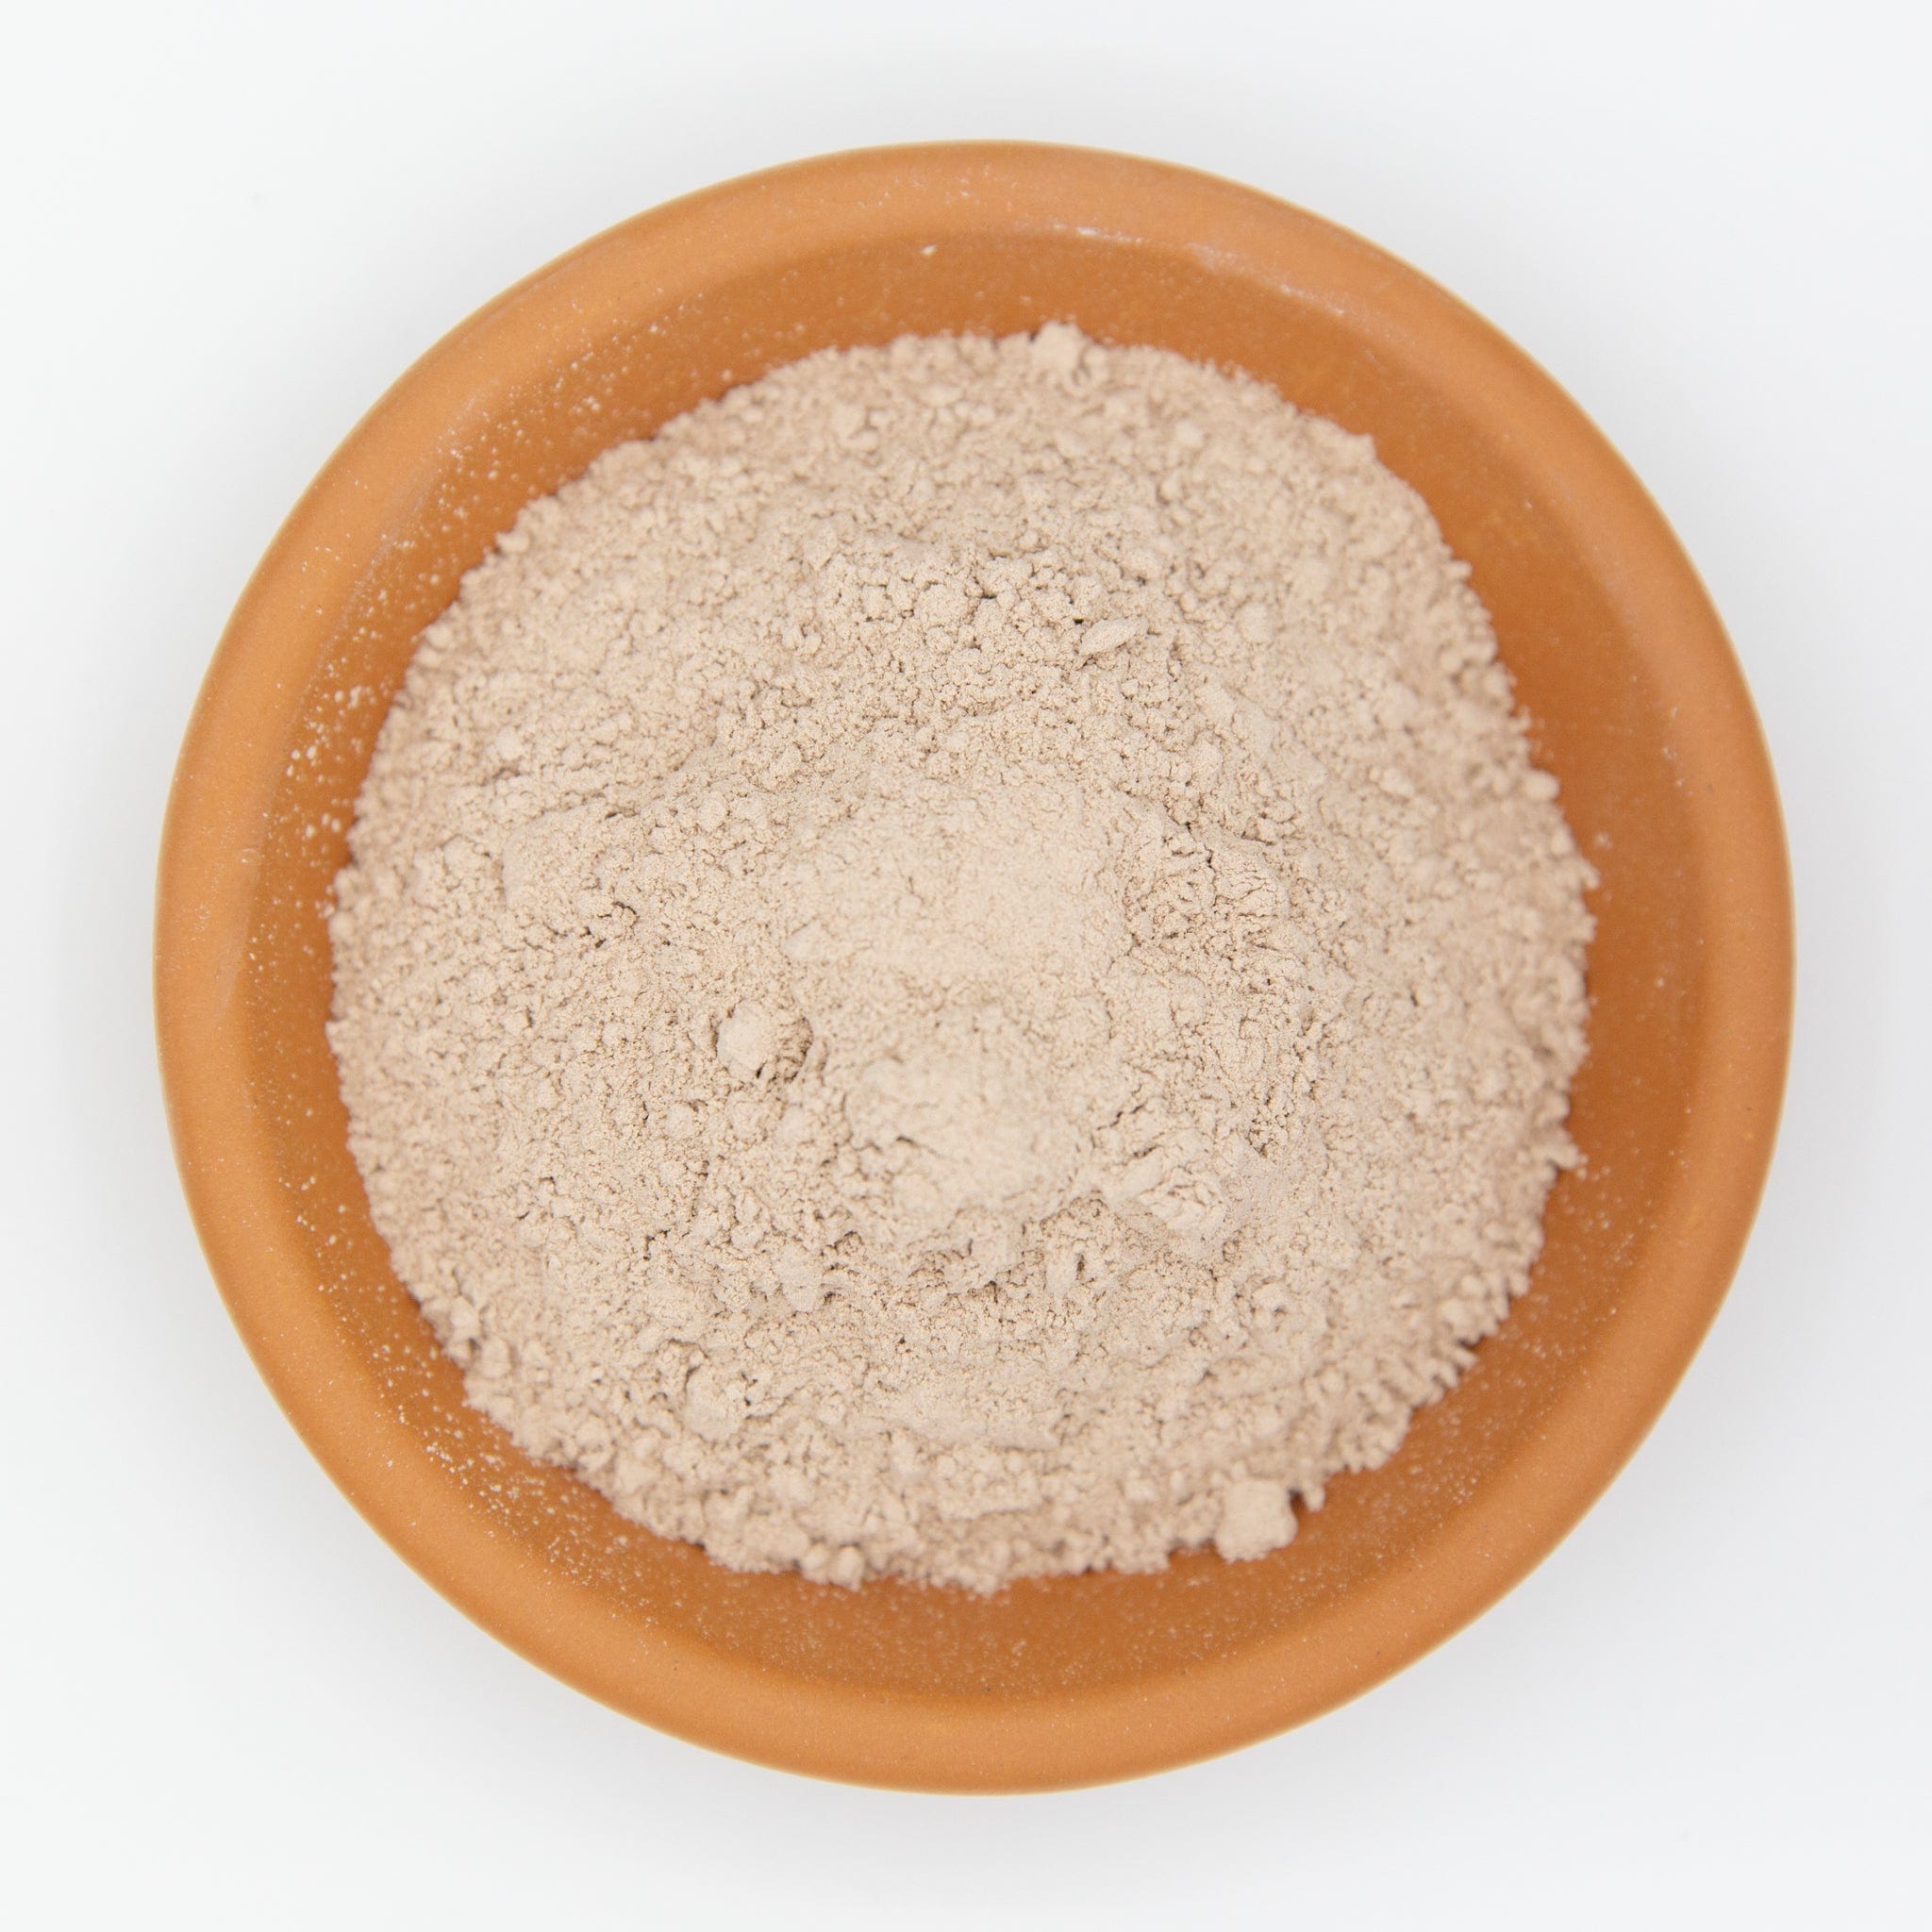
Gypsum - calcium + sulphur without changing pH; improves structure and flocculation.
-
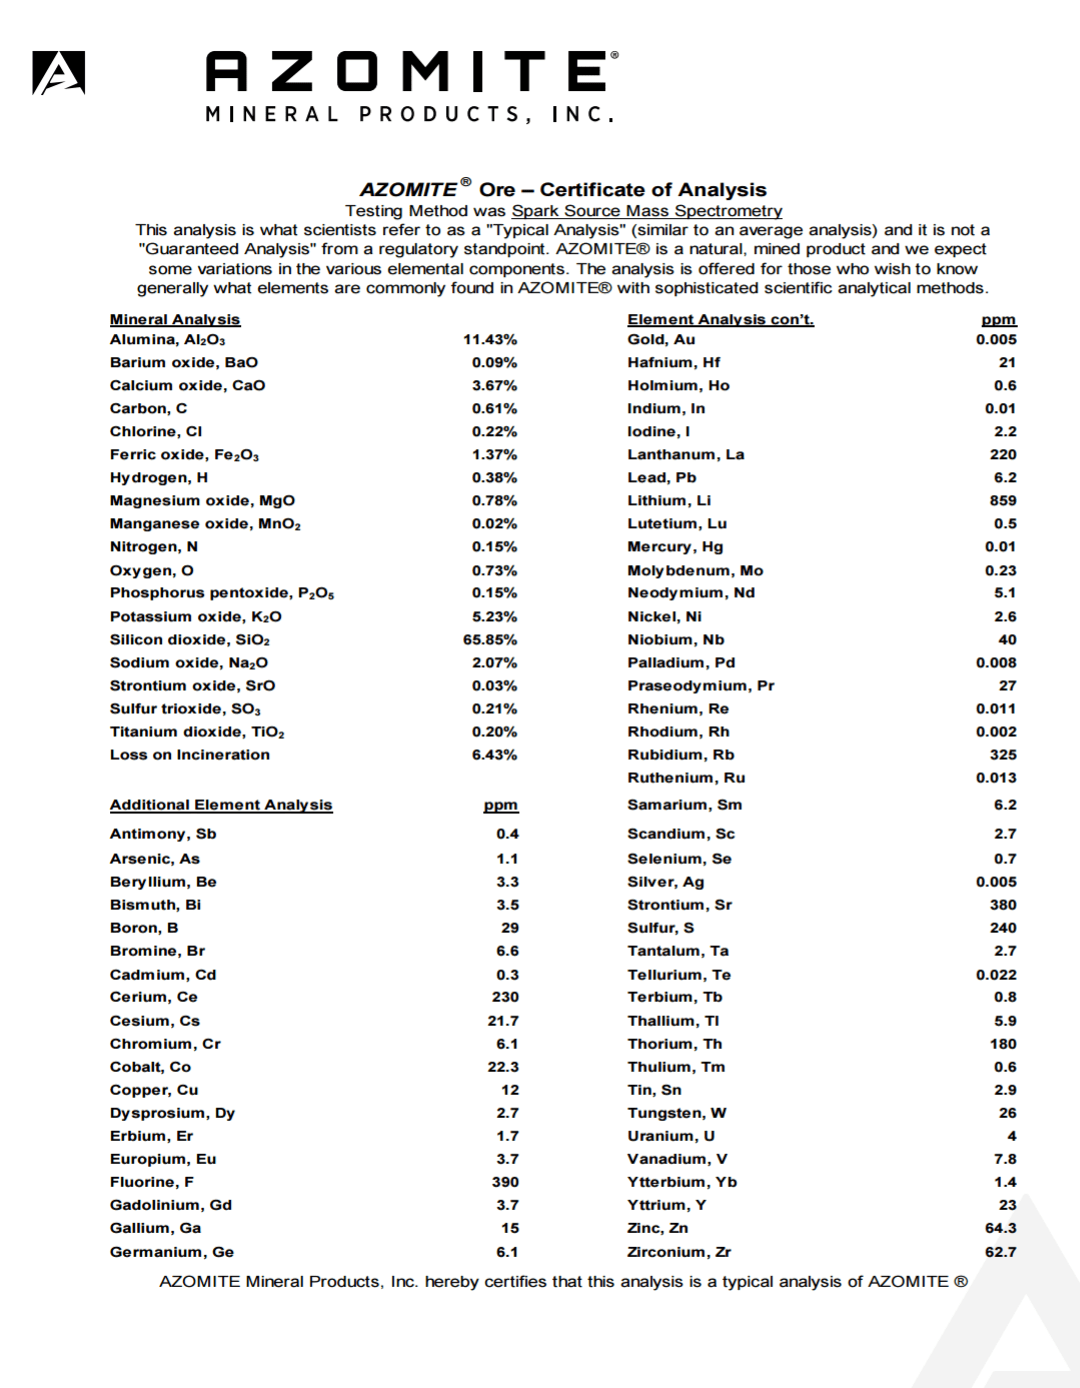
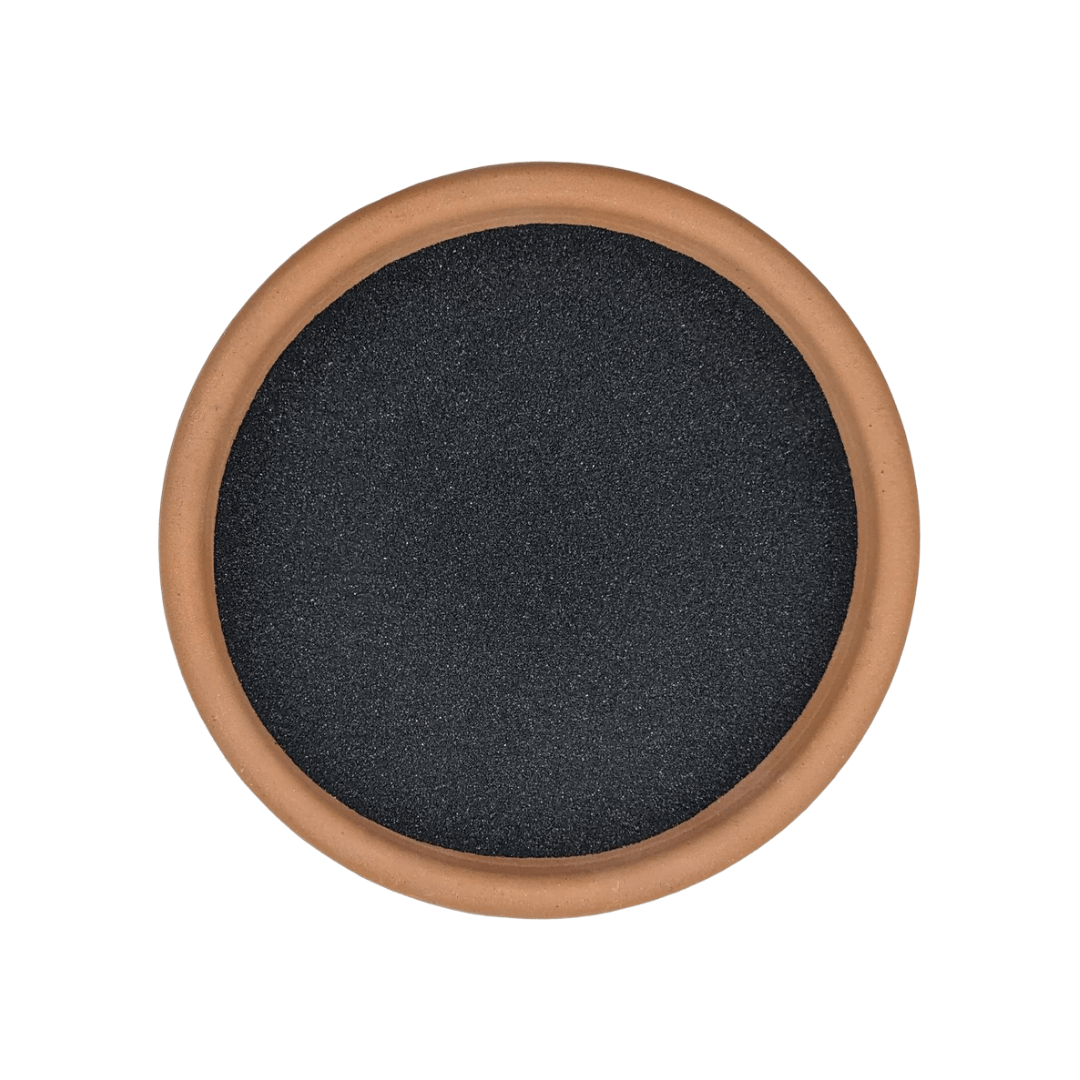
Rock Dust / Basalt - trace minerals that help microbes unlock nutrition naturally.
-
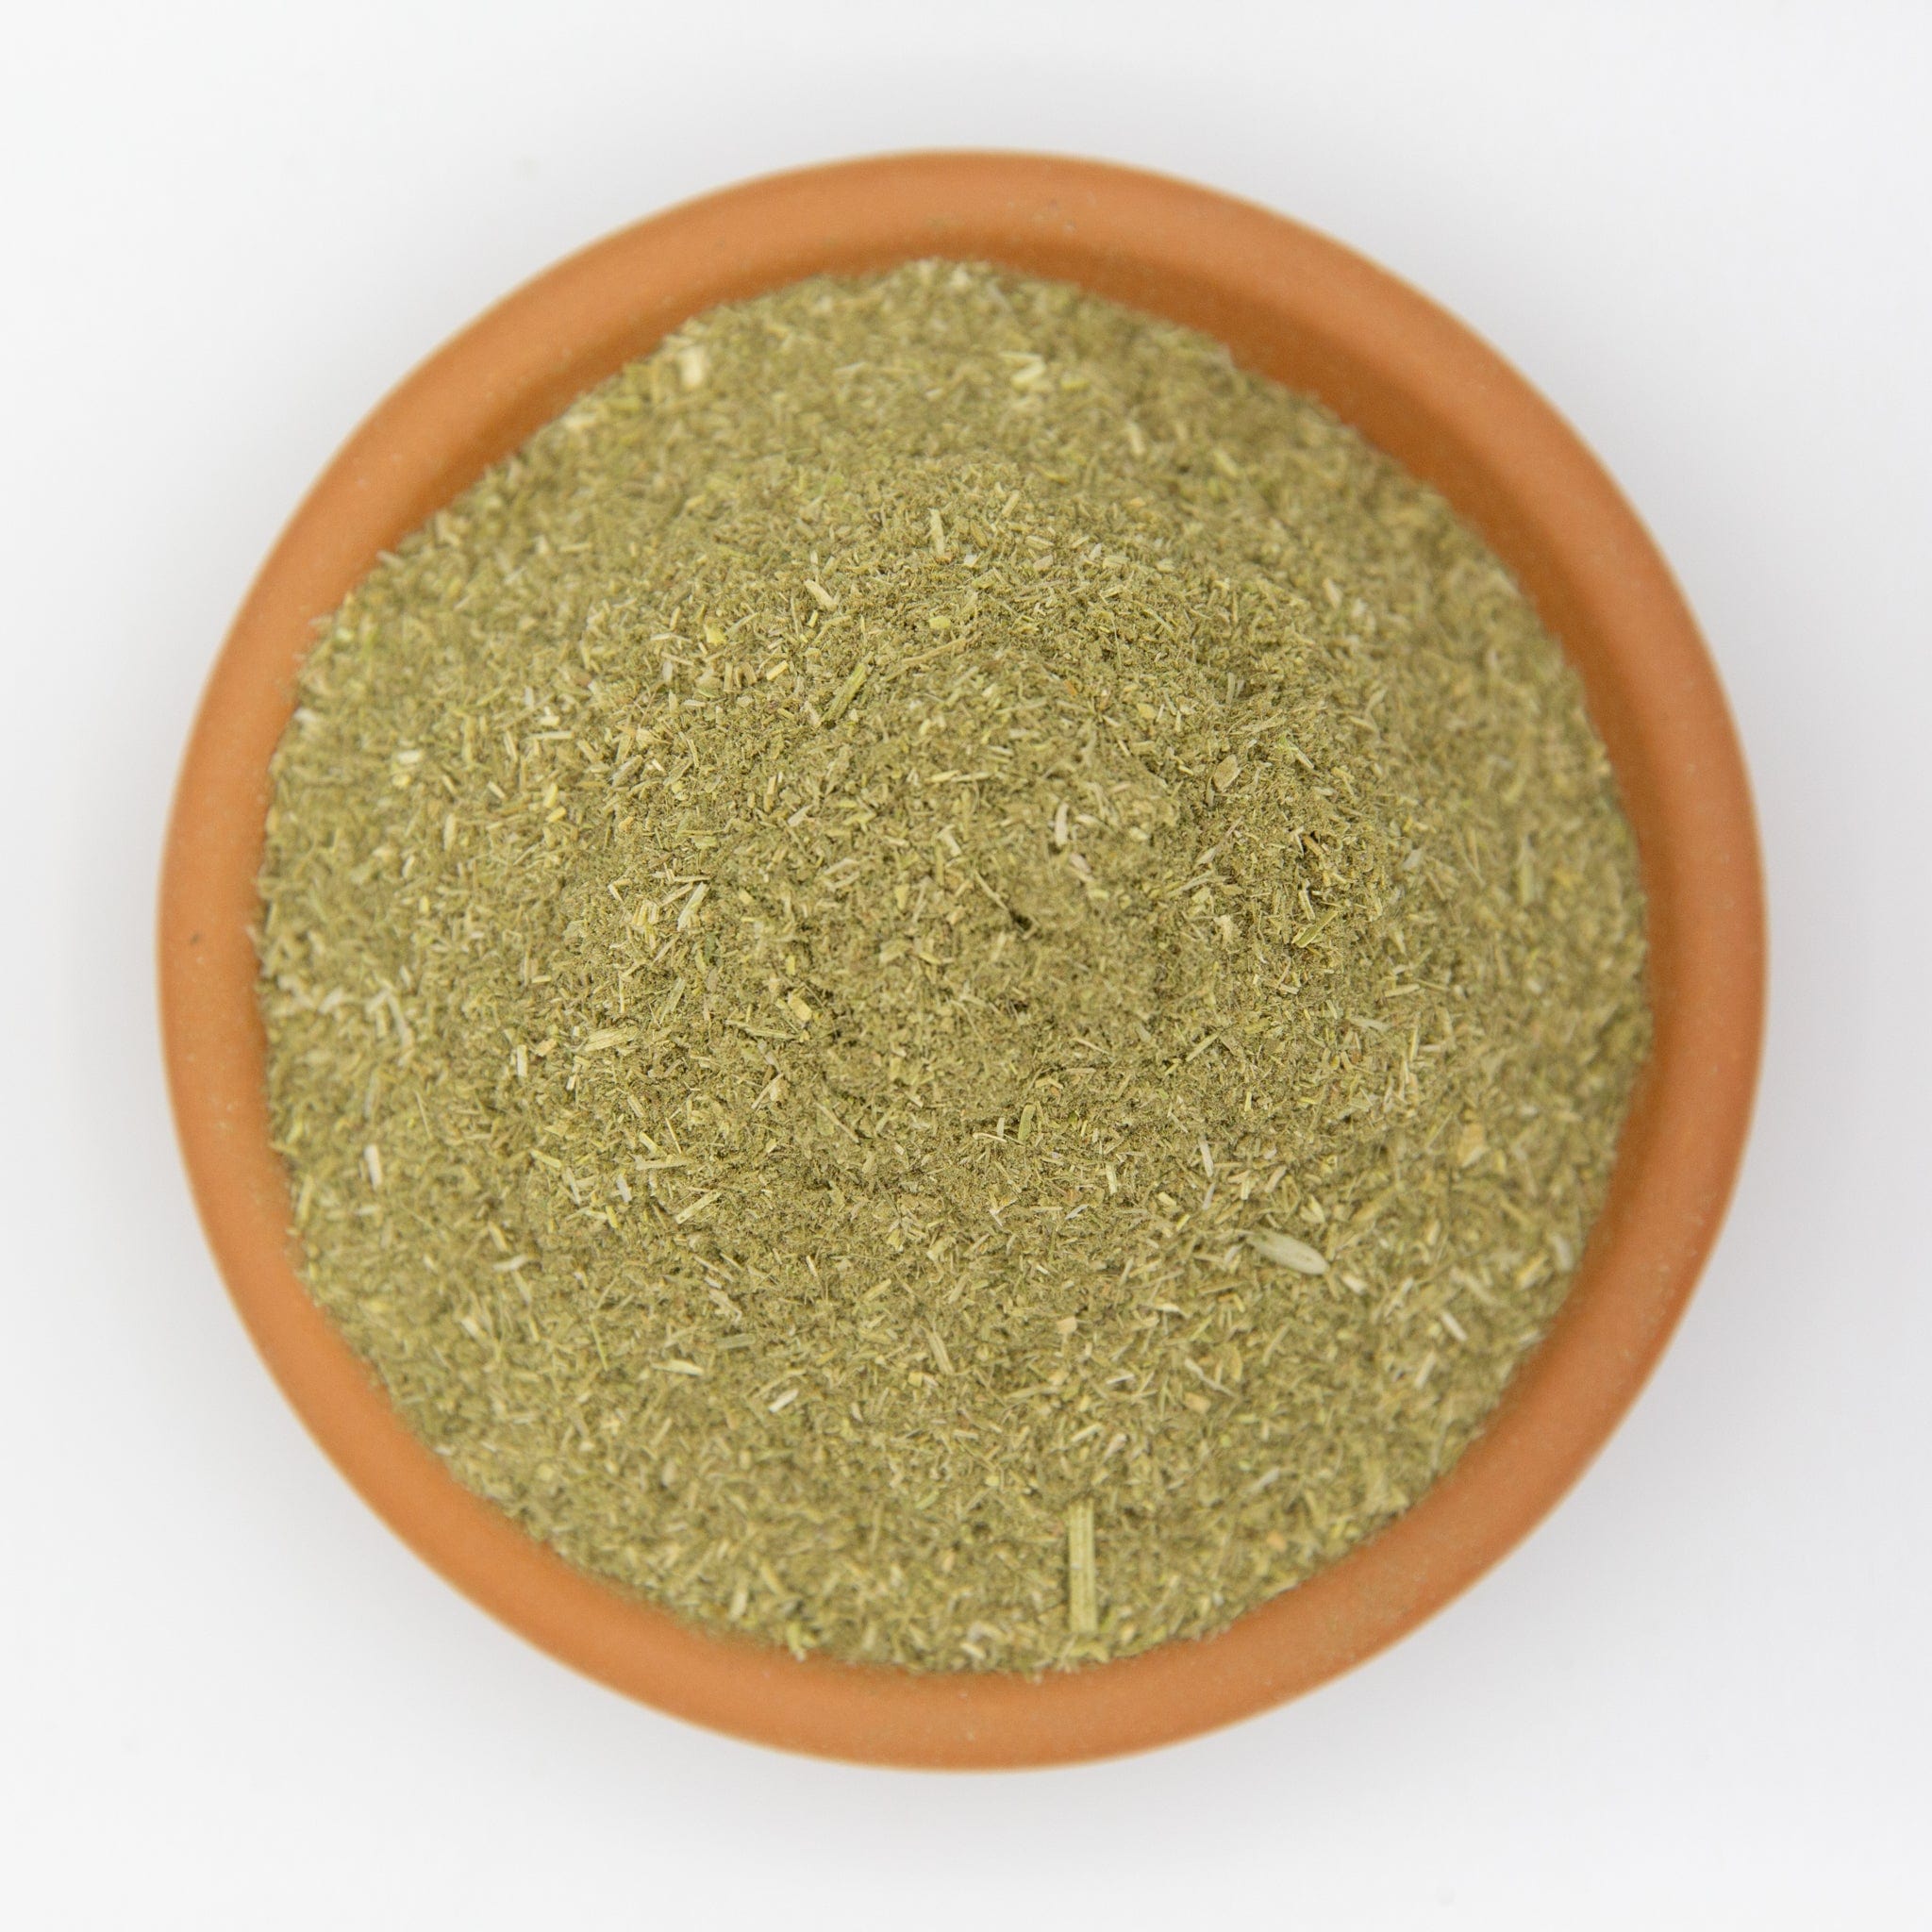
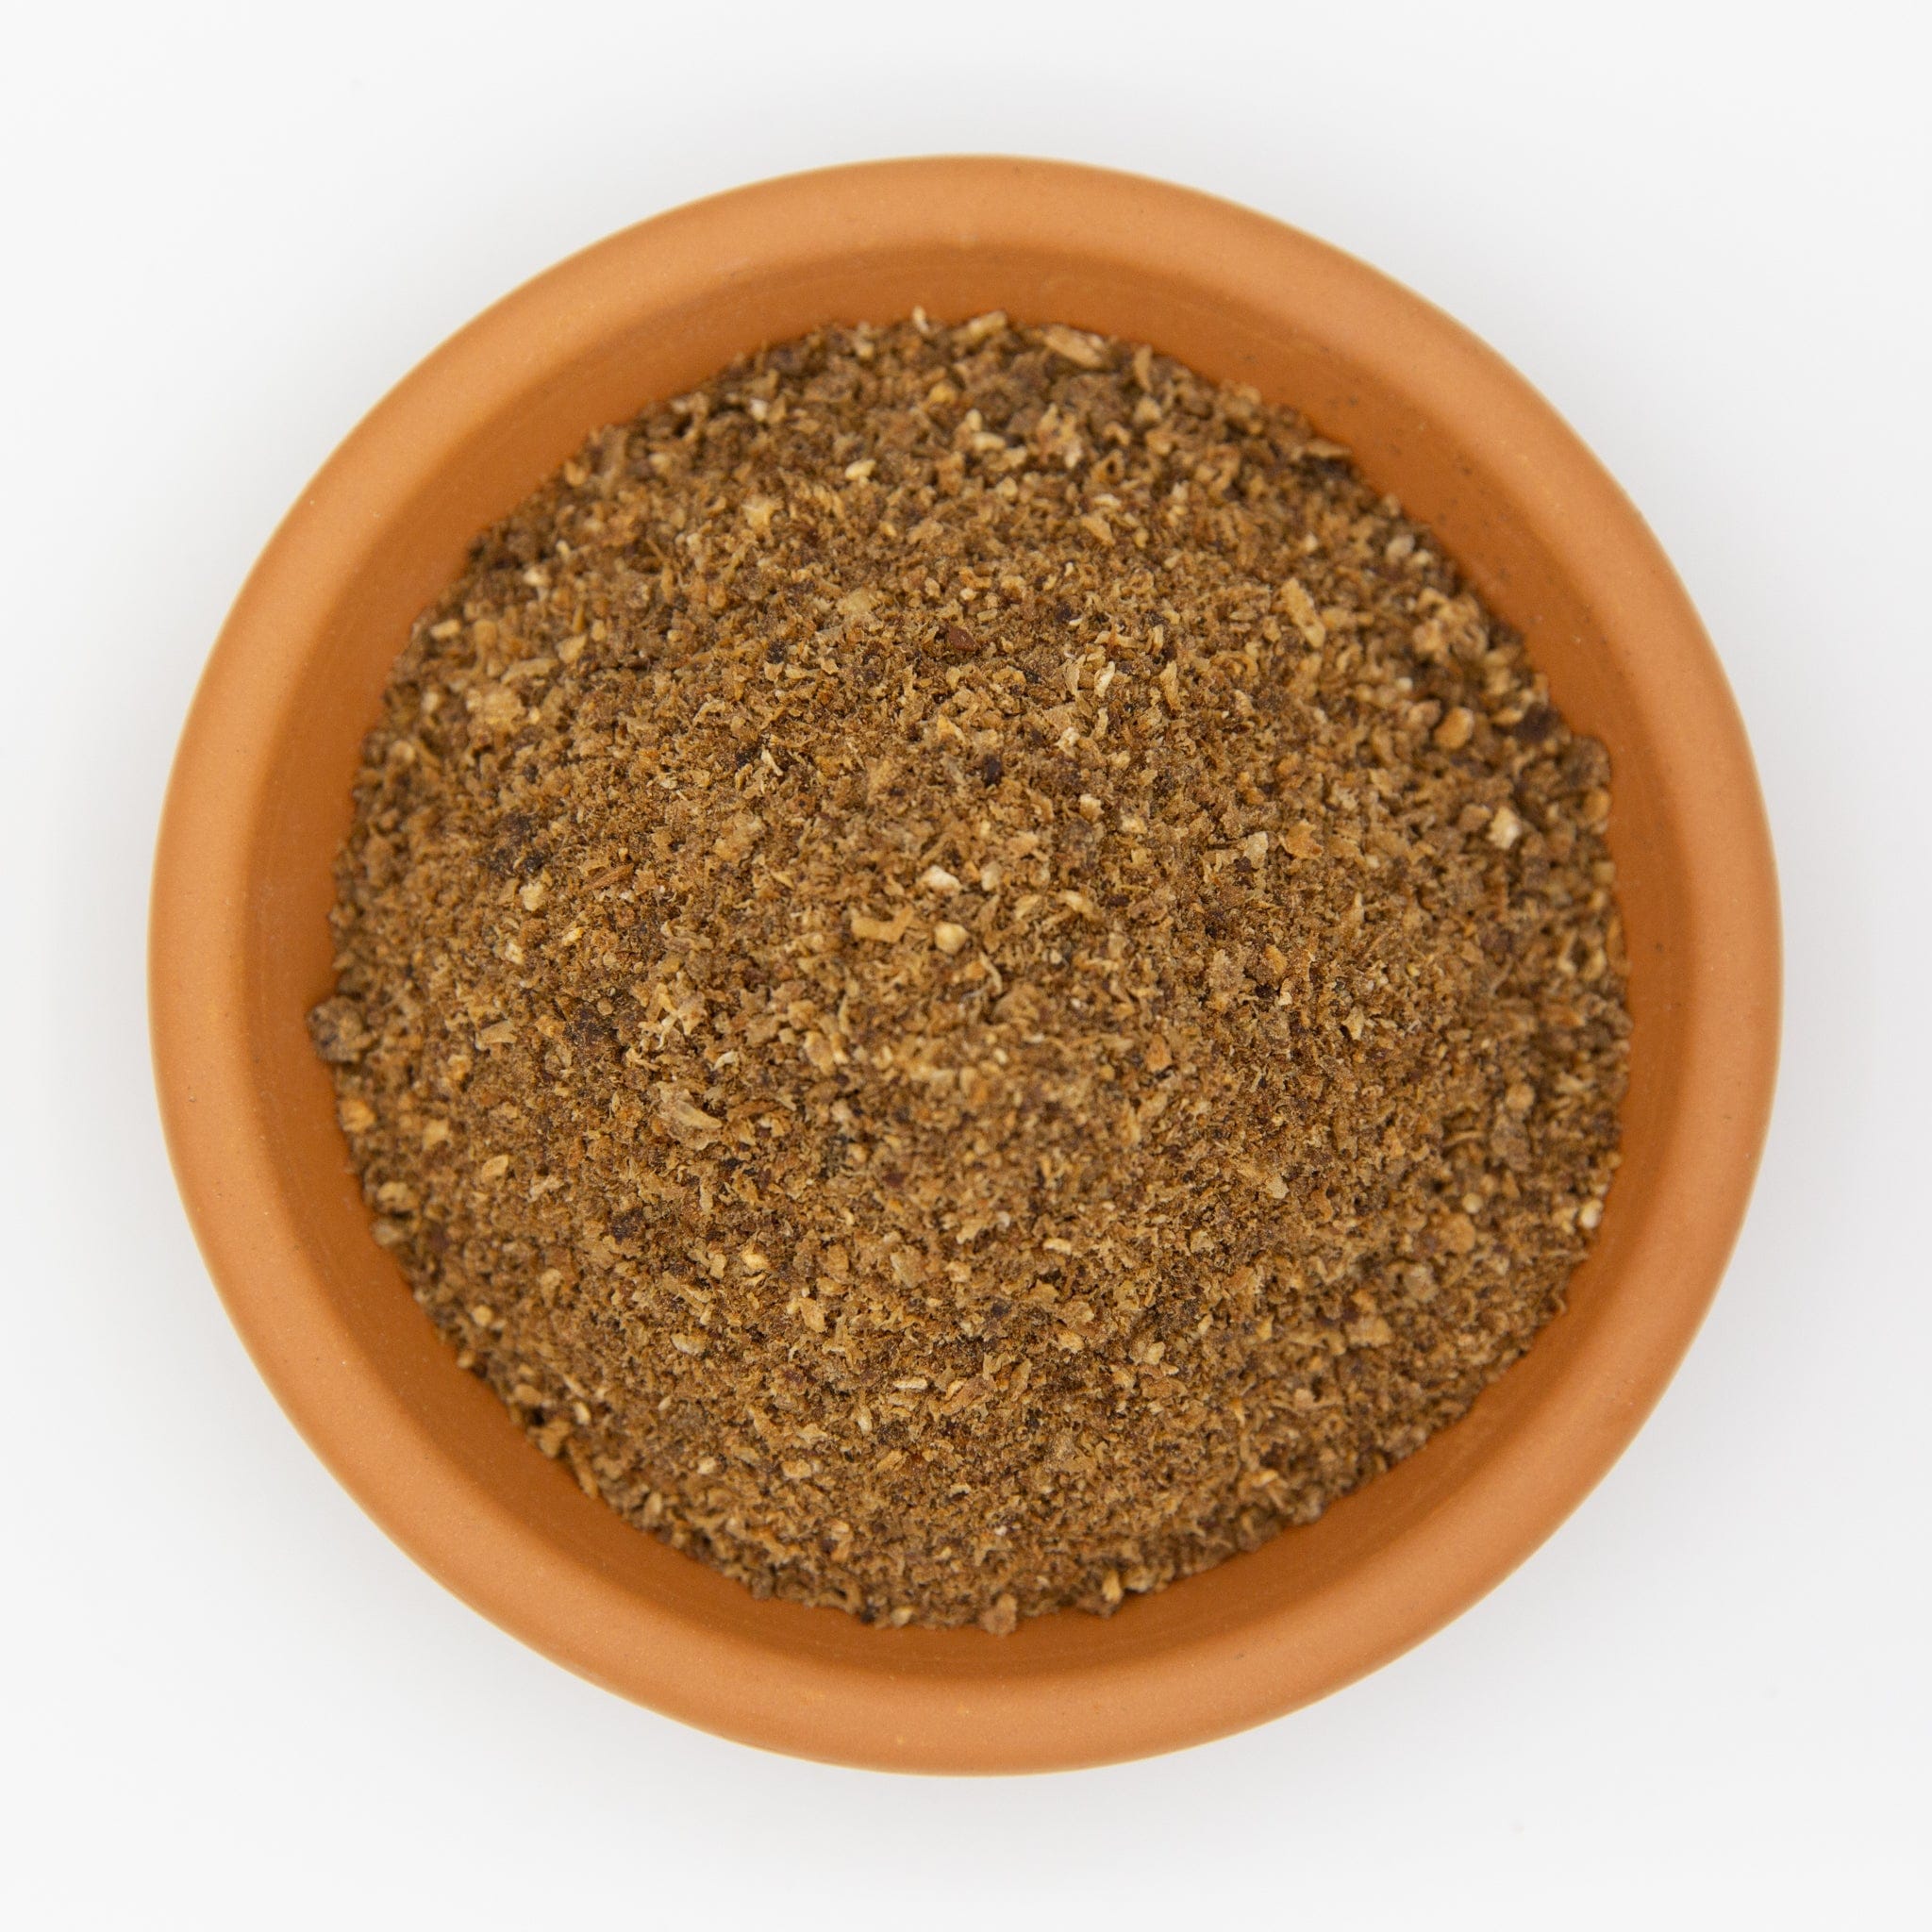
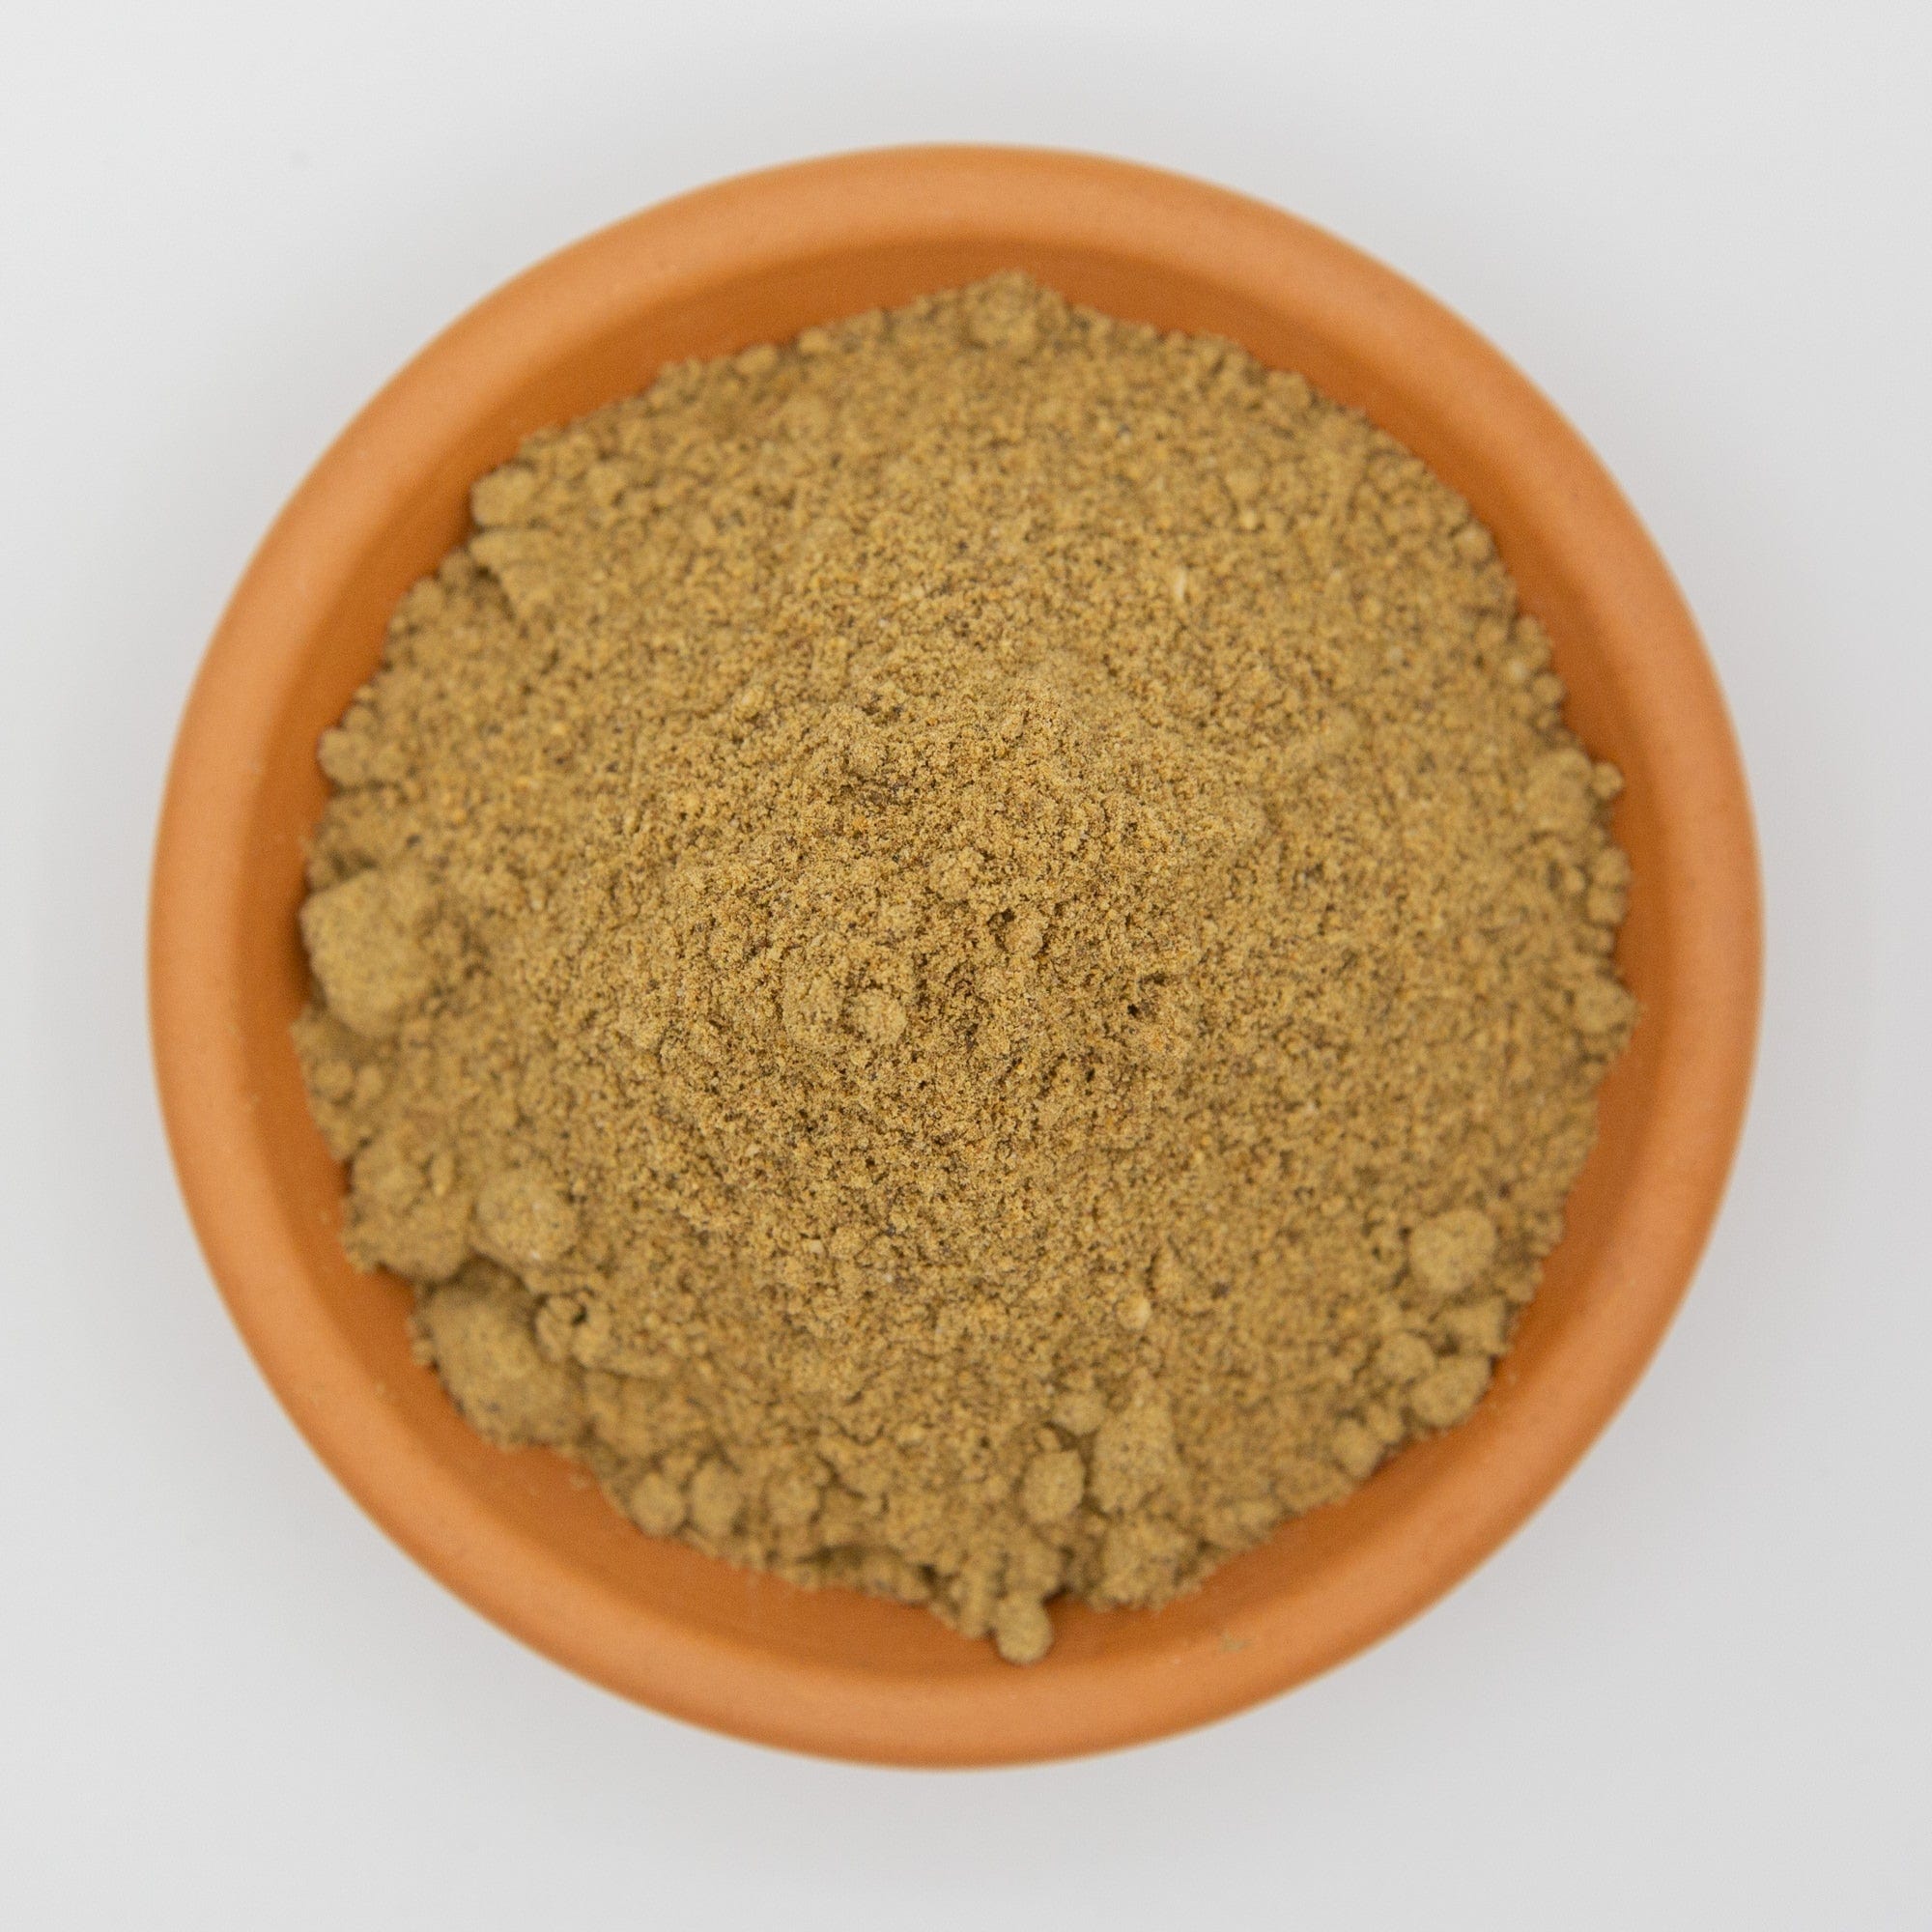
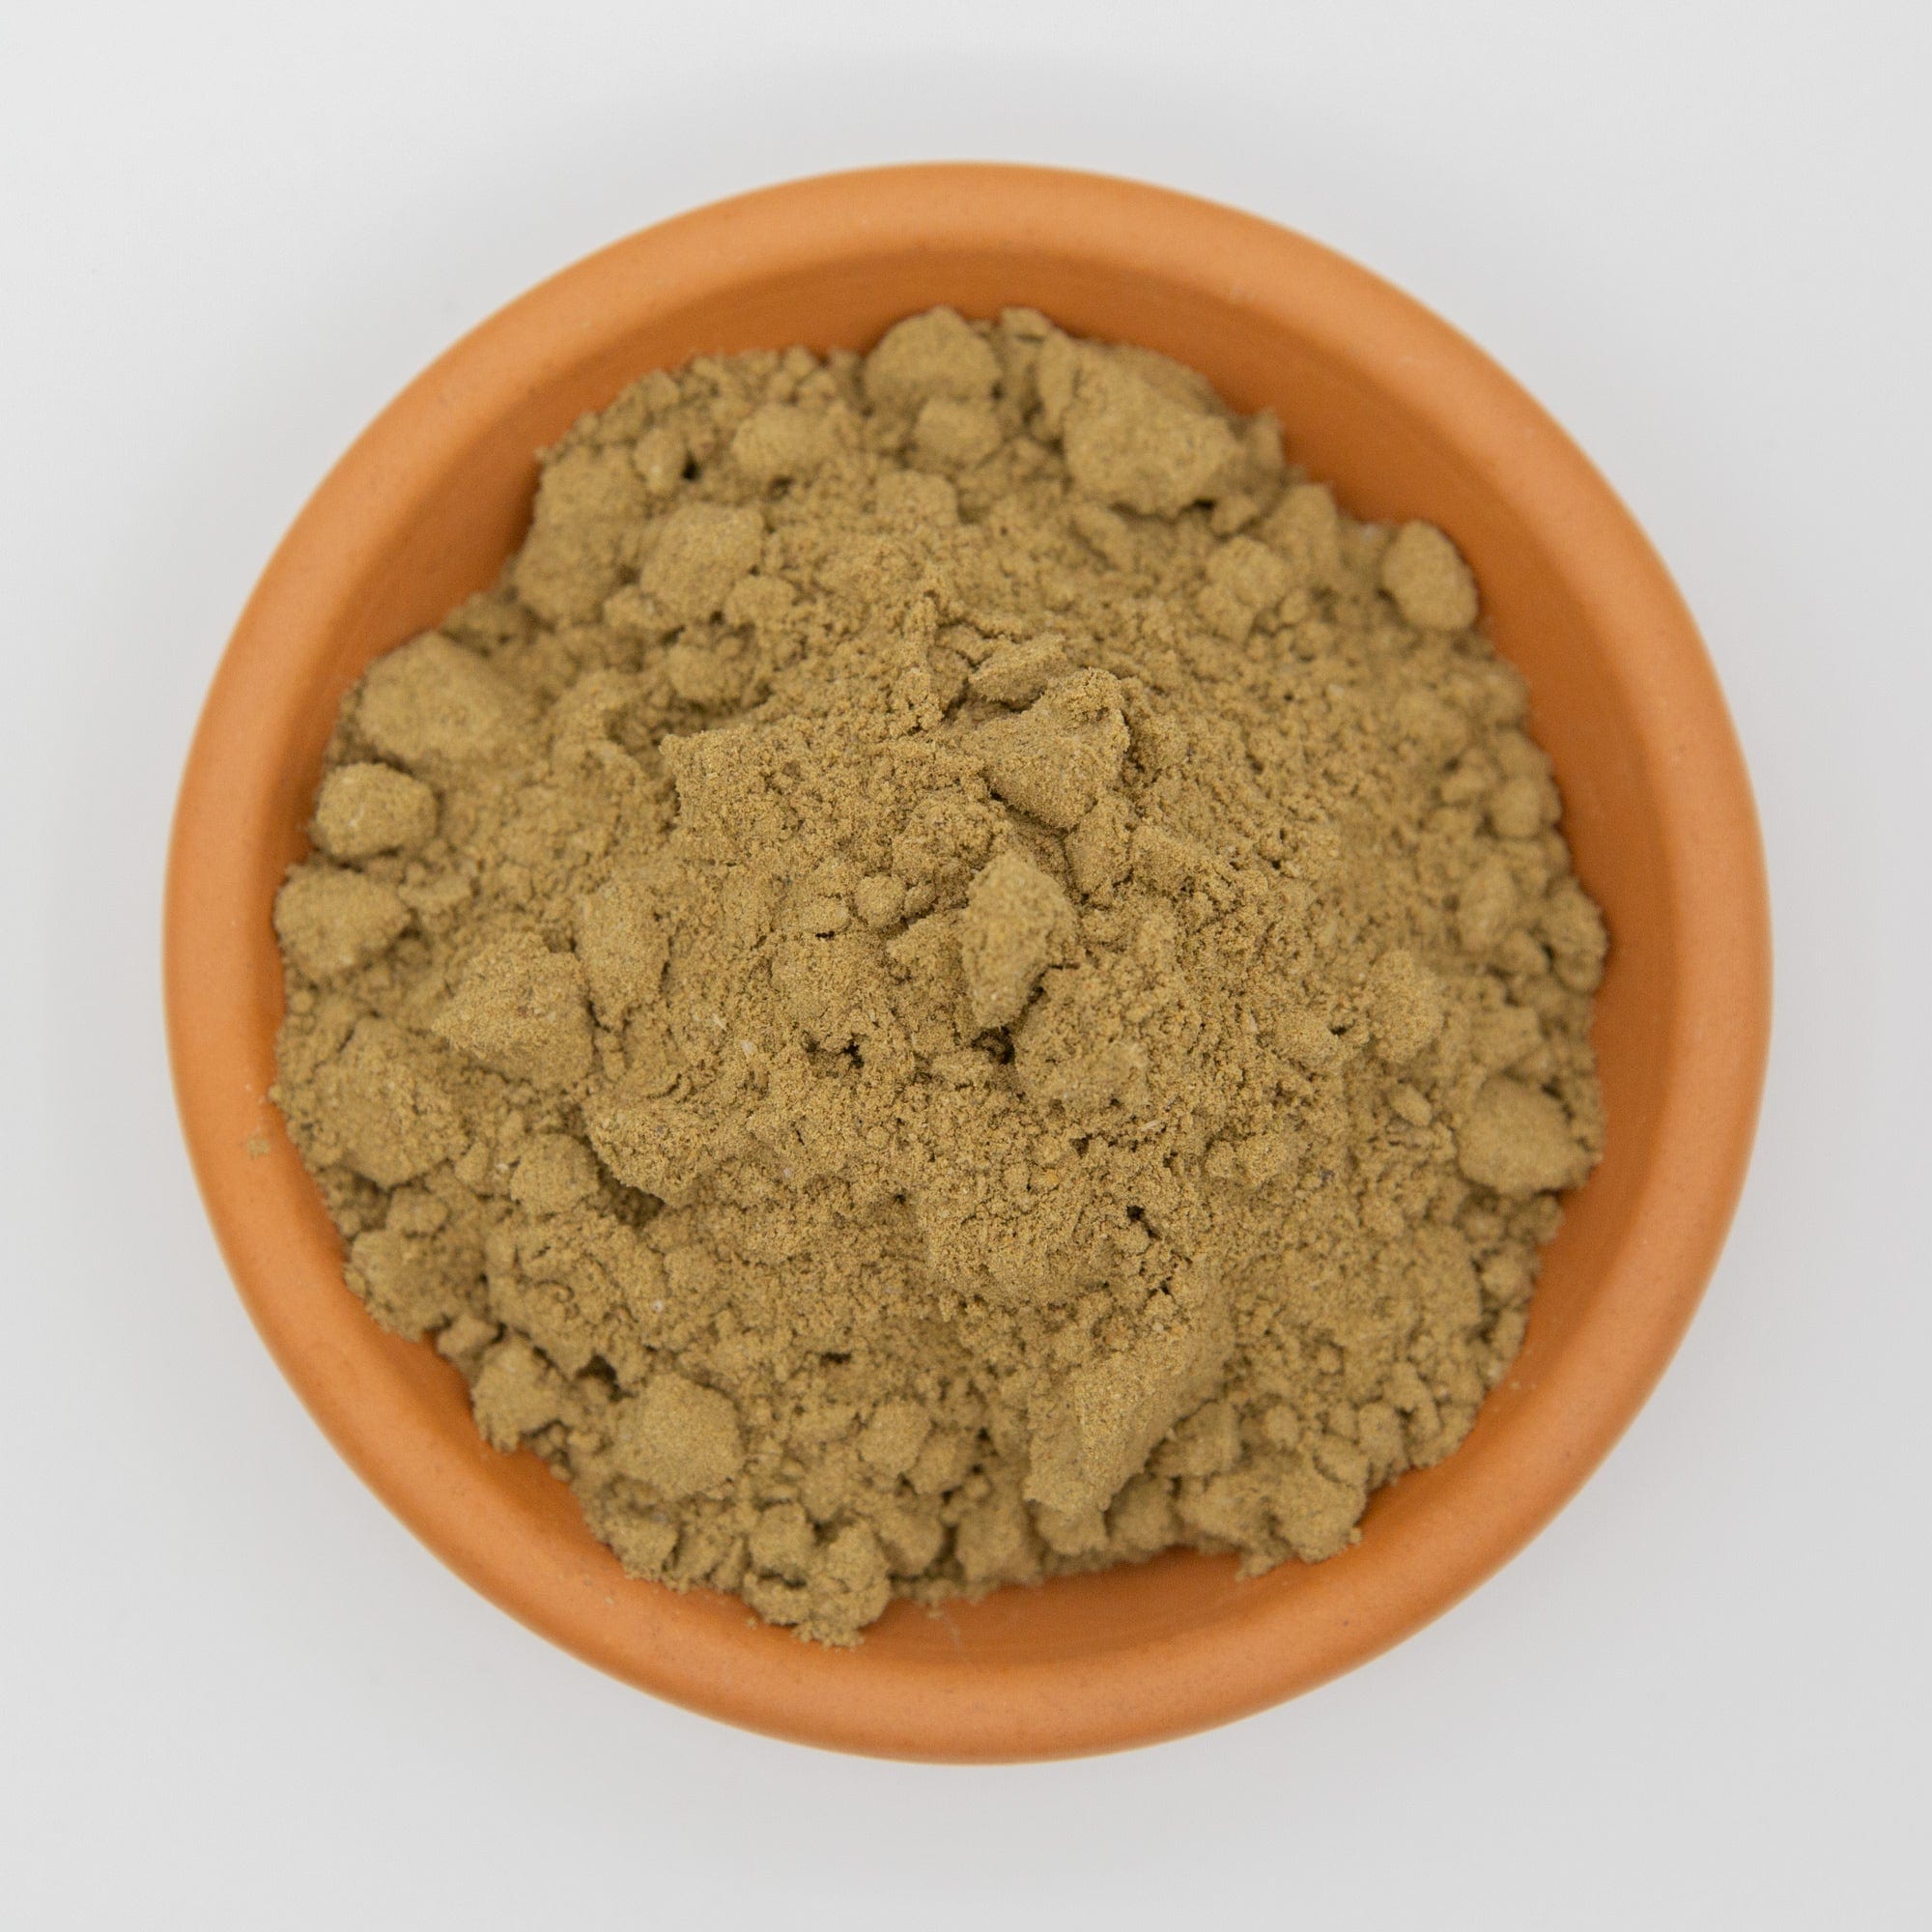
Neem Meal - slow-release nitrogen and added pest resilience.
-
Perlite/Pumice/Lava Rock - aeration and drainage allies that stop roots drowning.
-
Leaf Mold - decomposed leaf matter that’s a feast for fungal communities.
Feel free to swap any of these based on availability — just keep the purpose in mind: feed biology, improve structure, or enhance water retention.
Choosing Amendments — A Simple Decision Guide
When you’re staring at a shelf of products or bags of compost, ask yourself three simple questions:
-
What does it add?
– Structure? (perlite/pumice)
– Biology? (compost, worm castings)
– Minerals? (rock dust, gypsum) -
How fast will it break down?
– Fast breakdown feeds microbes quickly, but too fast can temporarily lock up nutrients. Slow-release is usually kinder to biology. -
Does my climate want water retention or drainage?
– Hot, dry gardens appreciate more organic matter and mulch. Cooler, wetter regions benefit from extra aeration.
This decision framework keeps things repeatable and tested, so you’re not guessing at every turn. It’s how we tune mixes from Darwin humidity to Tassie chills without starting from scratch.
Organic Standards, Soil Safety & Why Testing Matters
Before you start tweaking mixes based on feel and look alone, it’s worth understanding a couple of industry standards and safety checkpoints that matter here in Australia.
Some premium living soils and potting mixes get tested against Australian Standard AS 3743 - this is essentially the benchmark for what a quality potting mix should deliver in terms of structure, drainage, buffer capacity and contaminants. A certified organic label on an ingredient or soil blend tells you it meets third-party standards for organic inputs (no synthetic fertilisers or harmful residues), which is especially important when you’re growing food.
Modern labs can also test your soil for pH, nutrient levels and even heavy metals - not because we love paperwork, but because those numbers give you a real snapshot of what’s actually in the ground. For example, a pH outside the sweet-spot (~6.3-6.8) can lock up nutrients your plants are desperate for, and heavy metals in excess can quietly stress roots and stunt growth long before you see symptoms. Taking a simple soil test lets you target amendments more accurately and avoid guesswork.
If you want to go one step further, ask your local soil lab whether they measure CEC (cation exchange capacity) - it’s a fancy way of saying how well your soil can hold on to nutrients for your plants to use later. In living soil, we want that nutrient sponge working for us, not against us.
Pro Tip: Some garden centres and councils offer affordable testing — it’s money well spent if you’re building soil you want to keep using season after season.
Budget-Friendly Alternative: Working with What You Can Get
Look, a lot of folks think you need designer blends or expensive inputs for good soil, but let's be real—plenty of us are starting with what's easy on the wallet. Most commercial compost mixes out there? They're usually a mashup of green waste (like FOGO bins), shredded pine, and a hit of synthetic nitrates to help everything break down faster. They even use untreated pallets sometimes—hence the stray nails.
Here's how it goes: to keep things moving (and to tick off the regulatory boxes), big operators often pump air into these piles. That forced aeration helps them churn through the material in record time, but as soon as that minimum "cooking" period is up and the stuff looks dark and earthy, it's straight into bags—no matter if the biology is thriving or not. The result is a product that looks finished, but honestly, it's got next to no living microbes left—just composted under pressure, fast and hard, with little room for diversity or those really beneficial soil critters to survive.
If you want truly living soil from this base, the trick is to see these commercial mixes for what they are: a blank slate. Set it aside for a few months, ideally on the ground where local worms and microbes can do their thing. Better yet, inoculate with quality compost, worm castings, or even a shovel of healthy garden soil. Give it time, let nature rebuild what the industrial process wiped out, and you'll end up with a rich, vibrant soil that's truly alive—without having to splash out on boutique ingredients.
Building with Budget Materials:
- Start with a quality local potting mix (pine-based can be fine, just remember what we mentioned above - it just needs time)
- Source a quality compost to make sure you can kickstart your soil with all the microbes and life it contains. (call around and suss the suppliers ingredients first!)
- Include ¼ cup each of Go & Grow + Bud & Bloom nutrient kits
The dry amendment kits will feed the biology you're adding through the compost. Think of it as providing a buffet for the microbes while they get established.

Critical Timing for Budget Mixes (Don't Rush This Bit!)
Depending on the amount of pine/duff materials in the cheaper potting soil, it's recommended to let these mixes break down further for 2-6 weeks. During this time, it's important to aerate the soil mix at least once a week.
Pro tip from years of soil building: Add the aeration component at the end. This not only reduces the volume you need to turn each week, but it can also prevent porous materials like perlite from becoming "saturated" before being placed in their final container. Aeration sources like Scoria/Lava Rock are best added when filling your final container to maintain the best soil consistency.
The pine materials need time to start breaking down and become food for your soil biology rather than competing with your plants for nitrogen. Trust me on this one - patience here saves you months of disappointing growth later.
Water-Only, No-Till & Reusing Your Living Soil
One of the coolest advantages of a well-built living soil is how low-fuss it becomes over time - especially if you adopt a water-only or no-till approach once it’s established.
Water-Only doesn’t mean your plants never need nutrients — it means that most of what they need comes from the soil biology itself. Once your living soil is teeming with microbes and organic matter, feeding the soil often feeds the plants far better than liquid fertilisers ever do.
No-Till gardening is about disturbing that living web as little as possible. Instead of turning and digging each season, you let the soil organisms do their job and only gently work in new organic matter or compost on the surface. This keeps the microbial populations stable, improves soil structure, and helps water infiltrate more effectively.
And the best part? Reusing your living soil becomes easier. With each crop cycle, the biology thickens and the soil gains structure. You might find that after harvest, you only need to refresh the top layer with compost, mulch and a sprinkle of amendments — no complete rebuild needed. That’s a big win for sustainability and your time.
Moisture Masters: Avoiding Dryback, Hydrophobic Soil & Dead Spots
One of the biggest headaches we see from gardeners new to living soil is moisture management - and it’s a sneaky one.
Two common problems are:
-
Hydrophobic dryback - the soil dries out, repels water, and doesn’t re-wet easily
-
Overwatering - which smothers biology and invites fungal problems
The trick is not more water — it’s consistent, appropriate water. A good living soil should stay evenly moist but not soggy. How do you do that?
-
Mulch the surface with straw, sugar cane mulch, or wood chips — it slows evaporation and keeps top soil from crusting.
-
Water deeply and less often — shallow watering trains roots to stay near the surface where pests and heat stress lurk.
-
Use a moisture meter or finger test — aim for soil that feels like a slightly damp sponge, not a wet rag.
Automated watering systems — even simple drip lines — can save your sanity and reduce the risk of over/under cycles, especially in summer. And if dryback does happen? Gently pre-wet with a garden sprayer or bucket until the soil takes water again; don’t blast it with heavy streams that can erode your precious soil structure.
Want to Take It Further?
This foundation recipe will get you growing successfully, but there's so much more you can do to optimise your soil for specific situations.
Growing in containers? This is where things get really interesting. Our optimised container recipe takes this foundation and tweaks it specifically for the challenges of pot growing - better drainage, improved moisture regulation, and amendments that work in confined spaces: Building the Best Soil for Your Potted Plants.
These detailed guides dive deep into:
- Container-specific soil optimization and ratios
- Advanced soil biology principles (it gets fascinating!)
- Seasonal adjustments for Australian climates
- Troubleshooting when things go wrong
- Long-term soil maintenance strategies
- Regional adaptations from Darwin to Tasmania
Start Building Today
All the ingredients mentioned in this recipe are available through our online store with Australia-wide shipping, or visit our Bellambi location where you can get hands-on advice and see the ingredients before you buy.
Do you still have questions about how to adapt this recipe for your specific part of Australia? Give us a call or drop us a message from the contact us page. Our team genuinely enjoys helping gardeners succeed with living soil, whether you're starting with premium ingredients or working with budget-friendly alternatives.
If you follow our guide above, we can guarantee the difference between average soil and truly living soil is often just one or two small tweaks from what you're already doing. Let's make sure you get it right from the start, it's easier for us both!
Remember: Great gardens start with great soil. This foundation recipe will get you growing, and our detailed guides will help you master the art of living soil over time. No shortcuts, just proven methods that work in Australian conditions.
Next reads for building richer living soil that gets better over time
Building your own living soil? These guides will help you understand the biology behind it, choose better amendments and keep your mix performing season after season.
- Best Living Soil for Organic Gardening
- Beneficial Soil Bacteria and Mycorrhizae: A Vital Partnership
- Beginner’s Guide to Using Organic Dry Amendments in Gardening for Healthier Plants
- 5 Secrets Sustainable Soil Health
About the Author