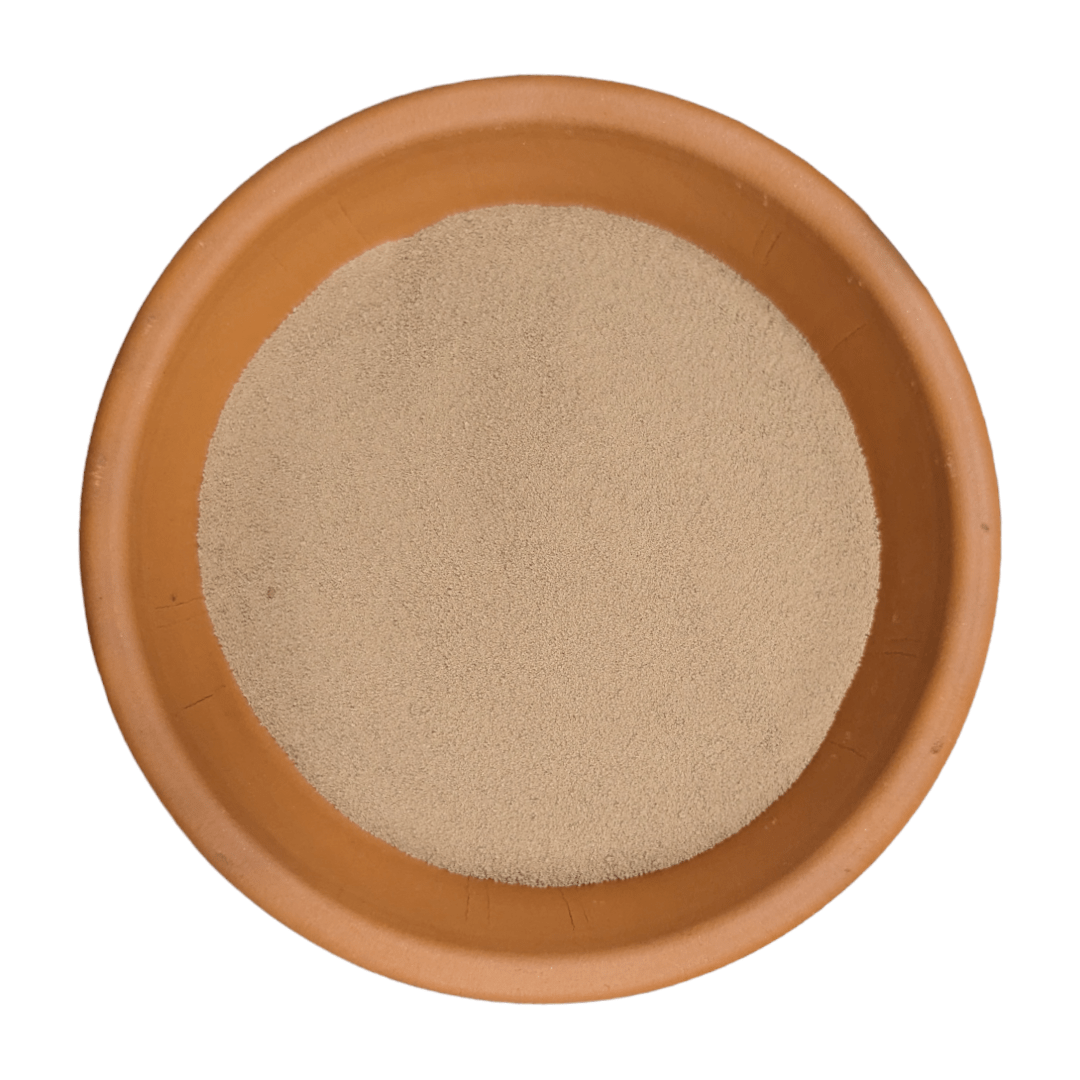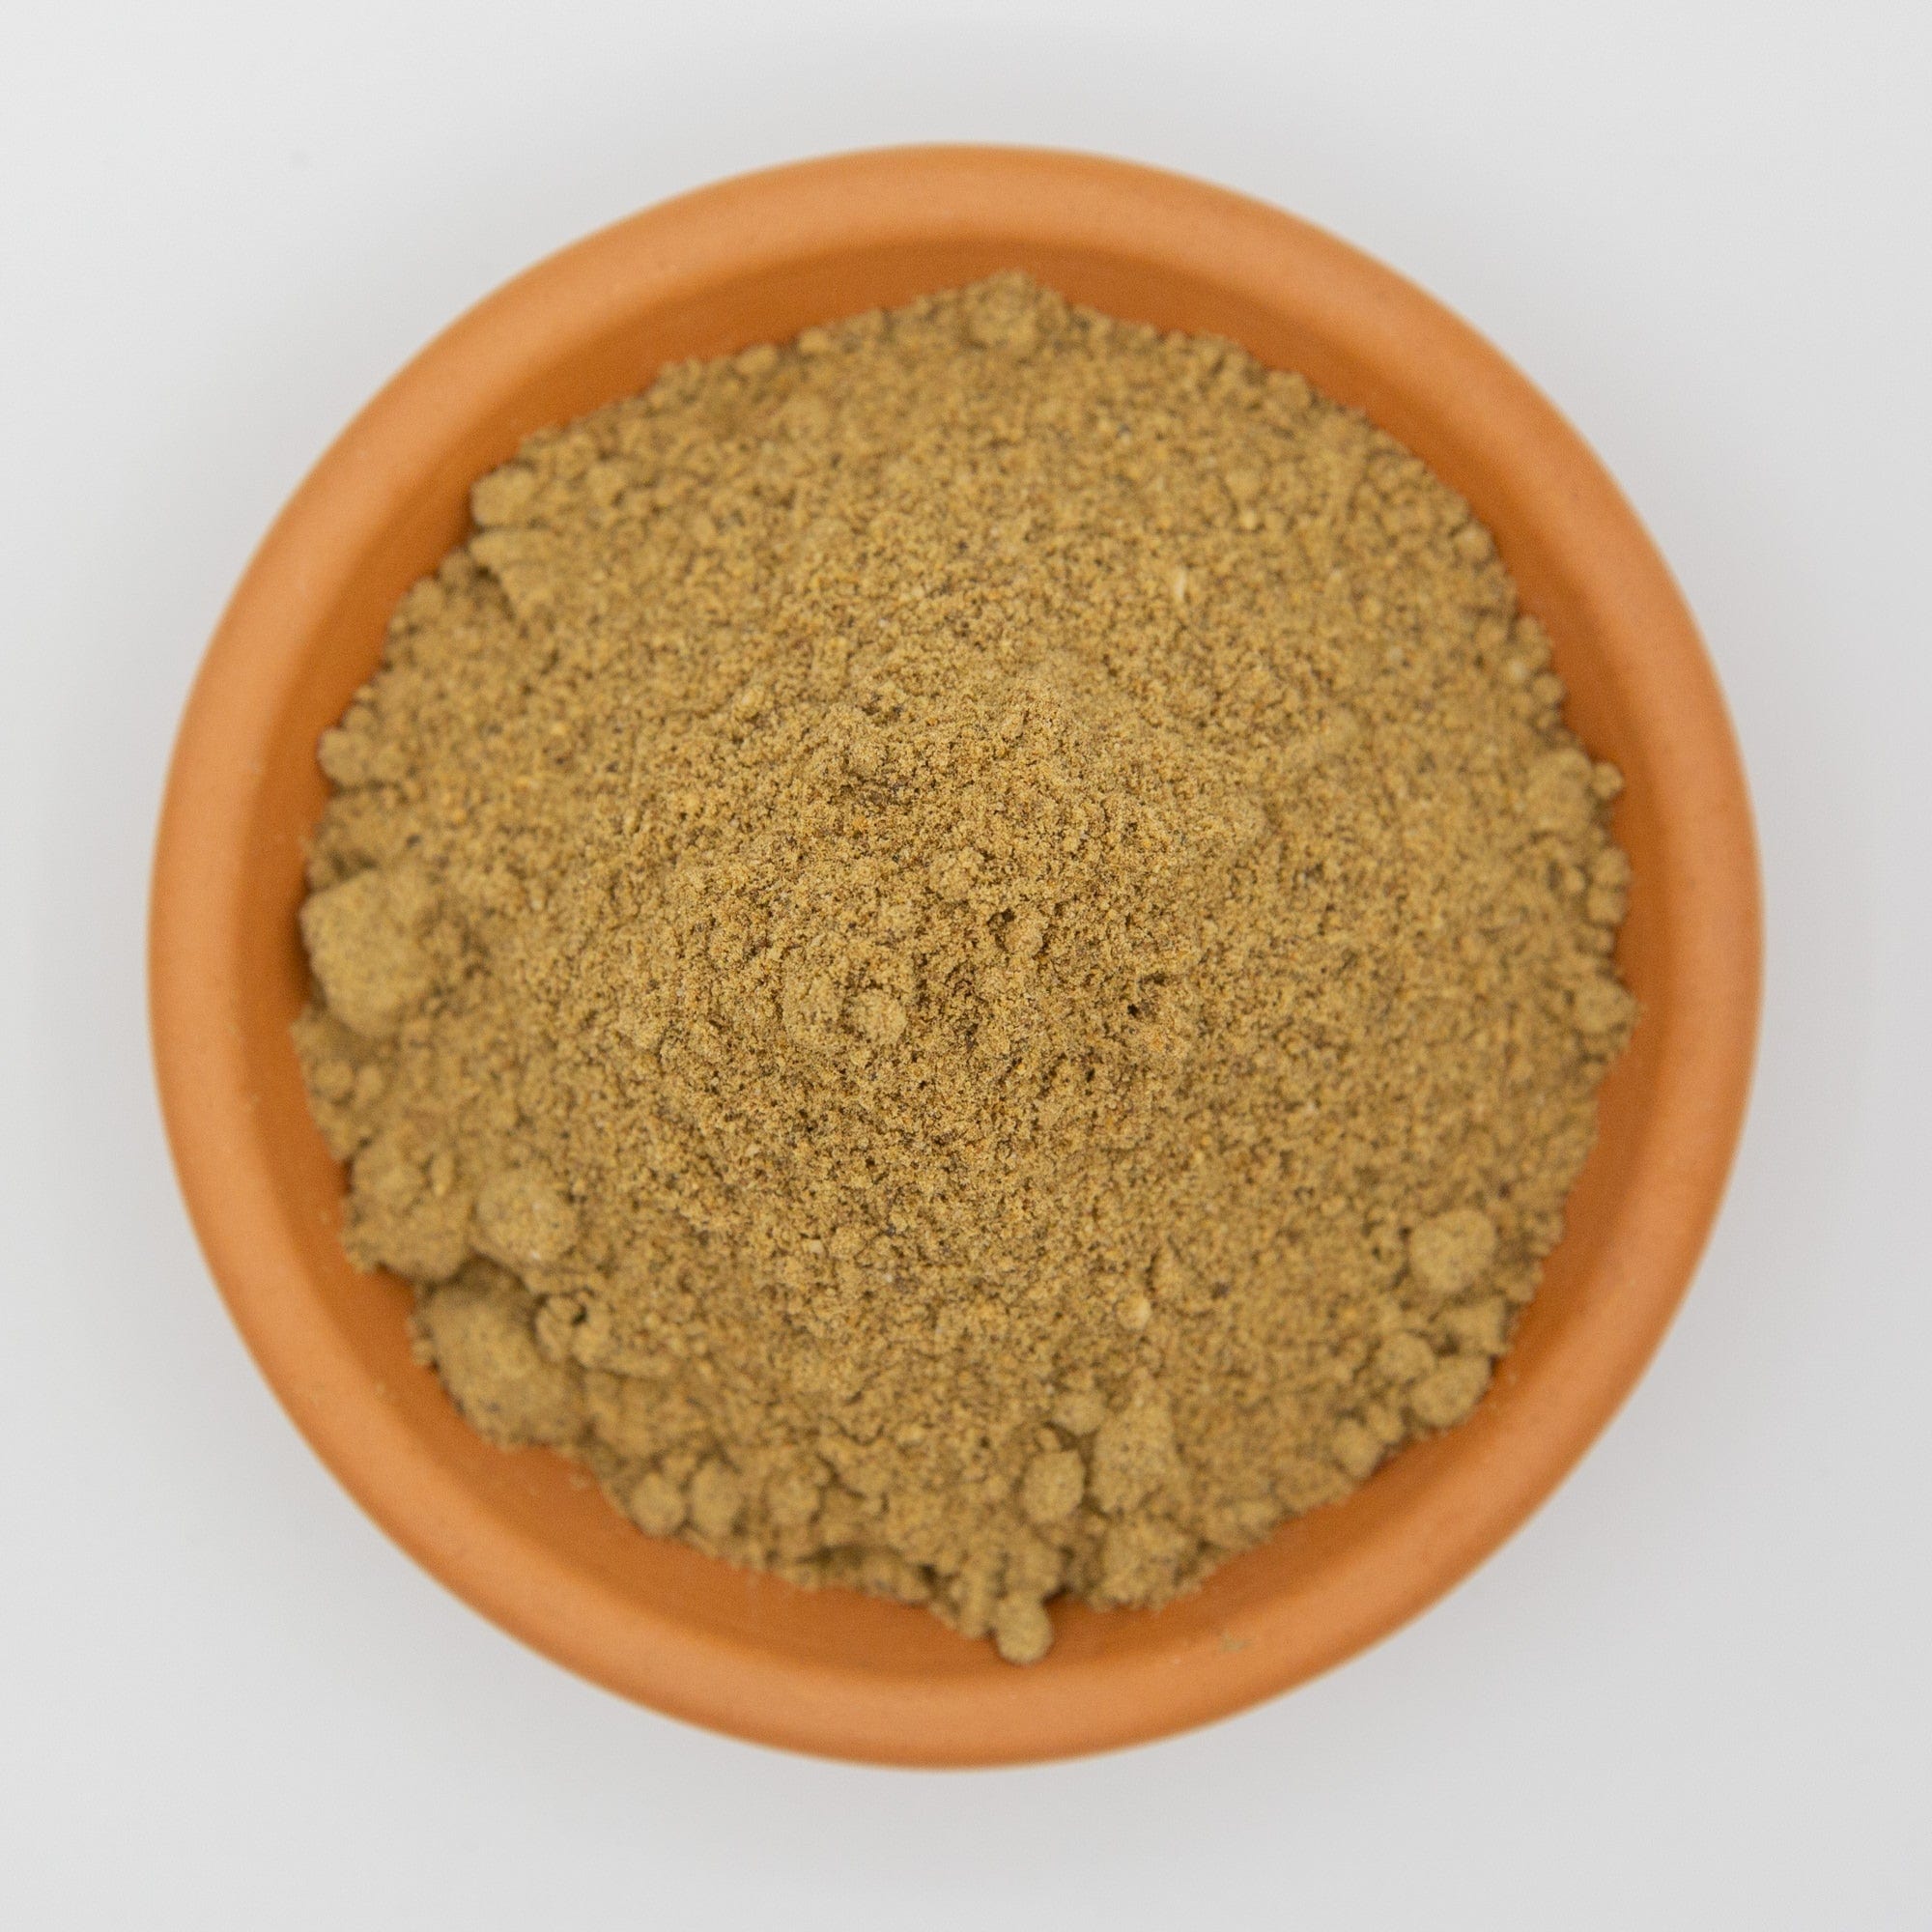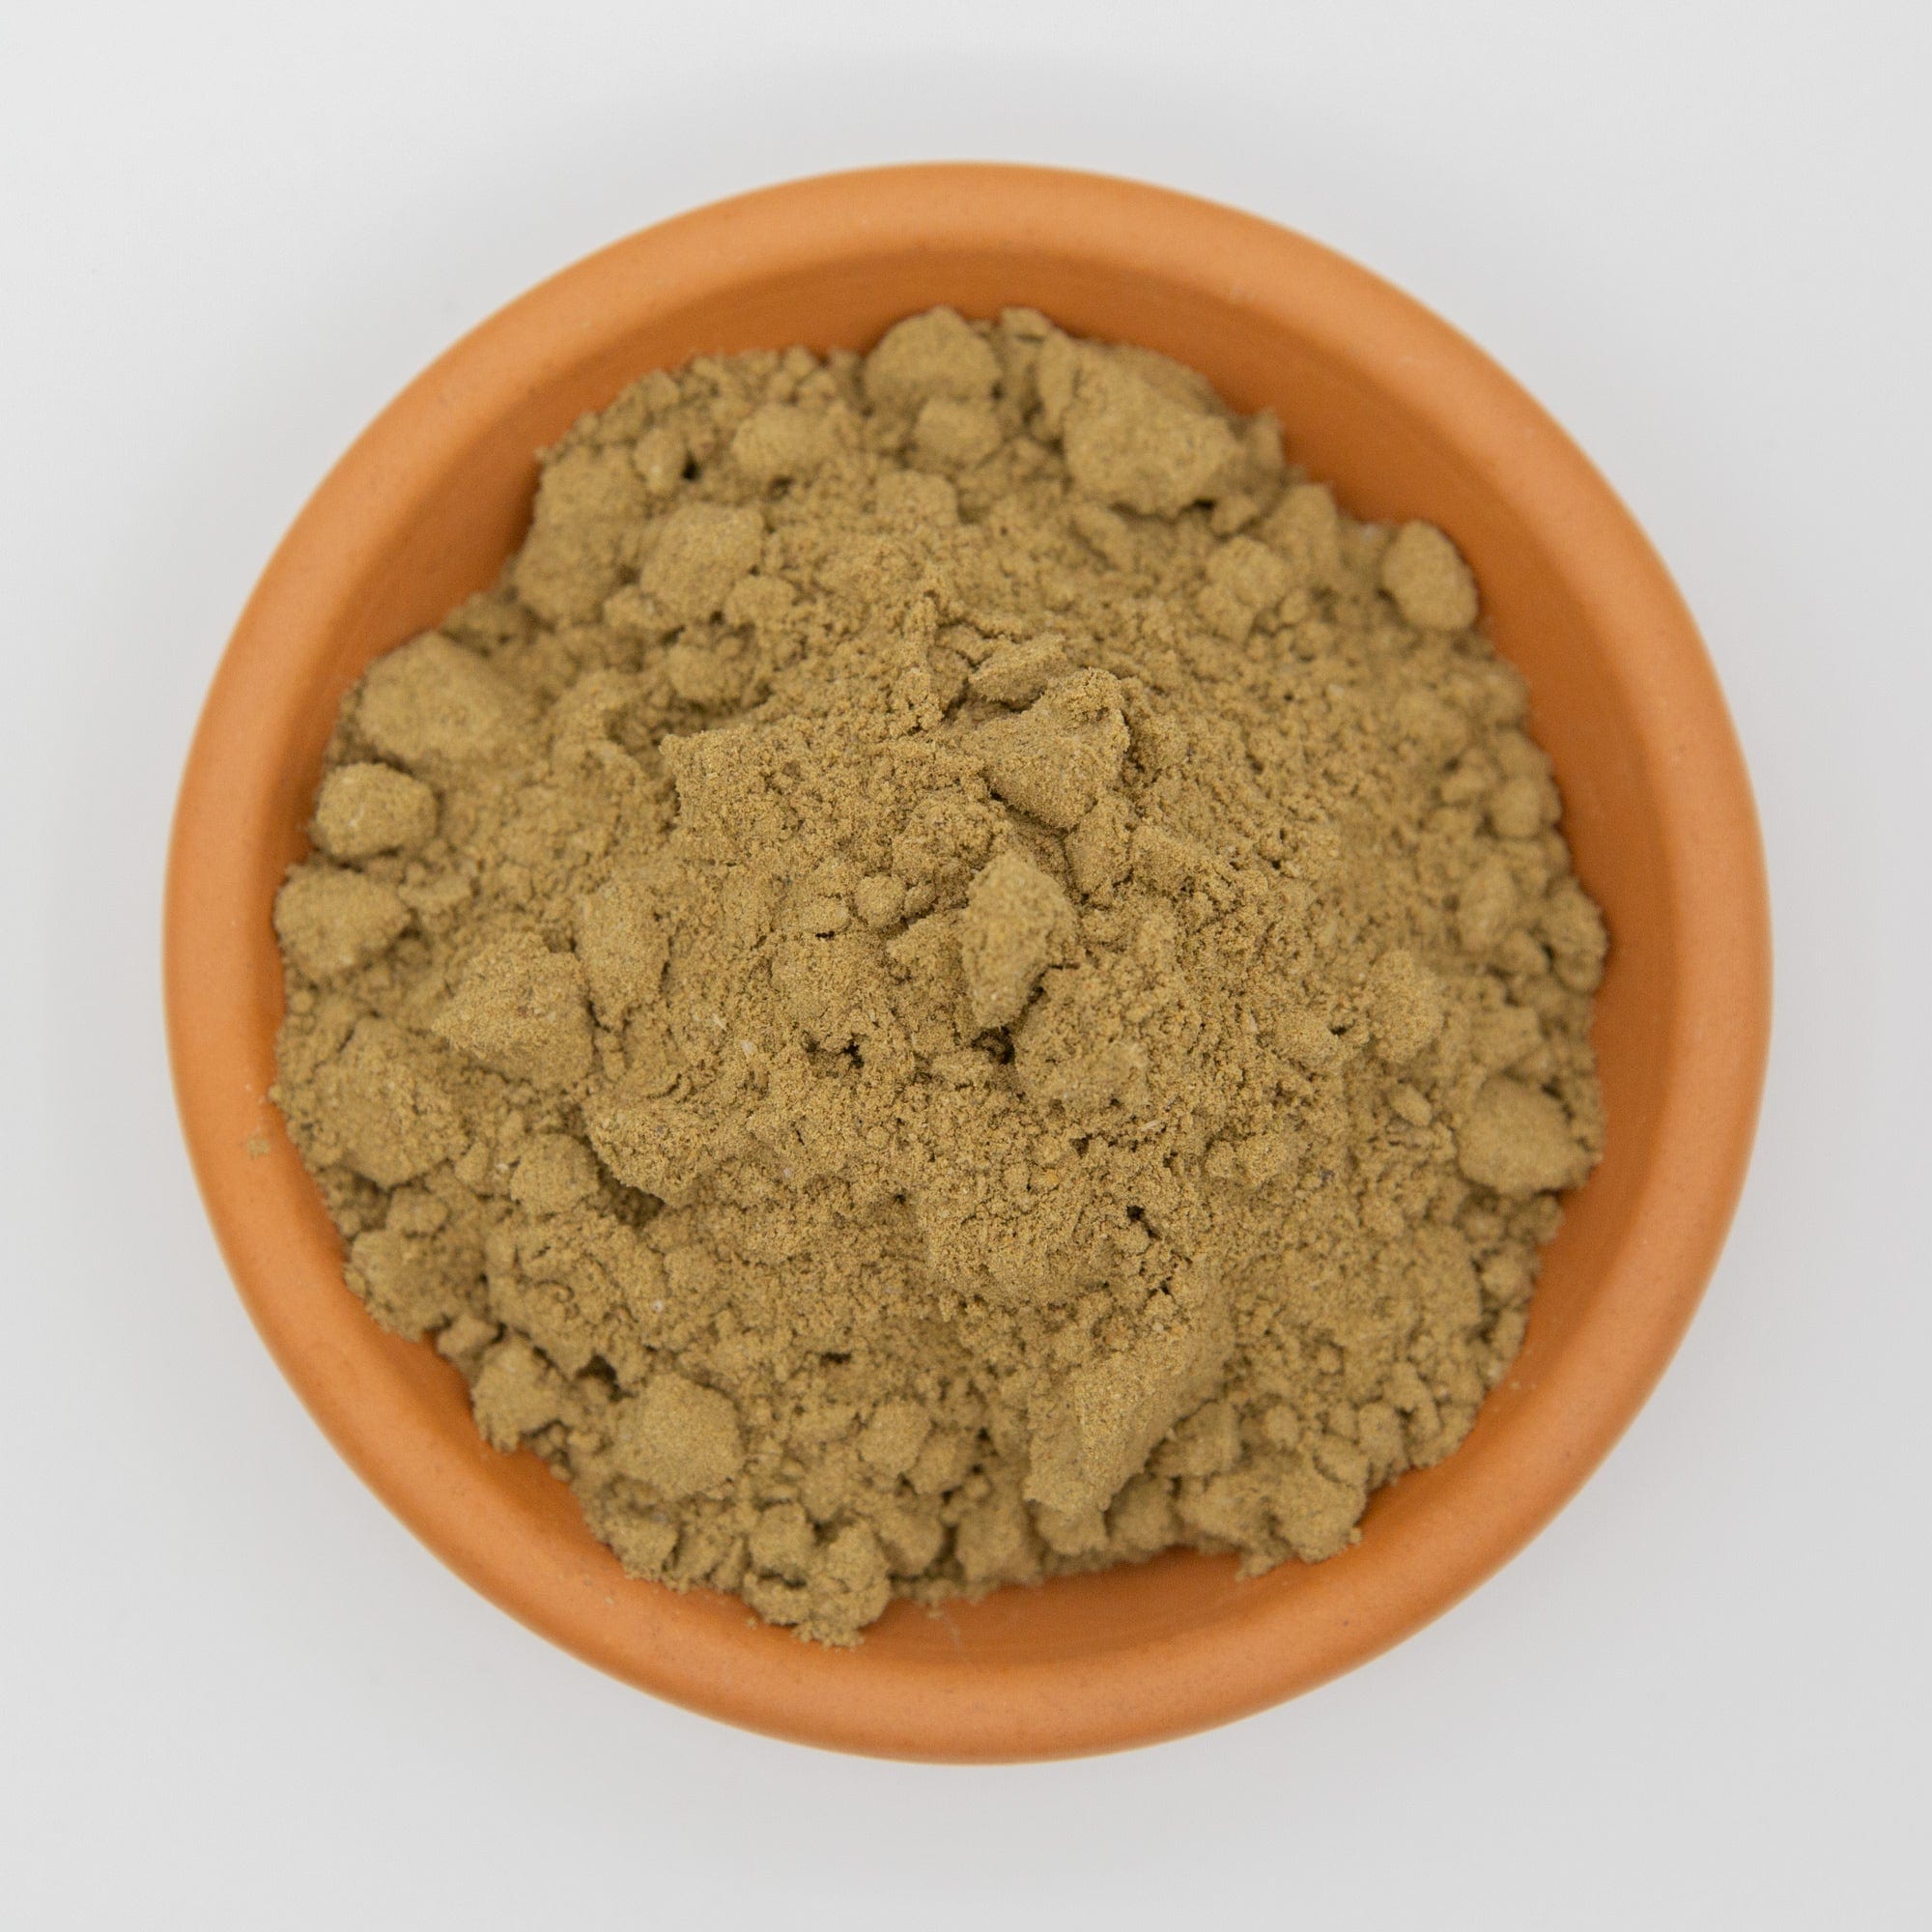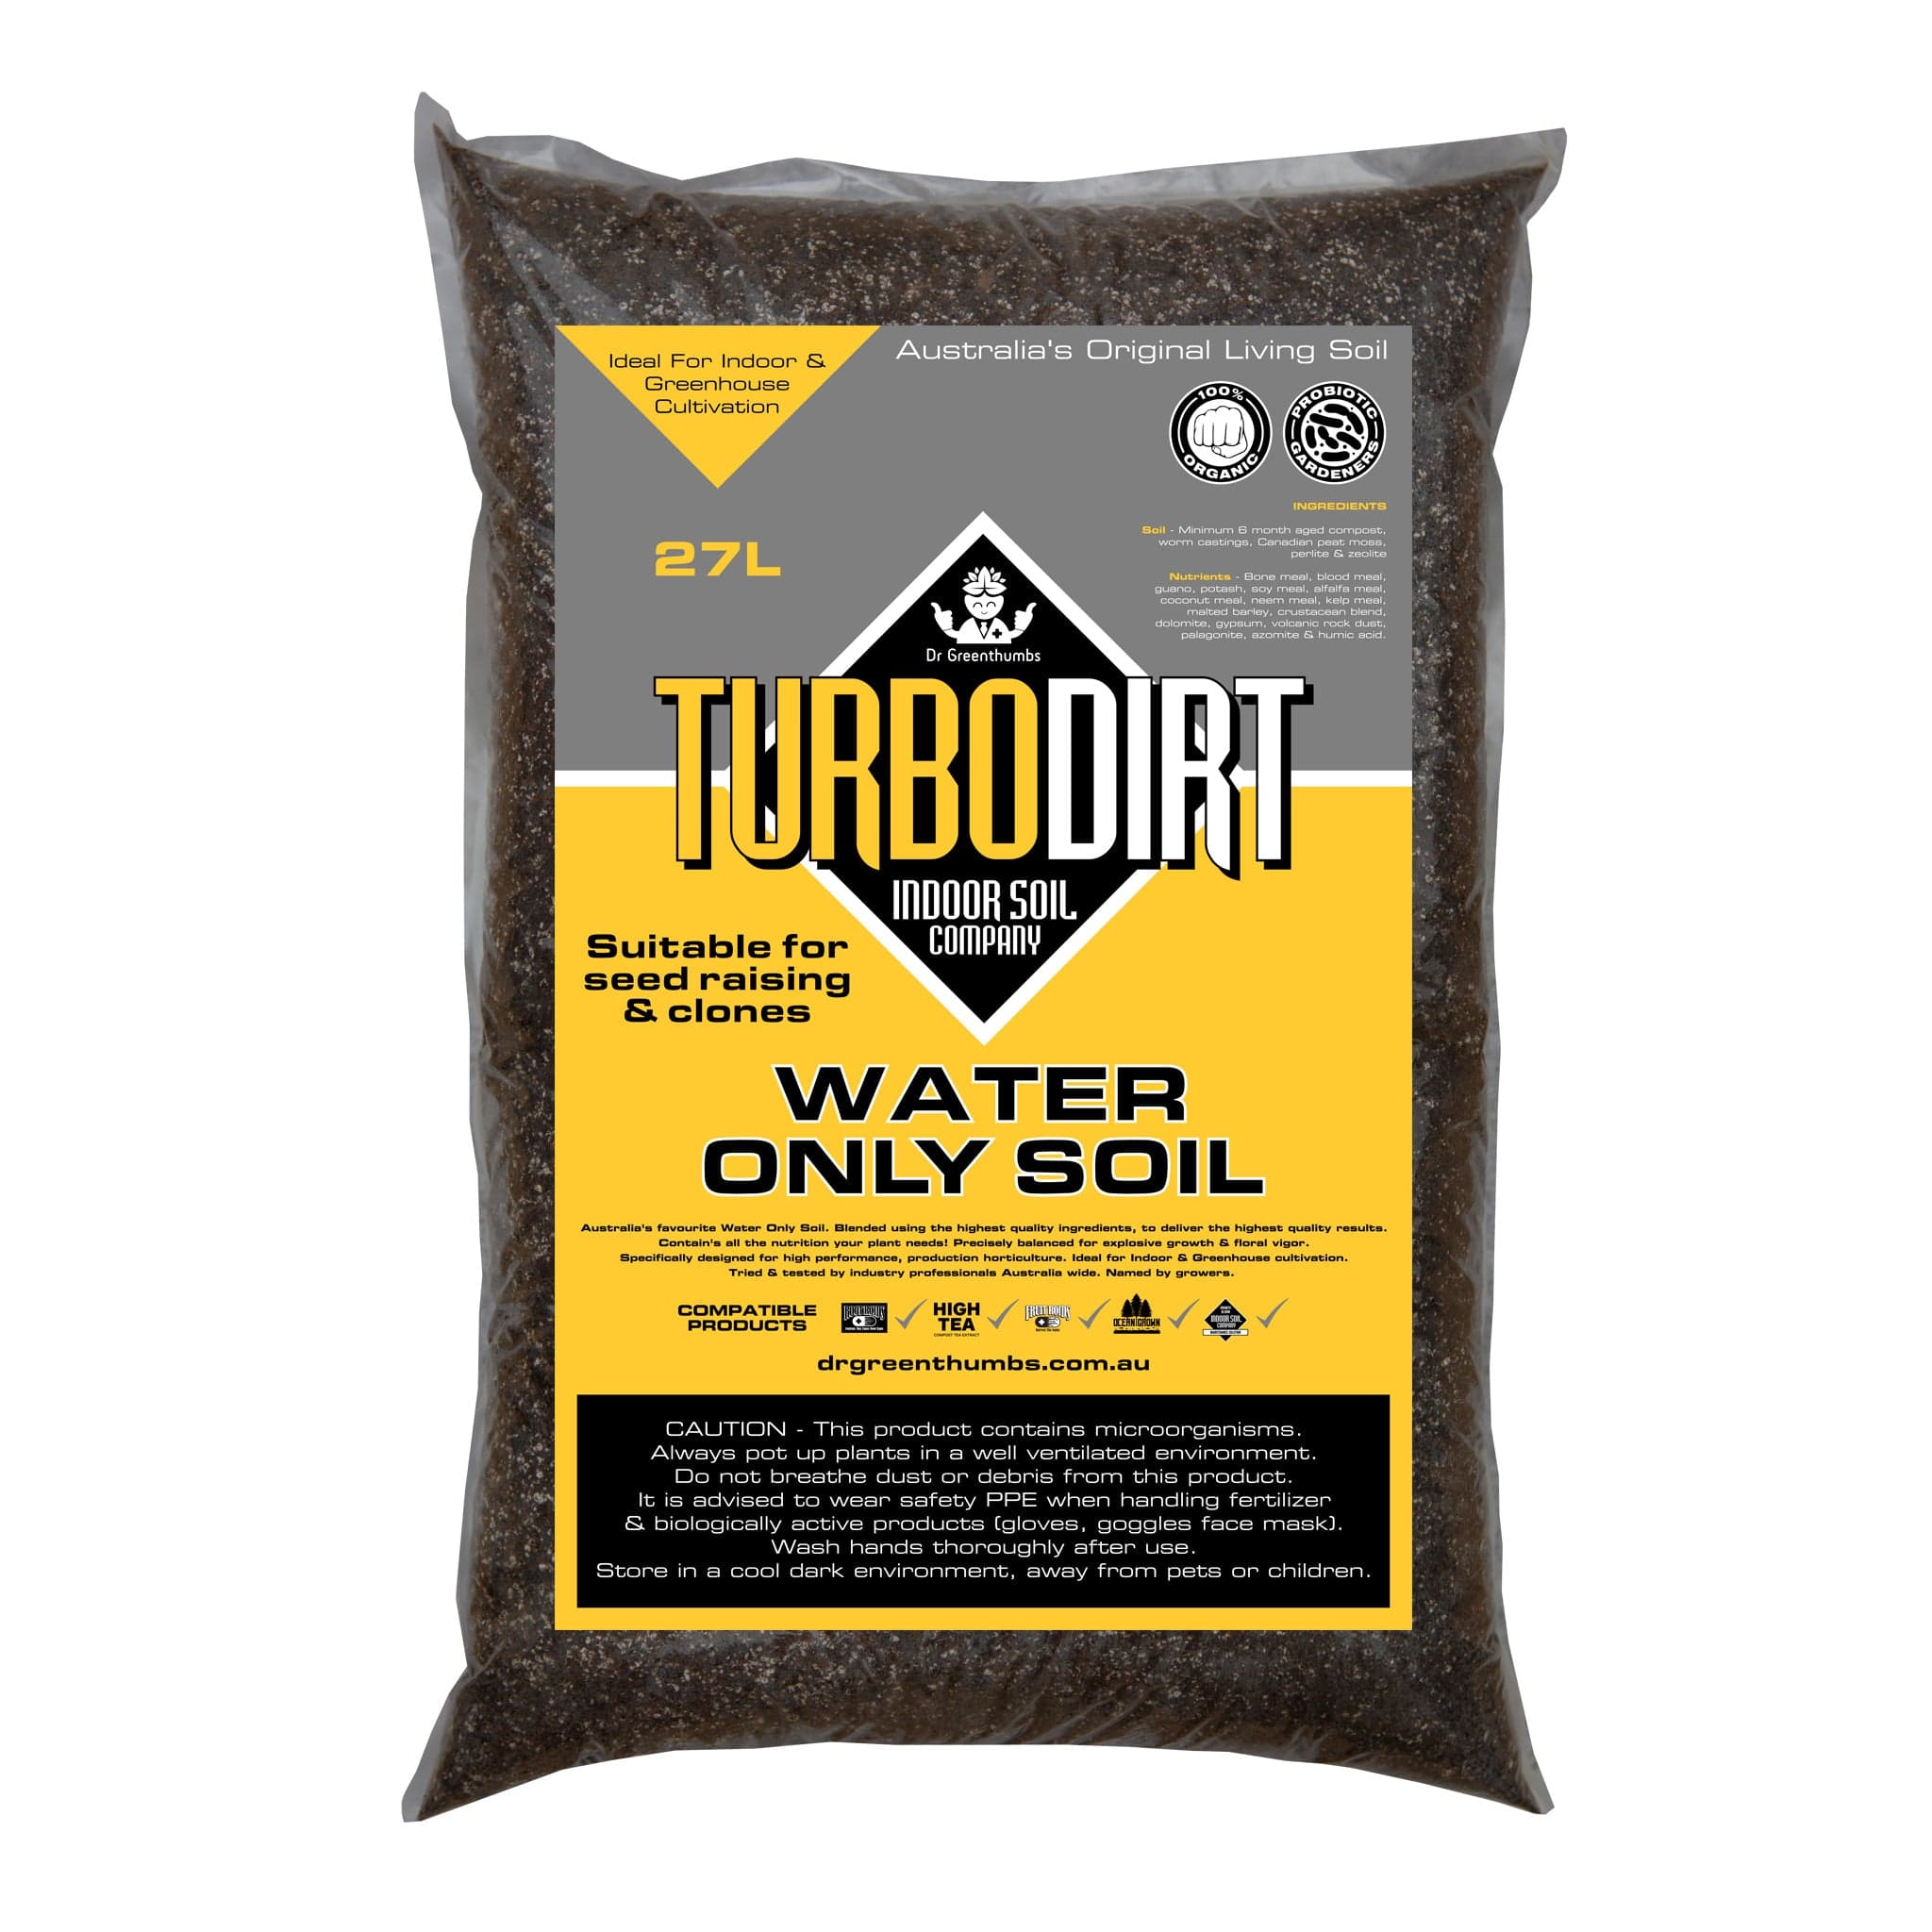

Worm castings are one of the easiest ways to improve soil health, support plant growth and build a stronger living soil ecosystem.
In this guide, you’ll learn what worm castings are, how to use them properly, when they work best, how they compare with compost, and what disadvantages to avoid when buying or applying them.
Table of Contents
- What Are Worm Castings?
- Worm Castings vs Compost vs Manure vs Fertiliser
- Top Benefits for Aussie Gardens
- How to Tell If You’re Buying Quality Worm Castings
- Are Worm Castings Safe? What to Know About Sourcing
- How to Use Worm Castings
- How to Use Worm Castings Through the Growing Season
- Using Worm Castings in Pots, Beds and Lawns
- Worm Castings: How to Use Them Without Making Your Mix Heavy
- Worm Castings: Where They Make the Biggest Difference
- When Worm Castings Are Not Enough for Hungry Plants
- Worm Castings vs Compost: Which One Should You Use?
- Disadvantages Worm Castings Can Have If You Use Them Wrong
- Worm Castings as Part of a Living Soil Stack
- How to Store Worm Castings After Opening the Bag
- Worm Castings Are Not the Same as Worm Juice
- DIY Worm-Tea Recipe
- Can You Make Your Own Worm Castings at Home?
- Application Rates Cheat-Sheet
- Common Worm Castings Problems
- FAQ
- Ready to Grow?
- Next Reads for Building Richer Soil With Biology-First Amendments
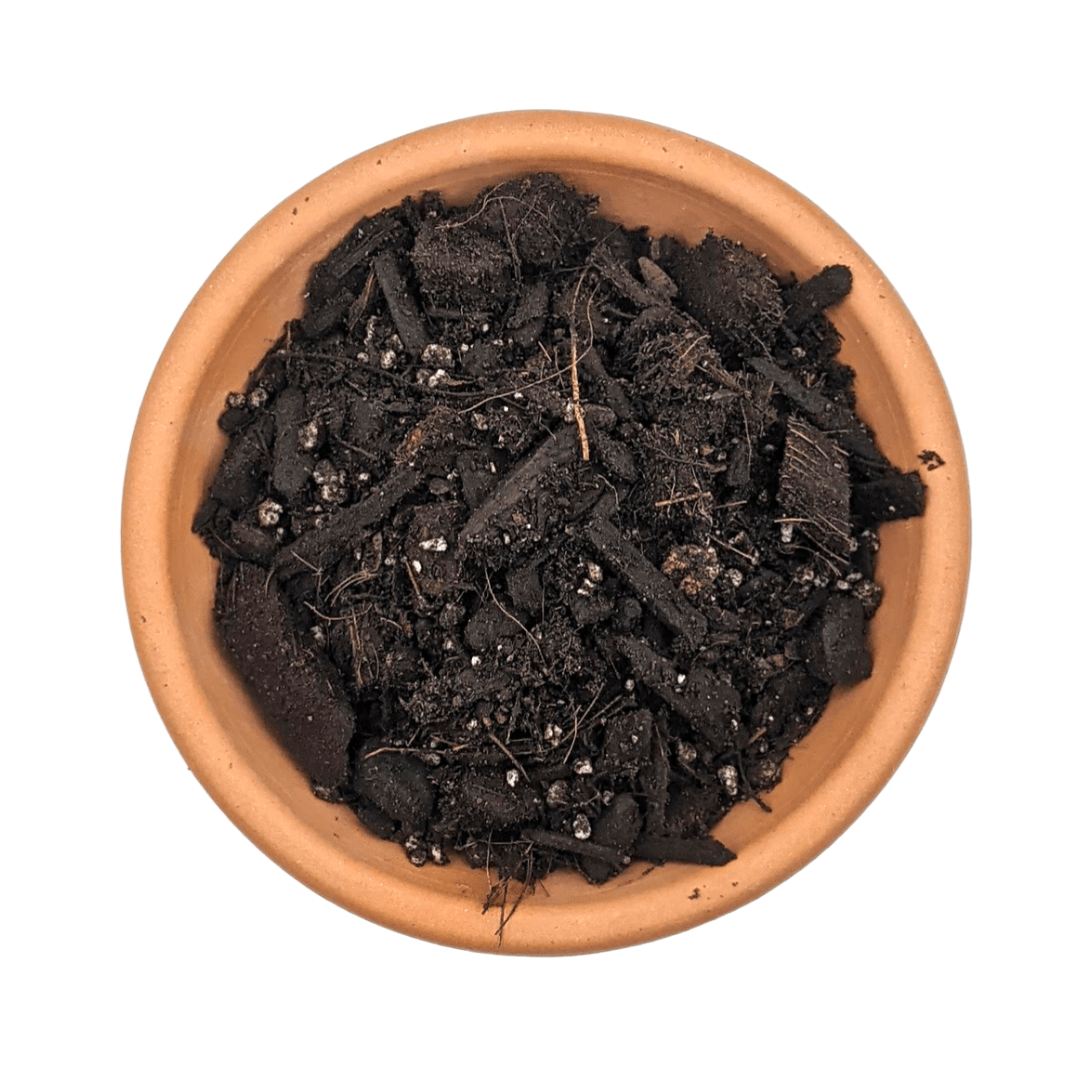
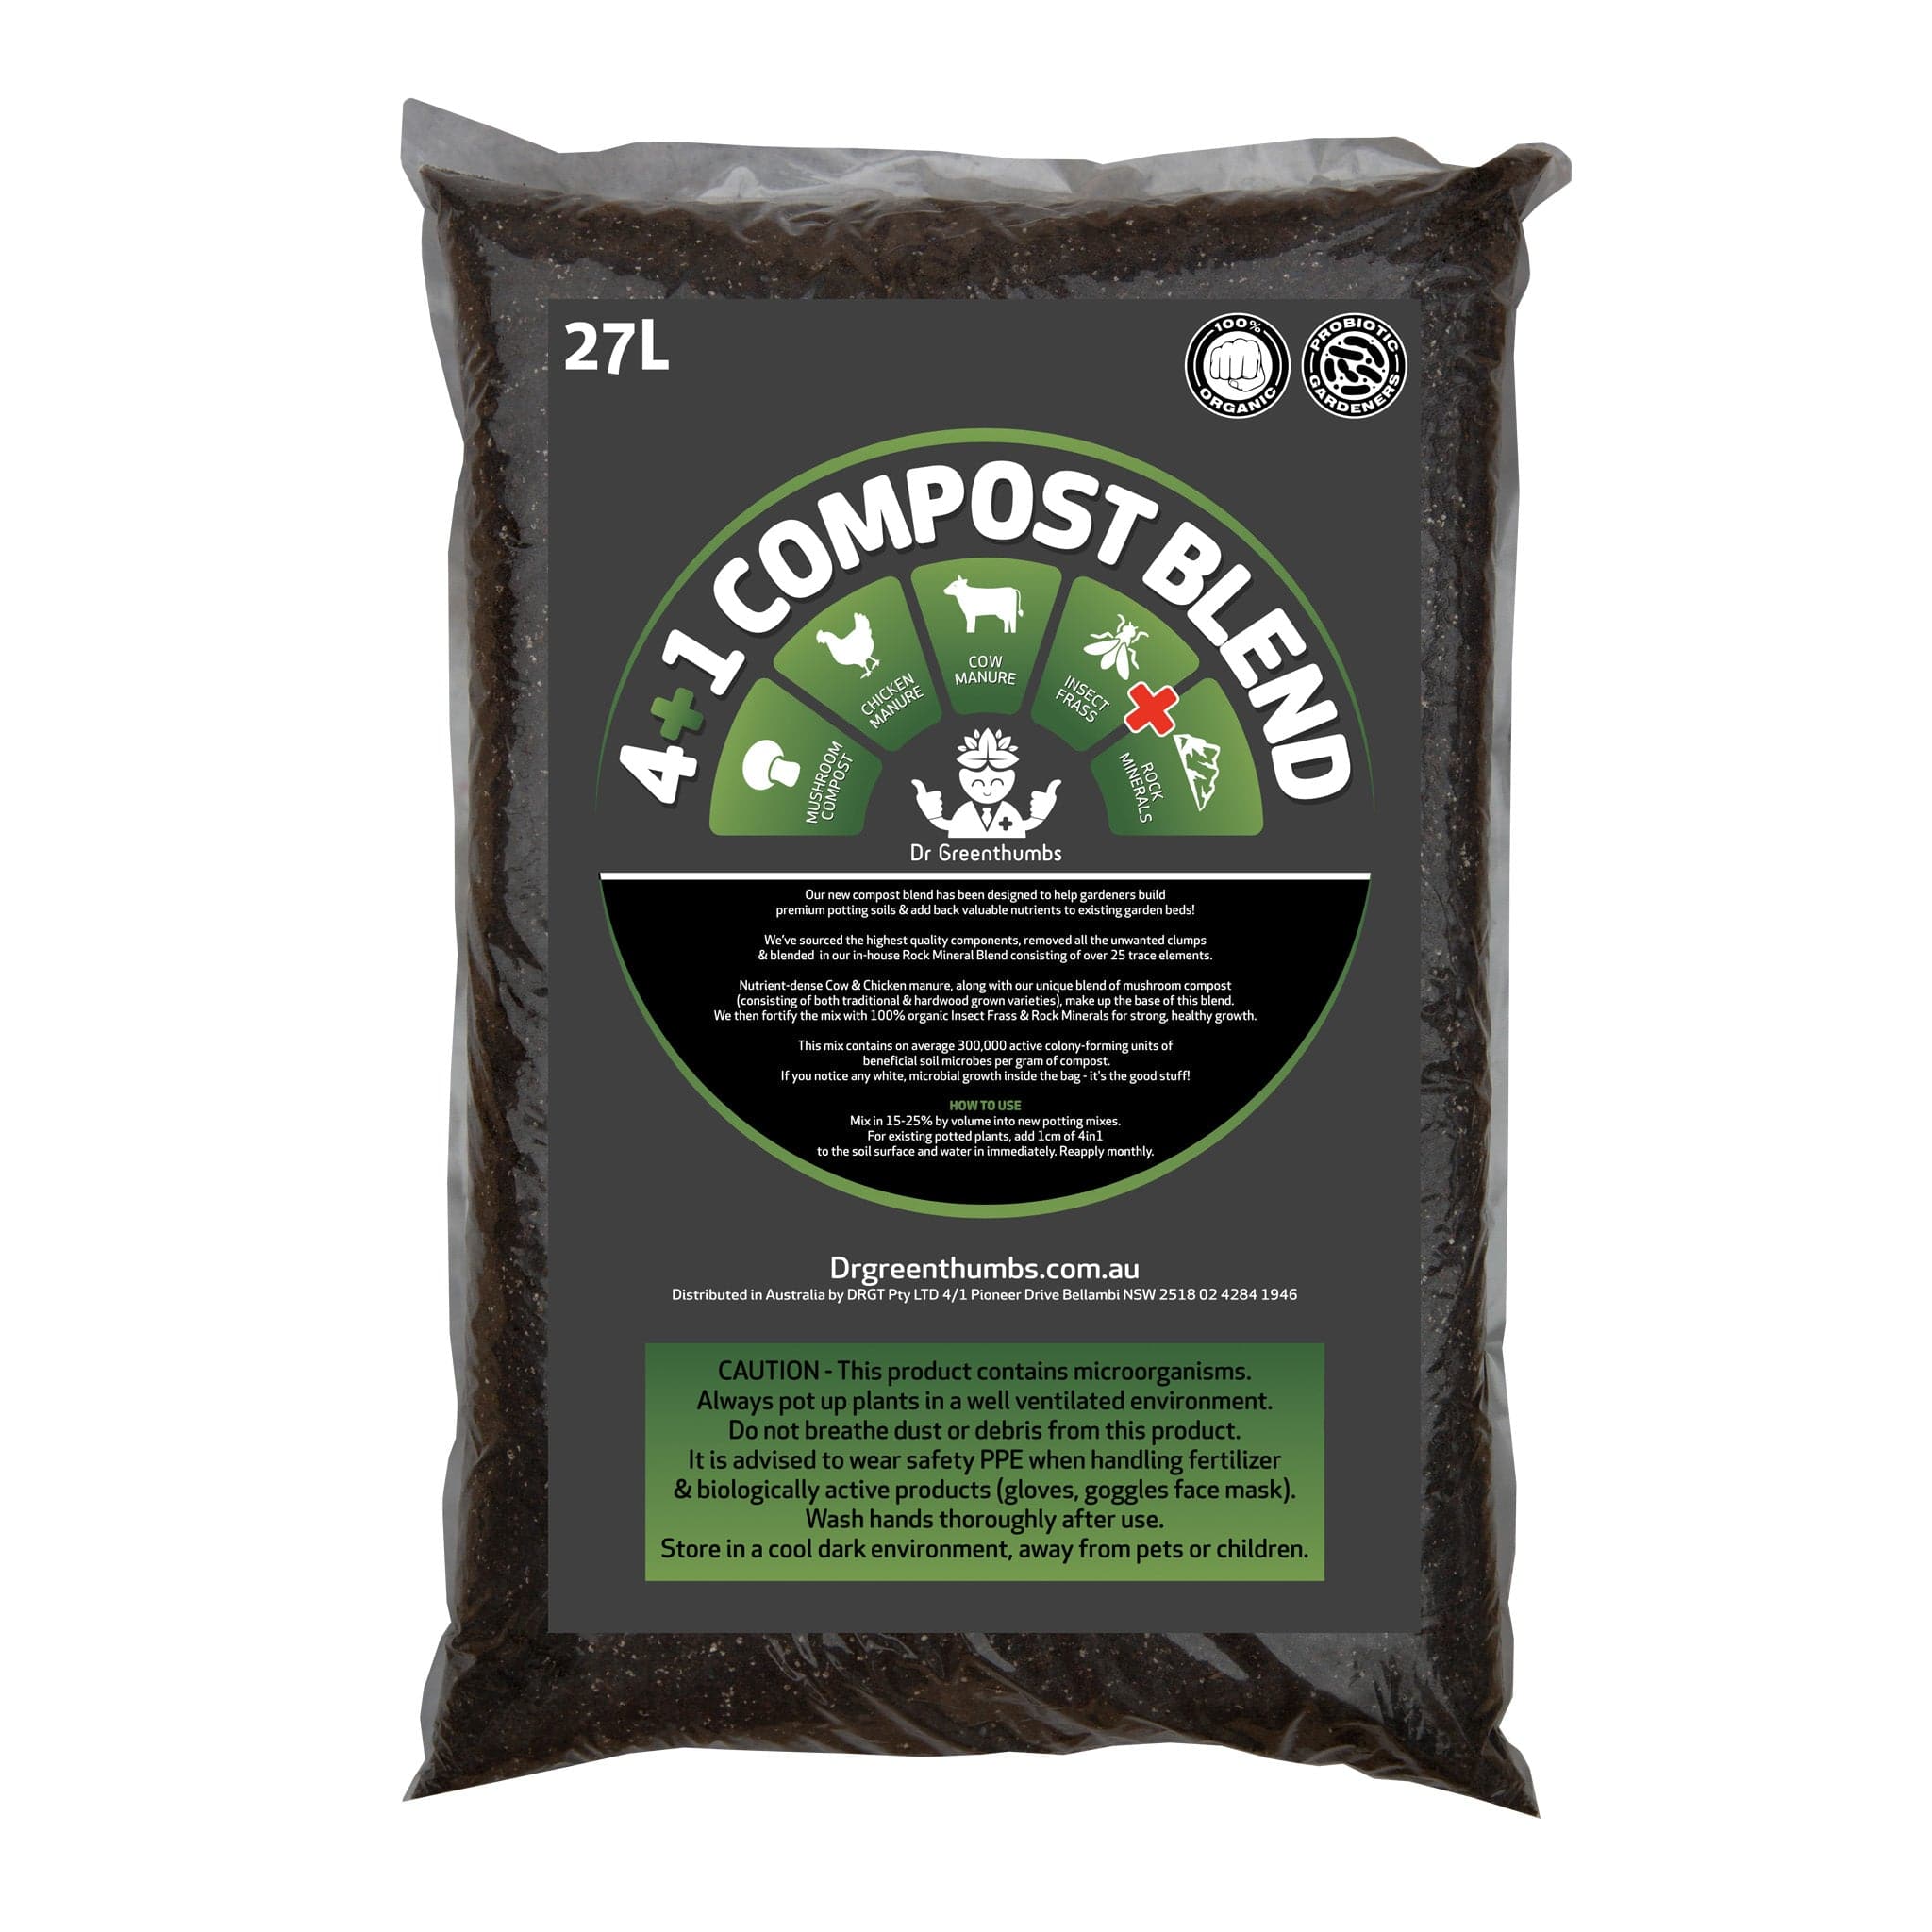
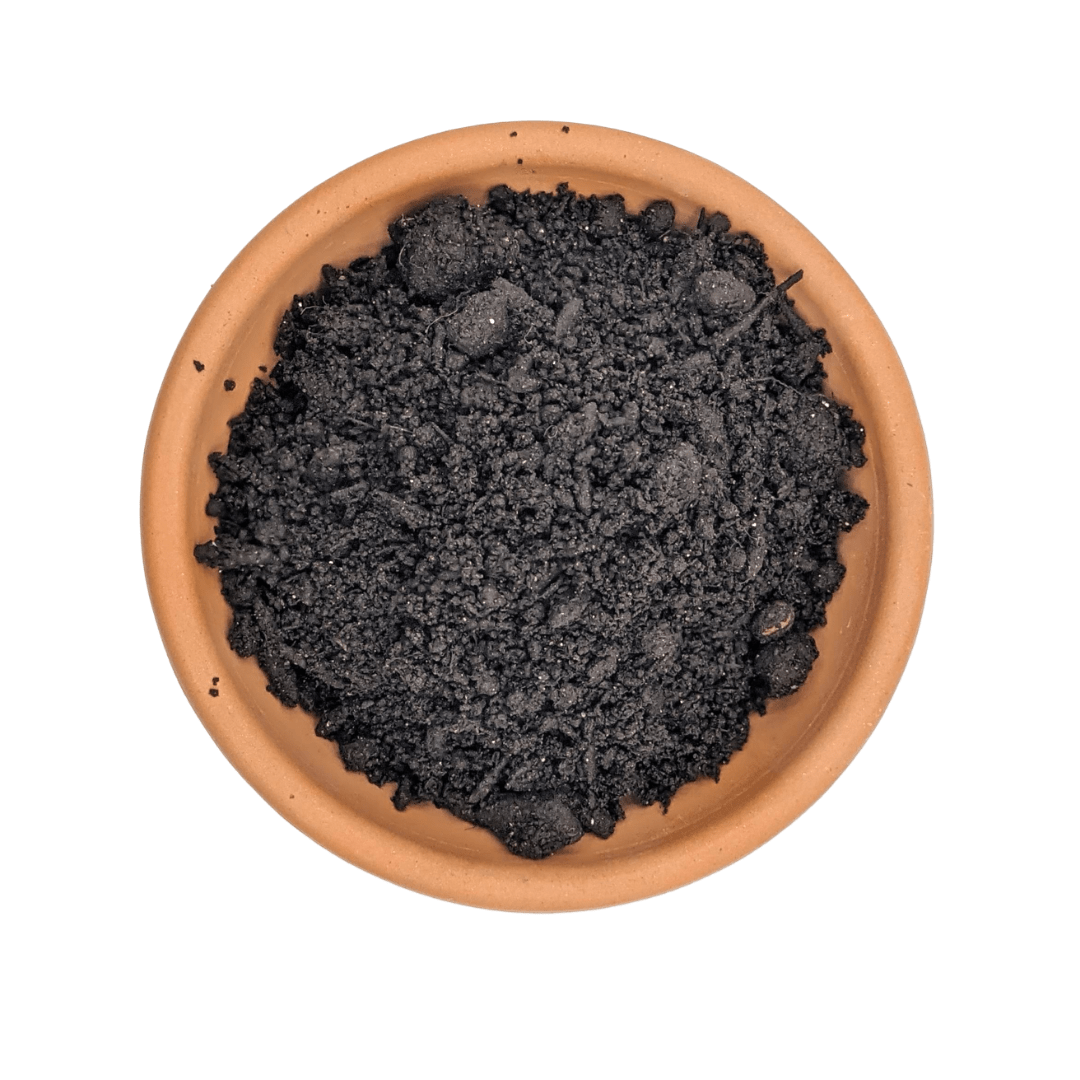
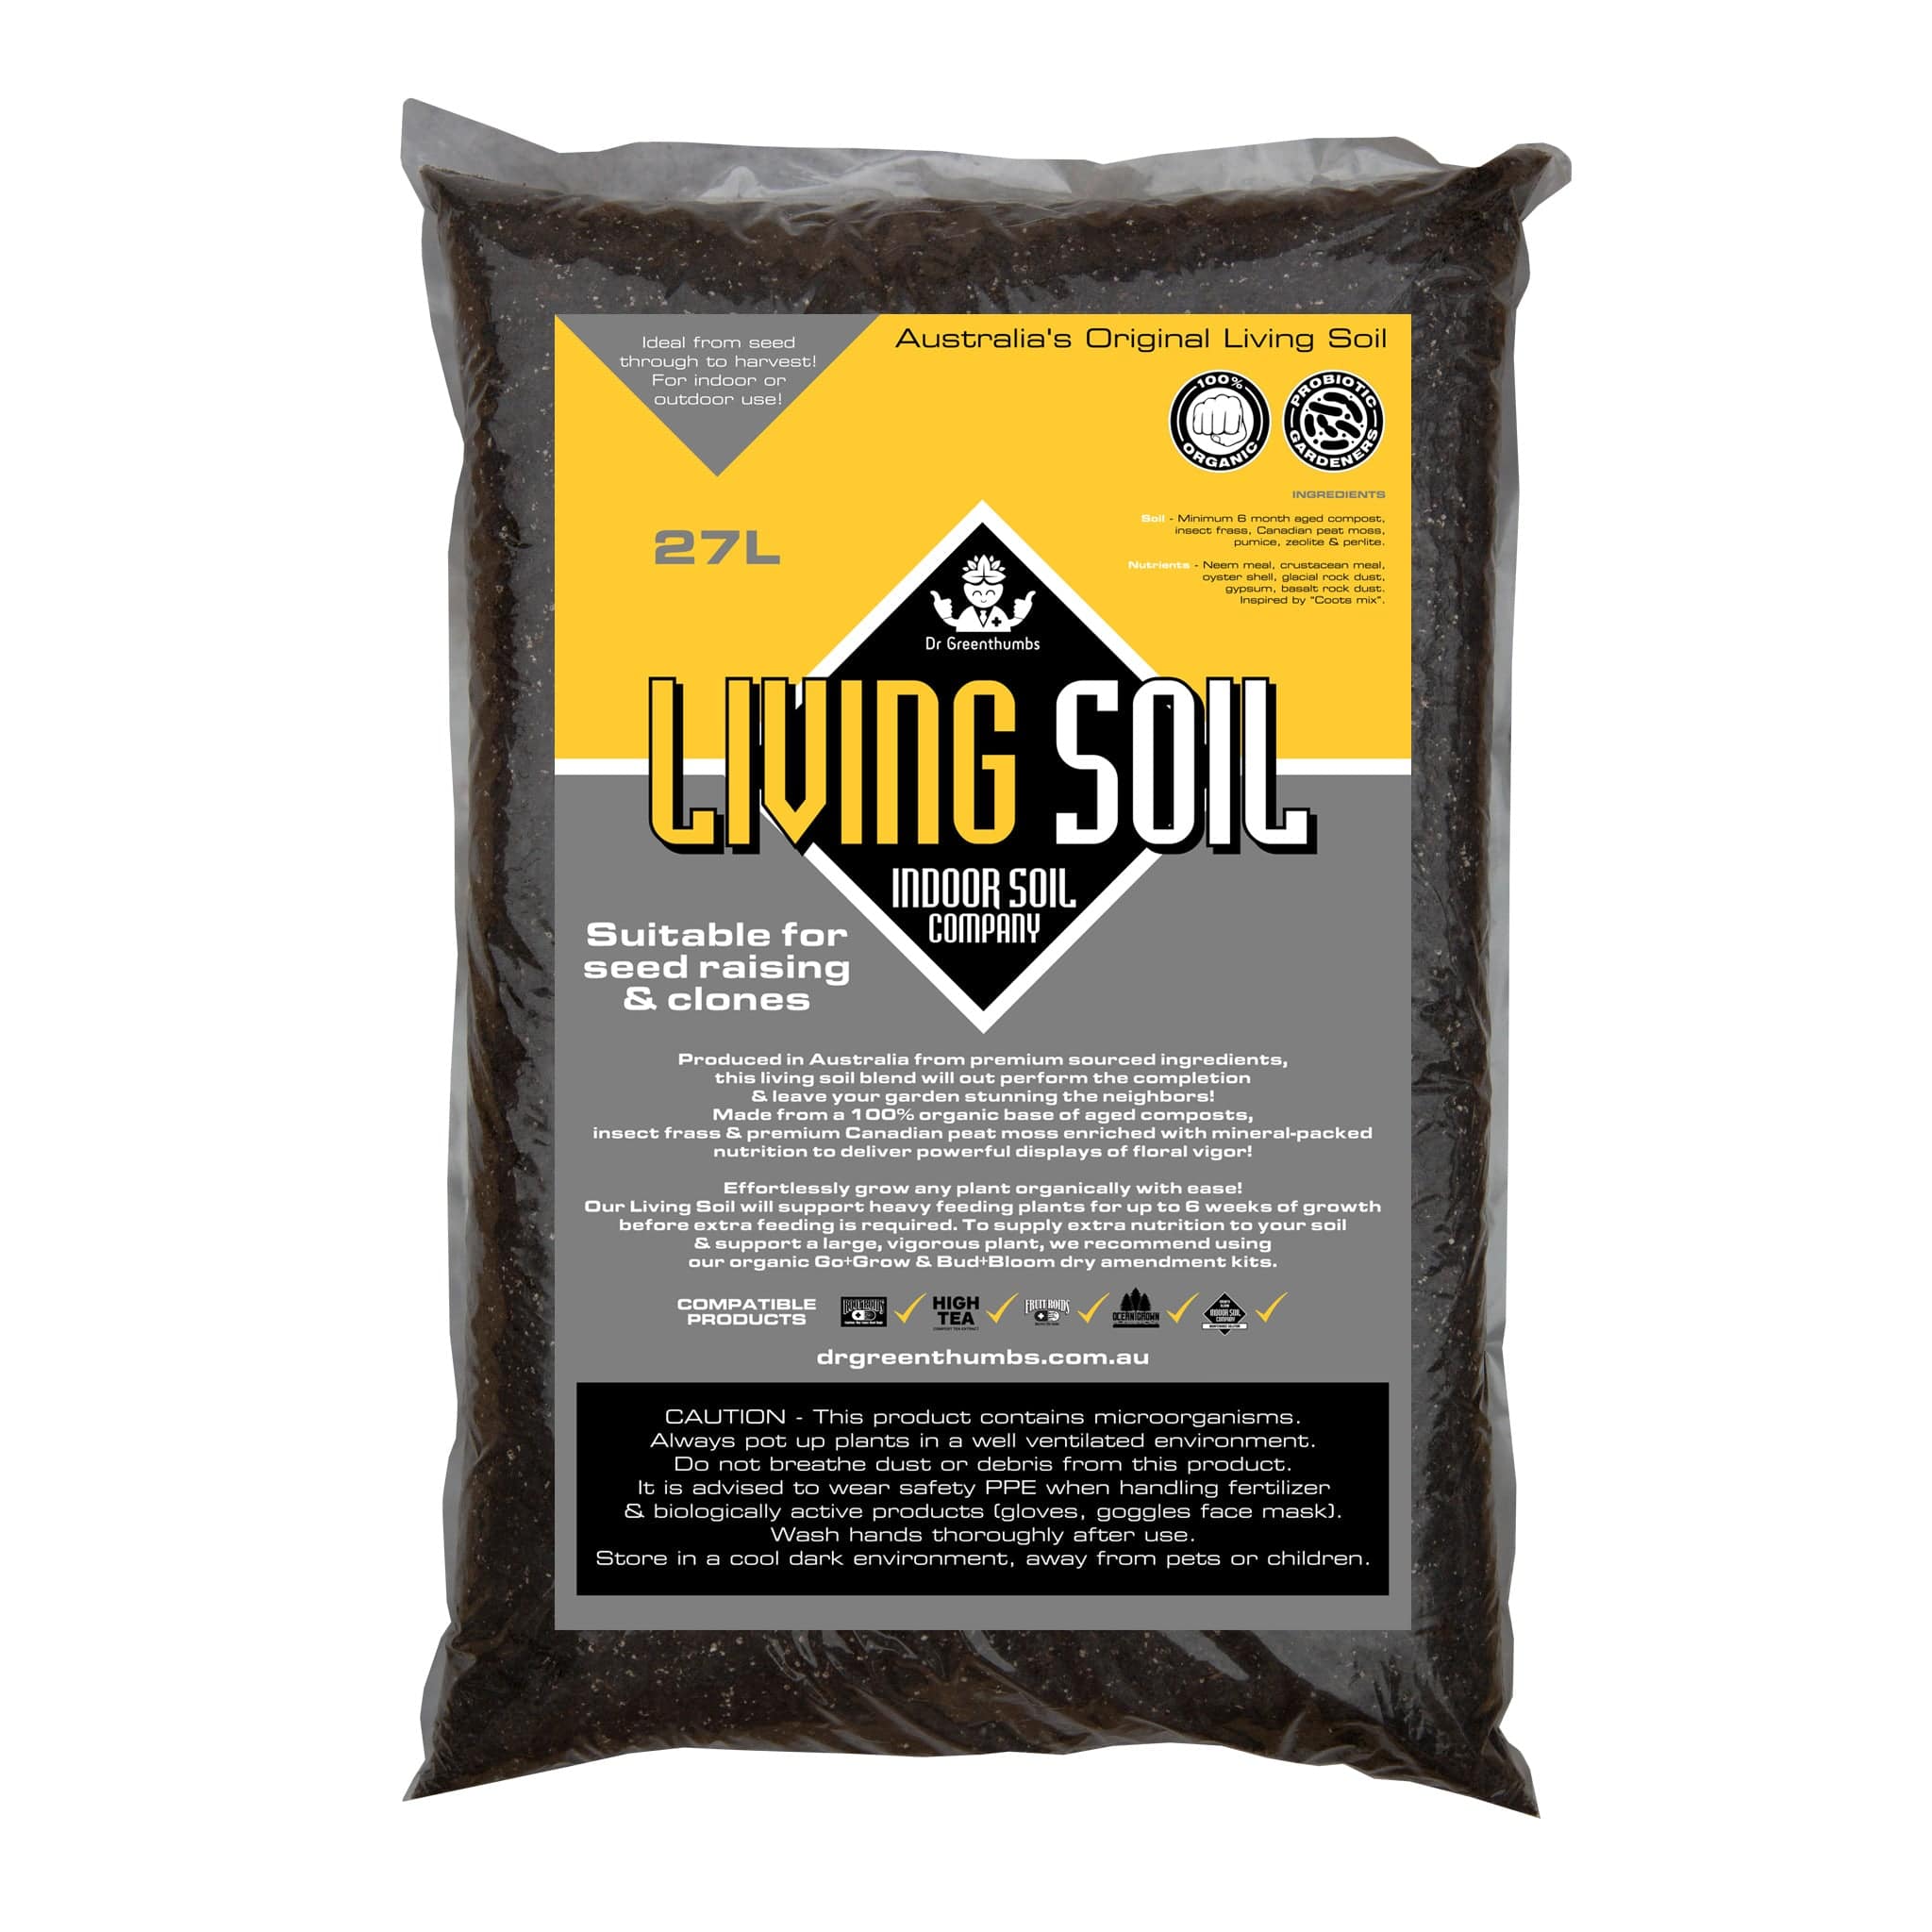
If you want the easiest way to get results with worm castings, these are the go-to options:


What Are Worm Castings?
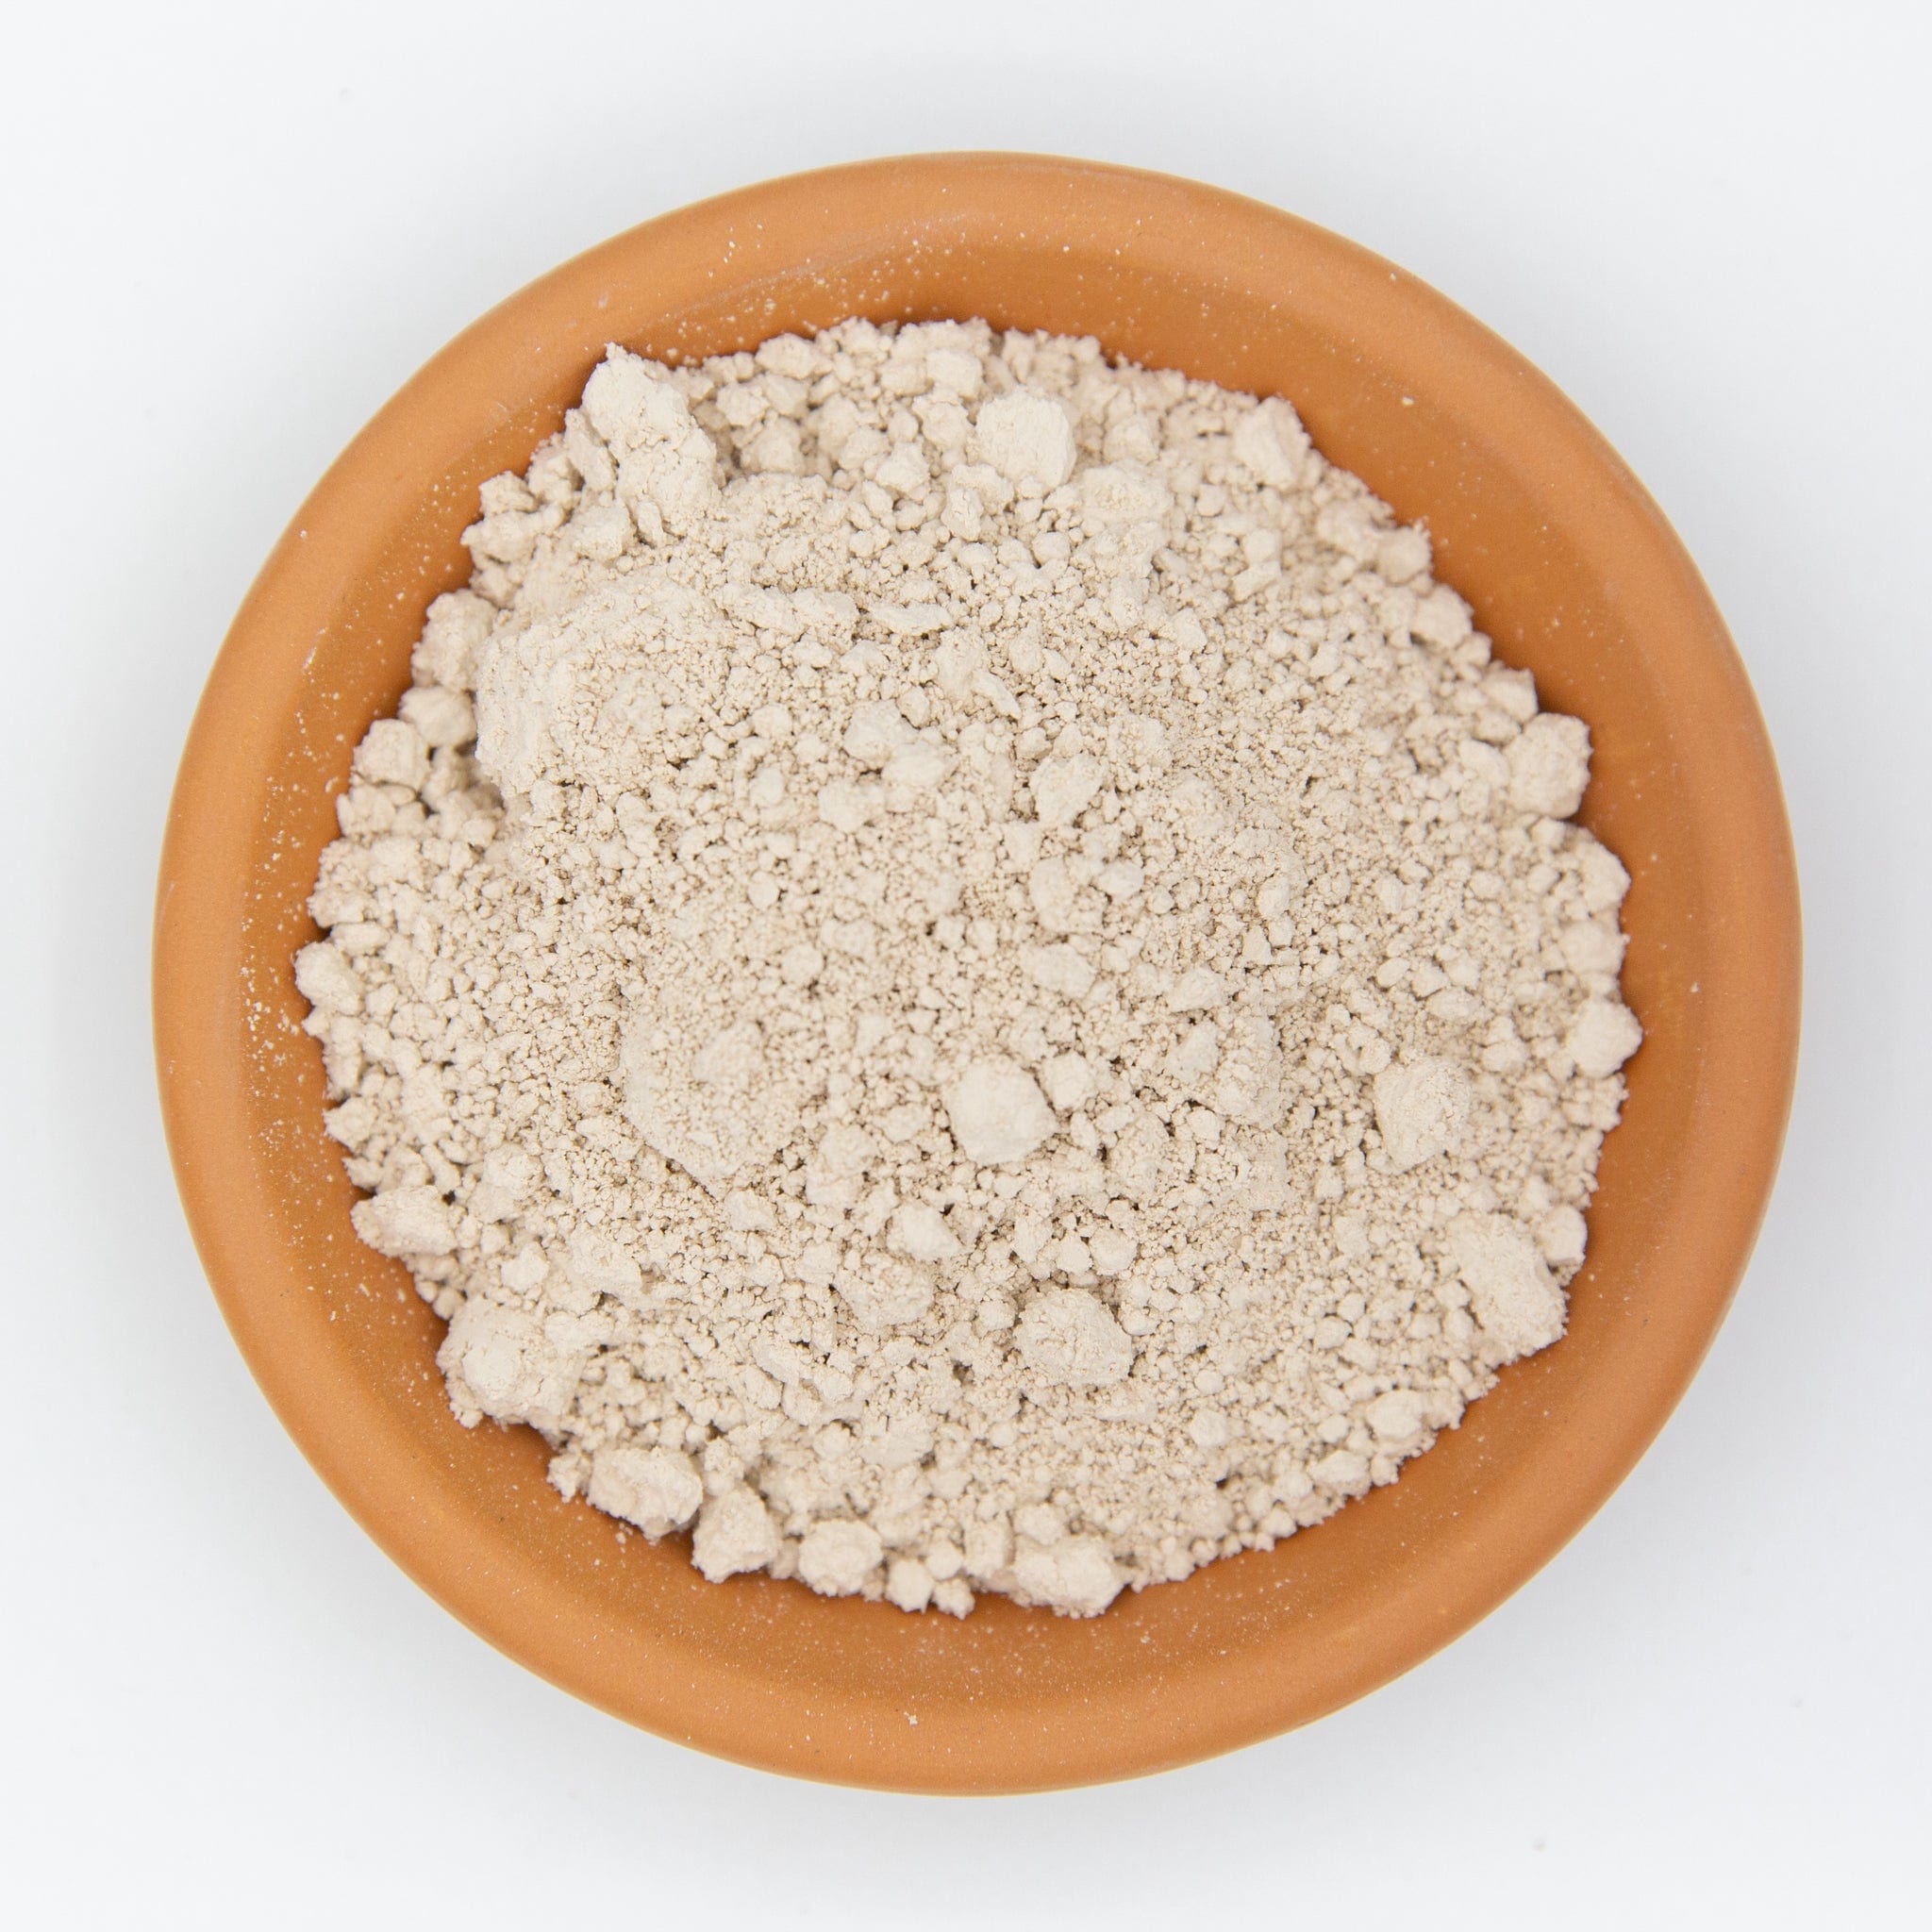
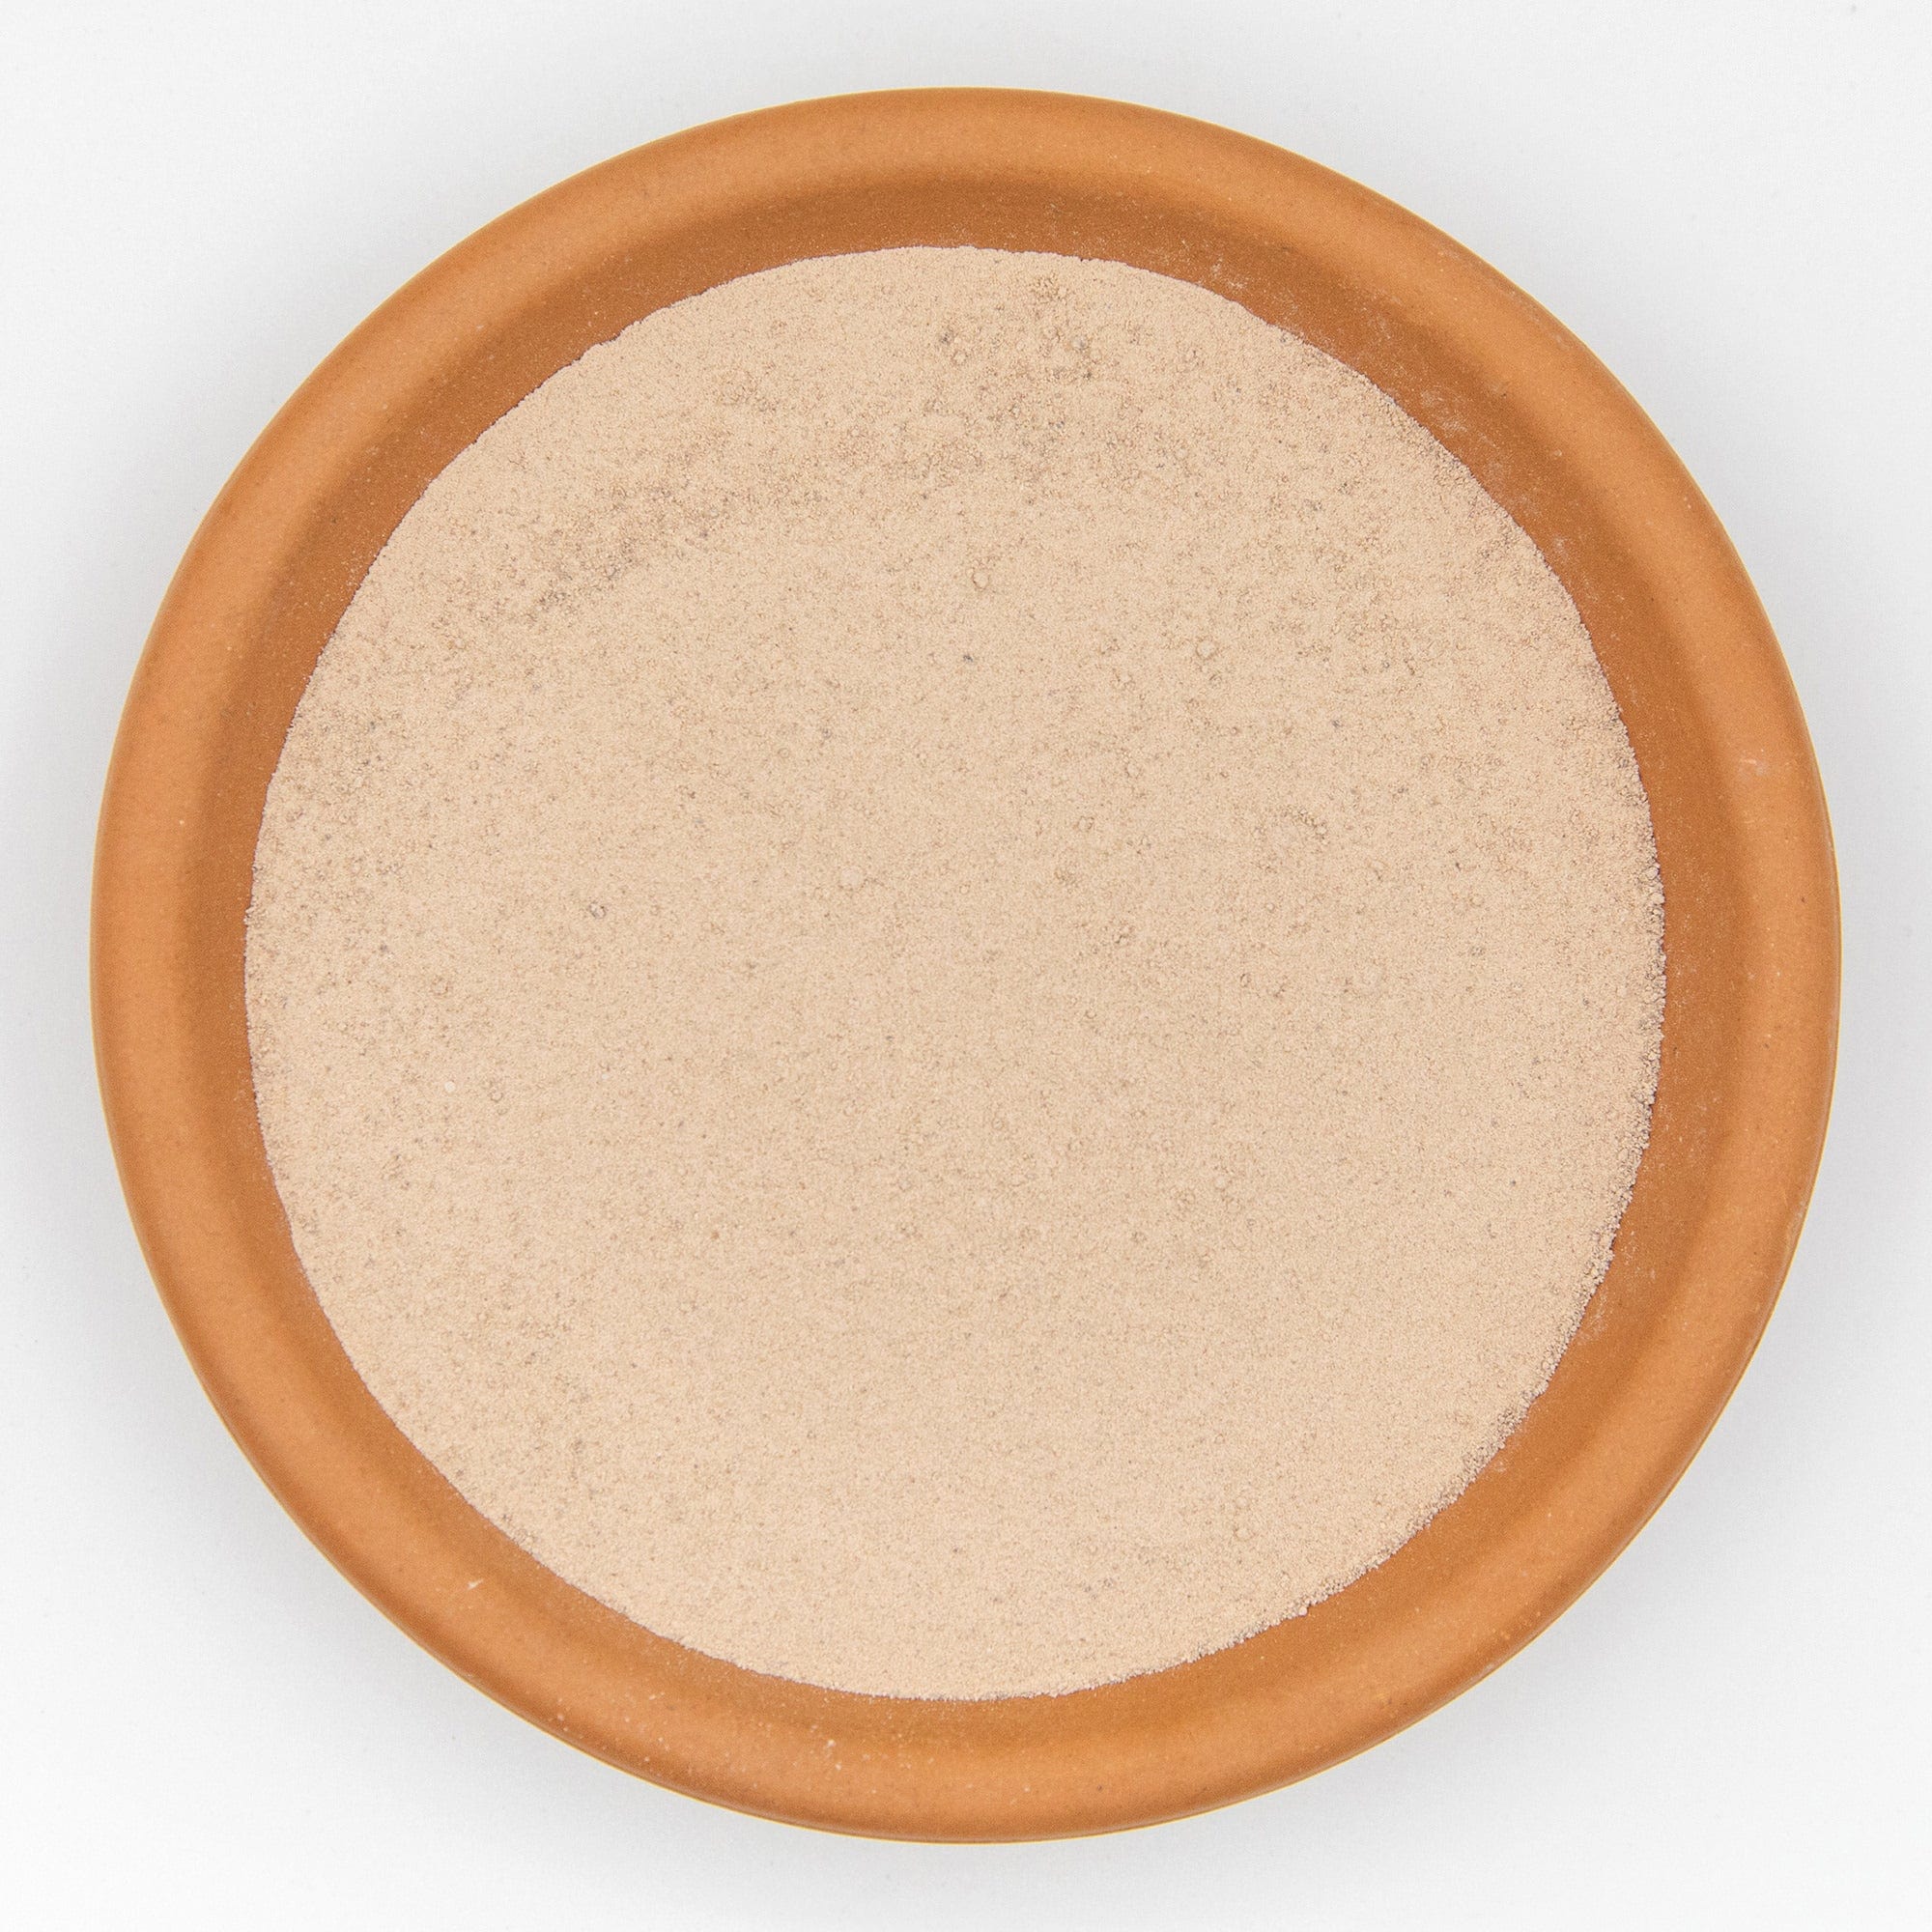
Worm castings, also called vermicast, are the crumbly, coffee-ground-like particles left behind after composting worms digest organic matter.
Think of them as a gentle, microbe-rich soil amendment. Good worm castings contain plant-available nutrients, humic substances and beneficial soil organisms that help support nutrient cycling and root-zone health.
Unlike raw manure or unfinished compost, quality worm castings are usually gentle, low-odour and suitable for seedlings, pots, indoor plants, veggie beds and living soil systems.
Worm Castings vs Compost vs Manure vs Fertiliser
These products are often lumped together, but they play very different roles in the garden.
Worm castings
Worm castings are a biological soil conditioner. They don’t force plant growth. Instead, they improve soil structure, increase nutrient availability, and support beneficial microbes that feed plants naturally.
Compost
Compost adds organic matter and slow nutrients to soil. It’s excellent for bulk soil improvement but is less biologically concentrated than worm castings.
Manure
Manure provides nutrients but can be hot, inconsistent, or high in salts if not properly aged. It’s best used carefully and well before planting.
Synthetic fertilisers
Fertilisers deliver nutrients directly to plants but don’t build soil health. Over time, reliance on fertilisers alone can reduce microbial life and soil structure.
When to use what
- Use worm castings to improve soil biology, seedling health, and long-term resilience
- Use compost for bulk organic matter
- Use fertiliser only when a clear deficiency exists
- Combine thoughtfully rather than relying on one input alone
Healthy gardens focus on feeding the soil first.
Top Benefits for Aussie Gardens
Worm castings can support Australian gardens in several useful ways:
Root support – beneficial microbes and humic substances help create a better root-zone environment.
Moisture behaviour – castings can help soil hold moisture more evenly when used with good structure and mulch.
Plant resilience – healthy soil biology can support stronger plants, especially when paired with compost and organic matter.
pH buffering – castings may help soften minor swings in soil conditions.
Gentle nutrition – castings provide mild, slow-release nutrients without the harshness of strong fertilisers.
Crop quality support – healthier soil can contribute to better plant performance when light, water and nutrition are also managed well.
Environmental benefit – worm systems recycle organic material into a useful soil amendment.
Indoor and family-friendly use – quality castings are low-odour and gentle enough for pots, seedlings and indoor plants.
Stackable with other inputs – castings pair well with compost, mulch, living soil, kelp, frass and dry organic amendments.
How to Tell If You’re Buying Quality Worm Castings
Not all worm castings are created equal. Because castings are a natural, biological product, quality depends heavily on how the worms are fed, how the castings are finished, and how they’re handled after harvest.
Here’s what to look for when choosing high-quality worm castings in Australia:
Appearance
Good castings are dark brown to almost black, with a fine, crumbly texture—similar to fresh, rich soil. They should be screened, not chunky or full of undecomposed material.
Smell
Healthy worm castings smell earthy and clean. If they smell sour, rotten, or anaerobic, something has gone wrong during production or storage.
Moisture level
Castings should be slightly moist, not dripping wet and not bone dry. Excessively wet castings can become anaerobic, while overly dry castings lose microbial activity.
Consistency
Quality castings are uniform throughout the bag. Large sticks, food scraps, or inconsistent texture usually indicate rushed or unfinished composting.
How they’re made
Ask what the worms are fed. Clean, diverse inputs (such as plant matter, mineral inputs, and natural amendments) produce far more biologically active castings than basic food waste alone.
Healthy soil starts with healthy inputs—and worm castings are no exception.
Higher-quality worm castings usually come from well-managed worm systems, clean feedstock, careful finishing and proper storage. Screened, free-flowing castings are easier to apply evenly and are less likely to create wet clumps in pots.
Avoid castings that show:
- rotten or sour smell
- visible food scraps
- heavy wet clumps
- lots of sticks or bedding
- flies or larvae in the bag
- castings stored in hot sun
- no clear information about how they were made
Are Worm Castings Safe? What to Know About Sourcing
As more gardeners move toward organic and regenerative practices, questions around safety and sourcing are becoming more important—and rightly so.
Properly finished worm castings are generally safe for plants, people, pets and beneficial insects when used as directed.
When choosing worm castings, consider the following:
- Feedstock transparency – What materials are fed to the worms? Clean, traceable organic inputs reduce the risk of contamination.
- Chemical residues – Castings made from unknown green waste or sprayed materials may carry trace herbicides or pesticides.
- Heavy metals & contaminants – Quality producers actively avoid contaminated inputs and focus on soil-safe mineral balances.
- Microbial health – Properly finished castings support beneficial microbes rather than anaerobic bacteria.
For home gardeners, this means sourcing castings from producers who prioritise biological health, transparency, and consistent quality—not just volume.
Good worm castings don’t just feed plants. They build soil you can trust.
How to Use Worm Castings
|
Garden Situation |
How Much Castings? |
How Often? |
|---|---|---|
|
New potting mix |
10–20 % by volume |
At planting |
|
Veggie beds |
1 cm top-dress (≈1 L / m²) |
Start of each season |
|
Houseplants |
2 cm top-dress, gently mixed |
Every 2–3 months |
|
Hydro / Coco |
5–10 % in media blend or weekly worm-tea drench |
Ongoing |
Blend or top-dress — sprinkle castings, scratch them lightly into the surface and water them in.
Use near active roots — castings work best where roots and soil microbes can access them.
Keep applications moderate — more is not always better, especially in pots.
Use worm tea separately — see the worm tea section below if you want to brew a liquid drench.
How to Use Worm Castings Through the Growing Season
The best way to use worm castings changes a bit depending on where the plant is at. A seedling, a hungry fruiting plant and a tired old pot do not need the exact same treatment.
For seedlings and transplants, keep it light and local. Mix a small amount into the planting hole or surrounding media so new roots grow straight into a soft, biological zone. You don’t need to bury half a bag under the plant. That just wastes good castings below where most of the early roots are working.
For established plants, top-dressing is usually the easiest move. Sprinkle castings around the root zone, scratch them in gently, then water them through. Don’t leave them sitting dry on top like decorative mulch. The biology needs moisture and contact with the soil to do anything useful.
For heavy feeders like tomatoes, chillies, cucumbers, pumpkins and flowering annuals, use castings as a support input rather than the whole feed program. They help the soil cycle nutrients better, but they are not a complete replacement for compost, mulch, potassium, calcium or a balanced organic fertiliser when plants are really pumping.
A simple seasonal rhythm looks like this:
- At planting — add a small handful around the root zone.
- Early growth — top-dress lightly once roots are established.
- Flowering and fruiting — combine with compost, mulch and the right organic amendments.
- End of season — use castings to help recharge tired soil before the next crop.
That’s how you get more value out of them. Small, well-timed applications beat one big dump every time.
Using Worm Castings in Pots, Beds and Lawns
Using worm castings properly depends on the growing setup.
In pots, less is more. A small top-dress or a modest amount mixed into the media is usually enough. Pots have limited air space, so avoid loading them with thick, wet castings. Indoor plants especially need a light hand.
In veggie beds, castings are best used around seedlings, transplants and high-value crops. You can spread them across the whole bed, but it’s usually smarter to concentrate them where the roots are about to grow. Compost can handle the bulk soil-building work. Castings bring the biological edge.
In lawns, castings work best after aeration or coring. That lets the fine material move down into the root zone instead of sitting on top of the grass. Apply thinly, rake or broom it through, then water it in. Don’t smother the lawn with a thick layer and expect magic.
In living soil pots, use castings as a maintenance input between larger re-amendments. A light top-dress can help keep the top layer biologically active, especially when paired with mulch and sensible watering.
Different setup, same rule: get the castings near active roots, keep them lightly moist, and don’t use them as bulk soil.
Worm Castings: How to Use Them Without Making Your Mix Heavy
Worm castings are fine-textured, which is part of why roots like them. But that same fine texture can become a problem if you go overboard in pots.
If you add too much to a potting mix, especially an indoor mix, the media can become dense and hold too much moisture. That means less air around the roots, slower dry-back and a better chance of fungus gnats or root stress. The castings did not “burn” the plant. The mix just got too heavy.
For pots, keep the structure in mind:
- Use castings as a percentage of the mix, not the base of the mix.
- Keep chunky aeration in there — pumice, perlite, bark, rice hulls or similar.
- Top-dress lightly rather than burying thick wet layers.
- Water less aggressively after adding castings, especially indoors.
- Let the top layer dry slightly between waterings if gnats are an issue.
If the plant is in a chunky aroid mix, don’t turn the top of the pot into mud. Use a thin layer, water it in, and let it filter down. For dense nursery potting mixes, go even lighter.
Good castings should make the root zone more alive, not turn the pot into a swamp.
Worm Castings: Where They Make the Biggest Difference
Worm castings are not a magic dust you throw everywhere and hope for the best. They work best where roots are active, biology matters, and the soil needs a gentle reset without a big nutrient hit.
You’ll usually get the best return in:
- Seedlings and young plants — gentle enough for delicate roots and useful for early root development.
- Tired veggie beds — helps bring back microbial activity after a heavy crop.
- Indoor plants — a clean way to refresh potting mix without stinking out the house.
- Raised beds — adds biology and humus without overloading the soil.
- Living soil pots — keeps the soil food web ticking between bigger amendments.
- Transplants — gives roots a biologically active zone to grow into.
The trick is contact. Worm castings work best when they’re lightly mixed into the root zone or watered through after top-dressing. If they sit on top in a dry crust, the biology is not doing much.
Don’t waste premium castings by burying huge amounts deep below where roots can reach. Use smaller, smarter amounts near the active root zone and keep the area lightly moist so the microbes can actually do their job.
Think of worm castings like a sourdough starter for soil. You don’t build the whole loaf out of starter. You add enough to kick the system into gear.
When Worm Castings Are Not Enough for Hungry Plants
If your plants are pale, slow or underperforming, worm castings can help — but they are not always the whole answer.
This is where a lot of growers get caught. They hear “black gold” and expect castings to fix every deficiency. In reality, worm castings are usually mild. They support nutrient cycling, root activity and microbial life, but they may not supply enough nitrogen, phosphorus, potassium, calcium or magnesium to correct a serious hunger issue on their own.
Here’s the better process:
- Check watering first. Overwatered roots can look hungry because they are not breathing properly.
- Check the pot size or bed condition. Root-bound plants and compacted soil won’t respond well to any amendment.
- Add worm castings around the active root zone.
- Water them in gently.
- If the plant is genuinely nutrient deficient, pair castings with the right organic fertiliser or amendment.
The key is not to ask worm castings to do a fertiliser’s job by themselves. Use them to improve the soil environment so the rest of your program works better.
The key is not to ask worm castings to do a fertiliser’s job by themselves. Use them to improve the soil environment so the rest of your program works better.
Worm Castings vs Compost: Which One Should You Use?
Worm castings vs compost is not really a winner-takes-all thing. They do different jobs.
Compost is better when you need bulk organic matter. It helps fill beds, improve structure, feed soil life and build long-term organic matter. Worm castings are more concentrated and biologically active, so you use less and place them more deliberately.
Use compost when:
- filling or refreshing raised beds
- improving poor sandy or heavy soils
- adding bulk organic matter
- mulching larger garden areas
- building a new veggie patch
Use worm castings when:
- planting seedlings
- top-dressing pots
- boosting transplants
- refreshing indoor plants
- charging a living soil mix
- making worm tea or biological drenches
Use both when the soil is tired and you want structure plus biology. Compost gives the bed body. Castings add the microbial kick.
A practical mix for garden beds is compost as the main amendment, then worm castings around planting holes or lightly mixed through the top layer. That gives you the best of both without blowing the budget.
The mistake is using castings like cheap compost. They’re too valuable for that. Use compost for volume, castings for precision.
If money is tight, don’t spread expensive castings like cheap compost. Put them in planting holes, around transplants, through seedling mixes and on high-value pots. That’s where the return is highest.
Compost builds the paddock. Castings sharpen the strike zone.
Disadvantages Worm Castings Can Have If You Use Them Wrong
There are not many true disadvantages worm castings have when they’re high quality and used properly. Most problems come from poor product quality, bad storage or using way too much.
The main downsides are:
- They can be expensive compared with bulk compost.
- Quality varies a lot depending on worm feed, processing and storage.
- They’re not a complete replacement for compost, mulch or balanced fertiliser.
- Wet castings can go anaerobic if stored badly.
- Too much can make potting mixes heavy, especially indoors.
- Low-quality castings may contain unfinished material, pests or weed seeds.
The biggest misconception is that more castings always means better results. Not true. If you load a potting mix with too much fine, wet material, you can reduce airflow around roots. That’s the opposite of what you want.
In pots, keep worm castings as a percentage of the mix, not the whole mix. In garden beds, use them as a booster, not a full soil replacement. In seedling mixes, go gentle. Young roots love the biology, but they still need air, drainage and the right texture.
Good worm castings are safe. Badly handled castings are where the headaches start.
Worm Castings as Part of a Living Soil Stack
Worm castings work best when they’re part of a soil system, not treated like a stand-alone miracle product.
In living soil, their job is to support biology, nutrient cycling and root-zone resilience. They pair well with compost, kelp meal, insect frass, rock dust, mulch, mycorrhizae and slow-release organic amendments. Each input does a different job. The castings help tie the biology together.
A simple living soil stack might look like this:
- compost for organic matter
- worm castings for microbial activity
- aeration for oxygen
- mulch for moisture protection
- mineral amendments for trace elements
- dry organic fertiliser for stronger nutrient demand
- liquid inputs only when the plant needs a quick push
The mistake is trying to make worm castings carry the whole program. They’re good, but they’re not a full soil recipe by themselves.
Use them as the biological layer in the system. That’s where they really shine.
How to Store Worm Castings After Opening the Bag
Once the bag is open, don’t treat worm castings like dry fertiliser pellets. They’re a living, biological product, so storage and handling matter.
Here’s what to do:
- Use them fresh where possible. The longer they sit around, the more biology can decline.
- Keep them slightly moist. Bone-dry castings lose microbial punch.
- Avoid sealing them wet in plastic. That can push them anaerobic and sour.
- Store them cool and shaded. Heat and direct sun are rough on microbes.
- Break up clumps before use. Castings should spread evenly, not land in wet chunks.
- Water them in gently. This helps move biology and soluble nutrients into the root zone.
If your castings smell earthy, you’re fine. If they smell rotten, sour or swampy, don’t add them straight to delicate pots. Spread them thinly in a shaded, airy spot to breathe first, or compost them through a bigger system.
For small gardens, the best plan is simple: buy what you’ll use within the season. Giant bags look good value until they sit in the shed for months, dry out, get cooked by summer heat, or turn into a clumpy mess.
Worm Castings Are Not the Same as Worm Juice
This one trips up a lot of gardeners. Worm castings and worm juice are not the same thing.
Worm castings are the solid, crumbly material left after worms process organic matter. They’re used as a soil amendment, top-dress, potting mix booster or tea ingredient.
Worm juice or worm farm liquid is the liquid that drains from a worm farm. It can contain nutrients, but quality depends heavily on the worm farm setup. If the farm is too wet, anaerobic or full of rotting scraps, that liquid can be rough on plants.
Use them differently:
- Castings go into or onto the soil.
- Worm tea is brewed from quality castings with water and oxygen.
- Worm farm liquid should usually be diluted heavily before use.
- Smelly liquid is a warning sign, not a bonus fertiliser.
If the liquid smells clean and earthy, dilute it and test on hardy plants first. If it smells rotten, don’t pour it over prized seedlings or indoor plants. Fix the worm farm conditions before using the runoff.
Castings are the reliable product. Worm liquid is more variable.
DIY Worm-Tea Recipe
- Gear Up – 20 L bucket, aquarium air stone, dechlorinated water.
- Load Castings – 2 cups of castings in a mesh bag.
- Add Food – 1 tbsp unsulfured molasses to wake the microbes.
- Bubble – Aerate for 24 h (shade, < 26 °C). Frothy head = active brew.
- Apply Fresh – Drench soil or spray leaves within 4 hours. No storage—biology dies fast without oxygenation!
Optional: For tomatoes or hungry crops, some growers add a small amount of kelp meal to support stress tolerance as part of a broader organic program. Keep the brew fresh, well-aerated and clean.
Can You Make Your Own Worm Castings at Home?
Yes—worm castings can be made at home through a process called vermicomposting.
A basic setup includes:
- A ventilated worm farm or bin
- Bedding (shredded cardboard, coco coir, or aged compost)
- Composting worms (not garden earthworms)
- Regular feeding with suitable food scraps
Over time, worms process the material into castings that collect at the bottom of the system.
How to know castings are ready:
Finished castings are dark, crumbly, and mostly free of visible food scraps. They should smell earthy—not sour.
Harvesting basics:
- Move food to one side so worms migrate
- Remove finished castings from the opposite side
- Use promptly or store cool and slightly moist
Home-made castings are a great way to recycle organic waste and build soil health, though quality and consistency depend on management.
Application Rates Cheat-Sheet
- Seed Raising Mix: 1 part castings : 5 parts coco or peat.
- Fruit Trees: 3-5 L per mature tree, spread to drip line.
- Lawns: 3-5 L per m² top-dress after coring.
- Native Beds: 5 % by volume to respect low-P tolerance.
Use these as quick reference rates and adjust based on plant size, soil condition and product directions.
Common Worm Castings Problems
Fungus gnats after application
This usually comes from over-watering. Apply castings as a thin top-dress and water lightly. Allow the soil surface to dry between watering.
Castings smell bad
Healthy castings should never smell rotten. A sour smell indicates anaerobic conditions—often from excess moisture or poor storage.
Mould on stored castings
Light white fungal growth isn’t harmful, but heavy mould suggests excess moisture. Store castings cool, breathable, and slightly moist.
Can you use too much?
Worm castings won’t burn plants, but they work best as part of a balanced soil system. More isn’t always better—use them to enhance soil biology, not replace it entirely.
Storage tips
Keep castings out of direct sun, sealed but breathable, and use within a reasonable timeframe to preserve microbial life.
Poor-quality castings can sometimes be rescued. Spread them thinly in a shaded, airy spot, let them breathe, and run them through compost rather than putting them straight into pots. For seedlings, indoor plants and living soil, it is better to start with a clean product.
FAQ
What are worm castings?
Worm castings are the crumbly, soil-like material left behind after composting worms digest organic matter. They are also called vermicast and are used as a gentle biological soil amendment.
How do you use worm castings?
Use worm castings by mixing small amounts into potting mix, top-dressing around plants, adding them near seedlings or transplants, or brewing them into worm tea. Water them in so the biology and soluble nutrients move into the root zone.
What can you do with worm castings?
You can use worm castings in pots, veggie beds, lawns, seedling mixes, living soil, transplants, indoor plants and worm tea. They work best near active roots rather than buried deep as bulk filler.
Are worm castings better than compost?
Not exactly. Compost is better for bulk organic matter and large areas. Worm castings are better for concentrated root-zone biology. Most gardens benefit from using both.
What are the disadvantages of worm castings?
The main disadvantages are cost, variable quality, bad storage, wet or sour castings, and using too much in pots. Worm castings are useful, but they are not a complete replacement for compost, mulch or fertiliser.
Can you use too much worm castings?
Yes. Worm castings will not usually burn plants, but too much fine, wet material can make potting mixes dense and reduce airflow around roots.
Will worm castings attract fungus gnats?
Properly finished castings should not create fungus gnat problems by themselves. Gnats usually appear when castings are kept too wet, applied too thickly or used in already damp indoor mixes.
Can I use worm castings on indoor plants?
Yes. Use a light top-dress or mix a small amount into the potting soil. Indoor plants need a light hand because pots have limited air space.
How often should I apply worm castings?
For most gardens, every 4–8 weeks during active growth is enough. Lawns, perennials and fruit trees can be treated seasonally.
Do worm castings expire?
They do not expire like food, but microbial activity declines over time. Store them cool, shaded and slightly moist, and use them within the season where possible.
Ready to Grow?
If you want a simple way to add biology back into pots, raised beds, seedlings and living soil, use Microbe-Charged Worm Castings as a light, regular soil amendment.
Apply them near the active root zone, water them in properly and pair them with compost, mulch and the right organic amendments for the crop you are growing.
Happy growing, legend!
Next Reads for Building Richer Soil With Biology-First Amendments
Using worm castings in your garden? These guides will help you compare natural fertilisers, strengthen soil biology and choose organic inputs that work well together.
- Insect Frass Guide Australia
- Organic Gardening 101: Living Soil Aussie Guide
- Natural Garden Fertilisers Australia Guide
- Kelp Meal Australia: How to Use Kelp Fertilizer and Seaweed Meal
About the Author