
Dreaming of plucking crisp lettuce or vine-ripe tomatoes from a sunny balcony without lugging heavy bags of potting mix? Hydroponics lets you skip the soil, speed up growth and squeeze more produce into tight spaces — all while sipping up to 90 % less water than a traditional veggie patch.
This guide distils the must-knows so you can start today, harvest sooner and avoid rookie mistakes.
Table of Contents
- Choose Your Starter Path (Beginner-Friendly Options)
- Choose the System That Fits Your Space & Lifestyle
- The Non-Negotiables for Healthy Hydro
- Common Crop Targets (Beginner Reference)
- Water Quality Basics (Often Overlooked)
- Lighting Basics (Keep It Simple)
- Maintenance Made Easy
- Quick Troubleshooting Guide
- Consumables Checklist
- FAQ
- Your 7-Day Quick-Start Plan
- What’s Changed in Modern Hydroponics
- Next reads for getting your first hydro setup dialed in
Choose Your Starter Path (Beginner-Friendly Options)
If you’re brand new to hydroponics, the easiest way to succeed is to start with a setup that matches your space, time, and plant goals. Below are three proven beginner paths used by thousands of growers.
Path 1: Kratky (No Pumps, No Power)
Best for: leafy greens and herbs
Good for: first-timers, balconies, low maintenance
Kratky systems use a static nutrient solution with no pumps or air stones. As the plant grows, roots naturally access oxygen from the air gap.
What you’ll need:
-
Light-proof container or jar
-
Net pot + growing medium
-
Hydroponic nutrients
-
A bright location or grow light
What can go wrong:
-
Limited plant size
-
Warm water in summer
-
Not suitable for fruiting plants
This is the simplest way to learn how nutrients, pH, and water levels work without overcomplicating things.
Path 2: DWC (Deep Water Culture)
Best for: fast-growing leafy greens
Good for: beginners who want faster growth
DWC keeps roots suspended in nutrient solution while an air stone delivers constant oxygen.
What you’ll need:
What can go wrong:
-
Pump failure (plants rely on oxygen)
-
Warm water reducing oxygen levels
DWC is forgiving, fast, and one of the best systems for learning how plants respond to feeding changes.
Path 3: Coco Coir (Run-to-Waste)
Best for: tomatoes, chillies, cucumbers
Good for: balconies, controlled feeding
Coco behaves like soil but works with hydroponic nutrients. You water regularly and allow runoff.
What you’ll need:
-
Coco coir
-
Pots and trays
-
Nutrients and drainage
What can go wrong:
-
Overfeeding
-
Salt buildup if runoff is ignored
If your goal is fruiting plants, coco is often the smoothest transition into hydroponics.
Choose the System That Fits Your Space & Lifestyle
|
System |
Best for |
Pros |
Watch-outs |
|---|---|---|---|
|
Kratky jars |
Herbs & leafy greens |
Zero pumps or power |
One-and-done; small yield |
|
Coco-coir run-to-waste |
Balcony chillies & tomatoes |
Soil-like, very forgiving |
Daily feeds in summer |
|
Deep-Water Culture (DWC) |
Indoor lettuce rockets |
Super-fast growth |
Keep water ≤ 20 °C & well oxygenated |
|
Recirculating NFT rails / drip |
Long garden beds |
Sips water; scalable |
Roots dry if pump fails |
|
Flood & Drain (Ebb/Flow) |
Mixed crops in totes |
Even nutrient delivery |
Timer and overflow hygiene |
Quick start: A ready-made Starter Kit bundles the pump, pots and nutrients so everything plays nicely together.
The Non-Negotiables for Healthy Hydro
-
pH sweet-spot: 5.5 – 6.5
• Test daily with a pH pen.
• Adjust using Flairform pH Down or Flairform pH Up. -
Electrical Conductivity (EC)
• Seedlings 0.6 mS cm⁻¹ | Fruiting crops 1.8 – 2.2 mS cm⁻¹.
• A Bluelab EC Pen keeps you honest. -
Dissolved Oxygen (DO)
• Bubble > 6 mg L⁻¹ with an air pump & airstone. -
Airflow
• Clip-on or inline fans whisk away humidity and mould spores. -
Temperature
• Keep solution 18 – 22 °C; shade reservoirs or float a frozen water bottle on heat-wave days.
Common Crop Targets (Beginner Reference)
|
Crop |
pH Range |
EC Range |
Ideal Temp |
|---|---|---|---|
|
Lettuce |
5.8–6.2 |
0.8–1.2 |
15–22°C |
|
Herbs |
5.5–6.5 |
1.0–1.6 |
18–26°C |
|
Tomatoes |
5.8–6.3 |
2.0–3.5 |
20–26°C |
These are starting ranges, not strict rules. Watch how plants respond and adjust slowly.
Water Quality Basics (Often Overlooked)
Hydroponics gives you full control — but that also means your starting water matters.
Tap Water & Hardness
Many Australian tap supplies are moderately hard. This can:
-
Increase your base EC before nutrients are added
-
Skew nutrient ratios if not accounted for
Always measure EC before adding nutrients so you know your true starting point.
Chlorine vs Chloramine
-
Chlorine: will dissipate if water is left standing 12–24 hours
-
Chloramine: does not evaporate and needs carbon filtration
Most plants tolerate small amounts, but sensitive roots benefit from filtered water from our Chlorine & Sediment Remover.
When to Consider RO Water
Reverse osmosis (RO) water may help if:
-
Your tap EC is consistently high
-
You’re growing nutrient-sensitive crops
-
You want maximum control
If using RO, remember it removes everything — you’ll need to add calcium and magnesium back in.
Lighting Basics (Keep It Simple)
Light is the engine that drives growth. Without enough of it, even perfect nutrients won’t help.
Photoperiod Starting Points
-
Leafy greens: 14–16 hours per day
-
Fruiting plants: 16–18 hours per day
Consistency matters more than intensity early on.
LED Distance Rules of Thumb
-
Small LEDs: 20–30 cm above plants
-
Stronger LEDs: start higher and lower gradually
If leaves bleach or curl, raise the light.
Leafy vs Fruiting Expectations
Leafy greens tolerate lower light levels. Fruiting plants need stronger, more consistent light to flower and set fruit.
If space or power is limited, start with greens first.
Maintenance Made Easy
|
Task |
Frequency |
What to do |
|---|---|---|
|
Top-up with plain water |
Daily in hot months |
Keeps EC steady |
|
Full reservoir flush |
Fortnightly |
Dump, scrub walls, remix nutrients |
|
Salt & biofilm check |
Weekly |
Wipe crust; rinse with mild peroxide |
|
Swap tubing & airstones |
Every 12 months |
Use UV-stable flexible tubing |
|
Pump & timer test |
Fortnightly |
Unplug/re-plug to confirm start-up |
Quick Troubleshooting Guide
|
Symptom |
Likely Cause |
First Fix |
|---|---|---|
|
Droopy leaves |
Low oxygen / warm water |
Add aeration, cool reservoir |
|
Yellow leaves |
Nutrient imbalance |
Check EC and pH |
|
Brown, slimy roots |
Root rot |
Lower temps, improve airflow |
Root Health at a Glance
-
White: healthy
-
Tan: early stress
-
Brown/slimy: oxygen or temperature issue
Algae Prevention
Algae grows when light hits nutrient solution.
-
Keep reservoirs light-proof
-
Clean between runs
- If algae appears, fix light leaks first — chemicals are rarely needed
Consumables Checklist
-
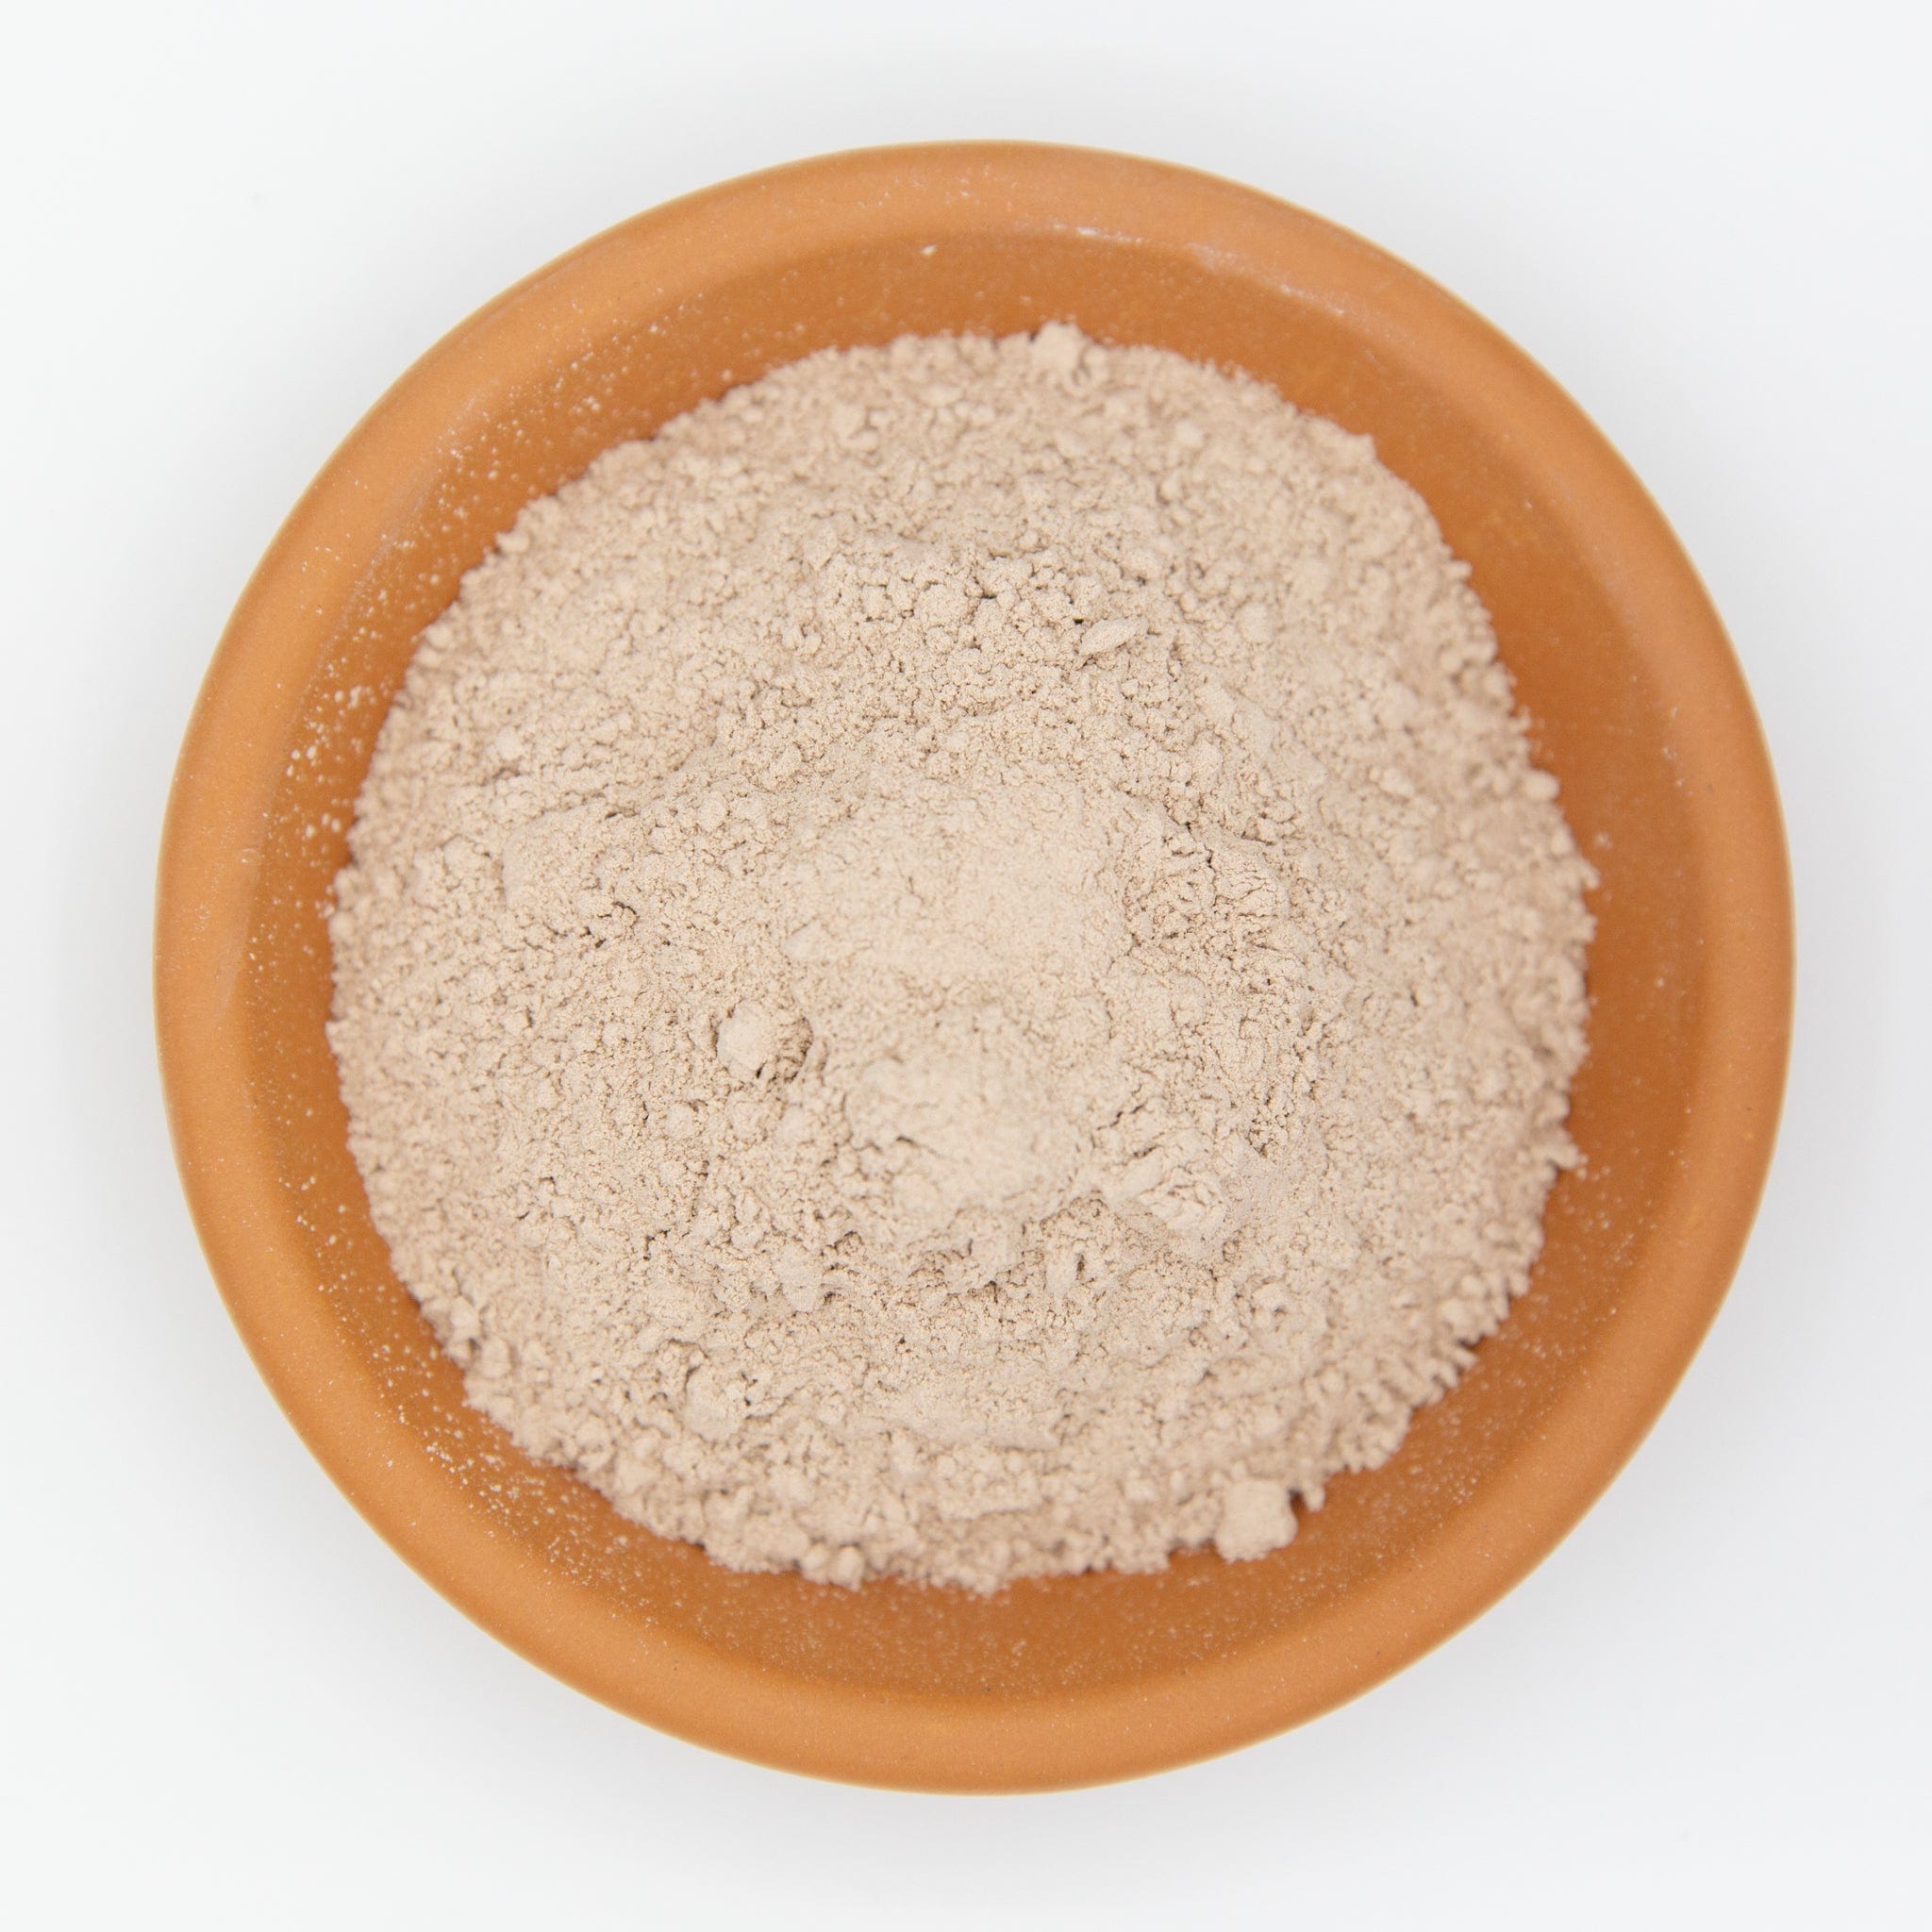
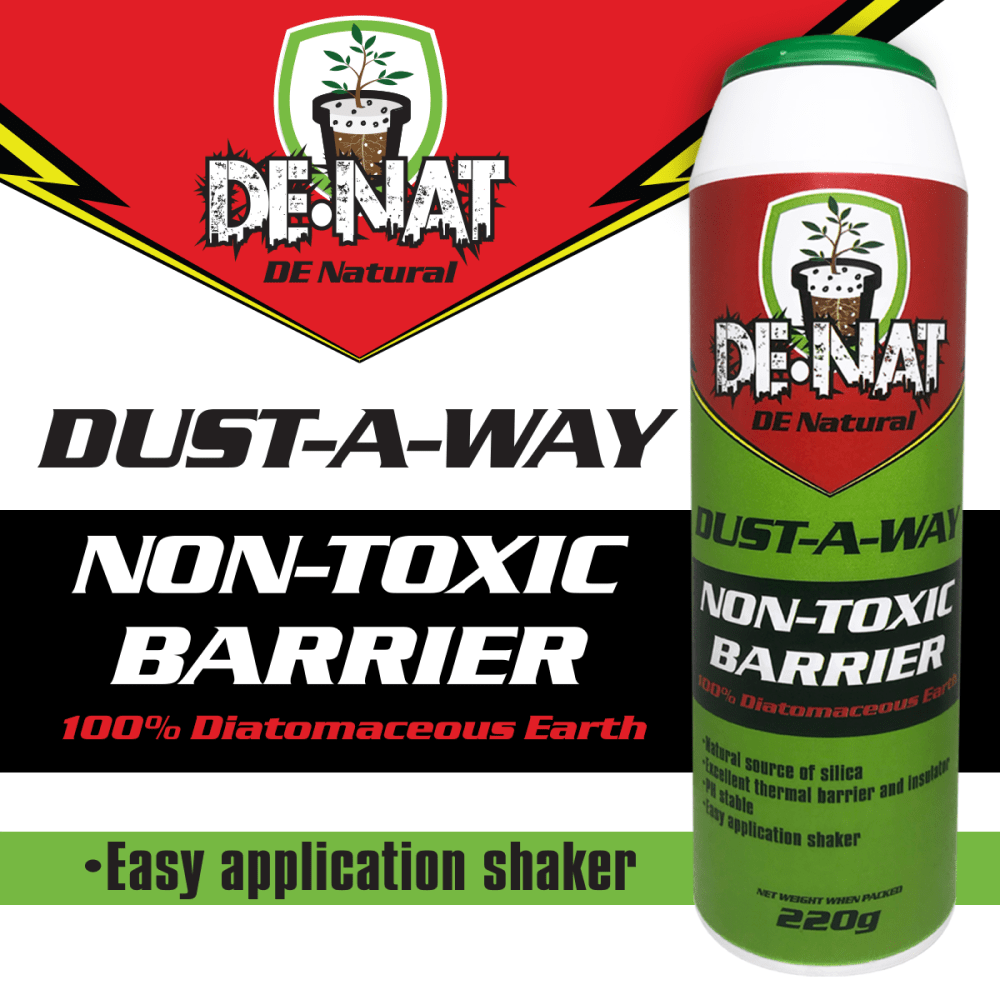
Growing media – Sustainable Coco Coir 70/30 blend for superb drainage.
-
Base nutrients – Part A/B minerals (included in most Starter Kits).
-
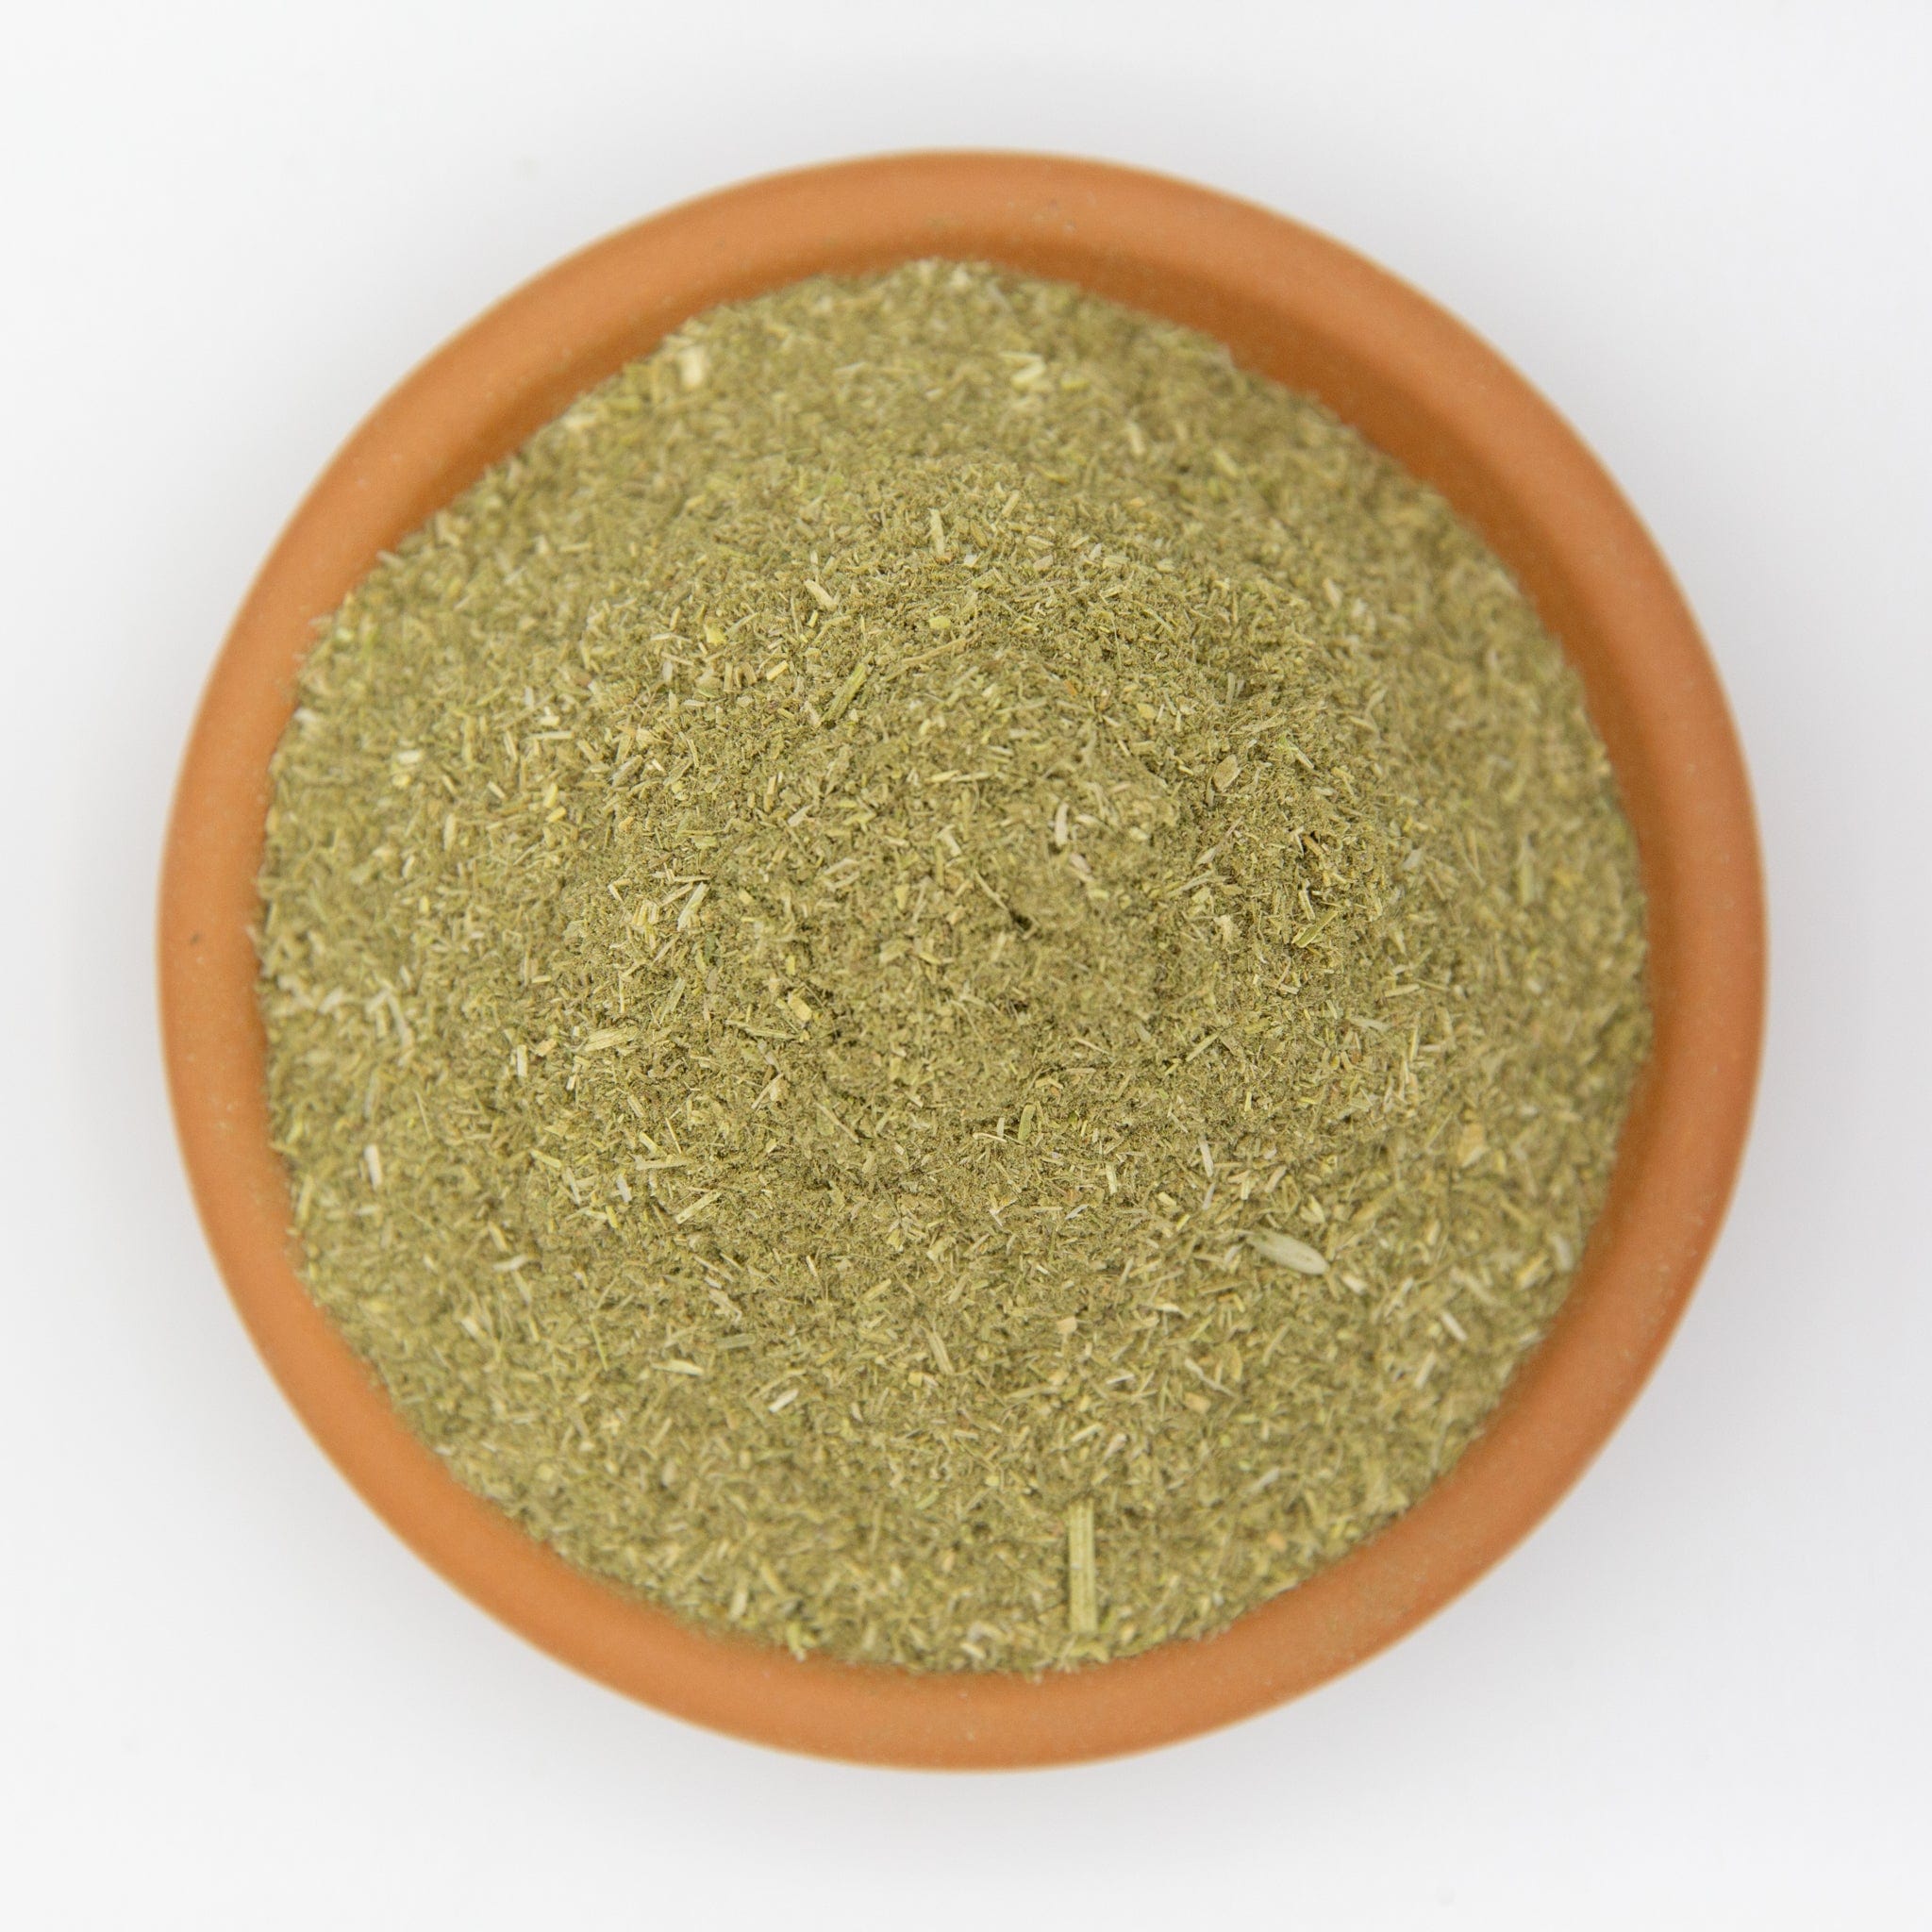
Microbe booster – Root Roids coats roots in beneficial biology.
-
pH adjusters & calibration sachets – Keep meters true.
-
Measuring gear – 10 mL syringes, shot glasses, digital scales.
-
Spare parts – Air-pump diaphragms, extra tubing, backup timer.
Stock up once, label everything, and you’ll never be stuck mid-grow when the shop’s shut.
FAQ
How often should I change the reservoir water?
Every 1–2 weeks for most systems, sooner if EC drifts quickly.
Do I need grow lights in Australia?
Indoors, yes. Outdoors or balconies may not — it depends on daily sun hours.
Can I use organic nutrients in hydroponics?
Yes, but they require more oxygen and maintenance than mineral nutrients. You can learn how to use organic hydroponic nutrients in our straight-up & easy-to-understand guide here.
What EC should seedlings be?
Start low: around 0.4–0.6 EC and increase gradually.
Why are my roots turning brown?
Usually heat, low oxygen, or poor water movement.
Your 7-Day Quick-Start Plan
|
Day |
Action |
|---|---|
|
1 |
Choose a system, then order kit & consumables. |
|
2 |
Rinse media, assemble hardware, run pump 12 h to flush dust. |
|
3 |
Mix half-strength feed, adjust pH 5.8, transplant seedlings. |
|
4 |
Add clip-on fan; set light timer if indoors. |
|
5 |
Log pH, EC, temp morning & night; tweak as needed. |
|
6 |
Top-up with plain water; inspect roots for bright-white colour. |
|
7 |
Celebrate new growth—share pics with the Dr Greenthumbs community! |
What’s Changed in Modern Hydroponics
Hydroponics has become more beginner-friendly in recent years.
-
Affordable Bluetooth pH and EC meters make monitoring easier
-
Small temperature probes help prevent root problems early
-
Better timers, air pumps, and backup options reduce risk
-
Heat management is more important than ever during Australian summers
The fundamentals haven’t changed — but the tools to manage them have improved.
Hydroponics isn’t “rocket gardening”; it’s simply consistency plus observation. Start with one system, keep records, and level-up only after you’re harvesting more than you can eat. Follow the guidelines above and you’ll be plating home-grown salads faster than you can say “soil-free”.
Happy growing!
Next reads for getting your first hydro setup dialed in
Got the basics down? These guides will help you understand nutrients, pH, EC and additives so your first hydro system runs smoother.
- A & B Nutrients Hydroponics Australia Guide
- Hydroponic pH Control Australia
- How to Balance EC in Hydroponic Reservoirs
- Hydroponic Additives Australia Guide
About the Author