
Struggling with yellowing leaves, brown edges, or pale new growth? This guide will help you quickly identify what your indoor plants are missing, tell the difference between nutrient deficiency and pH lockout, and fix the problem fast—without guesswork.
Table of Contents
- What Your Plants Are Actually Trying to Tell You
- Quick Cheat Sheet: Nutrient → Symptom
- Iron Chlorosis — A Common Gotcha, Especially in Acid-Loving Plants
- The Fast-Track Recovery Plan
- Not Always a Nutrient Deficiency — Other Common Causes
- Prevention: The Smart Gardener's Approach
- The Secret Weapon: Seasonal Timing
- Your Gardens Health Starts in the Soil
- Ready to Transform Your Garden?
-
Next reads for fixing nutrient issues and keeping indoor plants on track
To tackle deficiencies fast, here are your top choices:


What Your Plants Are Actually Trying to Tell You
Plants are like kids—they can't tell you exactly what's wrong, but they'll definitely show you through their behavior. Here are the most common distress signals your indoor plants are sending:
🟡 Yellowing Leaves (The Classic Cry for Help)
What it means: Your plants are likely nitrogen-deficient
Why it matters: Nitrogen is like protein for plants—without it, they can't build the green stuff (chlorophyll) that makes food
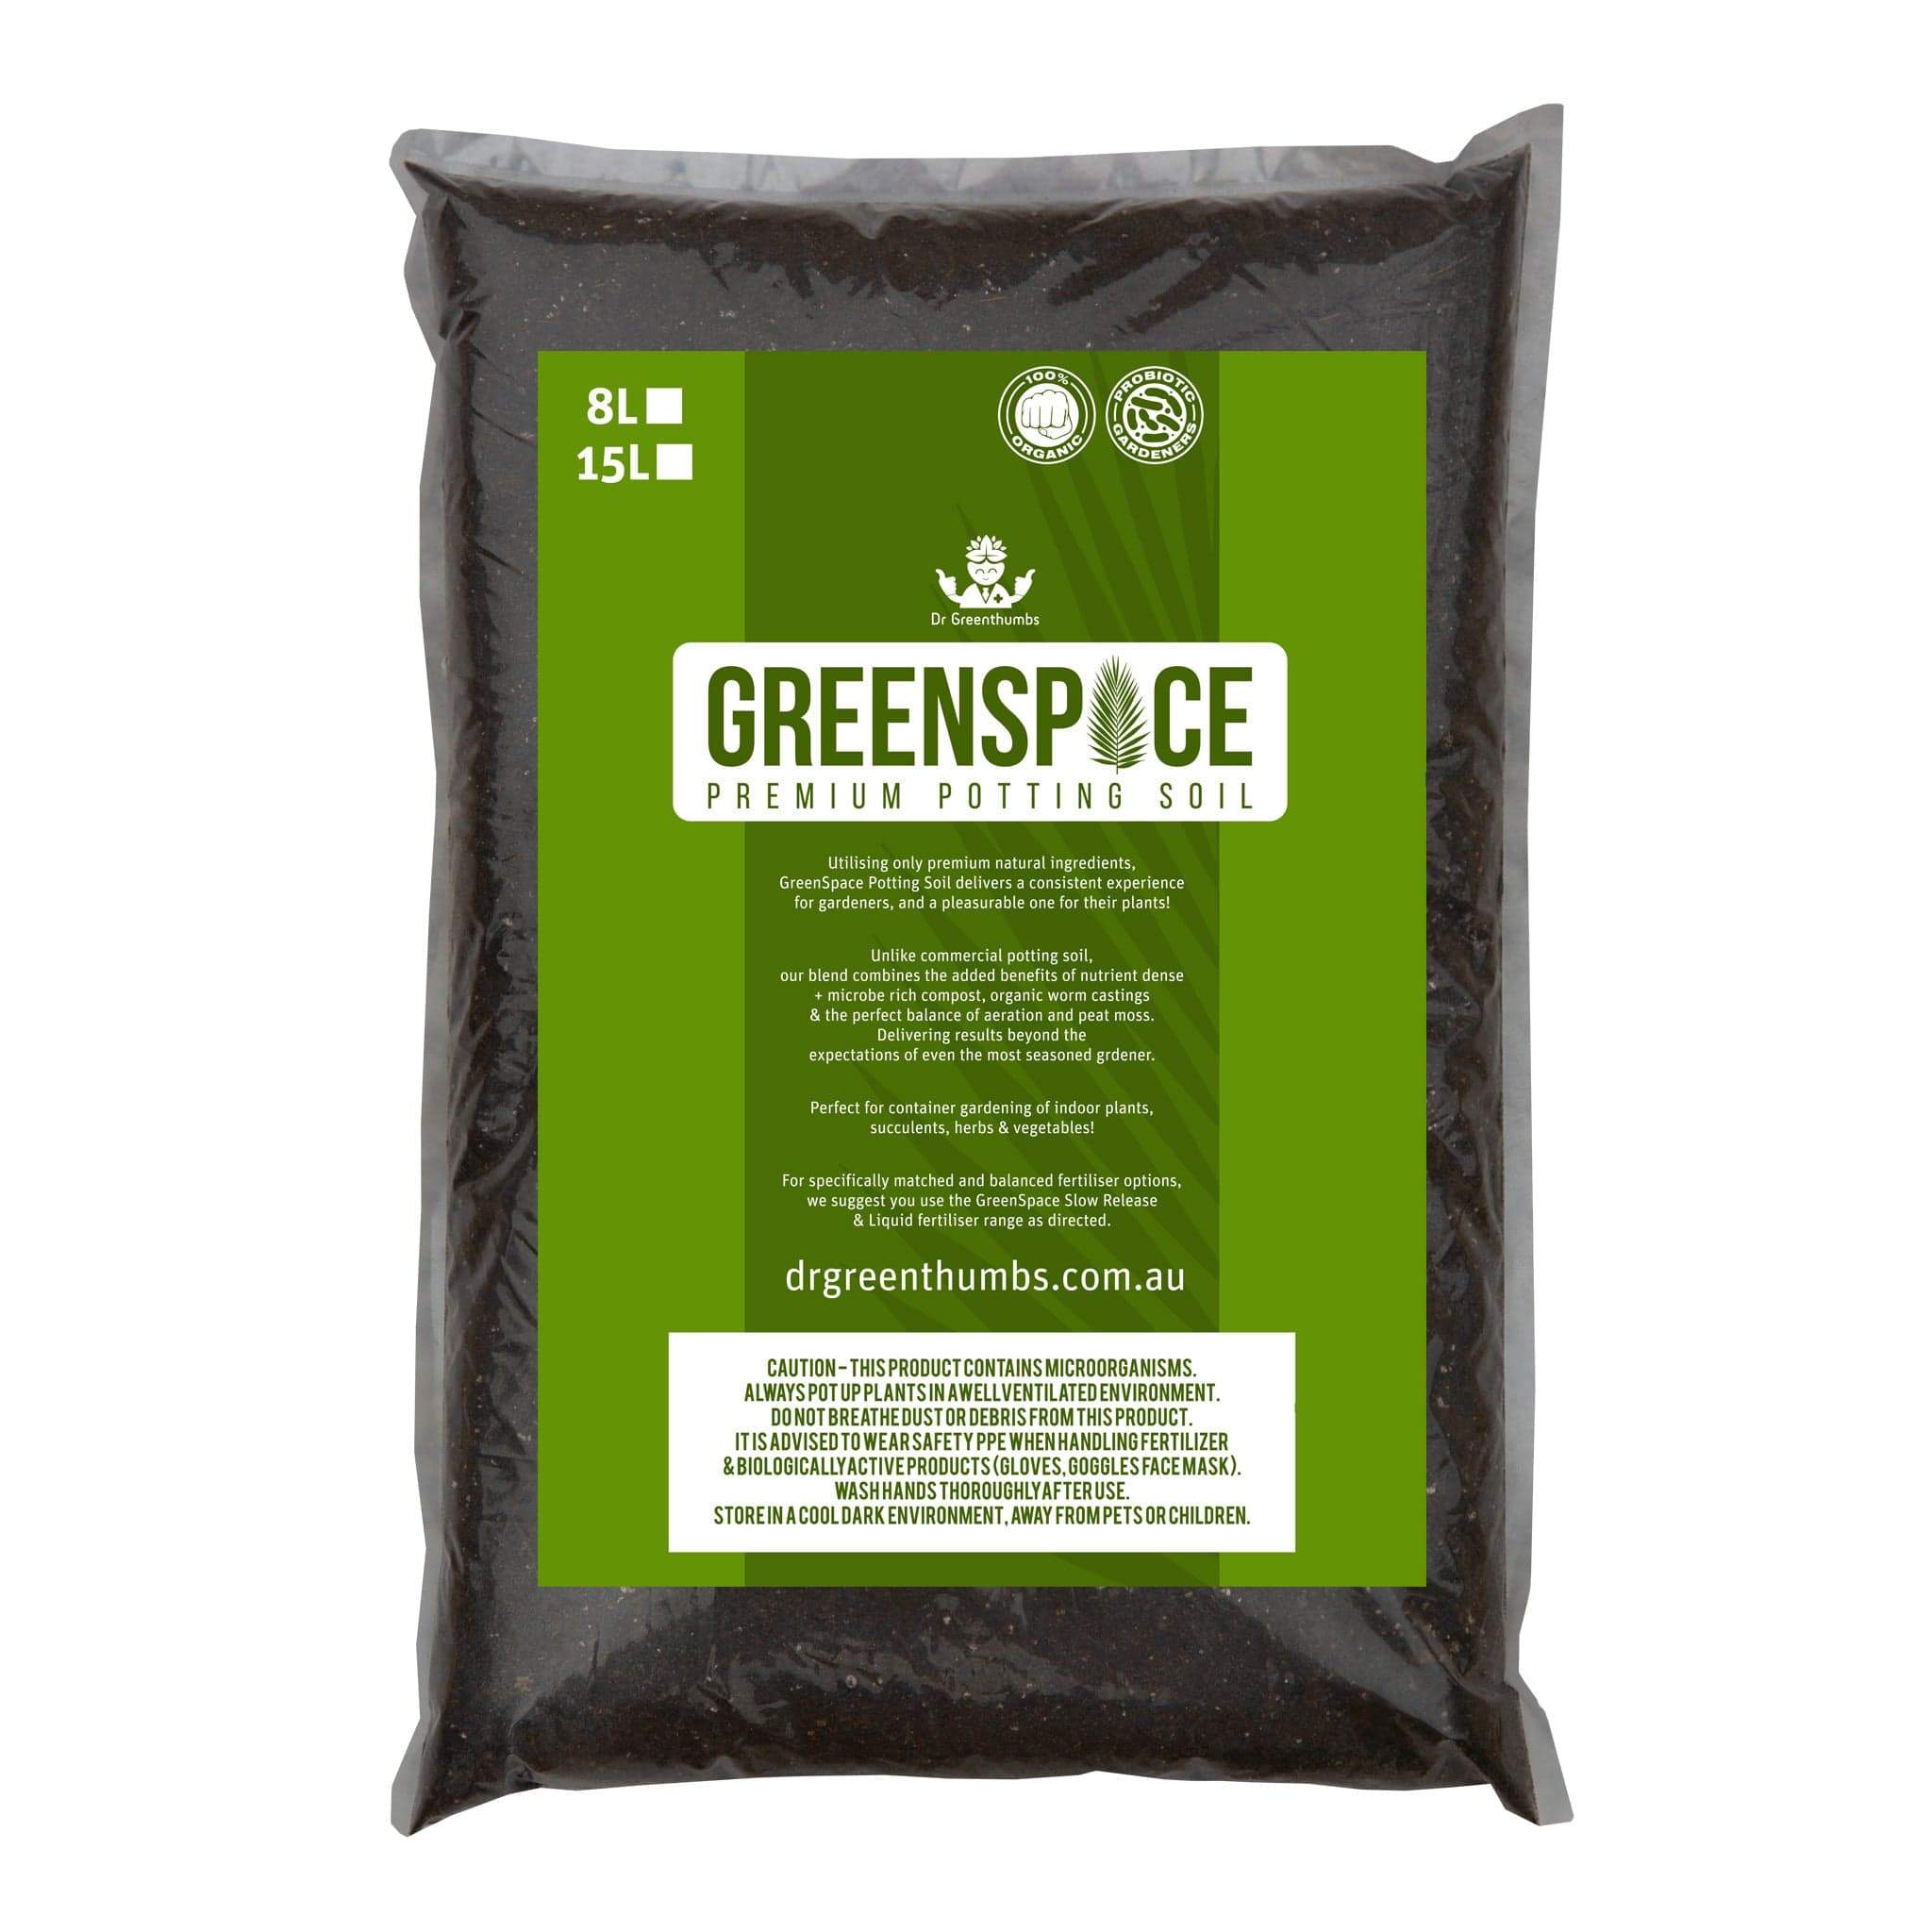
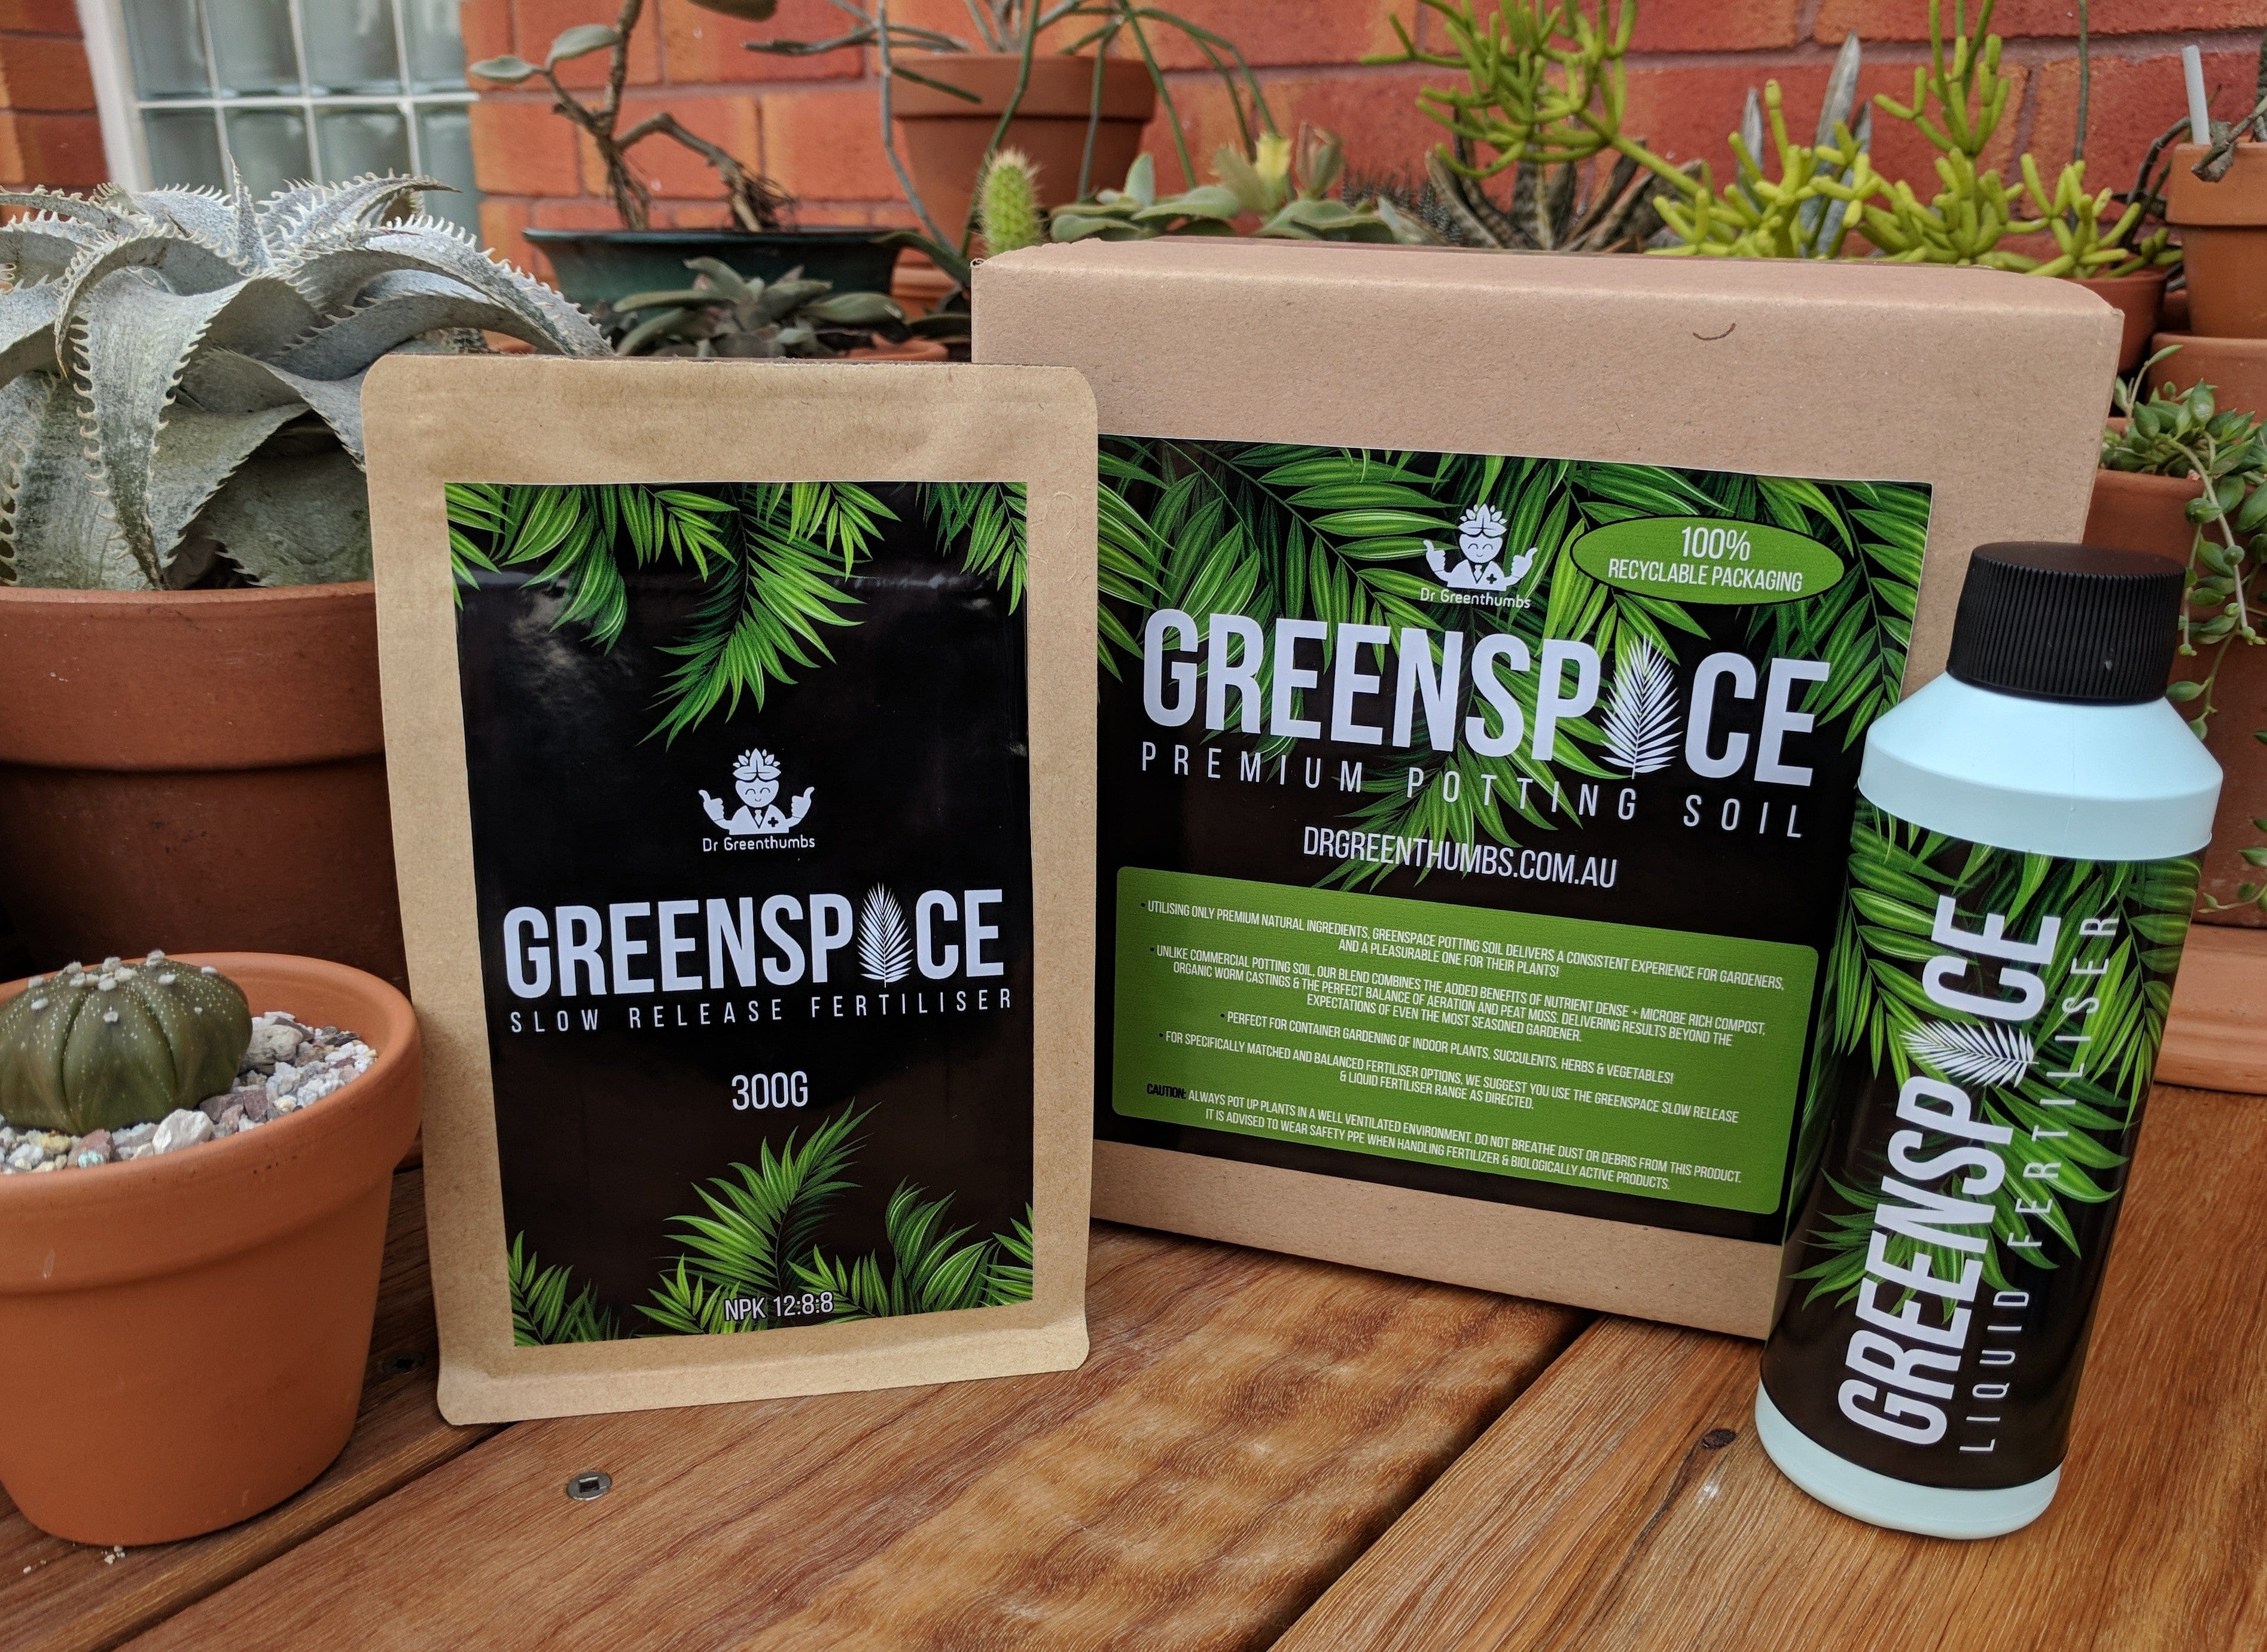
The fix: Feed them a balanced organic fertiliser rich in nitrogen. The Dr Greenthumbs GreenSpace Liquid Fertiliser is specifically formulated for Australian conditions and won't burn your plants like some of the harsh synthetics can.
🍂 Brown, Crispy Leaf Edges (The Australian Summer Special)
What it means: Potassium deficiency
Why it matters: Potassium helps plants manage water stress—crucial when you're trying to grow food in our harsh climate
The fix: Boost potassium levels with seaweed-based fertilisers or try Potassium Silicate—it's particularly brilliant for leafy greens and helps strengthen plant cell walls against heat stress.
💜 Purple or Reddish Leaves (The Winter Warning)
What it means: Phosphorus deficiency
Why it matters: Phosphorus is essential for root development and flowering—no phosphorus, no tomatoes for the family salad
The fix: Add organic guano in either dry or liquid form. Guano is like a slow-release multivitamin for your soil that is loaded with phosphorus and calcium.
🕳️ Pale New Growth or Twisted Leaves (The Micronutrient Mystery)
What it means: Your plants are missing trace elements like iron, calcium, or magnesium
Why it matters: These micronutrients are like vitamins—you only need small amounts, but without them, everything falls apart
The fix: Use a comprehensive trace mineral supplement like CMX, or boost magnesium with Epsom salts in a pinch.
Quick Cheat Sheet: Nutrient → Symptom
Here’s a fast-lookup summary you can bookmark or screenshot:
- Nitrogen (N) – Older leaves turn yellow, slow growth.
- Potassium (K) – Brown scorching on edges, weaker stress response.
- Phosphorus (P) – Purplish or dark leaves, delayed rooting/flowering.
- Magnesium (Mg) – Yellow between veins on older leaves.
- Iron (Fe) – New growth pale with green veins still showing.
- Calcium (Ca) – New leaves twisted, deformed or stunted.
Each plant shows symptoms a little differently, but this table will help you start in the right direction faster.
Iron Chlorosis — A Common Gotcha, Especially in Acid-Loving Plants
One deficiency that often gets overlooked — especially indoors — is iron chlorosis. This shows up as yellowing between the veins of leaves while the veins themselves stay green. It’s classic for iron — and common when soil pH drifts too high.
Acid-loving plants like begonias or some aroids really struggle with iron if the soil isn’t slightly acidic, even when other nutrients are fine.
How to help iron-starved plants
- Start with a soil pH check — iron is one of the first nutrients to get locked out when pH climbs.
- Consider a gentle iron supplement or chelated iron applied per label directions.
- Don’t dump heavy doses — iron’s a trace element and too much can cause its own issues.
Getting iron right often makes the difference between pale growth and truly lush indoor foliage.
The Fast-Track Recovery Plan
Nutrient Lockout & Why Soil pH Really Matters
Sometimes it feels like your plant isn’t getting enough nutrients — even when you’ve been feeding it faithfully. That’s because it’s not always a nutrient shortage… sometimes nutrients are locked out.
Here’s the deal: most plants absorb nutrients best when the soil pH sits in the right range (roughly 6.0–7.0 for indoor plants). If soil is too alkaline or too acidic, certain nutrients stay in the ground even if they’re there. You’ll still see yellowing leaves or weak growth because the plant can’t access what’s already present.
How to spot it
- You’ve been fertilising, but nothing improves.
- Leaves show deficiency signs across the plant, not just old or new growth.
- You’ve recently used lots of baked-on fertiliser or hard water salts.
What to do
- Test the soil pH with a simple pH meter or test kit.
- If it’s outside the 6–7 range, adjust gradually using an acidifier (like horticultural sulphur) or a lime product — just a sprinkle mixed through the top layer.
- Retest after a few weeks to check progress.
Getting the pH right unlocks nutrients already in the soil — it’s like opening the back door instead of buying more food that just sits there.
Don't panic—your garden isn't doomed. Here's how to nurse your plants back to health:
Step 1: Play Plant Detective
Get up close and personal with your plants. Check the newest growth first—that's where problems show up fastest. Take photos if you need to compare with deficiency charts later.
💡 Old Leaves vs Young Leaves — A Quick Rule of Thumb
When you’re playing plant detective, one of the fastest ways to nail which nutrient might be missing is to look at where symptoms appear first:
- Older leaves show yellowing first: usually points to mobile nutrients like nitrogen, potassium, or magnesium — these get moved around by the plant to new growth when they’re scarce.
- Newer leaves are affected first: suggests immobile nutrients like iron or calcium — the plant can’t redistribute these, so the newest growth shows distress.
This little trick will help you narrow down the likely deficiency before you start feeding — and save you time and stress.
Step 2: Flush Out the Bad Stuff
If you've been using cheap synthetic fertilisers, salt buildup might be blocking nutrient uptake. Give your plants a good drink of plain water until it runs clear from the drainage holes. In extreme cases using an EC or PPM meter may be necessary to ensure all your excess fertiliser has been flushed from the pot.
Step 3: Feed Smart, Feed Organic
This is where most gardeners go wrong—they panic and dump a heap of synthetic fertiliser on their plants, which can make things worse. Instead, use a complete, balanced organic fertiliser that includes both macro and micronutrients.
Our GreenSpace Liquid Fertiliser is designed specifically for Australian conditions and won't shock your plants back to health—it'll ease them into recovery and provide a long term foundation that fixes common nutrient issues.
Not sure whether to stick with liquid or slow-release? Check out Feeding Houseplants: Liquid vs Slow-Release, Explained for a breakdown of which works best in Aussie conditions.
Step 4: Rebuild Your Soil Foundation
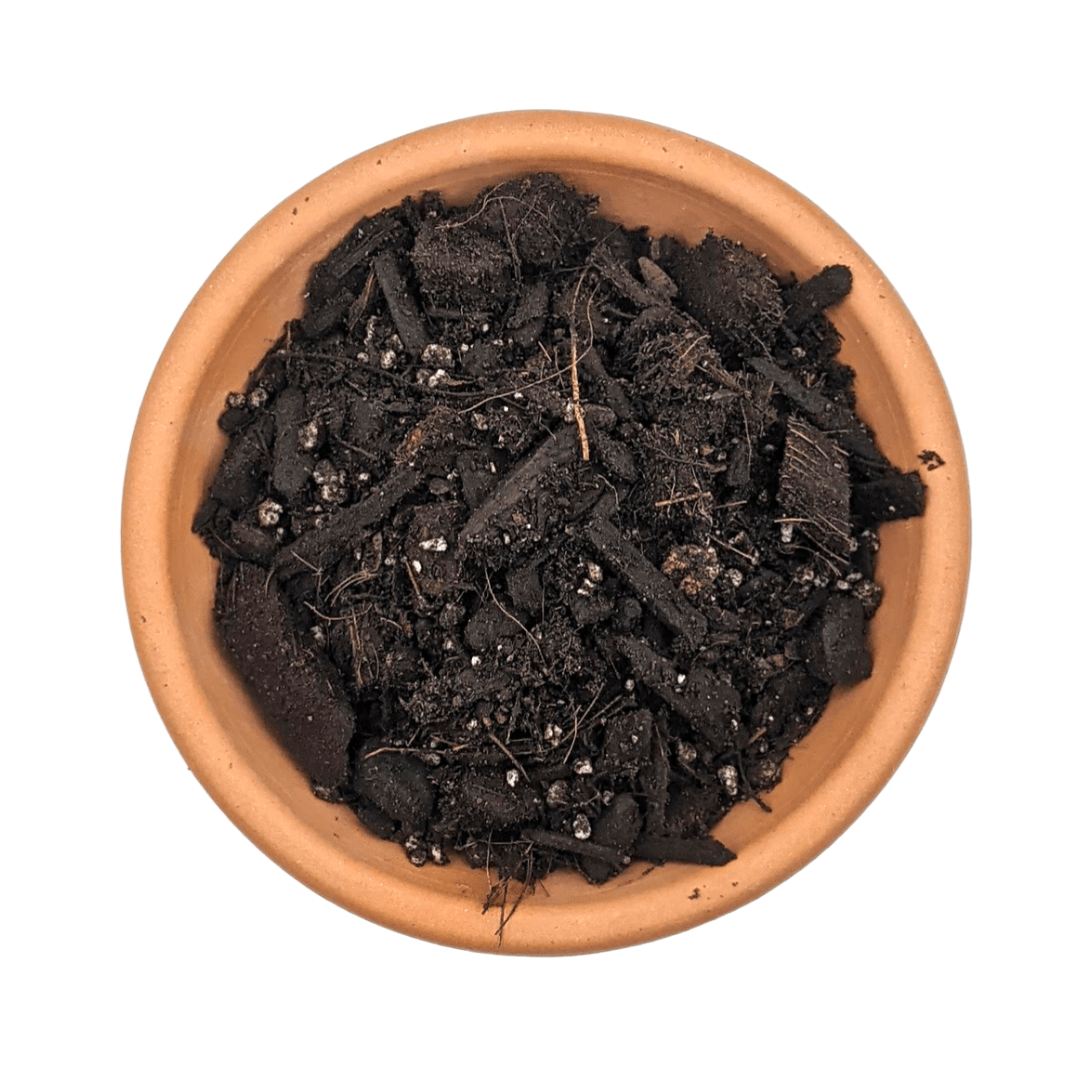
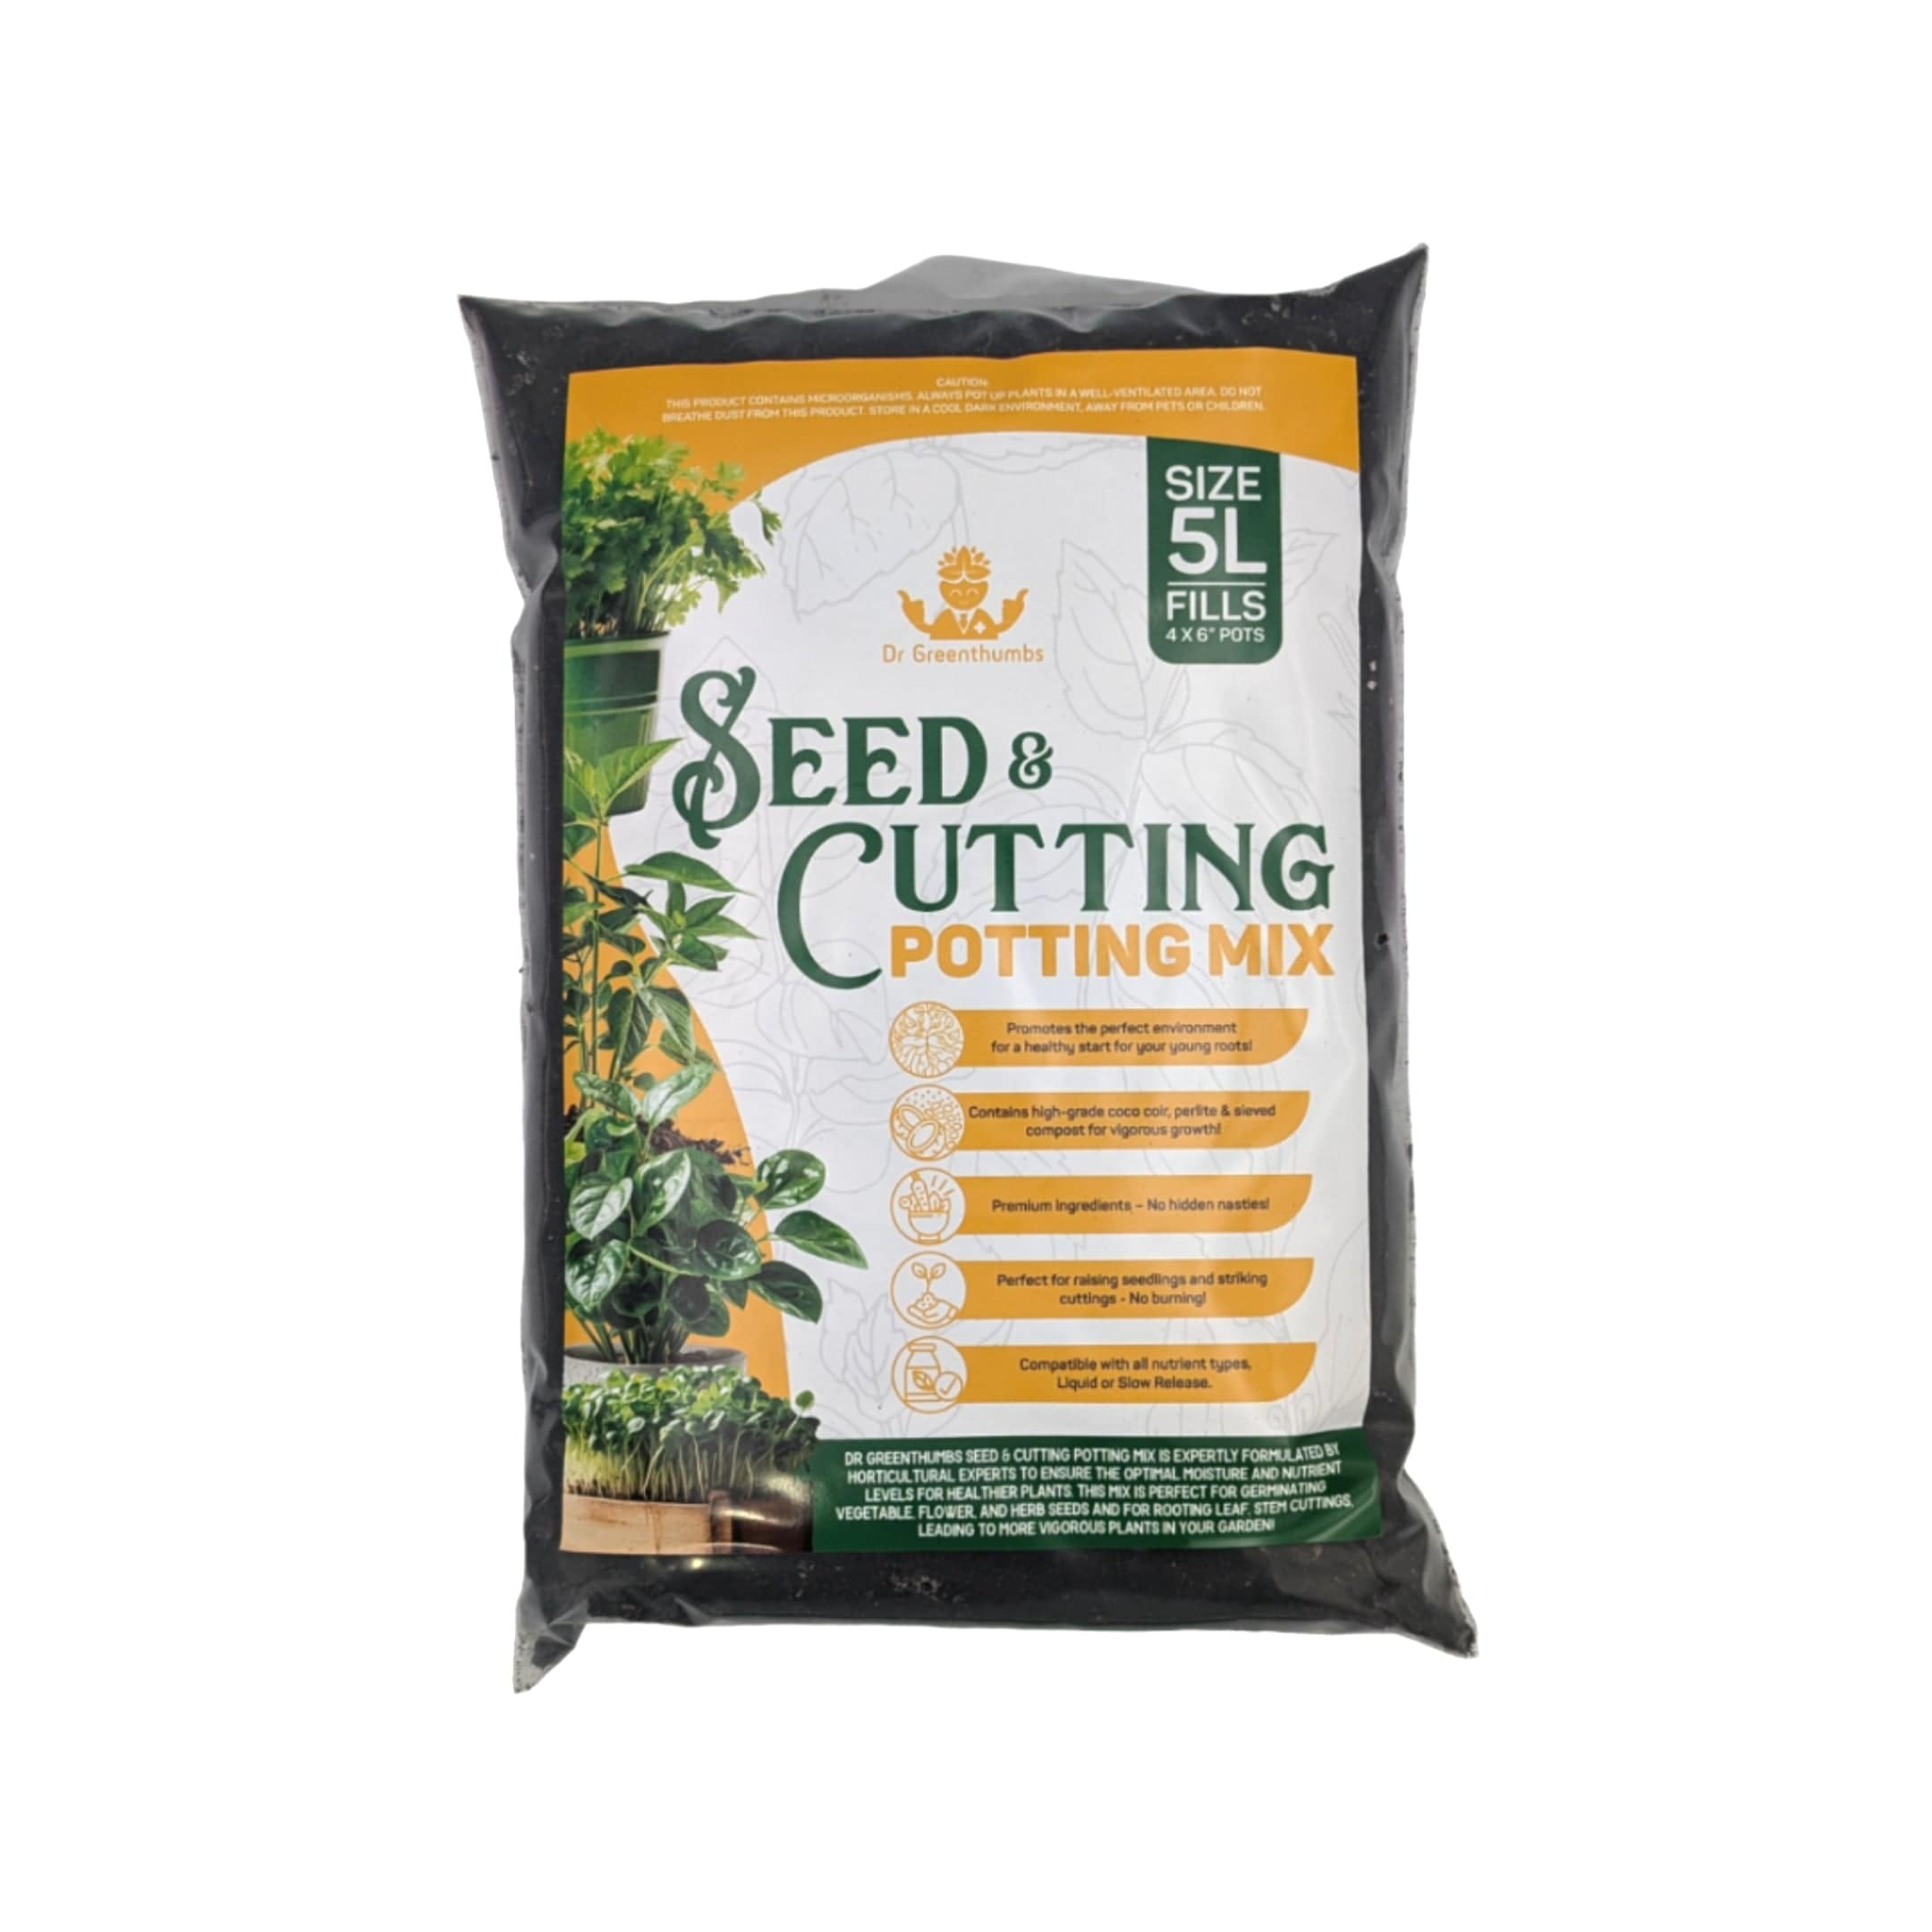
If your soil is looking tired and depleted, it's time for some TLC. Mix in some fresh organic potting mix or compost to reintroduce beneficial microbes and organic matter.
Step 5: Monitor and Adjust
Keep an eye on your plants over the next couple of weeks. New growth should show improvement first, then the existing leaves will start looking healthier. If things don't improve, you might be dealing with a different deficiency or root problems.
Not Always a Nutrient Deficiency — Other Common Causes
Before you assume it’s a deficiency, run through this quick triage:
☀️ Light Levels
Too little light can make leaves yellow or pale, especially in lower-light indoor spots. If you’ve recently moved the plant or the season changed, check how much indirect light it actually gets.
💧 Watering Patterns
Overwatering can wash nutrients out or drown roots. Underwatering stresses plants and mimics deficiency symptoms. Aim for consistent moisture — not sodden, not dry as a bone.
🌱 Rootbound Pots
Plants stuck in small pots run out of eating space — no matter how much fertiliser you give them. A quick repot into a slightly larger pot with fresh mix can make a world of difference.
🐛 Pests & Disease
Mites, thrips or root rot often show signs that look like nutrient issues. Before feeding, check for tiny critters or mushy roots.
This checklist helps stop misdiagnosis — because sometimes the real problem isn’t what you feed, but what you fix.
Prevention: The Smart Gardener's Approach
The best time to fix nutrient deficiencies is before they happen. Here's how to keep your family garden consistently healthy:
Feed the soil, not just the plants: Plants don't actually eat fertiliser—they eat nutrients that soil microbes break down and make available. Keep your soil biology happy with regular additions of compost, worm castings, and organic matter.
Water wisely: Chlorinated tap water can interfere with nutrient uptake and kill beneficial soil microbes. Use rainwater when possible, or let tap water sit for 24 hours before using it.
Time your feeding: Set a fortnightly reminder to feed your plants. Consistency beats intensity every time.
Know your soil: Different areas of Australia have different soil challenges. Sydney's sandy soils need different treatment than Melbourne's clay or Perth's sandy coastal conditions.
The Secret Weapon: Seasonal Timing
Here's something most gardeners don't consider: timing your nutrient program with Australia's seasons.
Spring (September-November): This is when your plants are waking up and need nitrogen for new growth. It's also the perfect time to establish new plants in nutrient-rich soil.
Summer (December-February): Focus on potassium and trace elements to help plants handle heat stress. Keep feeding light but consistent.
Autumn (March-May): Phosphorus becomes crucial as plants prepare for dormancy and next year's growth.
Winter (June-August): Reduce feeding but don't stop completely—even dormant plants need some nutrition.
Your Gardens Health Starts in the Soil
Remember, when you're growing an indoor jungle for your family, plant health directly impacts nutrition. A calcium-deficient aroid plant won't produce thick, lush leaves. A nitrogen-starved monstera won't have the energy to throw out a gorgeous new fenestrated leaf.
By keeping your plants properly fed with quality organic nutrients, you're not just growing prettier plants—you're growing more nutritious food for the people you care about most.
Ready to Transform Your Garden?
Don't let another growing season slip by with disappointing results. Spring planting season is just around the corner, and now's the perfect time to get your soil sorted before the rush begins.
Start with the basics: Grab some Dr Greenthumbs GreenSpace Liquid Fertiliser and give your plants the complete nutrition they're craving.
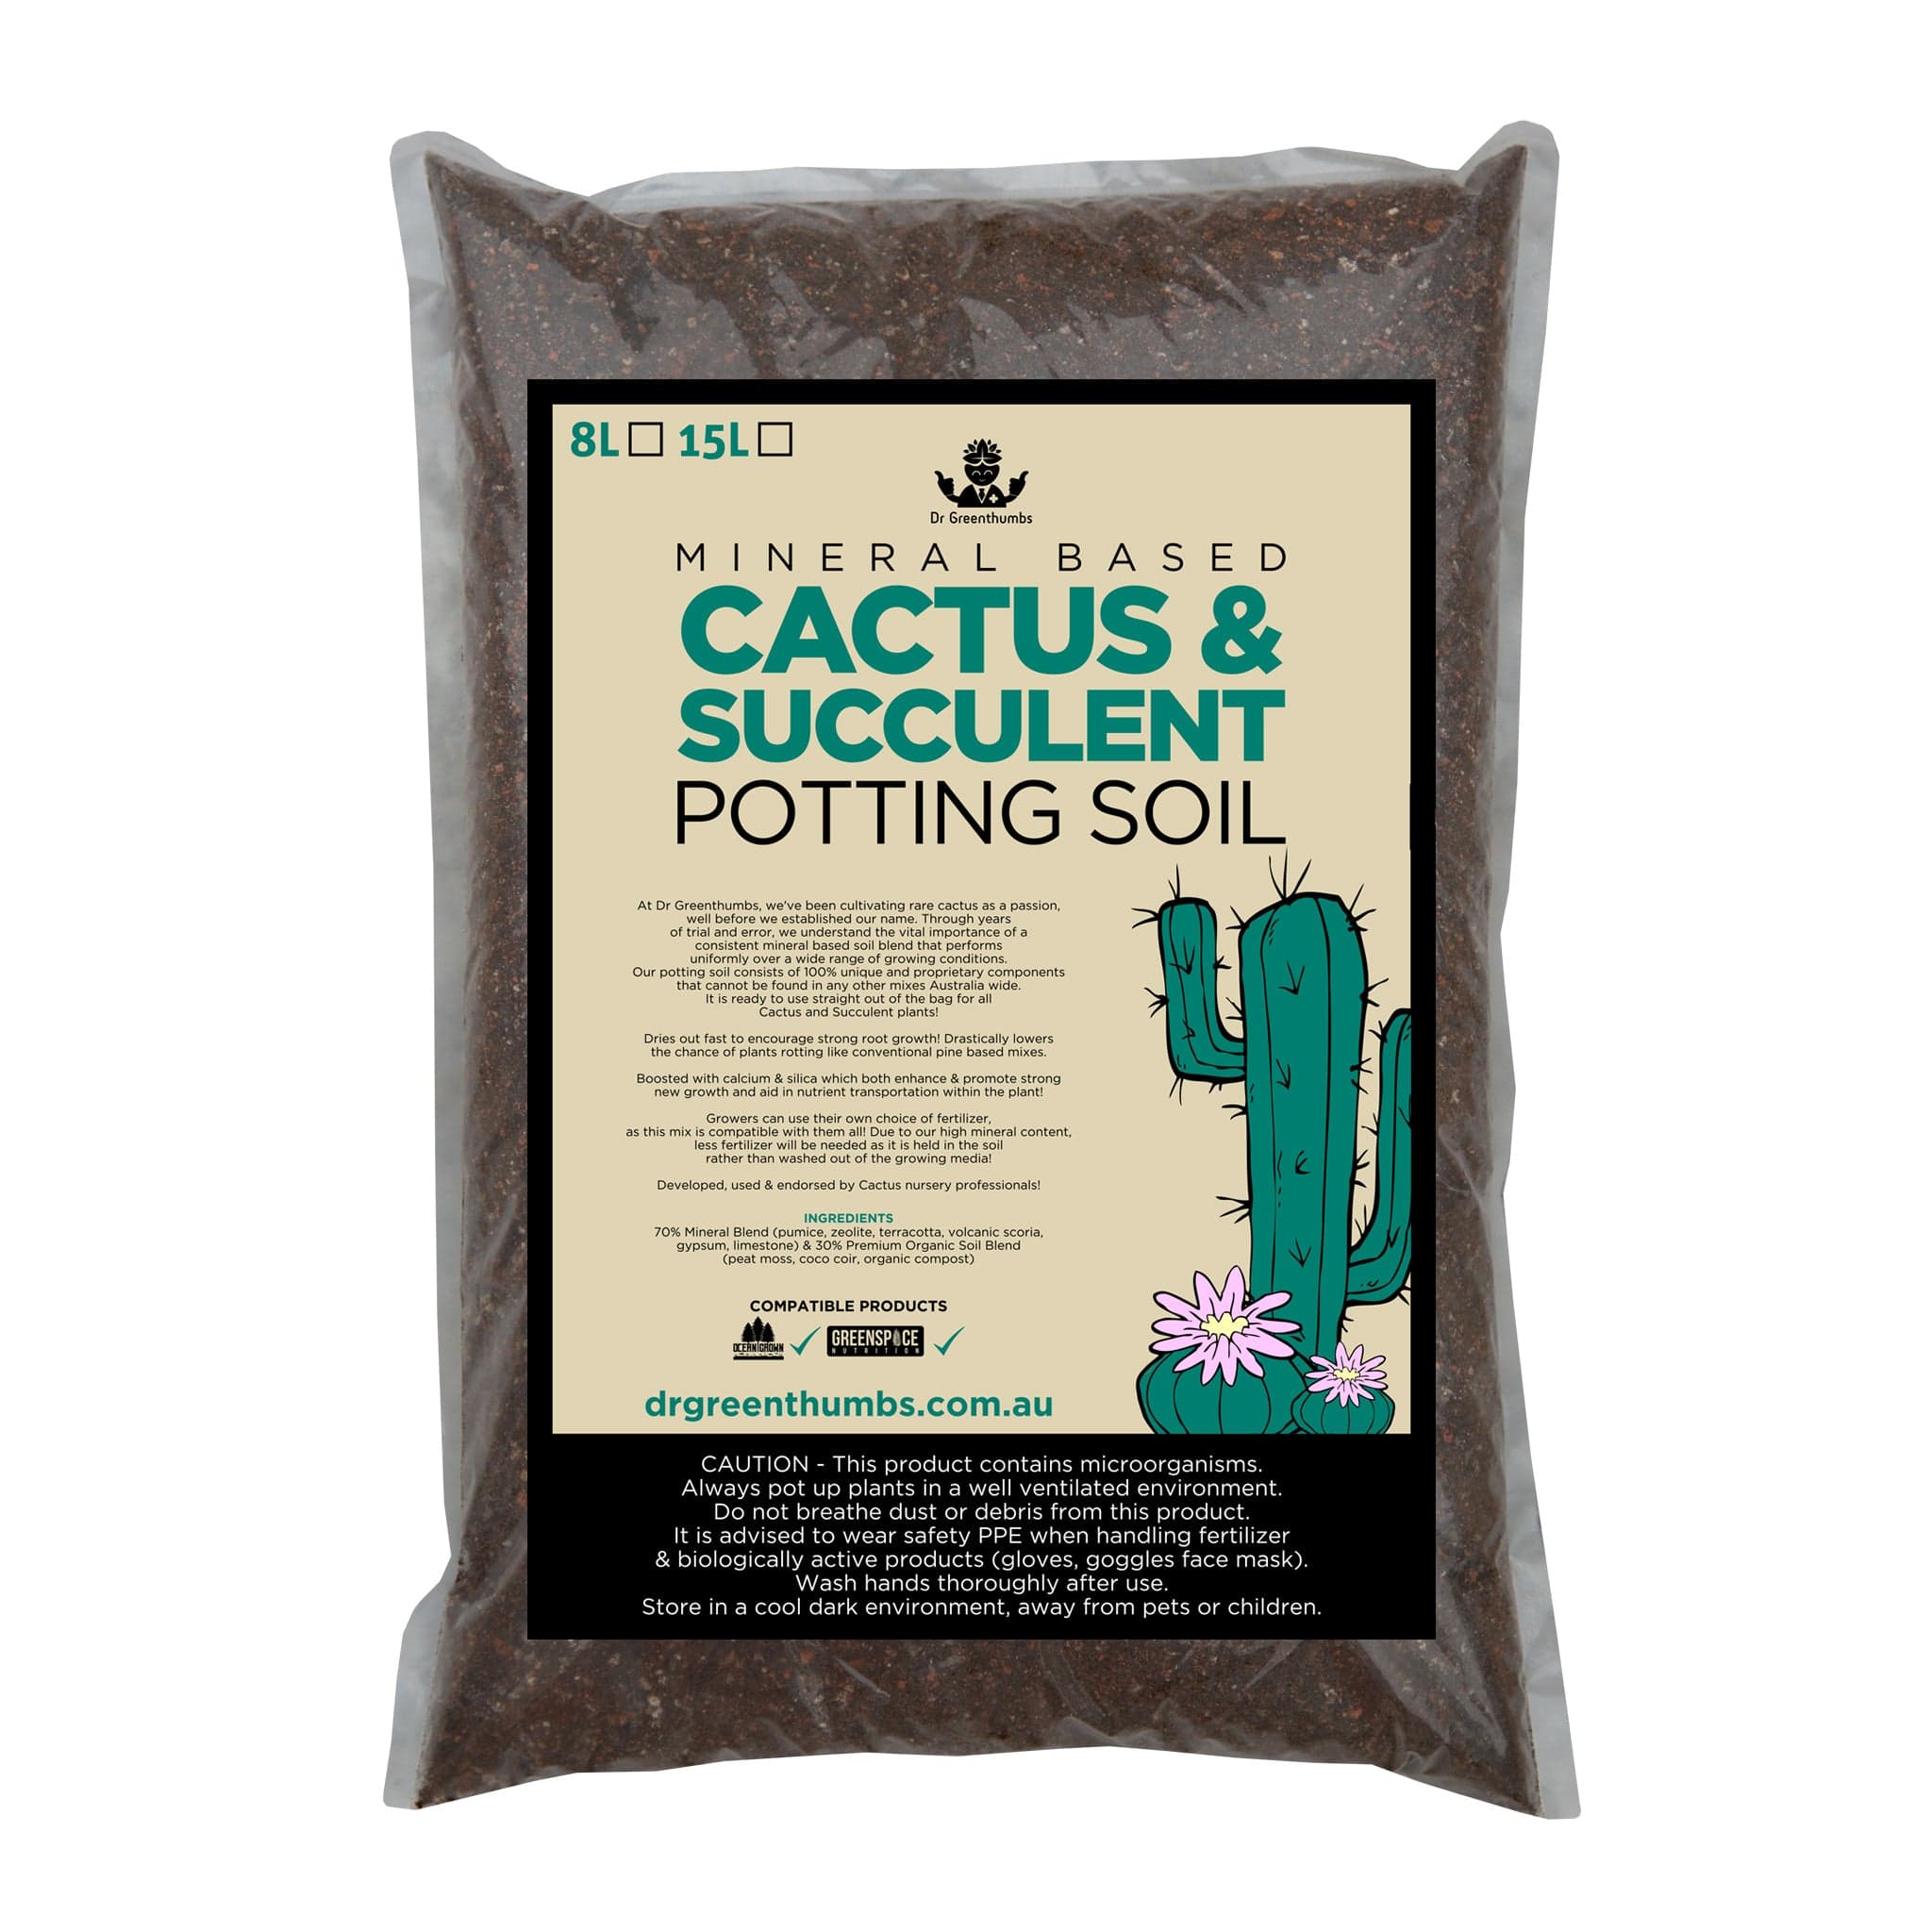
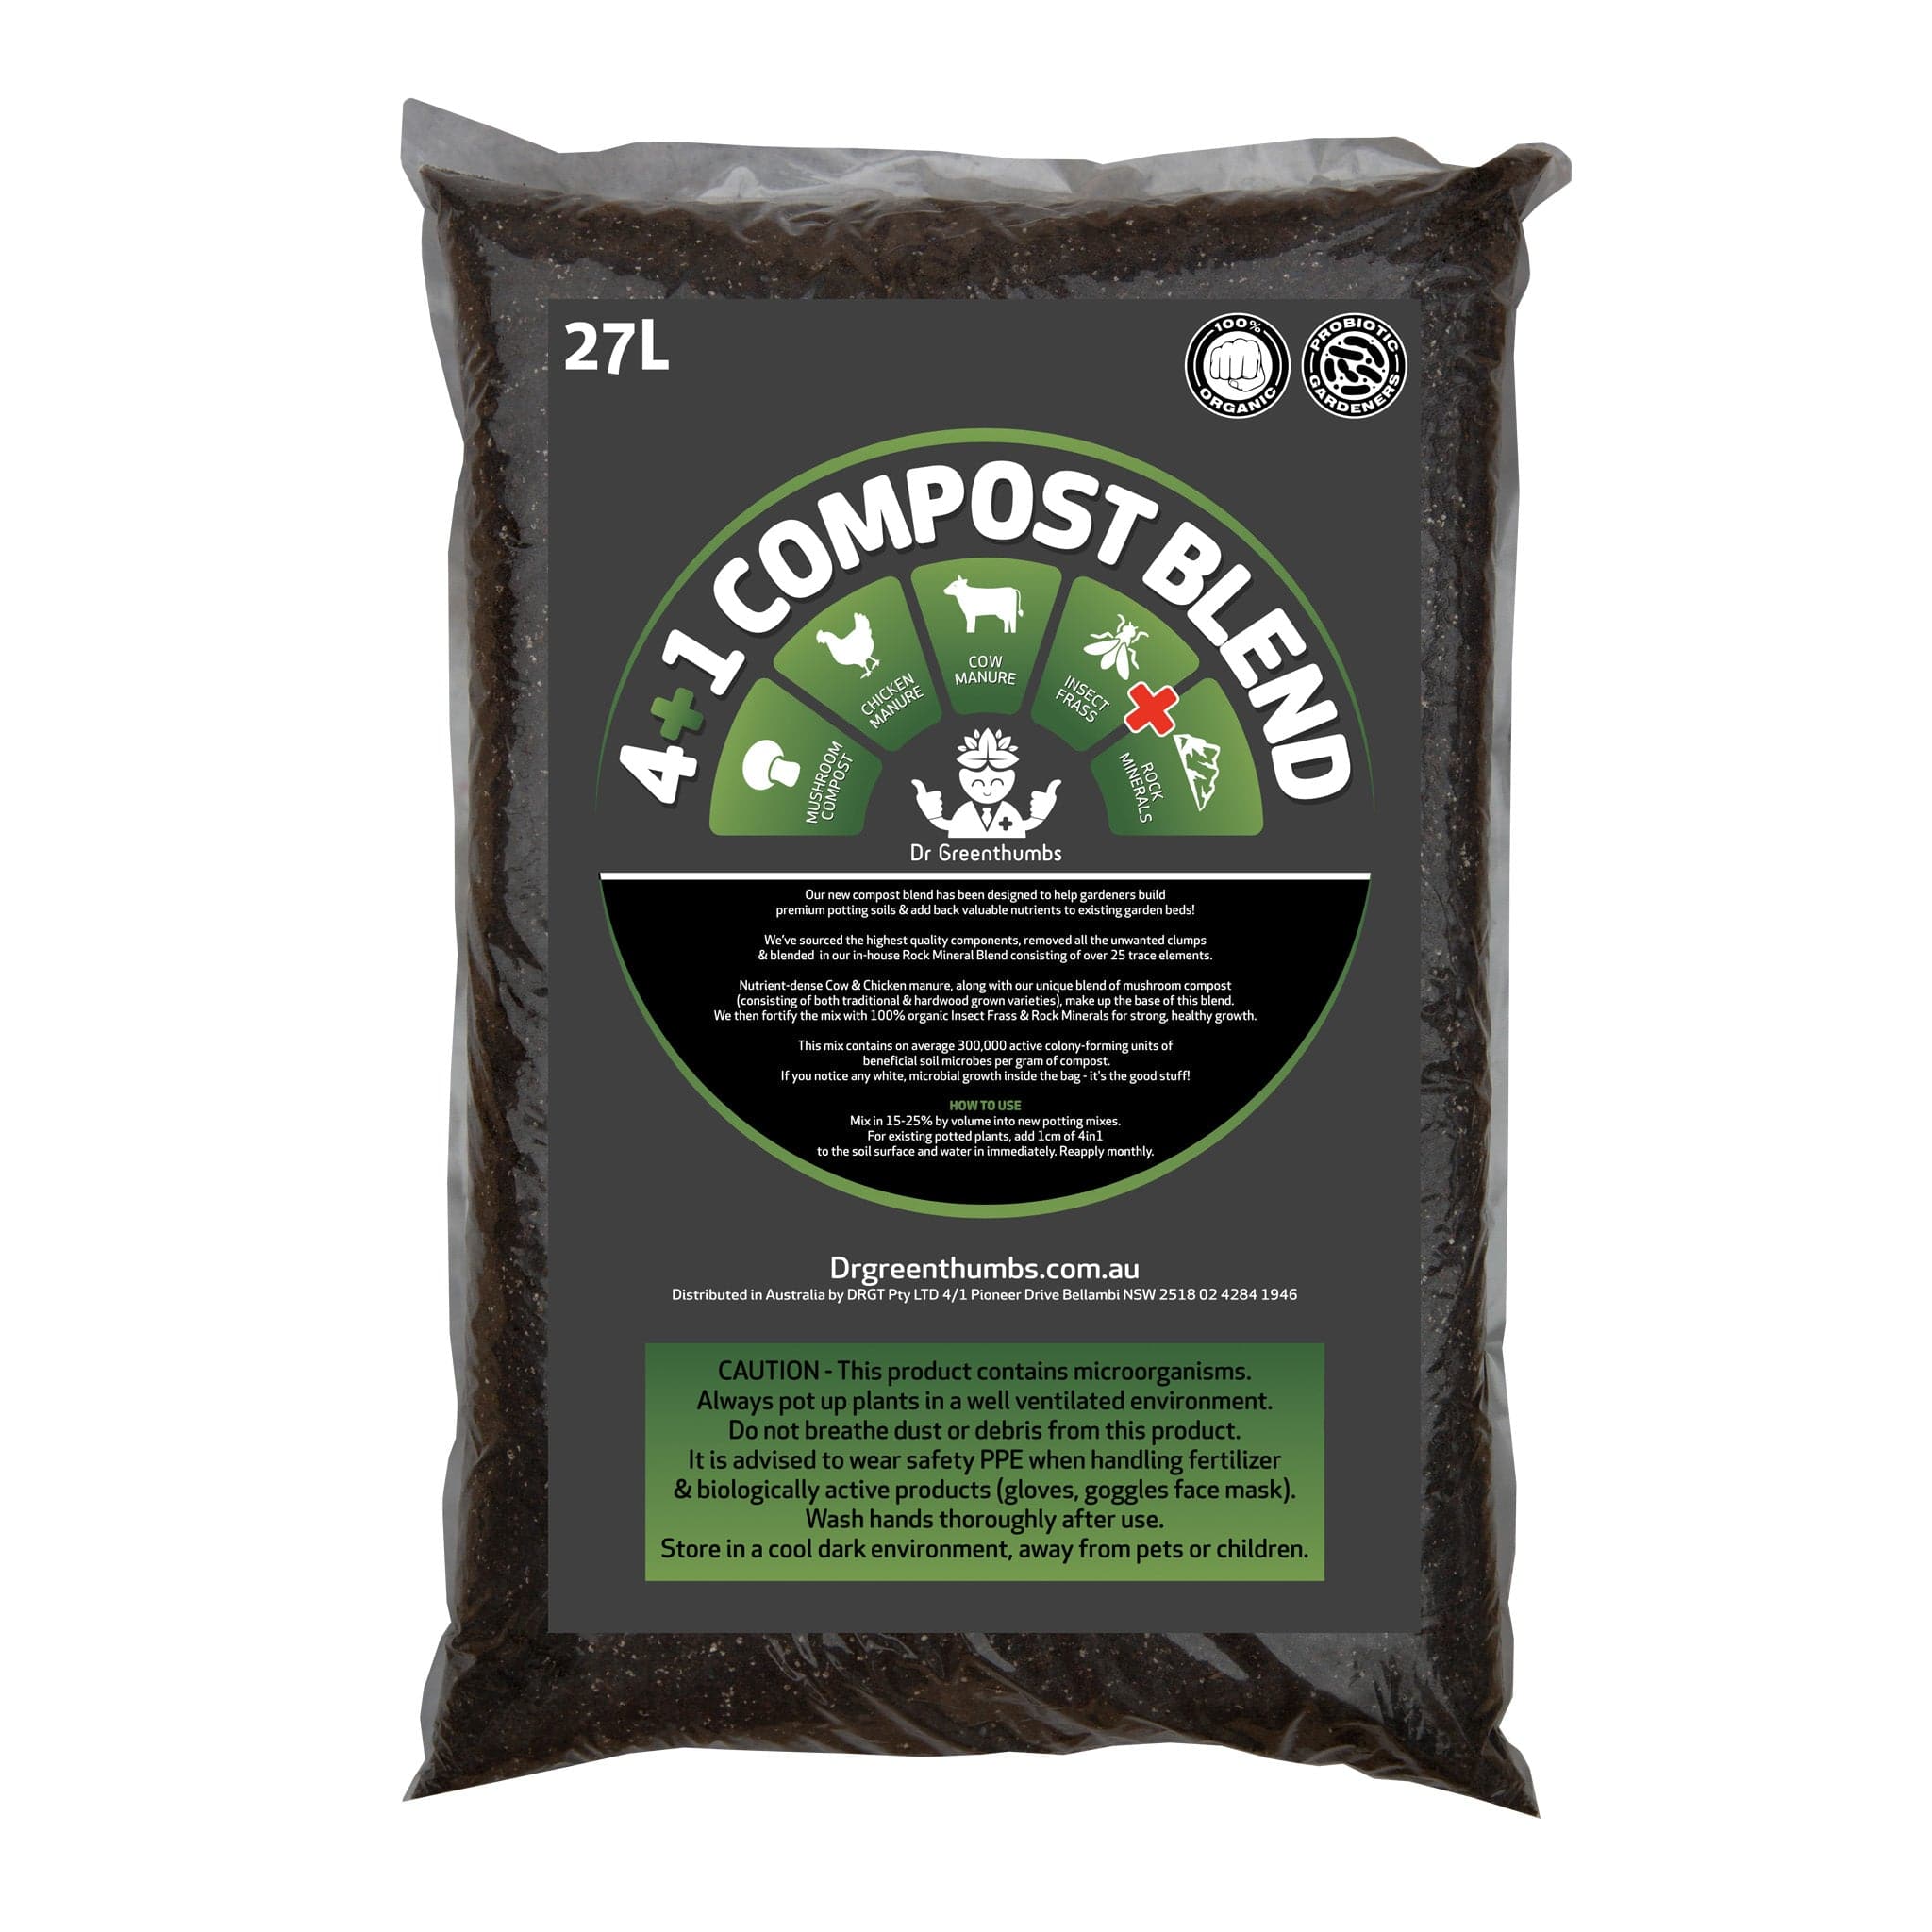
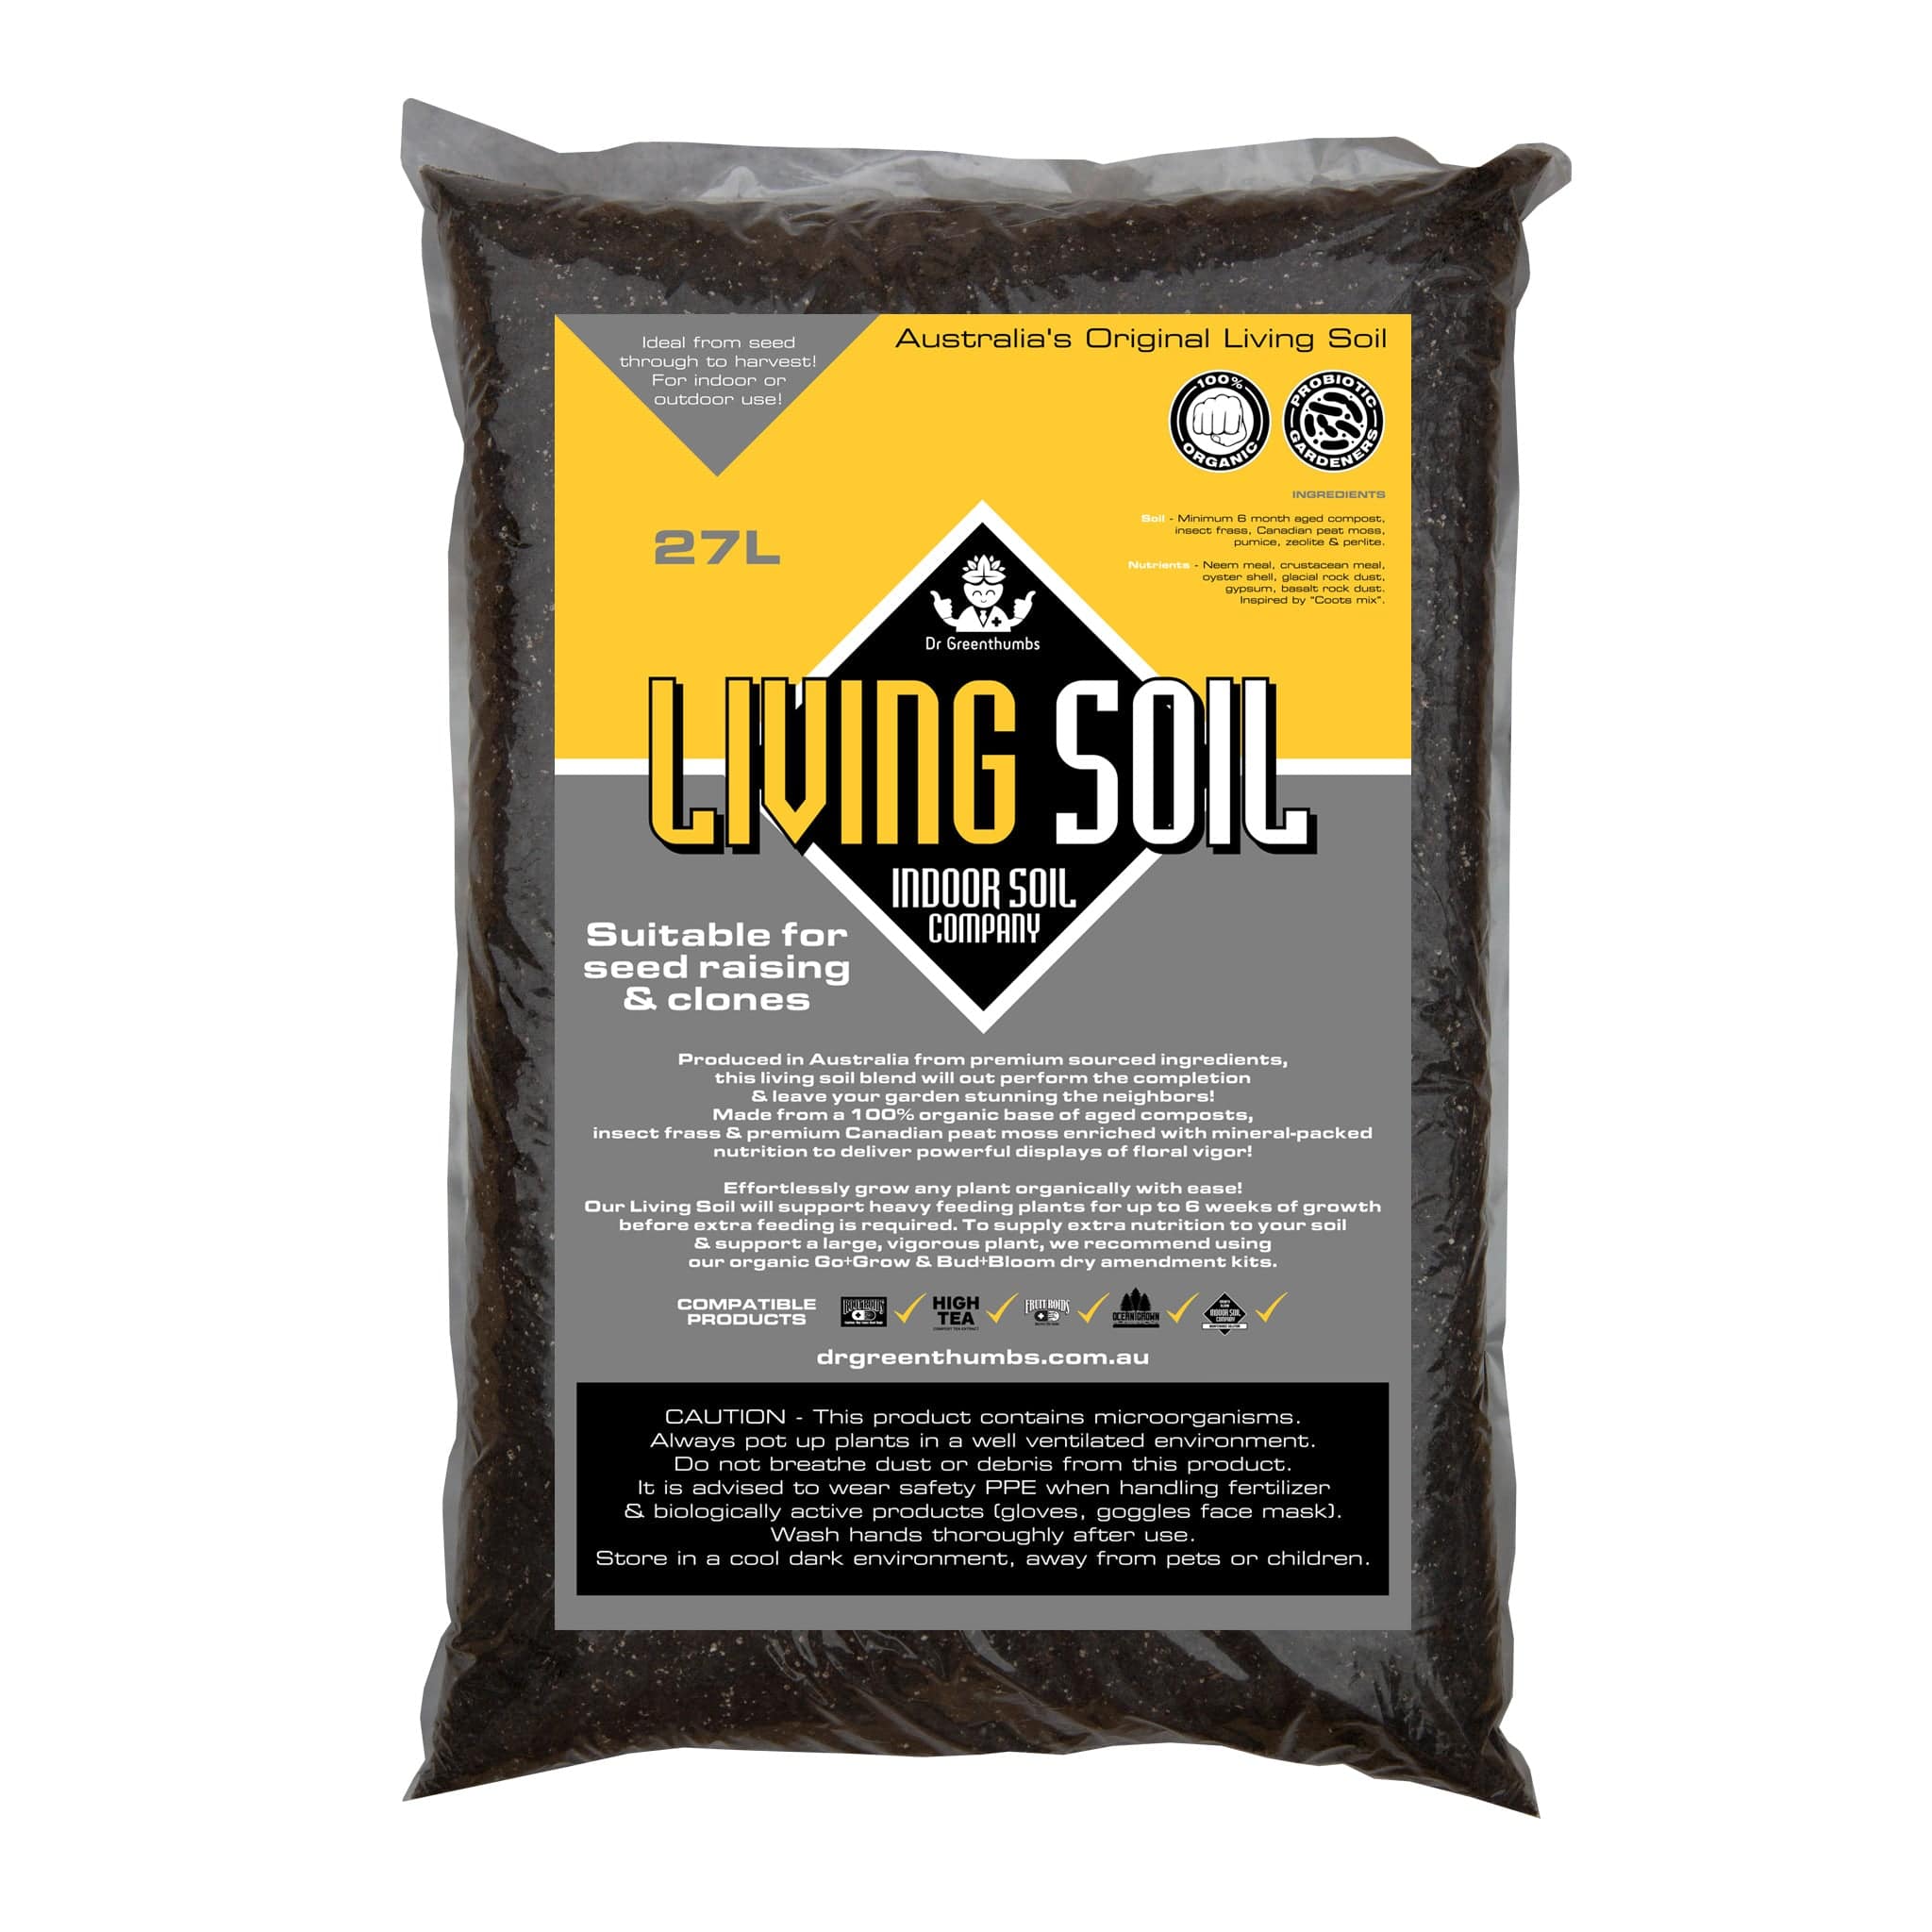
Build for the future: Set up your soil for long-term success with our quality chunky potting soil that'll keep producing healthy plants season after season.
Get the right tools: Monitor your environment with a soil moisture meter so you know exactly when your plants need water and nutrients.
Ready to get started?
Browse our complete range of indoor plant care and easily transform your garden from struggling to thriving with a few simple, Aussie-made products.
And if you want to expand your collection with safe, fuss-free greenery, don’t miss - Your Family's Safe Haven: 12 Low-Light Indoor Plants That Love Australian Homes (And Won't Harm Your Pets).
Next reads for fixing nutrient issues and keeping indoor plants on track
Seeing yellow leaves, weak growth or other deficiency signs? These guides will help you choose the right fertiliser, improve your potting mix and build a stronger indoor care routine.
- Indoor Plant Fertiliser Guide Australia
- Liquid vs Slow-Release Plant Food
- Indoor Potting Mix Australia
- Indoor Plant Care Aussie Guide
About the Author