
Got a compost heap that smells sad and looks colder than a Tassie winter? Add a punch of high-nitrogen “starter” ingredients — think soybean meal, insect frass or fish hydrolysate — then follow the quick-start steps below. You’ll see steam and smell sweet, earthy goodness inside a week.
Table of Contents
- What exactly is a compost starter?
- How starters work (the geeky bit)
- Which Compost System Is Best?
- Quick Compost Restart Checklist (10-Minute Fix)
- The 9 best starter materials for Aussie gardens
- Quick-start method (10-minute job)
- What to Compost (and What to Keep Out)
- Troubleshooting your “still-cold” heap
- Keeping Pests and Smells Under Control
- When Is Compost Ready to Use?
- A Few Practical Tips
- FAQ
- Next reads for faster, richer compost and living soil
What exactly is a compost starter?
A compost starter is simply any ingredient rich in the microbes or the food those microbes crave (mainly nitrogen). By spiking a carbon-heavy, sluggish pile with extra nitrogen, moisture and oxygen, you tip conditions back toward the ideal 25-30 : 1 carbon-to-nitrogen (C:N) ratio where bacteria breed like crazy and temps climb to 55–65 °C — hot enough to kill weeds and pathogens.
How starters work (the geeky bit)
-
Fuel: Nitrogen acts like espresso for bacteria, letting them multiply fast.
-
Heat: Microbial party = metabolic heat. More heat = faster breakdown.
-
Humus: Rapid decay knits carbon and nitrogen into stable humus your veggies love.
Skip the jargon? Scroll to the next heading for the shopping list.
Which Compost System Is Best?
You don’t need a fancy setup to make great compost, but different systems suit different spaces and lifestyles.
-
Open heap – Best for large gardens with plenty of space. Cheap and effective, but slower and less pest-resistant.
-
Compost bin – Great all-round option for suburban backyards. Retains heat well and keeps things tidy.
-
Compost tumbler – Ideal if you want faster results with less effort. Easy to turn, but smaller capacity.
-
Worm farm or bokashi – Best for small spaces or units. Handles food scraps well but works differently to traditional composting.
No matter the system, the biology inside the compost is what really does the work.
Quick Compost Restart Checklist (10-Minute Fix)
If your compost pile has stalled, smells bad, or just isn’t heating up, run through this quick checklist first. In most cases, one or two small tweaks are all it needs.
-
Too cold?
Add more nitrogen-rich “greens” (food scraps, manure, fresh lawn clippings) and turn the pile to bring in oxygen. -
Too wet or smelly?
Mix in dry carbon materials like shredded cardboard, straw, or dry leaves. Always cap food scraps with browns. -
Too dry?
Lightly water the pile as you turn it. You’re aiming for the feel of a wrung-out sponge — damp, not dripping. -
Not breaking down evenly?
Chop larger scraps smaller and turn the pile more often to improve airflow. -
Nothing happening at all?
Your pile may simply be low on microbes. This is where a compost starter or biological activator can make a big difference.
Once you’ve ticked these off, your compost should start warming up within a few days.
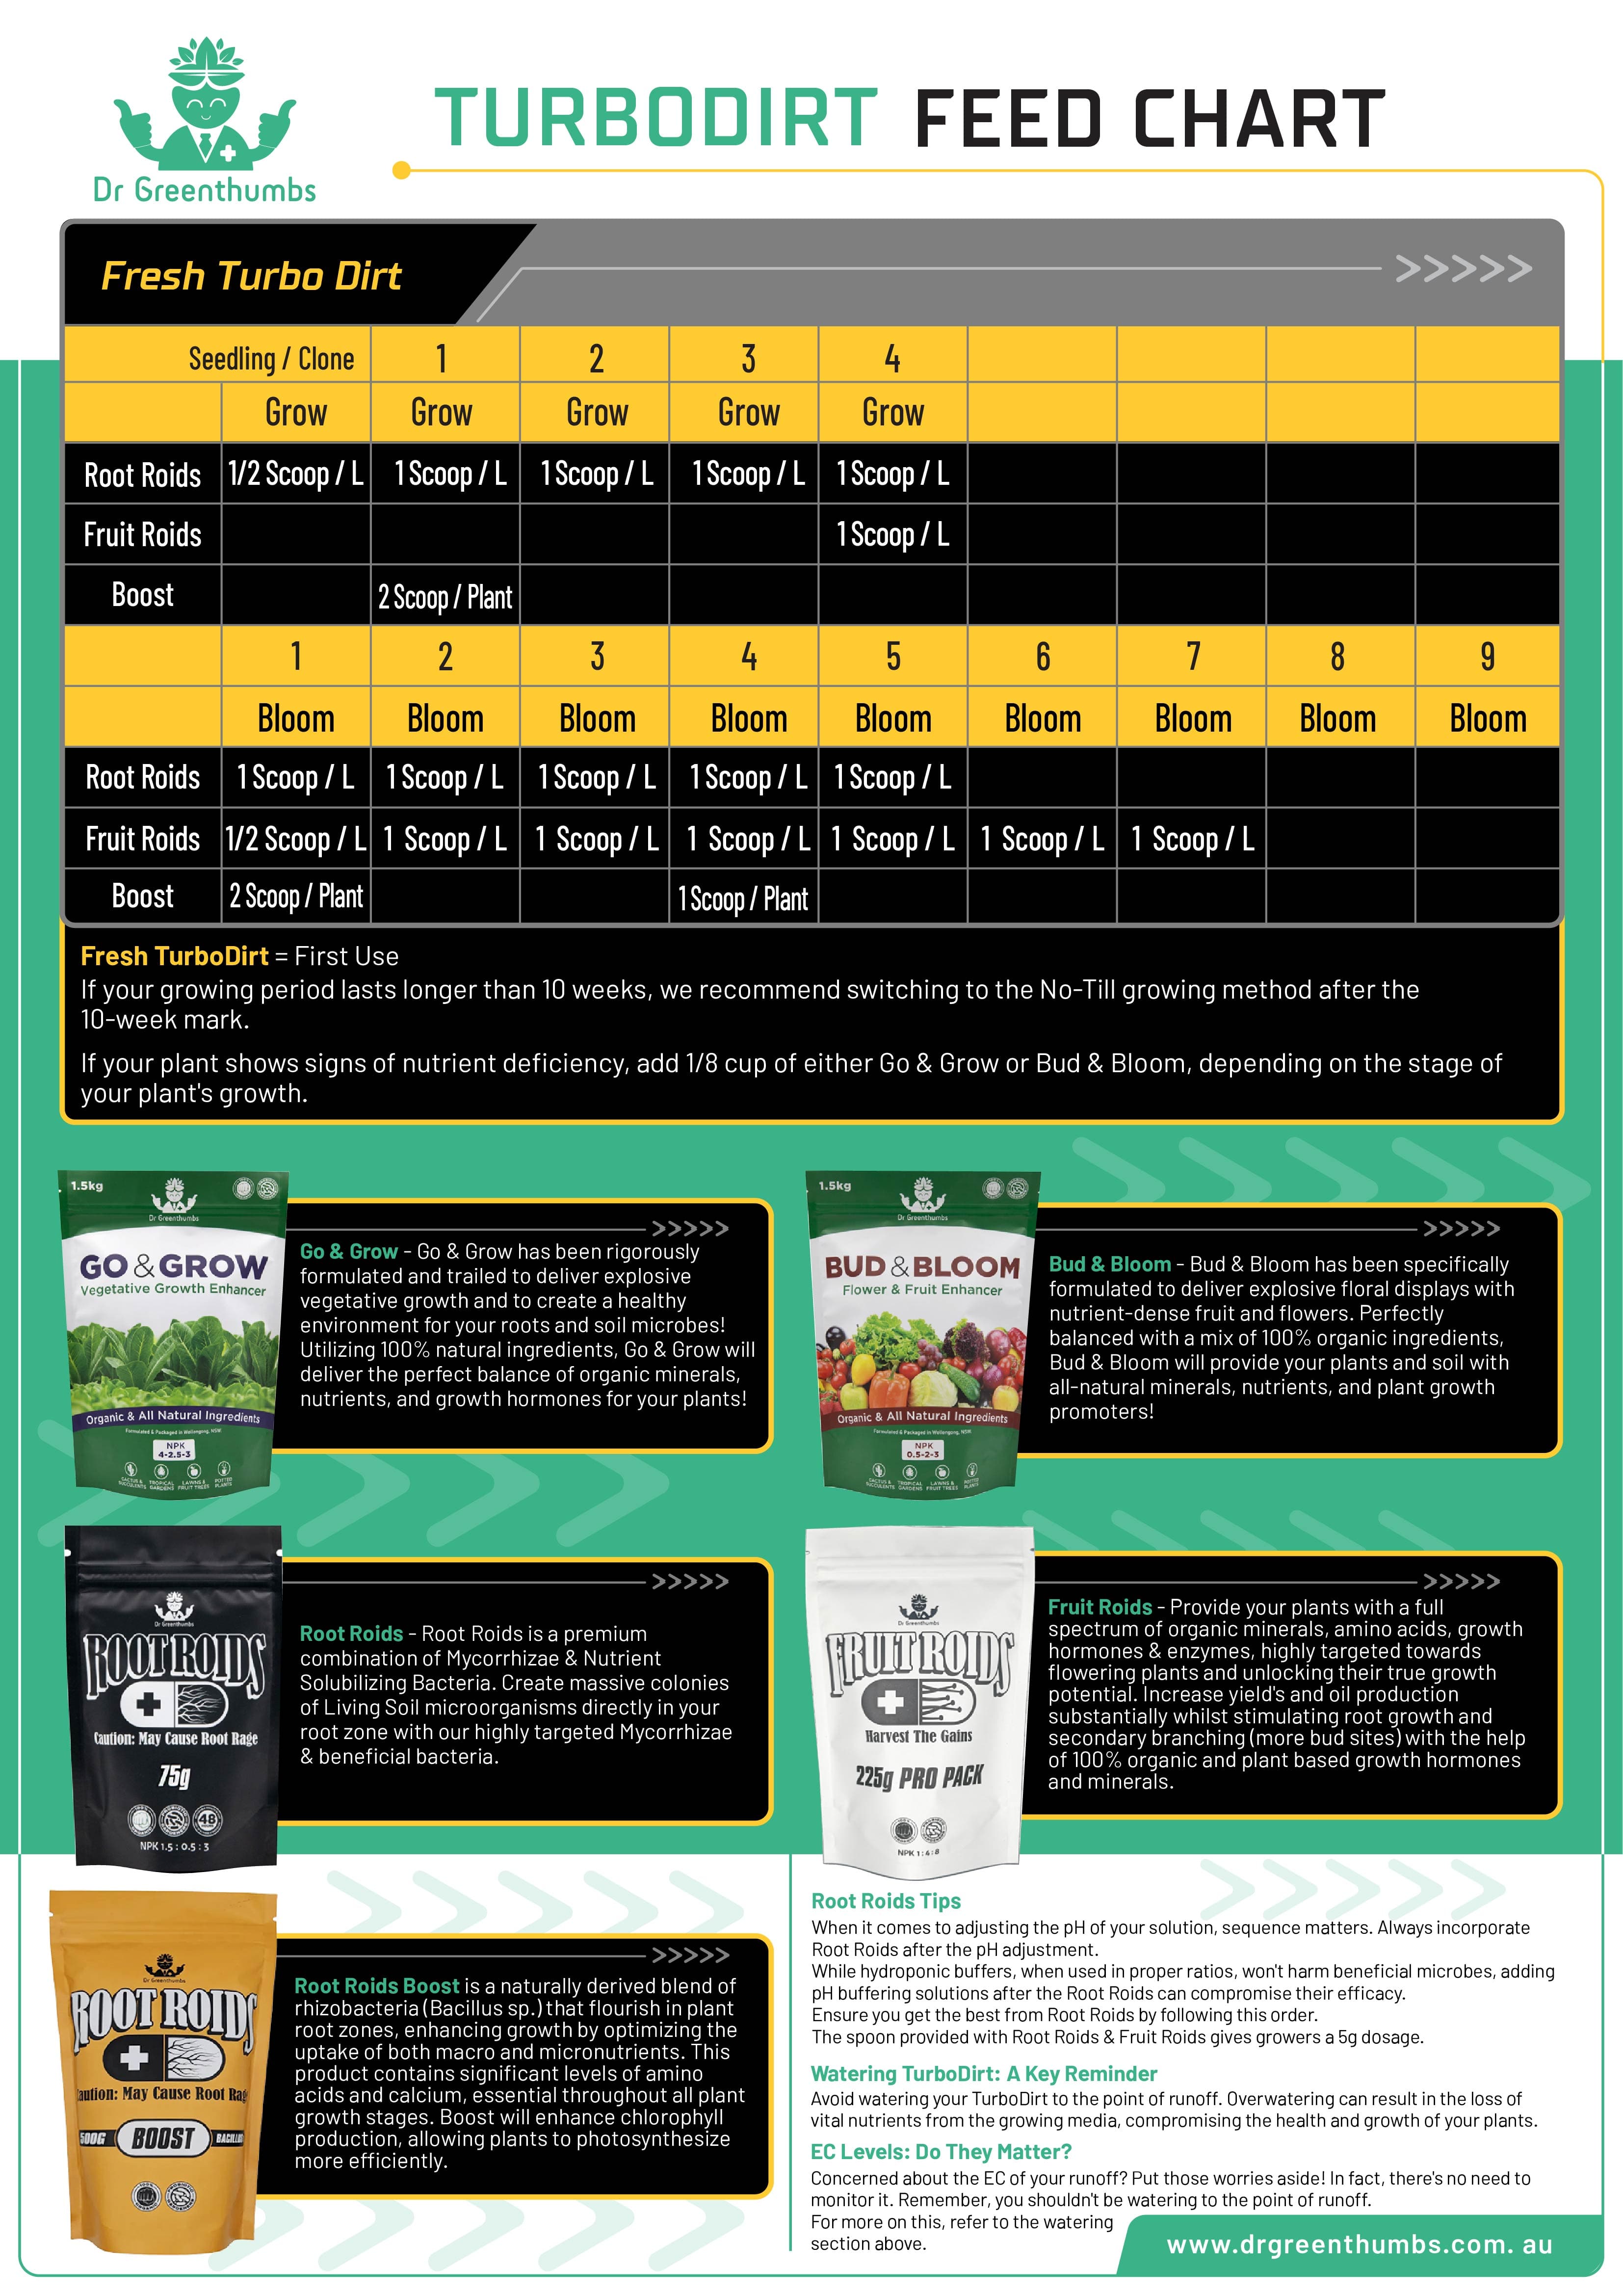
The 9 best starter materials for Aussie gardens
|
Rank |
Starter |
Why it works |
How much to add* |
|---|---|---|---|
|
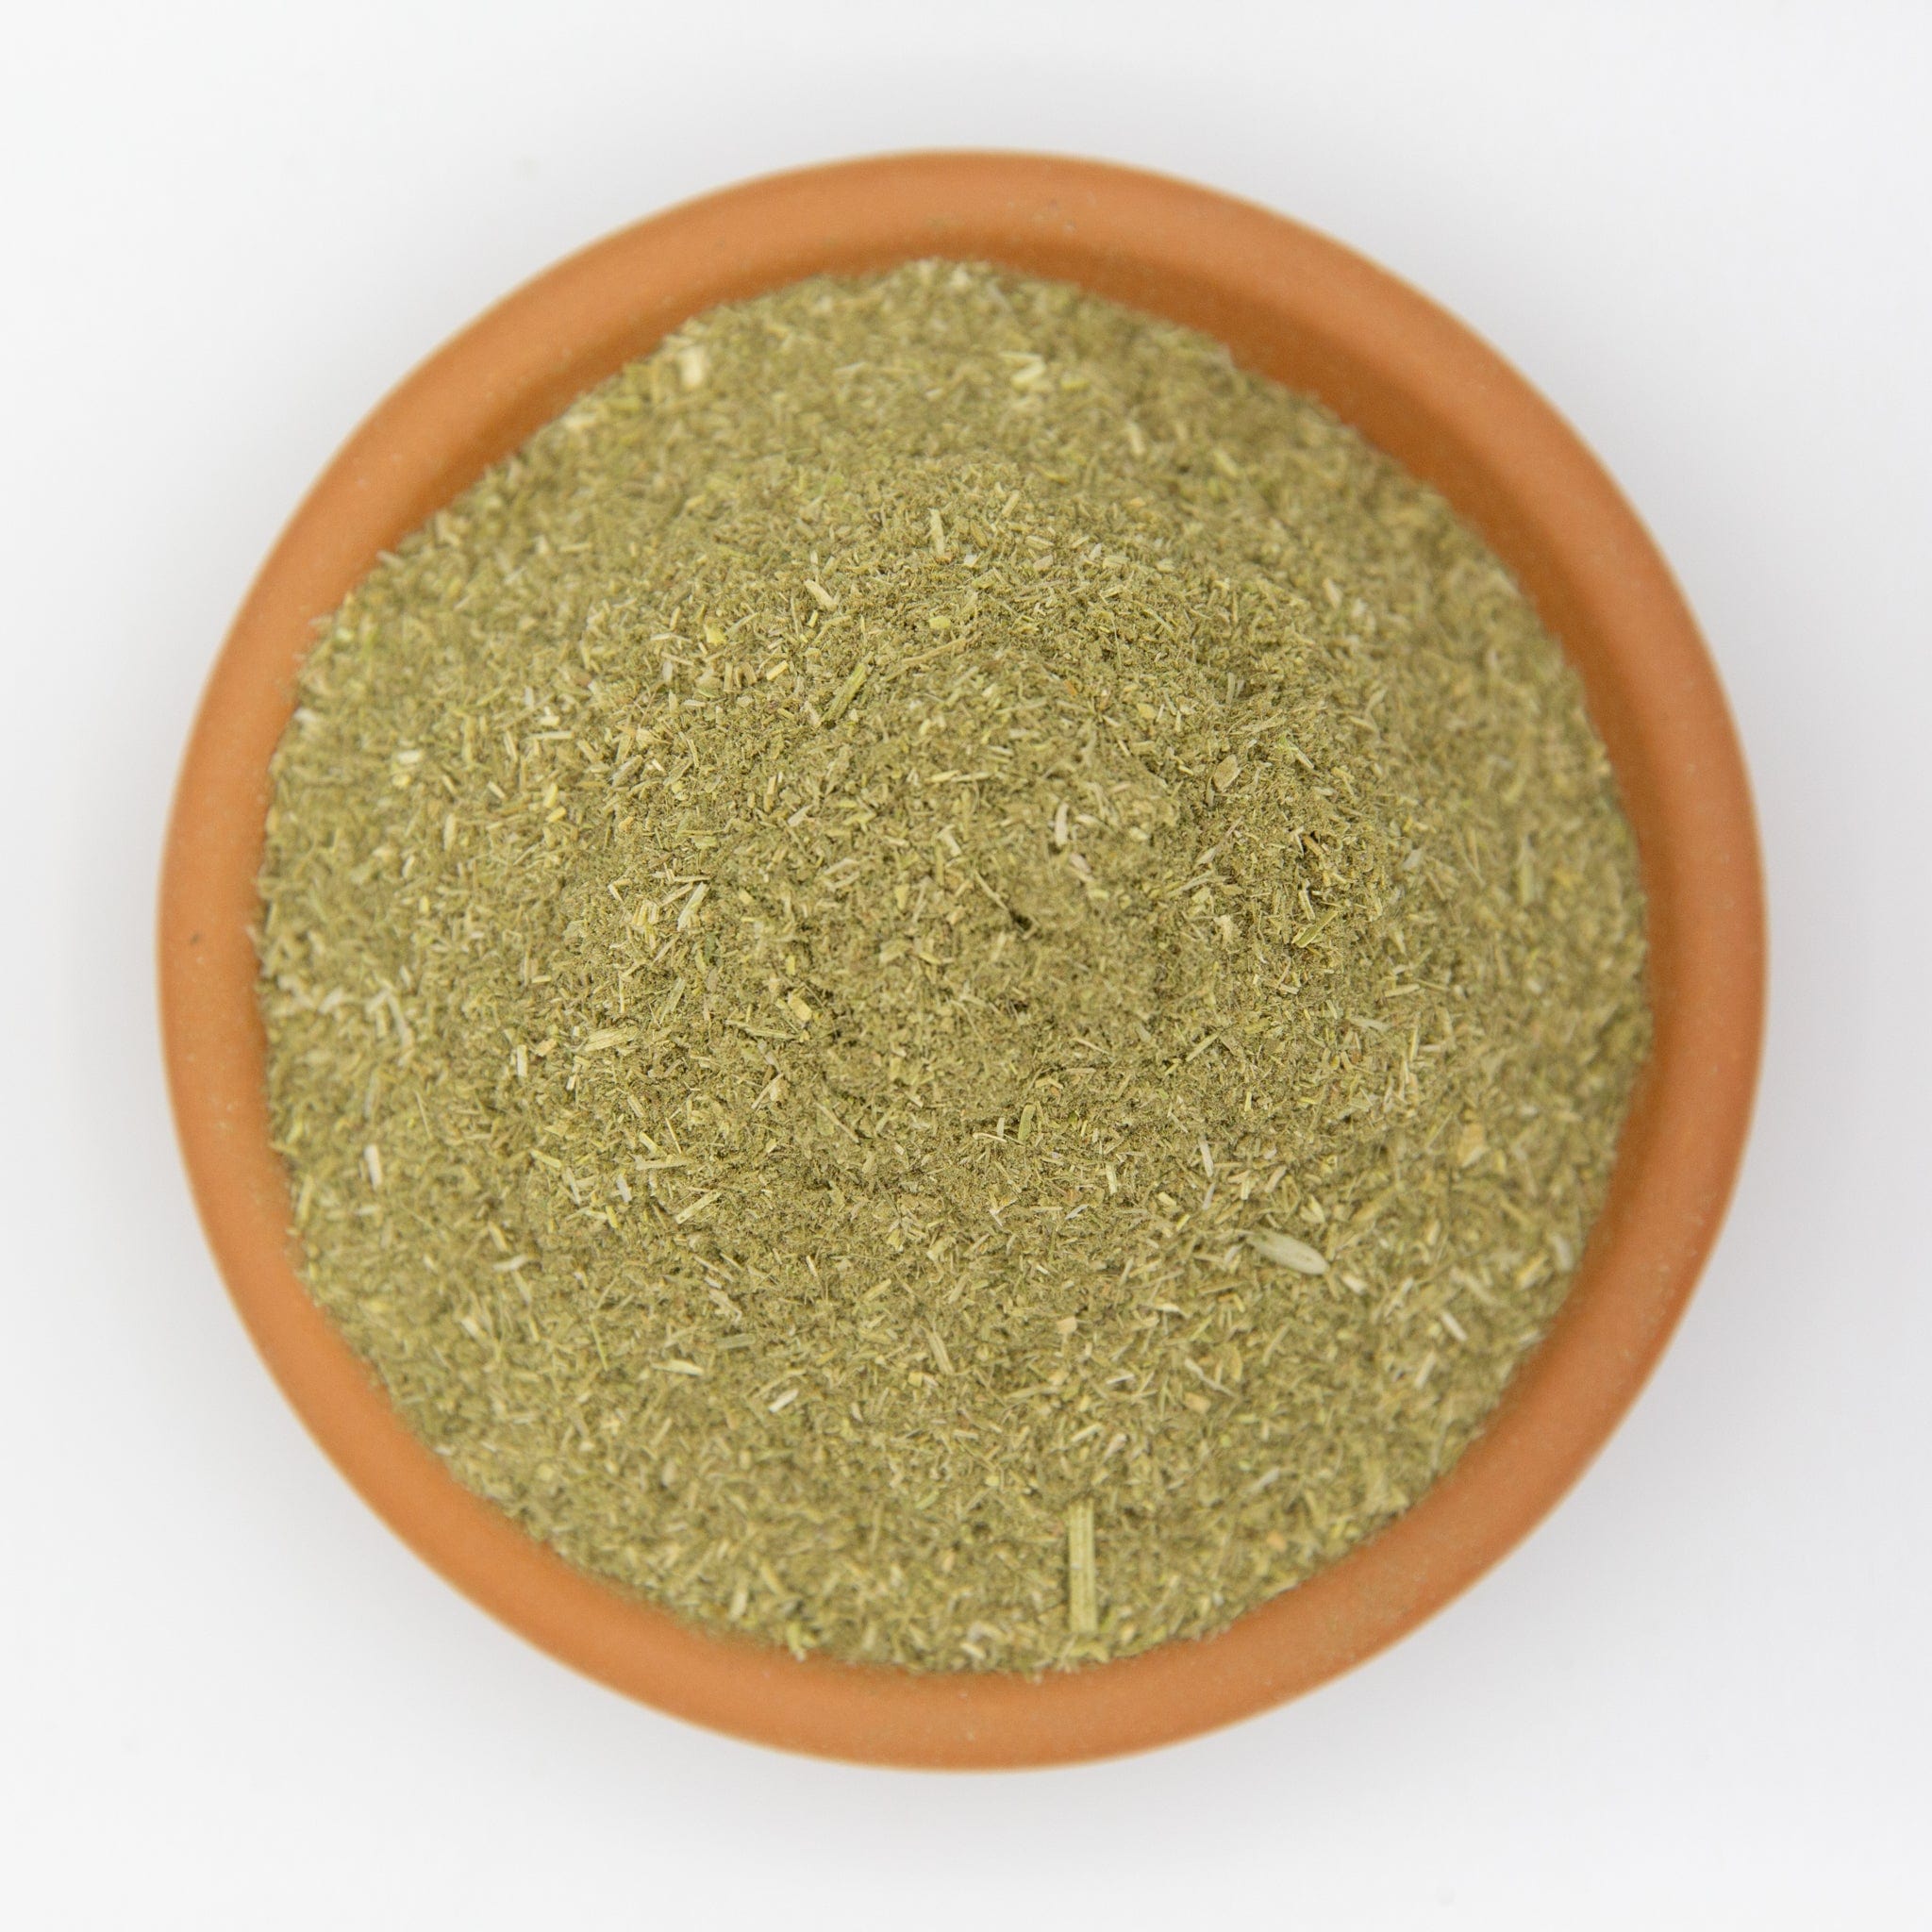
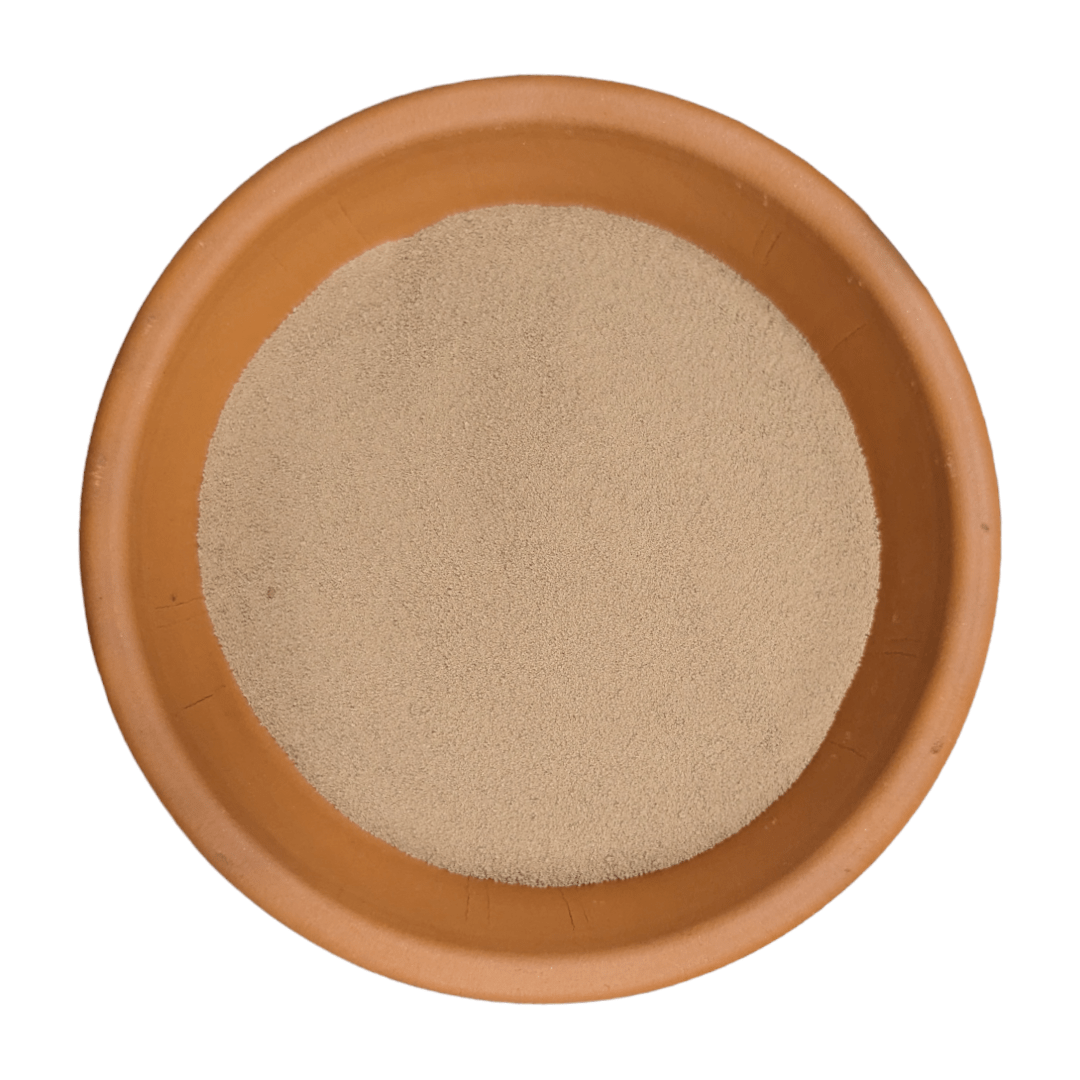
1 |
~7-2-1 NPK, protein feeds thermophilic bacteria fast |
2 cups per 50 L of compost |
|
|
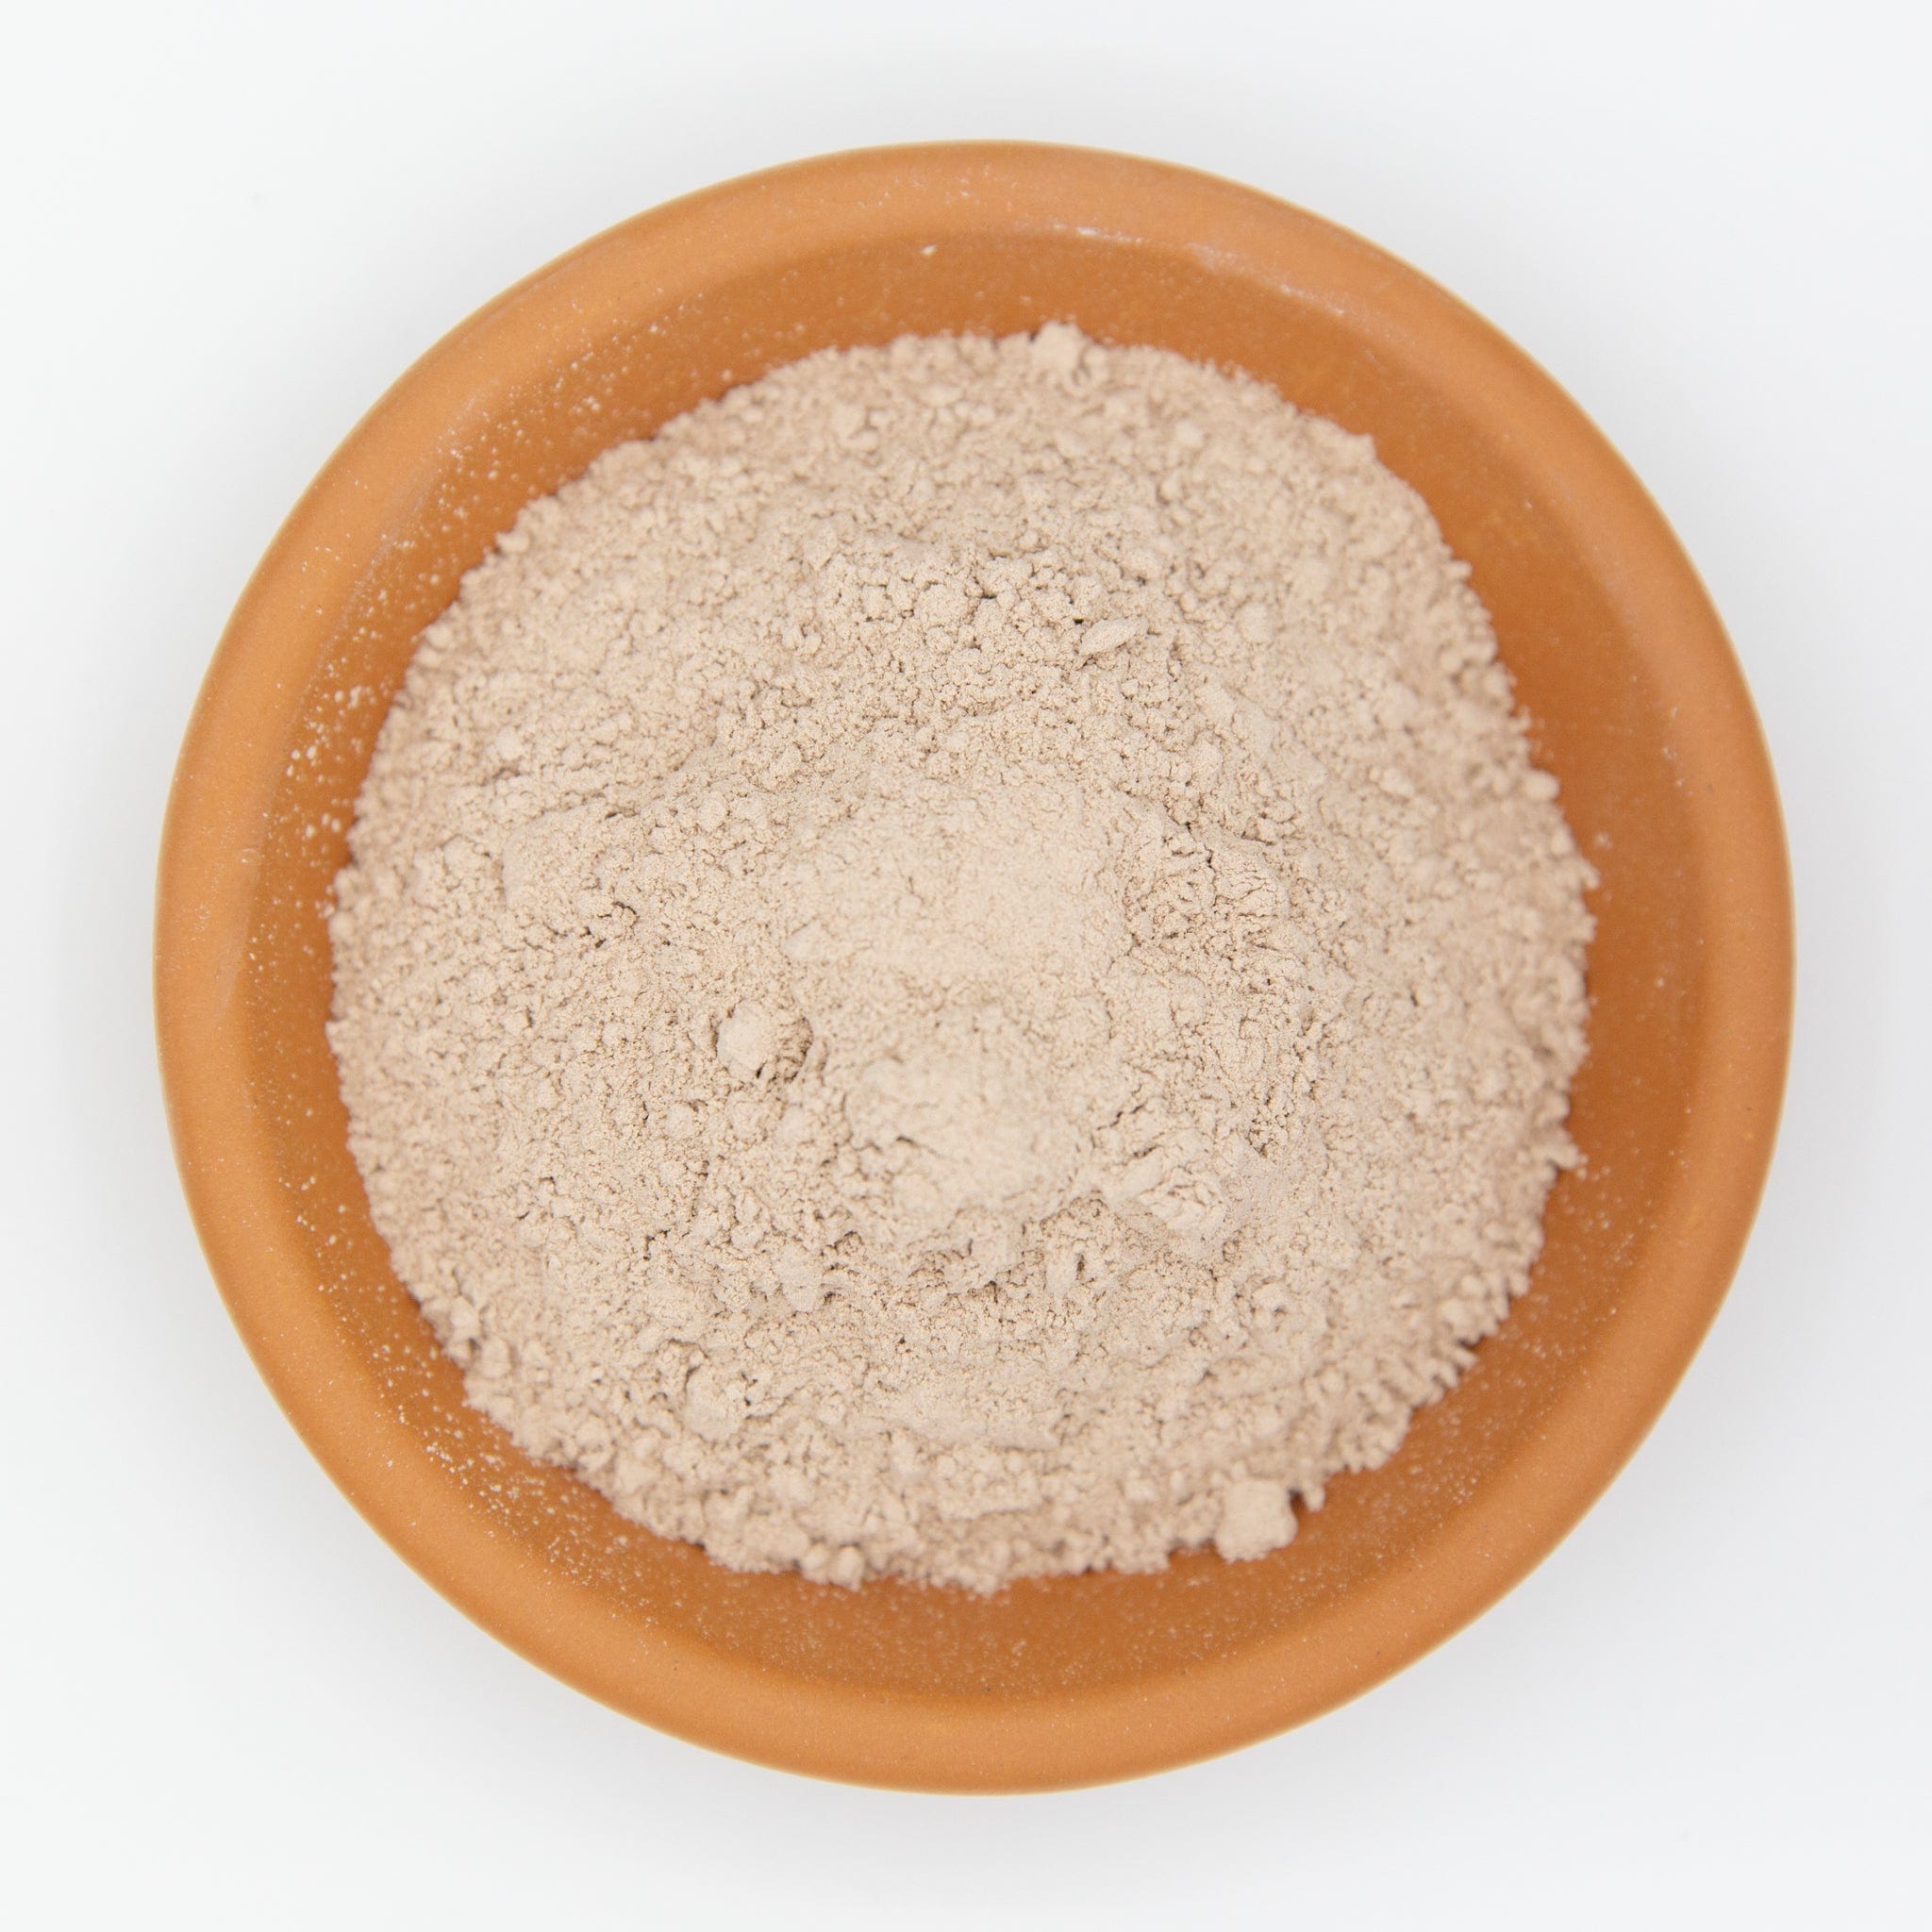
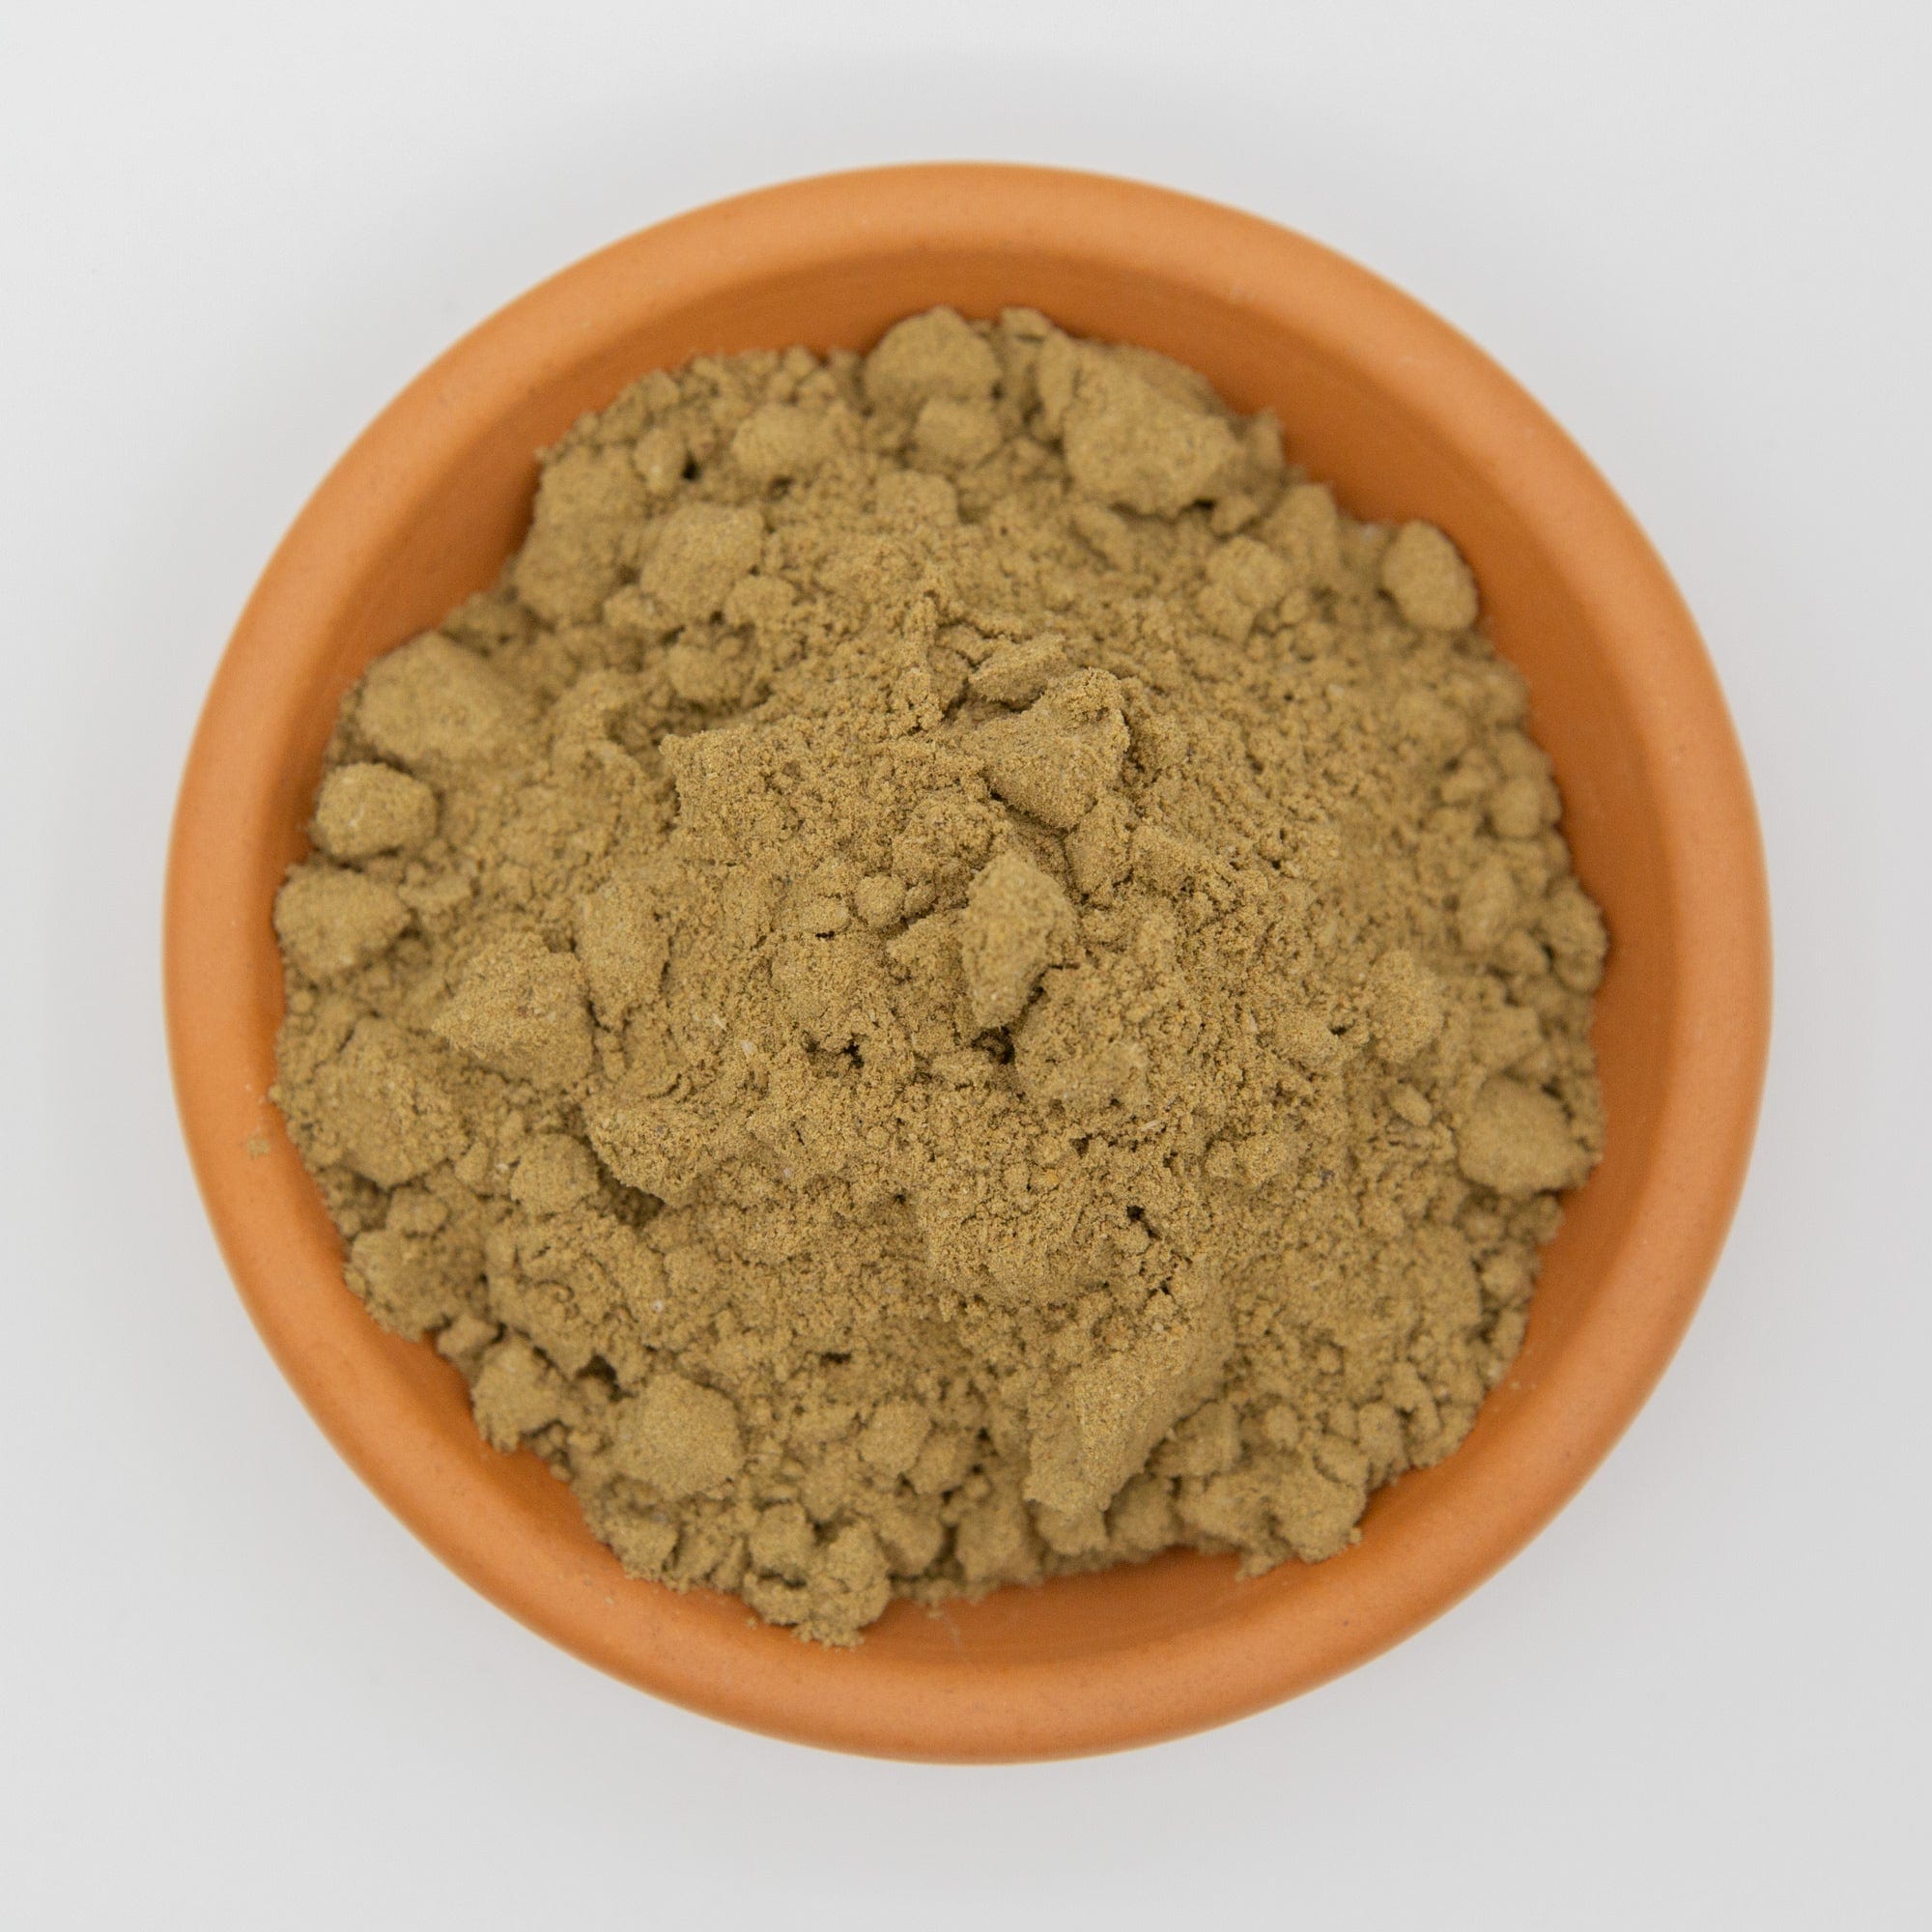
2 |
Chitin + calcium = microbe feast & pest-resistant finished compost |
2 cups per 50 L |
|
|
3 |
Liquid 4-2-2 plus amino acids for rapid moisture & nitrogen boost |
100 mL per 10 L water, drench top layer |
|
|
4 |
Fresh lawn clippings |
Readily available 20-1 C:N |
1 bucket per 3 buckets browns |
|
5 |
Coffee grounds |
Fine texture, 20-1 C:N, earthworm magnet |
Up to 25 % of green layer |
|
6 |
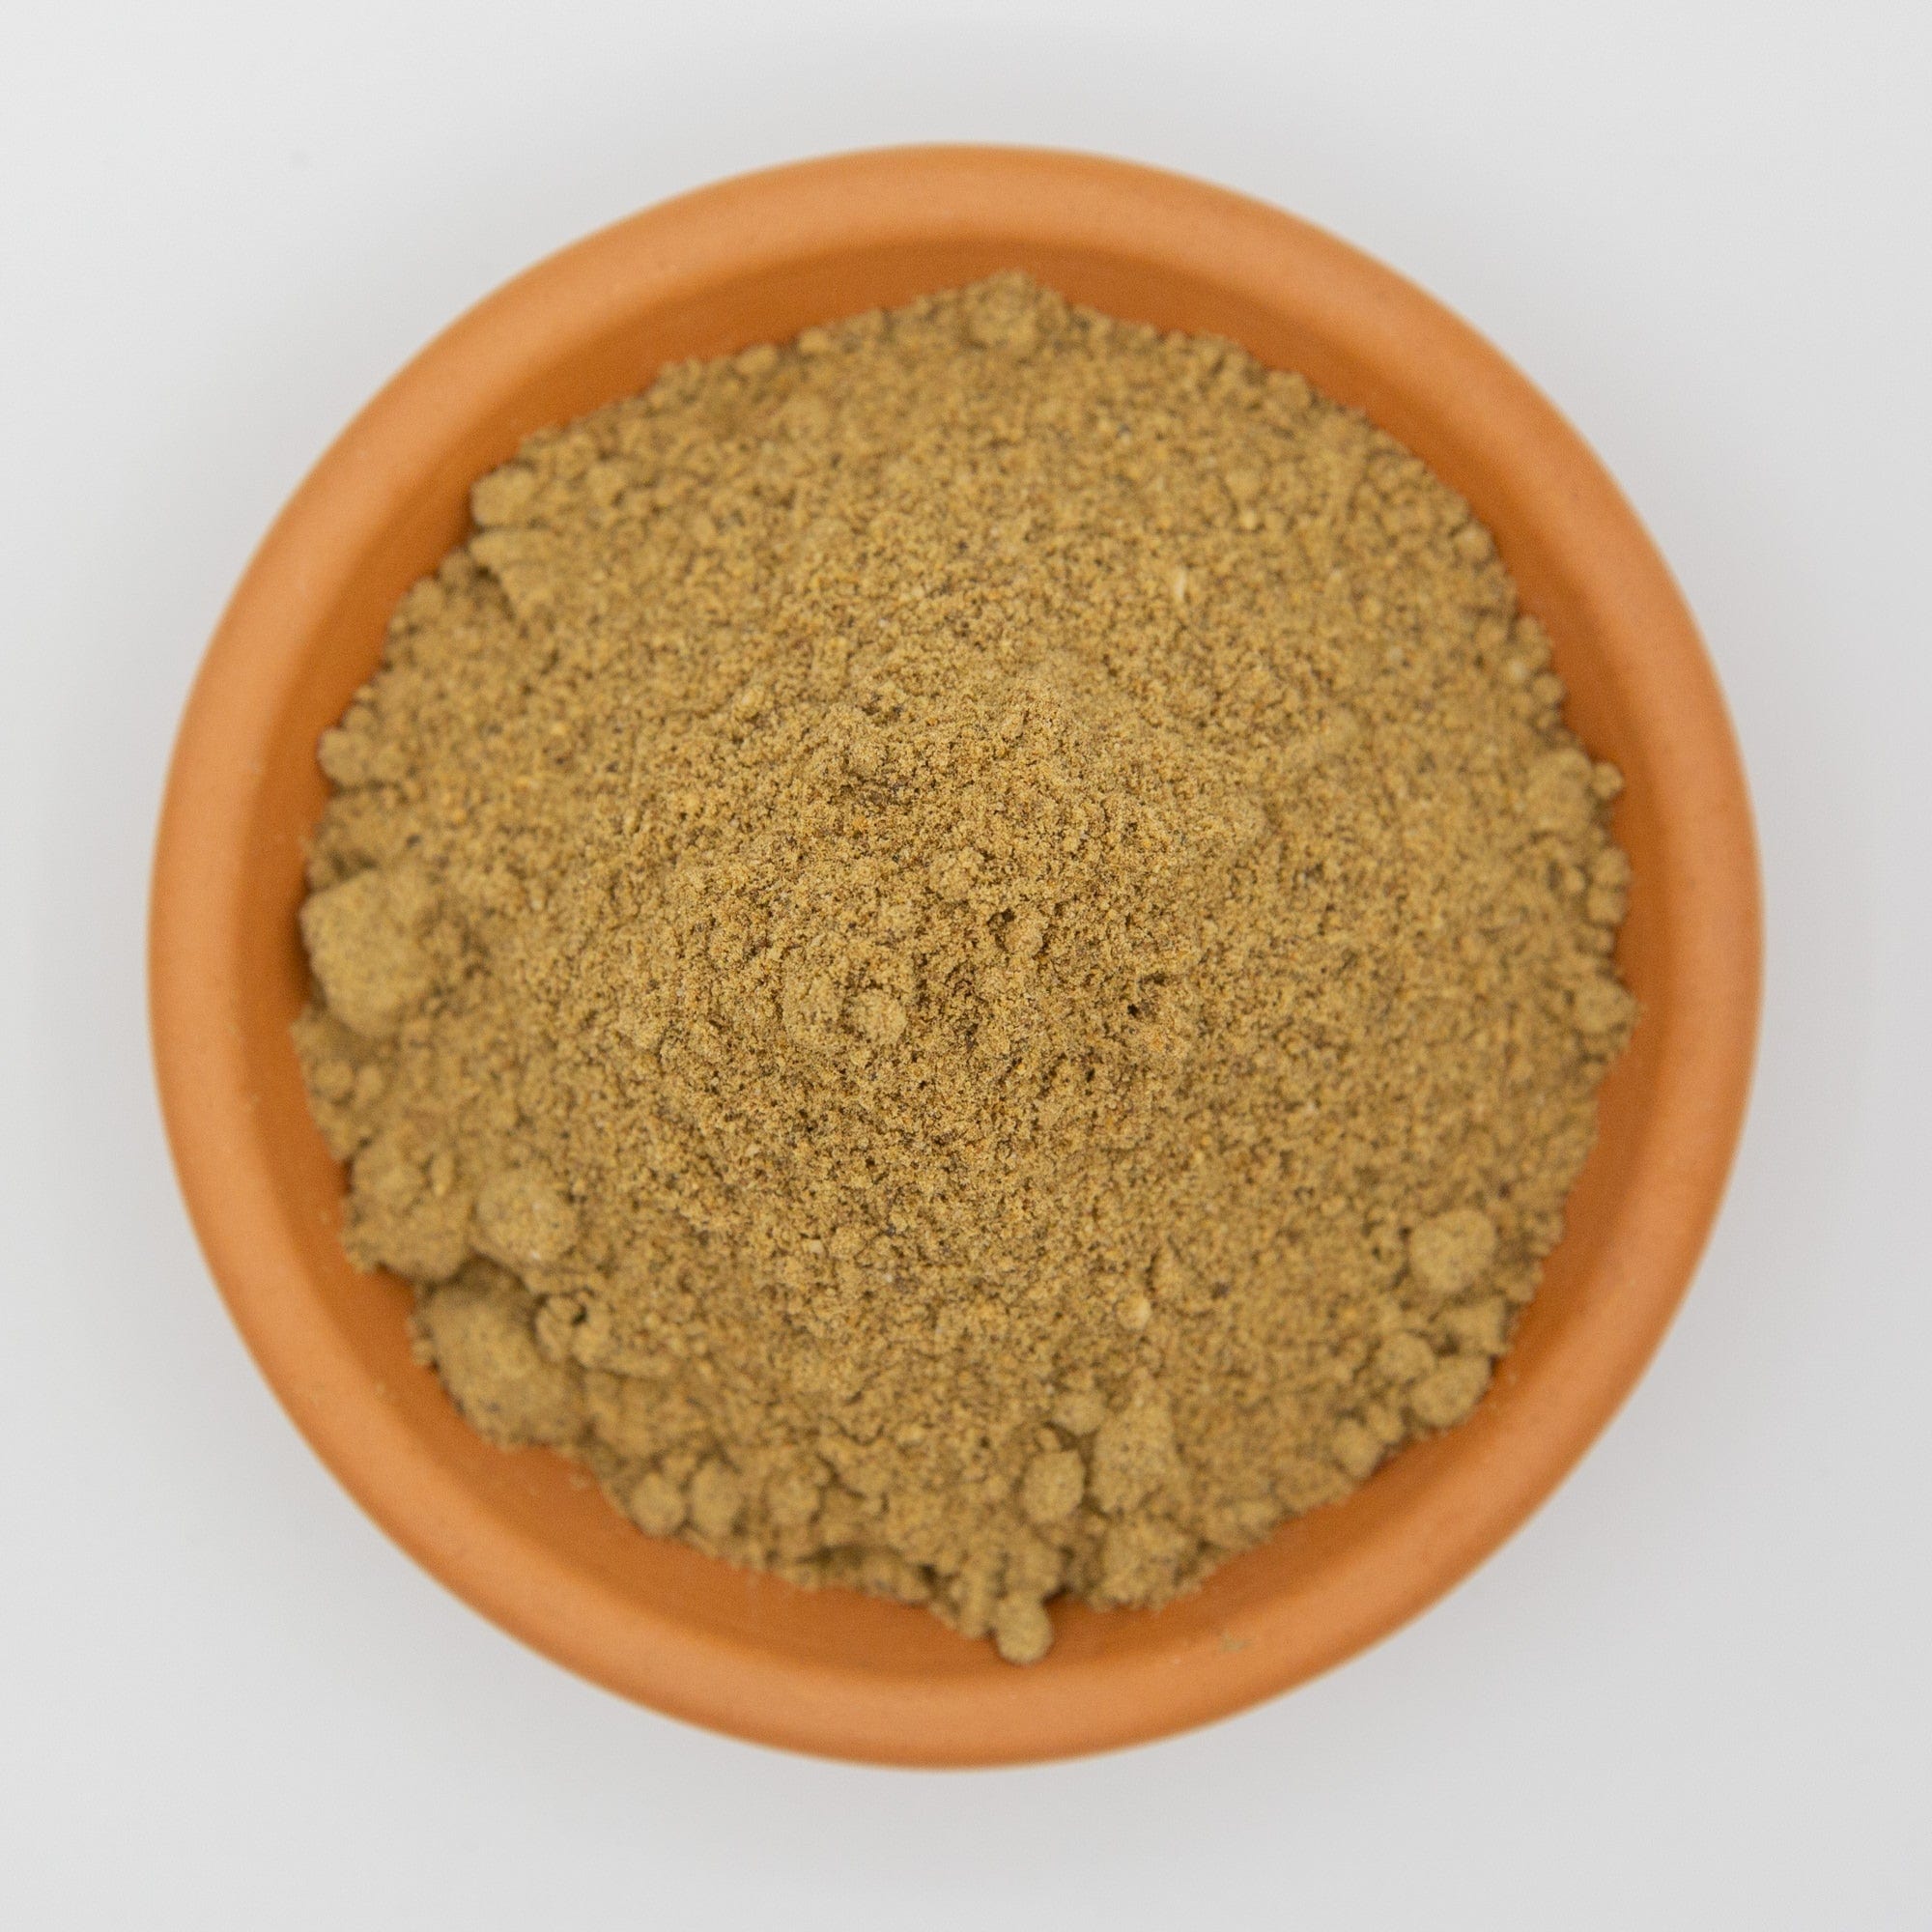
Lucerne/alfalfa meal |
5-1-2 plus triacontanol growth stimulator |
2 cups per 50 L |
|
7 |
Poultry manure |
3 × nitrogen of cow manure |
1 part manure : 10 parts compost |
|
8 |
Crushed legumes (pea, lupin) |
Rapid N release, Aussie-grown |
1 bucket per 50 L |
|
9 |
Seaweed (rinsed) |
Trace minerals + auxins |
Thin 3 cm layer per turn |
*Guidelines assume a 200-L domestic bin. Scale up/down accordingly.
Quick-start method (10-minute job)
Step 1 – Open & assess
Fork through the heap. If it’s dry or stuck together, break apart clumps and hose lightly.
Step 2 – Layer for balance
On a tarp, make lasagne layers: browns (dry leaves, shredded cardboard) ≈ 2 parts, greens (kitchen scraps) 1 part. Dust each full green layer with your starter of choice.
Step 3 – Super-charge
Apply starters:
-
Dry (soybean meal, frass, lucerne): sprinkle evenly.
-
Liquid (fish hydrolysate): dilute and drench.
Step 4 – Oxygen boost
Mix the whole pile or spin the tumbler three full revolutions.
Step 5 – Cover & monitor
Lid on or tarp over. Check temp daily with a probe or a gloved hand — too hot to hold means you’re on track.
Hack: If temps stall below 40 °C after 72 h, add another half-dose of soybean meal and mix again.
What to Compost (and What to Keep Out)
A healthy compost pile needs the right mix of materials. If you’re restarting a sluggish pile, double-checking what’s going in can save a lot of frustration.
Greens (Nitrogen-rich)
-
Fruit and vegetable scraps
-
Coffee grounds and tea leaves
-
Fresh lawn clippings
-
Manure from herbivores (cow, horse, sheep, chicken)
Browns (Carbon-rich)
-
Dry leaves
-
Straw or hay
-
Shredded cardboard and paper (no glossy ink)
-
Wood shavings or sawdust (untreated only)
Avoid adding
-
Meat, fish, dairy or oily foods (attract pests and smells)
-
Pet waste
-
Treated timber or sawdust
-
Weeds with seeds or invasive plants
-
Diseased plant material
If pests or smells are an issue, it’s usually a sign there’s too much green material and not enough browns.
Troubleshooting your “still-cold” heap
|
Symptom |
Likely cause |
Fix |
|---|---|---|
|
Damp but cold |
Not enough nitrogen |
Add more soybean meal or frass, remix |
|
Dry & dusty |
No moisture |
Hose to “wrung-out sponge” feel, cover |
|
Smelly & slimy |
Too much nitrogen, no oxygen |
Fork in straw, add shredded cardboard |
|
Ants moving in |
Bone-dry core |
Add fish hydrolysate solution, re-wet & turn |
Keeping Pests and Smells Under Control
A compost pile should smell earthy — not rotten. If animals or odours are showing up, a few simple adjustments usually fix the problem.
-
Always cover food scraps with a layer of browns (leaves, cardboard, straw)
-
Use a lid or tarp to control moisture and keep flies out
-
Install wire mesh under the pile or bin to stop rodents digging up from below
-
Avoid large chunks of food — chopping scraps helps them break down faster
-
Turn the pile regularly to prevent anaerobic (smelly) conditions
Most pest problems come from exposed food scraps or excess moisture, not the compost itself.
When Is Compost Ready to Use?
Finished compost should be dark, crumbly, and smell like rich soil. You shouldn’t be able to recognise most of the original ingredients.
A few tougher items like eggshells or avocado skins may still be visible — that’s completely normal.
Once your compost looks ready, it’s a good idea to let it rest or “cure” for a few weeks before using it in the garden. This allows any remaining microbial activity to settle and makes it gentler on plant roots.
Good compost rewards patience.
A Few Practical Tips
-
Wear gloves when turning compost, especially if it’s dry or dusty
-
Avoid breathing in compost dust — a simple mask helps if needed
-
Wash hands after handling compost
-
Remove produce stickers before composting fruit and veg
-
Don’t stress if composting isn’t perfect — nature is forgiving
Composting is a natural process, and small mistakes won’t ruin the end result.
FAQ
How fast will I see results?
With a starter and good aeration you’ll hit 55 °C in 2–4 days and have usable compost in 4–6 weeks.
Is fish hydrolysate safe for pets?
Yes, but store the bottle sealed; the smell attracts dogs like a barbie on Australia Day.
Can I overdo insect frass?
Yep. Stick to the rates above — too much calcium can lock out other nutrients.
What about commercial “compost activator” powders?
Most are just dried manure plus a dash of microbes. You’ll get stronger, cheaper results with the high-nitrogen organics listed here.
Ready to fire up your pile?
Grab soybean meal, insect frass or fish hydrolysate today — we ship free Australia-wide on orders over $250, and your compost (and garden) will thank you.
Happy composting from the Dr Greenthumbs crew!
Next reads for faster, richer compost and living soil
Want to get even more from your compost heap? These guides will help you choose better activators, compare natural fertilisers and build stronger soil biology.
- Insect Frass Guide Australia
- Natural Garden Fertilisers Australia Guide
- Organic Gardening 101: Living Soil Aussie Guide
- Discover the Power of Fish Hydrolysate for a Healthier Garden
About the Author