
How to identify, treat & prevent two-spotted mites before they wreck your plants.
Spider mites can silently destroy plants before you even notice them. In Australia’s warm, dry conditions, they multiply fast — but with the right approach, you can stop them quickly and prevent them from coming back.
Table of Contents
- What Are Spider Mites?
- How to Quickly Tell If It’s Spider Mites
- Spider Mites vs Red Spider Mites: Are They the Same Thing?
- Spider Mites in Lawns
- Plants Commonly Affected by Spider Mites
- Spider-Mite Life-Cycle & Seasonal Timing
- Spider Mite Treatment: Indoor Plants vs Outdoor Gardens
- Physically Remove as Many Mites as Possible
- Spider Mite Treatment: What to Do in the First 24 Hours
- Why Some Sprays Make Spider Mites Worse
- Using Predatory Mites for Spider Mite Control
- Choosing the Right Predatory Mite
- Treatment Options & Product Picks
- How to Get Rid of Spider Mites Without Making the Infestation Worse
- 7-Step Action Plan
- Wettable Sulphur: Advanced Option
- How to Prevent Spider Mites From Coming Back
- Common Spider Mite Control Mistakes
- FAQs
- Final Word
- Next Reads for Stopping Spider Mites Before They Spread
For fast & effective spider mite protection, here's our top picks:


What Are Spider Mites?
Spider mites are tiny sap-sucking arachnids, not insects. That matters because treating them like aphids, whitefly or caterpillars is where many growers go wrong.
They live mostly on the undersides of leaves and feed by piercing leaf cells and sucking out the contents. That feeding causes the classic pale speckling, bronzing and tired-looking foliage. By the time you see fine webbing, the colony is usually already well established.
The two-spotted spider mite is one of the most common culprits in Aussie veggie patches, houseplant collections, greenhouses and hydro grows. In warm, dry conditions, spider mites can reproduce extremely quickly, with a full generation possible in around a week under favourable conditions.
Look for:
- Fine pale speckling across leaves
- Dusty or bronzed foliage
- Tiny moving dots under leaves
- Fine webbing around tips, stems or leaf joins
- Leaves that look dry even when the plant has water
- Damage that starts on lower or hidden foliage first
The big thing to remember: spider mites love stressed plants. Heat, low humidity, dusty leaves, dry media and poor airflow all make the problem easier for them and harder for the plant.
How to Quickly Tell If It’s Spider Mites
Not all leaf damage is caused by spider mites. Treating the wrong pest wastes time and can stress your plants. Use this quick guide to narrow it down:
- Fine speckling on leaves plus faint webbing, especially underneath the leaf, is very likely spider mites.
- Bronzing or silvery leaves with little or no webbing could be another type of mite, such as russet mites.
- Curled or distorted new growth without webbing is often aphids, thrips, environmental stress or a nutrient issue rather than spider mites.
Use these checks:
Visual check: Look for pinpoint yellow or white specks that merge into bronzed patches.
Paper test: Tap a suspect leaf over white paper and look for tiny moving dots the size of ground pepper.
Webbing check: Look for silky threads at leaf axils, growing tips or leaf undersides. Webbing usually means the infestation is established.
Magnification: A 10× loupe or phone macro can help reveal tiny oval bodies and the two dark flank spots on two-spotted spider mites.
Correct identification matters because spider mites respond best to repeated, targeted treatments rather than one-off sprays.
If you need a deeper visual breakdown of life stages, lookalike pests and close-up comparison photos, link to the detailed Spider Mite Identification Australia Guide.
Spider Mites vs Red Spider Mites: Are They The Same Thing?
In most gardening conversations, “spider mites” and “red spider mites” are talking about the same general problem: tiny sap-sucking mites that live on leaf undersides, cause stippling and build fine webbing when numbers get high.
The confusion comes from colour. Two-spotted spider mites can look pale, greenish, yellow, brown, orange or red depending on age, season, host plant and conditions. In cooler weather, some adults can appear more reddish-orange, which is why gardeners often call them red spider mites.
So don’t rely on colour alone. Look for the pattern:
- Fine yellow or white speckling on leaves
- Damage starting underneath the foliage
- Tiny moving dots when tapped onto white paper
- Fine webbing in heavier infestations
- Faster outbreaks in hot, dry conditions
If you can see webbing and stippling together, treat it as spider mites until proven otherwise. If there’s bronzing but no webbing at all, or damage is mainly on distorted new growth, check for other mites or pests before committing to a treatment plan.
Spider Mites in Lawns
While spider mites are often associated with ornamentals and vegetables, they can also affect turf — particularly during hot, dry periods.
In lawns, damage typically appears as:
- Pale, bleached or bronze patches
- Fine stippling on individual blades
- Irregular or sometimes ring-shaped areas of thinning grass
- Subtle webbing close to the soil surface in heavy infestations
Spider mites thrive in dry, dusty conditions. Lawns under drought stress are particularly vulnerable.
Improving irrigation consistency can significantly reduce pressure. Deep watering that reduces plant stress and increases surface humidity makes conditions less favourable for mite reproduction.
If lawn patches worsen during extended dry heat and improve with cooler, moist conditions, spider mites may be contributing to the problem.
Early detection and environmental adjustment are often enough to prevent escalation.
Plants Commonly Affected by Spider Mites
Spider mites feed on a wide range of plants. In Australian gardens, they are frequently found on:
Vegetables
- Tomatoes
- Cucumbers
- Beans and peas
- Eggplant
- Capsicum
- Potatoes
Fruit Crops
- Strawberries
- Raspberries
- Citrus
- Apples and pears
Ornamentals
- Roses
- Azaleas
- Hibiscus
- Indoor foliage plants
If you’re seeing fine stippling or leaf bronzing on these plants during warm, dry weather, spider mites are a strong possibility.
Knowing which plants are commonly targeted helps narrow down diagnosis quickly.
Spider-Mite Life-Cycle & Seasonal Timing
|
Stage |
Duration (at 25 °C) |
Notes |
|---|---|---|
|
Egg |
3 days |
Laid on leaf undersides |
|
Larva |
1 day |
3 pairs of legs |
|
Protonymph |
2 days |
Starts feeding heavily |
|
Deutonymph |
2 days |
Webbing becomes obvious |
|
Adult |
2–4 weeks |
Females lay 100+ eggs |
Aussie outbreaks often spike in late spring and again in mid-summer when temperatures rise and humidity drops. Indoor grows with powerful LED lights, warm rooms and dry air can see year-round pressure.
Repeat treatment matters because eggs, juveniles and adults can all be present at the same time. One big heroic spray rarely fixes the problem. The warmer the conditions, the faster the lifecycle moves.
Focus on new damage when judging success. Old stippling will not turn green again. The goal is to stop fresh speckling, webbing and moving mites from rebuilding.
Spider Mite Treatment: Indoor Plants vs Outdoor Gardens
Spider mites behave differently depending on where your plants are growing, so the treatment approach needs a slight tweak.
Indoor plants often get spider mites because the air is dry, the leaves are dusty and there are fewer natural predators inside the house. They also spread quickly when plants are packed close together on shelves or near windows. Focus on isolation, leaf cleaning, humidity and repeat treatments. Be careful spraying oily products near bright windows or under grow lights, as this can increase the risk of leaf burn.
Outdoor plants usually flare up during hot, dry weather, especially in dusty spots, stressed garden beds or areas with poor irrigation. Outdoors, combine water pressure, pruning, targeted sprays and better plant hydration. Avoid blanket spraying if beneficial predators are active.
Greenhouses, hydro rooms and grow tents sit somewhere in the middle. They can become spider mite heaven if temperatures climb, humidity drops and airflow is poor. In these spaces, treat both the plant and the environment. Clean benches, wipe pots, check intake vents, clean supports and avoid dragging mites around on gloves, sleeves or pruning tools.
Use this as a guide:
|
Growing situation |
Best first move |
What to avoid |
|---|---|---|
|
Indoor houseplants |
Isolate, wash leaves, clean shelves, repeat treatment |
Treating one plant while pests spread nearby |
|
Grow tents |
Reduce heat stress, improve airflow, inspect daily |
Letting humidity and heat swing wildly |
|
Veggie gardens |
Manage water stress and use targeted treatment |
Blanket spraying in hot sun |
|
Ornamentals outdoors |
Prune worst growth and support predators |
Killing beneficial insects unnecessarily |
|
Hydro setups |
Clean the room, benches, pots and plant supports |
Treating foliage but ignoring the grow space |
Same pest, different pressure points. Match the treatment to the growing environment and you will get control much faster.
Physically Remove as Many Mites as Possible
Before applying any treatment, reduce numbers as much as you can through physical removal. This step alone can dramatically improve results.
- Rinse plants thoroughly with a firm spray of water, focusing on the undersides of leaves where mites gather.
- Wipe leaves by hand using a soft cloth or sponge, especially if webbing is present.
- Remove heavily infested leaves and dispose of them in the bin (not compost).
Webbing can prevent sprays from reaching mites properly. Clearing it first ensures treatments make direct contact, which is essential for control.
Skipping this step is one of the most common reasons spider mite treatments fail.
Spider Mite Treatment: What to Do in the First 24 Hours
Once you’ve confirmed spider mites, don’t wait around hoping the plant will “push through”. The first 24 hours are about reducing numbers, stopping spread and setting up the next few treatments properly.
Start here:
- Isolate the plant if it’s in a pot. Move it away from clean plants before you touch anything else.
- Rinse the undersides of leaves with a firm spray of water. Spider mites mostly hang out underneath the leaf, not on top.
- Wipe down leaves by hand if the plant is sturdy enough. A damp cloth removes mites, eggs, webbing and dust in one go.
- Prune the worst leaves if they’re heavily webbed, bronzed or already collapsing. Bag them and bin them — don’t compost them.
- Treat at dusk or under low light, especially if using oils, soaps or contact sprays.
- Mark your follow-up dates before you forget. One treatment won’t catch every egg.
The big mistake is spraying first and cleaning later. Webbing, dust and dense foliage all reduce contact, so even a good spider mites treatment can underperform if the plant isn’t cleaned up first.
Why Some Sprays Make Spider Mites Worse
Spider mites reproduce very quickly and can develop resistance if the same treatment is used repeatedly.
Some broad-spectrum insecticides are also ineffective against mites, and can make infestations worse by:
- Killing beneficial insects that naturally keep mites in check
- Leaving spider mites unaffected, allowing populations to rebound faster
For best results:
- Use products specifically labelled for mites
- Follow repeat application instructions carefully
- Avoid rotating randomly between unrelated sprays
A planned, targeted approach is far more effective than switching products after each application.
Using Predatory Mites for Spider Mite Control
Predatory mites are beneficial insects that feed on spider mites and their eggs. They work best when infestations are detected early.
Key points to know:
- They are most effective before heavy webbing develops
- Broad-spectrum sprays should be avoided before and after release
- Best suited to greenhouses, indoor plants, or controlled environments
Predatory mites are a useful option for gardeners looking to reduce chemical use, but they need the right conditions to succeed.
Choosing the Right Predatory Mite
Not all predatory mites behave the same way.
Two commonly used biological controls in Australia are:
Neoseiulus californicus
- Performs well across a wider temperature and humidity range
- Suitable for preventative releases
- Ideal when spider mite pressure is low but conditions are favourable
Phytoseiulus persimilis
- Highly specialised spider mite predator
- Best used when active infestations are already present
- Works rapidly when introduced early
The key is timing.
Do not wait until heavy webbing and widespread bronzing appear before introducing predators. Biological control works best when populations are still manageable.
Early intervention prevents outbreaks from reaching explosive levels.
Treatment Options & Product Picks
A. Organic & Low-Impact
|
Goal |
Product |
Why it works |
|---|---|---|
|
Abrasive barrier & desiccant |
Food-grade silica can help desiccate soft-bodied pests when applied according to directions. Avoid breathing dust and avoid coating open flowers. |
|
|
Botanical knock-down |
Plant-derived oils can help knock down mites when coverage is thorough. Use on edible crops only where the label allows and follow withholding directions. |
|
|
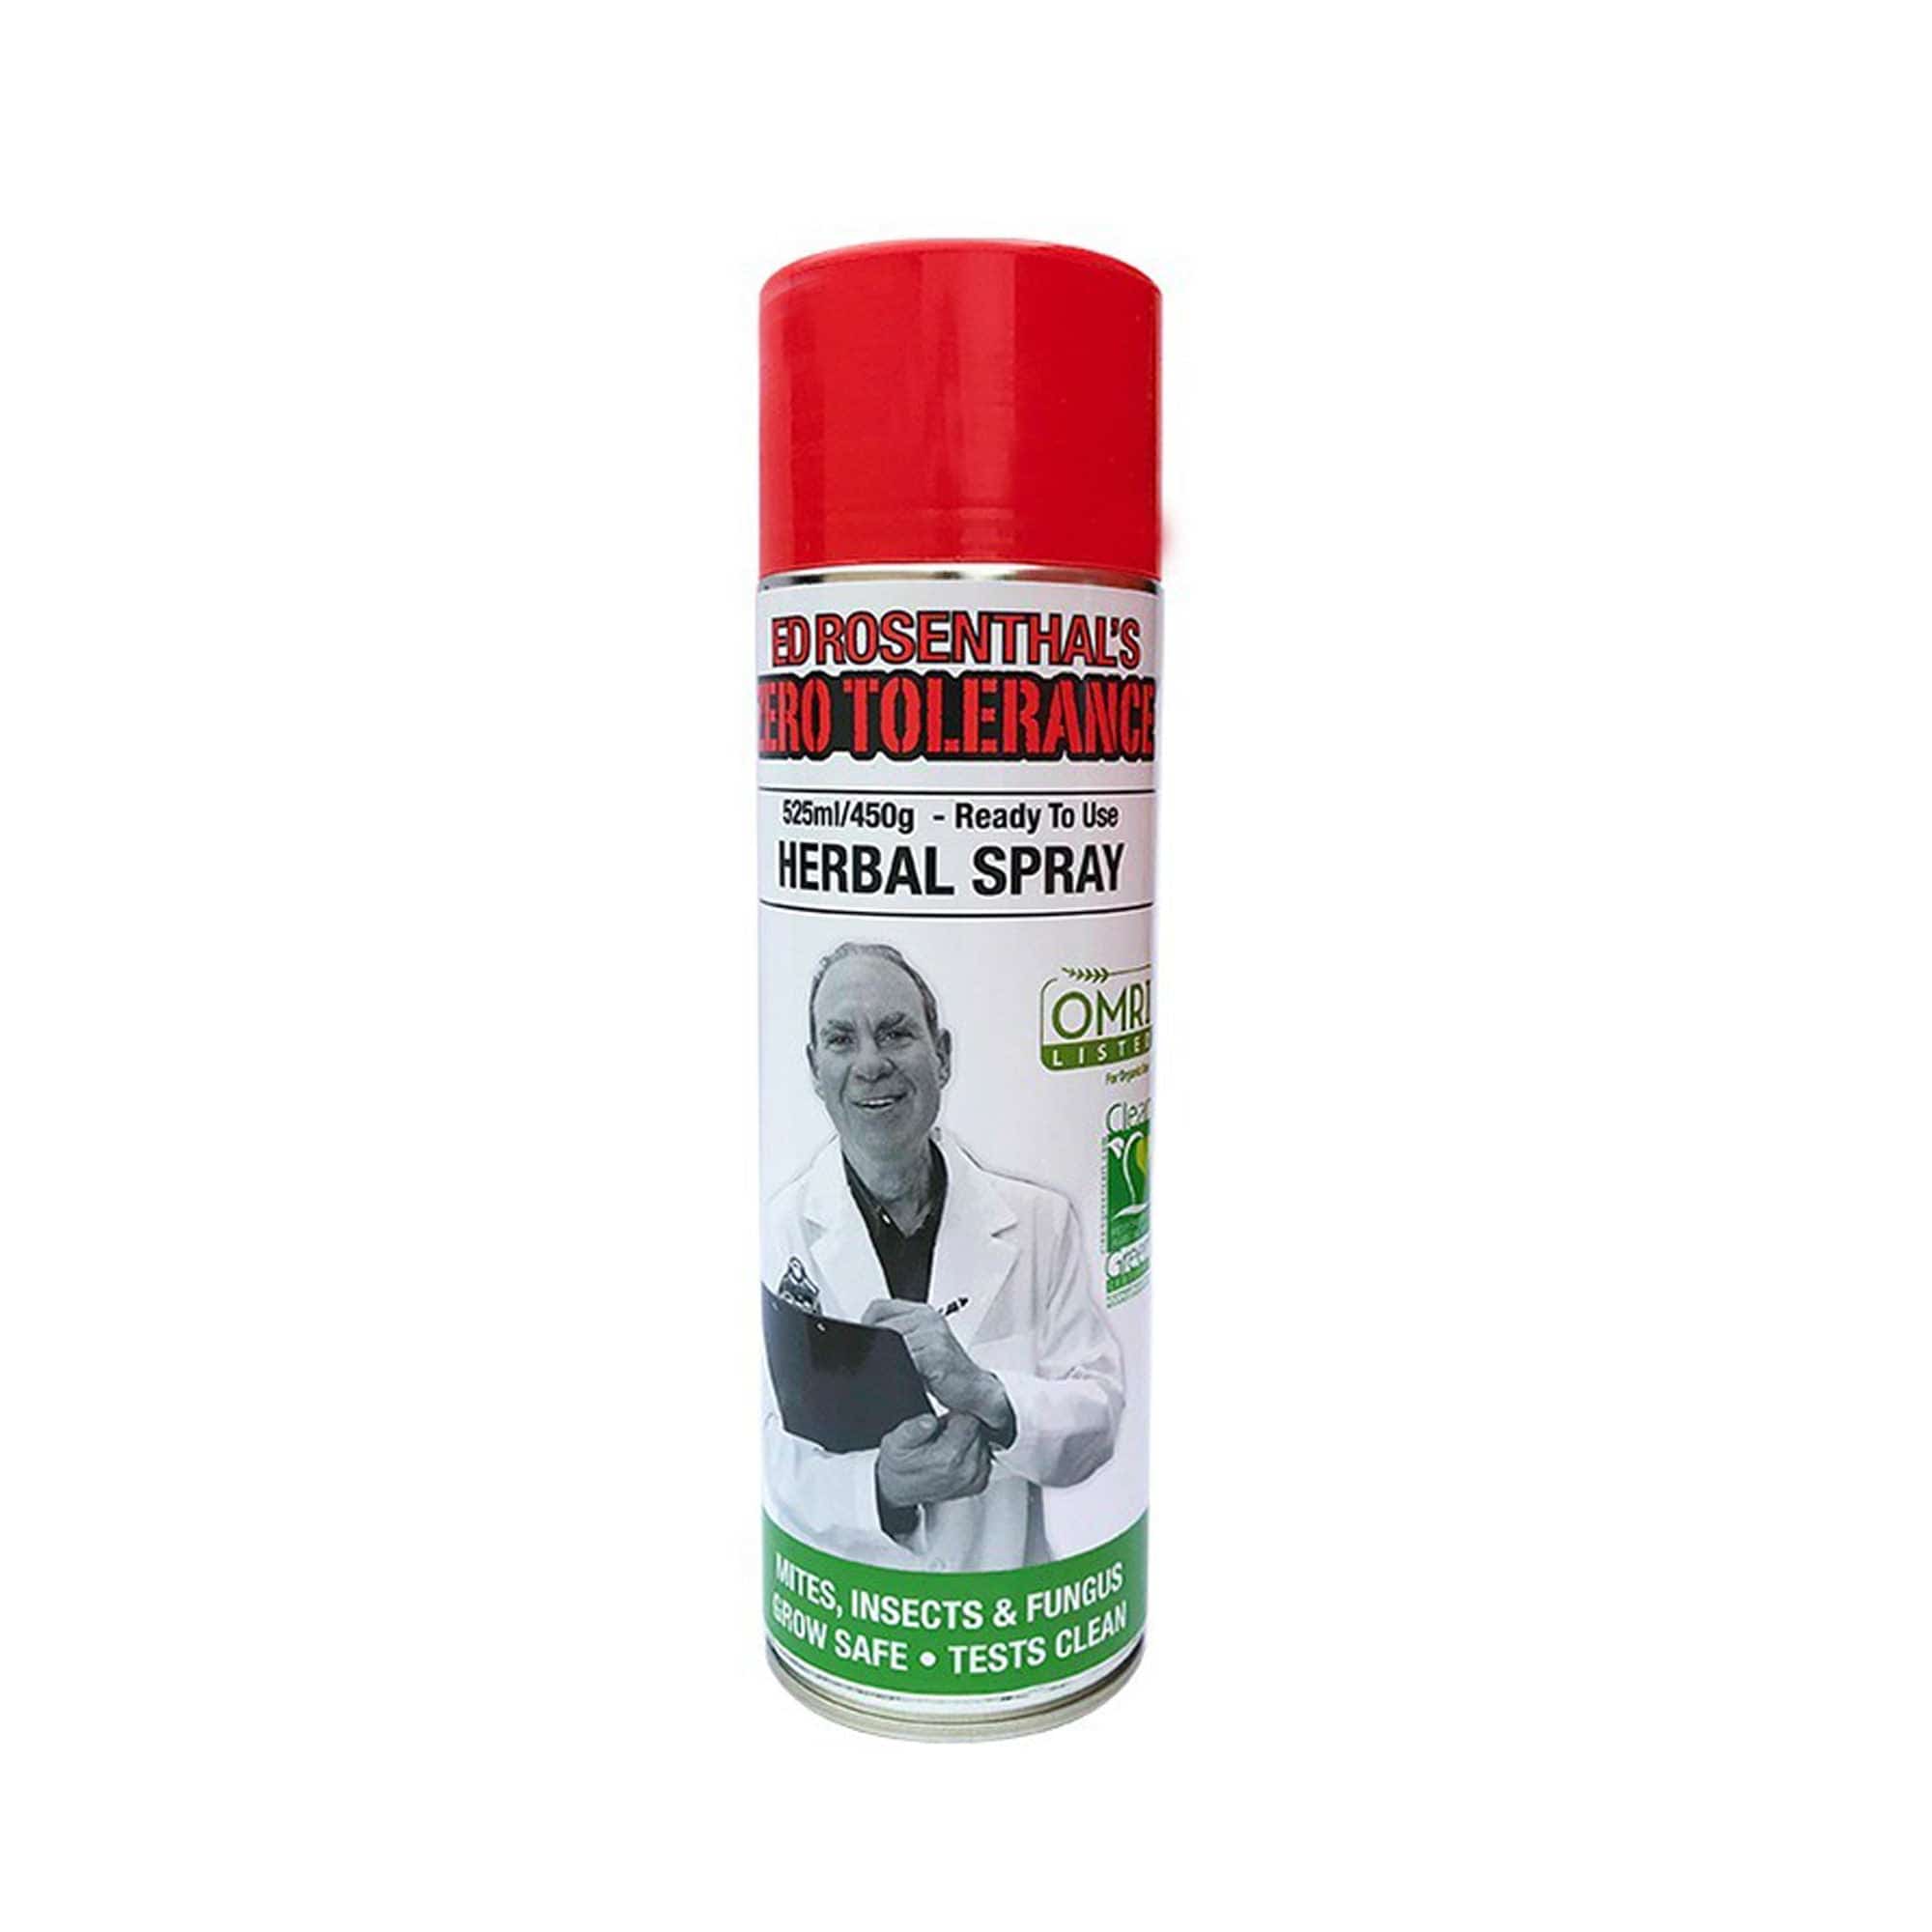
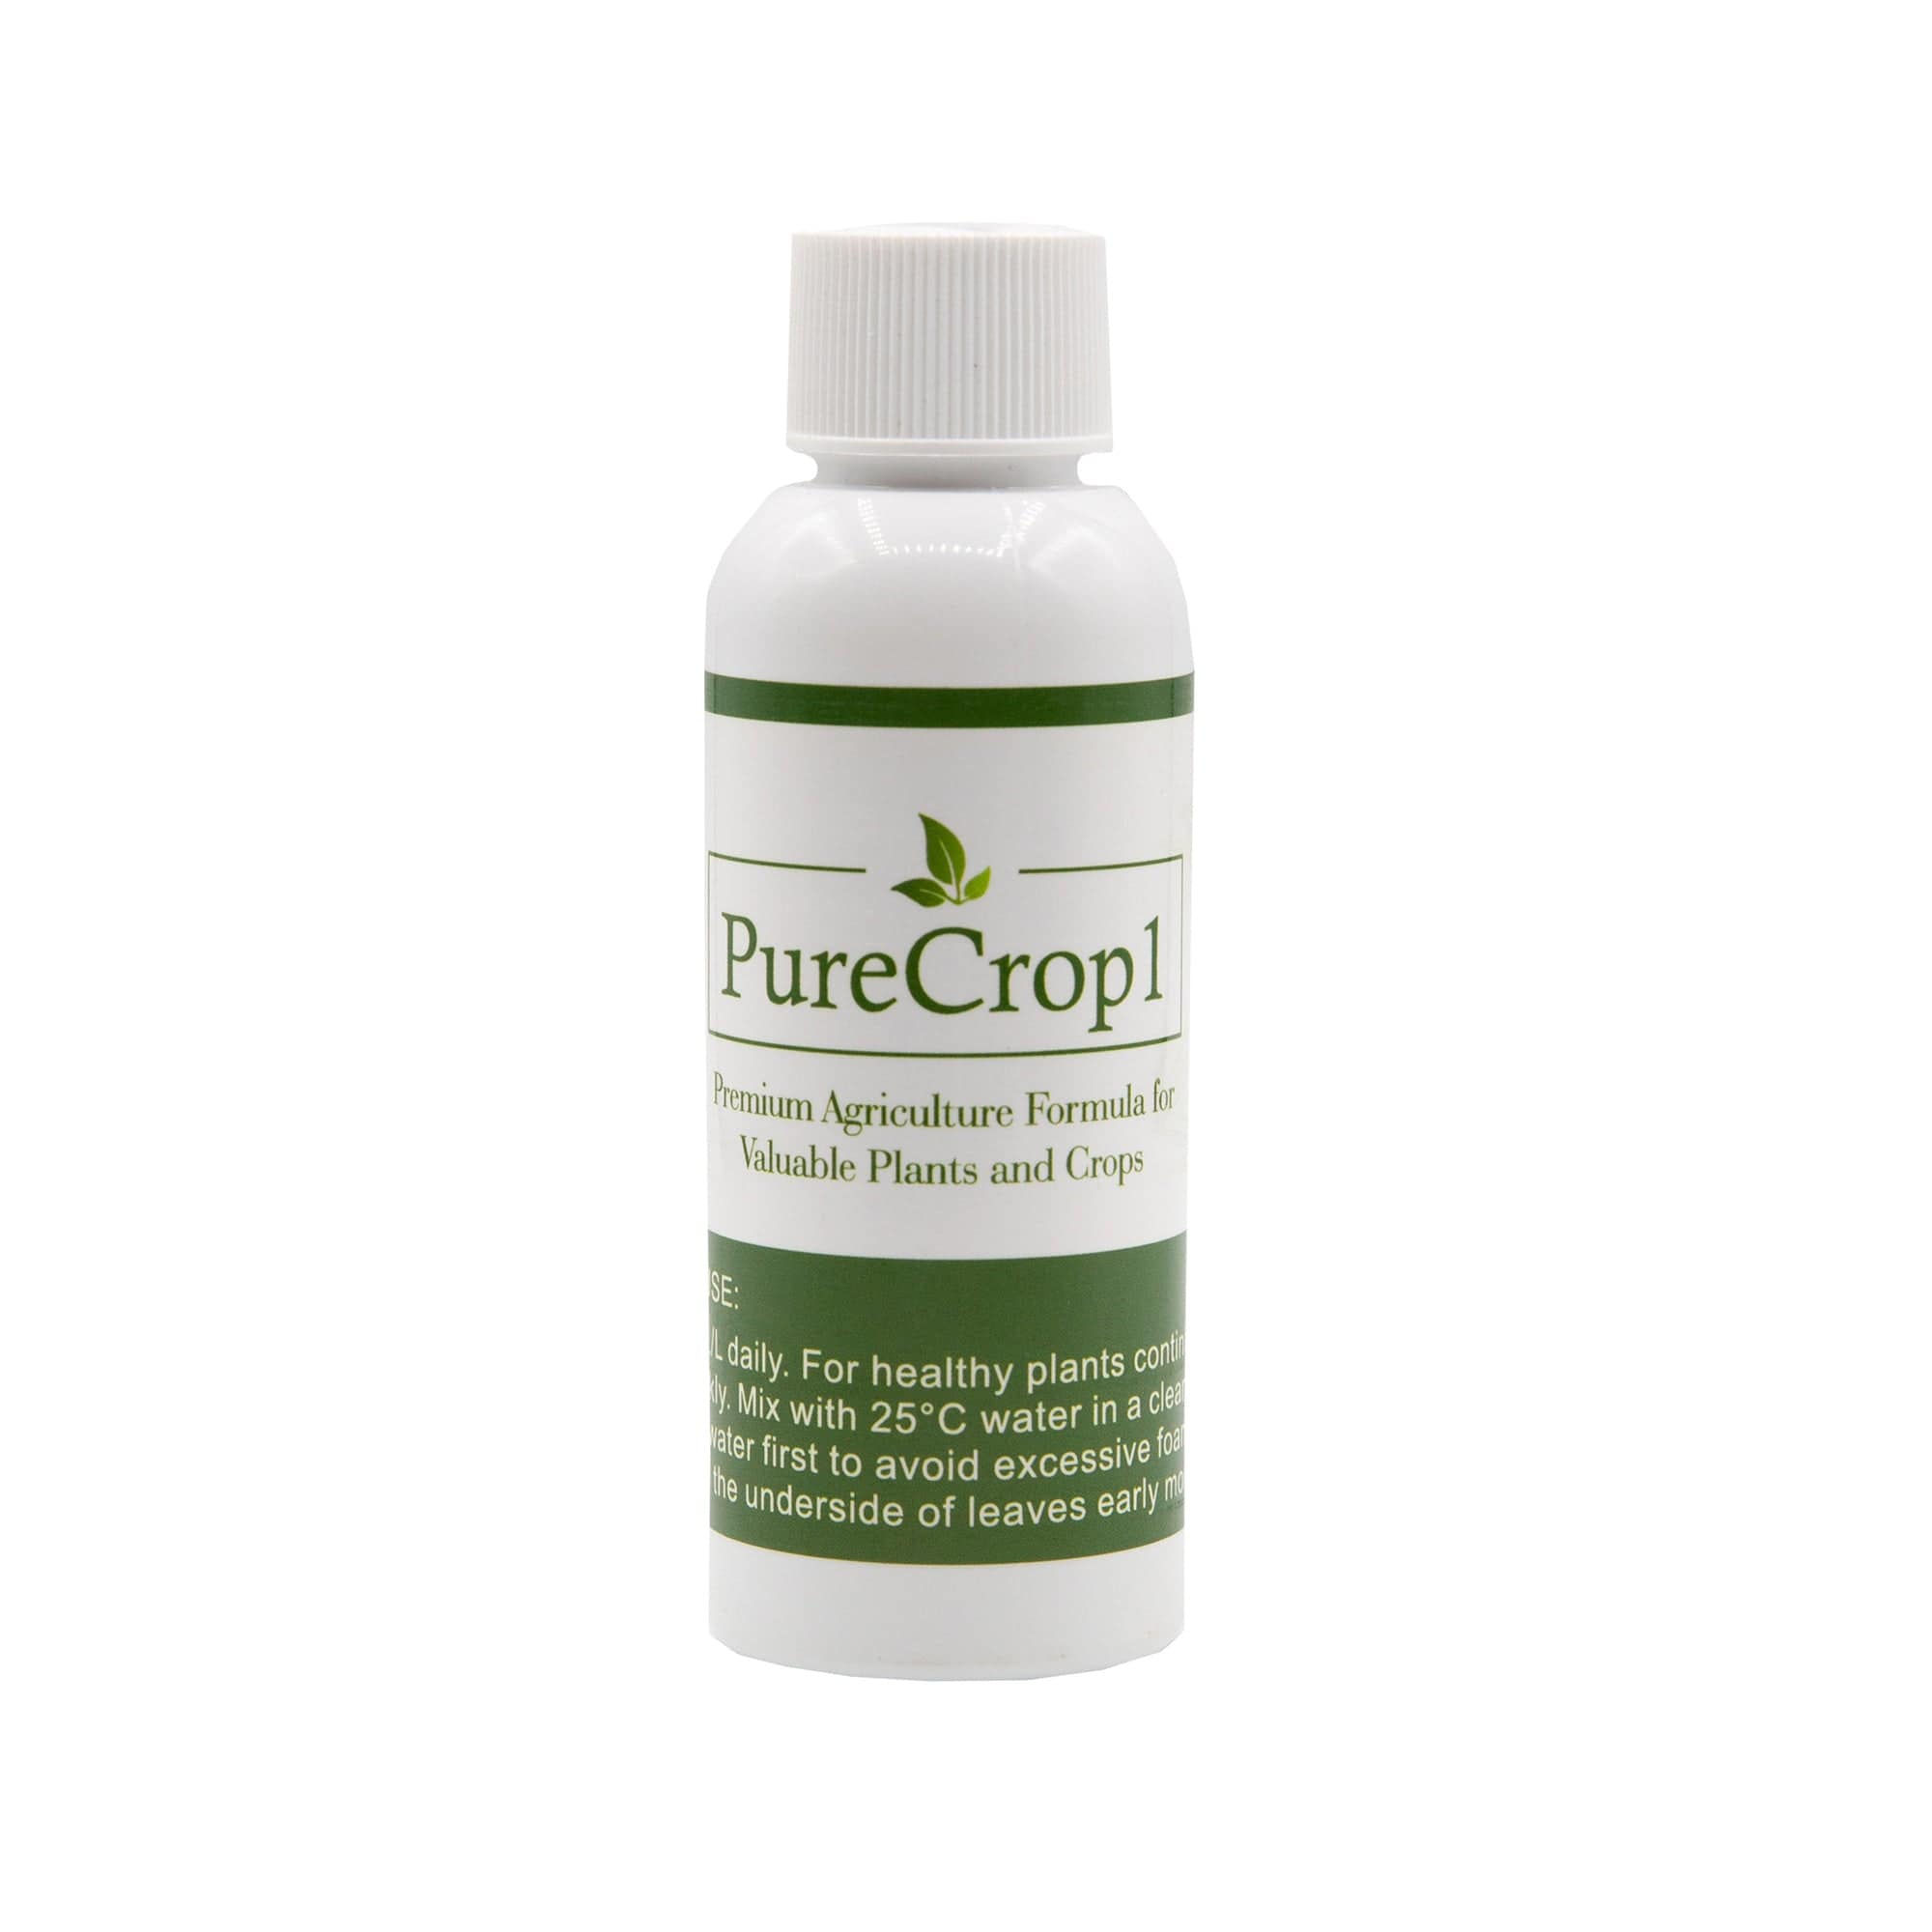
All-round IPM cleaner |
Helps clean foliage, reduce webbing and support contact coverage as part of a repeat treatment program. Follow label rates. |
B. Conventional Contact Sprays
|
Situation |
Product |
Edge |
|---|---|---|
|
Heavy adult populations |
Rapid knock-down option when used according to label directions. Avoid unnecessary use where beneficial insects are active. |
|
|
Dormant trees & ornamentals |
Dormant-season option for suitable trees and ornamentals. Follow the label and avoid using interchangeably with wettable sulphur. |
C. Systemic & Residual Protection
|
Need |
Product |
Benefit |
|---|---|---|
|
Up to 8 weeks shield |
Residual protection option where label directions allow. Follow all plant, crop and safety instructions. |
|
|
Extreme infestations (ornamentals only) |
Advanced option for extreme infestations on ornamentals where label directions allow. Use only as directed and avoid unnecessary repeat use. |
How to Get Rid of Spider Mites Without Making the Infestation Worse
The fastest way to lose the battle is to panic spray every product in the shed. Spider mites are tough, but random spraying can make things worse by stressing the plant, killing beneficial predators or leaving eggs untouched.
A smarter approach is:
- Clean first: Remove webbing, dust and badly damaged foliage before spraying.
- Spray thoroughly: Focus on leaf undersides, stems, tips and tight nodes where mites hide.
- Repeat on schedule: Eggs can survive the first round, so follow-up matters.
- Rotate properly: Do not keep hammering the same mode of action if mites are still active.
- Protect beneficials: Avoid broad-spectrum sprays where predatory mites, ladybirds or other useful insects are active.
- Fix the environment: Dry, dusty, heat-stressed plants are easy targets.
- Check new growth: Fresh leaves often show whether the plant is recovering or still under pressure.
Avoid spraying in the middle of a hot day, mixing products “just to be safe”, or applying oils and sulphur too close together. That is how people end up with burnt leaves and spider mites still crawling around underneath.
The goal is not just to kill the mites you can see today. It is to interrupt the cycle long enough that eggs, juveniles and adults are all hit across repeated treatments.
7-Step Action Plan
Use this as the basic spider mite workflow:
-
Isolate affected plants
Move potted plants away from clean plants. For outdoor plants, separate or prune overlapping foliage where practical. -
Physically clean the plant
Rinse leaf undersides with water, wipe sturdy leaves and remove heavy webbing before applying any treatment. -
Remove the worst damage
Prune badly bronzed, webbed or collapsing leaves and bin them. Do not compost heavily infested foliage. -
Apply a suitable mite treatment
Use a product labelled for mites and cover leaf undersides, tips, stems and tight nodes. Follow the label exactly. -
Mark follow-up dates
Repeat treatments according to label directions because eggs and juveniles can survive the first pass. -
Monitor twice weekly
Use the paper test, inspect new growth and check leaf undersides for moving mites or fresh speckling. -
Reset the environment
Improve airflow, reduce dust, avoid drought stress and increase humidity where the plant can handle it.
Tip: Spray at dusk or under low light where the label allows, especially when using oils, soaps or contact sprays. This reduces leaf burn risk and gives products time to dry away from harsh light.
Wettable Sulphur: Advanced Option
Wettable sulphur can suppress spider mite populations when applied correctly.
It works by disrupting mite feeding and reproduction and can also assist in managing certain fungal issues.
However, there are important considerations:
- Only use products labelled for spider mite control
- Do not apply during extreme heat
- Avoid combining with oil sprays
- Follow all label directions carefully
Wettable sulphur is not the same as lime sulphur. The two products serve different purposes and should not be used interchangeably.
As with all treatments, sulphur should be part of an integrated approach — not a standalone solution.
How to Prevent Spider Mites From Coming Back
You can kill active spider mites and still have them come back if the growing conditions stay perfect for them. Prevention is about making the plant and growing area less inviting.
Use this prevention checklist:
- Keep plants properly watered so they are not drought-stressed.
- Improve airflow without blasting plants with hot, dry air.
- Raise humidity where the plant can handle it. Spider mites thrive in hot, dry conditions, and higher humidity can slow their life cycle.
- Wipe dusty leaves with a damp cloth, especially on indoor plants. Dusty foliage makes mite problems worse and reduces spray contact.
- Inspect leaf undersides weekly with a loupe, phone zoom or paper test.
- Keep new plants separate until inspected.
- Remove heavily infested plant debris and bin it.
- Clean greenhouse benches, shelves, pots and growing areas.
- Wash reused pots before planting.
- Clean pruning tools, gloves and shared equipment.
- Monitor susceptible plants early in spring and through hot, dry periods.
Spider mites can re-enter through wind currents, clothing, gloves, pruning tools, movement of infested plants and shared greenhouse environments. Eggs can also carry over on plant material, pots and surrounding debris.
The best long-term spider mite control is boring: healthy plants, clean foliage, less heat stress, early checks and repeat treatment when needed. Not glamorous, but it works.
Common Spider Mite Control Mistakes
Avoid these common mistakes:
- Treating once and stopping — spider mites require repeat applications.
- Spraying only the top of leaves — mites mostly hide underneath.
- Not isolating infested plants — especially indoors or in grow tents.
- Ignoring hot, dry conditions that favour reinfestation.
- Mixing random products together “just to be safe.”
- Spraying oils, soaps or sulphur products in heat or harsh light.
- Judging success by old damaged leaves instead of checking new growth.
FAQs
Will one spray eliminate spider mites?
Rarely. Spider mite eggs, juveniles and adults can be present at the same time, so repeat treatment is usually needed. Follow the product label and keep checking new growth.
How often should spider mite treatments be repeated?
Many treatments need repeating every 5–7 days while activity continues, but always follow the label for the product you are using. Warmer conditions can speed up the lifecycle.
Can I treat edible plants for spider mites?
Yes, but only use products labelled for edible crops and follow the crop, rate, withholding period and application directions. Do not assume a product is edible-safe just because it is natural or low-residue.
Are spider mites resistant to pyrethrum?
Resistance is possible when the same type of spray is used repeatedly. Rotate properly, avoid unnecessary broad-spectrum spraying and combine treatments with cultural controls.
Do I need to treat the soil?
Spider mites live mostly on foliage, especially leaf undersides. Focus on leaves first. Cleaning pot rims, benches and nearby surfaces can help reduce movement and reinfestation.
Does neem oil work on spider mites?
Neem oil can help when applied thoroughly and repeatedly, but coverage of leaf undersides is essential. Avoid spraying in heat, direct sun or on stressed plants.
Why do spider mites keep coming back?
Reinfestation usually comes from nearby plants, dry conditions, dusty foliage, incomplete treatment coverage, missed eggs or dirty benches, pots and tools.
Should I isolate infested plants?
Yes. Isolating affected plants helps prevent mites spreading to healthy ones, especially indoors, in greenhouses and in grow tents.
Final Word
Spider mites spread fast, but you can beat them with early identification, physical clean-up, repeated targeted treatment and better growing conditions.
Keep this guide handy, monitor new growth, and do not stop after one treatment if mites are still active.
Need more pest solutions? Explore the full Spider Mite Treatment collection or contact Dr Greenthumbs for tailored advice.
Happy growing!
Next Reads for Stopping Spider Mites Before They Spread
Treating spider mites already? These guides will help you confirm the pest, choose better organic controls and build a stronger prevention plan for the next flare-up.
- Spider Mite Identification Australia Guide
- Pest Control IPM Stack: Top 10 Organic Solutions
- Cold Pressed Neem Oil vs Azadirachtin Australia
- Which Pest When Australia
About the Author